Really, I'm organised
Warning: What you are about to read will take about 10 mins to read. It's an in-depth account of how I built my RIO shelf from the Weekend Workshop course and as such there's a lot of words. However I did try to alleviate this by employing lots of pictures as well. If you do not have 10 minutes then just get up and slowly leave the room backwards keeping eye contact at all times with the screen until you have left the room.
There's really nothing better than having stuff out of the way in a way that returns floor space while still being accessible. The idea behind the RIO Shelf from the Weekend Workshop course is simply to do that. It might seem like a given that a shelf is going to give you room but the idea behind RIO is to give you only enough space to store one or two items. This is where the reachability point comes into play. There's no having to reach forward to get that one tool you really need right now.
After having completed the Hand-Cart to varying success this project was going to be something that I really needed. I quickly came across a few issues the biggest of which was the cost.
Admittedly I might have been calculating it incorrectly but it was going to cost me over $200(NZ) to build this thing. Then I struck an idea where I could use plywood. This raised a problem because the sheets I was using are 1200 x 600mm and I needed 1800mm for the height. But this is where a slight change in design works in my favour.
I decided the best way forward was to make two smaller RIOs and join then together with half-lap joints. This sounds complex but is actually a pretty easy thing to do, especially after having just made the Hand-Cart which employs half-laps a lot.
The first thing I did though was run everything through Cutlist Optimizer. This allows me to ensure that the boards I need can fit in the sheets I have. An example of the results is here:
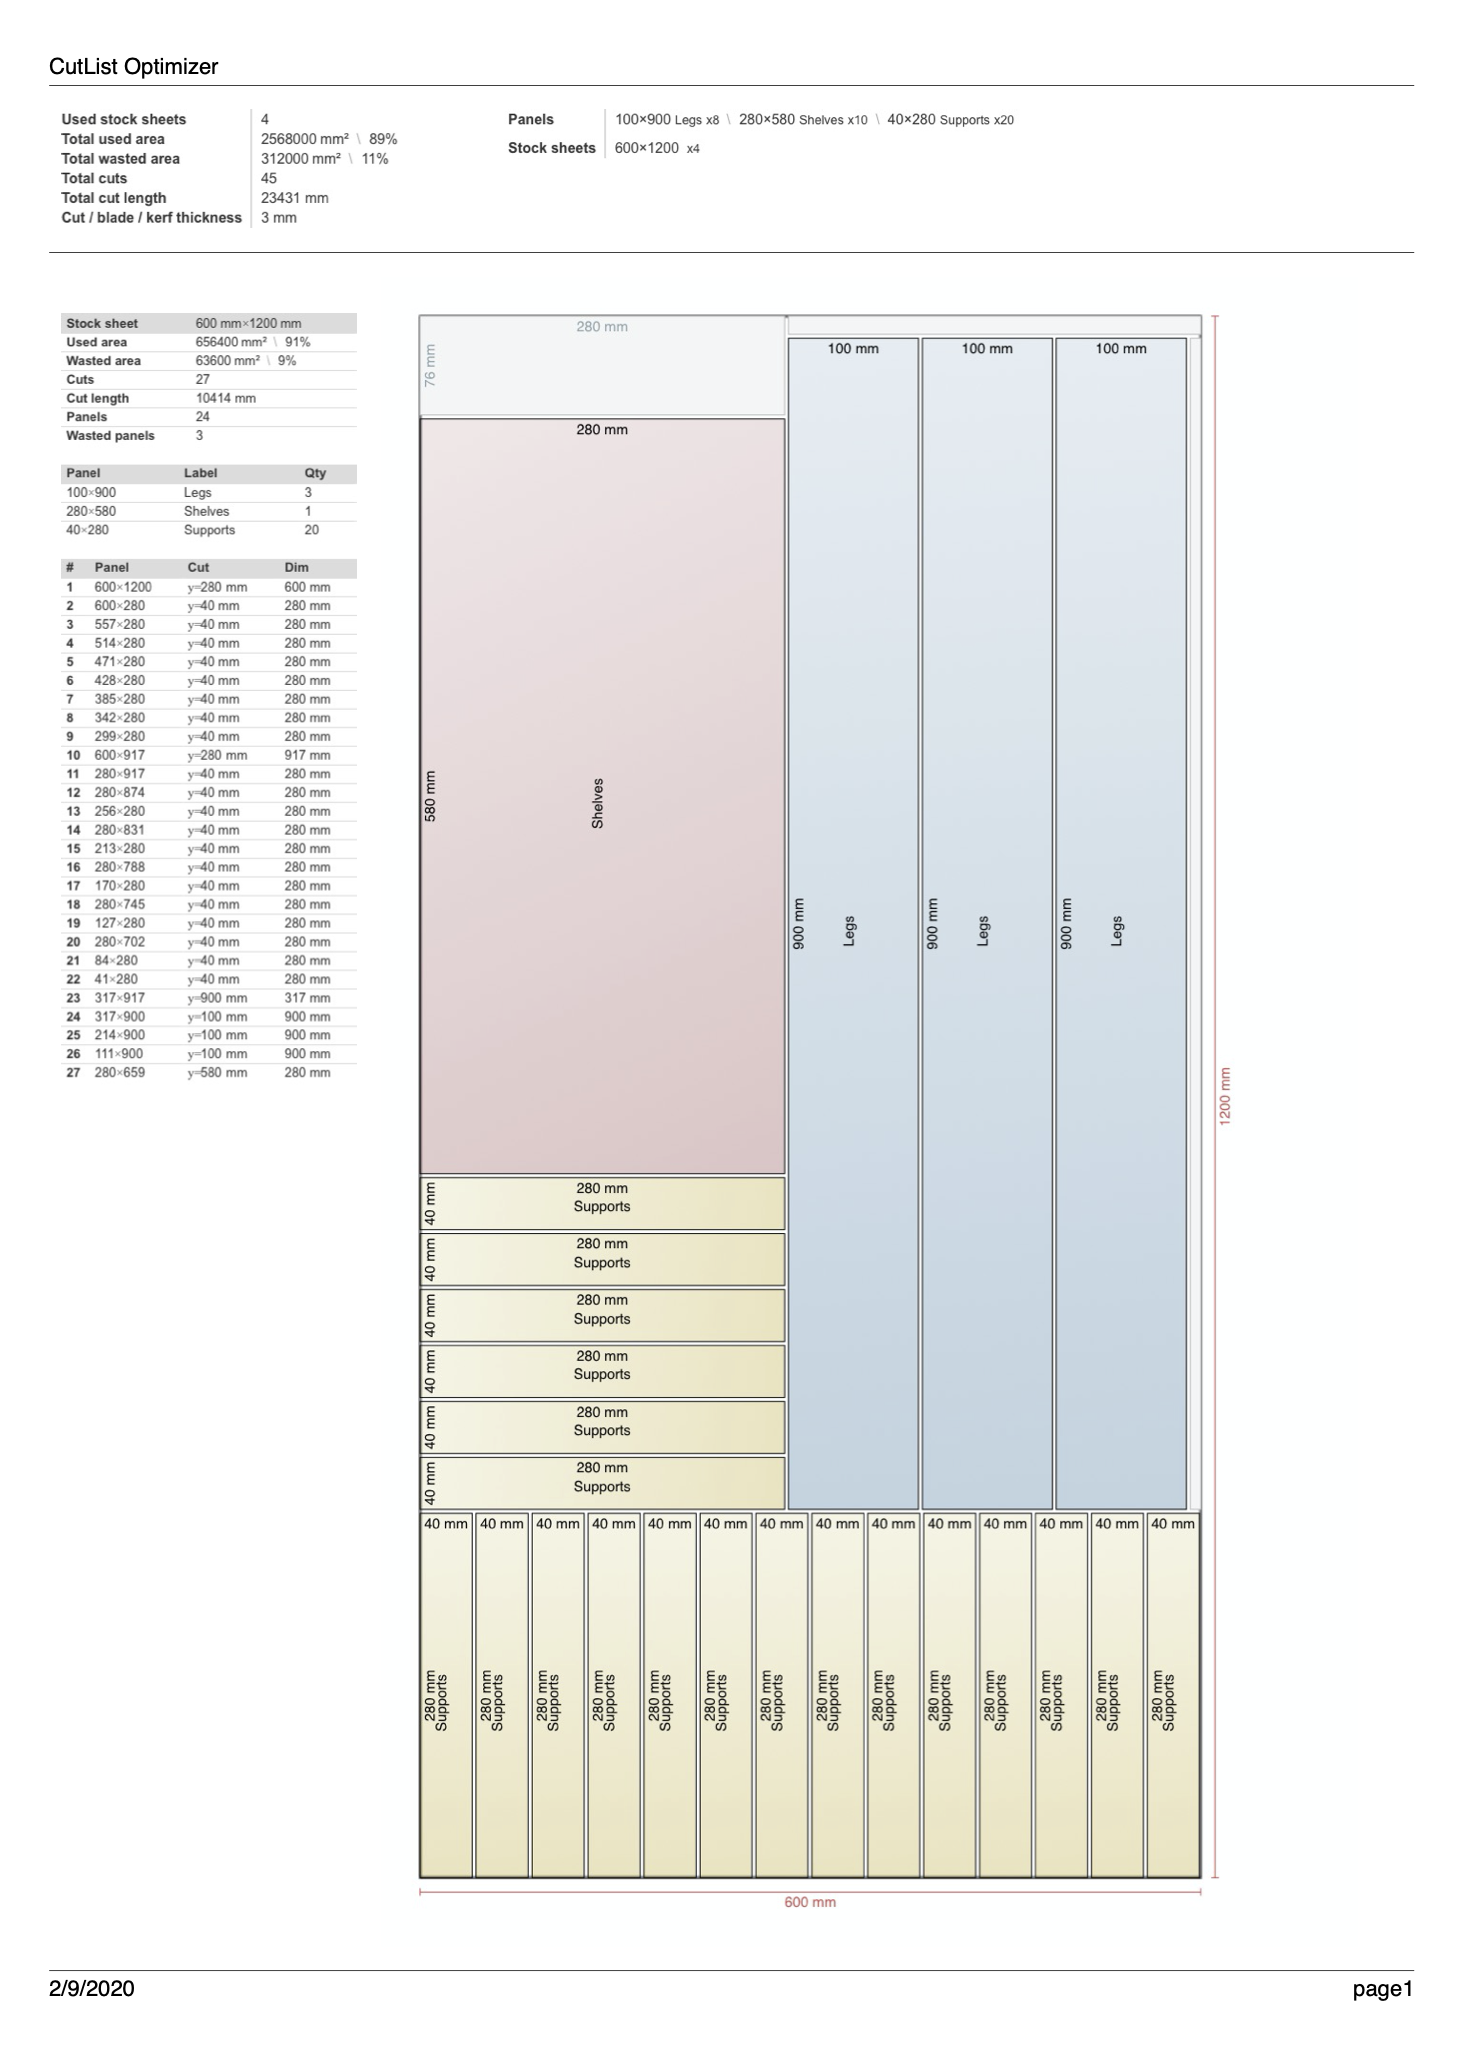
Before ANY project use this site because it will save you a tonne of money. It's free and you can use it without accounts but you get better results creating a free account. It factors in kerf (blade tooth width), grain, edge banding, even different types of material. This web based app is an essential tool for any woodworker.
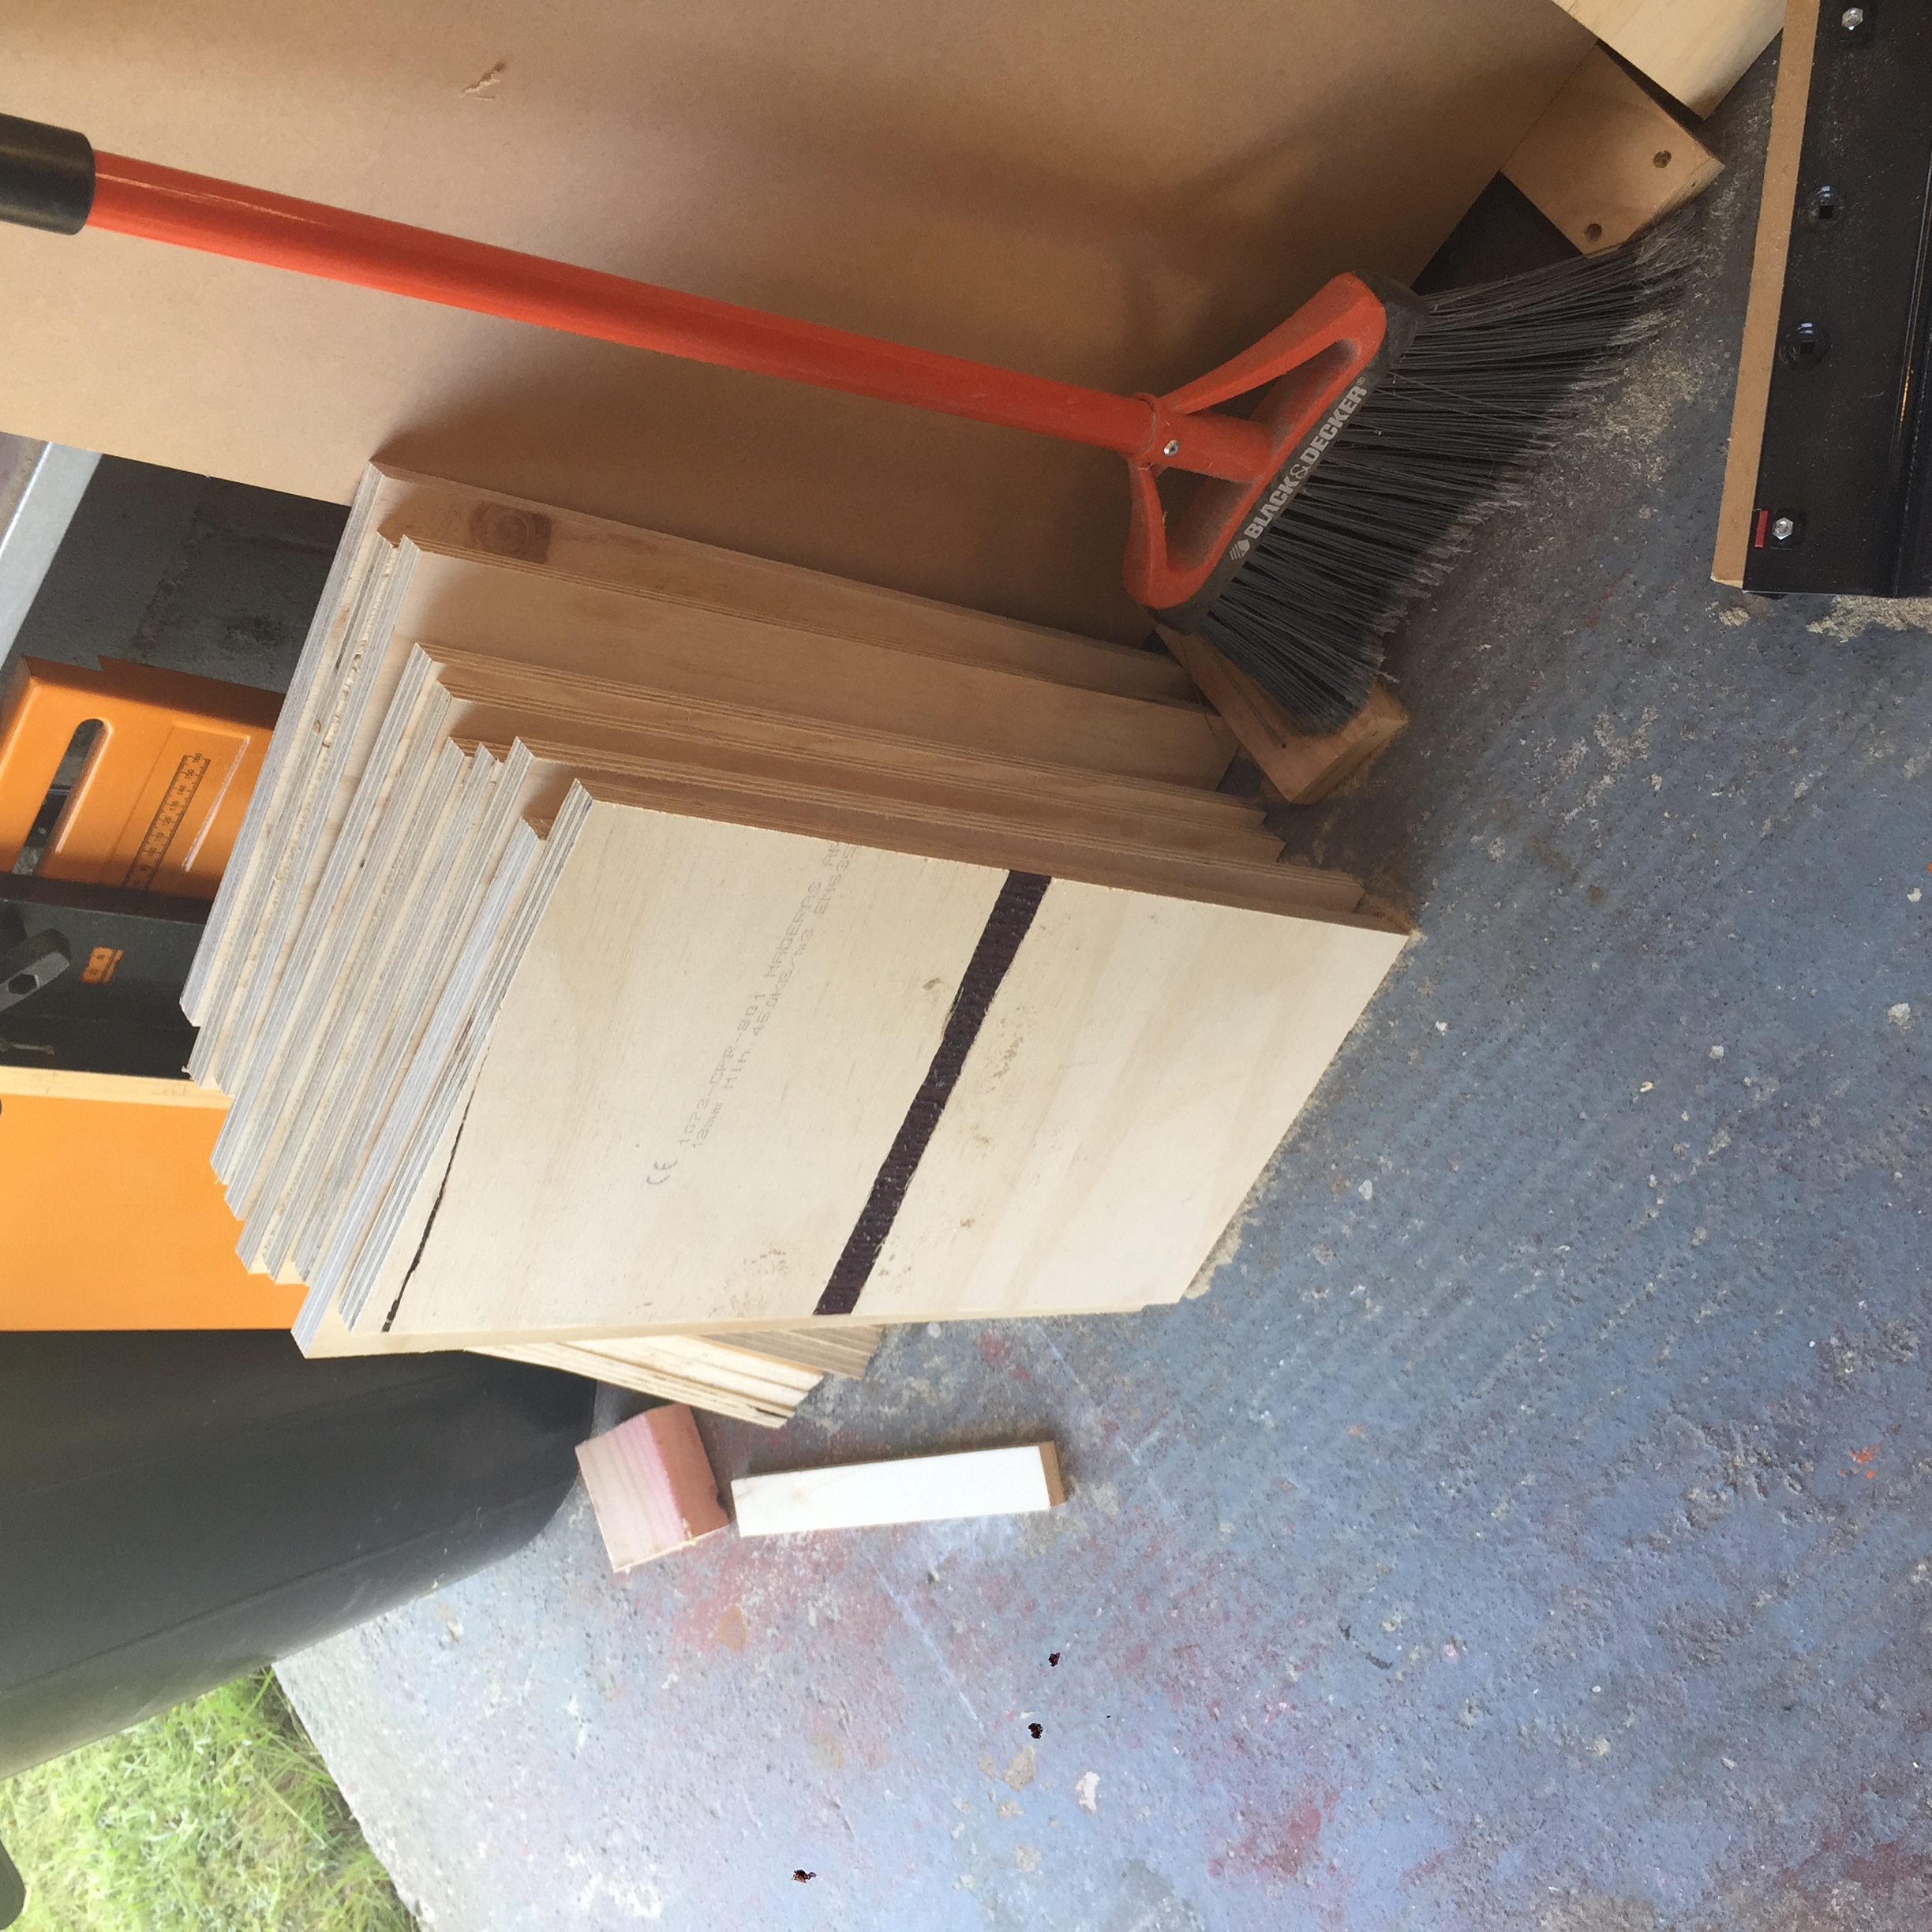
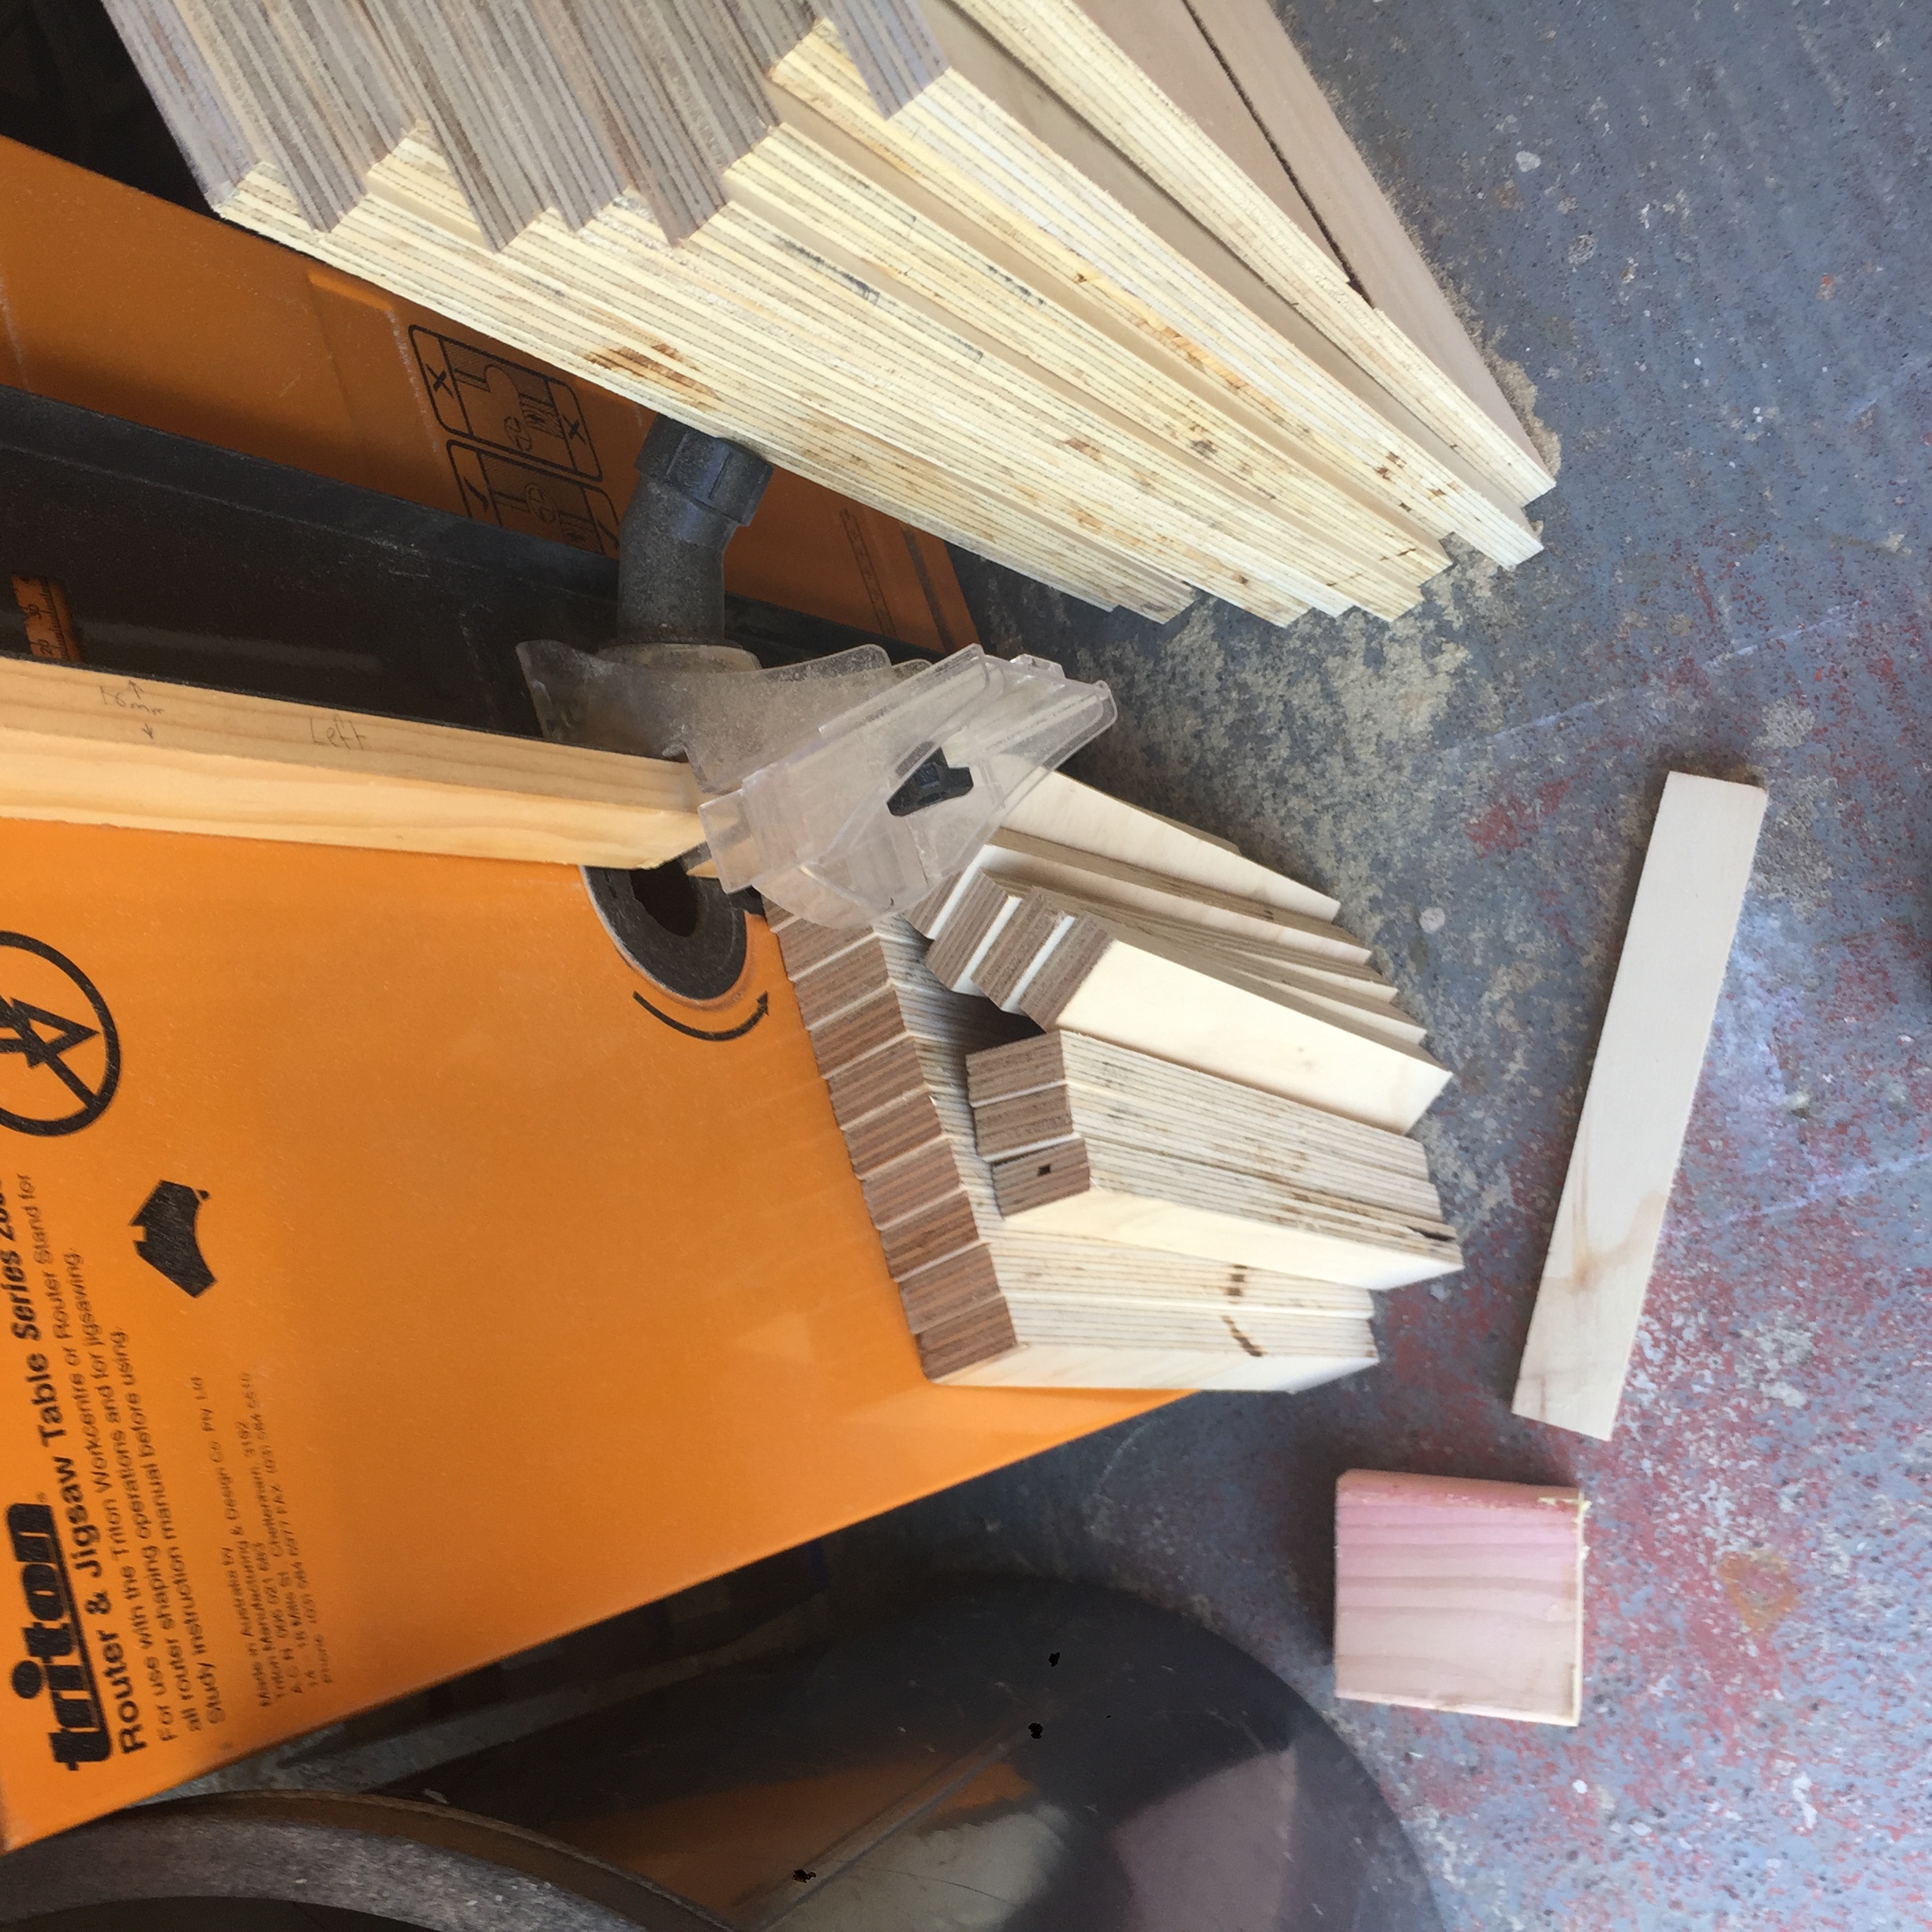
Now that I have the cutlist I then had to cut everything out. Cutlist Optimizer has the ability to number your cuts so that you can do things in the right order so save time. Trust me, while I didn't use it on this project it really is a handy thing to use.

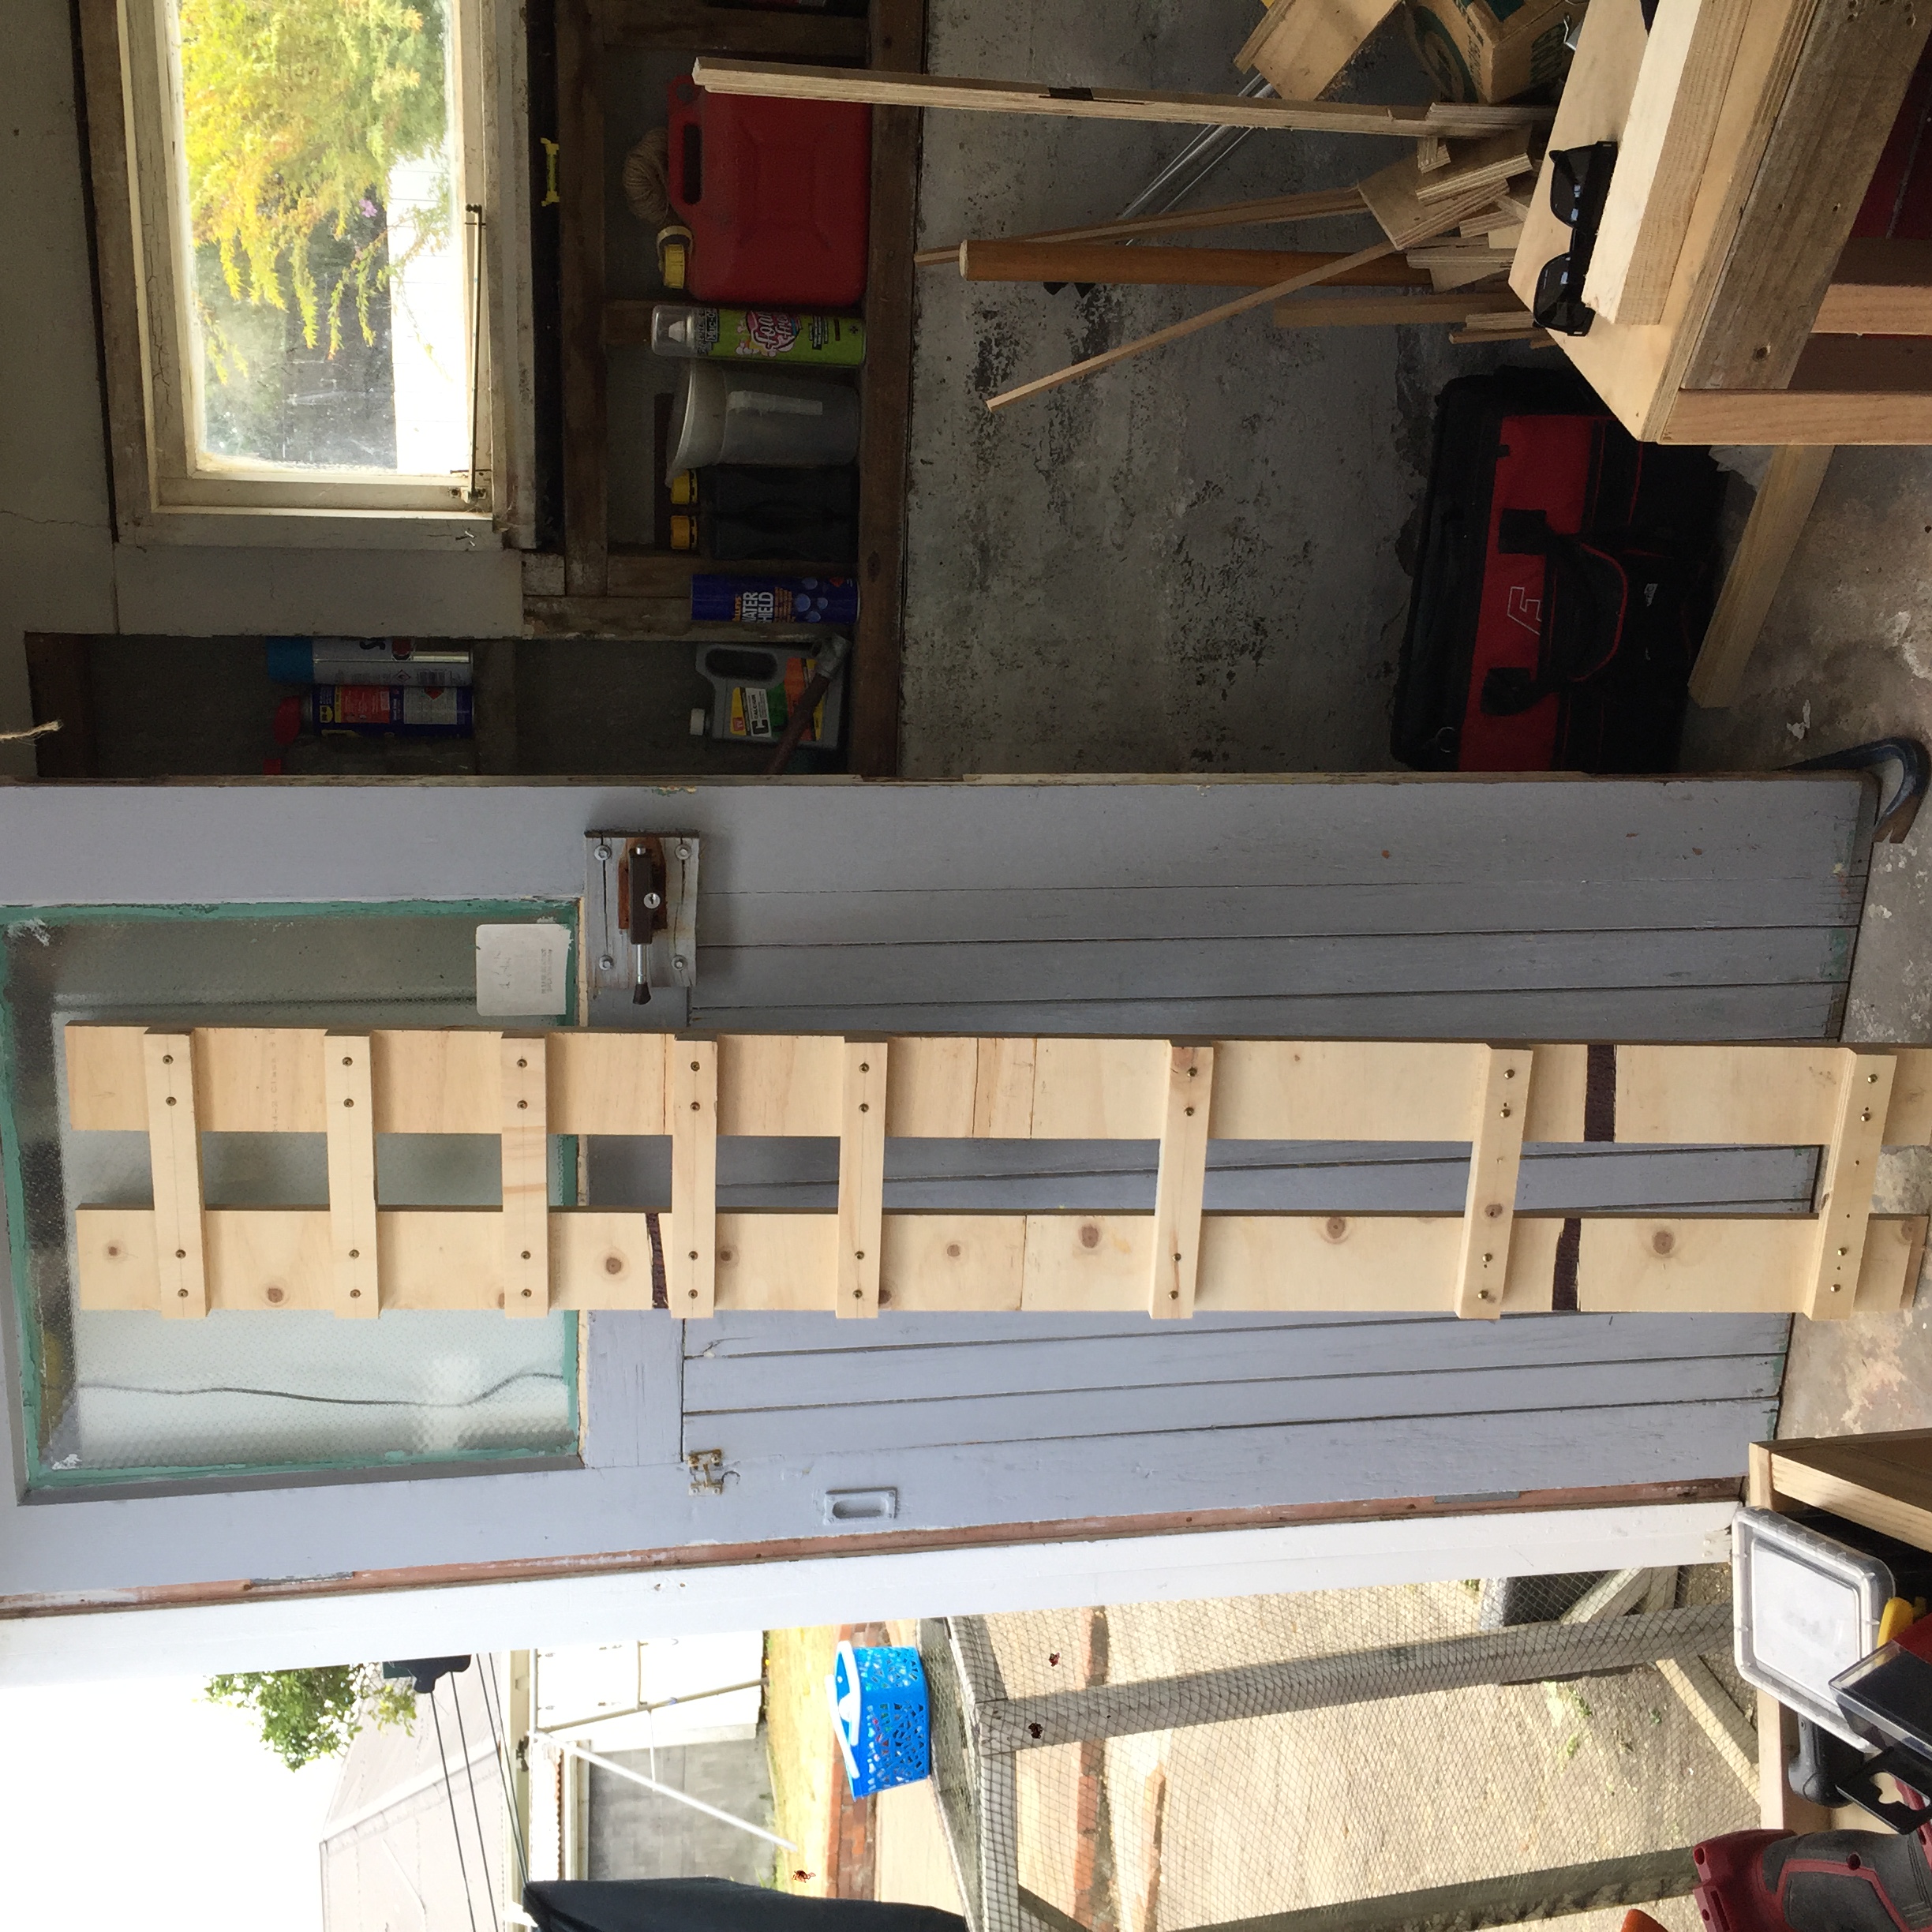
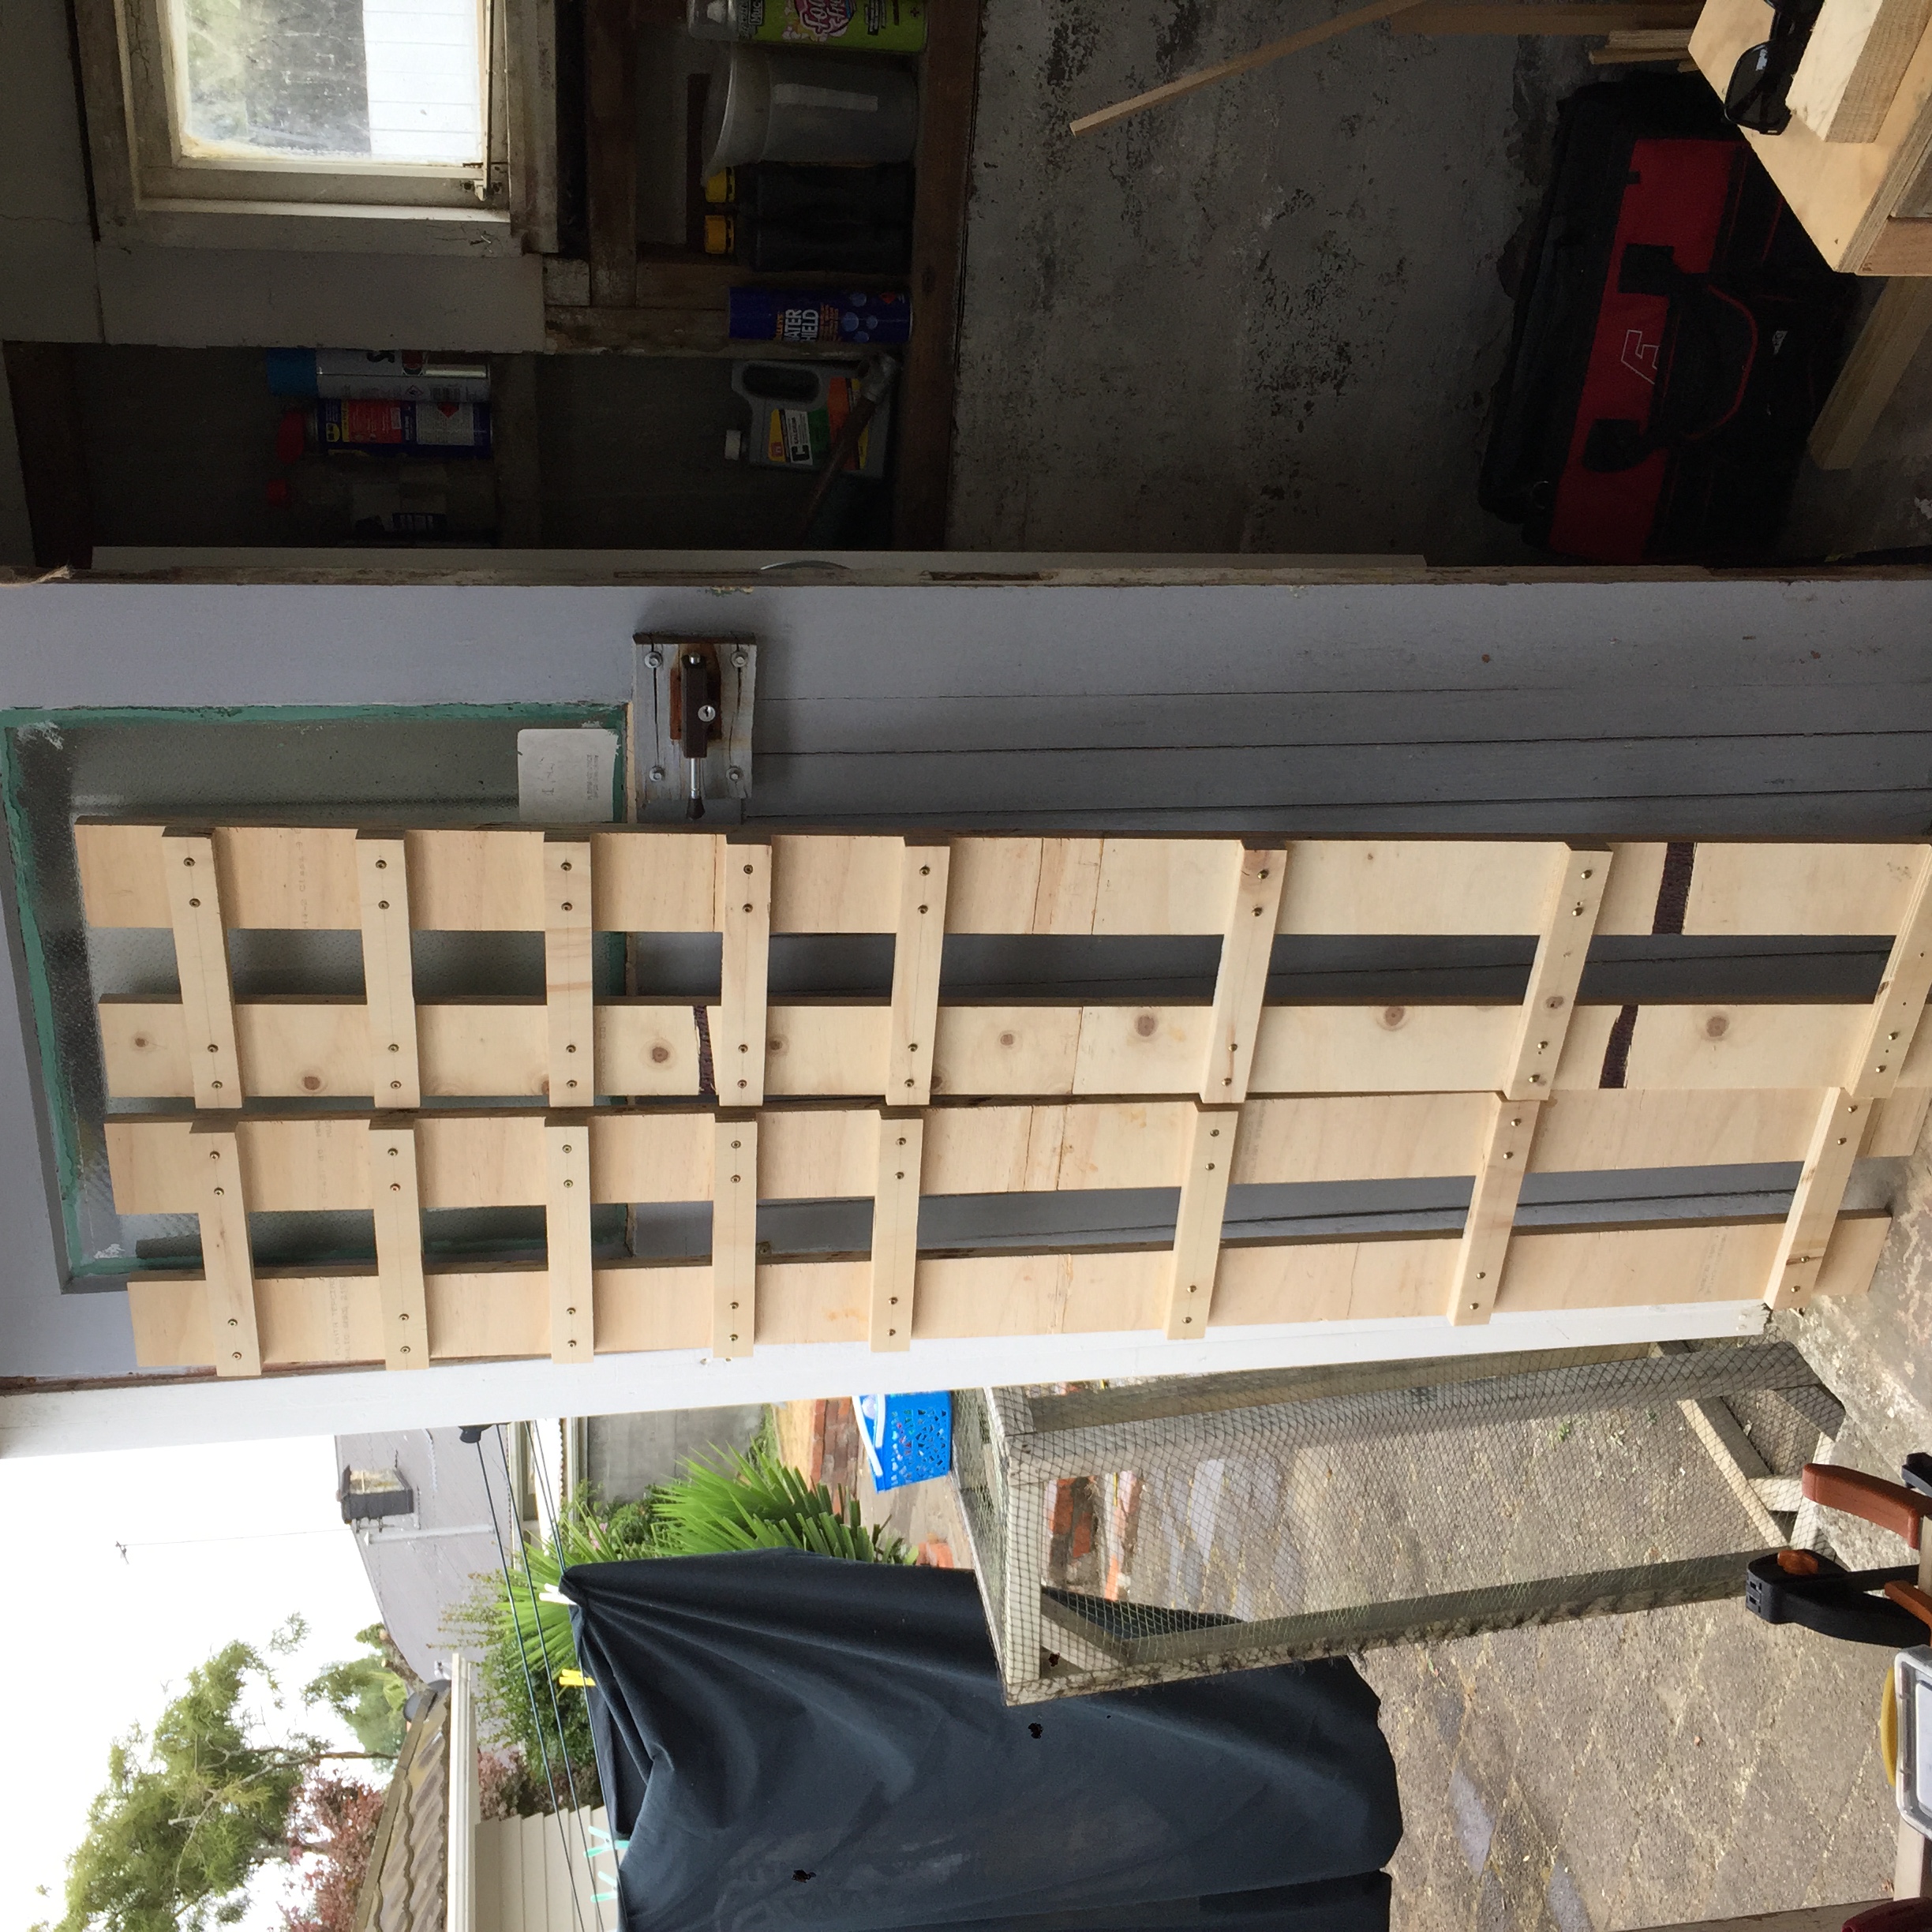
Legs 11
With the parts cut out it's now down to making something with them. I started with the legs because they are the trickiest, the most time consuming, and without them nothing goes together so they're kind of important.
This process saw me make a bit of a cockup though.

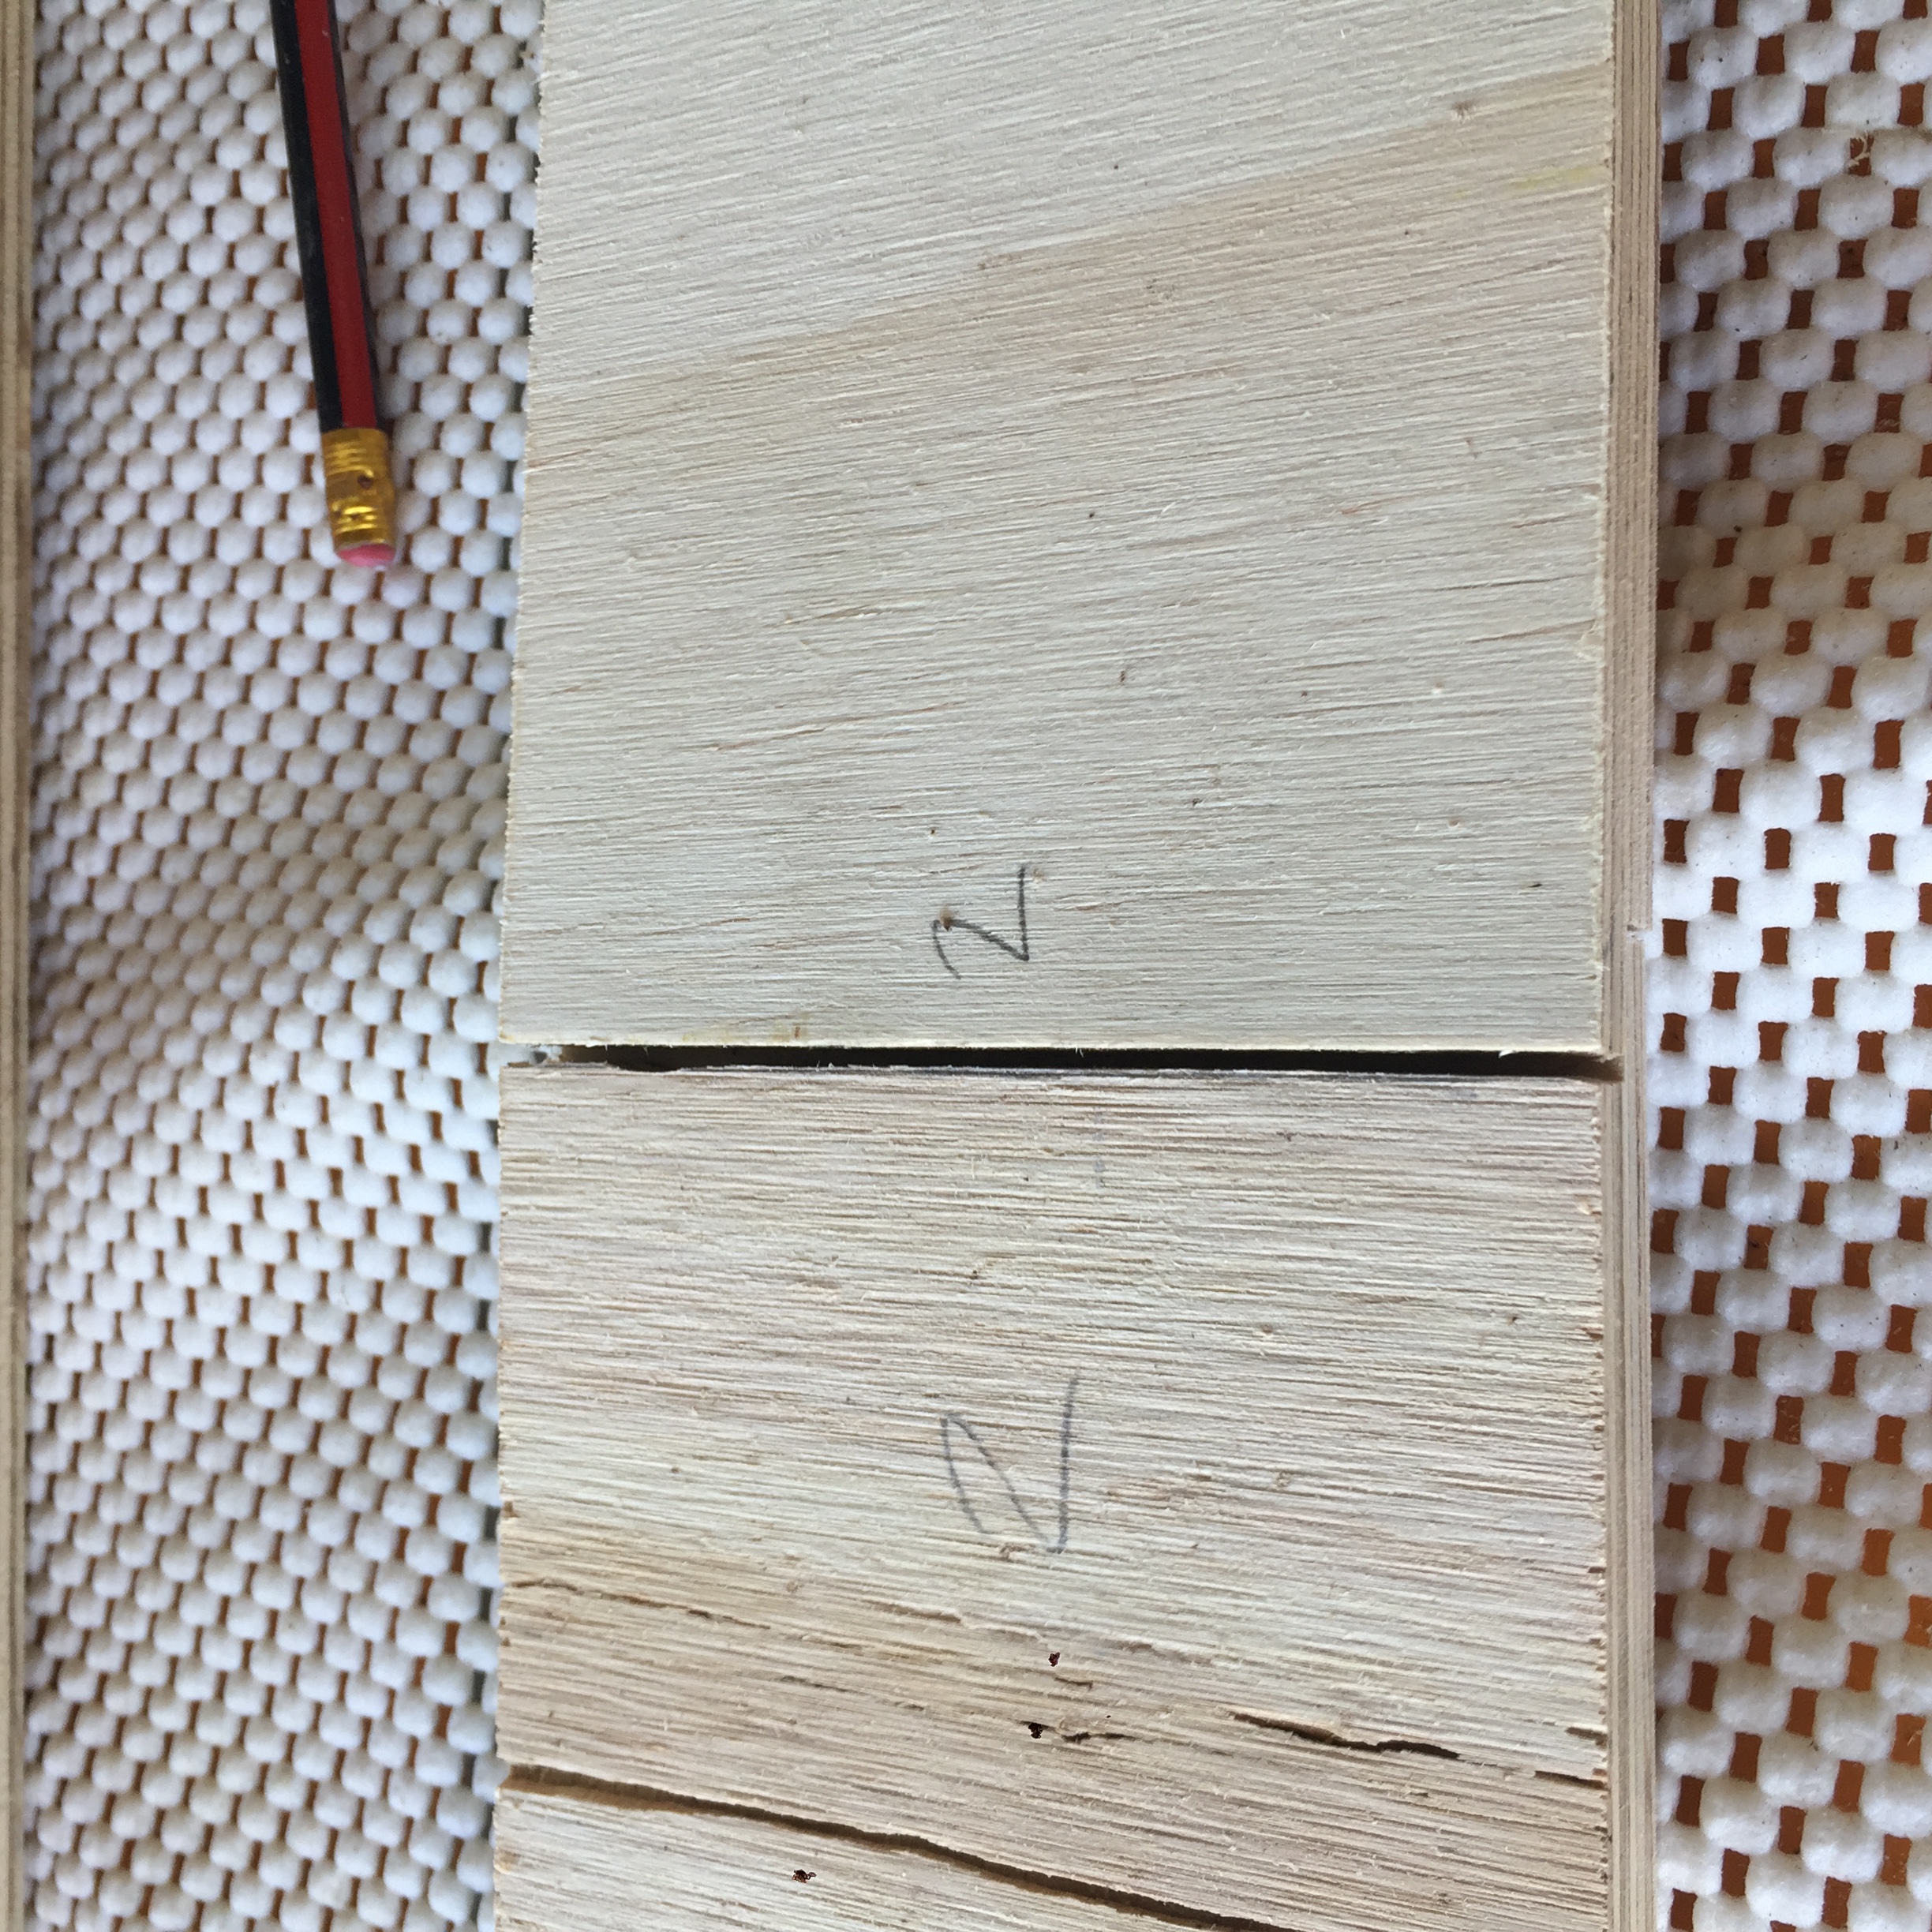
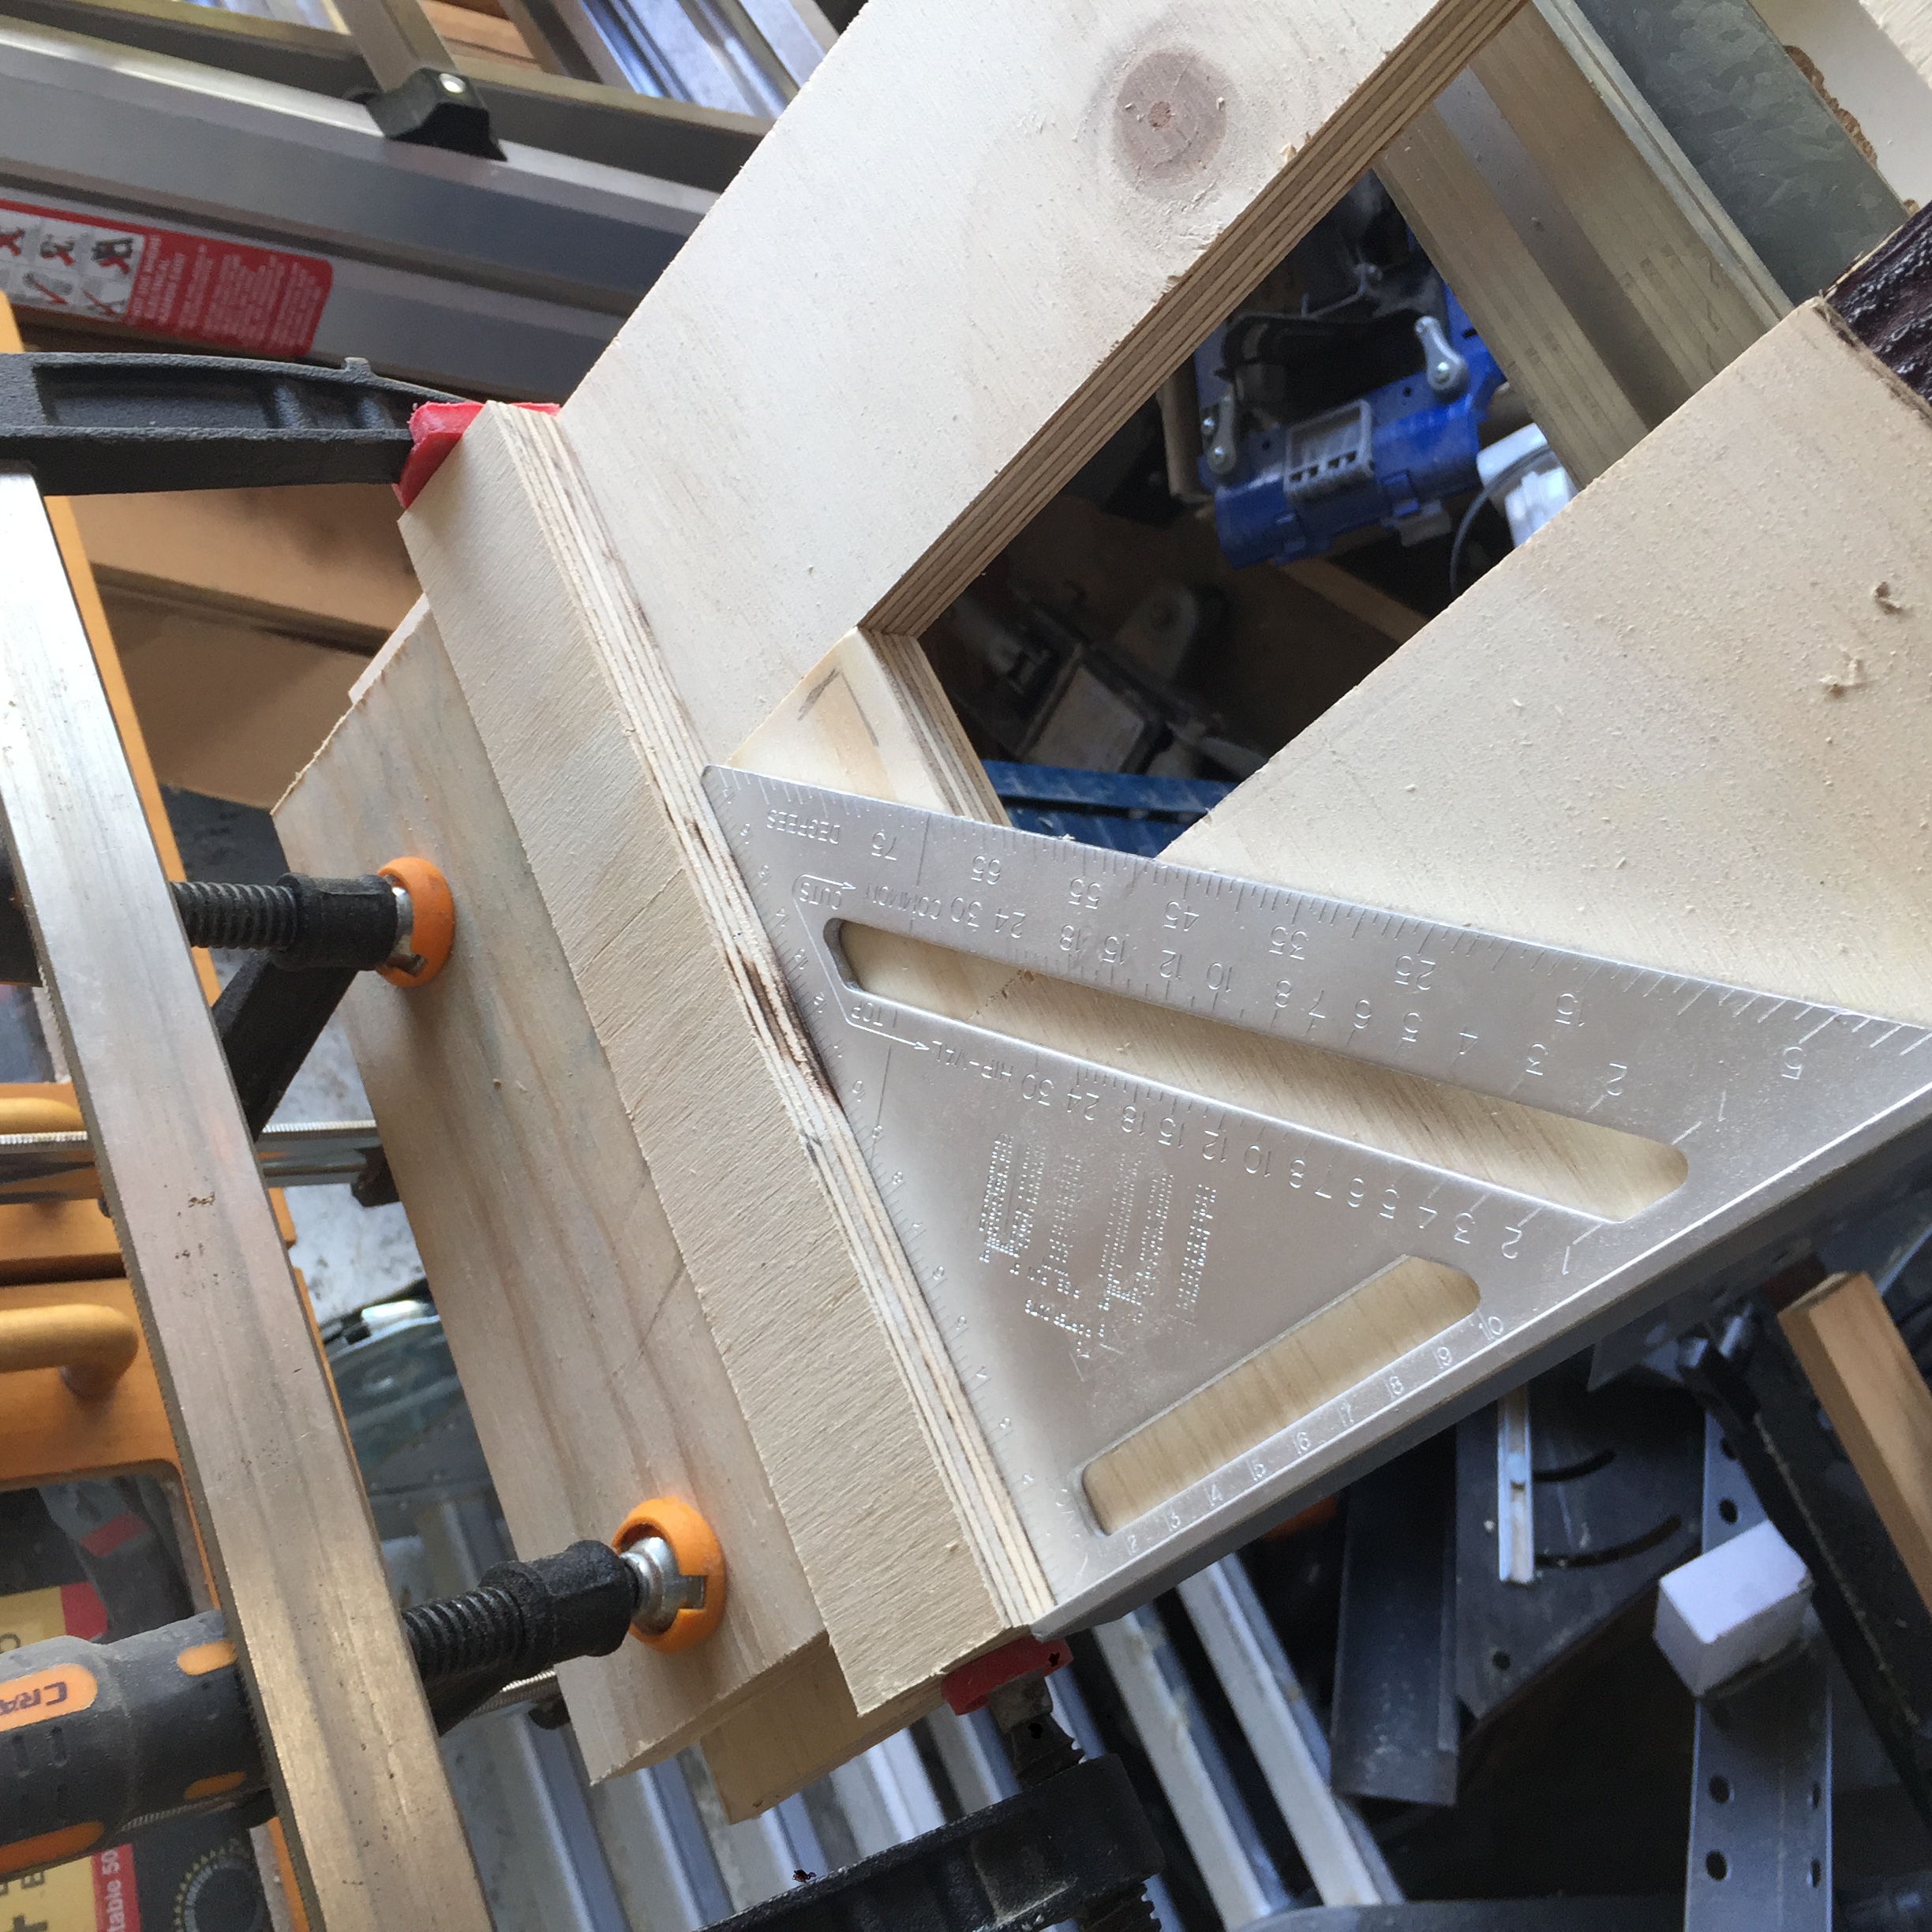
To the average person this photo doesn't look bad but you're not the average person are you? You're a woodworker and you know what's wrong. For those who can't work it out it's to do with the half-lap joint here.
Because we're joining two pieces of wood by cutting a section out of each then joining those faces it's important that you have the faces correct. If I joined these pieces together what would happen is you would have the crappy side on one half and the nice people facing side showing together. To make this half-lap correctly I need to cut a half-lap on the crappy side and a half-lap on the nice side so that when they are joined together you end up with two crappy sides on one side and two nice sides on the other as a full length board. The fix for this was to do a half-lap cut on the nice side on the other end and use this bad cut at the bottom hidden from view.
The other thing you'll notice is that the grain is width ways instead of length ways. I forgot to tick the option "Consider grain direction" in Cutlist Optimizer and it ended up with the grain all wrong.
Once I had the half-laps cut correctly it was simply a matter of glueing together. I use a Gorilla polyurethane glue which I find works really well. It's pretty tough to get Titebond here in New Zealand so until that changes I'm sticking with Gorilla. Some will say that Gorilla isn't that strong but the comparison videos I see between Gorilla and Titebond aren't between TB and this polyurethane glue so I'm going to ignore that information until I see a comparison video of the glues I'm using.

Rung out
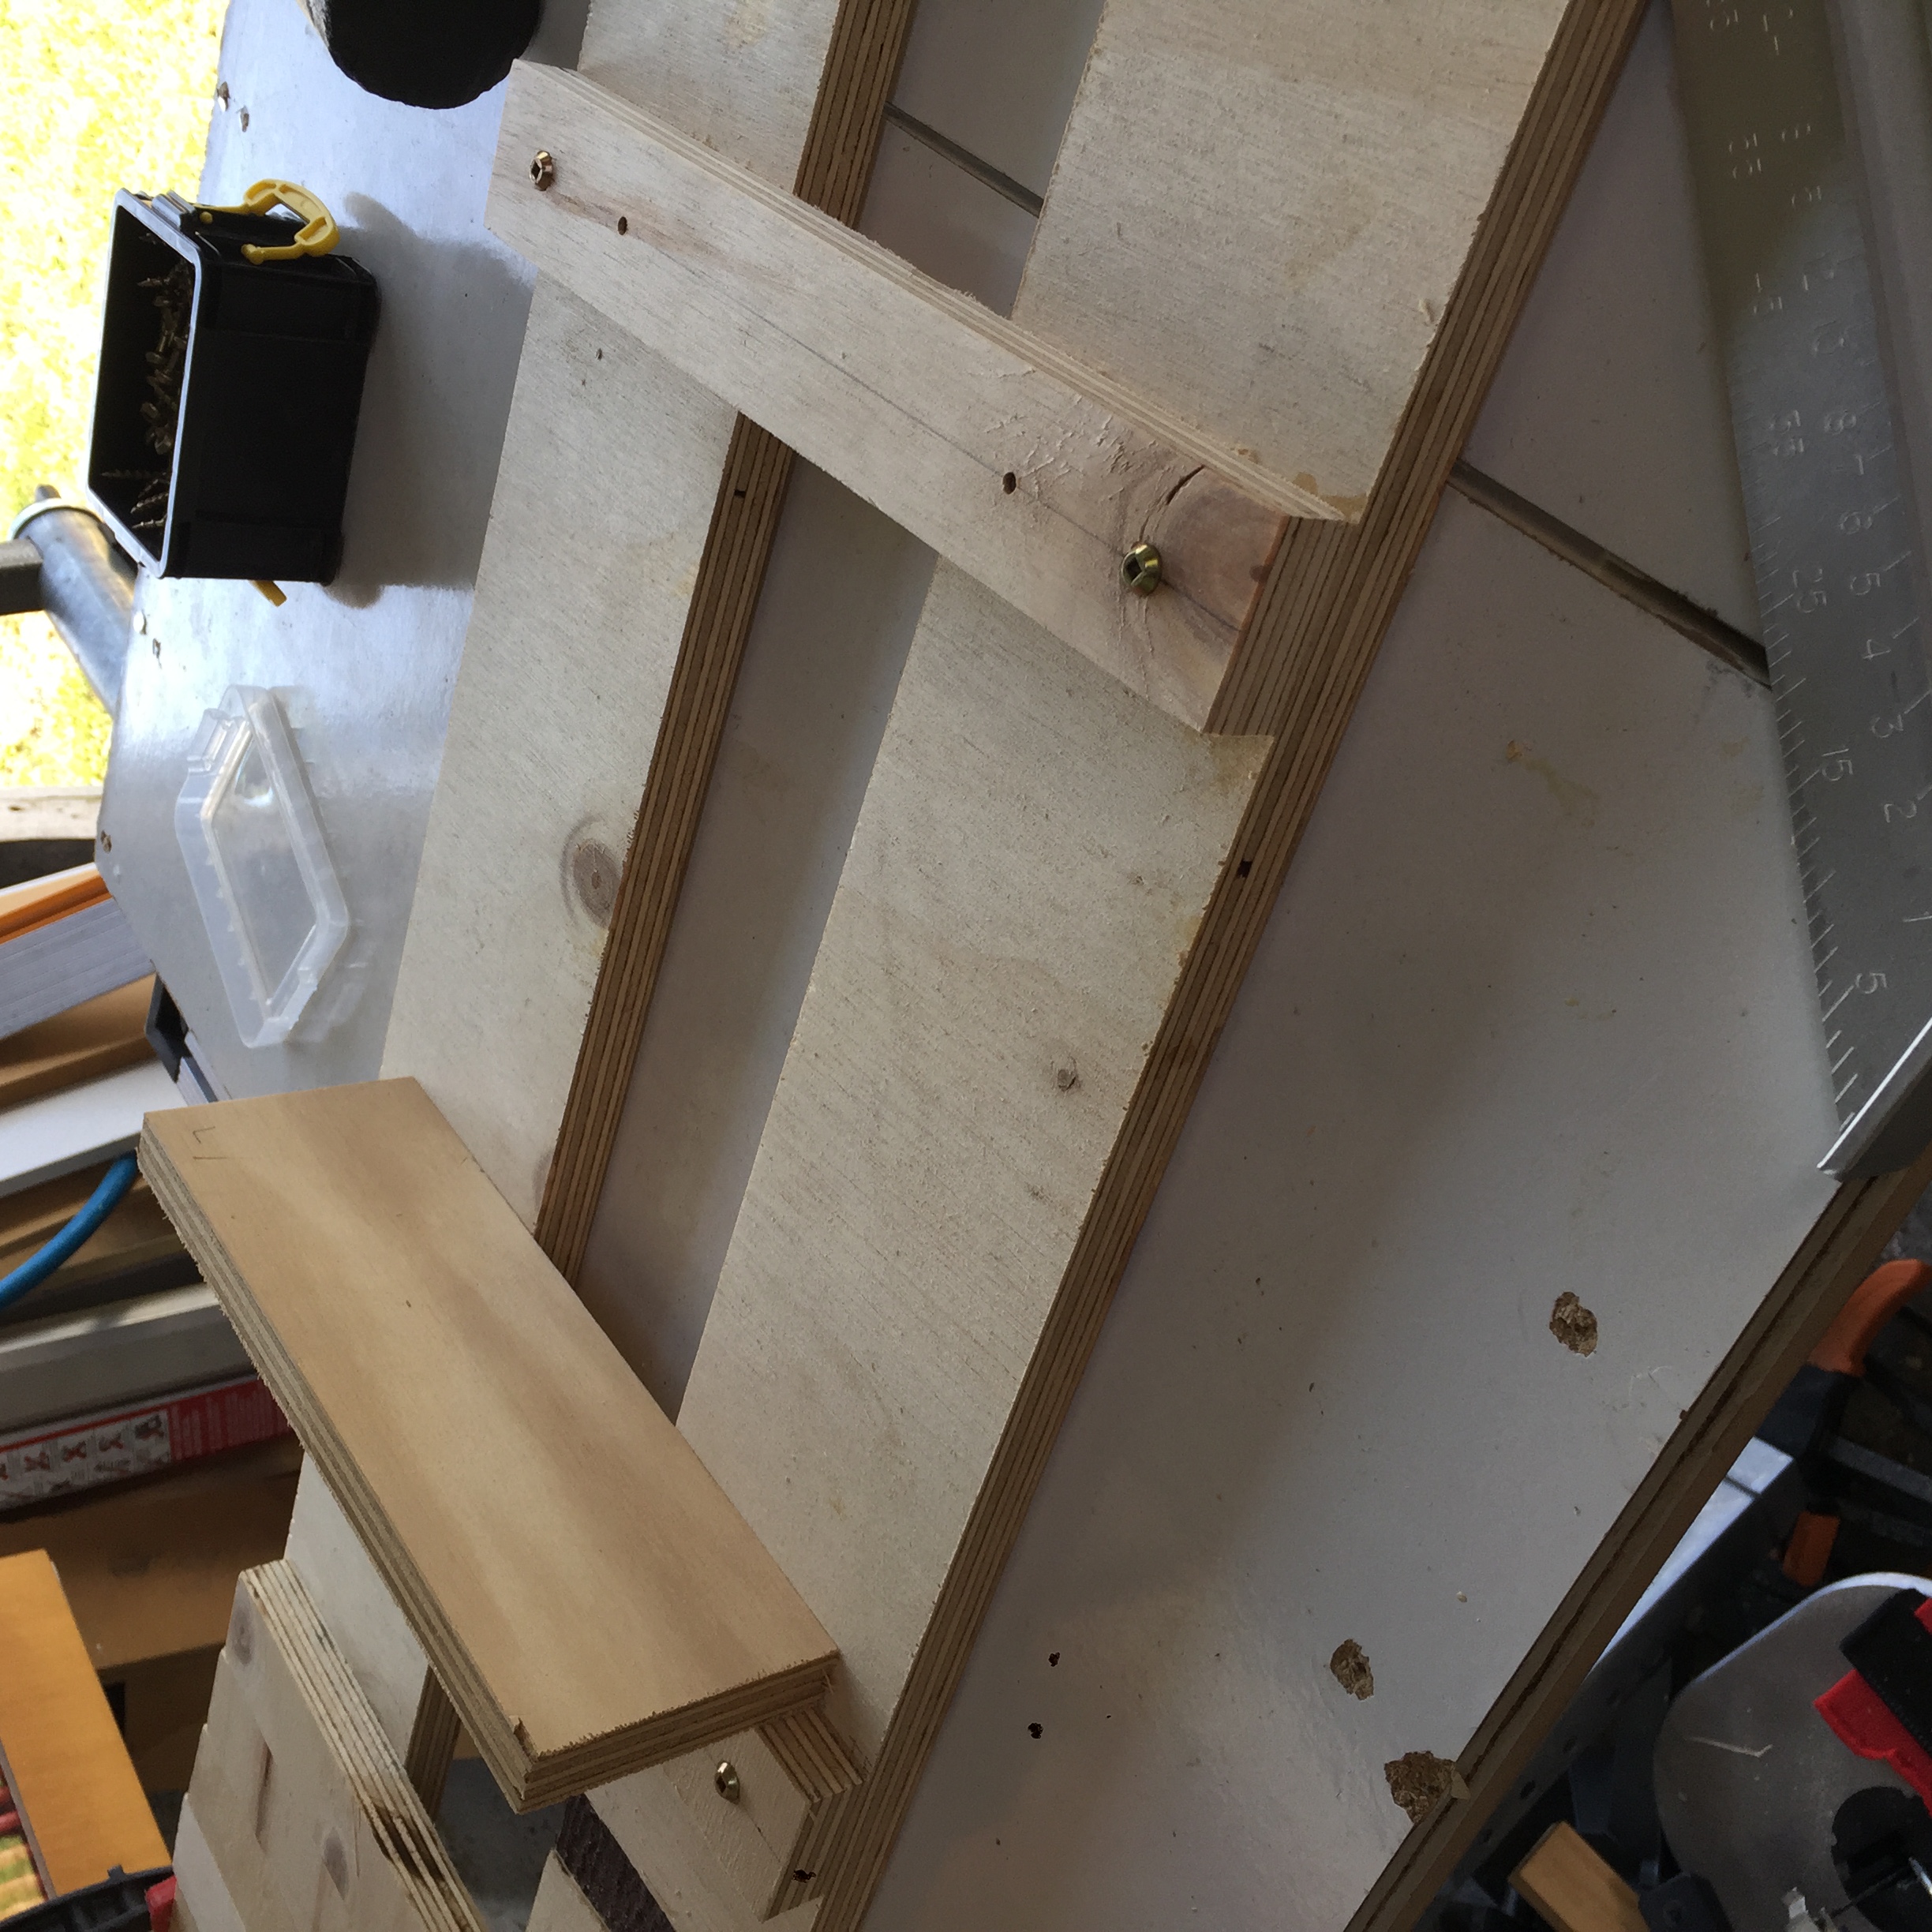
With the legs glued, dried, and... well left as they dried it's now a matter of lining everything up. This proved a little tricky and made me wish I was an octopus. The reason for this is this...

So in the project the directions were to place a small block in between the legs to align them properly until we can get the rungs in. The problem I had was that my workbench was smaller than the legs and as a result I had to try and align the block with the bottoms of the legs, making sure the legs were square and inline with each other then clamp them so they stayed in place. This was a mission and required me to use my body to push against one leg while I had the end of the clamp furthest from me pulling towards me. This gave enough friction that I could align with my other hand until I could get the winding end of the clamp into position. A couple of turns and my body weight was not needed. Once in place I could make a start with installing the rungs.
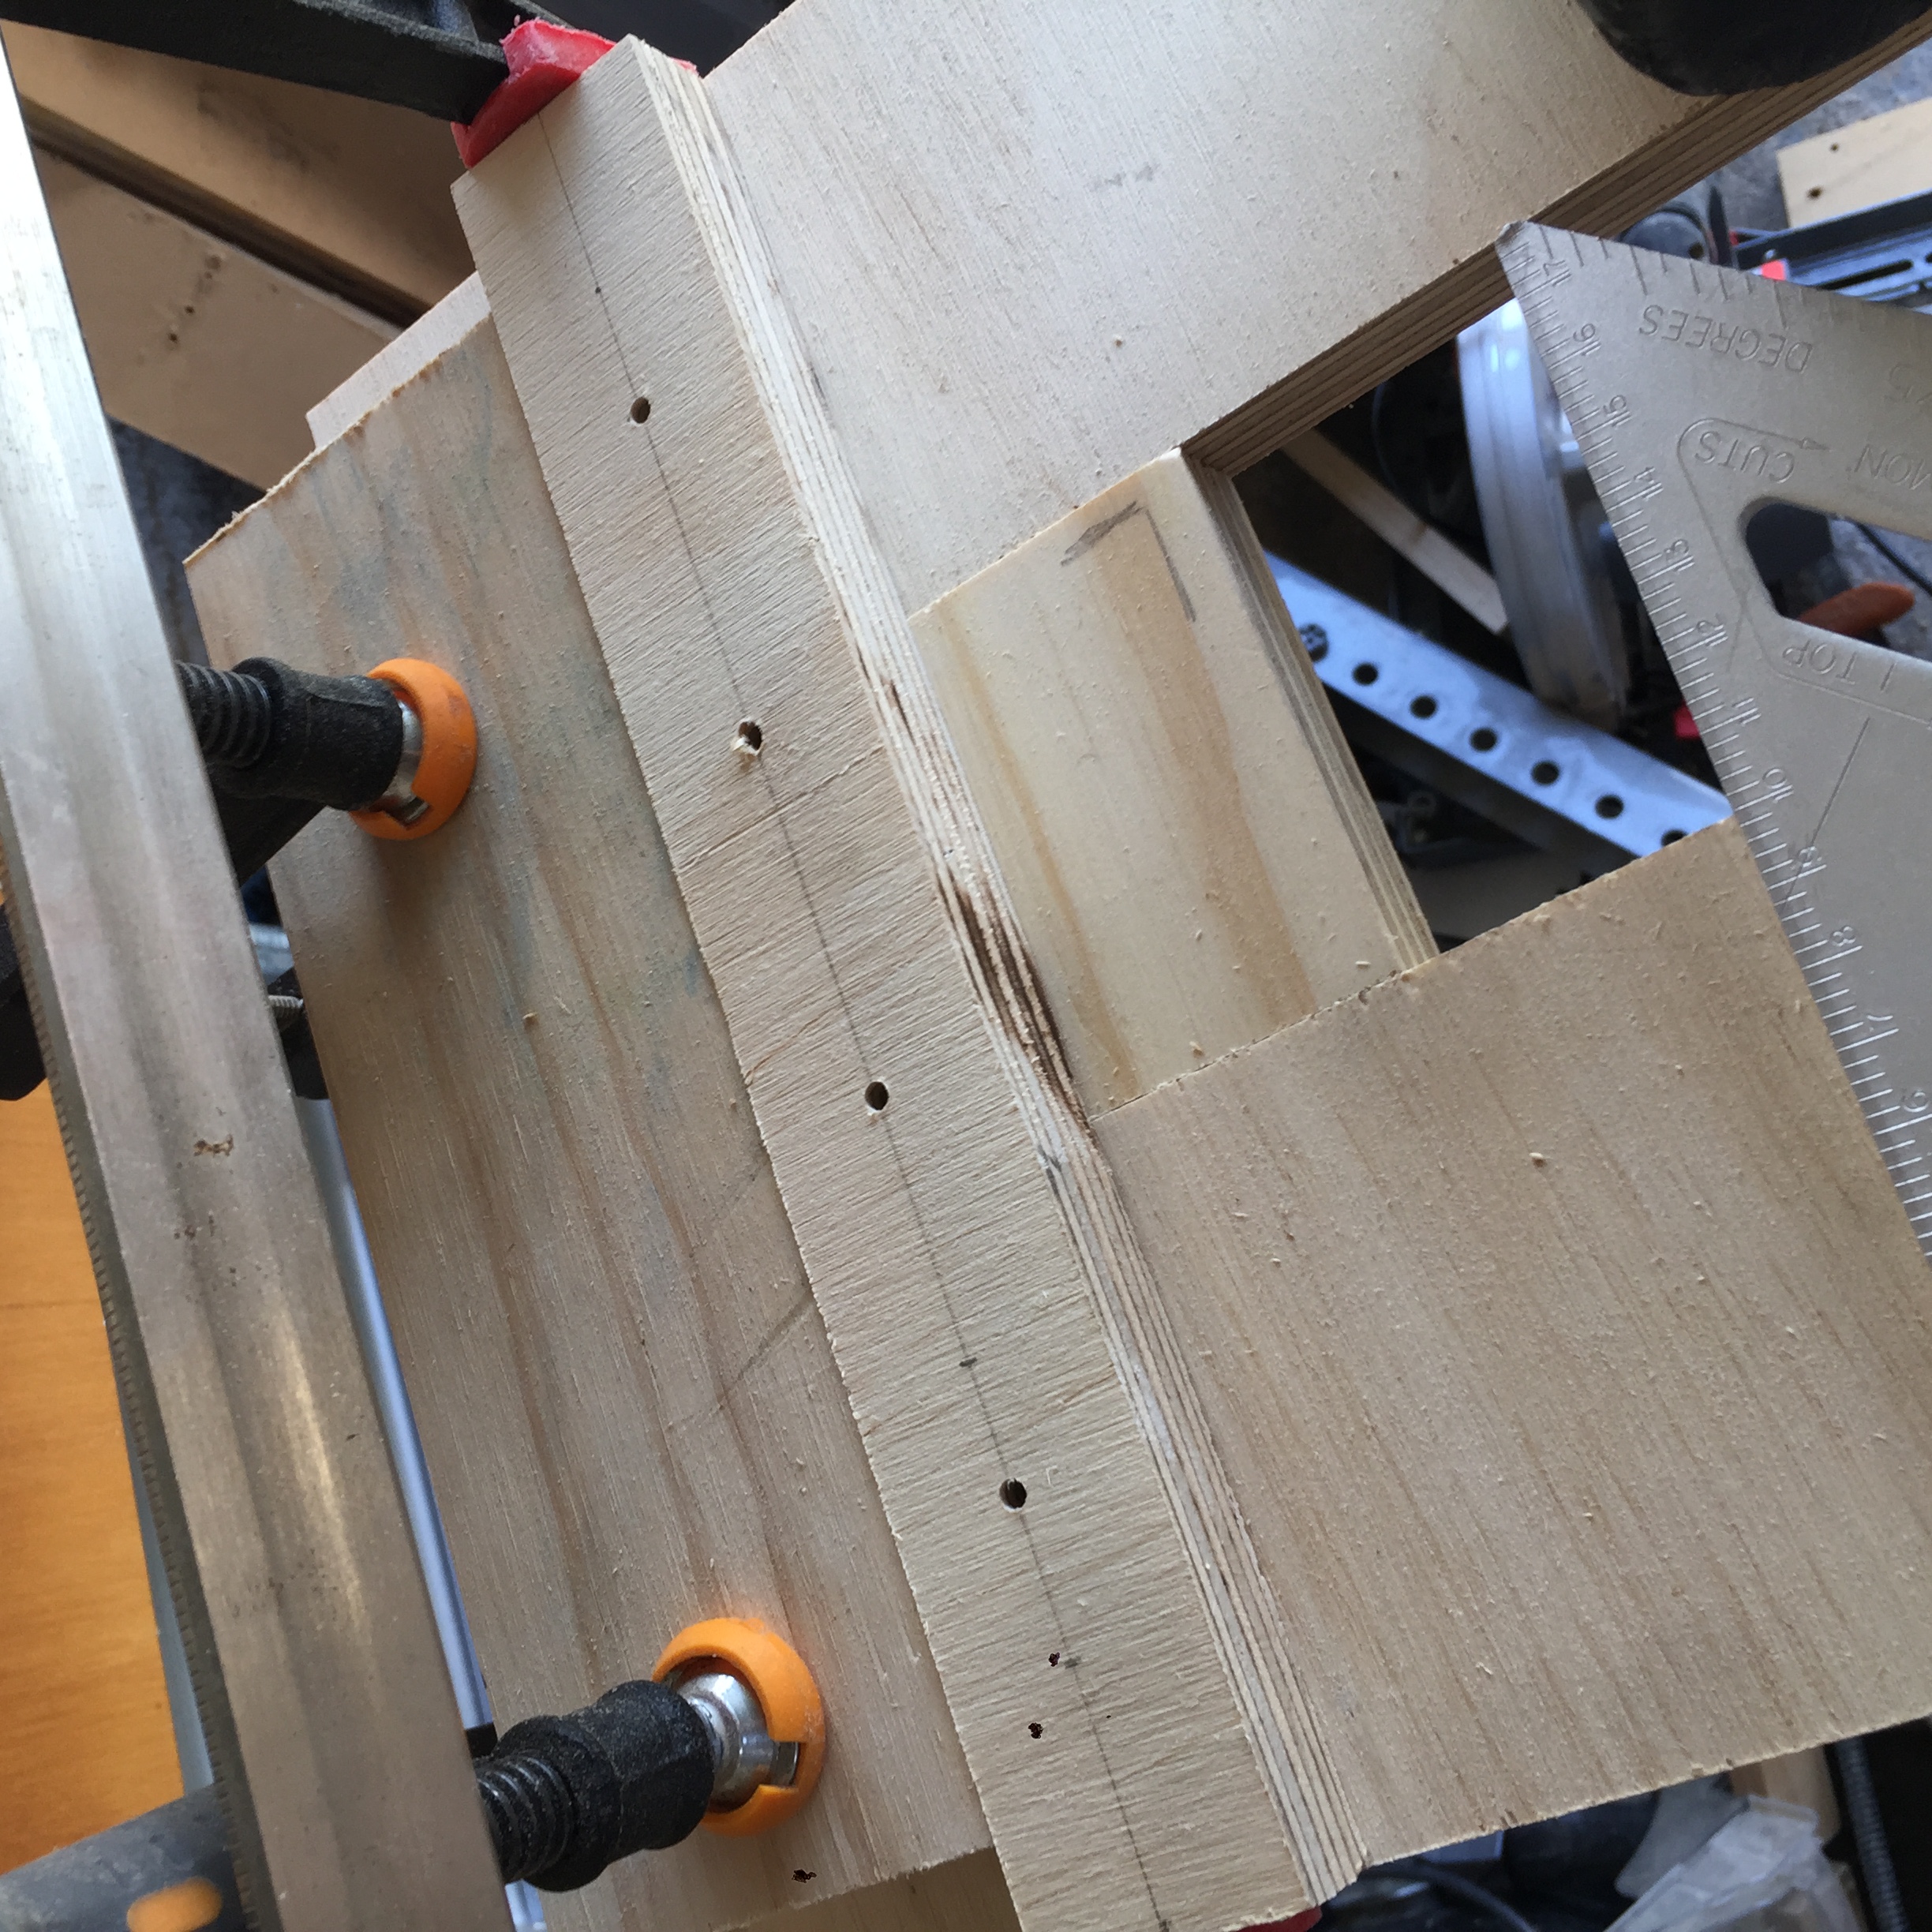
I clamped a spacer block to get the first rung in and squared. Once screwed in the spacer wasn't needed and was used to mark out the placement of the shelves like so...
The reason for lying the spacer on its side is that it provides the thickness of the shelves so your measurements are thickness + distance. So for instance the second shelf from the bottom is 300mm plus the thickness of the shelf so I measure 318mm from the rung. However by using the spacer I only need to measure 300mm from the spacer which is providing that extra 18mm.
All the rungs were predrilled. I stuffed up the first couple. I had decided to use four screws so divided 280mm by 5 only that would have meant that two of the screws would have been on the spacer which is to be removed during the build process. Unfortunately I had already drilled those holes.
This necessitated a redrilling of the holes 25mm and 75mm based on the width of the legs being 100mm.
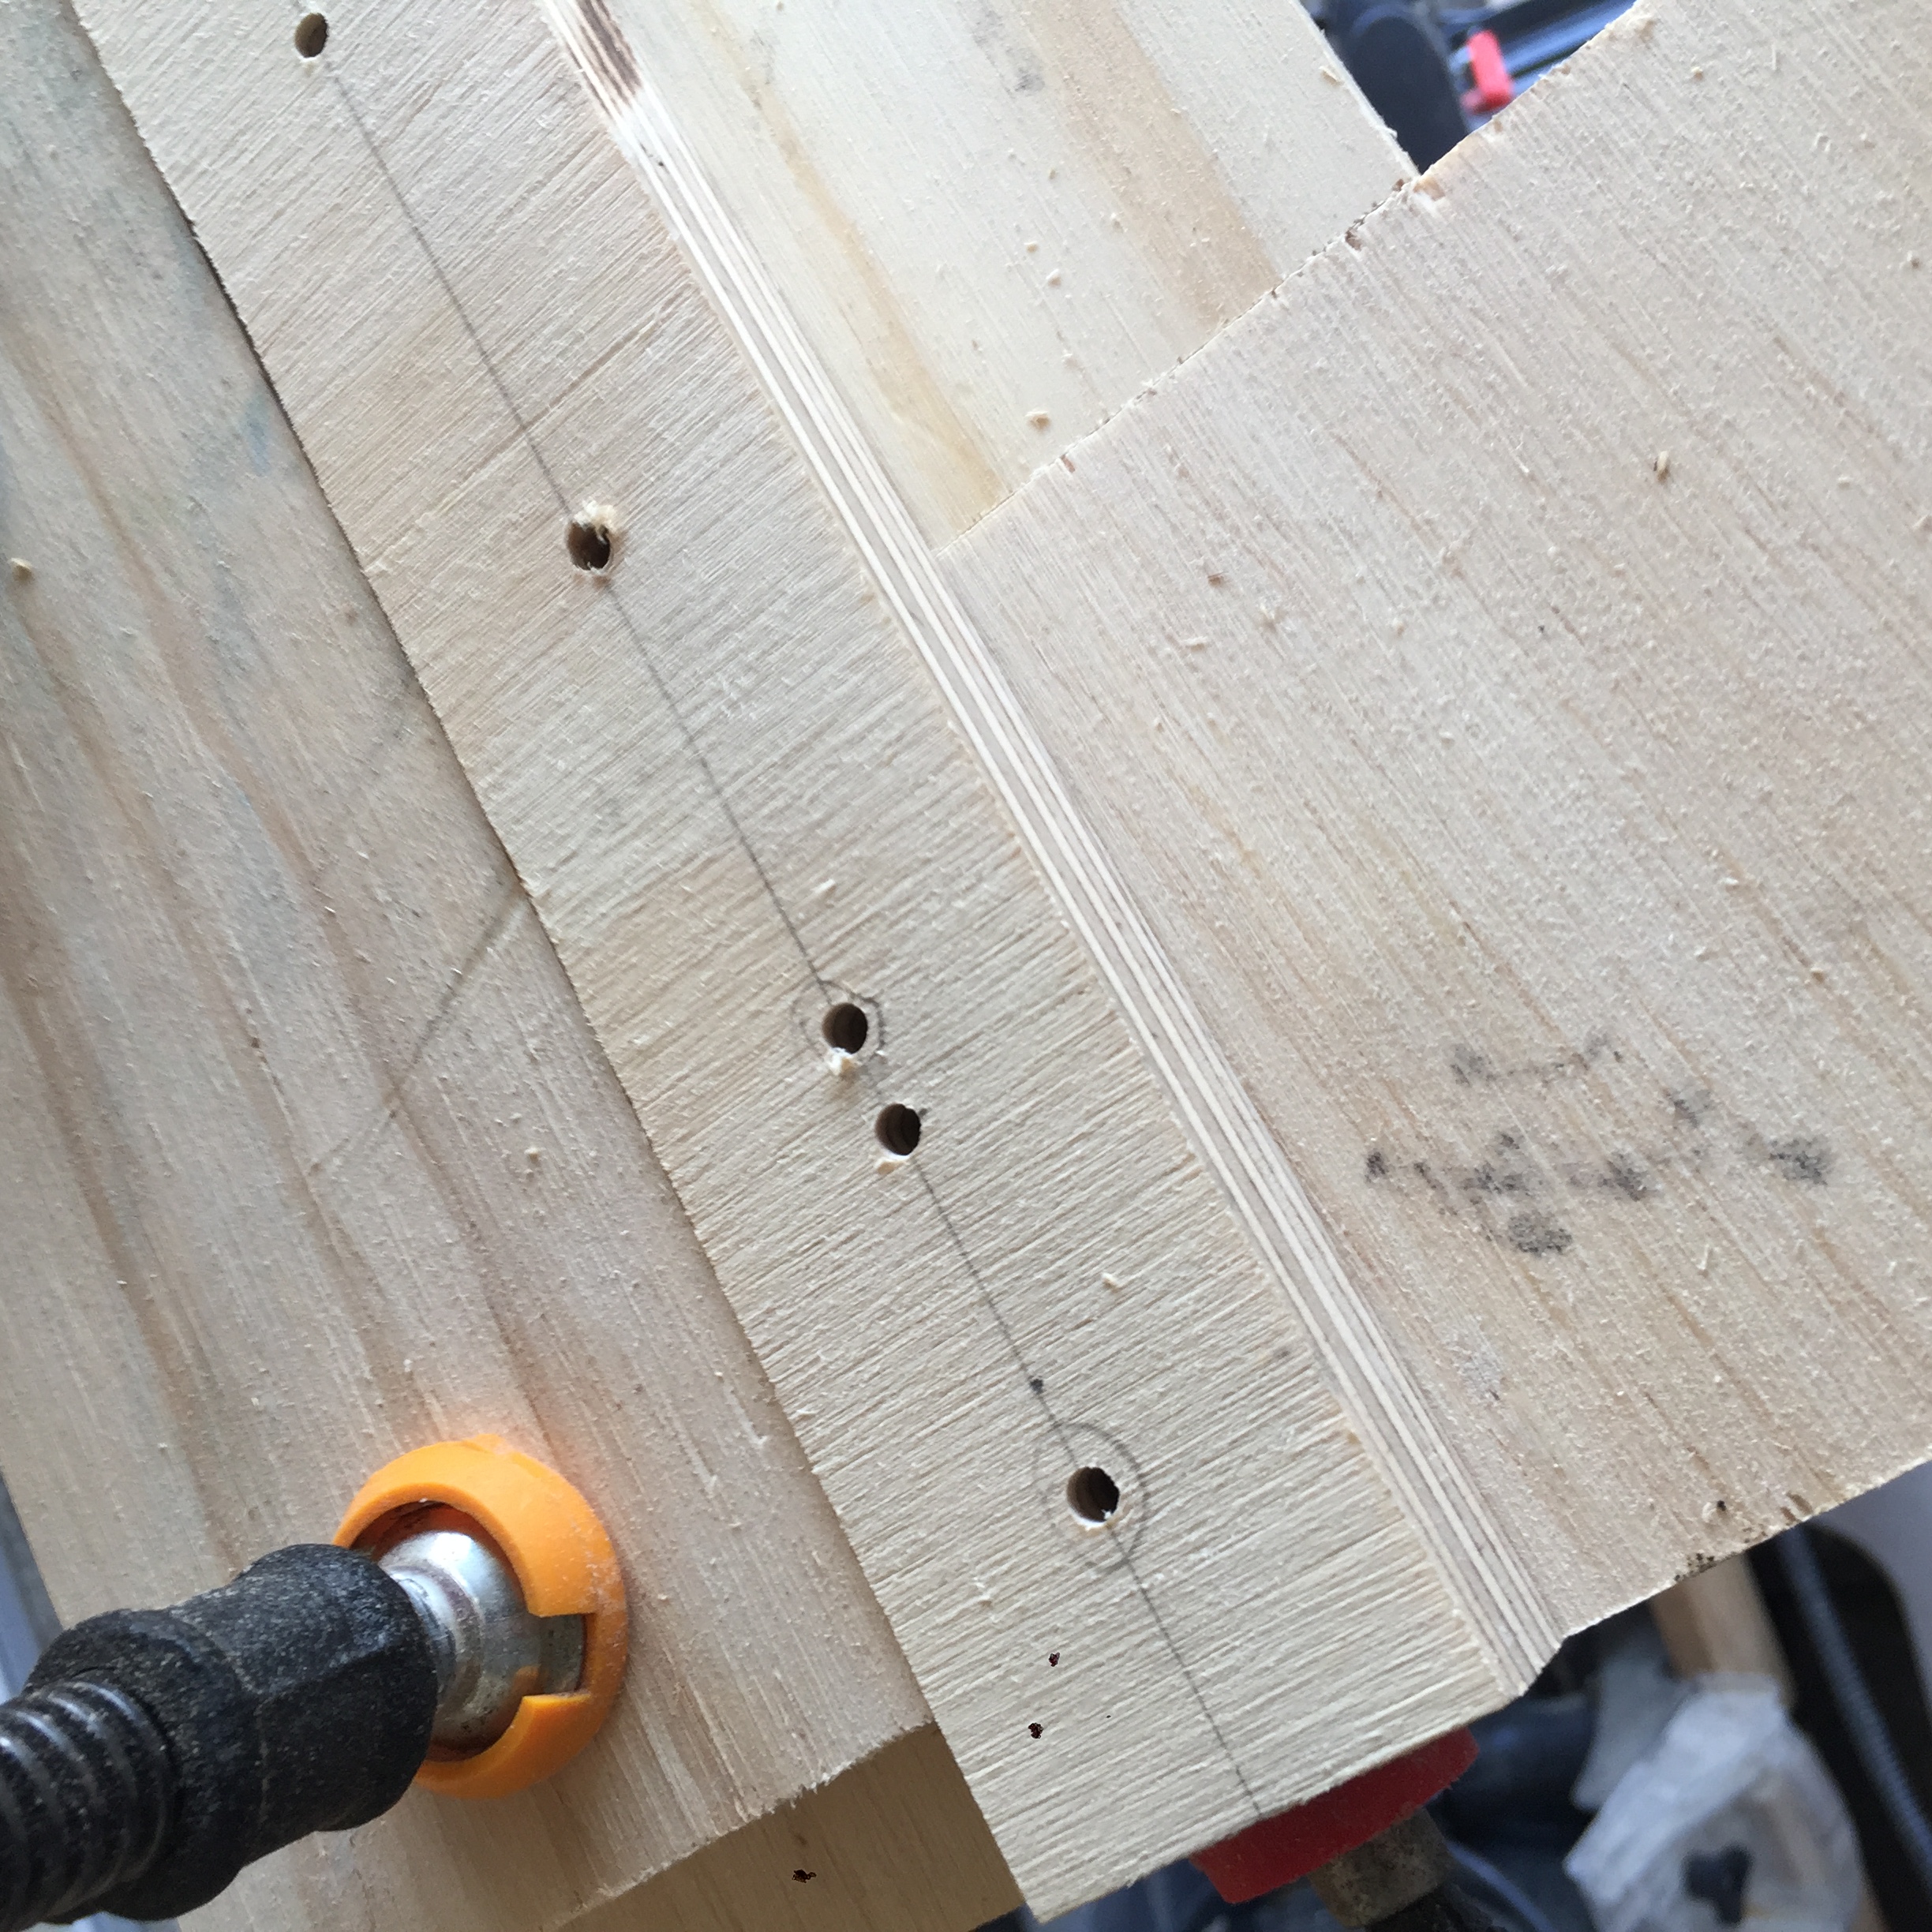
I used these measurements from this point on.
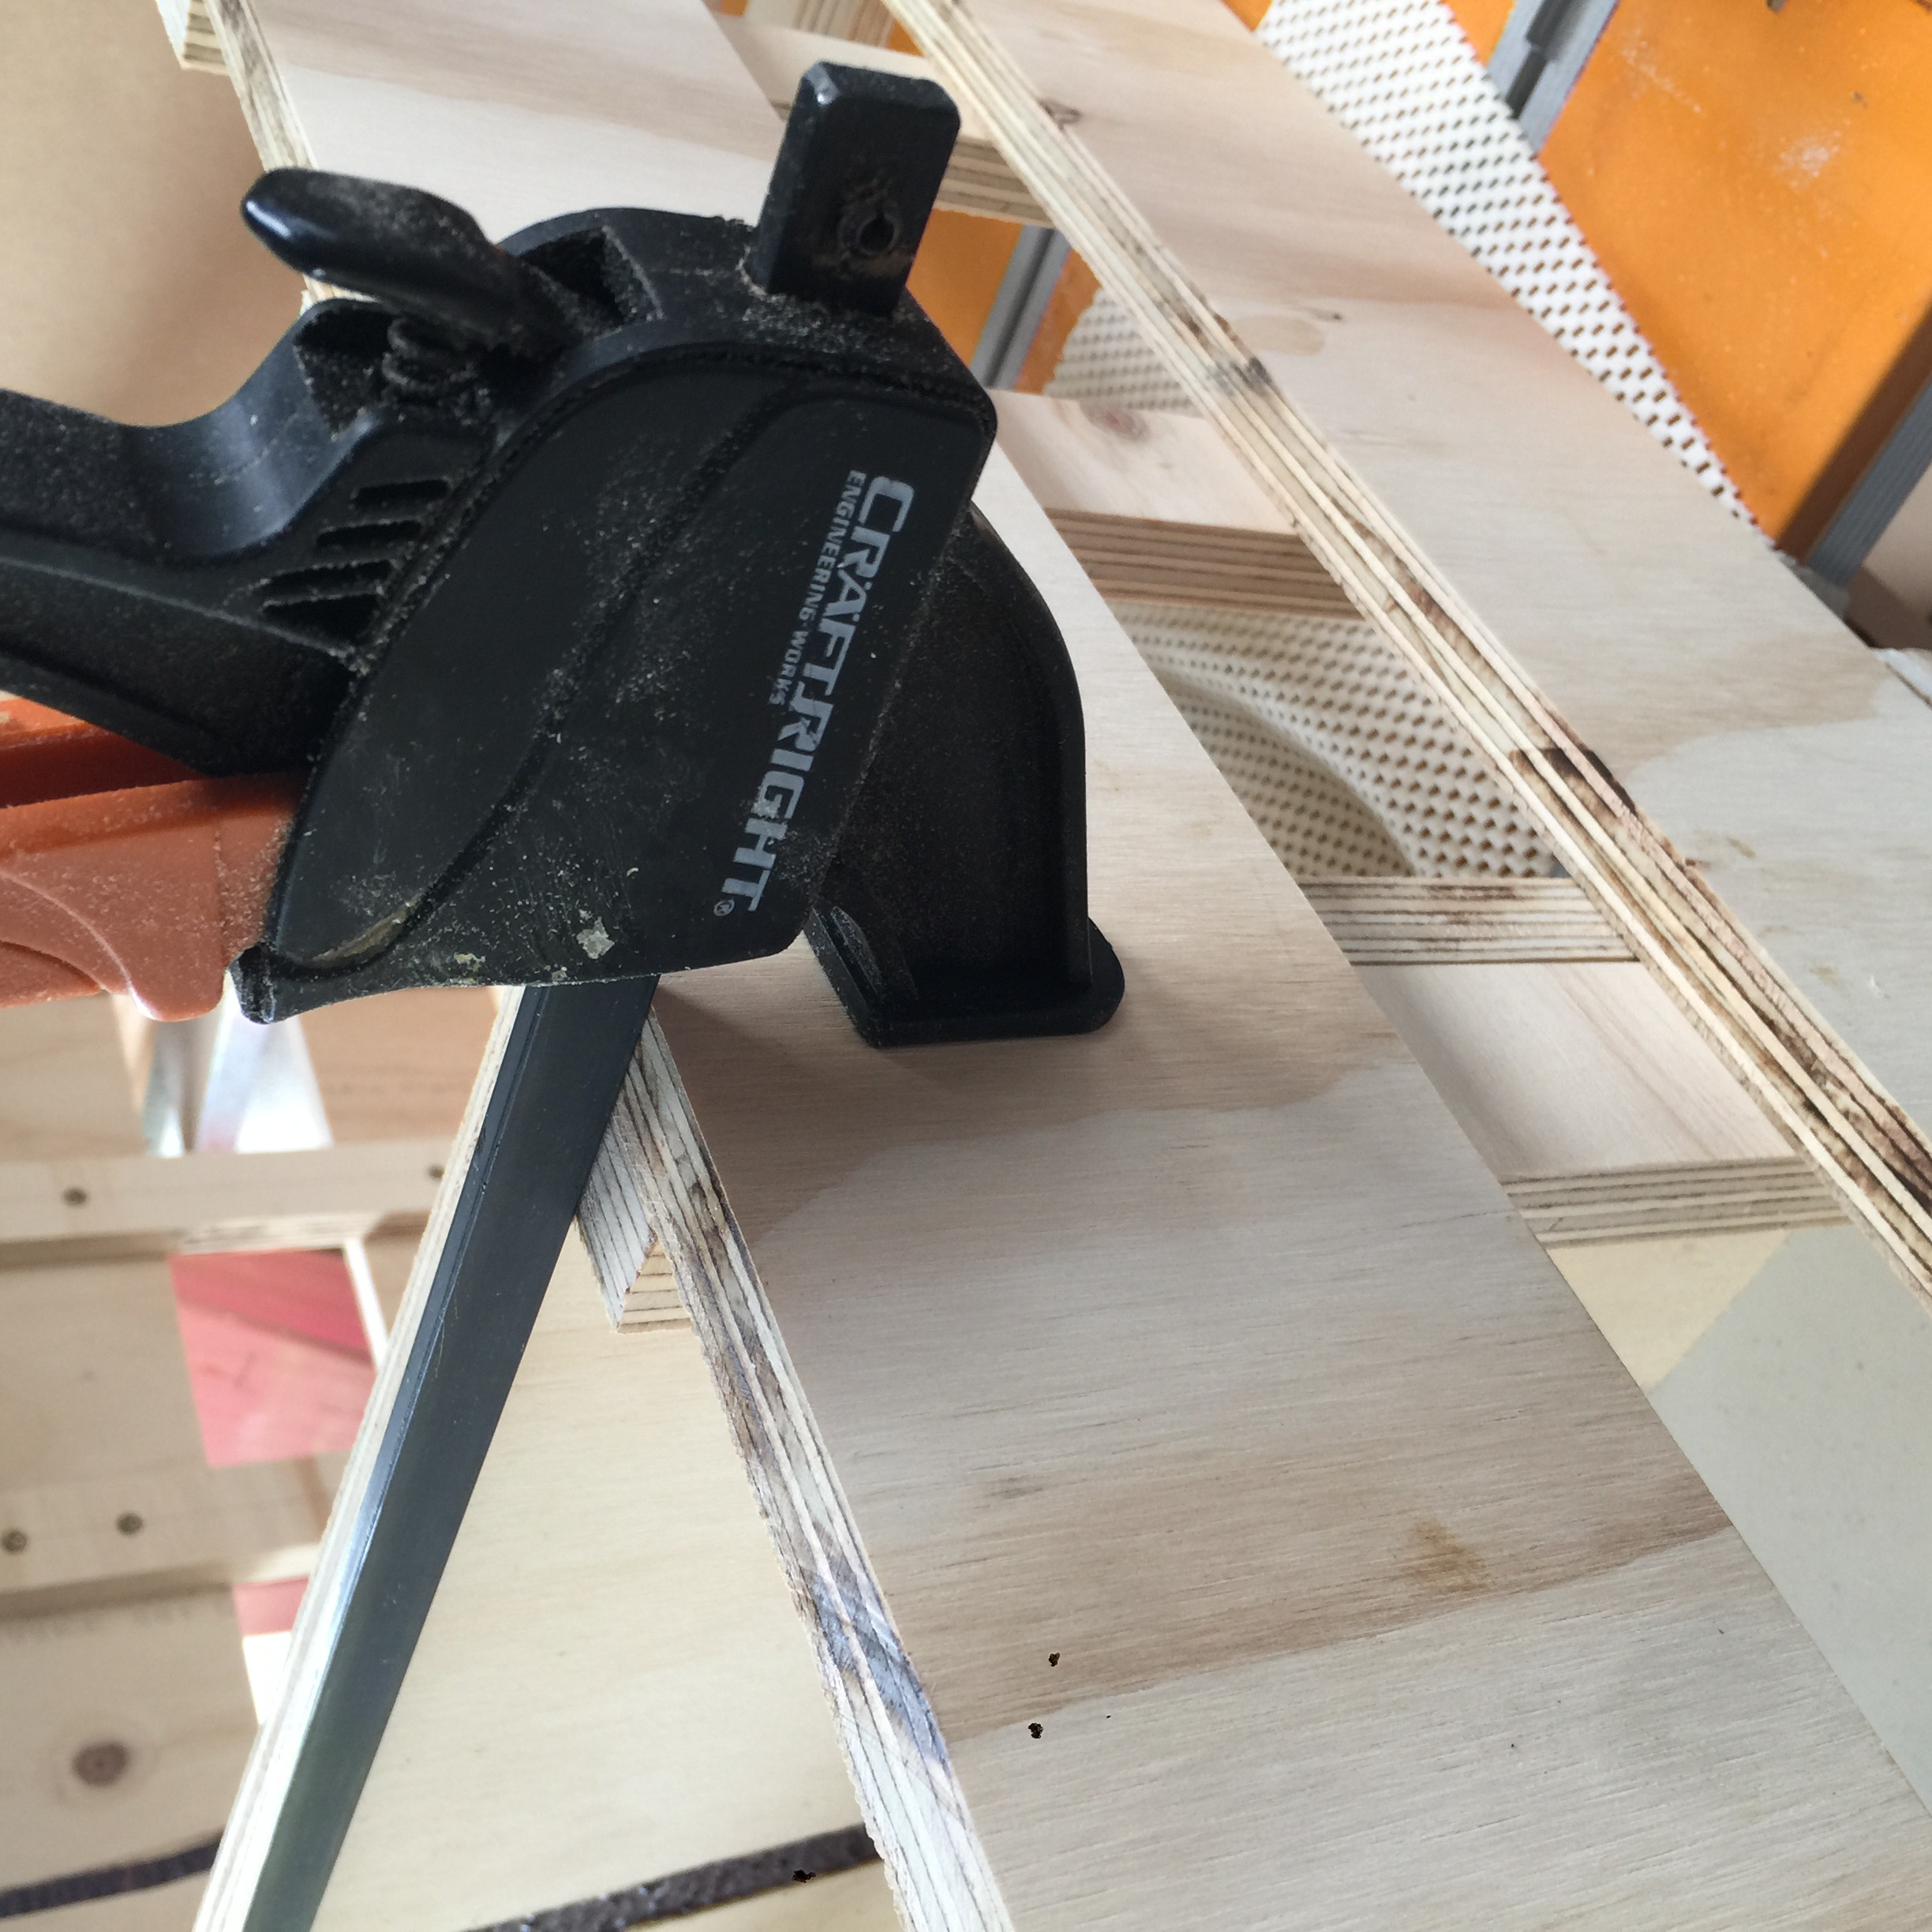
To square up the rungs I marked out the distance on each leg then used a speed square. I then screwed in one end with one screw then used the speed square on the other leg and screwed that end in. I then screwed the other two screws in to make it nice and stable. I repeated this process all the way down.
To ensure a proper fit I used clamps to pull the sides in before screwing down. In a couple of places I had to use the spacer to push the boards out to size before screwing down.
Rinse and repeat for the other side.
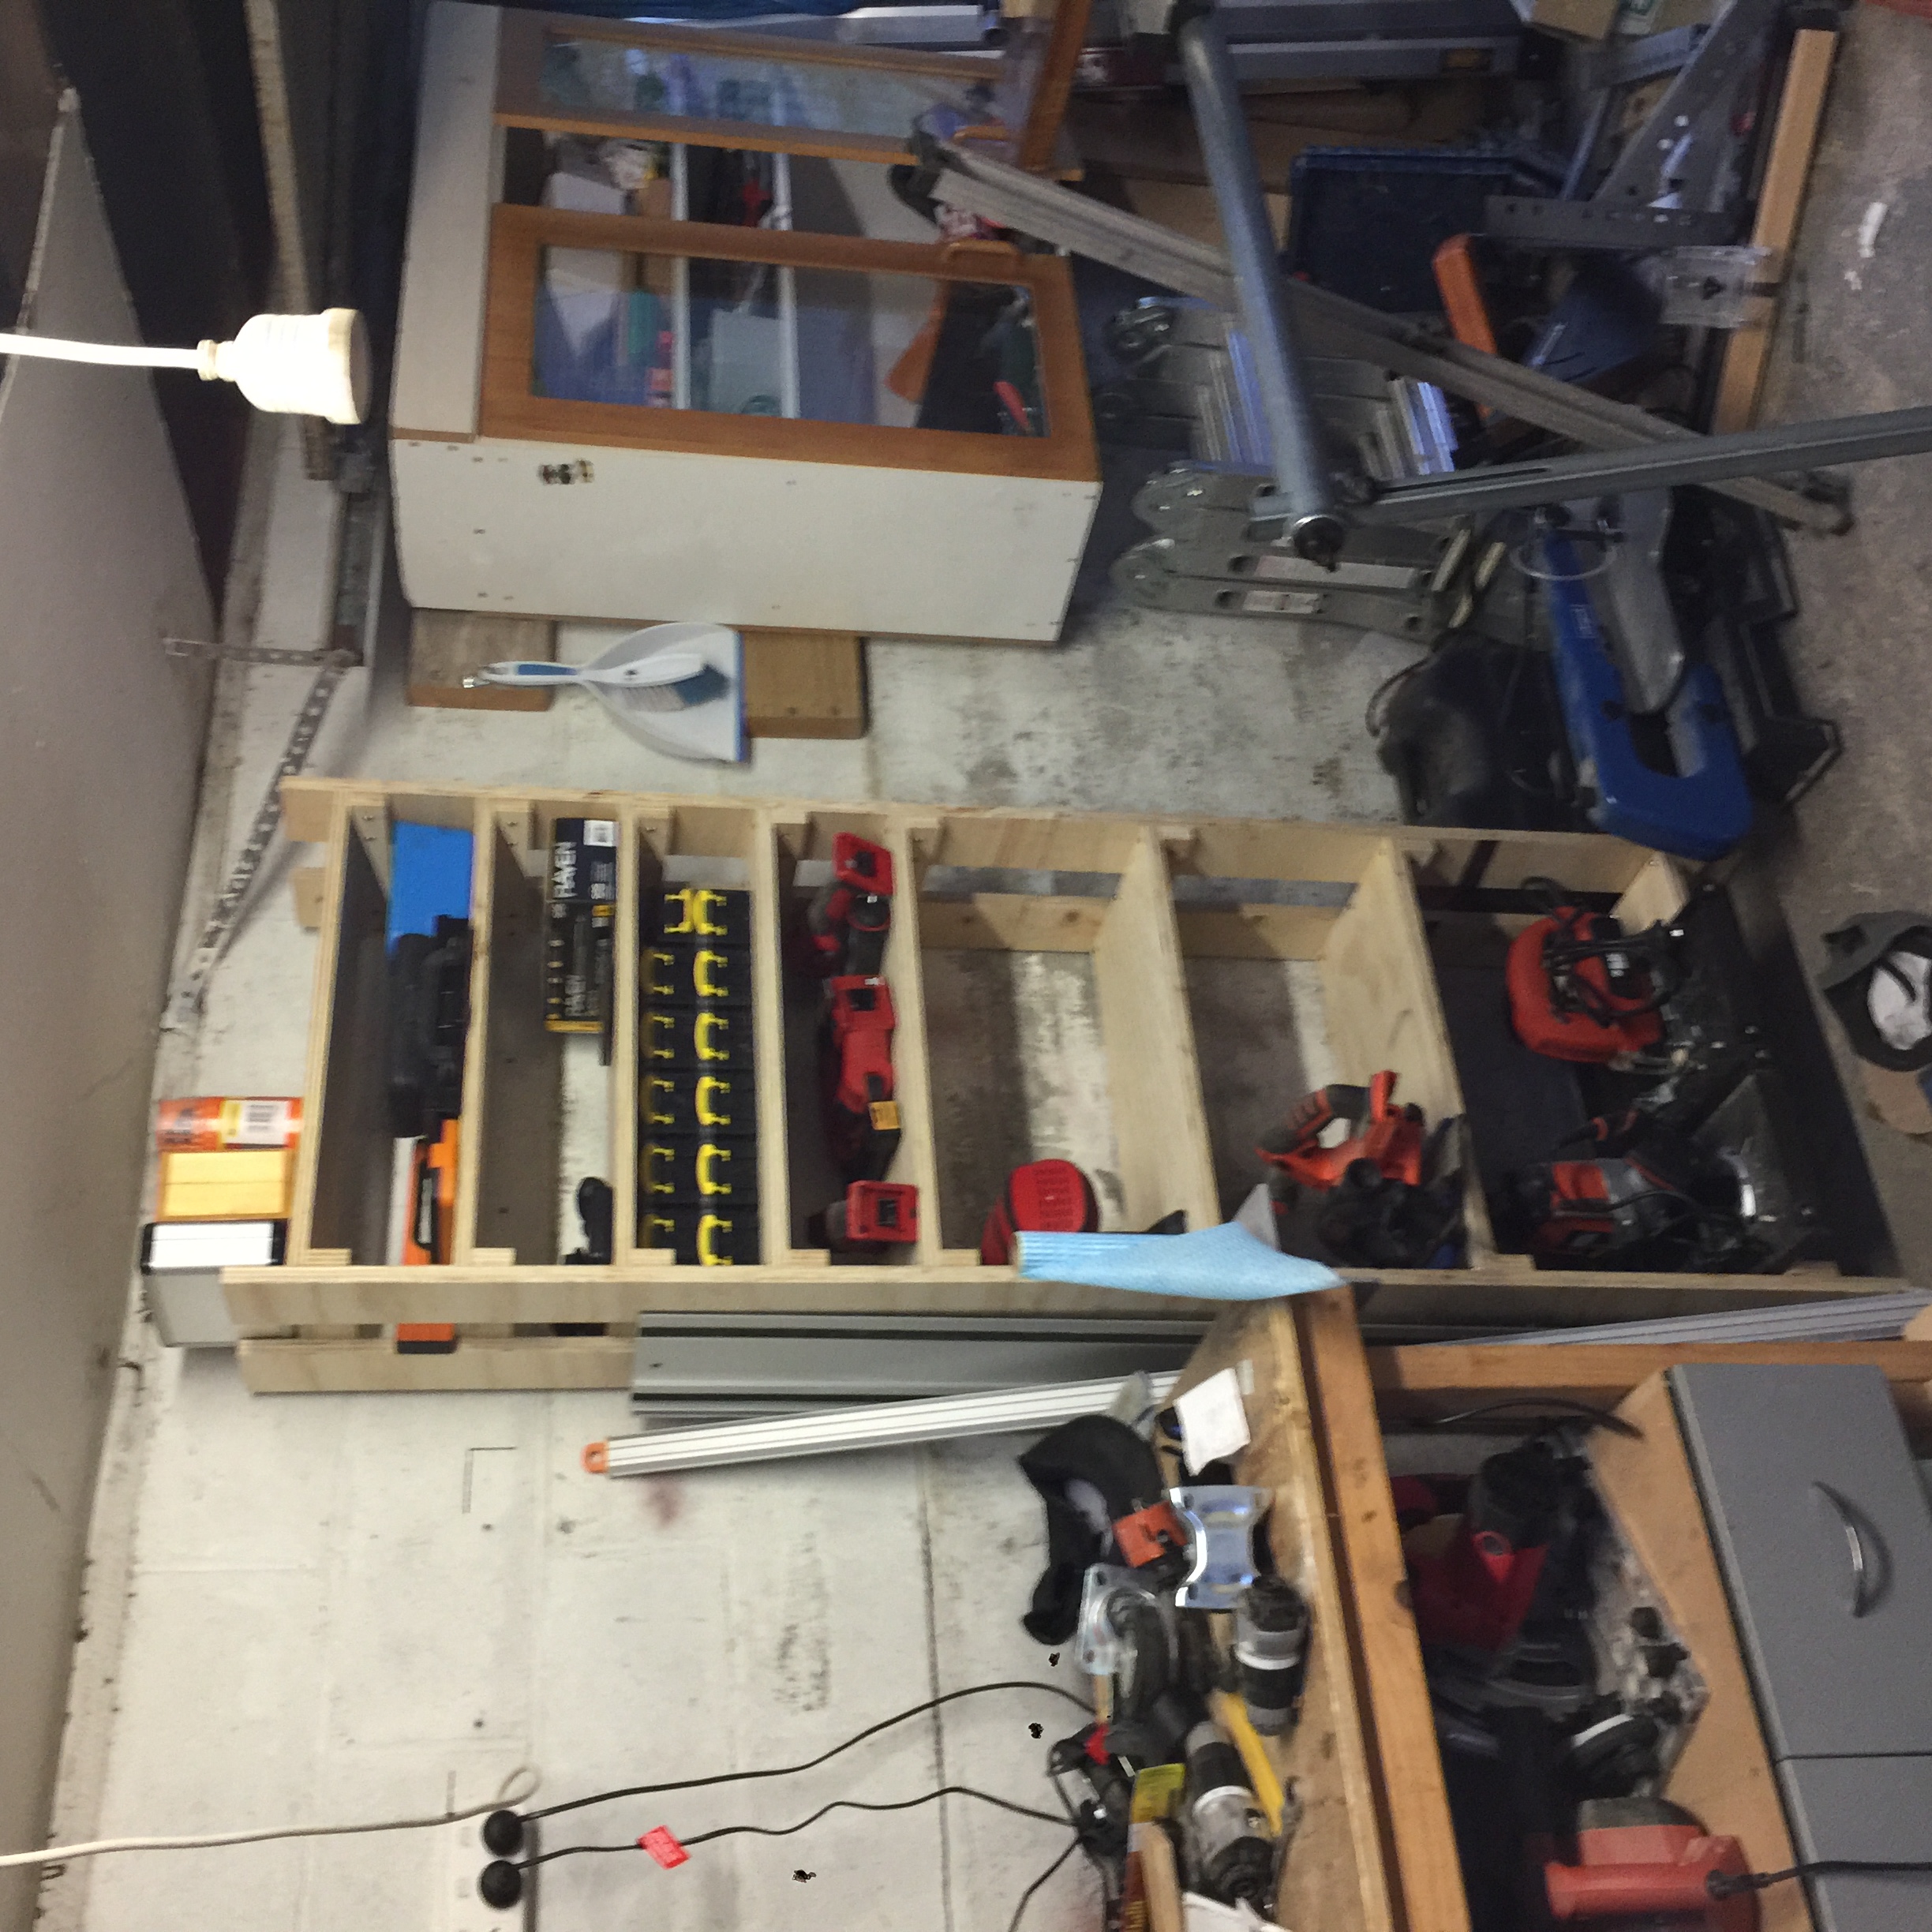
Due to the size of what I wanted to store my spacings for my shelves are somewhat different to the ones in Steve's plans. My shelves are:
300mm / 250mm / 250mm / 100mm / 100mm / 100mm / 100mm / Whatever was left over
The largest shelf is to accommodate my plunge router in the Triton Workcentre table router sled. The other two large shelves are because it's always good to have large shelves.
Speaking of which
Lay me down to rest
The shelves hold everything together. As they are 280mm wide I predrilled holes at 20mm from left, 140mm, and 20mm from right - 9mm from the front. This predrilling is needed because installing the shelves are pretty fiddly.
Initially I installed the bottom, middle, and top shelves. This allowed me to maintain the structure while I installed the other shelves. To do this I started with the RIO on its side.
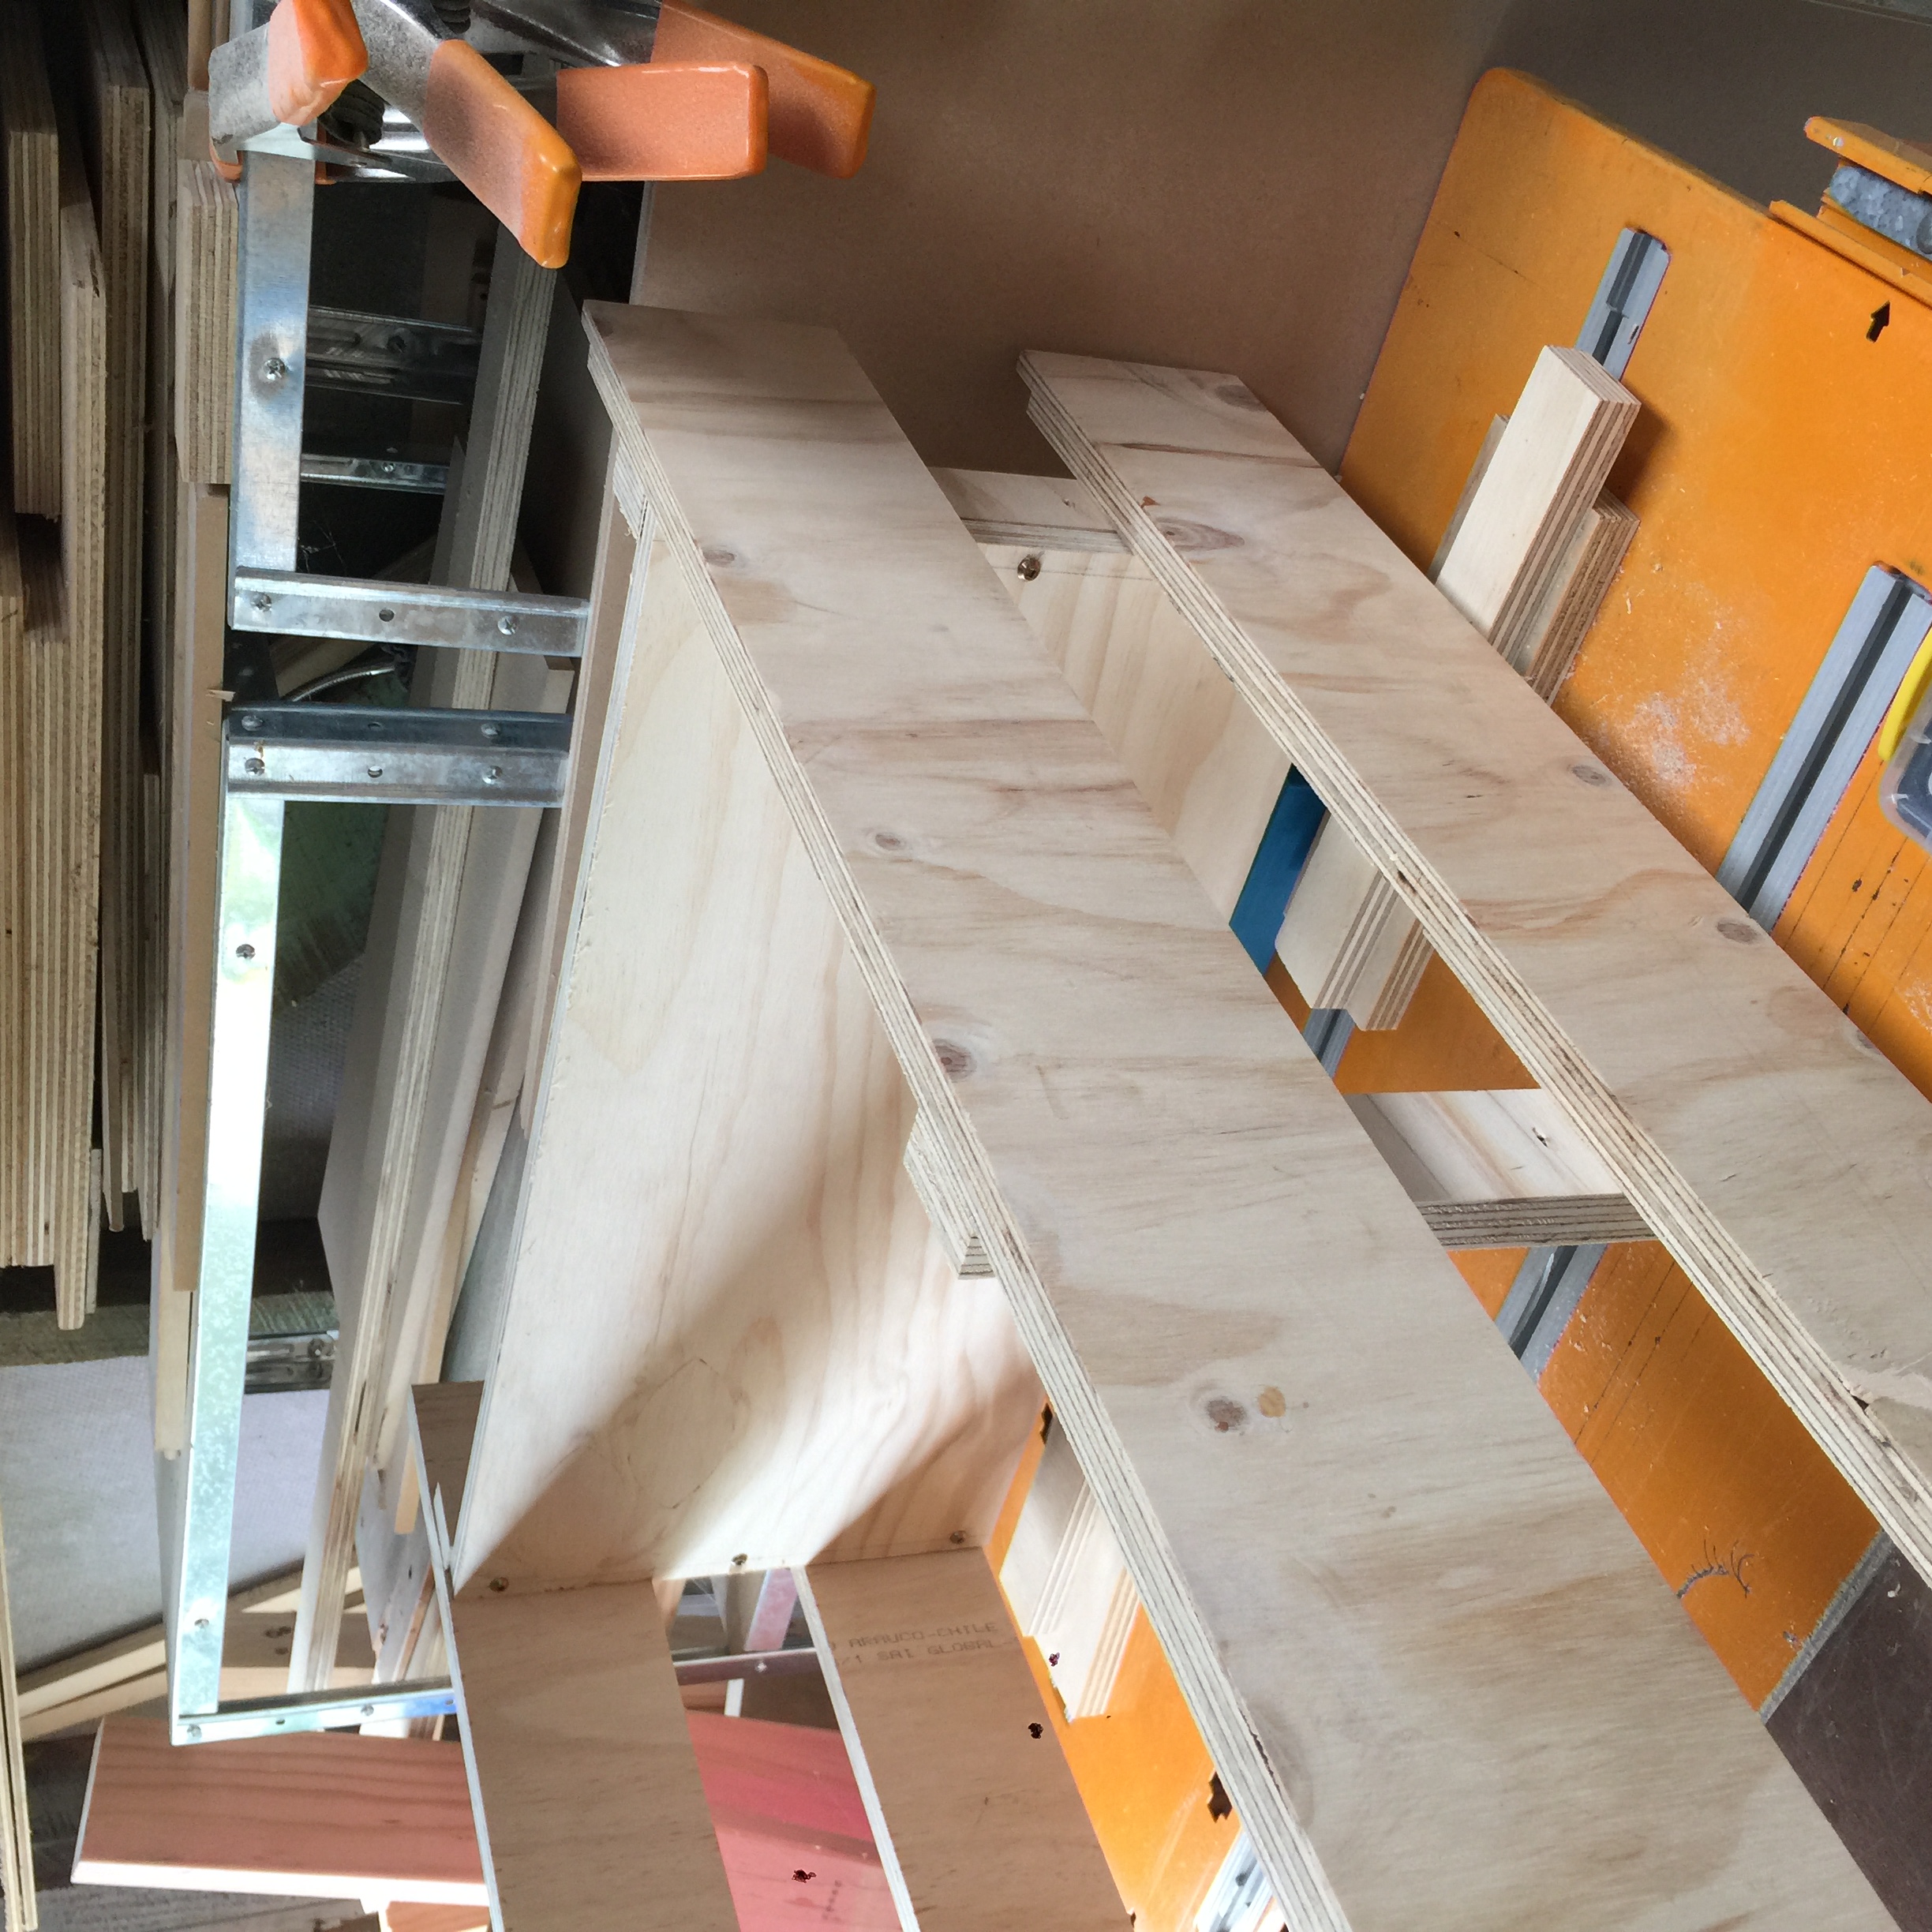
You'll notice the clamps. Trust me, on this project clamps are your friend even though there is no glue used (my plywood variation is not how the course says to do this project). They allow you to get everything lined up, clamp off, then start installing the main units.
Something else that is of major benefit is a right angled screwdriver or extension bit holder. You're basically screwing shelves to make a box and once you've got that square shape you're kind of knackered in terms of manoeuvrability. A right angle screwdriver or bit holder will give you better angles to be able to install the screws especially the smaller shelves.
Once the bottom, middle, and top shelves are installed you've got something rigid enough to allow for finishing off standing up.
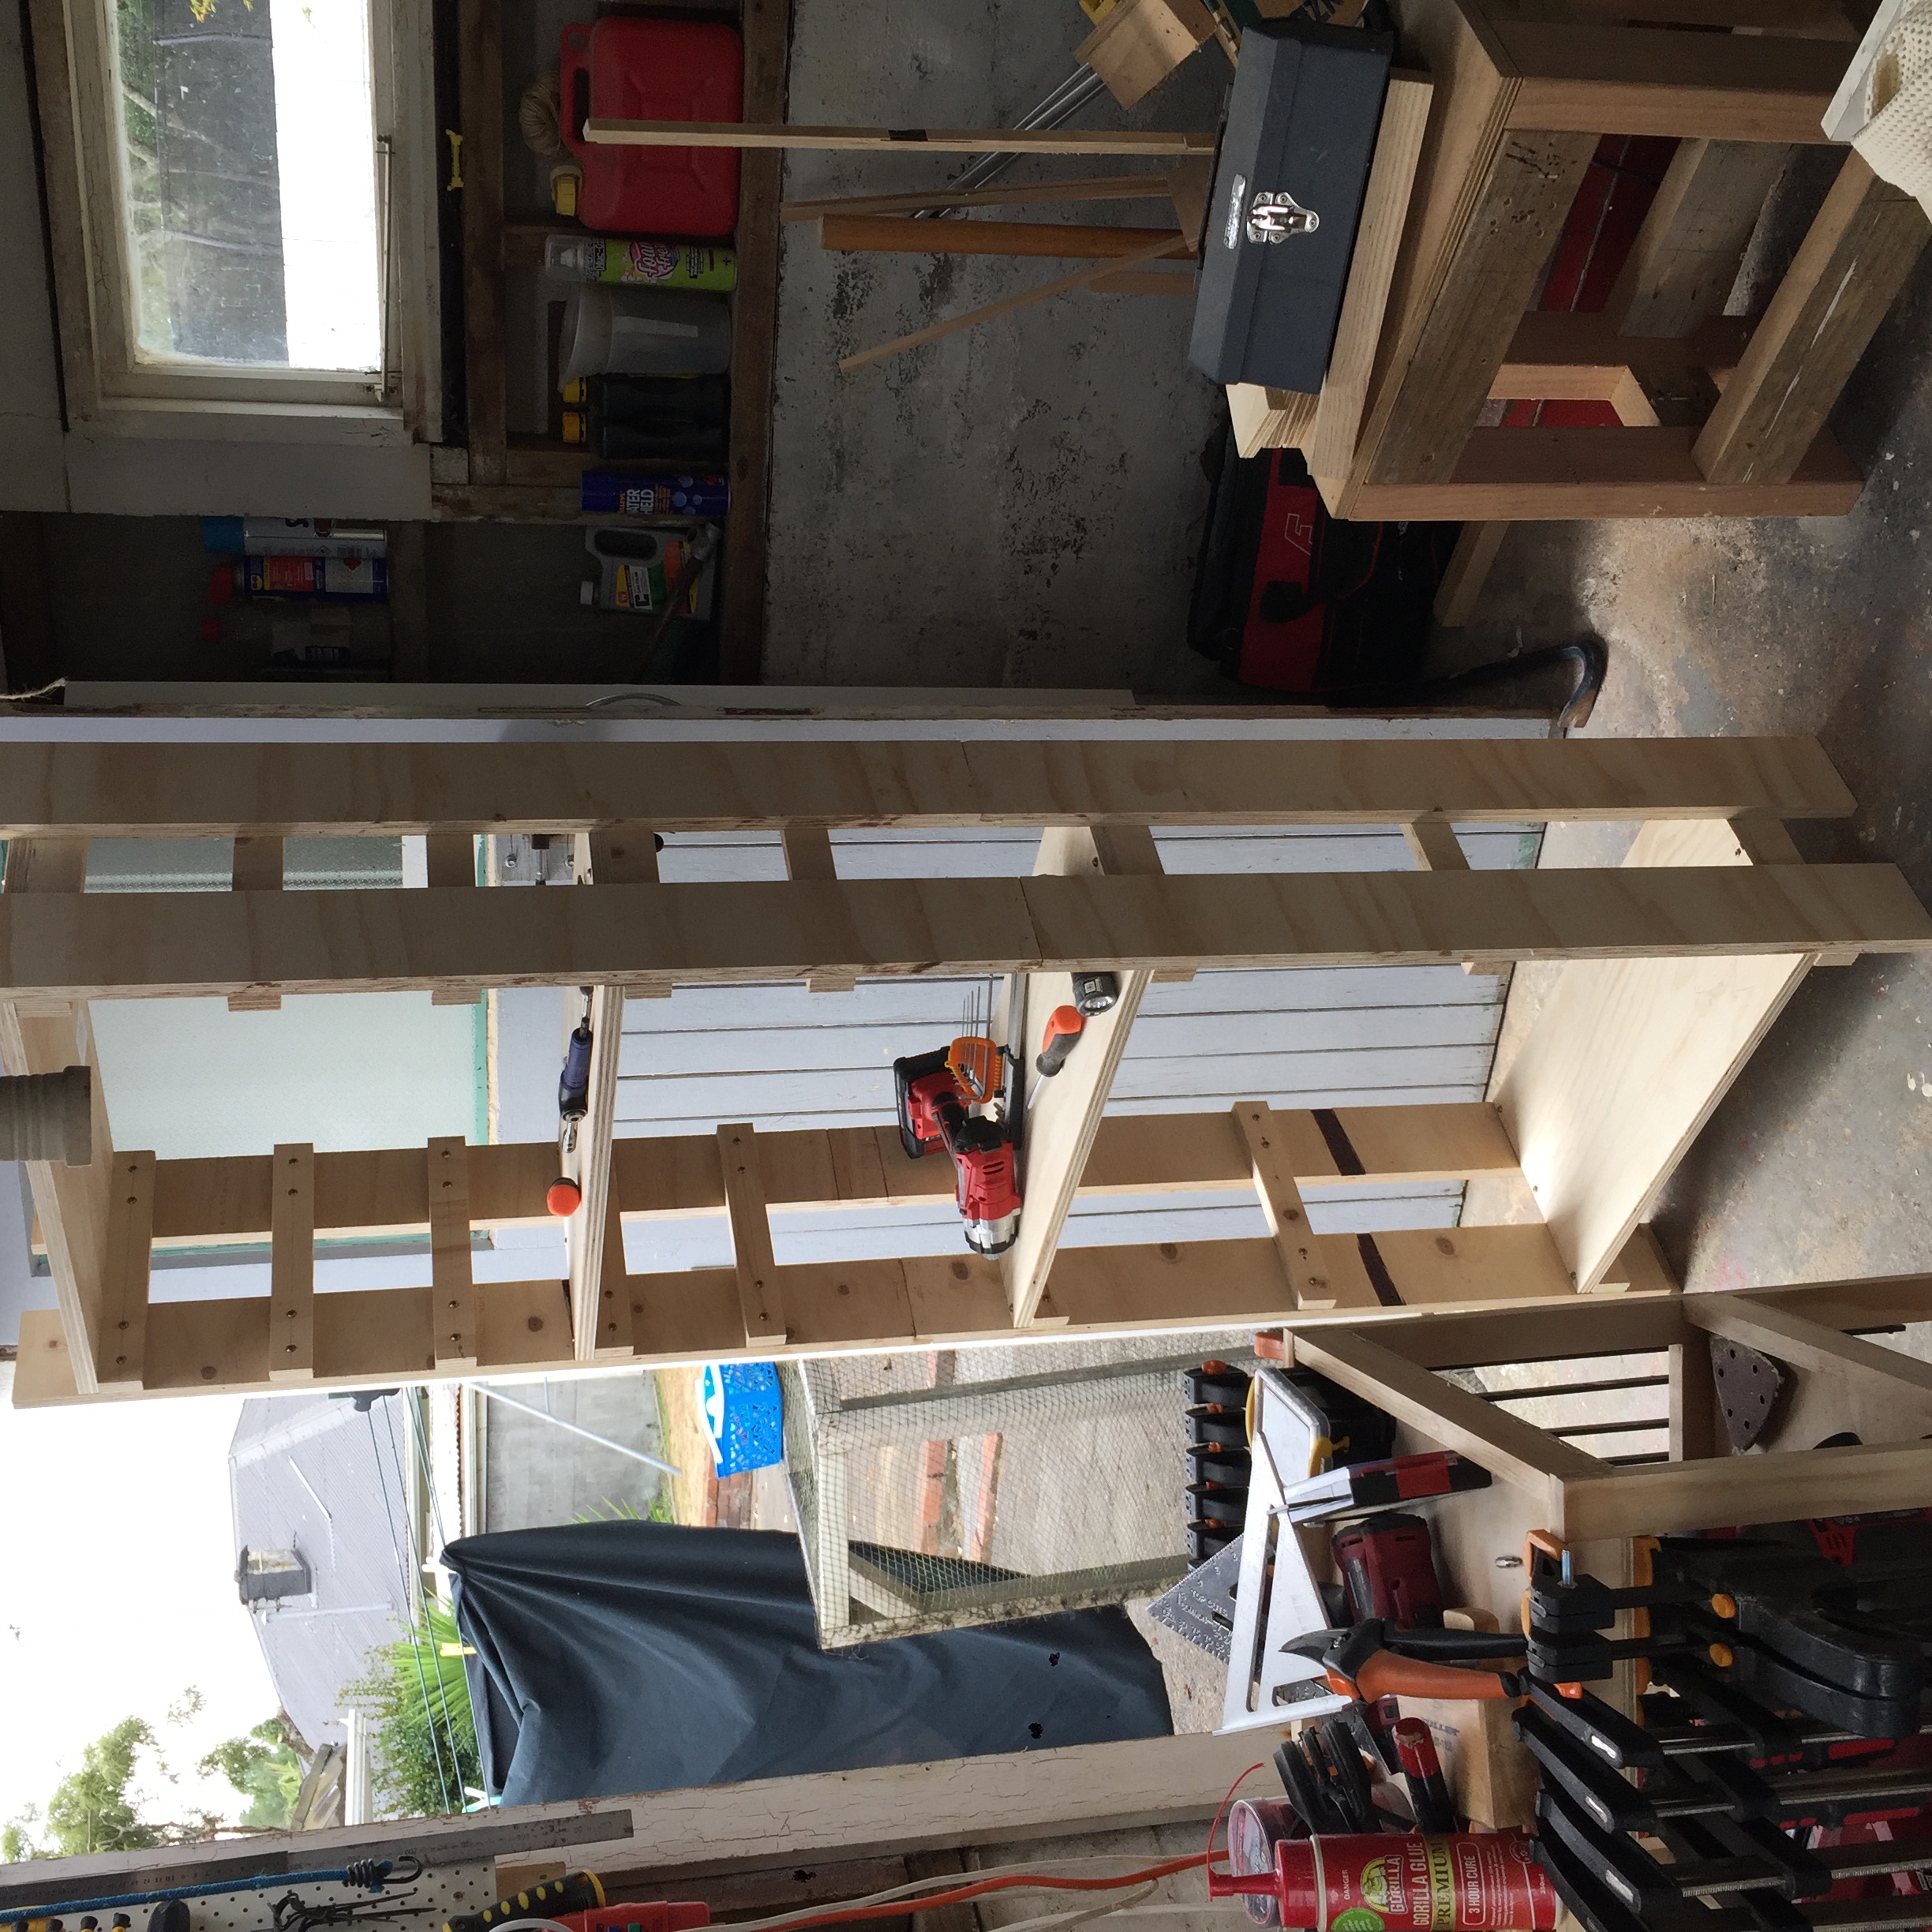
There is one note to make here though. Work up from the bottom and as you get to the final couple of shelves remove the top shelf. This allows much better access for the bit holders.
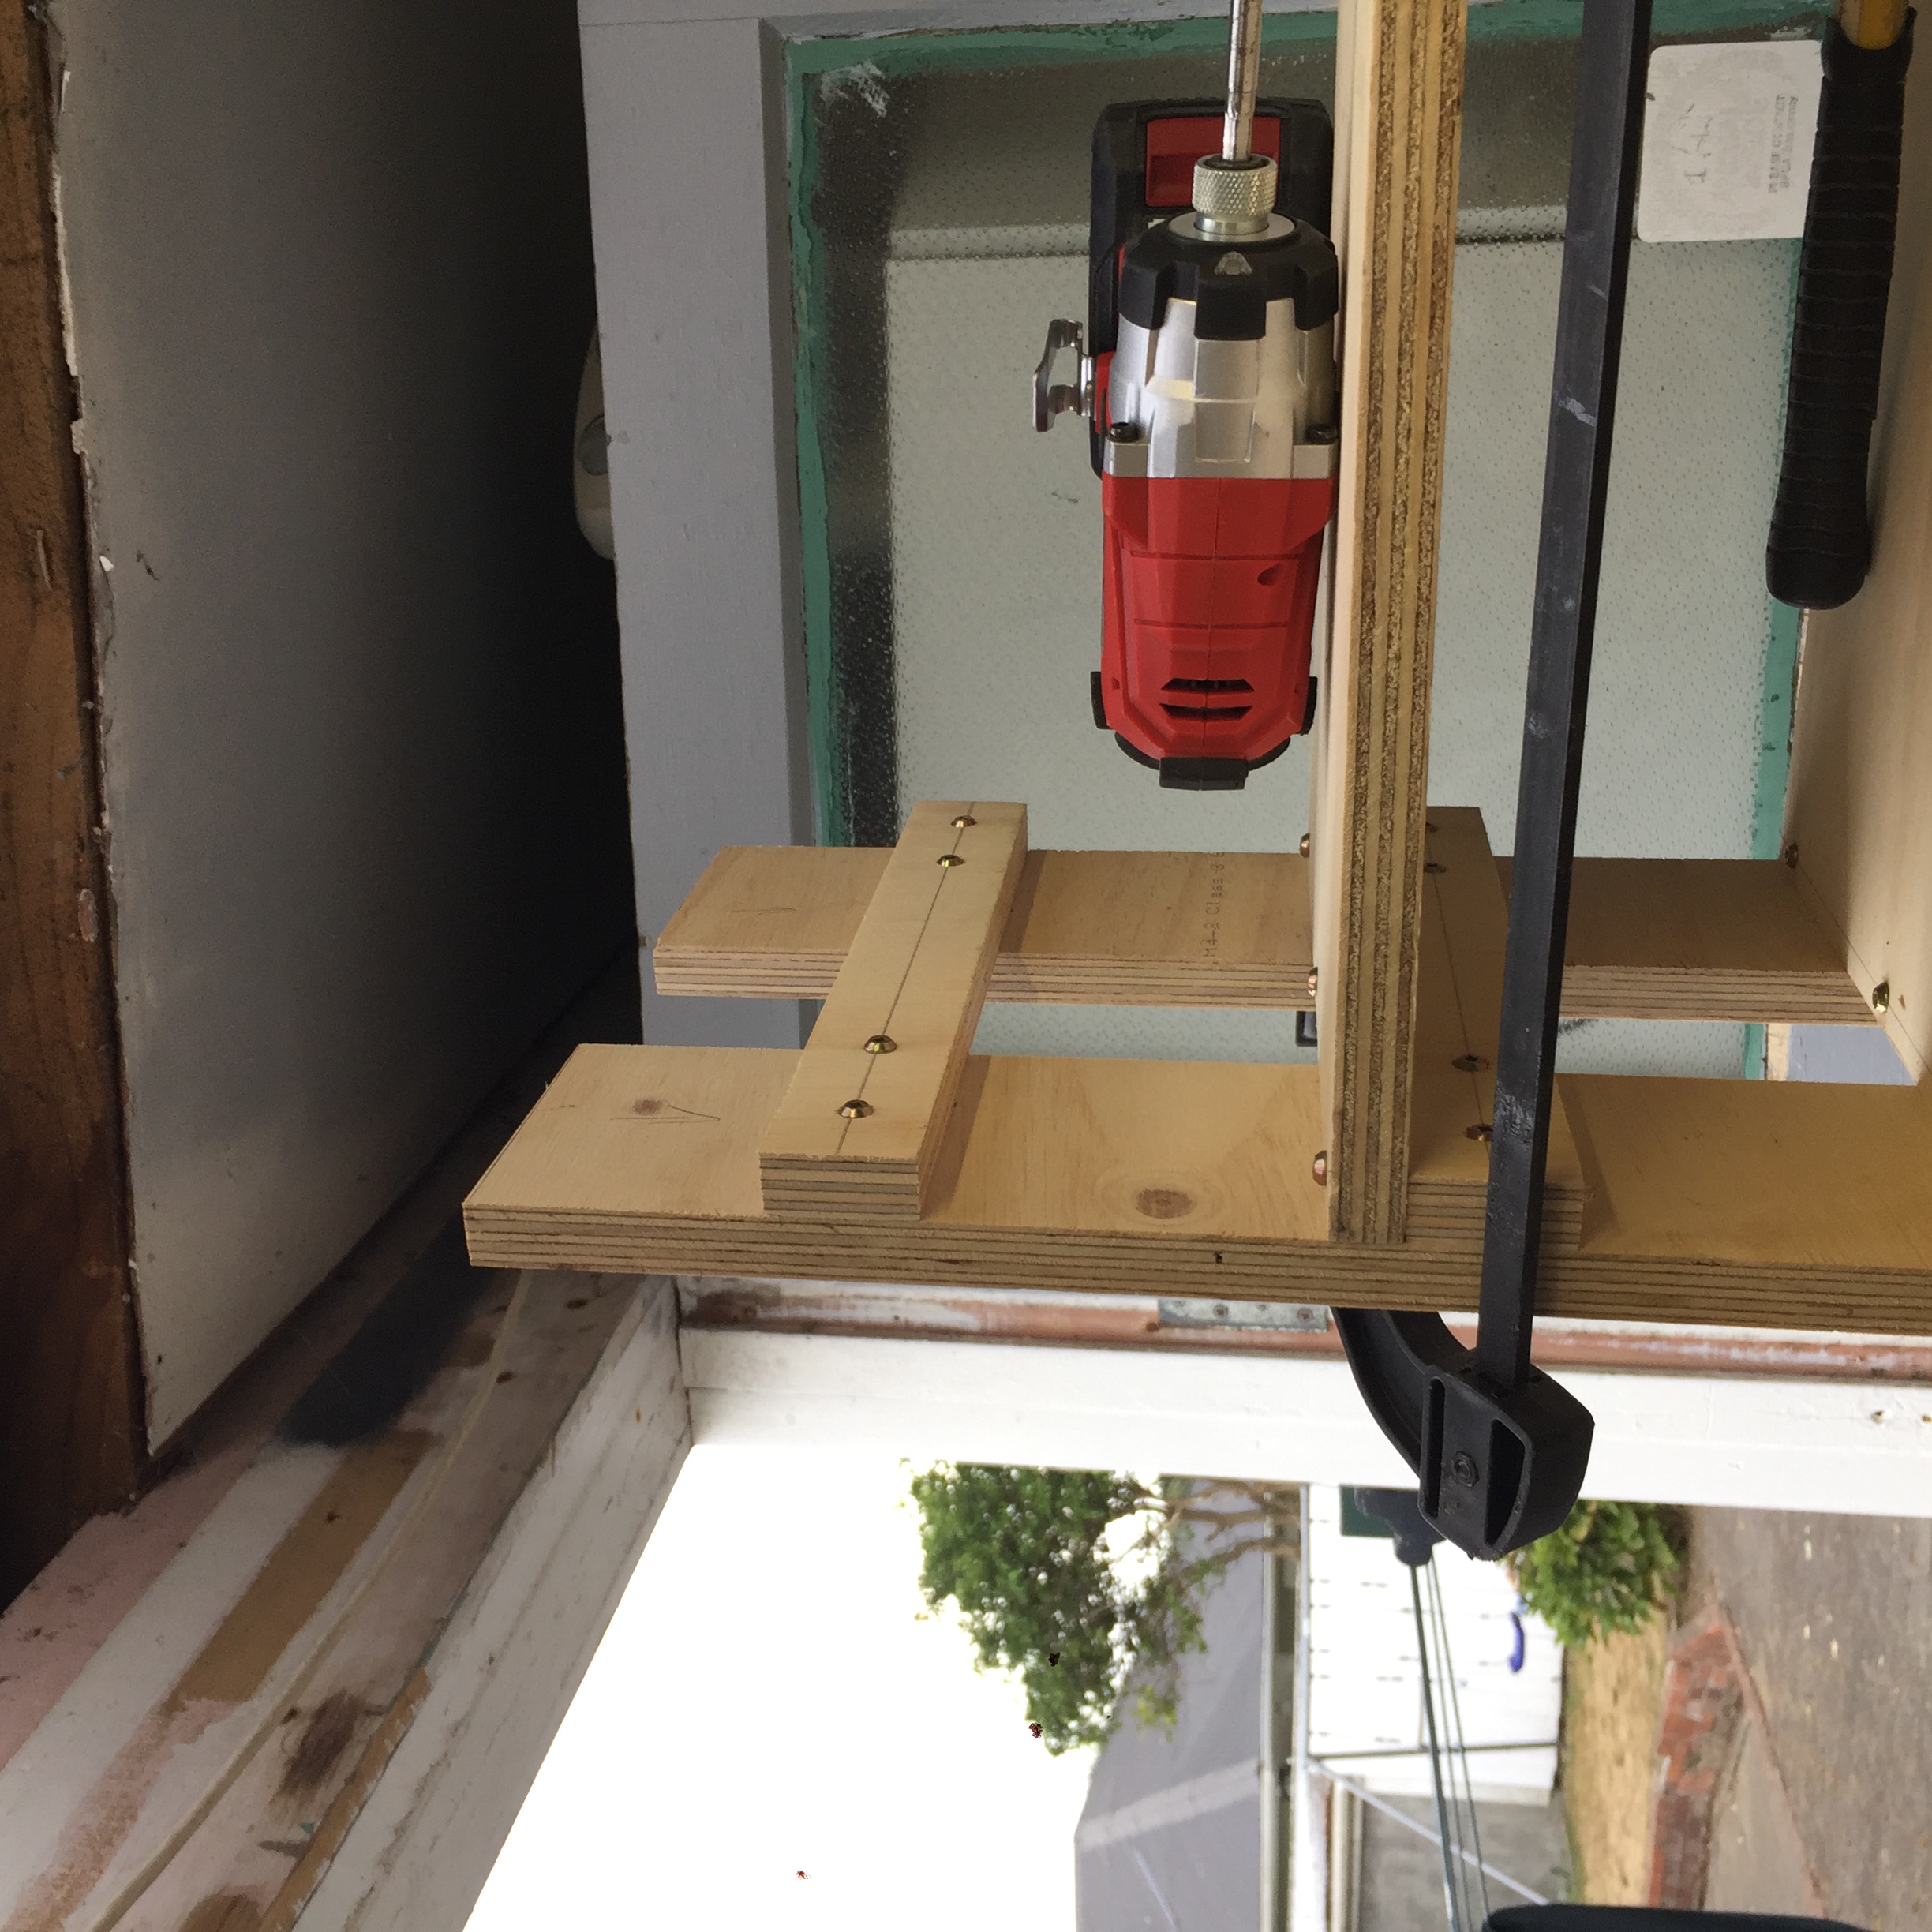
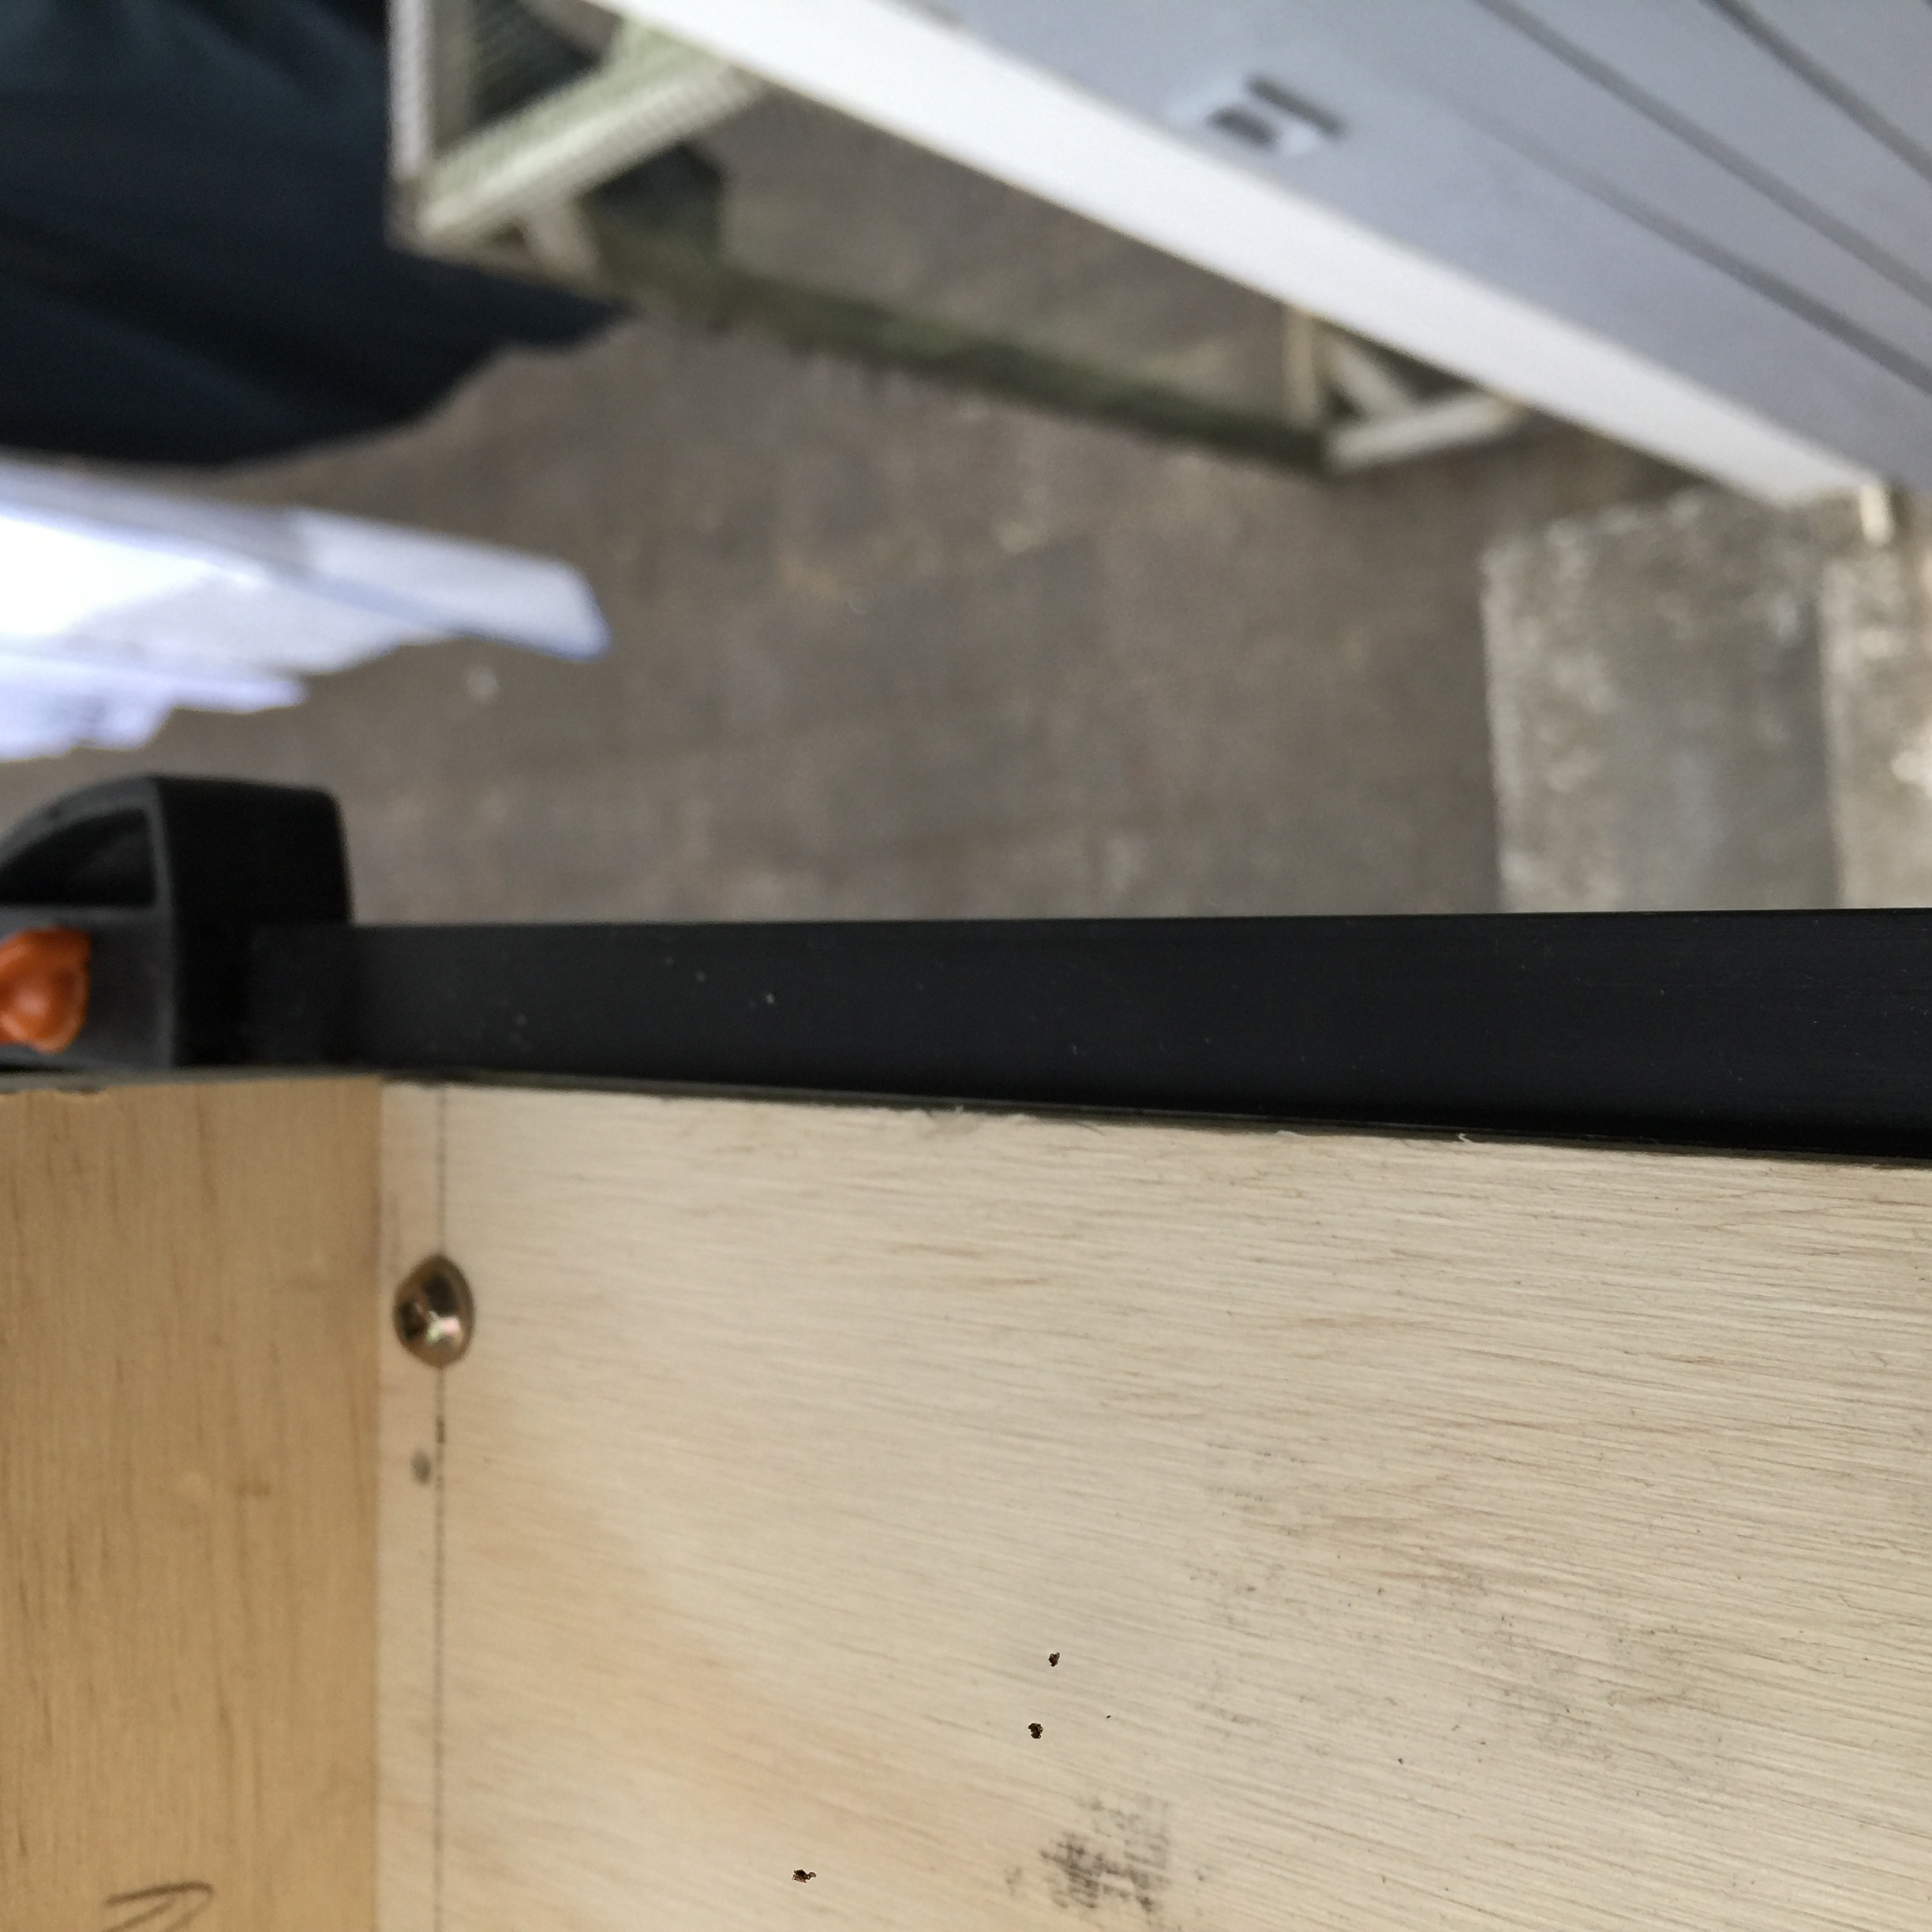
Clamps are once again your friend here. You're not using the clamps to counter gravity here. In fact you're not really using the clamps to clamp anything but instead you're using the bar of the clamp to act as a means of aligning to the front of the RIO. It's pretty much only for looks but it does look good when done right.
Add the top shelf back and you're done. This shelf is very rigid so it isn't really going to go anywhere. One thing with my plywood version is that it is very light compared to the timber version in the plans.
Conclusion
If you've read this far then I applaud you, you really wanted to find out about this project. I made some cock ups but they were minor and for a shop project they are not an issue. The RIO is a great unit to have and I will be making a couple more at some stage. The floor space I gained by being able to move stuff onto this shelving system is worth the cost.
My version was made in order to cut costs and I think it performed admirably. I had some issues because I was redesigning everything on the go and employed methods not discussed in this project. I'm super happy and if you go my way or you stick with the plans in the course then you'll enjoy the rewards the RIO gives you.
All in all this project can be made from an entire 2400 x 2400 sheet of plywood. In fact for my next version I probably do that to save the use of half-laps but this project was great. It took me a week to build but that's because I was chipping away at it. Time actually spent would have been about a good day without having to wait for glue to dry.
A great job deserves a !BEER
Well done
Thanks for that. It required a fair bit of planning this one due to costs and dimensions of workshop but I got it bang on. I'm thinking of a couple of smaller ones by the door to give me more room and fill in space that is pretty useless at the moment.
https://twitter.com/WoodenWookie/status/1228611811483607040?s=20
Hi woodenwookie,
Visit curiesteem.com or join the Curie Discord community to learn more.
Congratulations @woodenwookie! You have completed the following achievement on the Steem blockchain and have been rewarded with new badge(s) :
You can view your badges on your Steem Board and compare to others on the Steem Ranking
If you no longer want to receive notifications, reply to this comment with the word
STOPDo not miss the last post from @steemitboard: