The DIY Hot Tub Cover: Backyard Makeover Part 5 (Series B)
Some good old fashion Junkie Problem Solving to build a cost effective hot tub cover.
If you didn’t get a chance to read Part 1, Part 2, Part 3, or Part 4 of my DIY Backyard "Homasis" Makeover go check it out and catch up.
I've already gone over a number of random back yard projects. I laid some sod, re-graveled, and built and planted a flower box.
This is the continuation of my hot tub cover building project.
To summarize the last episode, I bought a hot tub off of Facebook for 75 bucks. After a few nights of having my new hot tub I realized having no cover was not cost or mosquito effective.
So I set out to build my own. I got the wood, made a skeleton, and added foam isolation.
Here's what I did next.
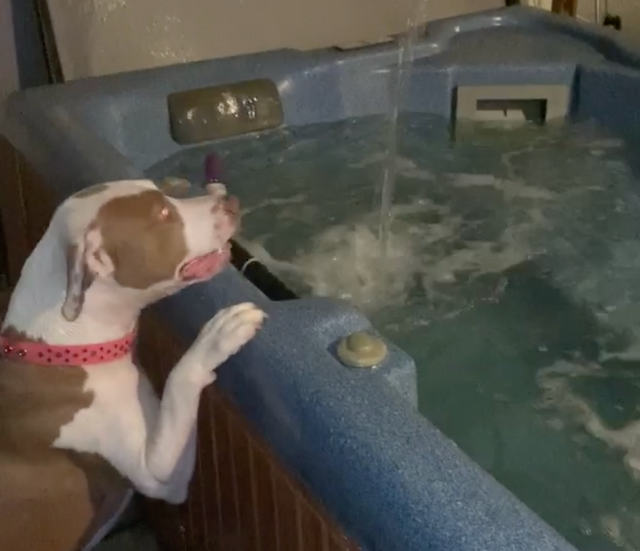
So when we left off last time we had a foam party and allowed it to dry over night.
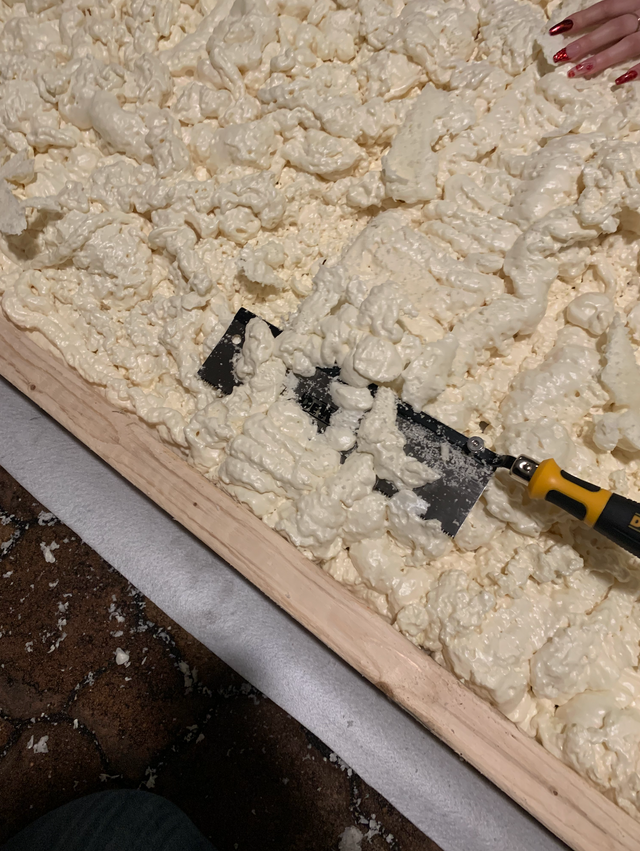
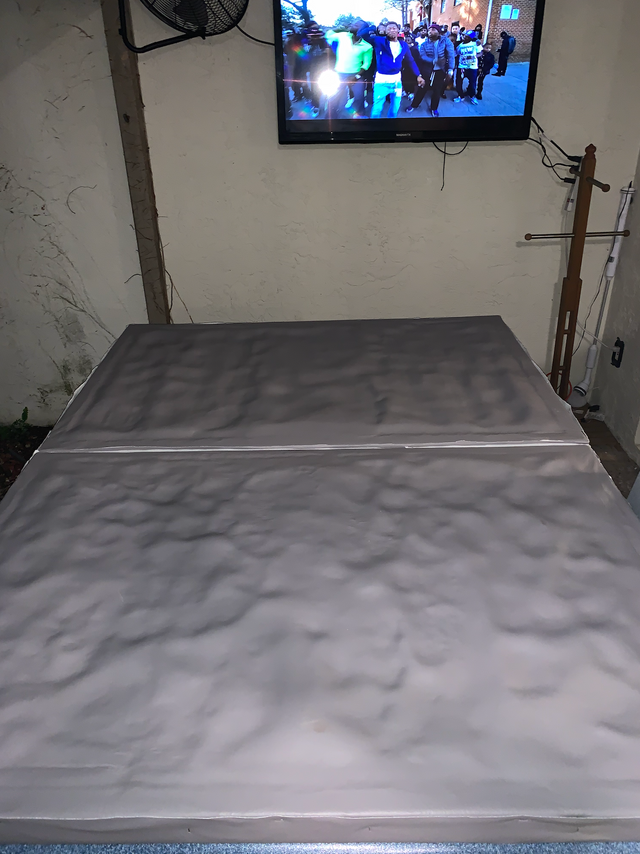
As you can see, the foam expanded and needed to be cut down. I did this so it was level with the wood and the canvas can be stretched out over it.
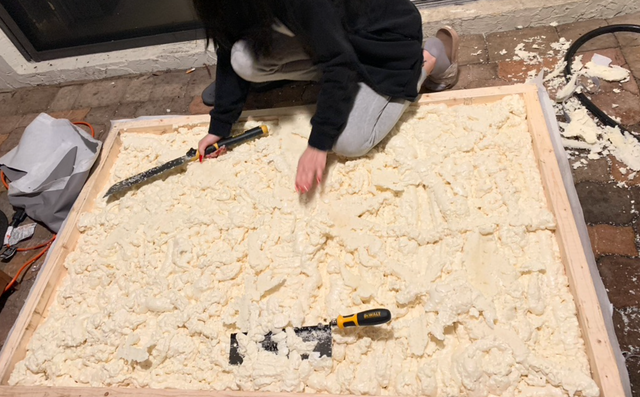
Once the foam is cut down and level it's time to cover the other side with marina grade canvas.
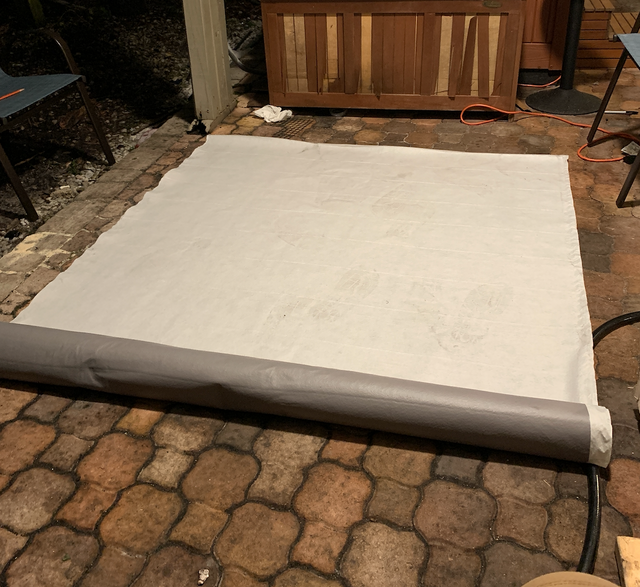
I sized it up to fit with the help of @liz.writes and Baby the Pitbull.
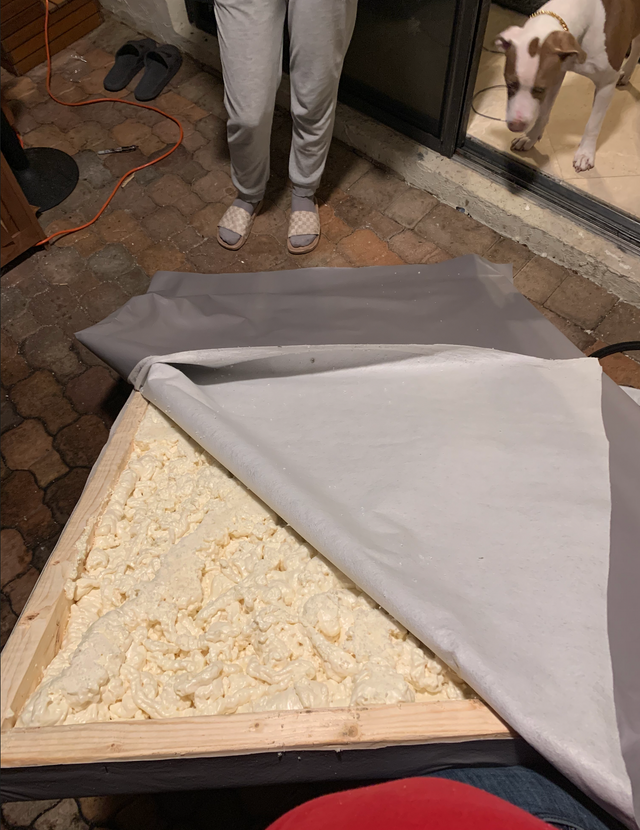
Then Liz cut the extra canvas off so it was easier for us to work with. She used scissors, but I'm pretty sure her long nails would have worked just as well.
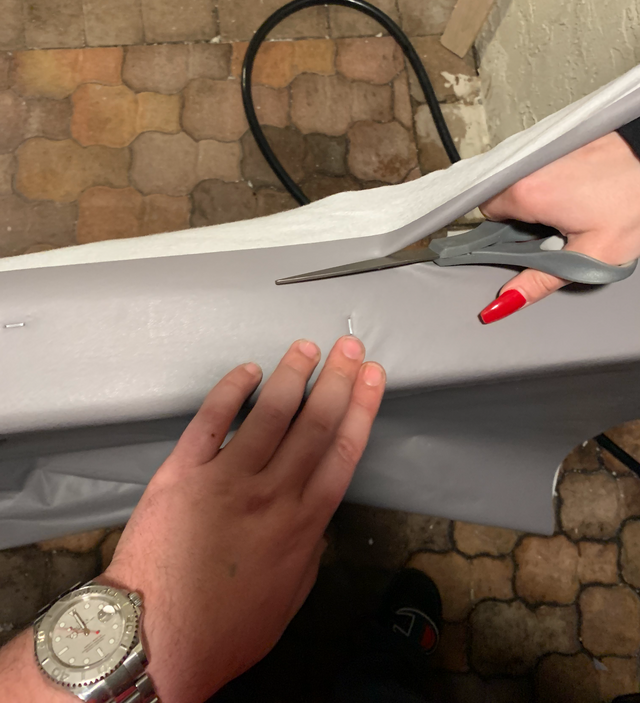
At this point it was time to stretch and staple the rest of the canvas on to the shell of the hot tub cover. Liz and Baby took a step back and squinted at how janky it was looking. They didn't see the vision I had for this.
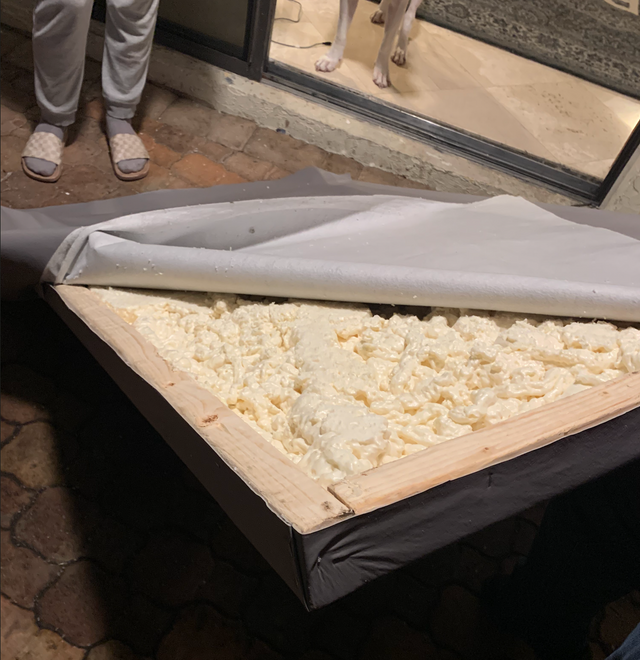
They were not wrong though, the foam was so wavy that it looked horrible.
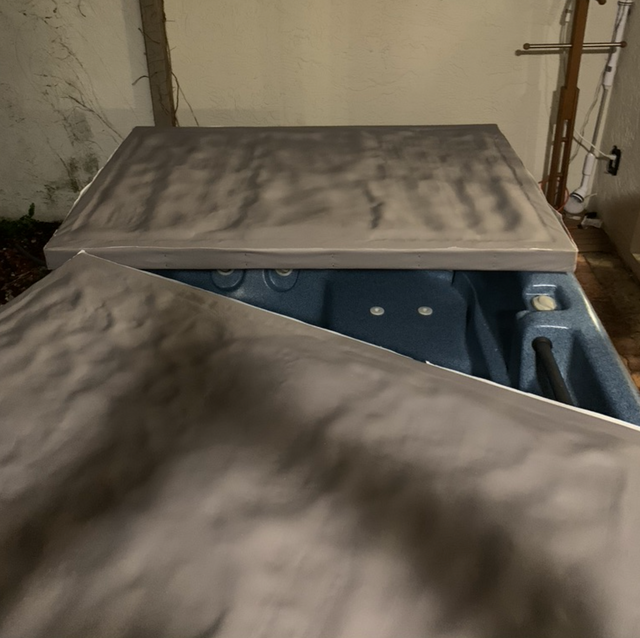
We had a functioning hot tub cover at this point, but nothing that met my "homasis" standards. Regardless now I had an insulated cover to keep the heat in and debris out using minimal material. I was extremely happy with it so far and kinda surprised I was able to think this up.
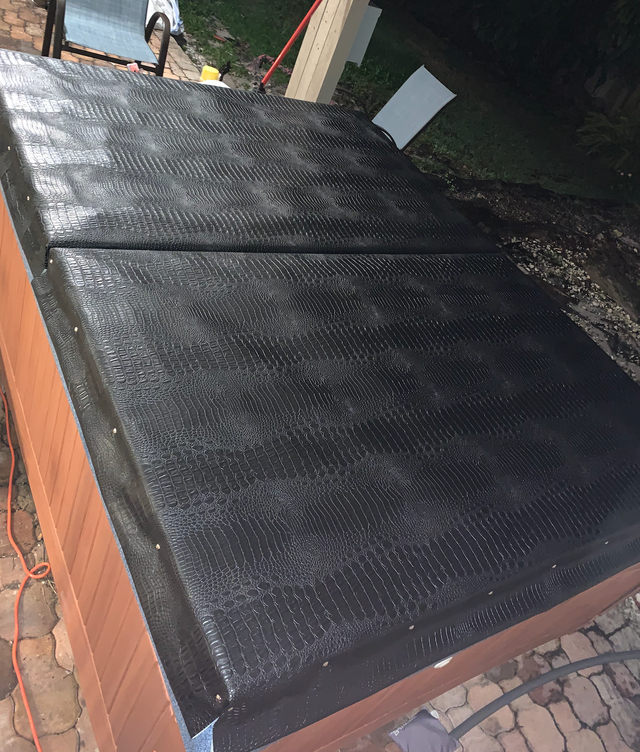
This is where the project jumped into over drive and I really stepped it up. I was able to find some amazing fake alligator canvas at my local fabric store. Why alligator? Because I am in south Florida and the wavy pattern alligator naturally has would help hide the waves of the cheap foam I used.
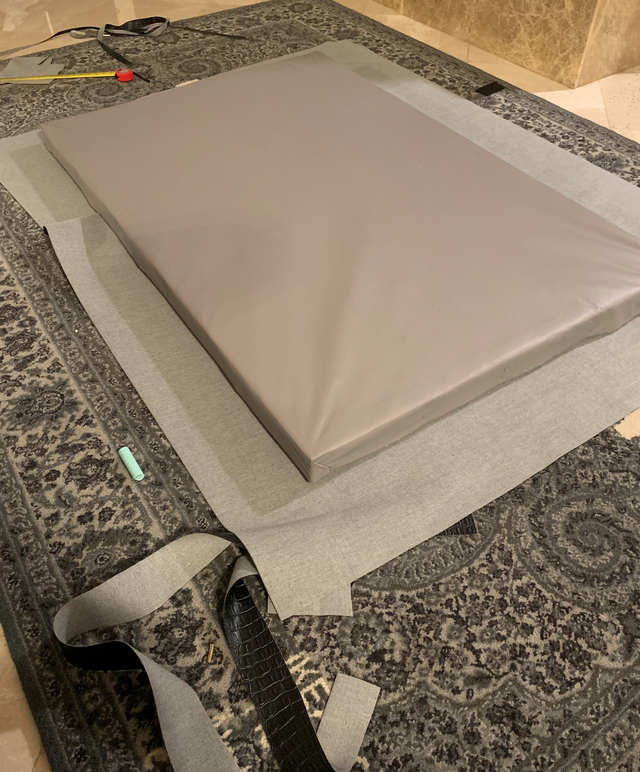
So I measured it out and left enough extra material to fold over and leave a skirt around 3 sides of each half of the cover.
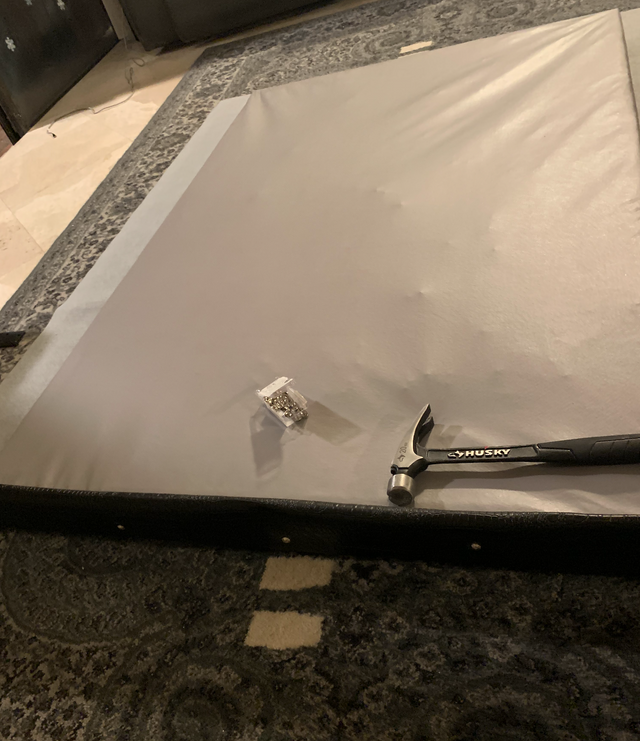
I simply used furniture finishing nails to tack the fake alligator skin all the was around the 3 sides with these little skirts hanging down.
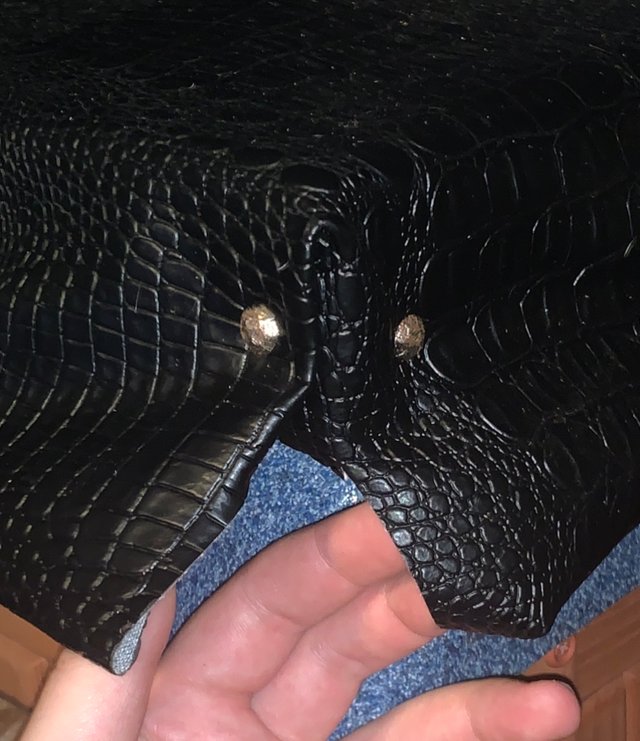
As you can see the skirts are nothing special or difficult to do, but they really add that extra seal to the cover and make it look professional.
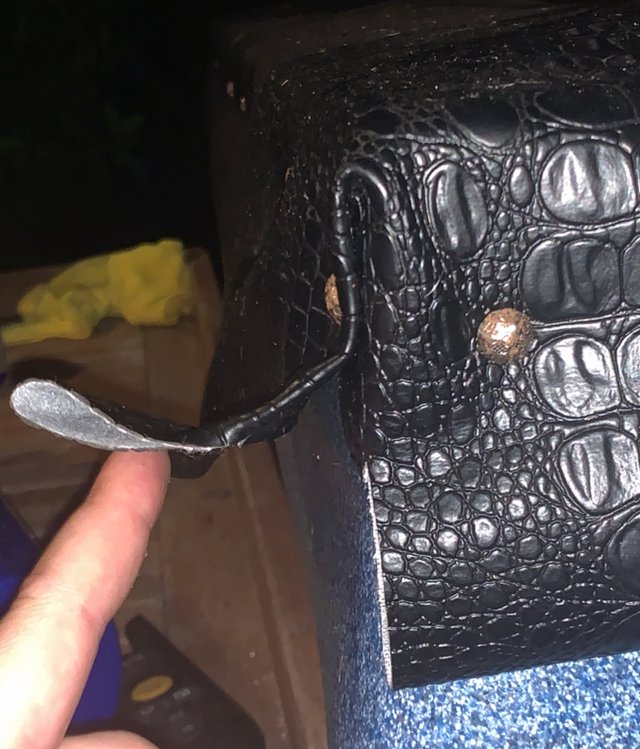
As you can see the gray marina canvas is on the bottom part that covers and comes in contact with the water and the alligator covers the rest.
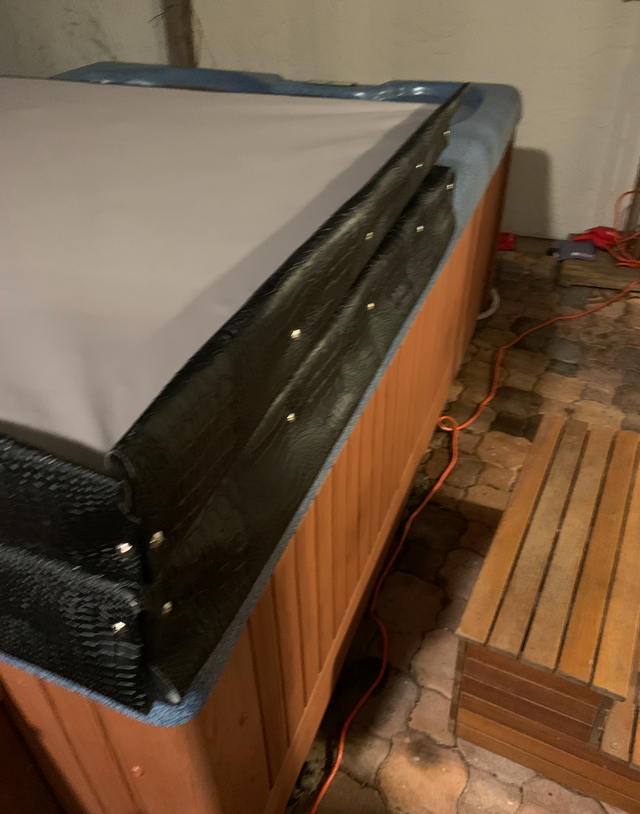
I was going to put hinges on the two halves at this point, but I realized its much better without anything attaching the two sides. If you have ever moved a traditional hot tub cover around you know just how big, heavy, and bulky they can be. This cut that issue in half!
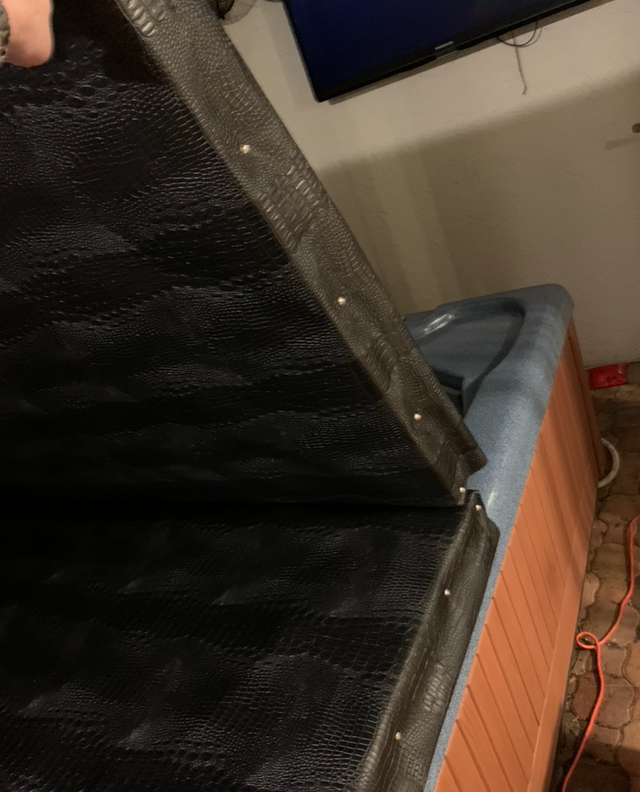
And just like that, the cover was done and the hot tub was ready for some fresh water and a test run.
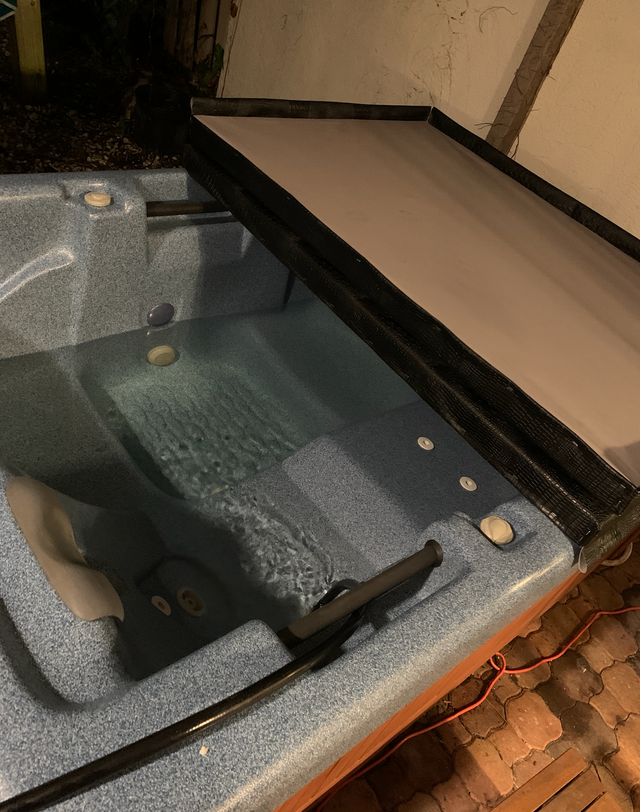
This is my finished home made alligator skin budget hot tub cover.
It works perfectly!
No more debris so the water is always clean!
No more water evaporating so it's always full!
No more heating water and the rest of the world so my energy bill is not crazy!
I truly am amazed with myself on how this turned out and it works just as good if not better then one I could've ordered from the store. Not to mention they didn’t offer alligator canvas at the store.


I've been enjoying following along with this project. Super cool man, I love the ingenuity!
Thanks man! I can’t wait until I own A piece of property of my own to really kick the projects up a notch.