Latest Project - Trailer Build
This is the latest project I've been working on that's been keeping me pretty busy for the past couple months. I've been wanting a multi-purpose utility trailer for years for hauling everything from steel and lumber to tractors and cars. It's kind of a drag when you're always working on projects and you don't have anything to haul the materials around with. Finding someone to haul a purchase for you at 10 pm on a Saturday night from a sketchy part of town is a bit of a difficult proposition, so having a trailer to do it yourself makes for a lot lower stress, and over time, a lot less expensive logistical operation. I think the final result is pretty nice looking so I thought I'd share here on Steemit.
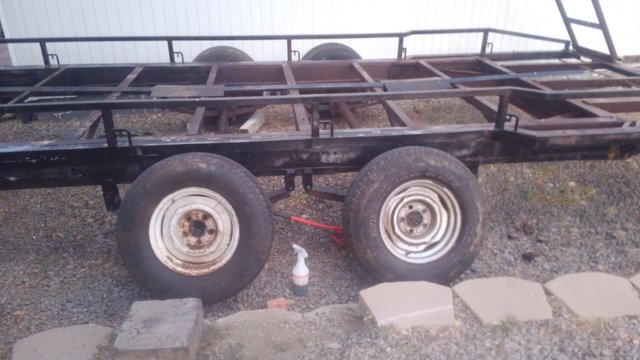
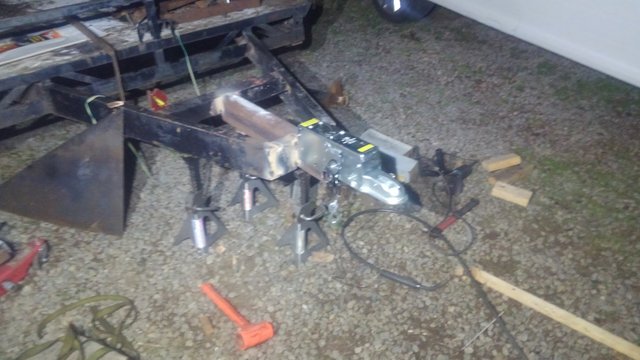
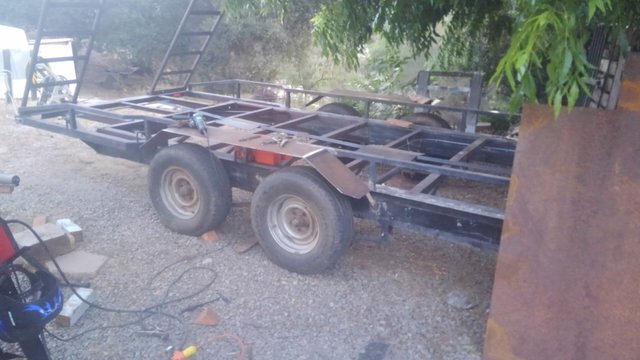
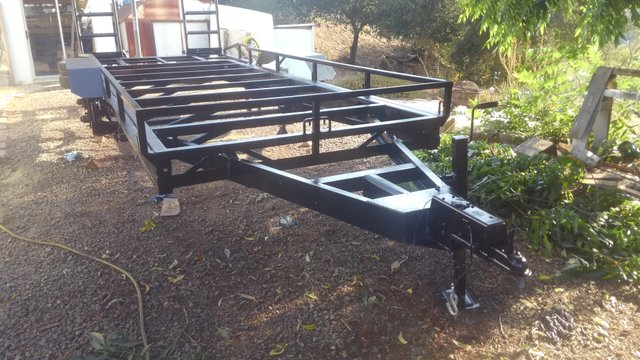
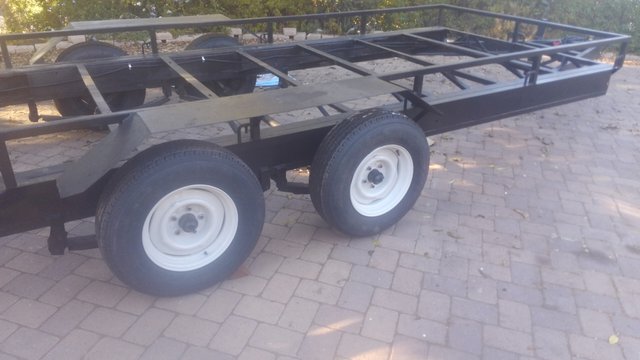
This is how the trailer roughly started out. I realized after I was half done with this project that I hadn't snapped any photos of it the day I brought it home. You'll get the idea though from some of the pics that I post here. I've already removed the remainder of the deck at this point, but the plywood deck was half burned off and the rest was rotting off from exposure to weather. Other than just needing a good paint job and some new tires, there were no brakes, the coupler wasn't working right and the ramps were frozen in the up position. There were some good bones here though, so I decided to move ahead with the purchase anyway.
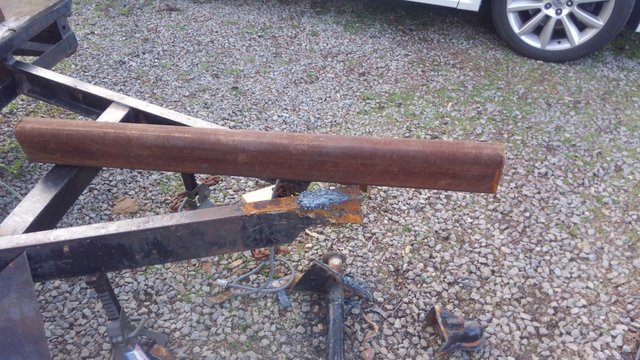
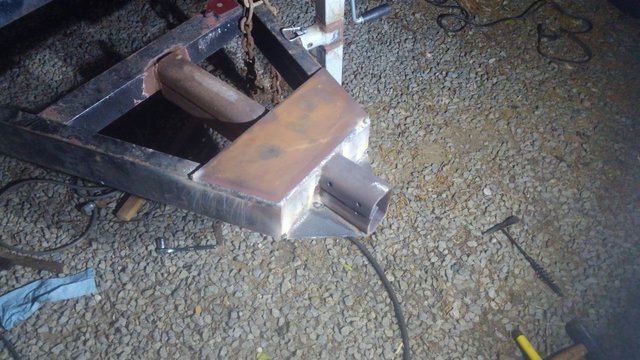
Here's the first and most important modification I made to the trailer. I modified the tongue to accept a hydraulic actuator for applying surge brakes. First I hacked off the existing coupler and jack to make room for this piece of quarter inch wall four by six tubing.
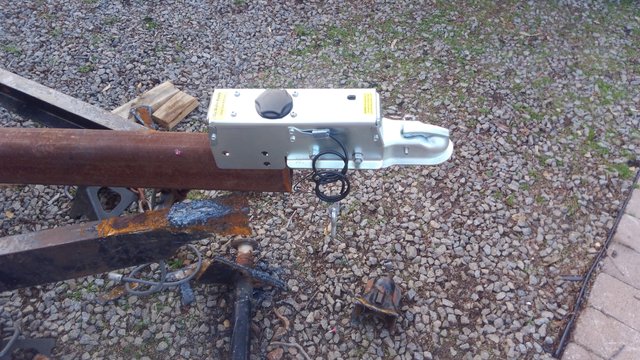
This piece was necessary to accept the bolt-on hydraulic actuator as you can see illustrated above where I mocked it up to show a friend I was trying to explain it to.
This is the basic conversion completed. Notice the remnants of the old plywood deck in the background before I tore it off. I used some of the pieces of frame rail that I had cut off to make a ninety degree cross member and welded it into the piece of channel and the main frame rails. I think with the tie-in to the other cross piece in the A-Frame this was probably strong enough for pulling the trailer, but after staring at it for a while, I became concerned with strength related to up-down motions and when the trailer was pushing the coupler toward the truck during braking, so I decided to strengthen it further.
Notice the trapezoid-shaped gusset at the top and the two triangular gussets at the bottom of the nose of the A-frame here. This addition of eighth inch plate steel gussets put my mind at ease, considerably strengthening the whole assembly. It should take whatever abuse I can throw at it now.
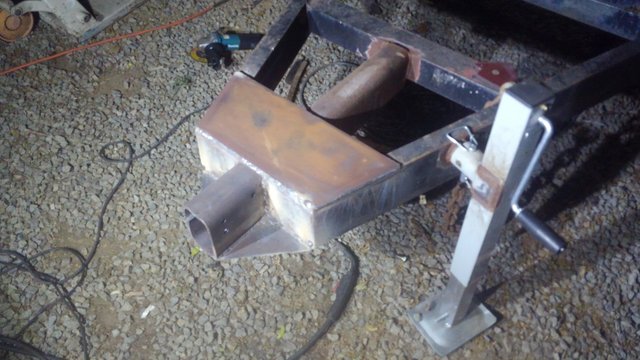
The original jack was the fixed type that goes right through the nose of the A-frame just behind the coupler. I didn't like this setup for several reasons. First off, it makes it impossible to use the trailer with the tailgate on the truck down due to the fact that it will hit when the truck and trailer turn together. Sometimes when I'm backing up in rough terrain and visibility is a problem, dropping the tailgate is pretty critical in being able to see everything better. Not only this, but because the jack was fixed in an upright position, it had to be cranked by hand all the way up and down every time the trailer was hooked up or taken off the truck. This is merely an annoyance, but it really does cost a lot of time if you're in a hurry. Off all that junk went and on went this swing-away jack I bought at Harbor Freight. Once it's a half inch off the ground and the weight of the tongue is on the truck's hitch, you can pull a pin and swing the jack away, and none of the jack protrudes above or below the frame rail except for the handle, which rotates away if it comes into contact with an off road obstruction, so it's a non-issue.
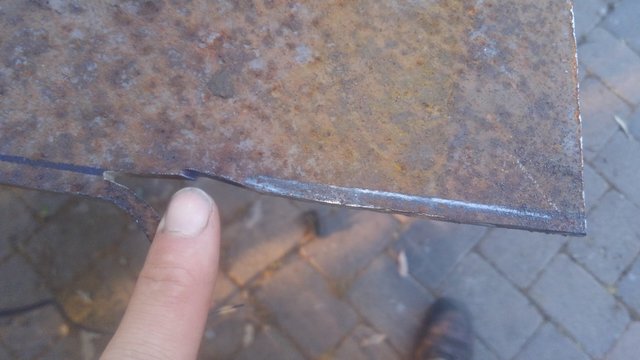
Since I had some momentum going with fabrication, cutting and welding, I decided to put some fenders over the wheels. I searched around for some pre-fabricated sheet metal fenders, but I couldn't find any that I thought were reasonably priced, so I decided to make my own. I used some damaged and corroded plate steel to make them out of since the fenders are not structural and it was scrap price at the steel yard. I had some problems cutting it as you can see here. I think it may have had some heat damage at one point because my cutoff blade canted off to the side by itself. I'm assuming a heat cycle with a quick quenching from maybe rain or a fire hose caused variations in the metal's hardness. It also wasn't the easiest to weld it with all of the corrosion that had built up, but in the end they're very stout fenders for a very low price that look just fine for a utility trailer. As an added bonus, the pitted corrosion in the steel makes for a nice grippy surface should I decide to use these to stand on at some point.
Here are the fenders completed. Just like the tongue, I think simply welding these in place made them plenty strong, but I knew from past experience on one of my father's trailers that if I were to stand on them, they'd probably bend downward over time. I added three forty five degree braces out of some scrap I had lying around to make sure that doesn't happen.

Next step was bolting the actuator/coupler to the tongue. At first I drilled and tapped holes directly into the steel, but the threads were pulling out when I tried to torque them down, so eventually I put through-bolts on to hold the actuator in place.
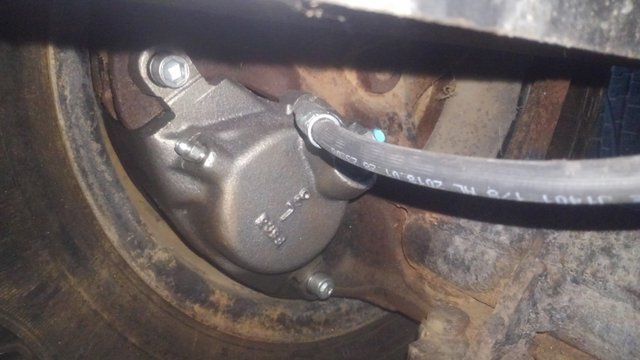
I knew the person who made this trailer originally used spindles from a car or truck to build the axles out of. I pulled the casting number off of the old brake rotor and found that they are off of a 73-87 Chevy/GMC C10/C15 or one of the half ton vans from those years. I ordered new calipers, flex hoses, rotors and wheel bearings and installed them. The spindles were fabricated upside down, so I had to flip the calipers to get the bleed screw to the top, allowing me to get all the air our of the caliper during bleeding. I had to go at the casting with an angle grinder to make them fit, but I was able to mount them up just fine after doing that, as you can see above.
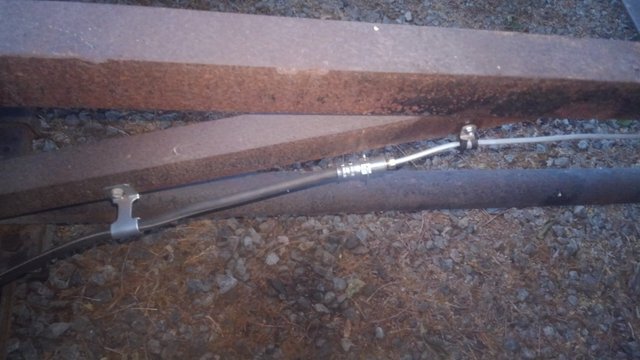
Here are a couple more pictures of the brake lines I plumbed up to complete the braking setup. When I lived in Western New York, with all of the salt they spread on the roads to melt snow in the winter time, I did a lot of work on vehicle brakes because they would rust right through after about ten years of exposure to those conditions. Since i moved to California, I haven't had to bend up a single set of brake lines since, until now. I was happy to see that some things have changed in the supply chain on this stuff. It used to be that you had to go to the auto parts store and buy pre-fabricated lines in various lengths, then splice them together to achieve the length you needed, completing the job by cutting off the end of the last segment to the proper length and using a flaring tool to re-apply the fitting. Obviously this was a real pain to put together and left a lot of points of potential failure with all of the fittings needed to join all of the pieces.
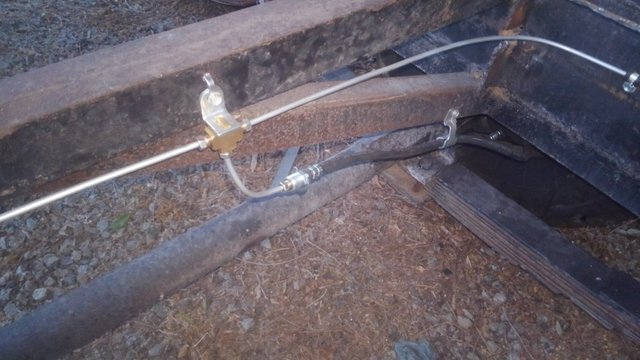
This time around, I was able to buy a fifty foot coil of three sixteenths steel brake line and make it the exact length that I needed, with one fitting at either end. Then only two more shorter lengths were needed to go to each wheel's flex hose. The kit I bought had more than enough of every fitting necessary to complete the job, and it cost me about the same as one four foot length of brake line and a fitting used to. The only other thing I needed was this tee fitting seen in the second pick to distribute the brake hydraulics from one side to the other. This smaller number of fittings made it much easier to complete the job and chase down leaks at fittings. I did have to re-do one of my flares, but otherwise the job went very smoothly.
Once the fabrication was done, I primed and painted the trailer. It was cheap enamel from Tractor Supply, but it turned out pretty good I think.
 !
!
Once the paint was done I wired up the trailer lights and installed LED's all around. The marker lights at each corner are very inexpensive tiny lights but they're very bright compared to the old style incandescents. No mounting screws necessary, they just install into three quarter inch holes I drilled using rubber grommets.
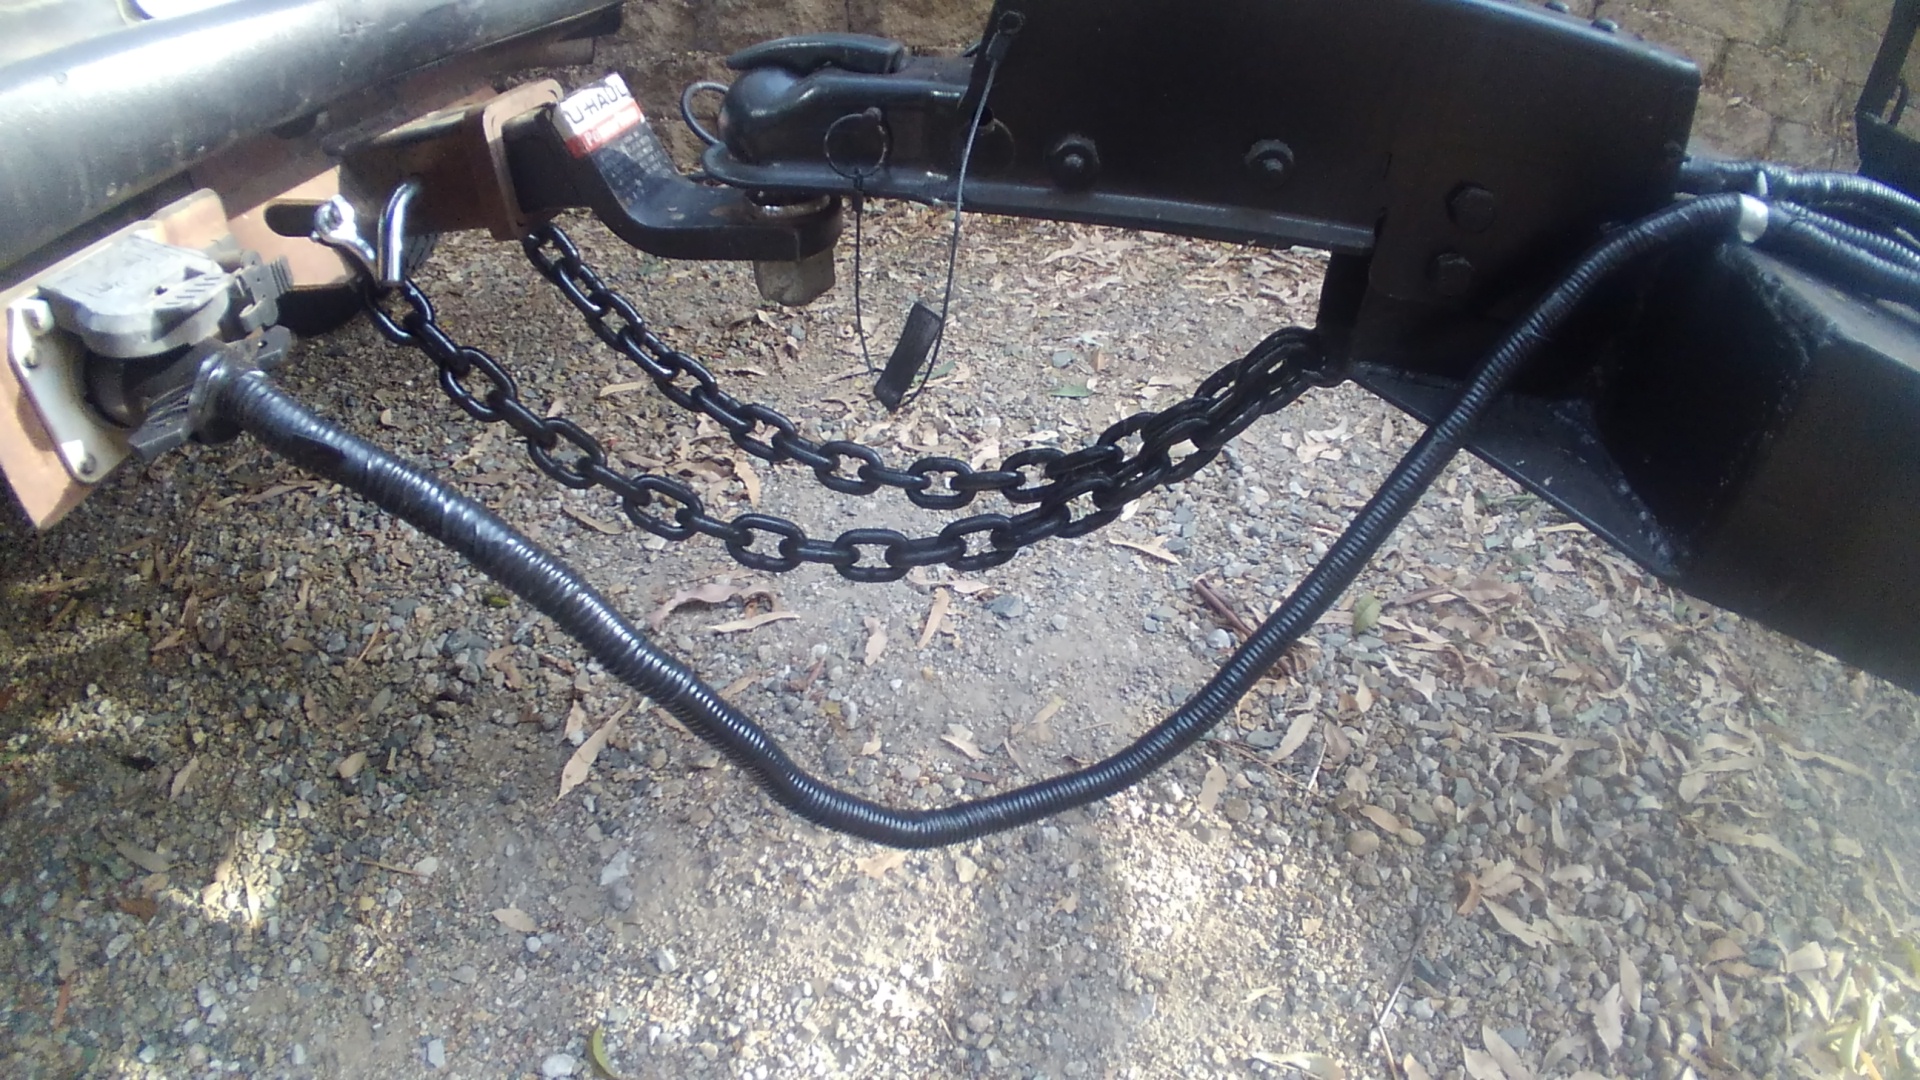
At the nose here you can see the wire loom I used to tuck the wires into as they come out of the seven blade connector. I was also able to source this very inexpensively online, and it gives a nice OEM look to the completed project. I had also forgotten to do safety chains when I fabricated the nose, so I cut those to length and welded them on as well. I used 3/8" chain with 3/8" bow shackles to fasten them to the hitch. I just had a length of chain laying around so I used this one, and it might be the heaviest safety chain I've ever used on a trailer this size. It works great and I know it will hold if my coupler ever works its way off. There's also a safety catch cable for the brakes, seen in one of the earlier photos, that will lock them up if the coupler comes loose and draws it tight, so this is a really good setup for that eventuality.
Next I installed new trailer tires because every single tire was an SUV/Truck tire and they were slightly different sizes due to brand variation. Once the tires were mounted I painted the wheels Ford Gray. I wanted to do silver, but Tractor supply didn't have any, so I went with this. It's hard to see in this photo because my camera lens was dirty, but they look like new now. This is also the same house brand of enamel from Tractor Supply. It seems that this color of paint is a much higher quality than the black, which is weird considering it's the same brand. I'm not complaining though. It looks really nice.
 !
!
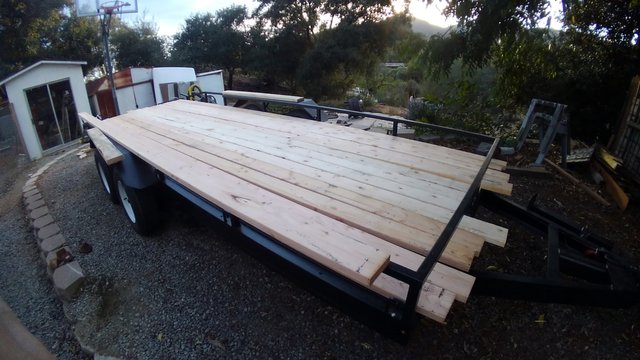
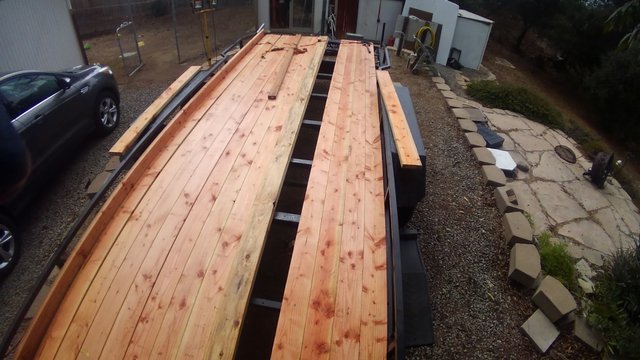
Here are a few stages of laying down the deck. I used an excel spreadsheet to figure out which 20 foot length of two by lumber (2x4, 6, 8 or 10) was the least expensive and settled on 2x6 fir lenghts. I save about $50 over any of the alternatives by going with the 2x6. I didn't want to spring the extra dough on the treated lumber either, and I had some Thompson's water seal laying around, so I treated the boards with that before I screwed them down.
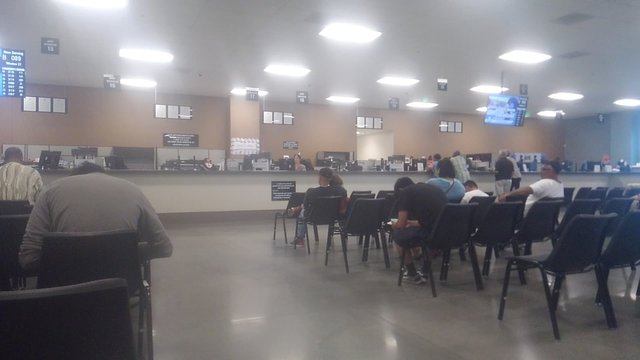
Once everything was done it was time to sit around in the DMV waiting to register it for a couple hours. I slapped on some reflective DOT tape and drove the trailer over there this afternoon. Hurry up and wait. I was surprised to see that they were open all day Saturday though. This made it a lot easier to get the time to do this.
 !
!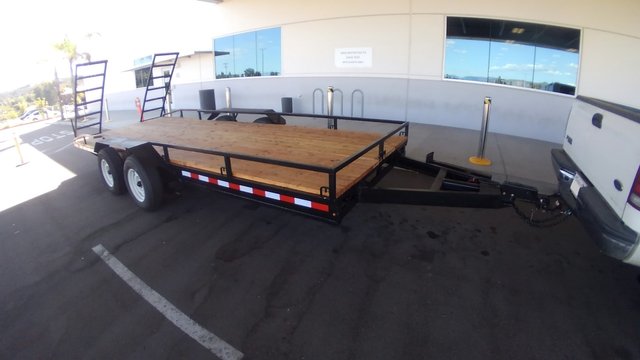
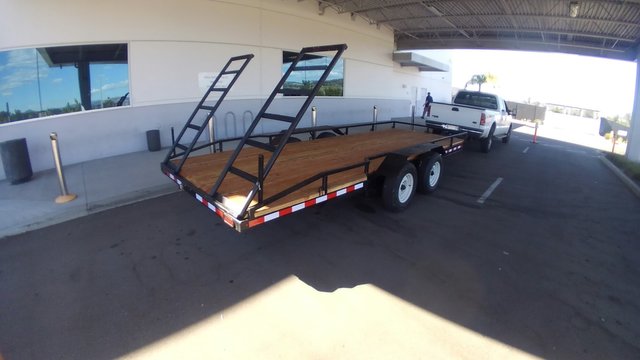
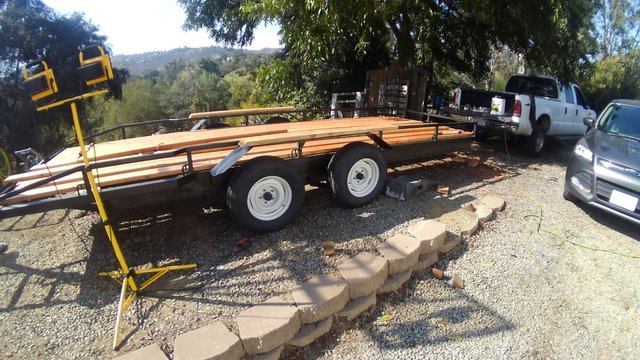
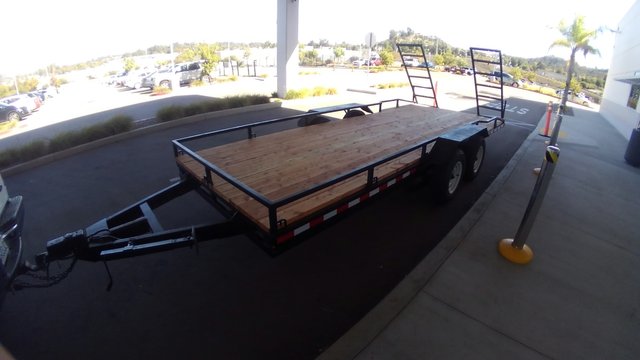
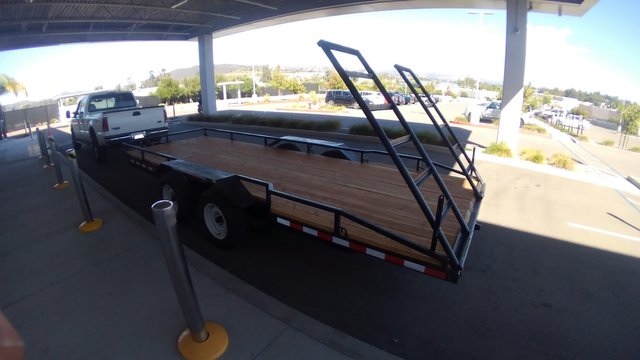
^^^The final result! While I was waiting for them to do an inspection I decided this was a good opportunity to snap some pictures. It's always amazing to me how nice some old rusty piece of junk can look with a little bit of money and elbow grease. It's also really nice to think that my time and effort counted for several thousand dollars in savings over even a used trailer in roadworthy condition. I've got the piece of mind of knowing that this setup is plenty strong for what I'm doing, and because I've already completely rebuilt it, it will be a trivial matter if anything needs repairs. Two years in the making and it's finally done!
Hi randr10,
Visit curiesteem.com or join the Curie Discord community to learn more.
Thank you!
Nice work. How much was the cost after it was all said and done, if you don't mind me asking?
I estimate it cost me around $1800 in total.
Nice.
You did an excellent job. Congratulations!
Do you plan to use it only for your personal needs, or do you plan to put it to work as well? If you had that problem before, someone probably has it now too. This is how businesses start.
Thank you for the kind words. It's for personal use only, but I'm having a hard time distinguishing between personal time and work time these days ;).
That is a great project, it is nice you have captured everything from beginning till the end result. I can imagine how much efforts and time you had to invest in your project. You stay very consistent and the end result look really beautiful. I can imagine that you were very proud of your work, my congratulation and you might be glad that this hard work is finished now :)
Thank you for the kind words.