Build the Wall - Part 2
I just looked at Part 1 and realized just how long it's been since I've posted. Looks like the wall is having the desired effect. I'm actually getting some work done now. Save for the door, the rest of the work on the wall was done as of the earlier posting. Once it was completed, however, I ended up focusing so much on work that I kind of forgot about it until now. So here's the final in this 2 part series.
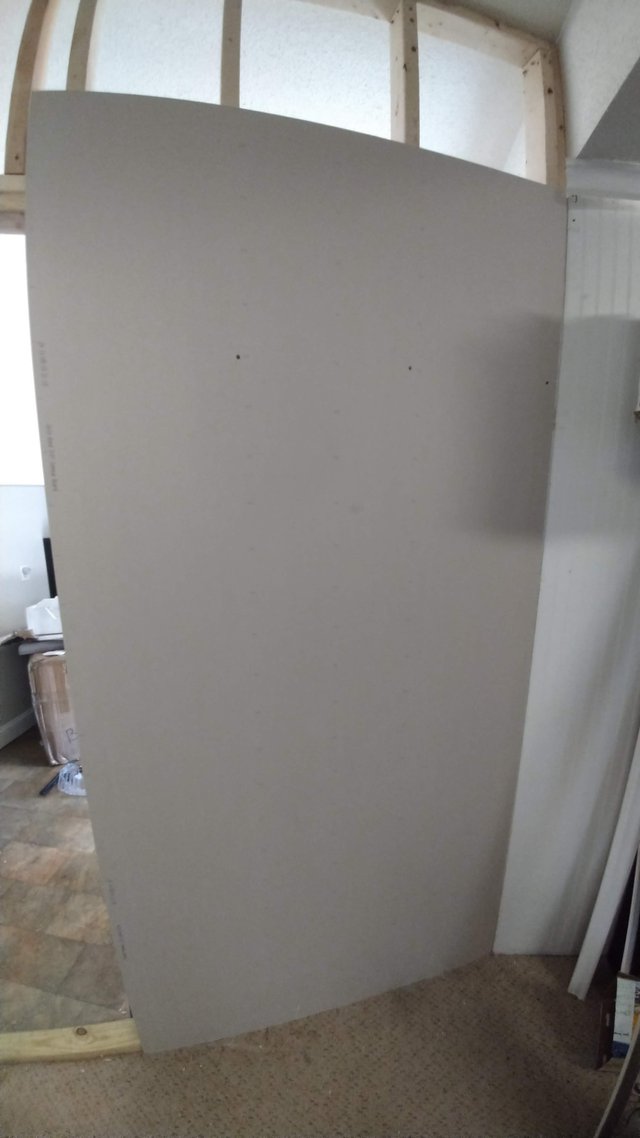
This piece was the easiest. Because of the spacing on the door to the other partition wall, this piece was just the right size as-is to squeeze into the space.
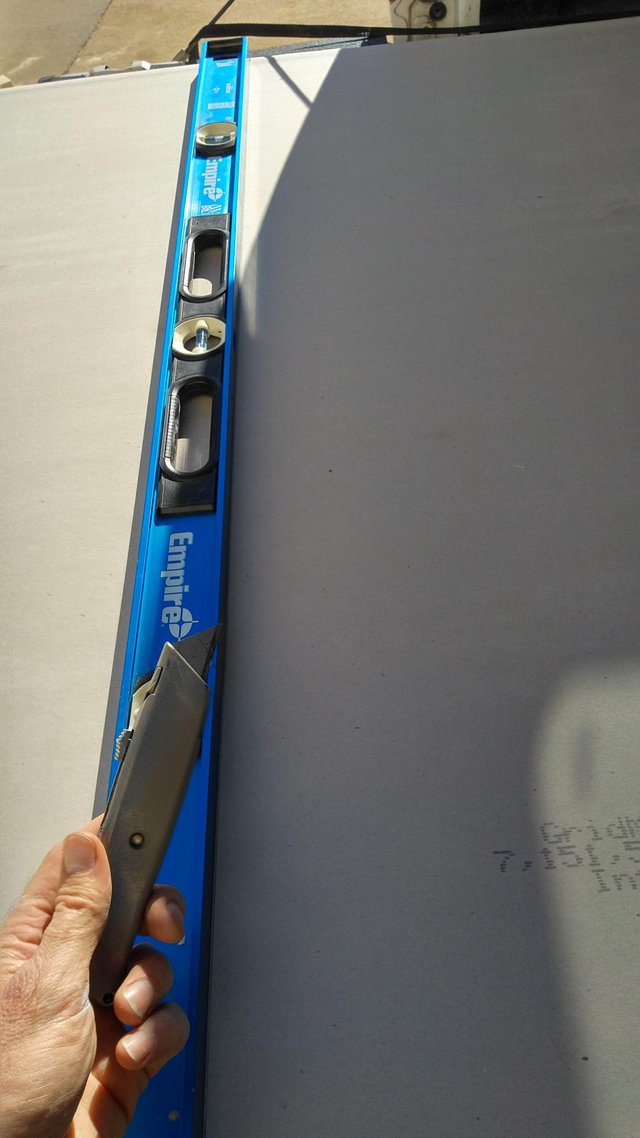
I realized after I got home with the drywall materials that I didn't have a proper t-square, so I just used this 4-foot level as a straight edge. I highly recommend a t-square. It makes this job so much easier. It's actually pretty easy to cut drywall when it's not screwed to a wall. You score it down one side like this, and then break it along the score mark like when cutting glass. The difference being that with drywall you still have to cut the paper on the other side that's still holding it together. I couldn't get a shot of this while holding the piece and cutting it all at the same time, but basically you just bend it enough so that it makes a sharp corner, and then you thrust the utility knife along that seam. The cuts are often a tiny bit off in areas when using this technique, but much cleaner than using any kind of saw.
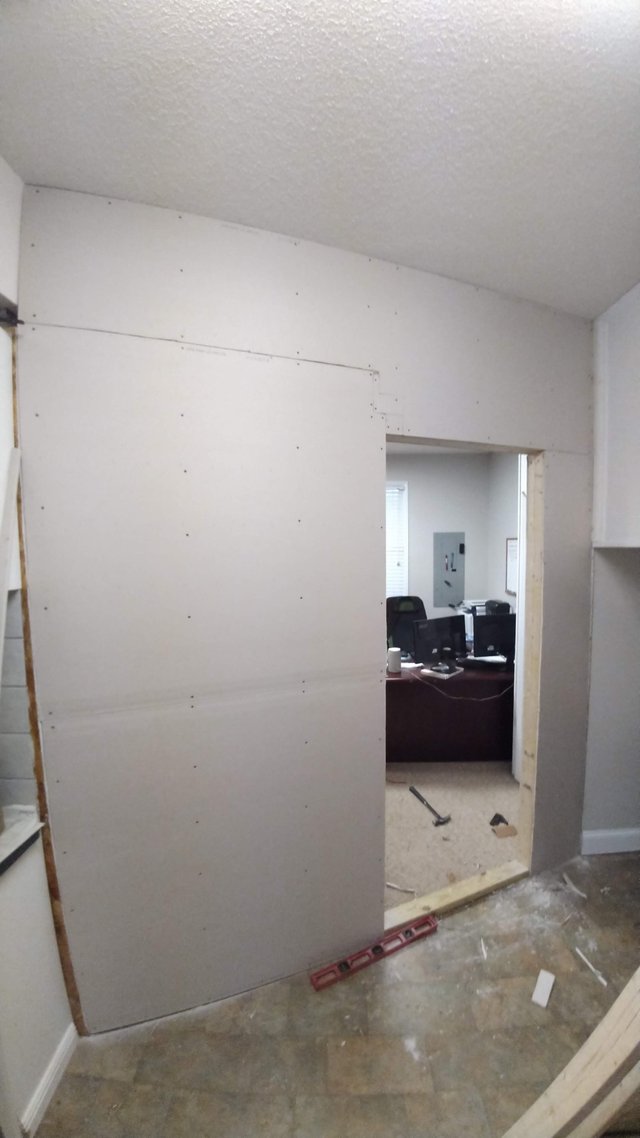
I bought just barely enough to cover this wall via a square footage calculation, and as such, I had to play a little bit of Tetris with the leftover cutoffs to complete the top portion. I even broke one of the sections on the right there when I tried moving it after the cut, and this made the problem worse. The resulting joints are called butt joints and are notoriously difficult to cover with joint compound because they have no recess at the edges like two factory finished edges together. Considering that this is such a temporary wall in an already "finished" garage area, I'm not too worried about cosmetics and so a little imperfection in the finished product makes this acceptable. If you were doing something in a permanent living space you'd want to avoid those as much as possible.
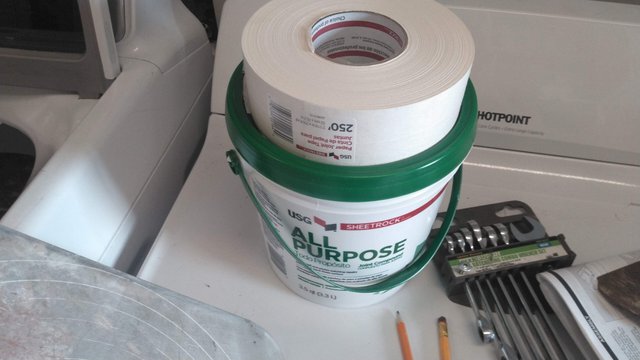
Here are the materials I bought for taping and mudding the joints and screws. The word mud is used interchangeably with joint compound for those that work in the trades. I'm no expert at this but I'll give a run down of the basics anyway.
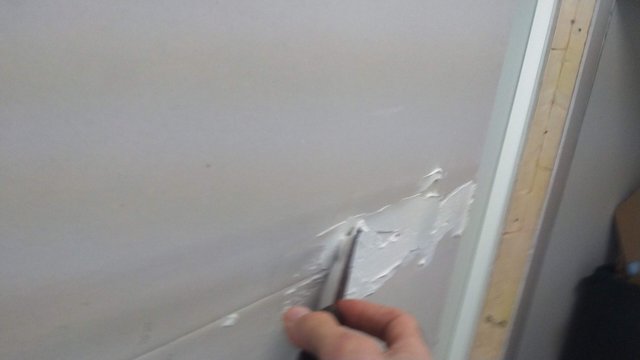
I've seen tape applied with a special trough that loads the tape itself with mud and you just mush that into the joint to apply it. The other technique as seen here is to mush the mud into the joint first, leaving some excess, then applying the tape over it.
Once the mud is all on there and smoothed somewhat, on goes the tape. I haven't developed a great technique for this, but the idea is to both squish some mud down into the joint seam and squish out all the excess that would otherwise sit proud of the wall. The main thing to remember here is that the drywall mud is not to be used as a sculpting plaster, just as a filler. This means use as little as possible and then apply in subsequent coats until you've got something relatively flat.
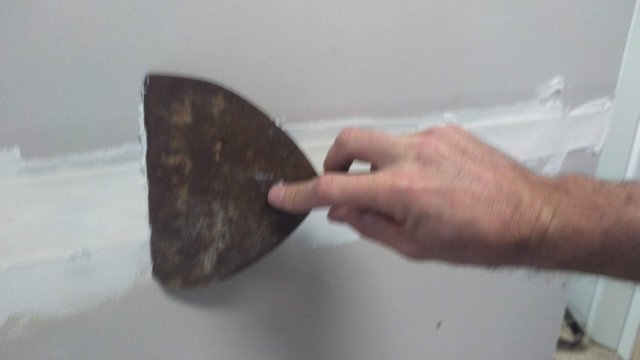
Here I am scraping before the second coat after the first one dried. The first one takes about 24 hours to dry unless you use the quick-setting catalyzed kind. Anyway, once you're ready to apply the second coat, again I'm a newb here being instructed by others, the idea is to knock down any nubs and imperfections sitting proud of the surface with just the drywall knife here. This isn't like finish sanding here, it's just getting the material off that might break off and sully up your next application with chunks that will leave gouges in the mud.
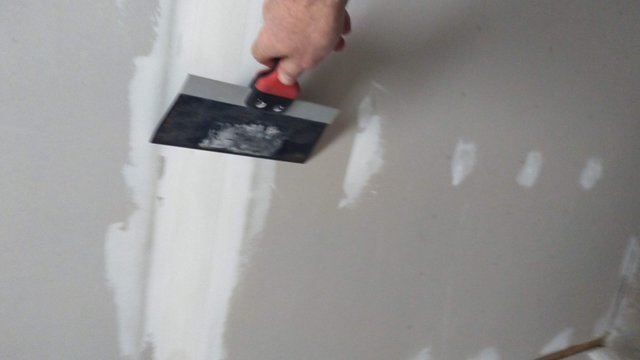
Again the mud is first pressed into the surface to fill any voids and then scraped off. It's important to leave as little excess as possible when doing this so that you don't have to scrape or sand it off later. I found this out the hard way when I was young, and no it is not fun to have your eyebrows and hair covered in white powder that makes you look like jack frost. A little dab'll do ya here.
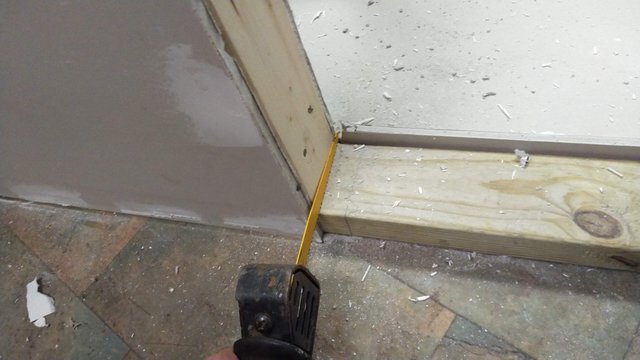
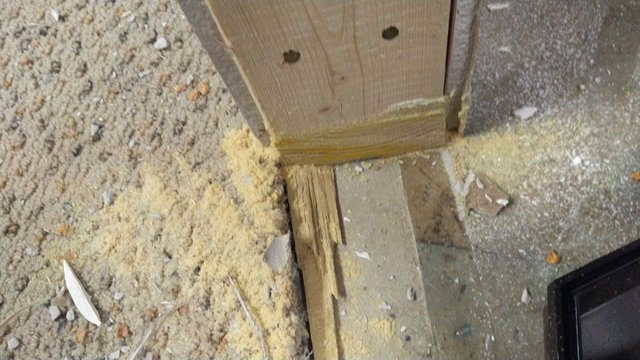
In order to hang the door, I had to cut out this portion of the sill plate. I just took the reciprocating saw with a wood blade in it and cut both sides as much as possible without damaging the floor. After knocking it out the remaining little slivers were taken care of with a wood chisel.
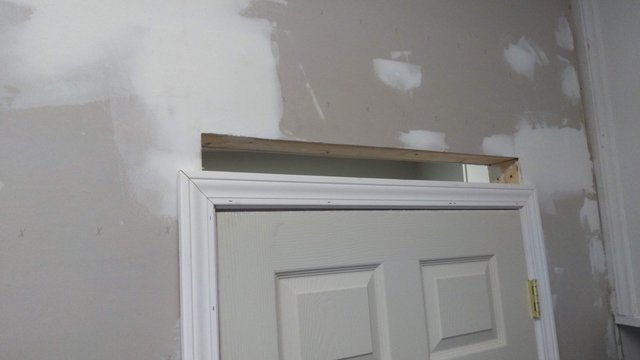
So I got to a point that I thought was 99% finished on the drywall (3 coats) and decided to hang the door when I saw this. I'm not sure how I got this far off on the measurement, but my opening was about 4 inches too big for the pre-hung door I bought. Doh!
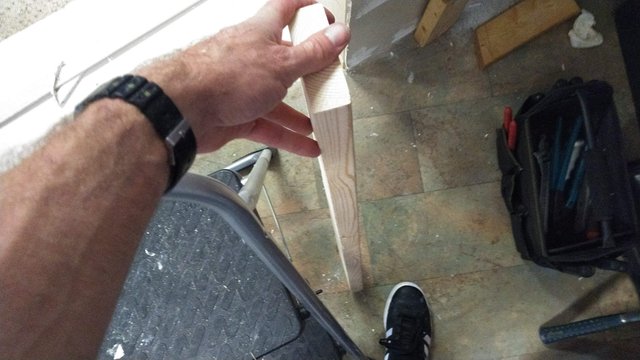
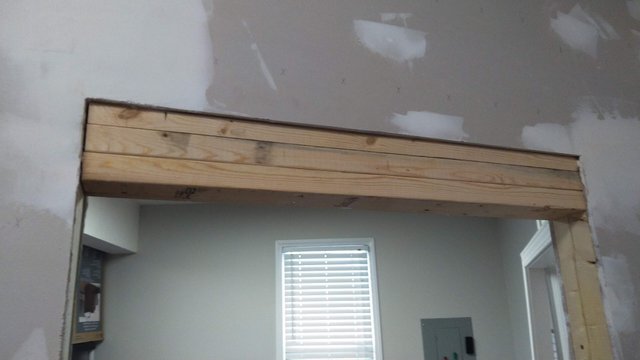
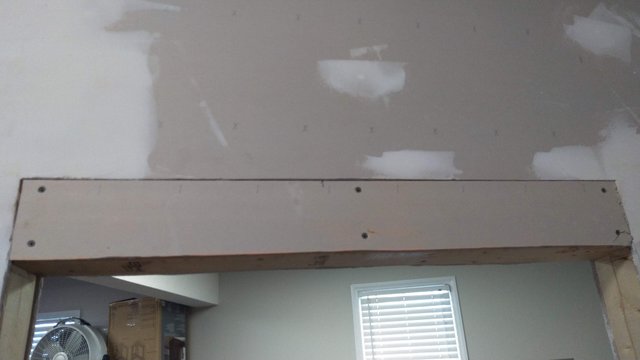
So I ripped down this one 2x4 and stacked two more on top of it to make a new door header.
Screwed on some new drwall and then started the whole mudding process again.
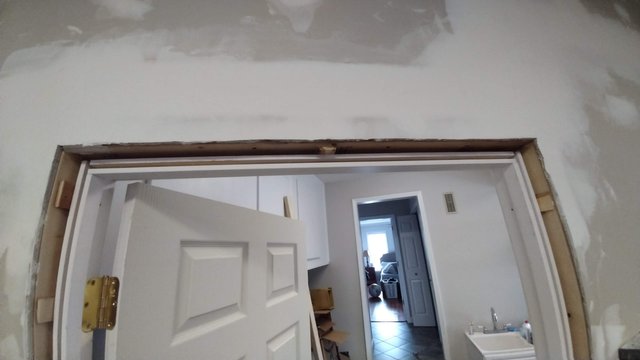
Two days later, here's the door going in. This one came manufactured in two pieces with the trim already attached. You shim the side that the door itself is hung on and nail everything into place first. Then you slide the other half into the dovetail then nail it to the other half and nail the trim to the wall. The end result looks like a traditional one-piece door. Pretty neat.
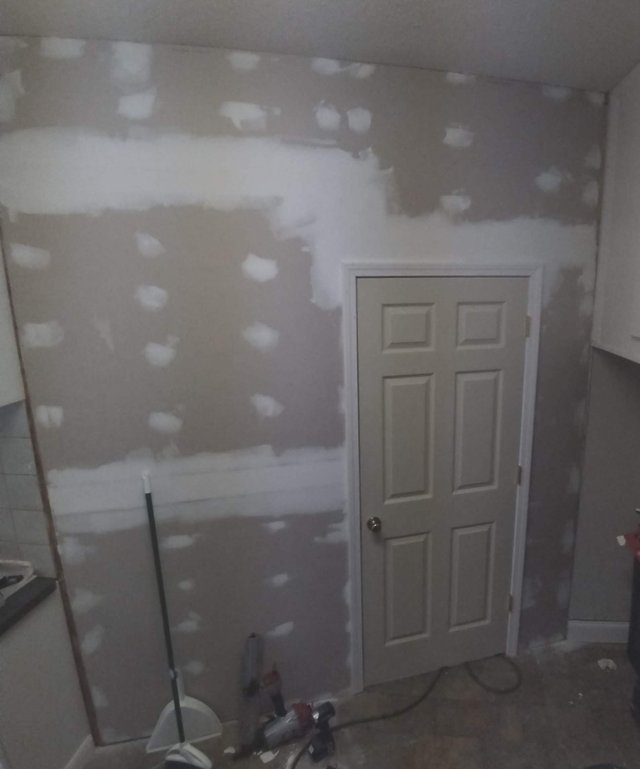
Here's the "finished" product. It's not much to look at, but it's a solid wall, with a door, and a locking knob. Now I can have some privacy while getting work done. When I get some time I'll throw some paint on there and maybe trim out the top, bottom and corners. Until next time, Steem On!
That came together pretty well. :)
#posh https://twitter.com/RandR10/status/1216501102826356736 https://www.facebook.com/randr10/posts/10218197727992564