Chainmaille Tutorial pt. 2: European 4 in 1, Stitching Together
Here's how to stitch together ribbons. If you need the tutorial to make ribbons, you can find it here:
https://partiko.app/protodog/chainmaille-tutorial-european-4-in-1-mvij7n7x?referrer=protodog
Because this post got so long, the common errors and how to fix them will be in the next post.
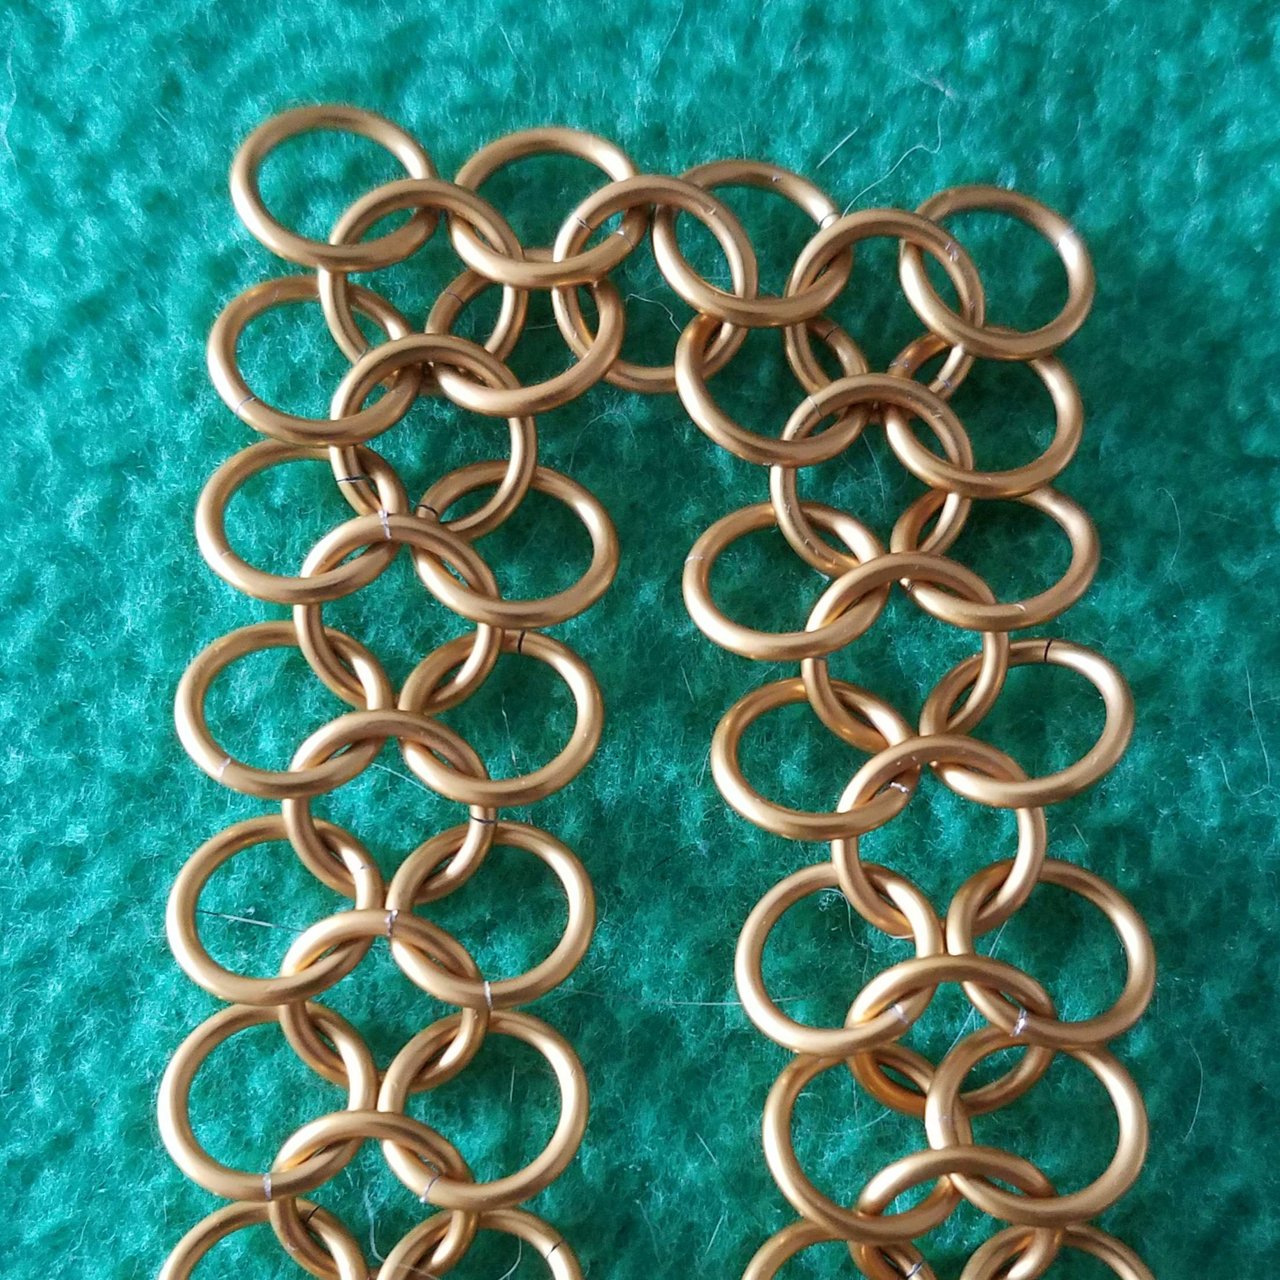
First, line your two ribbons up the same way that you would line them up to add more rings to the end, bottom of the rings on top of the base rings, and tops behind, like so:

Personally, I like to put one ring in the top four to keep the pattern stable, but you can start with the top two if it's more comfortable. Simply put an open ring through the second set of parallel rings, then through the first.


The rings should make an arrow stack of four when you pick them up, like this:

When you spread the runs back out, it should look like this:
Next, place a ring through the top two rings.

Then you should have something that looks like this:

Here's the next ring down, shown with better clarity.


Another way to think of linking these is by stacking the four rings and placing a ring through the gaps, like this:
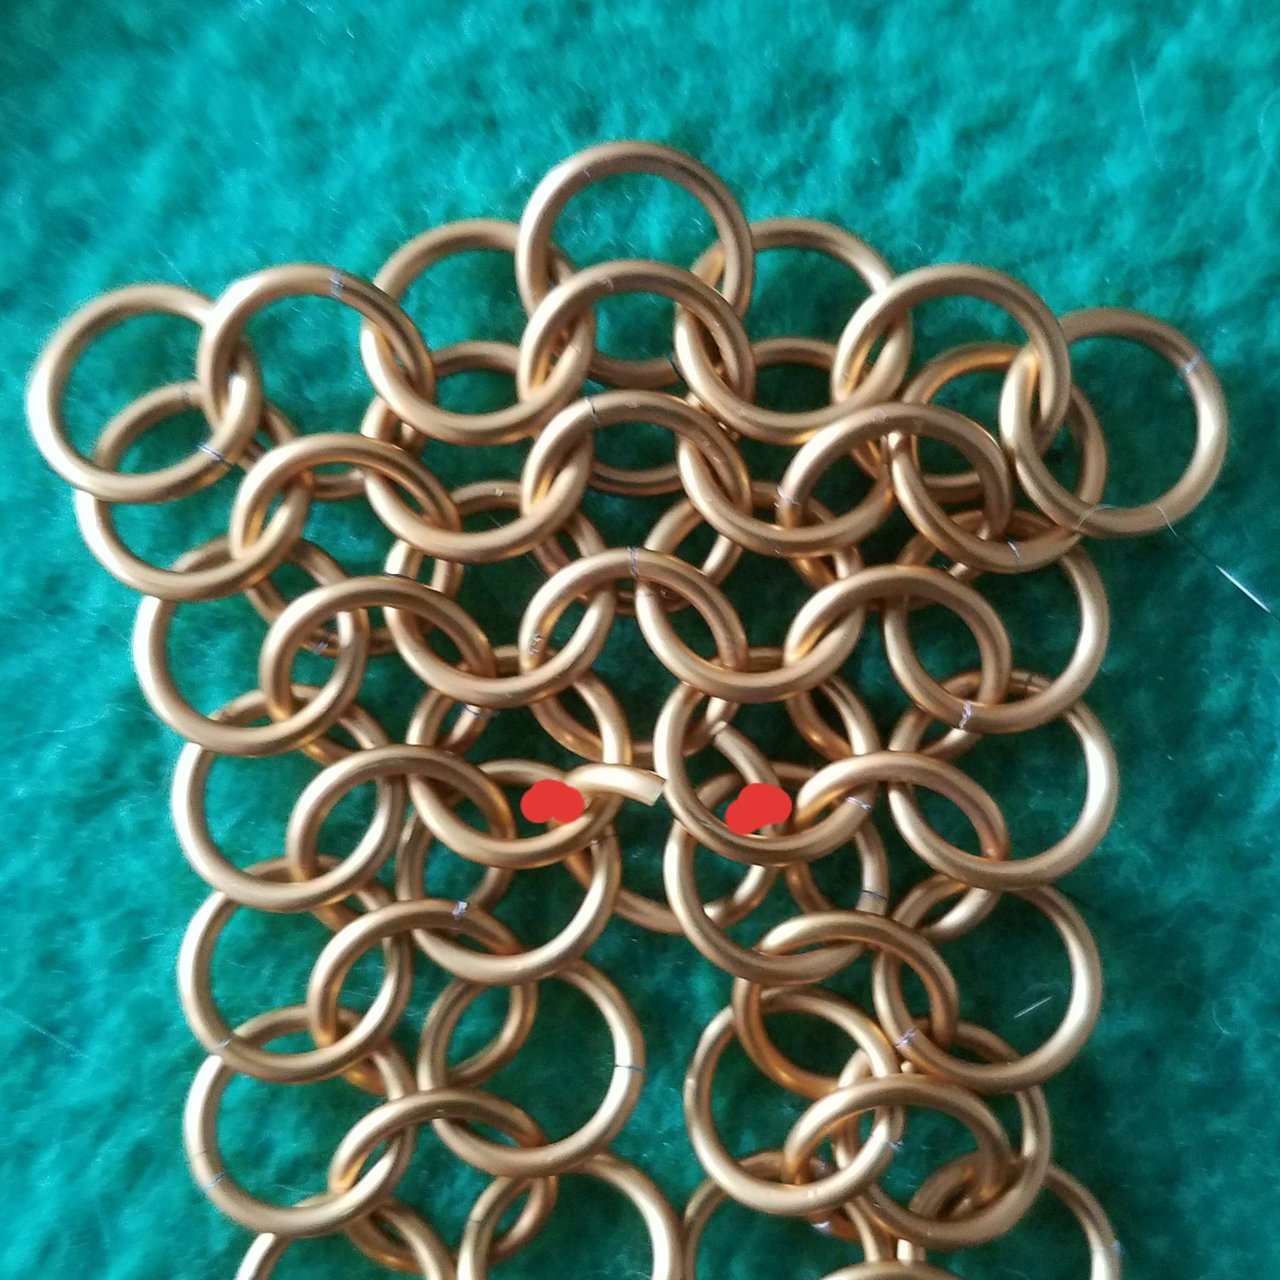
Conversely, you stack them two at a time, like this (the bottom of the open ring is marked with a red dot for clarity):


Now continue this pattern in the way that best suits you until you reach the end. Then, simply remove the last ring, add two closed rings where you need them on the remaining stretch of ribbon, and repeat!


Ta-da!
Posted using Partiko Android