SHARING MY DIY’s: “Scrapbook, Greeting Card and Organizers”
I am fascinated in doing something creative specially decorating my room, but today I’m going to share my DIY projects for beginners. I started making my scrapbook back when I was in high school. At first, I just wanted to compile my old pictures and save them from mold, but I realized, it’s better if I put decorations like flowers, or drawings of cartoon characters beside the pictures etc. Moreover, I didn’t have a lot of money at that time to buy a ready-made photo album. In my part, I think it’s better if you make your own greeting card because that way, you know that someone gave extra effort for you. Yes it is cheaper than buying at the store but I also believe in the saying “It's not the gift but the thought that counts” right? Likewise if we are talking about organizers, there are so many kinds of organizers that we can buy anywhere, but because of the DIY trend I also wanted to try my own.
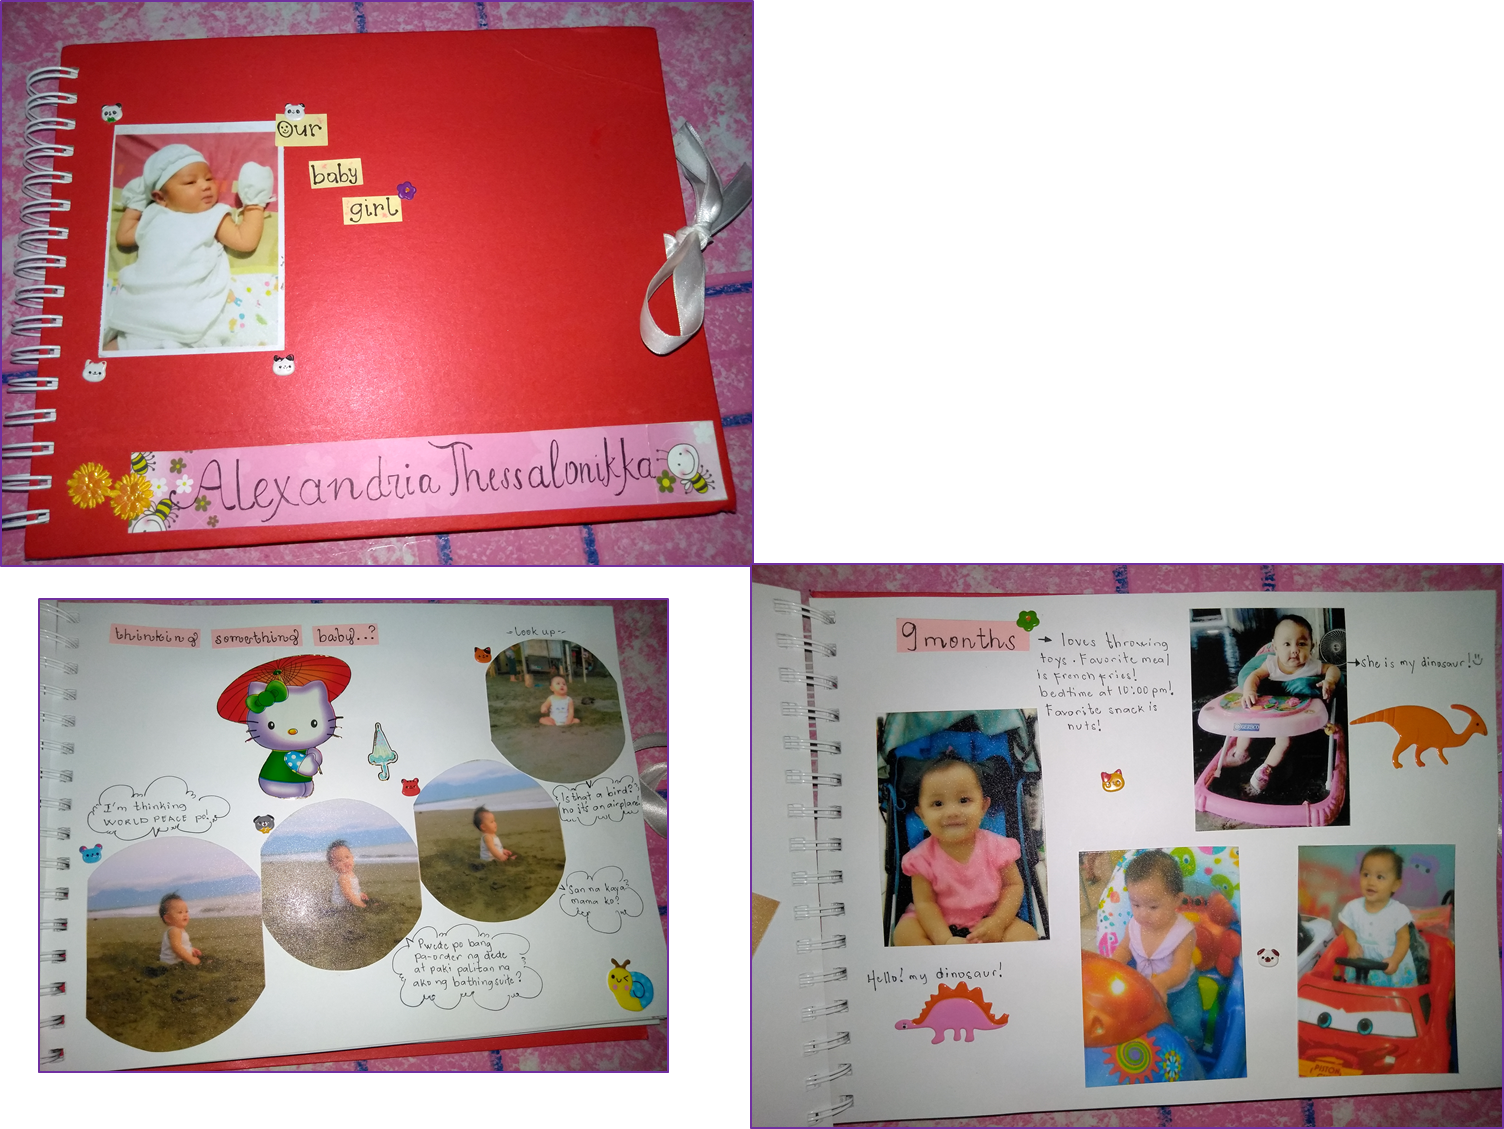
Here is the latest scrapbook of my daughter; I bought a bare album for scrap-booking at National Bookstore, and then I cut the pictures to different shapes and made a photo collage to fit in. You can draw anything, such as the favorite cartoon character of your kid or you can just buy stickers like hello kitty, and so on. But the most important feature there is that you know the details of those pictures. You can write it next to the picture or you can write the highlight conversation of you and the person/s in the picture.

I also like to put my favorite quotes on my scrapbook; you can place it anywhere you like. What I did in this scrapbook is I placed a quote at the cover page and at the bottom of each page, and then you can add some words to each picture.
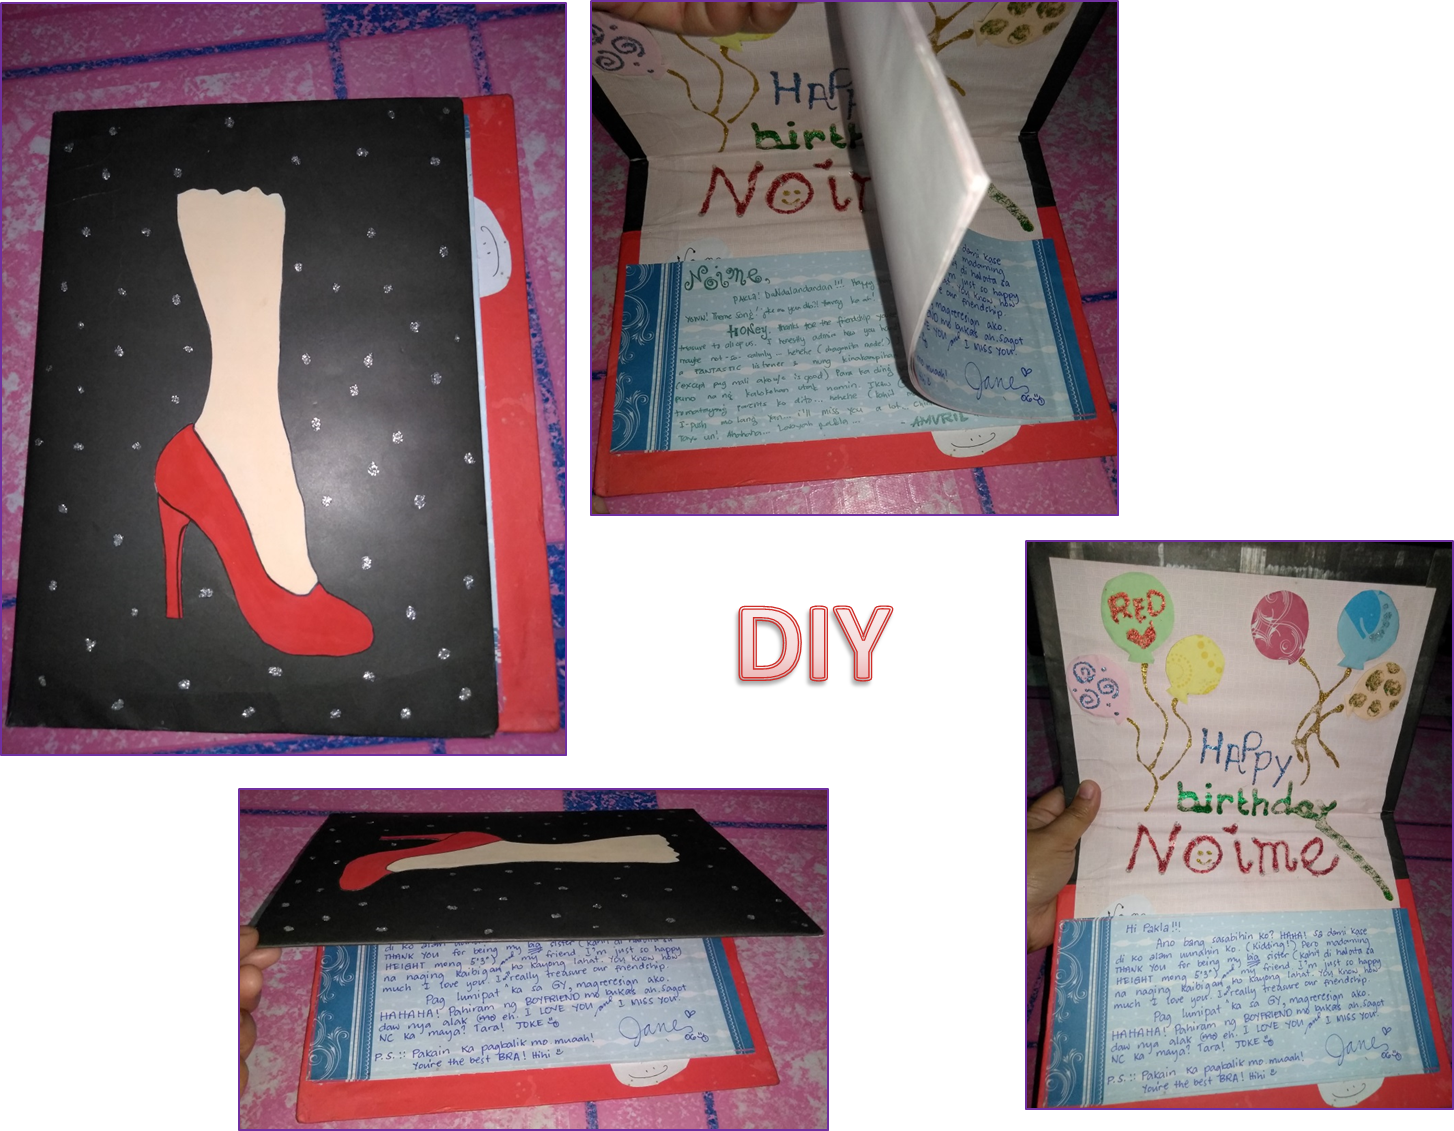
I always give my mom a birthday card ever since I learned how to make DIY greeting cards from school, and that was back when I was in elementary. Some of them are ugly but my mom loves them anyway (haha!). In this picture there are 10 pages of decorated papers that each one of your friends or family members can write down their greetings. Just glue each side of the paper to compile them. If the person is fond of Doraemon or Hello kitty, then draw a flower! (haha kidding!)
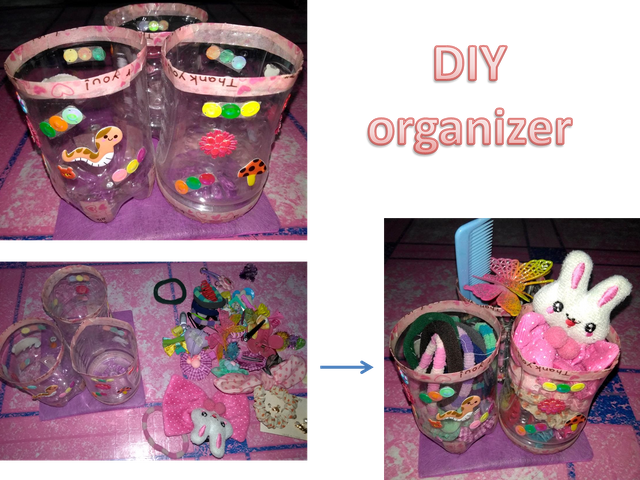
The ponytail organizer of my kid, this is made from plastic bottles. After I cleaned the bottles, I cut them in half using a cutter blade. Then I put decorated sticky tape around the mouth of each bottle to avoid being cut. Then I put some stickers and flowers. You can also put used buttons then paste it using double sided tape or glue gun. Cut a square cardboard then attach the bottles using the glue gun. You can put any decorative things you like.
Hope you like it!
Thank you for your time dear...
XOXO,
Follow me @noime

That was creative and lovely. Keep it up. X
Thank you @sherylneil for visiting.. ",
This post has received gratitude of 1.44 % from @appreciator thanks to: @noime.
very nice @noime :D
salamat sa muling pagbisita! ",
Nice...Creative post!
syempre ang galing ng mentor ko eh.. haha!
thanks to you!
Would you accept made-to-order job? :D
i love all DIYs! followed you as well sis :)