DIY (DESTROY It Yourself) - How To Remove Your Old, Worn Out Carpet

Don't "Do" it yourself!
I have mixed thoughts about DIY. My general approach is don't Do It Yourself. Pay for a professional to do it properly. It is so easy to bodge up that new kitchen unit, because you thought could fit it yourself.
Even if you do a good job, (unless it's your trade) the chances are, it probably would have been quicker and cheaper (in terms of your time and effort) to have got someone else in to do it.
My exception to this rule is when you're destroying or removing stuff. This I think most people can do themselves. However whilst it may not be particularly sexy or glamorous, it's an easy win, in terms of contributions you can make to your renovations.
Amongst "Destroy-It-Yourself" jobs, I would include things like removing carpet, decluttering, weeding your garden, stripping wallpaper. The messy stuff that precedes (and indeed sets the foundation for) the installation of your shining new home improvement.
Demolition
Maybe my confidence with in this area stems from a 4 month stint, doing demolition work on a building site. After a year tolling away during my first year as a law undergraduate, there was certainly something cathartic about welding a sledge hammer and going to town demolishing a multi-storey office building, in my summer break.
The fact that (even) I could get drafted in do demolition, was testimony that as long as you're willing to expend a little (or a lot of) elbow grease pretty much anyone can "Destroy It" Themselves.
This weekend, despite being a little under the weather, I was tasked with removing our battered old carpet, ahead of the "experts" coming in and putting down a new wooden flooring next week.
Prerequisites
Before you get started there were a number of prerequisites should ideally take care of.
The first prerequisite when on a Destroy-It-Yourself "mission" is to ship off any "spectators". As much as you may love your kids (or your elderly parents). Paying for them to go away and do something "nice" would be money well spent. The last thing you need when you're on a destroy mission, is "expert opinions", from people planning to do nothing/ very little. The only people you need around you is "doers." People that will 'roll-up-their-sleeves' and muck in.
The second prerequisite is TIME. Give yourself plenty of time. More time than you actually need. The last thing you need is to be racing the clock when you've got things to destroy. Mentally preparing yourself to spend hours grinding away, is the best thing you can do and key to a successful mission.
The third prerequisite is to have the right TOOLS. For this job the right tools are as follows:
- carpet cutting/ utility knife
- prying bar
- gloves
- face mask
- vacuum cleaner
- dustpan & brush
- pliers
- duct tape
And yes, whilst it might seem like you're planning to recreate an episode of Dexter, it's well worth investing to ensure you have the right tools. Yes a bad workman always blames his tools, this is usually predicated on the fact that a good workman always ensures he has the right tools!
STEP 1 - Clear the room
My motto is clear everything you can out of the room. Only work around stuff you absolutely cannot get out (be it for lack of space elsewhere or too difficult to get out of the room). In my case a recliner and a sofa stayed. Everything else was out. That included a seven foot book cabinet!
Whatever you leave in the room. Be prepared to move it back and forth in the room as you need to remove the carpet underneath it. NOTHING in the room will remain static!
STEP 2 - Remove the carpet
A well-laid carpet can be intimating if you've never removed a carpet before. It seems wedded to the floor and you can be forgiven for thinking someone superglued the stuff down. However it is surprisingly simple to remove.
Carpets are usually stuck to the floor using what is called tack strip. This runs around the perimeter of the carpet and once you begin pulling a piece of carpet away from the tack strip, it takes relatively little force to pull the whole carpet up.
First find a corner of the carpet. The corner may have some natural 'give' and you can begin pulling. If it doesn't give, you can use your prying tool to gently pull up the carpet.
Once you start pulling up the carpet, you should give thought to how you want get the carpet out of your house. Do you want to drag it wholesale to a skip in one delivery? Or do you want to chop it up into manageable chunks?
I prefer manageable chunks. This is where a good knife comes in handy. I used this combo utility knife:
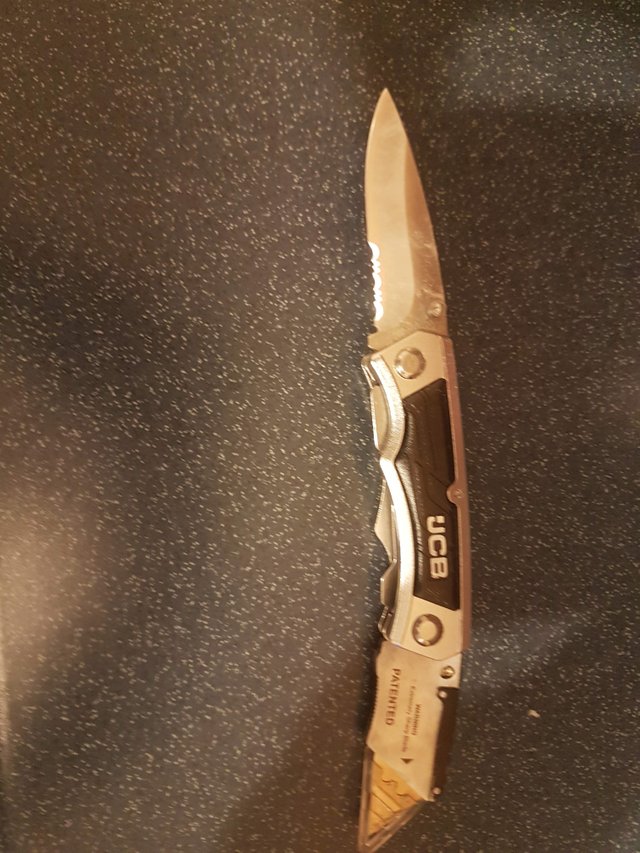
This knife was really useful and it allowed me to fold and cut through the carpet at will. I basically cut the carpet into thick long strips. Rolled it up. Then used the duct tape to hold rolls together:
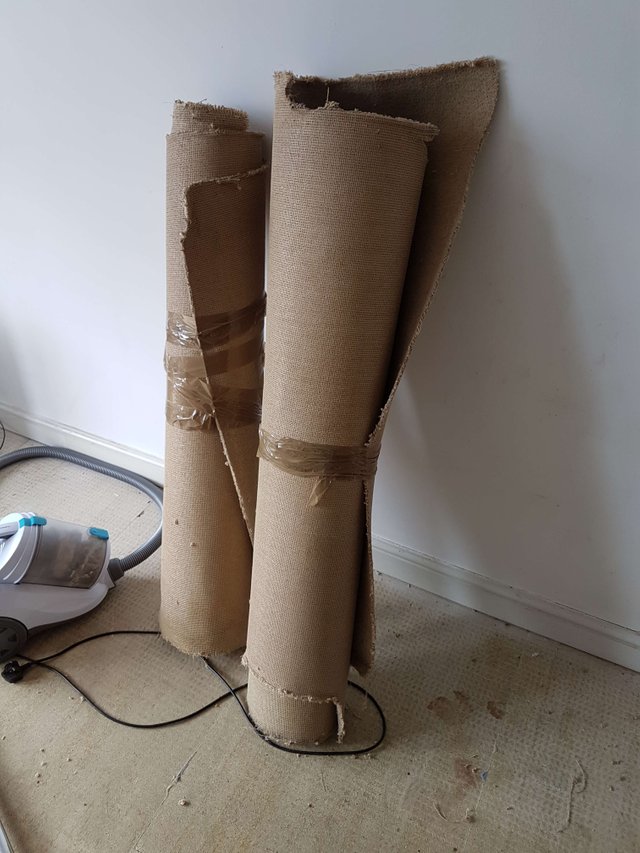
Nice little bundles that I could then throw into the skip. The last thing you need is to labour with a crappy knife when trying to cut through a piece of carpet. Get a good knife, cut up the carpet, get the carpet out of the house. Simple.
STEP 3 - Remove the underlay
Removing the underlay is even easier than removing the carpet. The underlay is usually laid in sections. So as you remove it, you can roll it and duct tape it up ready to throw away.
STEP 4 - Remove the tack strip (optional)
If you're planning to replace your carpet with new carpet. You will only need to remove the tack strip, where it's damaged or unusable. If you're replacing your carpet with wooden flooring, you'll need to remove your tack strip.
This is where a good pry bar is invaluable. A pry bar is a great demolition tool, so it's well worth the investment. Tack strips are usually attached to the floor with nails and once you start prying them from the floor, they usually over minimum resistance.
The pieces that are stubborn are the small pieces that are usually around radiators. As long as you prepared to put in the work, you can get these pieces up. They WILL be resilient, so be prepared to persevere.
STEP 5 - Spring clean 1
One of the things that you may not have mentally got yourself geared up for when you embarked on this mission, is spring cleaning. You probably thought, you've got enough to do. However be warned in advice. There is likely, years worth of dust accumulated under your well worn carpet. Hence the need for a face mask. And it will probably be up to a decade before you get another chance to clean the floor boards again. THIS is the time to Spring clean your floor. You will have worked up a sweat with the work you've done so far. However be prepared to sweat some more and get your spring clean on!
My advice, get the dustpan and brush out and sweep as much as up can up. You'll have loose pieces of tack, nails, staples, concrete, to clear. After the you've swept up the bigger pieces. It's well worth giving the floor once over with the vacuum cleaner as well.
STEP 6 - Declutter
So now you'll have rolls of carpet, rolls of underlay, bags of rubbish all waiting to get thrown away. My advice is get some fresh air and throw that crap away!
Also take a break. The most tedious part is yet to come.
Step 7 - Remove staples
There is one major task to get out of the way. You may want to invite the spectators back to participate if you wish. But warn them to 'glove' up and get their footwear and knee pads on.
Annoyingly the underlay is usually nailed to the floor with staples. These staples remain after you take off the underlay. You now need to remove the underlay. There is no way of getting around this besides getting on your knees, with a pair of pliers and pulling up every staple you see.
STEP 8 - Spring clean 2
Once you've pulled up all the staples you can see, it's well worth giving the floor a second pass with your vacuum cleaner. This time however pay attention to any staples you feel whilst you vacuum. You'll most likely find any staples you missed previously by doing this.
Conclusion
That's it! Job done.
You've now laid the foundations for your brand new carpet or flooring. Money you saved by 'Destroying It Yourself' you can now reinvest into hiring the best professional to ensure that your new flooring has the finish and polish that you deserve.
In most people's head, removing carpet, consists of the first two (maybe three) steps. My biggest tip is to get your head around the idea that you need to do ALL (or most) of the steps outlined above. It may take whole day (or longer). It will be extremely tedious at times. Particularly after you feel you've "done" all the hard work.
However bear in mind, this may be a once or twice in a decade activity. Give it the time and attention it deserves and you'll reaping the benefits for years to come!
We are replacing carpet soon, so this could not have been more timely. Very well written. Thanks for the tips!
You're welcome. Good luck and let us know how it goes!
nice work! I do not have carpet, maybe a DIY on how to make your wood floor shine :)
Absolutely perfect time for this to pop up, I plan on doing this in the next couple weeks! :D Thanks so much!