HOW TO MAKE A DECORATIVE FAN.
HI GUYS!!!
Ever got a divine inspiration and simply rolled with it?...lol, I am sure you have. Well, what I am about to teach you is absolutely nothing short of that. Let me say all the pieces of this work came to me in what I can only describe as a divine revelation. I am not sure how excited you are about the journey we are about embarking on but I definitely am, mainly because I love thinking, creating, putting things together to make them work, teaching, finding loop holes and solutions.
Now... sit back with a pen and paper, learn, relax and enjoy.
I AM GOING TO TEACH YOU HOW TO MAKE A MULTI-PURPOSE DECORATIVE FAN!!!!

This product is essential mainly because it serves many purposes and is also a great means of generating income and passing time.
It could be used as:
- A Bridal Fan;
- A Decorative Fan for any occasion;
- A Regular Hand Fan;
- A Wall Art; and
- Any other thing that comes to mind (don't limit your imagination on this, trust me).
I am going to start by listing everything you need, provide alternatives where I think they are needed and basically advice you to not limit yourself (honestly, I could never say this enough). You could literally go crazy with different materials and styles. This tutorial will teach you how to use petals to decorate, don't worry you'll understand as you read on. I hope you still with me, let's do this.

- Gloves (I don't use this but I think you can to look professional and prevent glue from sticking to your fingers);
- Folding Fans (The type you want is your choice, no strict rules here. It could be plastic, wooden, plain, 'clothy' just do you depending on the style you are going for);
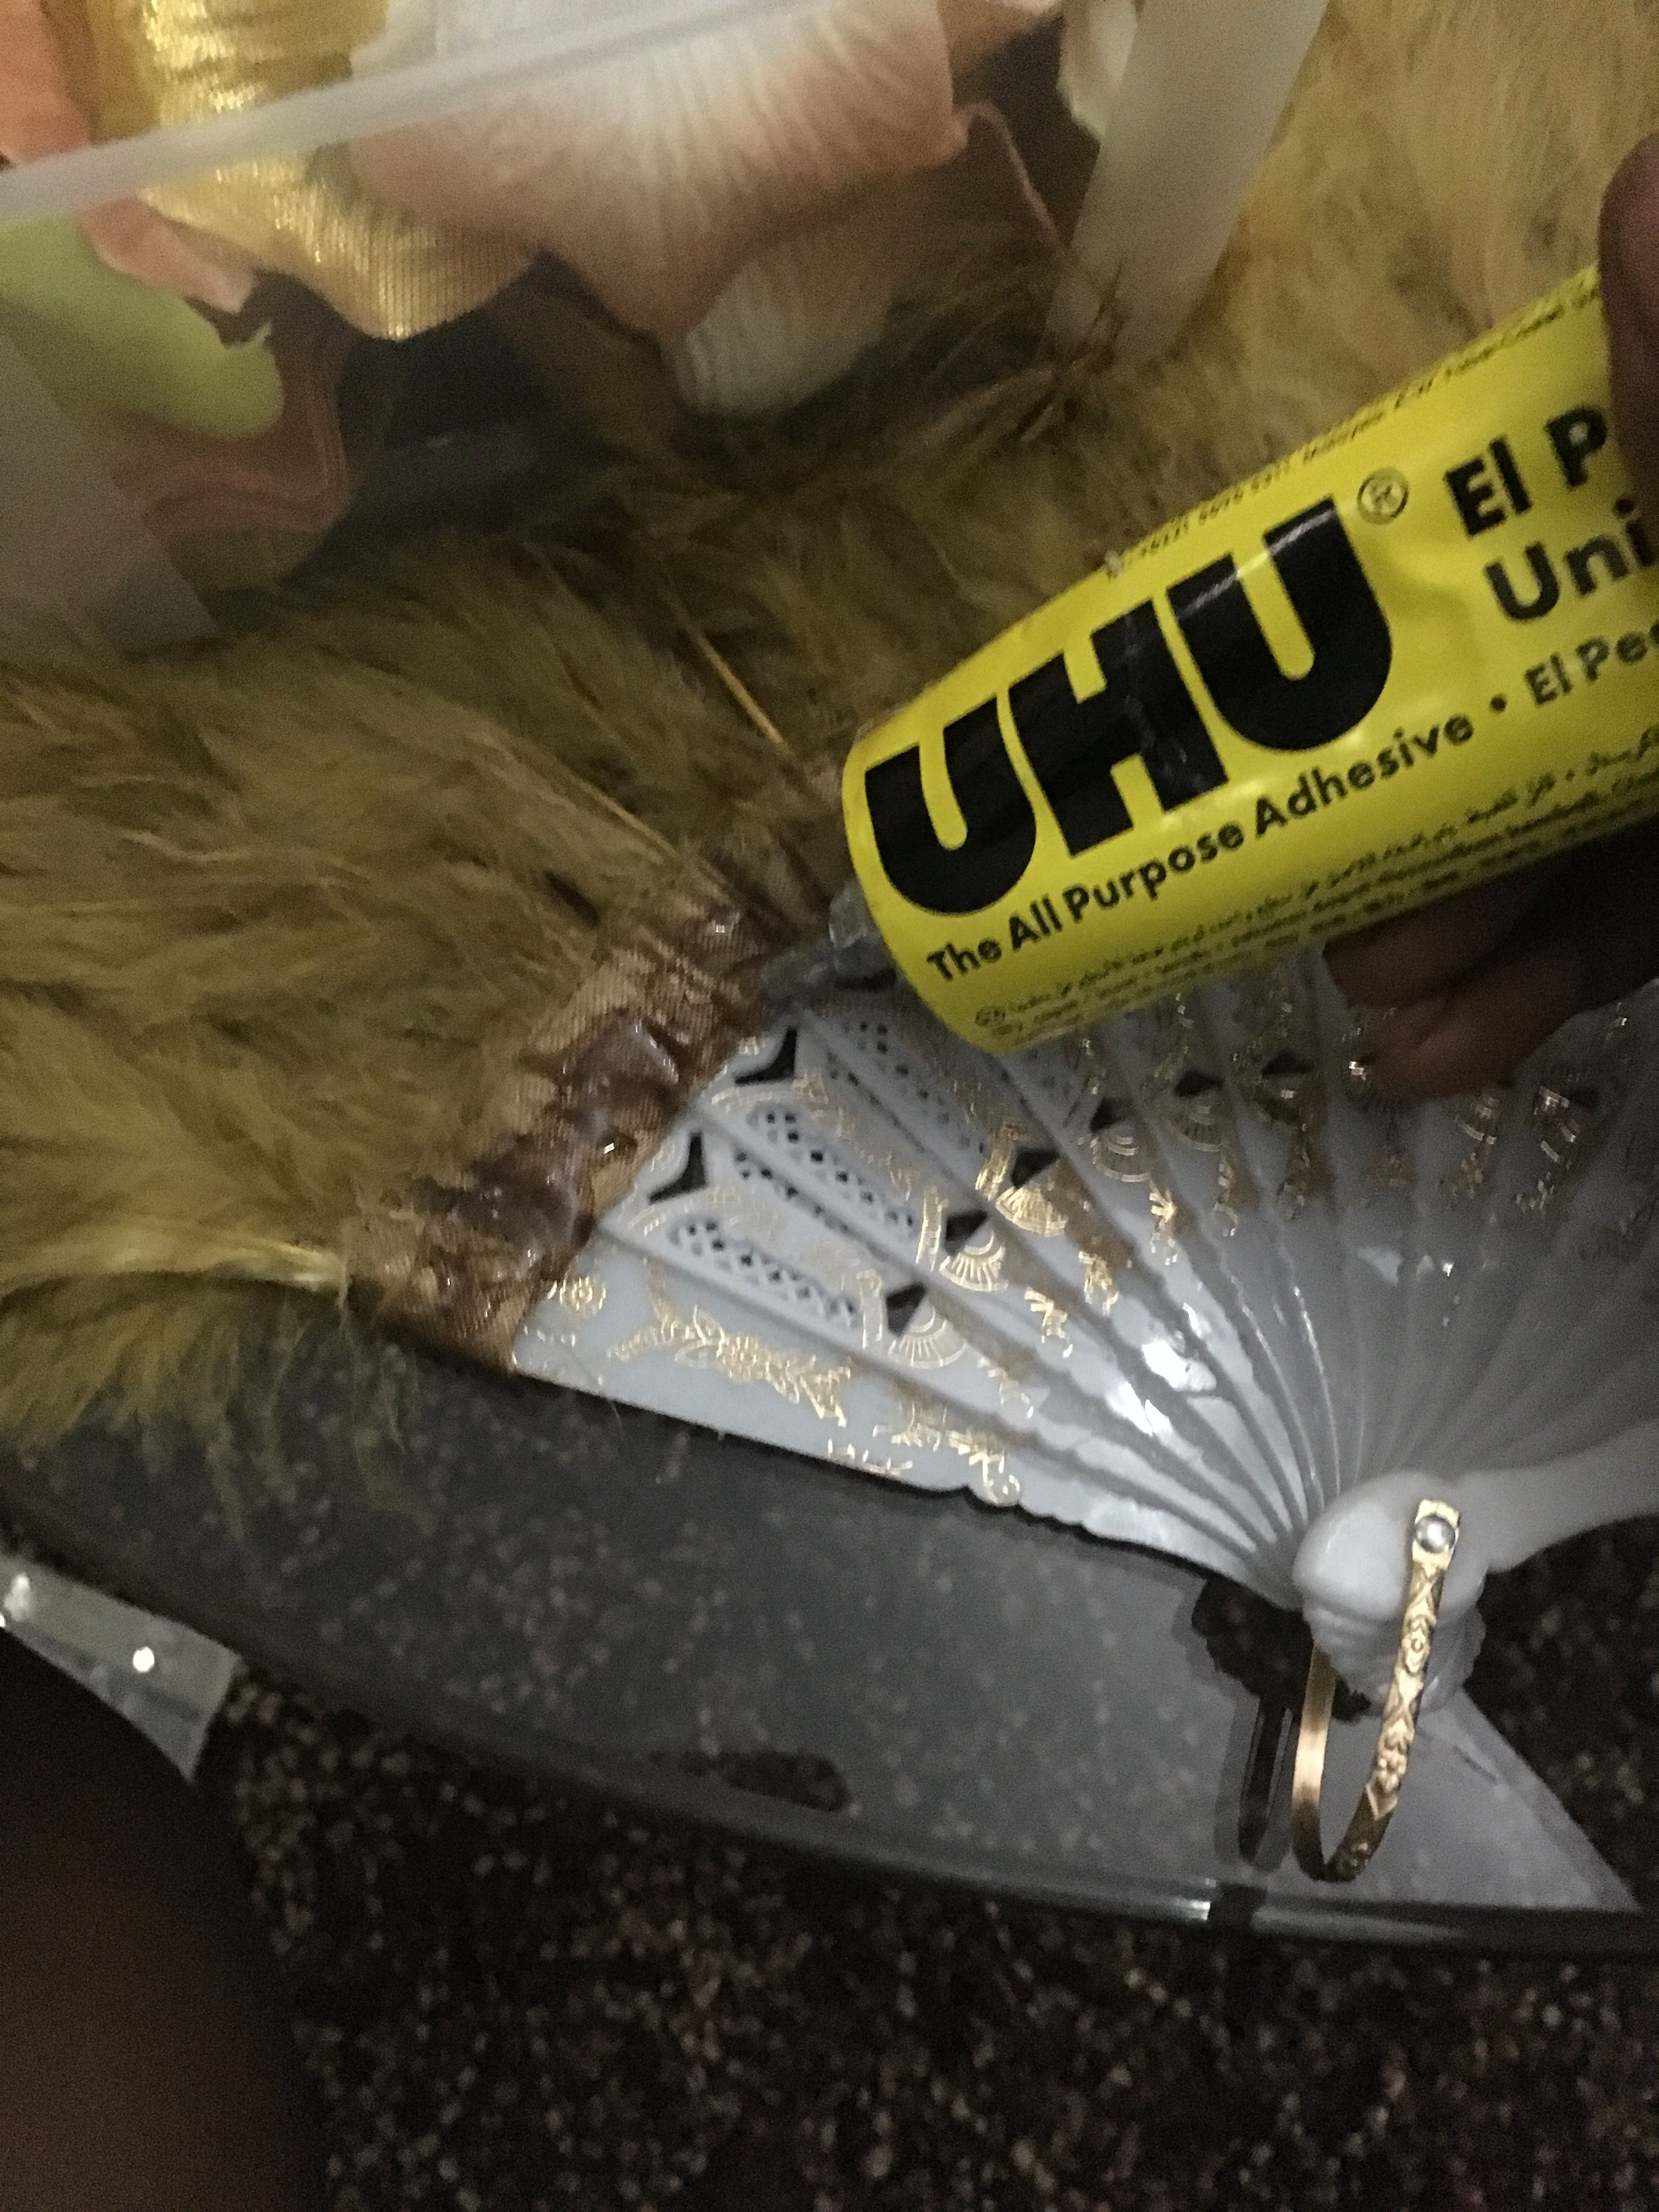
- Glue (Currently as you'll see very soon, I use UHU All-Purpose Adhesive and its really cool. I also use E6000 which is super great, had to stop because supply is limited in my location. Bonus Tip - UHU has a mouth-tip that makes my work fast, really fast but the way E6000 works is amazing);
- Wax - (I don't use this at all but some people use it instead of glue. I included it here because I promised to state other available options, coupled with the fact that some products are available in some areas and not in others);
- Feathers (These come in various colours, by all means pick your poison. Occasion should determine this though);
- Scissors (Trust me, you want to get a very good one not minding the cost. It's totally worth it plus this is an important tool);
- Decorative Items (This is the intriguing part, simply put on your creative cap and the world becomes your oyster. You could use any and everything ranging from petals, beads, flowers, glitters, decorative threads, stones to absolutely anything.); and
- Your Heart (Yeah, you have to be into it - this is my opinion. I find when I am not in the mood or ready to work, I can't come up with designs and even if I do, I don't put out the expression properly. Hence, ugly work. So, I think you should put your heart into it, it finds a way of teaching your hands the way to move graciously).
Now let's get this show on the road...
To enable you understand the words I'll be using, this picture will guide you.

Source
- Step 1 -
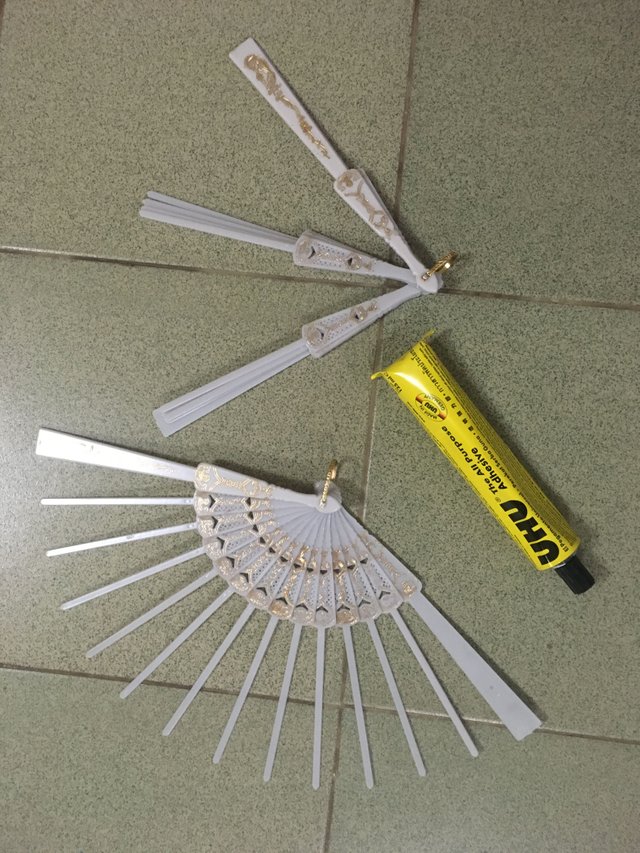
The first thing you want to do whether you are using a fan with leaves or not is to apply glue to the edges of the sticks and over-lap the edges of the stick slightly. What is achieved by this is that the folding fan becomes an unfolding one upon the drying of the glue. (P.S - be careful when overlapping so the sticks dry in the proper position).

Step 2 -
You want to wait till the fan is dried in its proper position and becomes stiff before you continue to the third step, this is basically the waiting stage. While waiting, you could decide to glue other fans to save time.Step 3 -
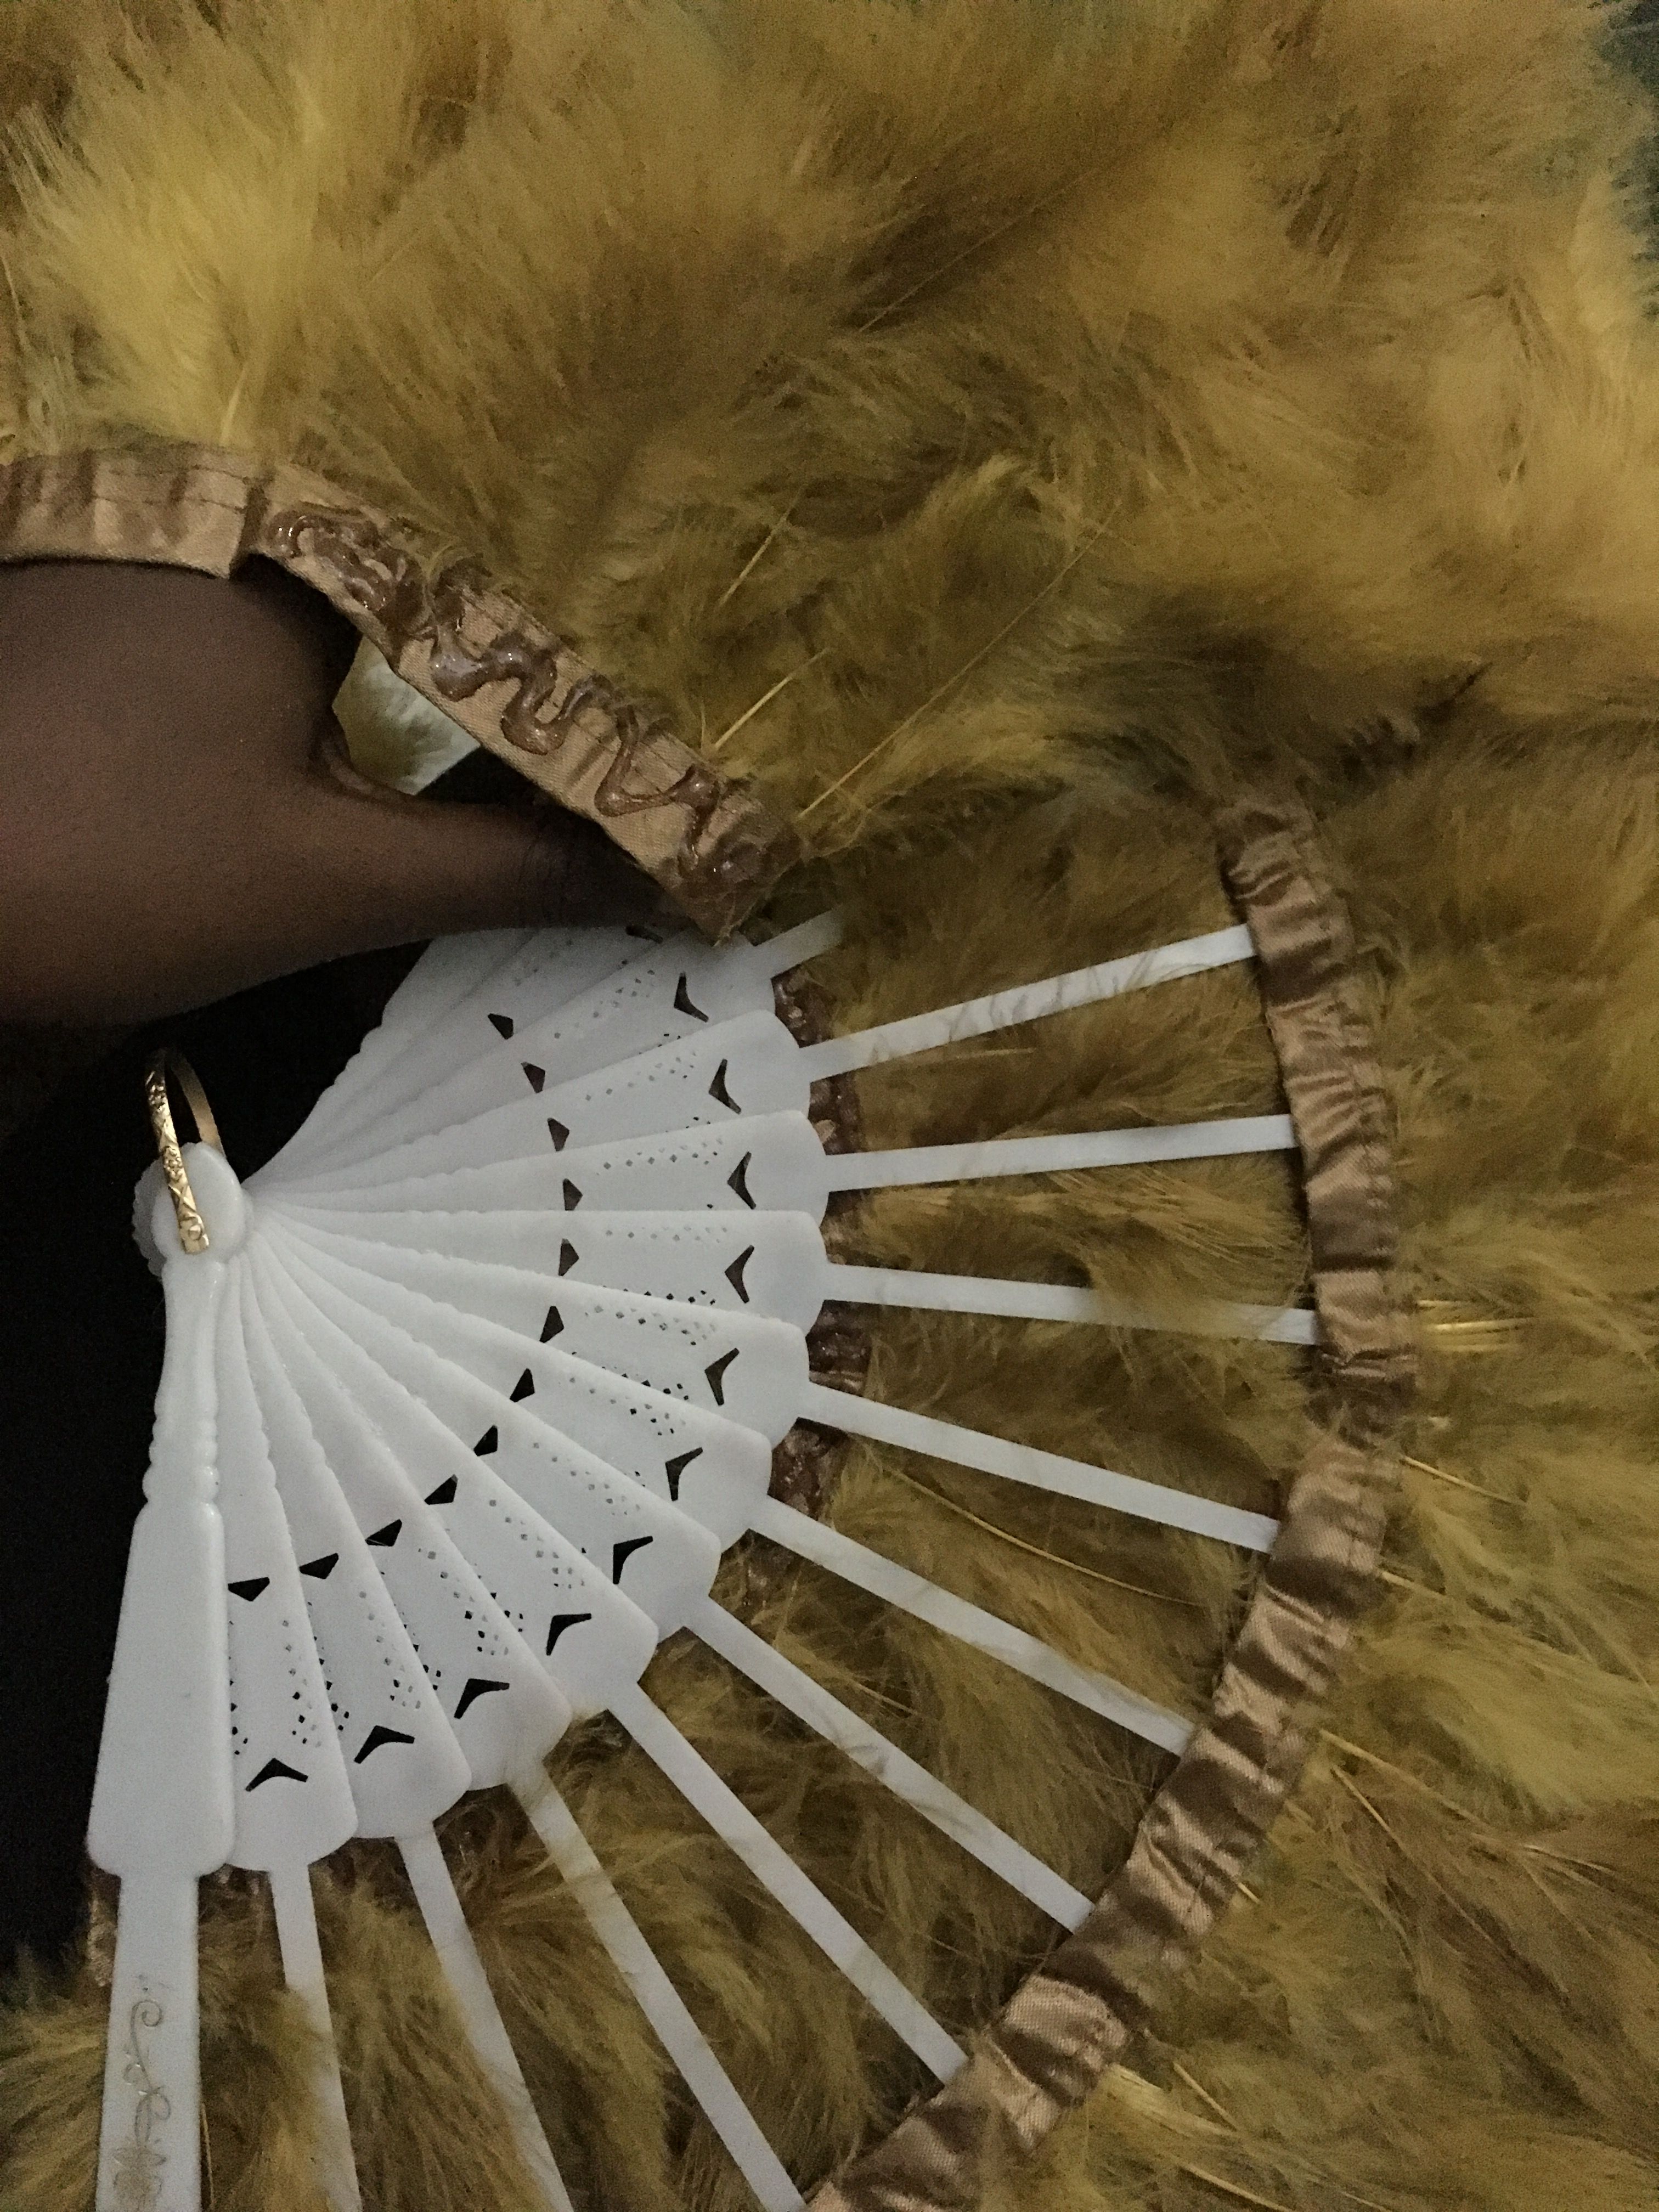

Now your fan is dried and ready to be worked on. Apply the glue to the edges of the feather (this is the part that is sewn with a piece of cloth, neatly joining the feathers together). Then gradually trace and place the feather on the ribs of the fans gently forming an oval curve. Note - if you are going for an horizontal-shaped fan, then place the feather on a straight line across the ribs.
After the feather is glued to the first side, flip the fan over and having applied your glue to the edges of the feather place gently over the ribs at the point where the feather on the other side was placed.
- Step 4 -
.JPG)
You want to use your cute pair of scissors to cut off the feather that's left after attaching the needed part to the fan. If you notice any space or feel the fan is not full enough, cut some feather and use it to get the fan to look the way you want. After attaching the first layer, go on to attach the second and if you want the third, go for it. What your fan would look like after this step is what I have shown to the right. Note - Monitor the fan and feather even after gluing to ensure the feather ends up getting stuck in the exact position you want it.
.JPG)
Step 5 -
.JPG)
In my opinion, this is where the fun begins!!! It is advisable you wait for all you have done in step 4 to dry. To save time while waiting, you could work on another fan. I am just saying...your choice. Now to the step that gives the whole fan a voice or a statement or a killer look or a ....lol (fill in the gap). As promised, we are using petals to decorate in this tutorial but remember to open your mind to the possibility of using other things. Here we go.
Take a piece of petal, apply your glue to its base. Then place it on the fan, the part of the fan would be where the feathers and sticks meet; OR apply the glue to the edges of the last layer of feather as shown in the picture, then simply place the petals one after the other on the row plastered with glue. Make sure the end point of the feather is not revealed. You don't want anyone seeing you ground work.Step 6 -
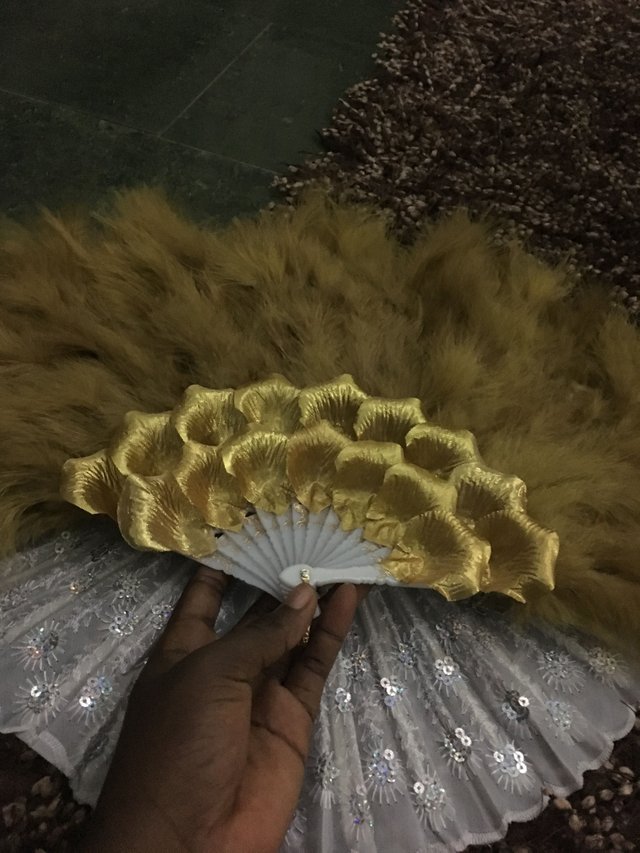
Continue placing the petals on a single row. They should not be squeezed together but overlap a little just to the extent of forming a beautiful bond. Also remember, you don't want the sticks of the fan showing easily. Continue placing the petals in rows till the surface are of the stick is covered, then you will have some thing like this but fuller. You'll get the point in the next step.
.JPG)

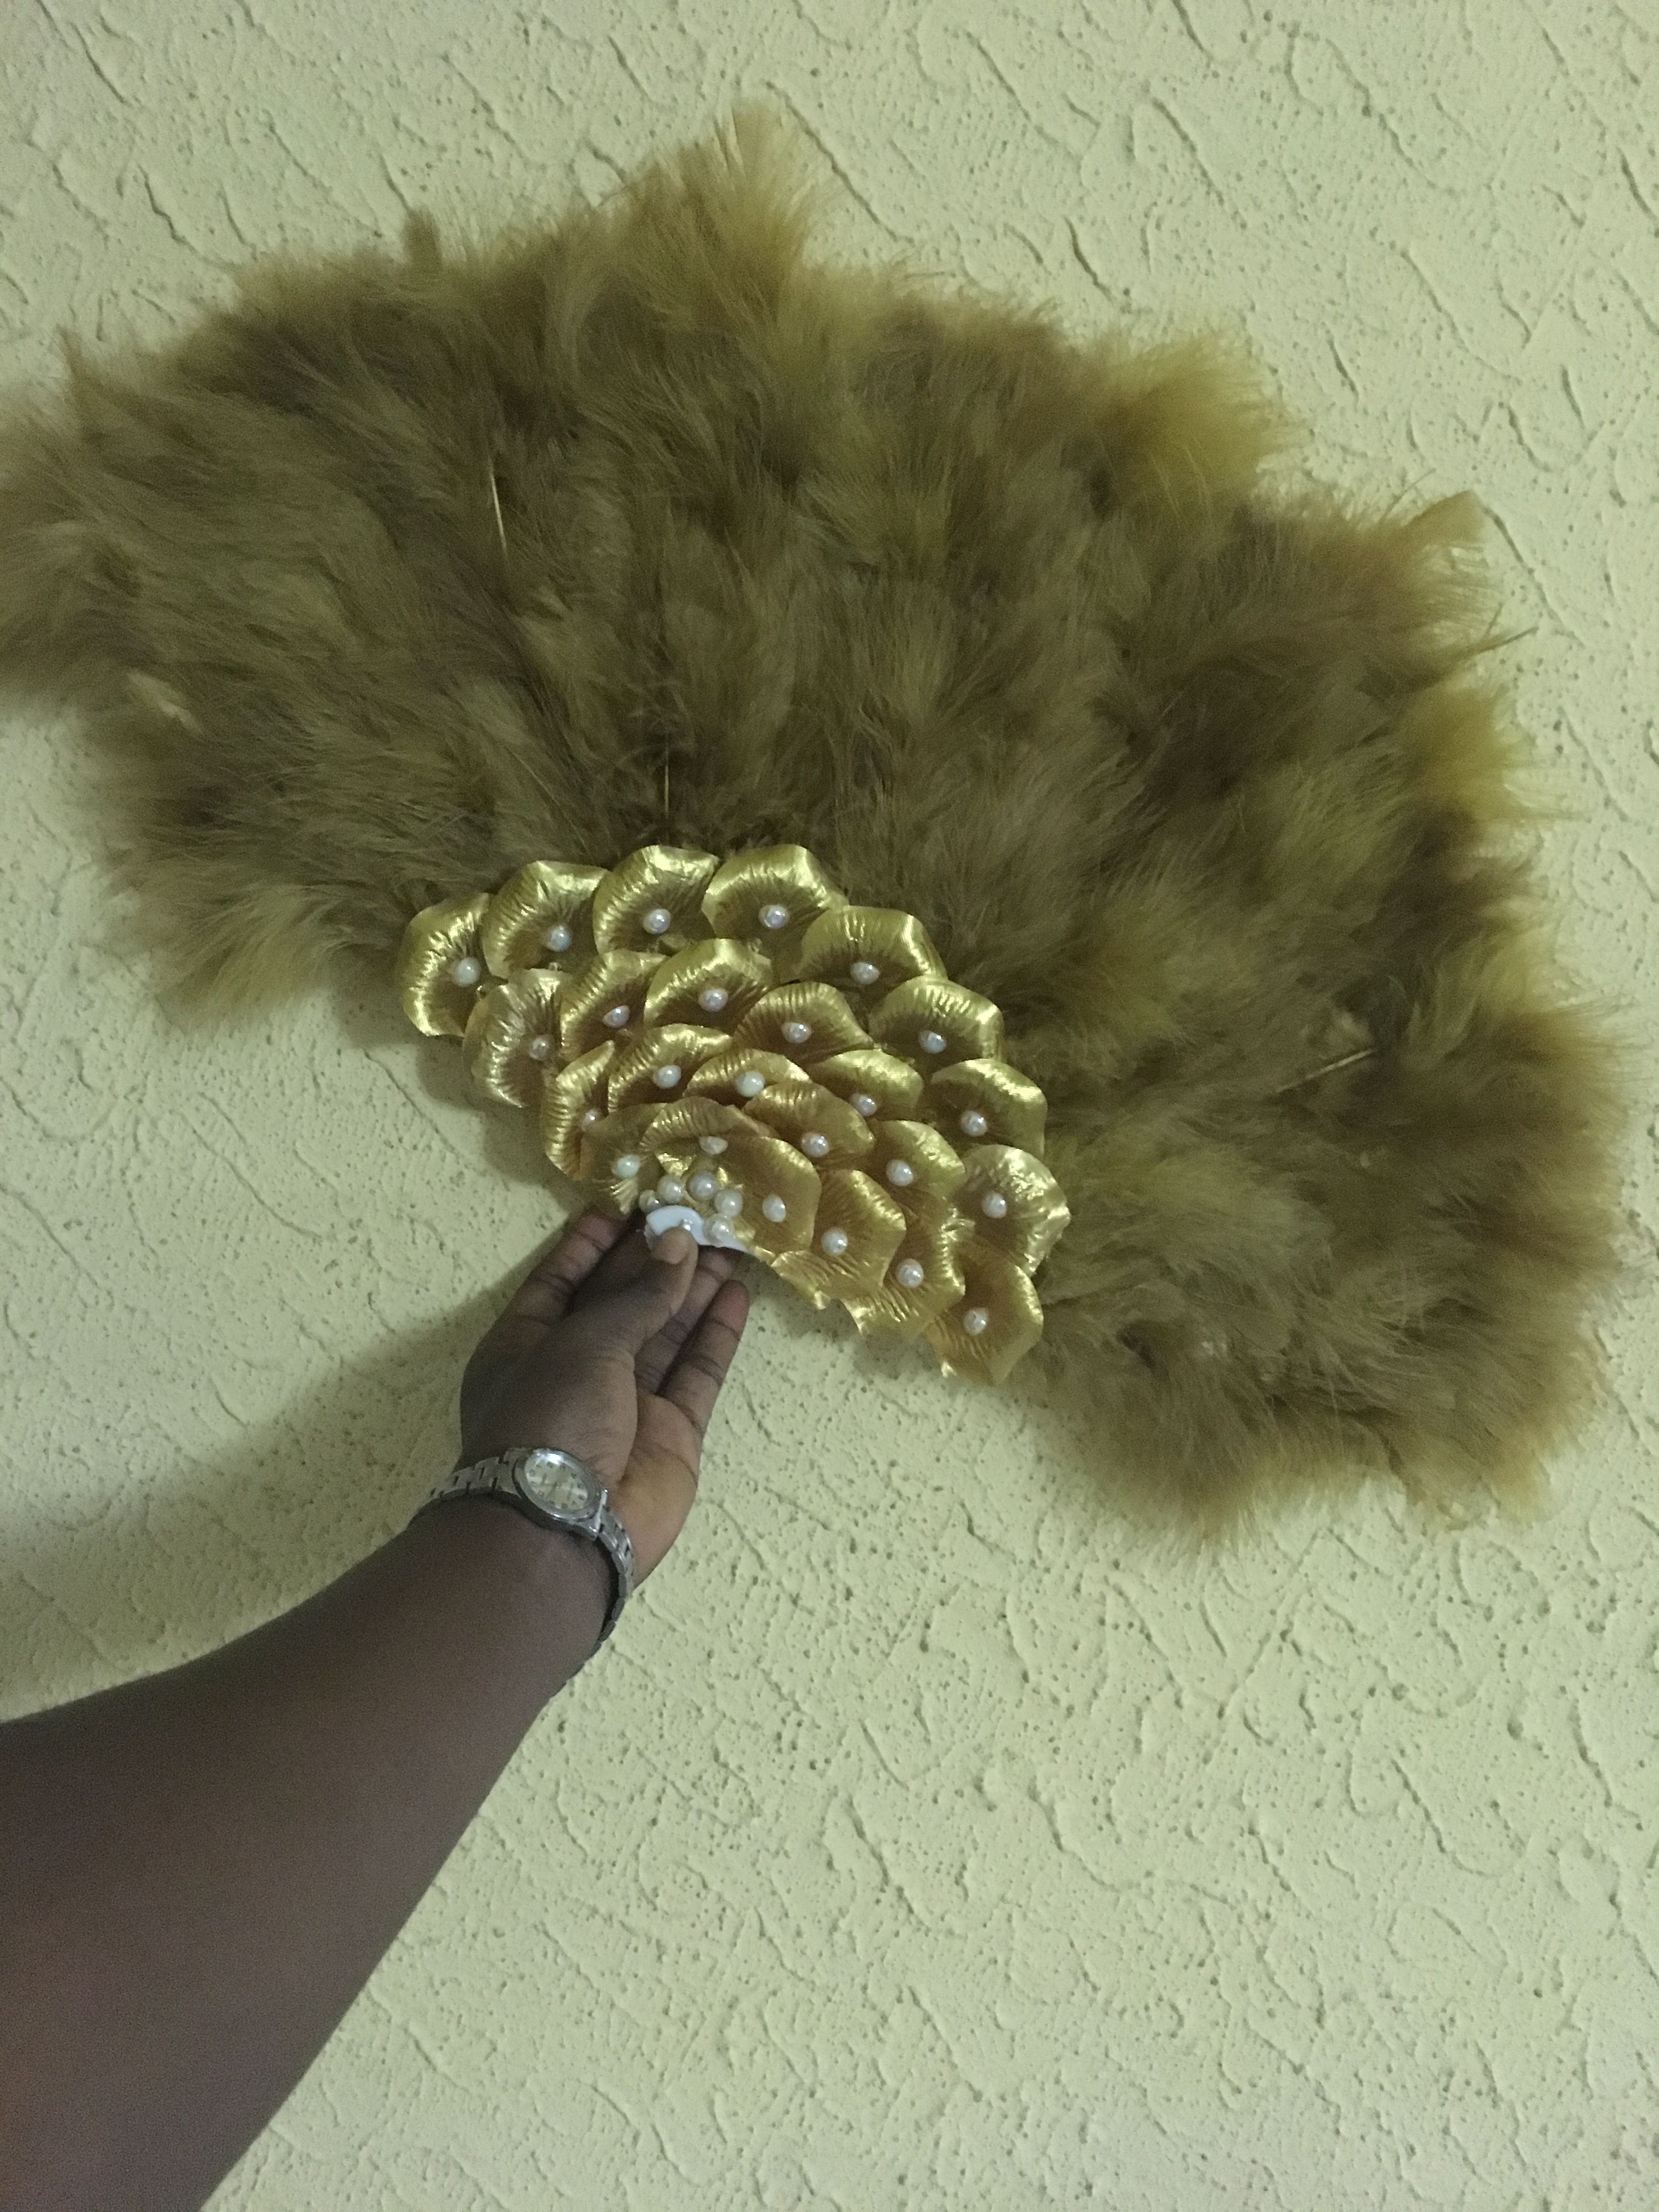
- Step 7 -Remember you only decorated one surface? Now flip the fan over and repeat what you did on the first side. You could also decide to use another design for the other surface. You can literally stop here but I am a big fan of going the extra mile. So I believe more could be done. If you have beads, pearls or stones that are not too heavy; you can apply glue to the base and place on top of each petal. The result would be something like the picture on the left. Can I also add that, depending on the design you are going for, the beads could be anywhere.

I think that's about it. Hope this is highly helpful and always remember that you can be and do anything if you set your heart to it.

Very interesting DIY
Thanks. Glad you thought so