DIY - How to make your own silicon molds - Studio at Hiddenby lodge
Dear steemians,
today I will tell you how I started to work using cement and how I am making my molds now in the studio at hidden street.
When I was renovating the space from garage to art/design studio and I was casting the cement slab on the floor (under the parquet) with my father I had some leftover cement.
Shortly after that my father had his 70 years old birthday and me and my siblings were wondering about what present to give him. They wanted to give him a coffee machine like an instant machine Nespresso or something like that. I hated the idea (which is a whole topic for another blog). But after a long argument (I was tho only one arguing but as I am the youngest, they just let me argue and totally disregard my opinion ;) I went in on the present decision but of course added a little something personal.

I made a cement heart candle holder for the advent candles and gave him as a reminder of us doing the cement floor together. When I worry about him working to much physical work with me in the garage, my mother reminds me that this is his quality time with his daughter. And it surely is a quality time as we make a grate team. He is the millimeter man and I am the brash and rash one.
When we were measuring out the amount of cement we needed on the floor, I counted the square feet and sketched a simple example on the floor with the outcome of 7 and a half bags. My father told me to put an endless row of numbers in to the calculator minus an endless row, divided by an endless row and every number in between he wrote on a pice of wood but the final outcome was something like 7,4327698721 ;) "As I told you yes we need seven and a half bags" I said to him and we laughed.
Well he is an engineer of course and often he had brilliant ways of doing things. For example moving heavy furniture´s around. The he just asked me to hand him two sweeps, screwed the end of them and used the long holds as a wheel under the furniture. Then we rolled it and moved the hold from back to front until the furniture was on the right spot. Never had to lift a thing.
Anyways, the leftover of the cement and my fathers birthday was was the beginning of my cement molding. He of course loved that and I know he is not so fond of the coffee machine ;)
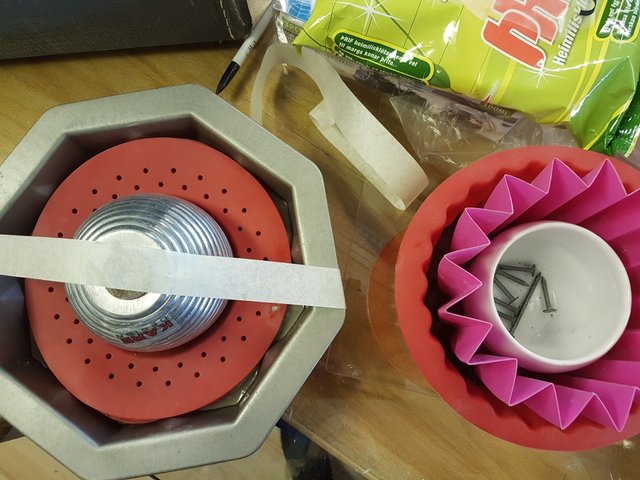
I go a lot to second hand markets but now to find old baking molds and all kinds of stuff that I could use in my cement products. So now I am doing all kinds of bowls and tray´s and candle bases and flowerpots out of cement. I later went to find a better cement blend for it so now I am very happy with the material.
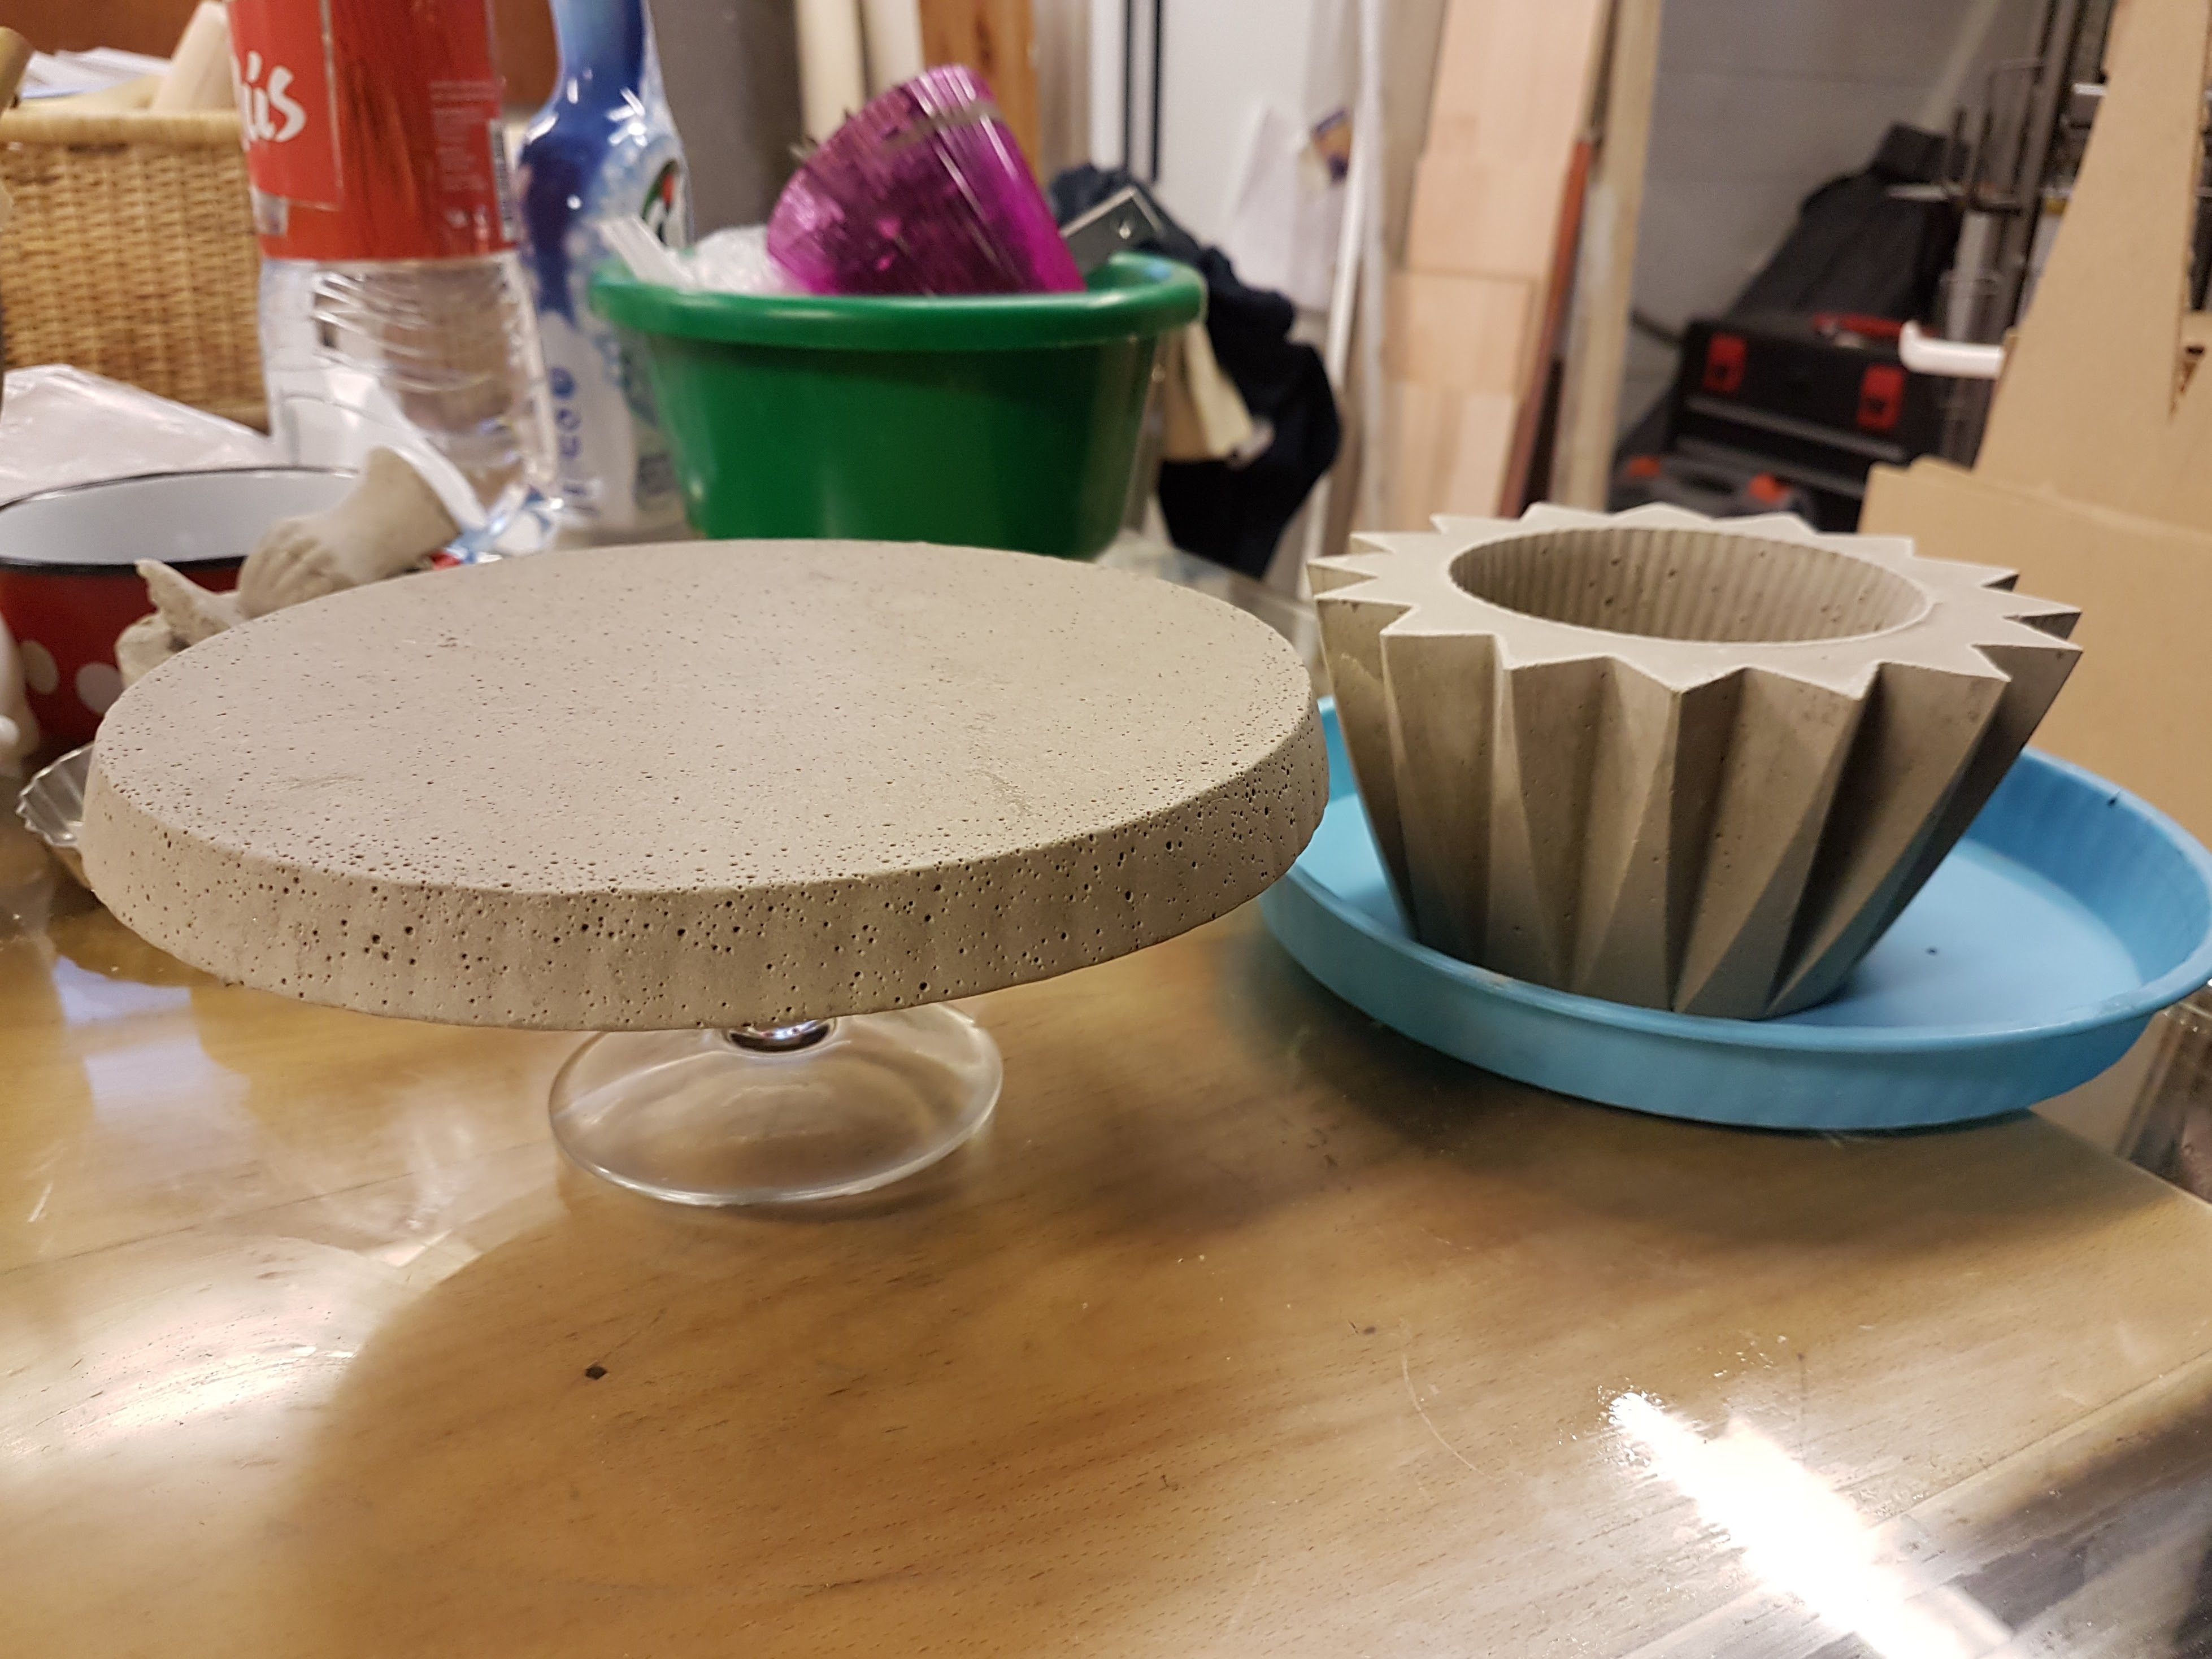
It´s very easy and I love the process.
I am also painting parts of them and trying out some decorations but the easiest way to do it is to use a silicon mold. If you use glass or metal you have to put petrolium jelly or olive oil inside the mold but even then it can get stuck in it. But you can also use expensible stuff like empty yogurt cans that you can brake loose.
I also use toy balls that I cut in half and now I am actually making my own silicon molds.
I am also experimenting with soap making and candles but the silicon molds are grate for candles as well.
The beginning of mold-making experiments:
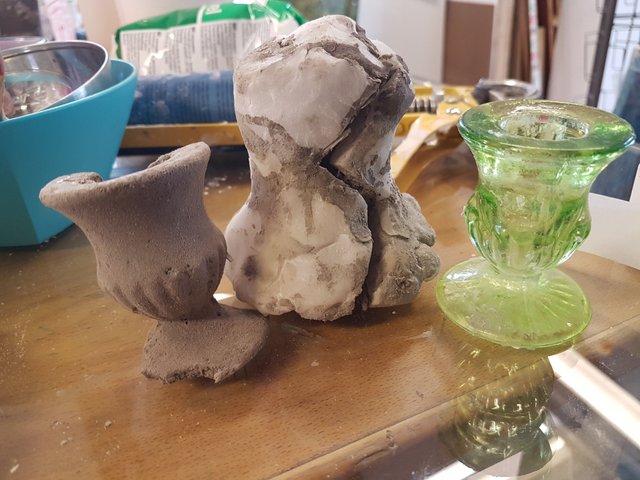
At the beginning of my mold making I made a mold with corn starch and regular silicon in a tube from the hardware store. I blended it together and made a trial concrete mold and with my daughter we made one of one of her little petshop animals.
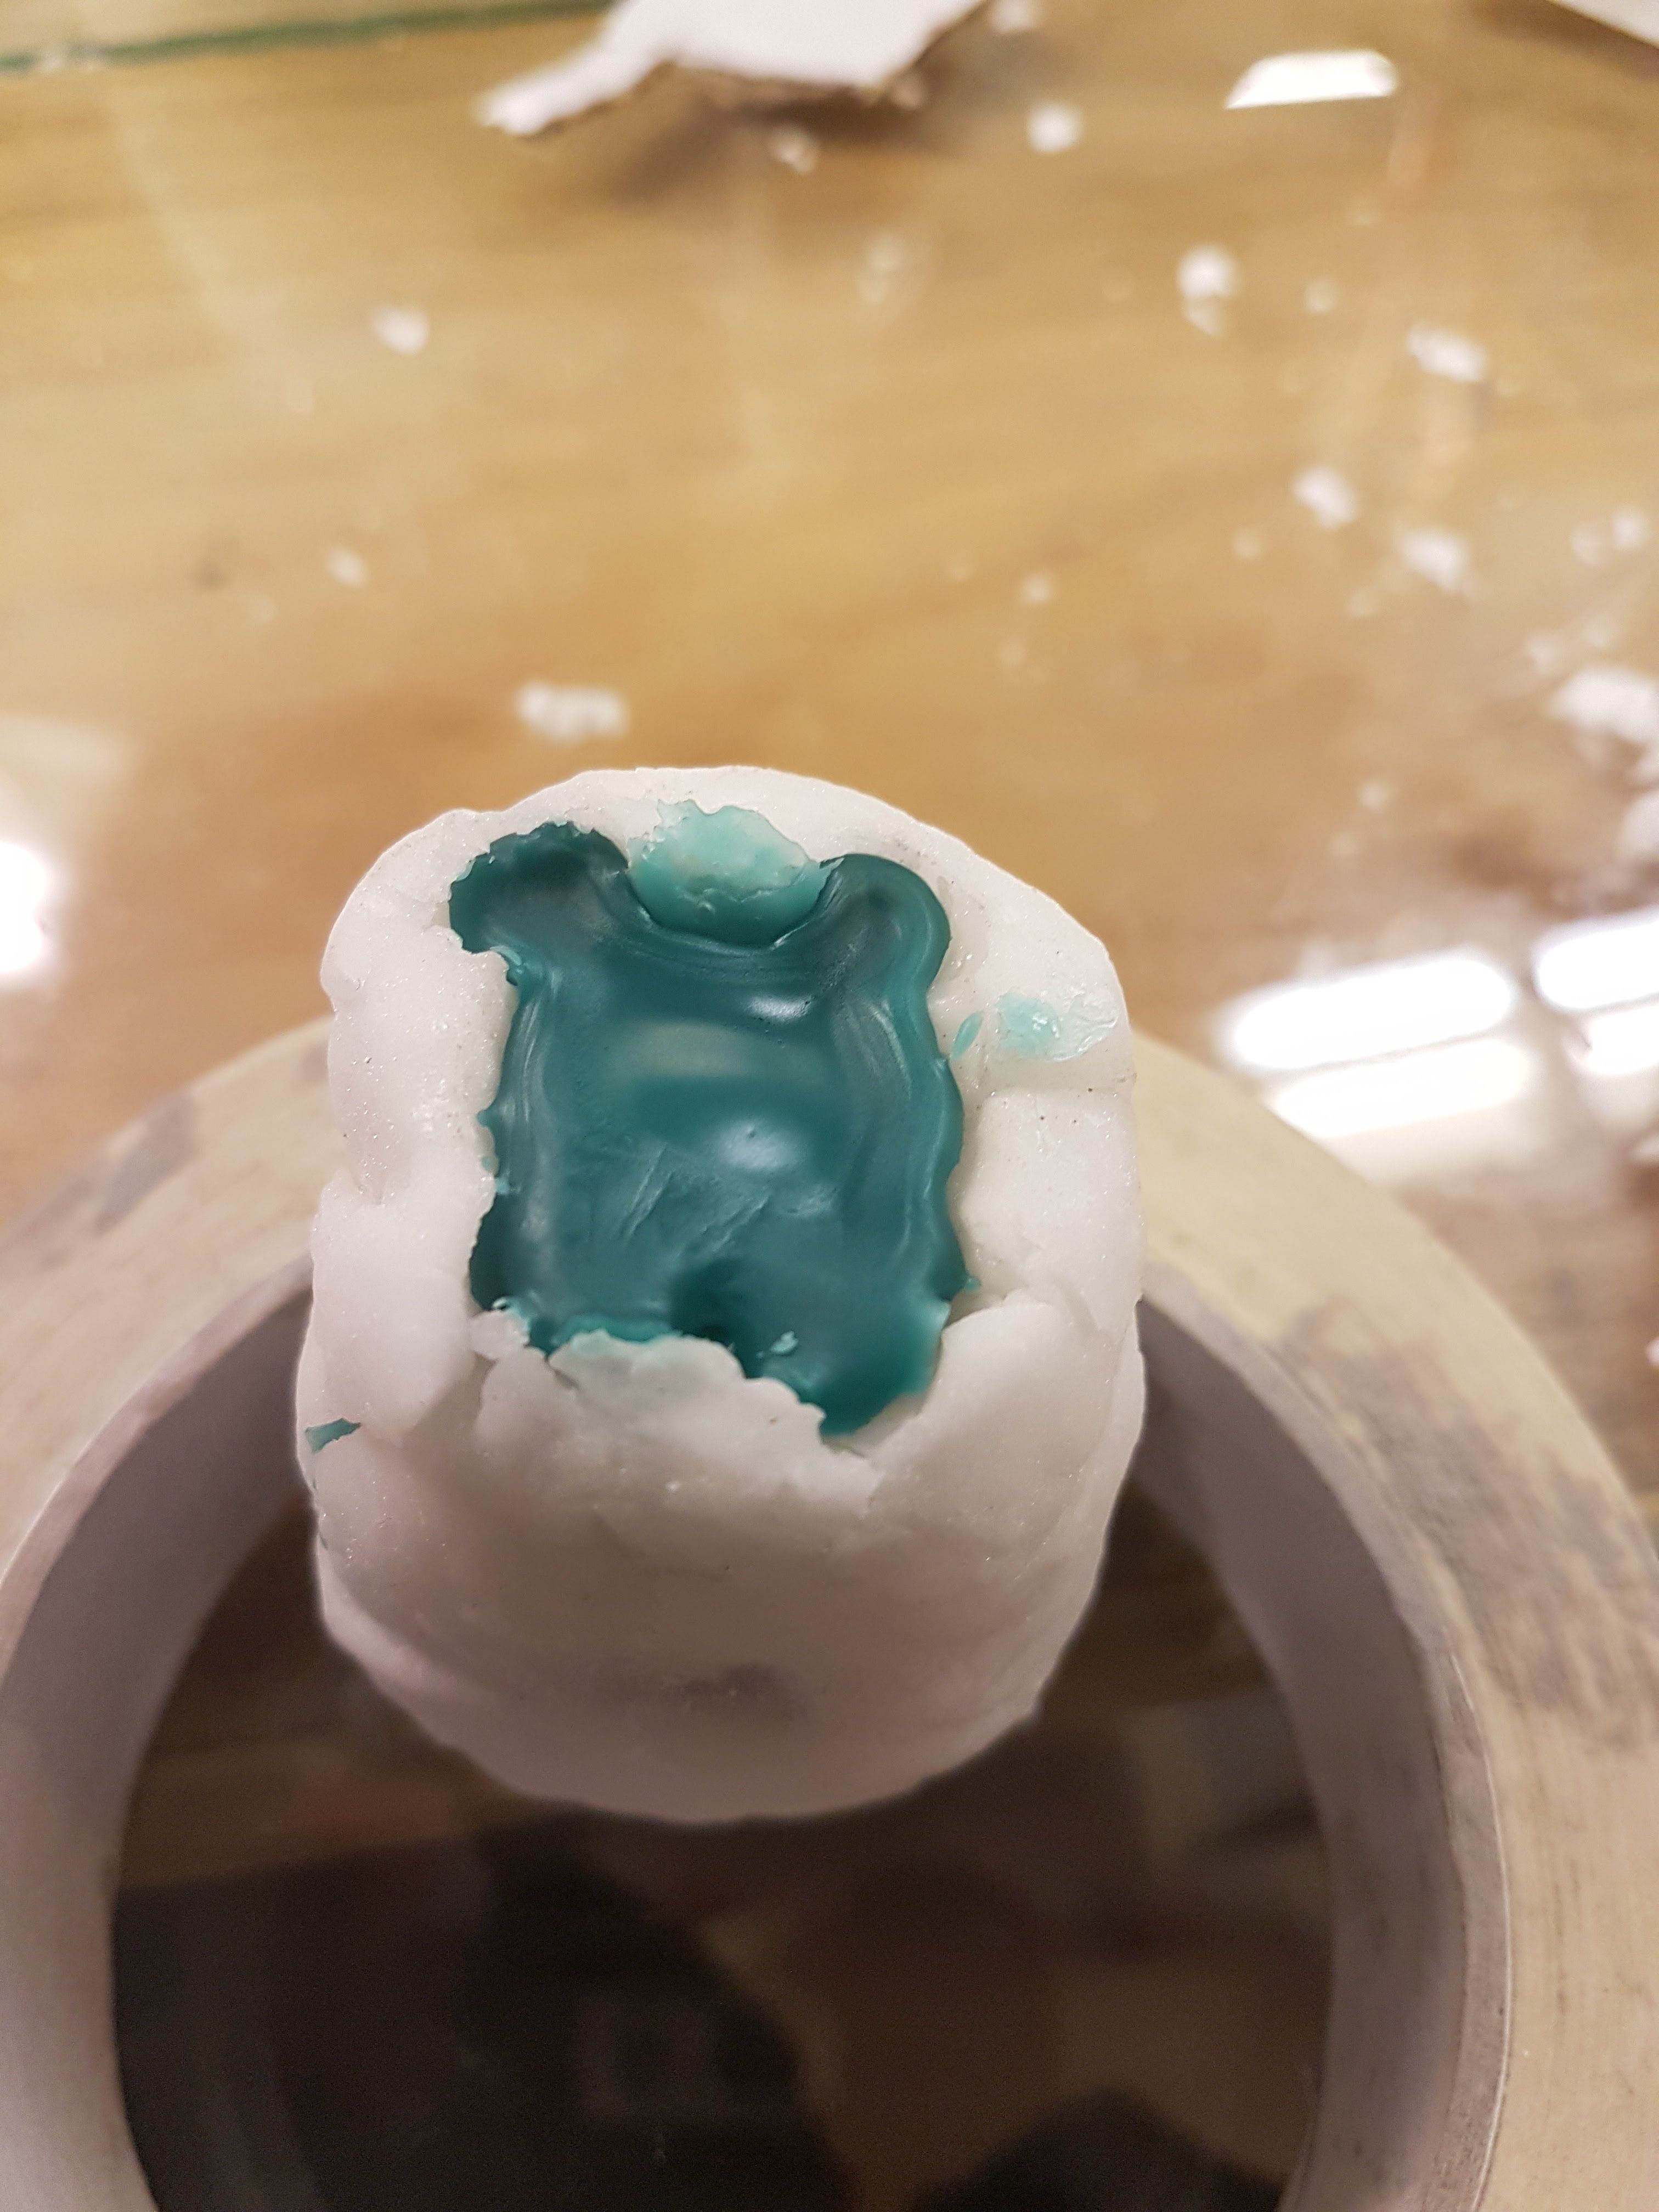
We later pored wax in her mold.
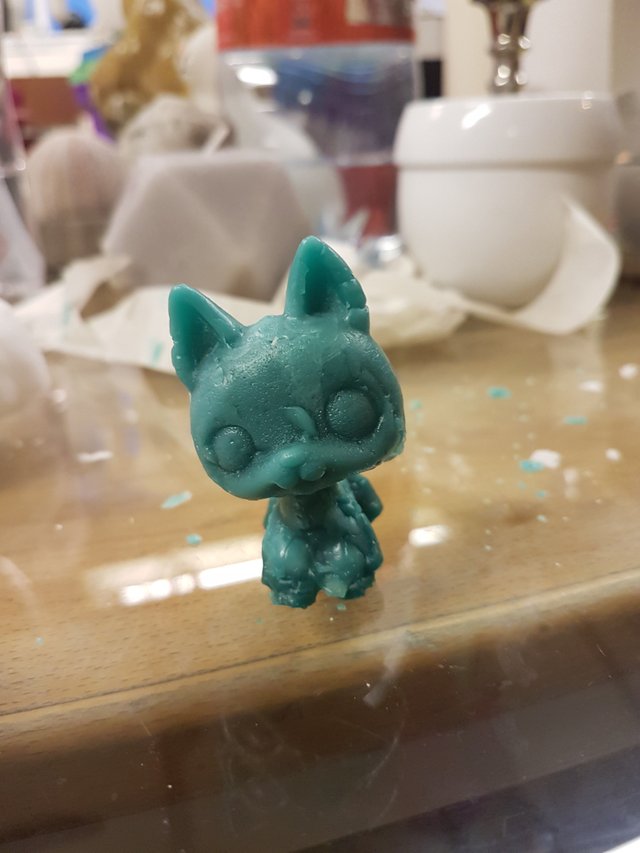
My concrete mold didn´t turn out so well but her petshop mold was fine.
After that I figured out that I just had to find real silicon for mold making. I found one company (probably a garage company) in Iceland selling silicon like that and giving seminars in mold making once in a while so I wrote them online. I got a very high price list from them and heard in the letter that they were probably not so experienced or even good at it as they had for example never tried to cast with cement. I was on the verge of putting in an order though when my brain suddenly turned on it´s proper light.
The thing is that my brother runs this props and set company "Verkstæðið ehf" and they built for example everything in the TV serie about Lazy town, built all the plains and stages of the Spartakus as well as all the props used in this show. So of corarse they had to be used to ordering silicon from abroad.

(My daughter when 4 years old in a photo session with Maggi (the Spartacus) in the studio of Lazy town).
So I gave my brother a call. And of course that was the case. They just recently made a rather big order so few day´s later I could pick up a gallon to try out. And naturally I got it for half the price given before as they don´t charge me any extra for it. I just get it on the regular buying price with shipping.
Well then my fun began!
I looked at lot of video tutorials on "Youtube " about mold making and then I starred to make two molds. One for cement and one for wax.
Here you can follow my process in details:
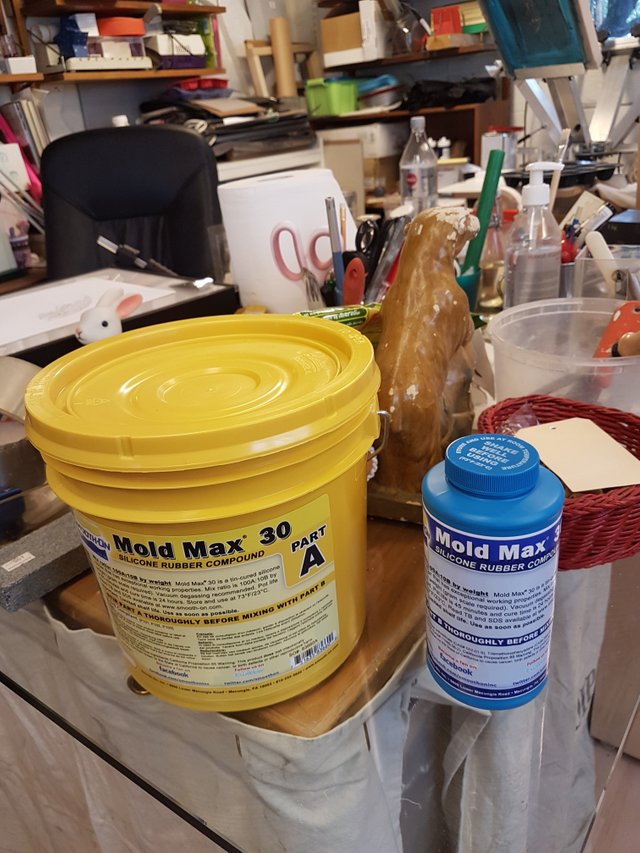
The silicon comes in two parts. Part A and part B. In this particular case I use "Mold Star" from "Smooth-on" and this is Mold star nr. 30 with a medium flexibility so it is suitable for multi purposes.
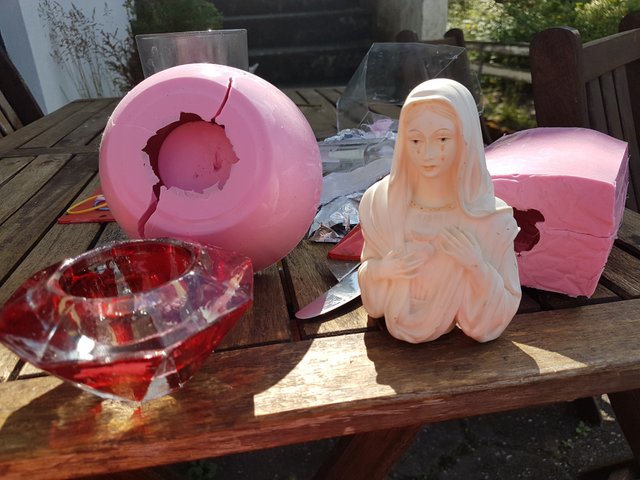
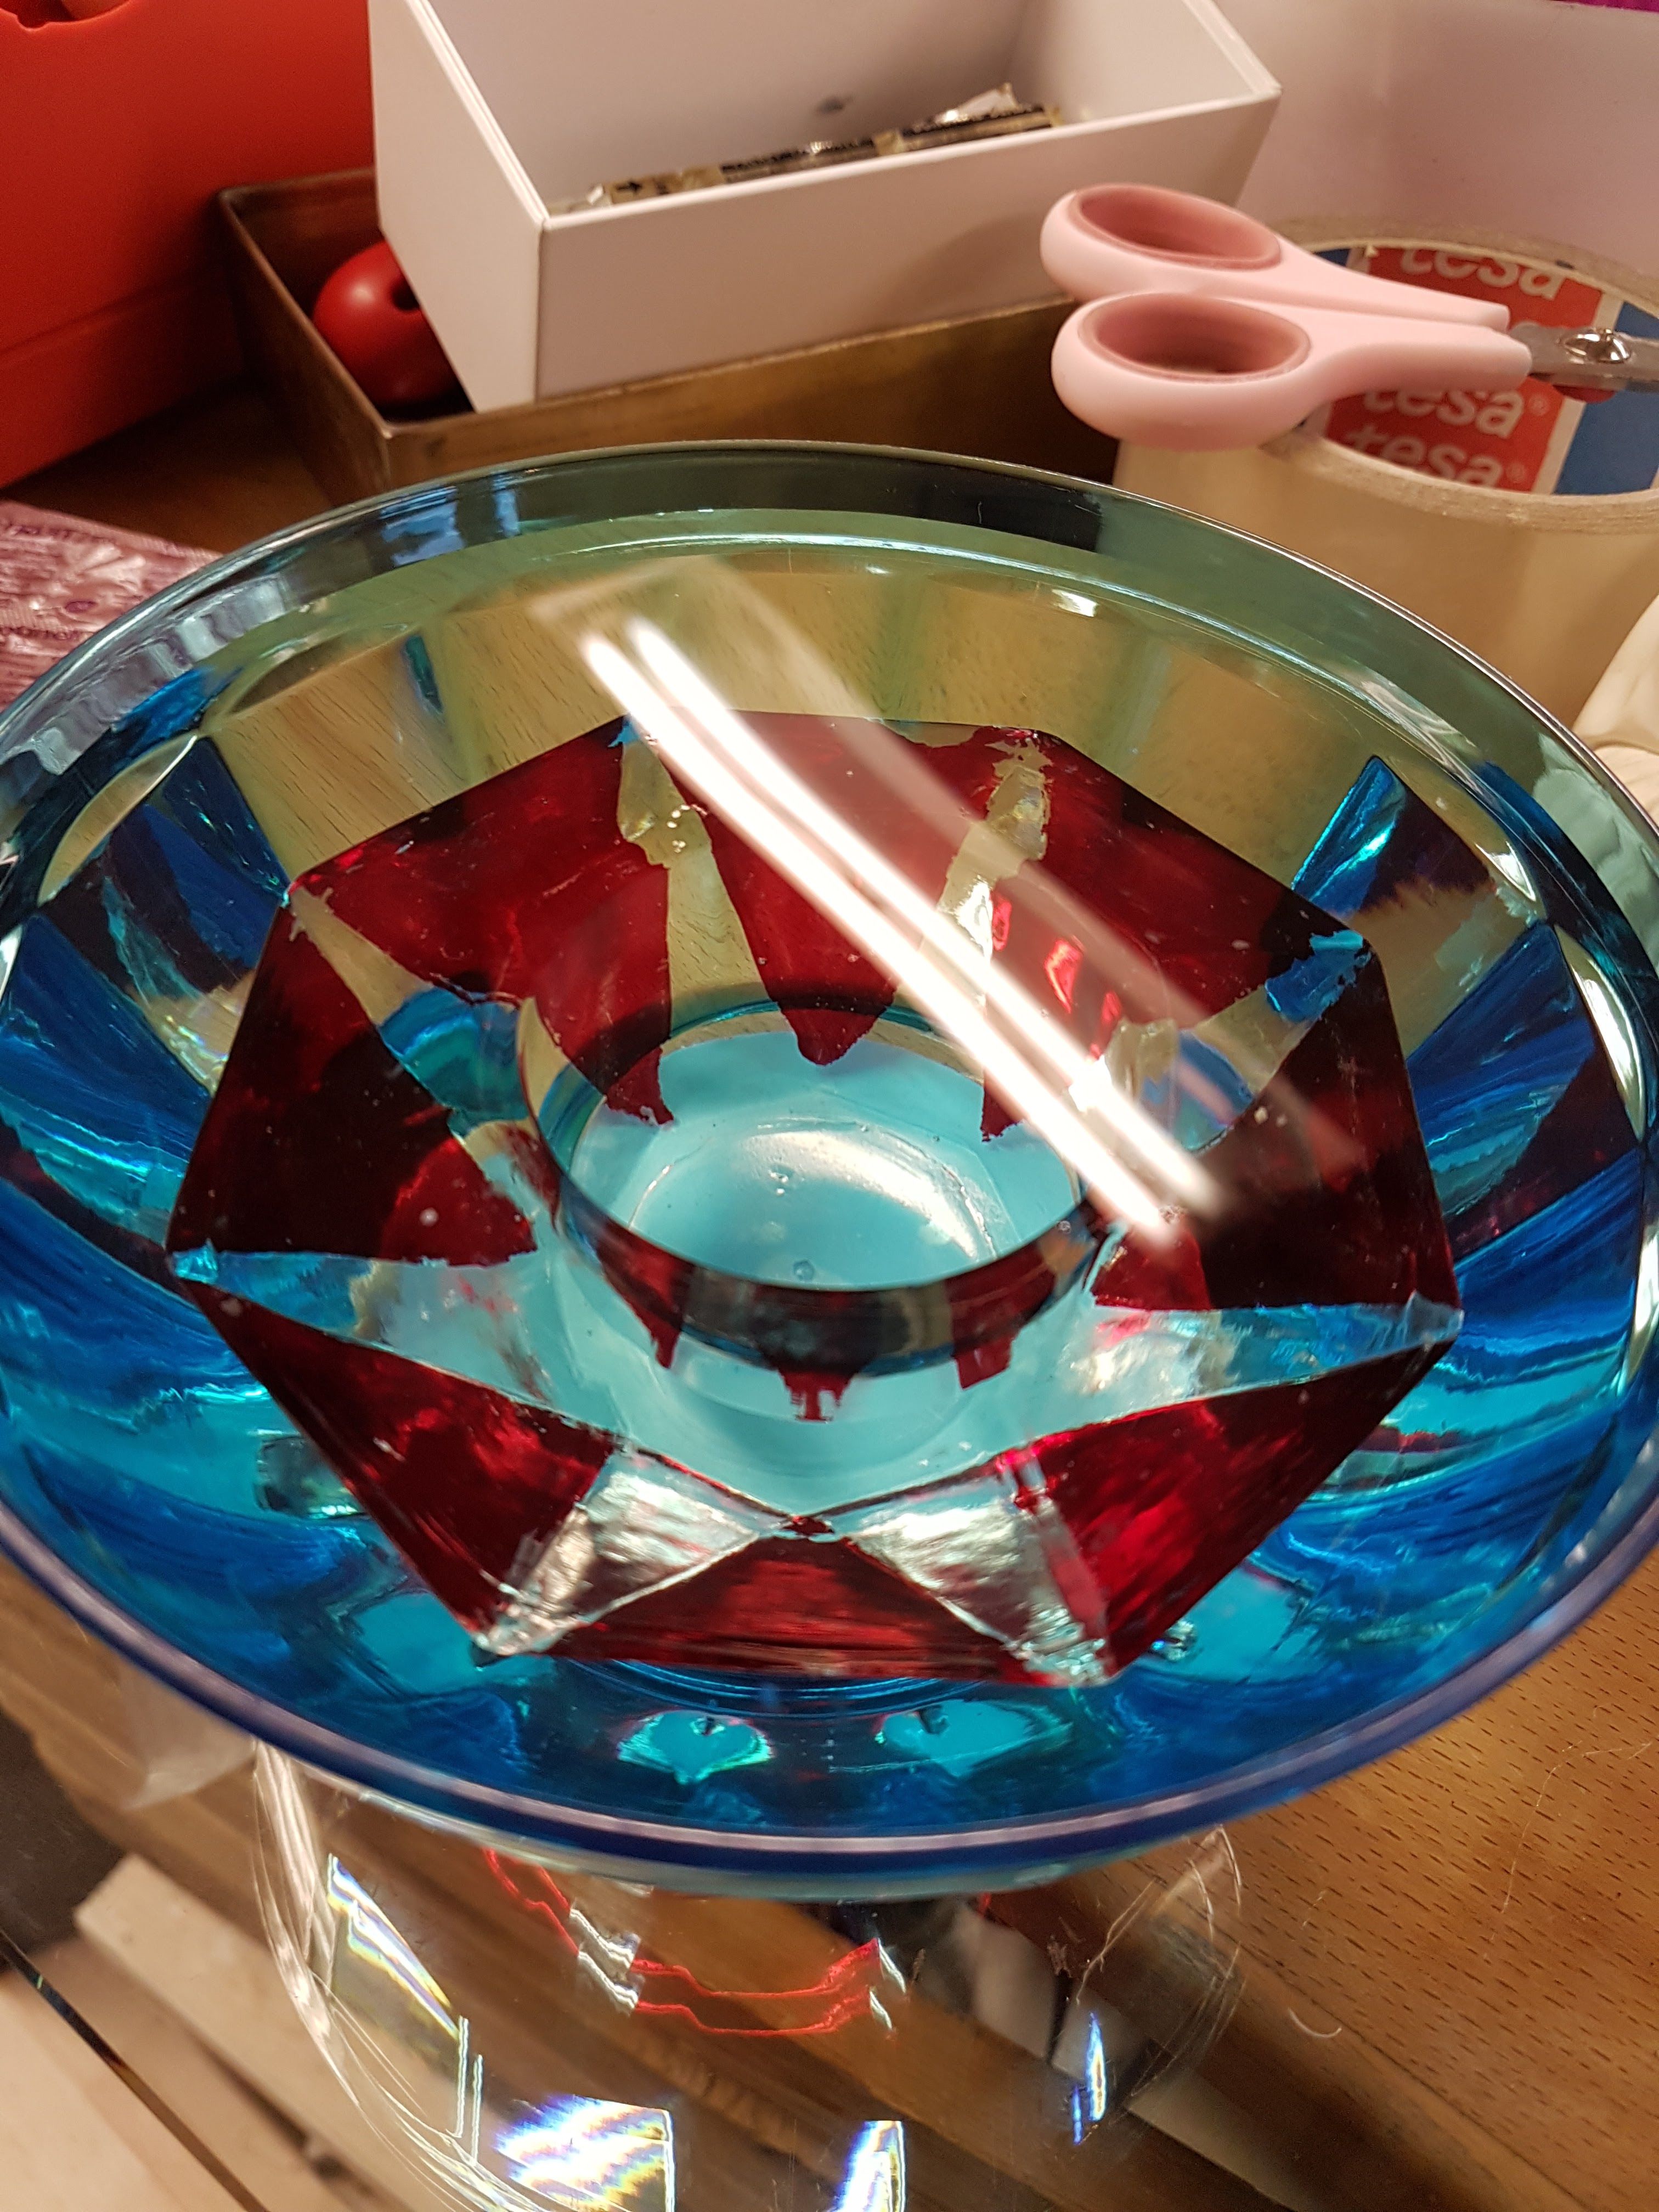
In the beginning I build the mold. For the cement mold I just used a cheap plastic bowl that was a litle bit bigger than the thing I was molding witch was a candle holder shaped like a diamond. As the candle holder was heavy I didn´t have to glue it to the bottom of the bowl.
In the case of the candle mold it was an old tacky statue of a crying virgin Mary with the sacred heart on her chest.
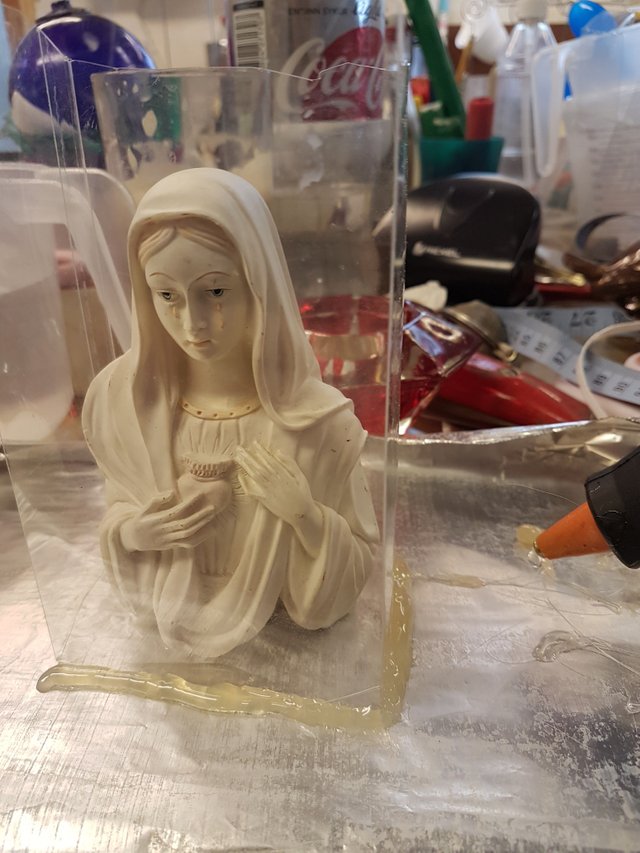
(As we had the sacred heart as a logo in our old store "Ranimosk" and my name is very biblical "Maria (daughter of Peter)", old biblical pictures and statues have been amongst my collected items and favorite ones).
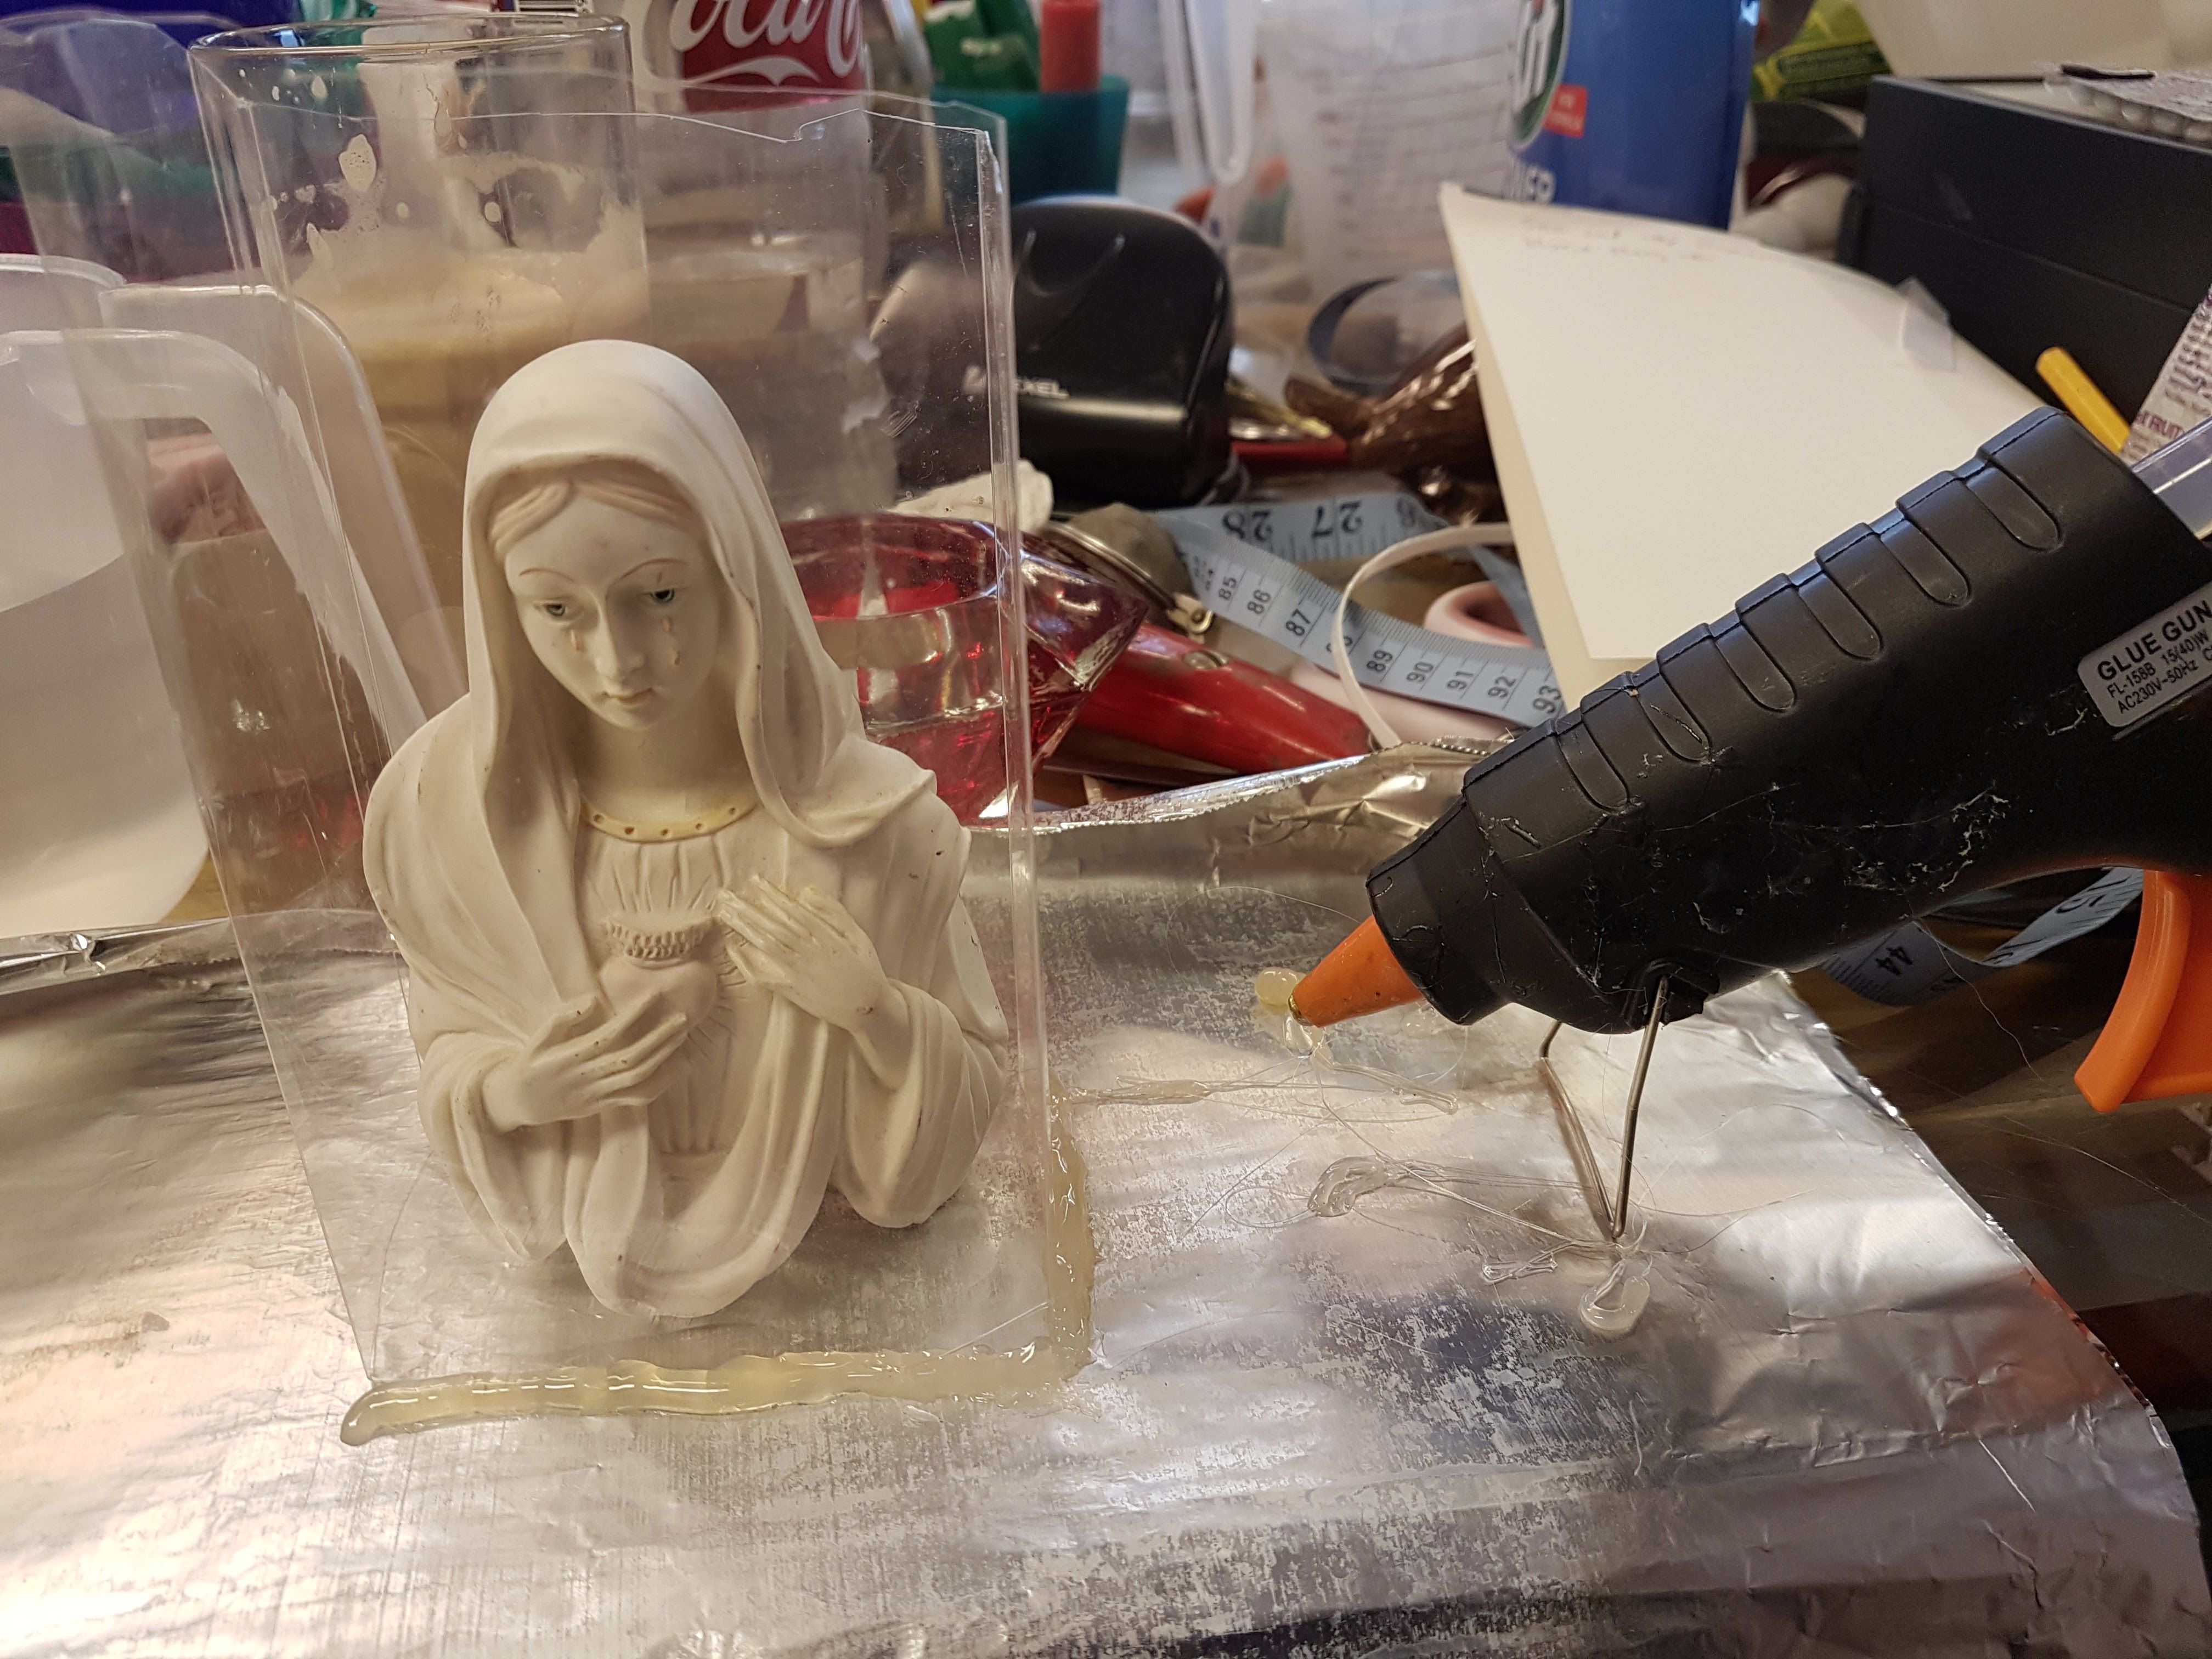
To build the mold of the "Mary" I used some plastic trash that came with something I baught recently and fitted over the statue. I then I glued the statue in the middle and then isolated the plastic to the til foil on the bottom with a glue gun.
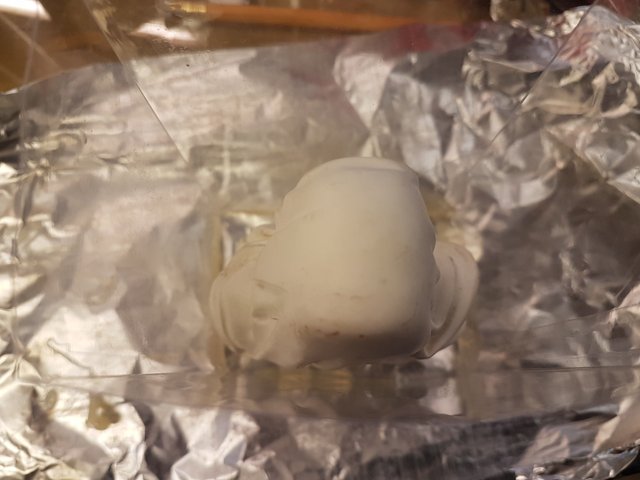
Then I poured some water into both of the molds to see what amount they would need. I also had to make sure the "Mary" mold wouldn´t leak through the bottom.
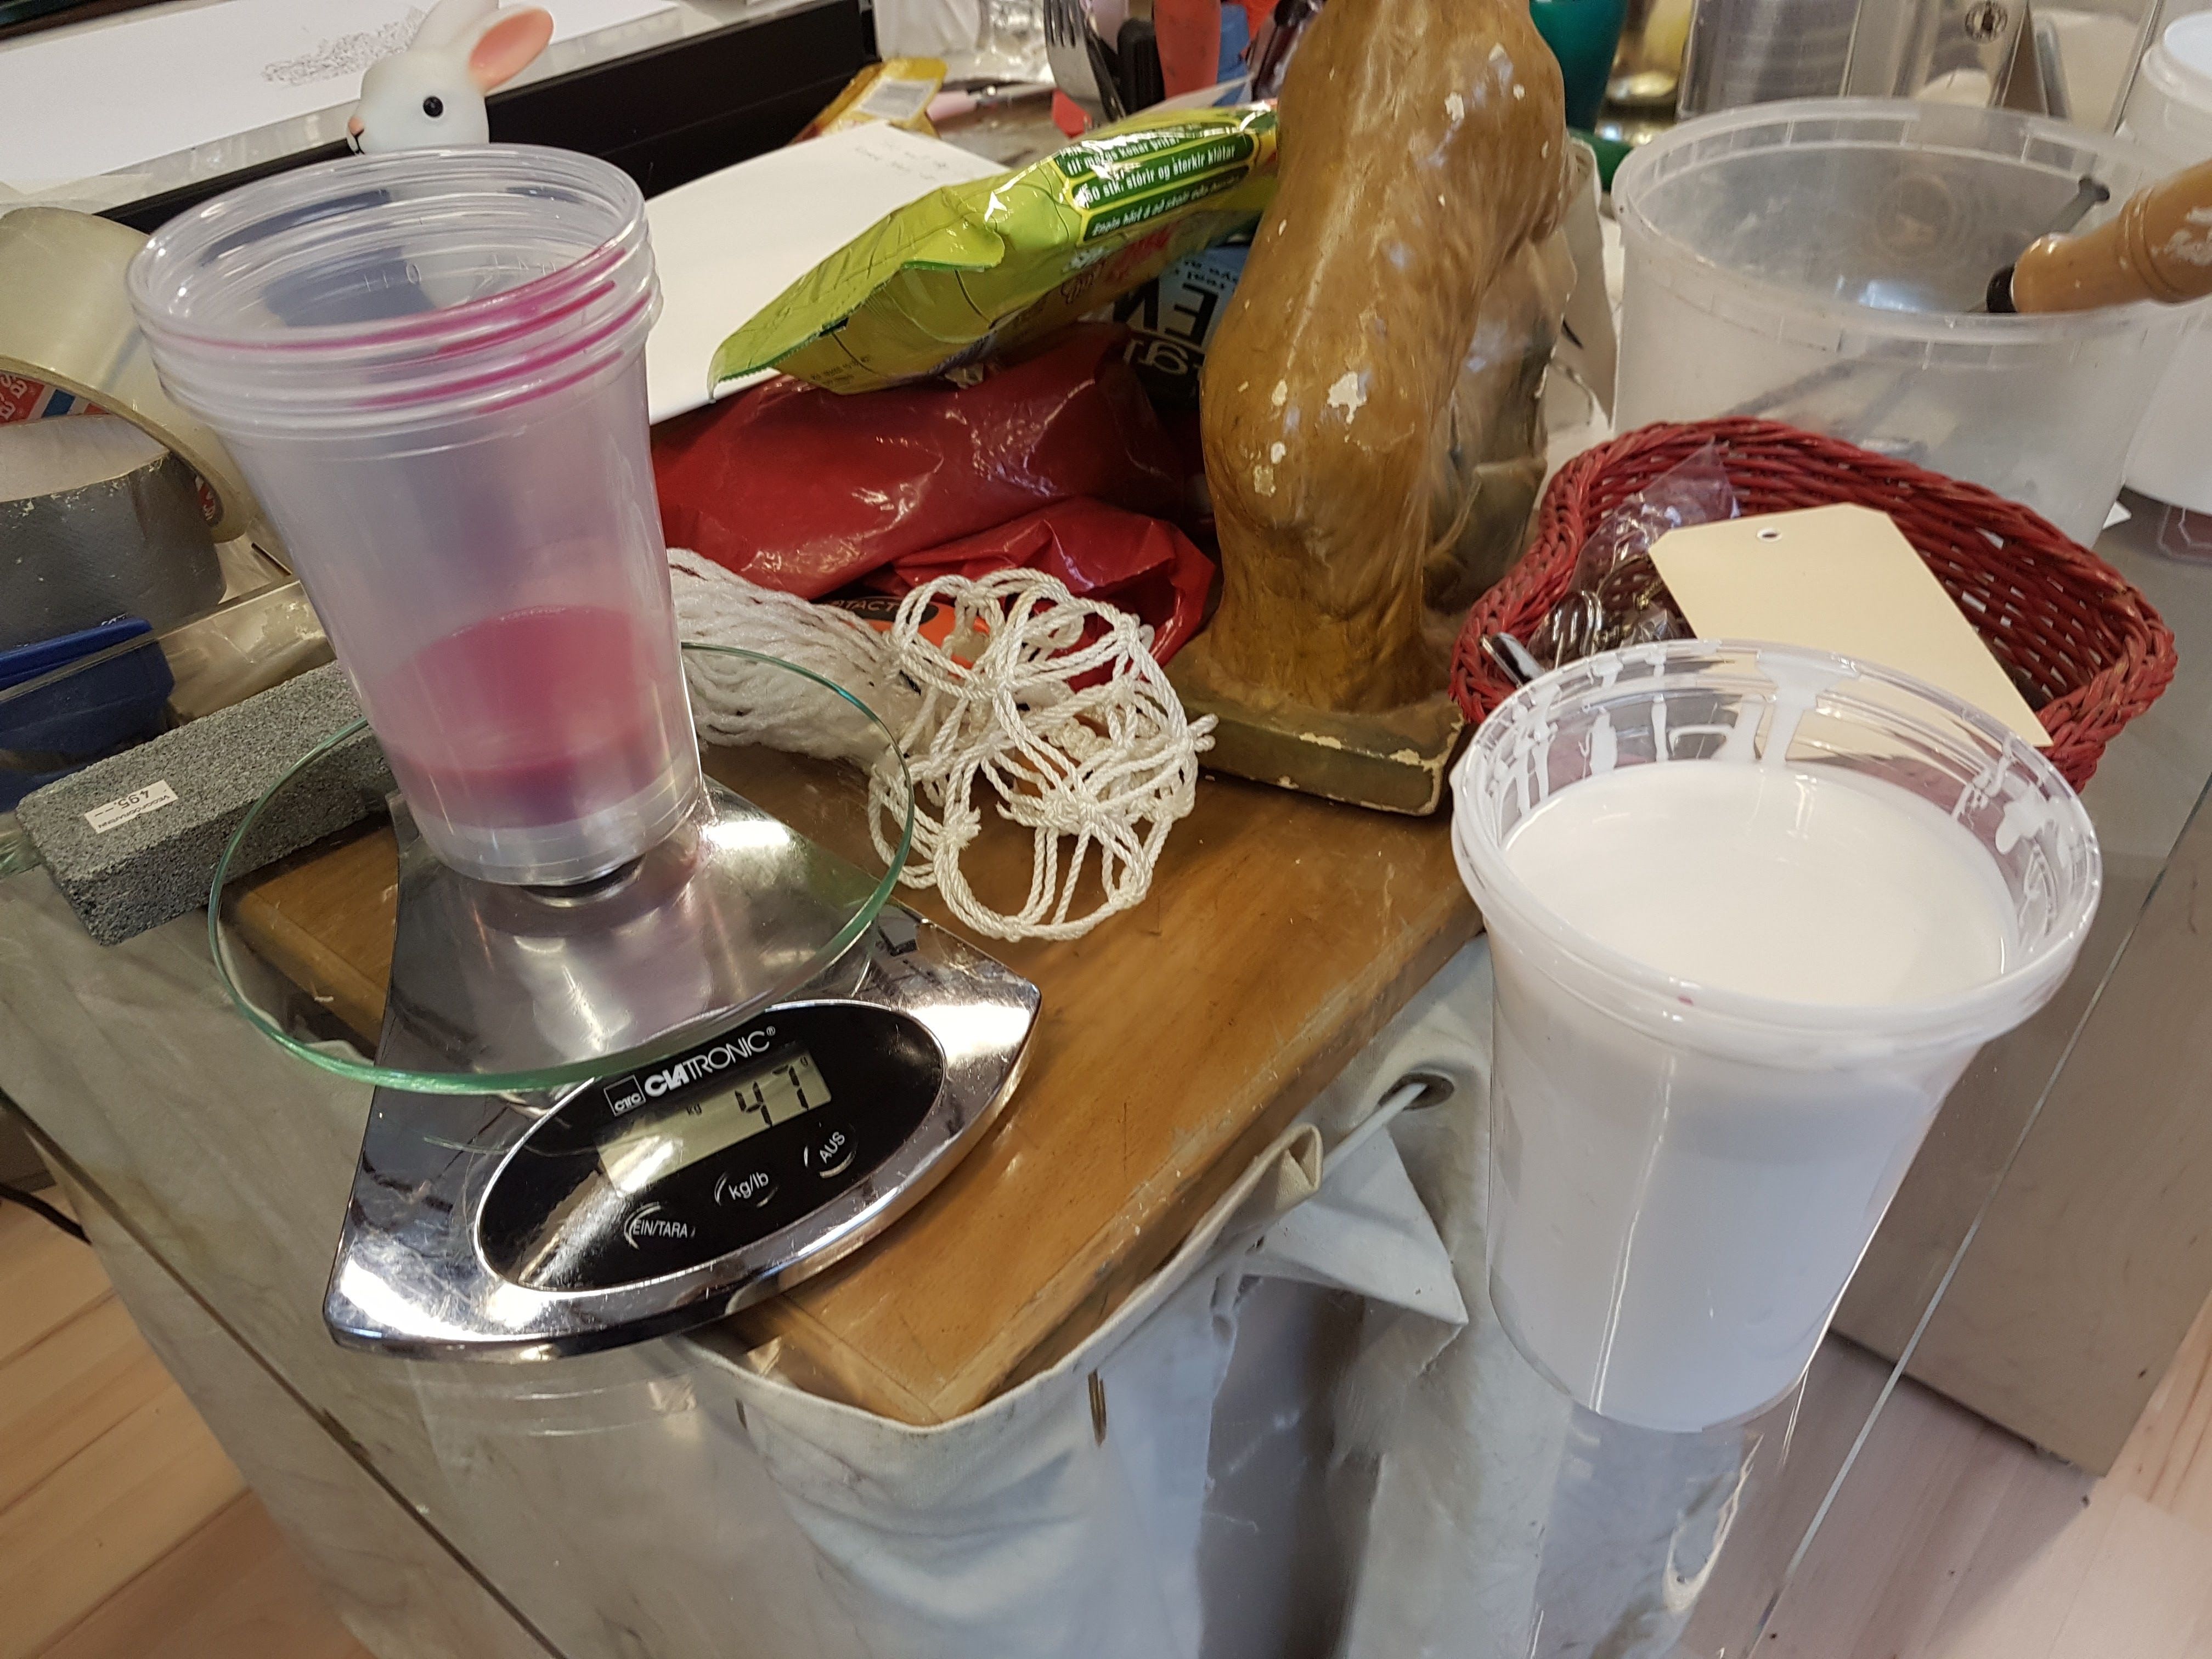
Then I would blend the A and the B stuff together after weighing it on a scale and...
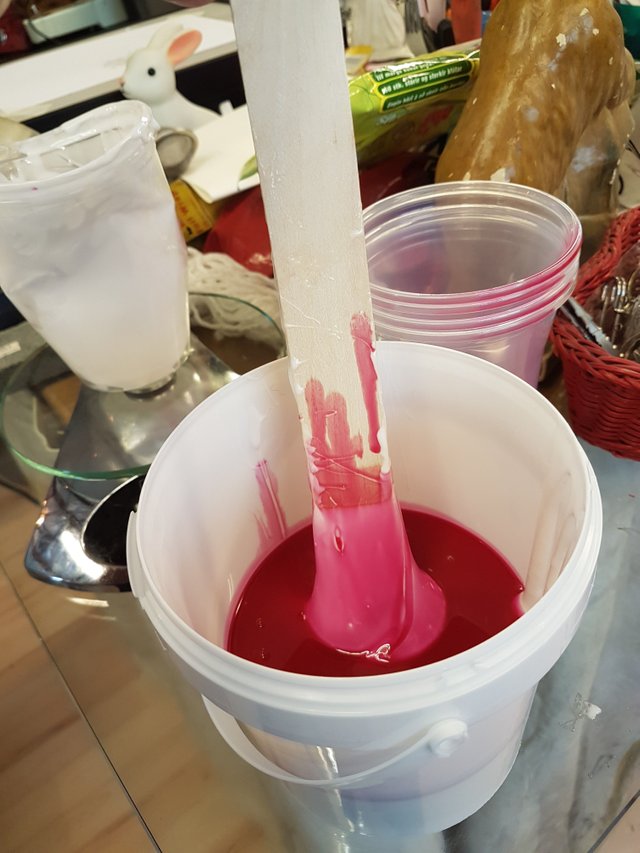
...scramble it thoroughly together with a wooden stick.
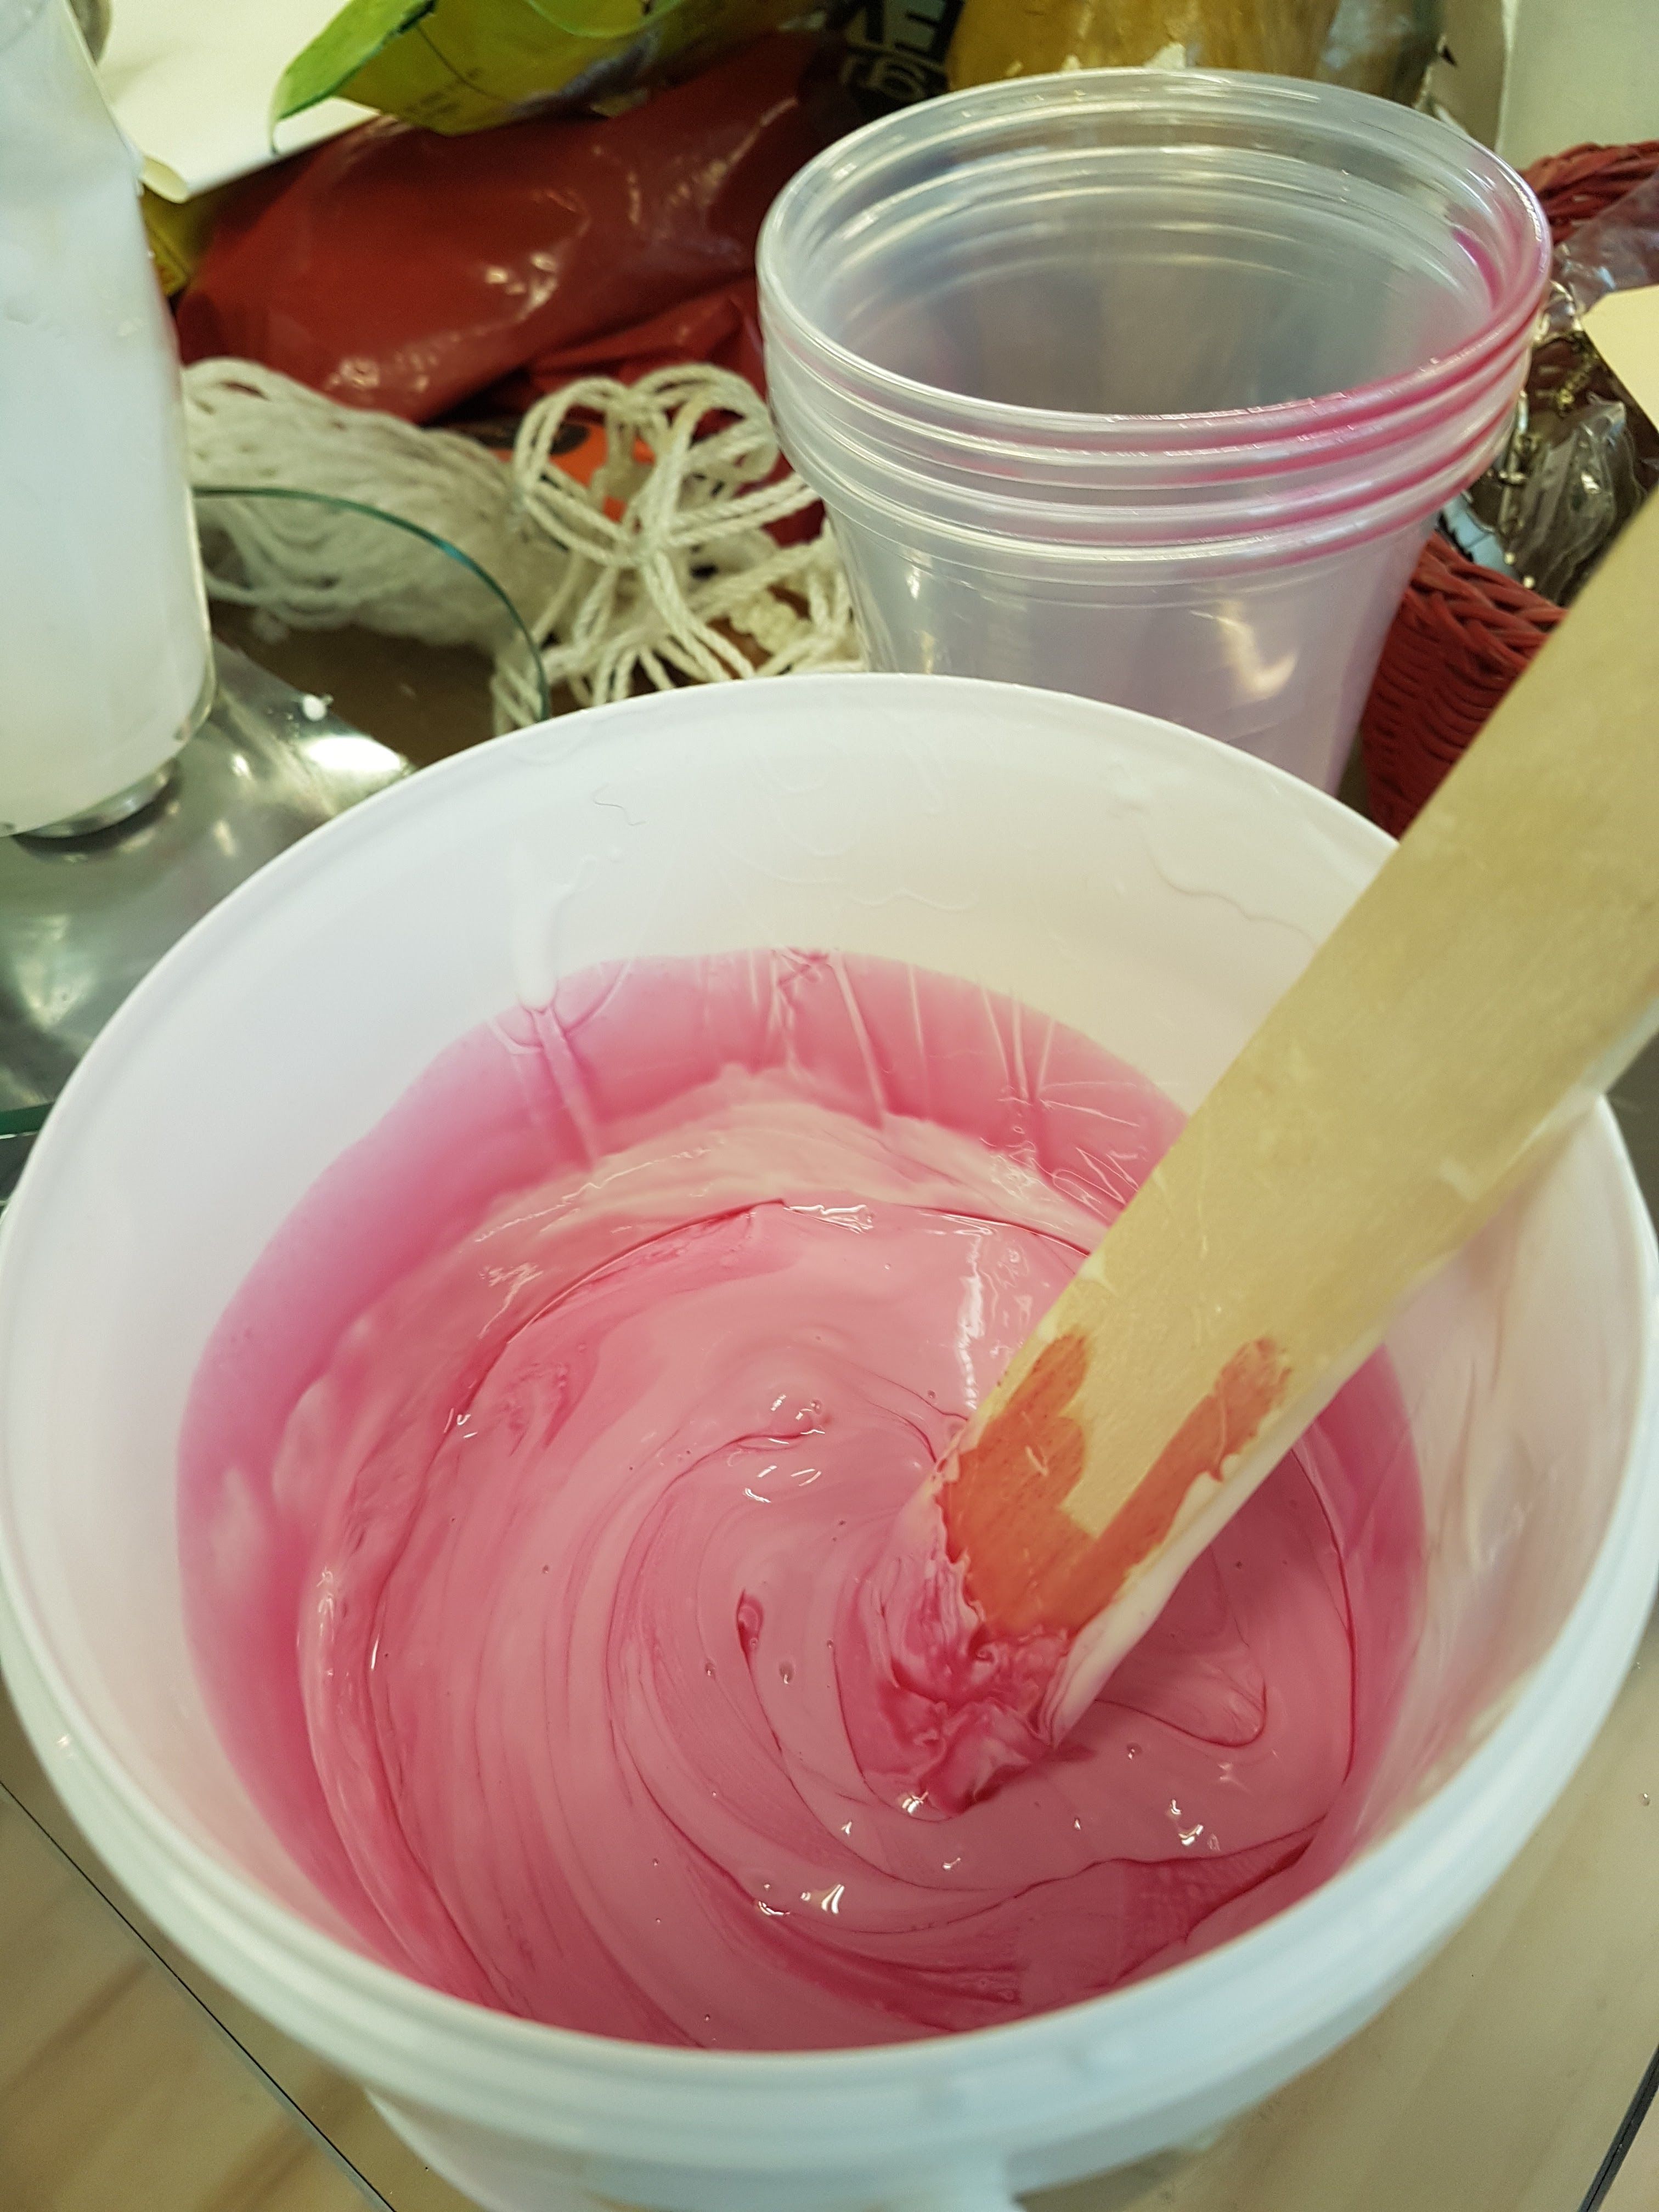
When put together, the blend has around 15 to 20 minutes before starting to dry so you have well enough time to scramble it well together.
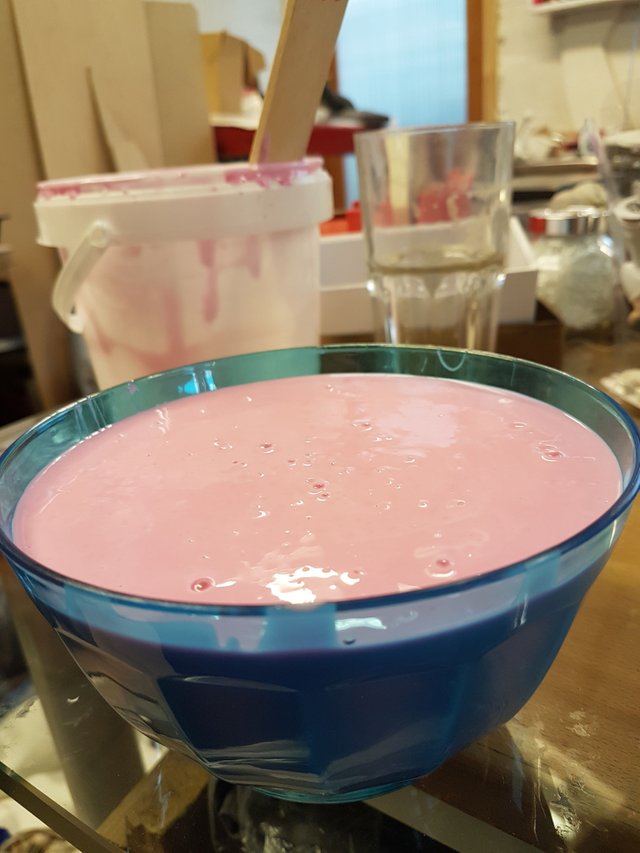
After pouring the blend into the candle holder mold I used a screw driver to knock on the table for a while to get rid of air bubbles.
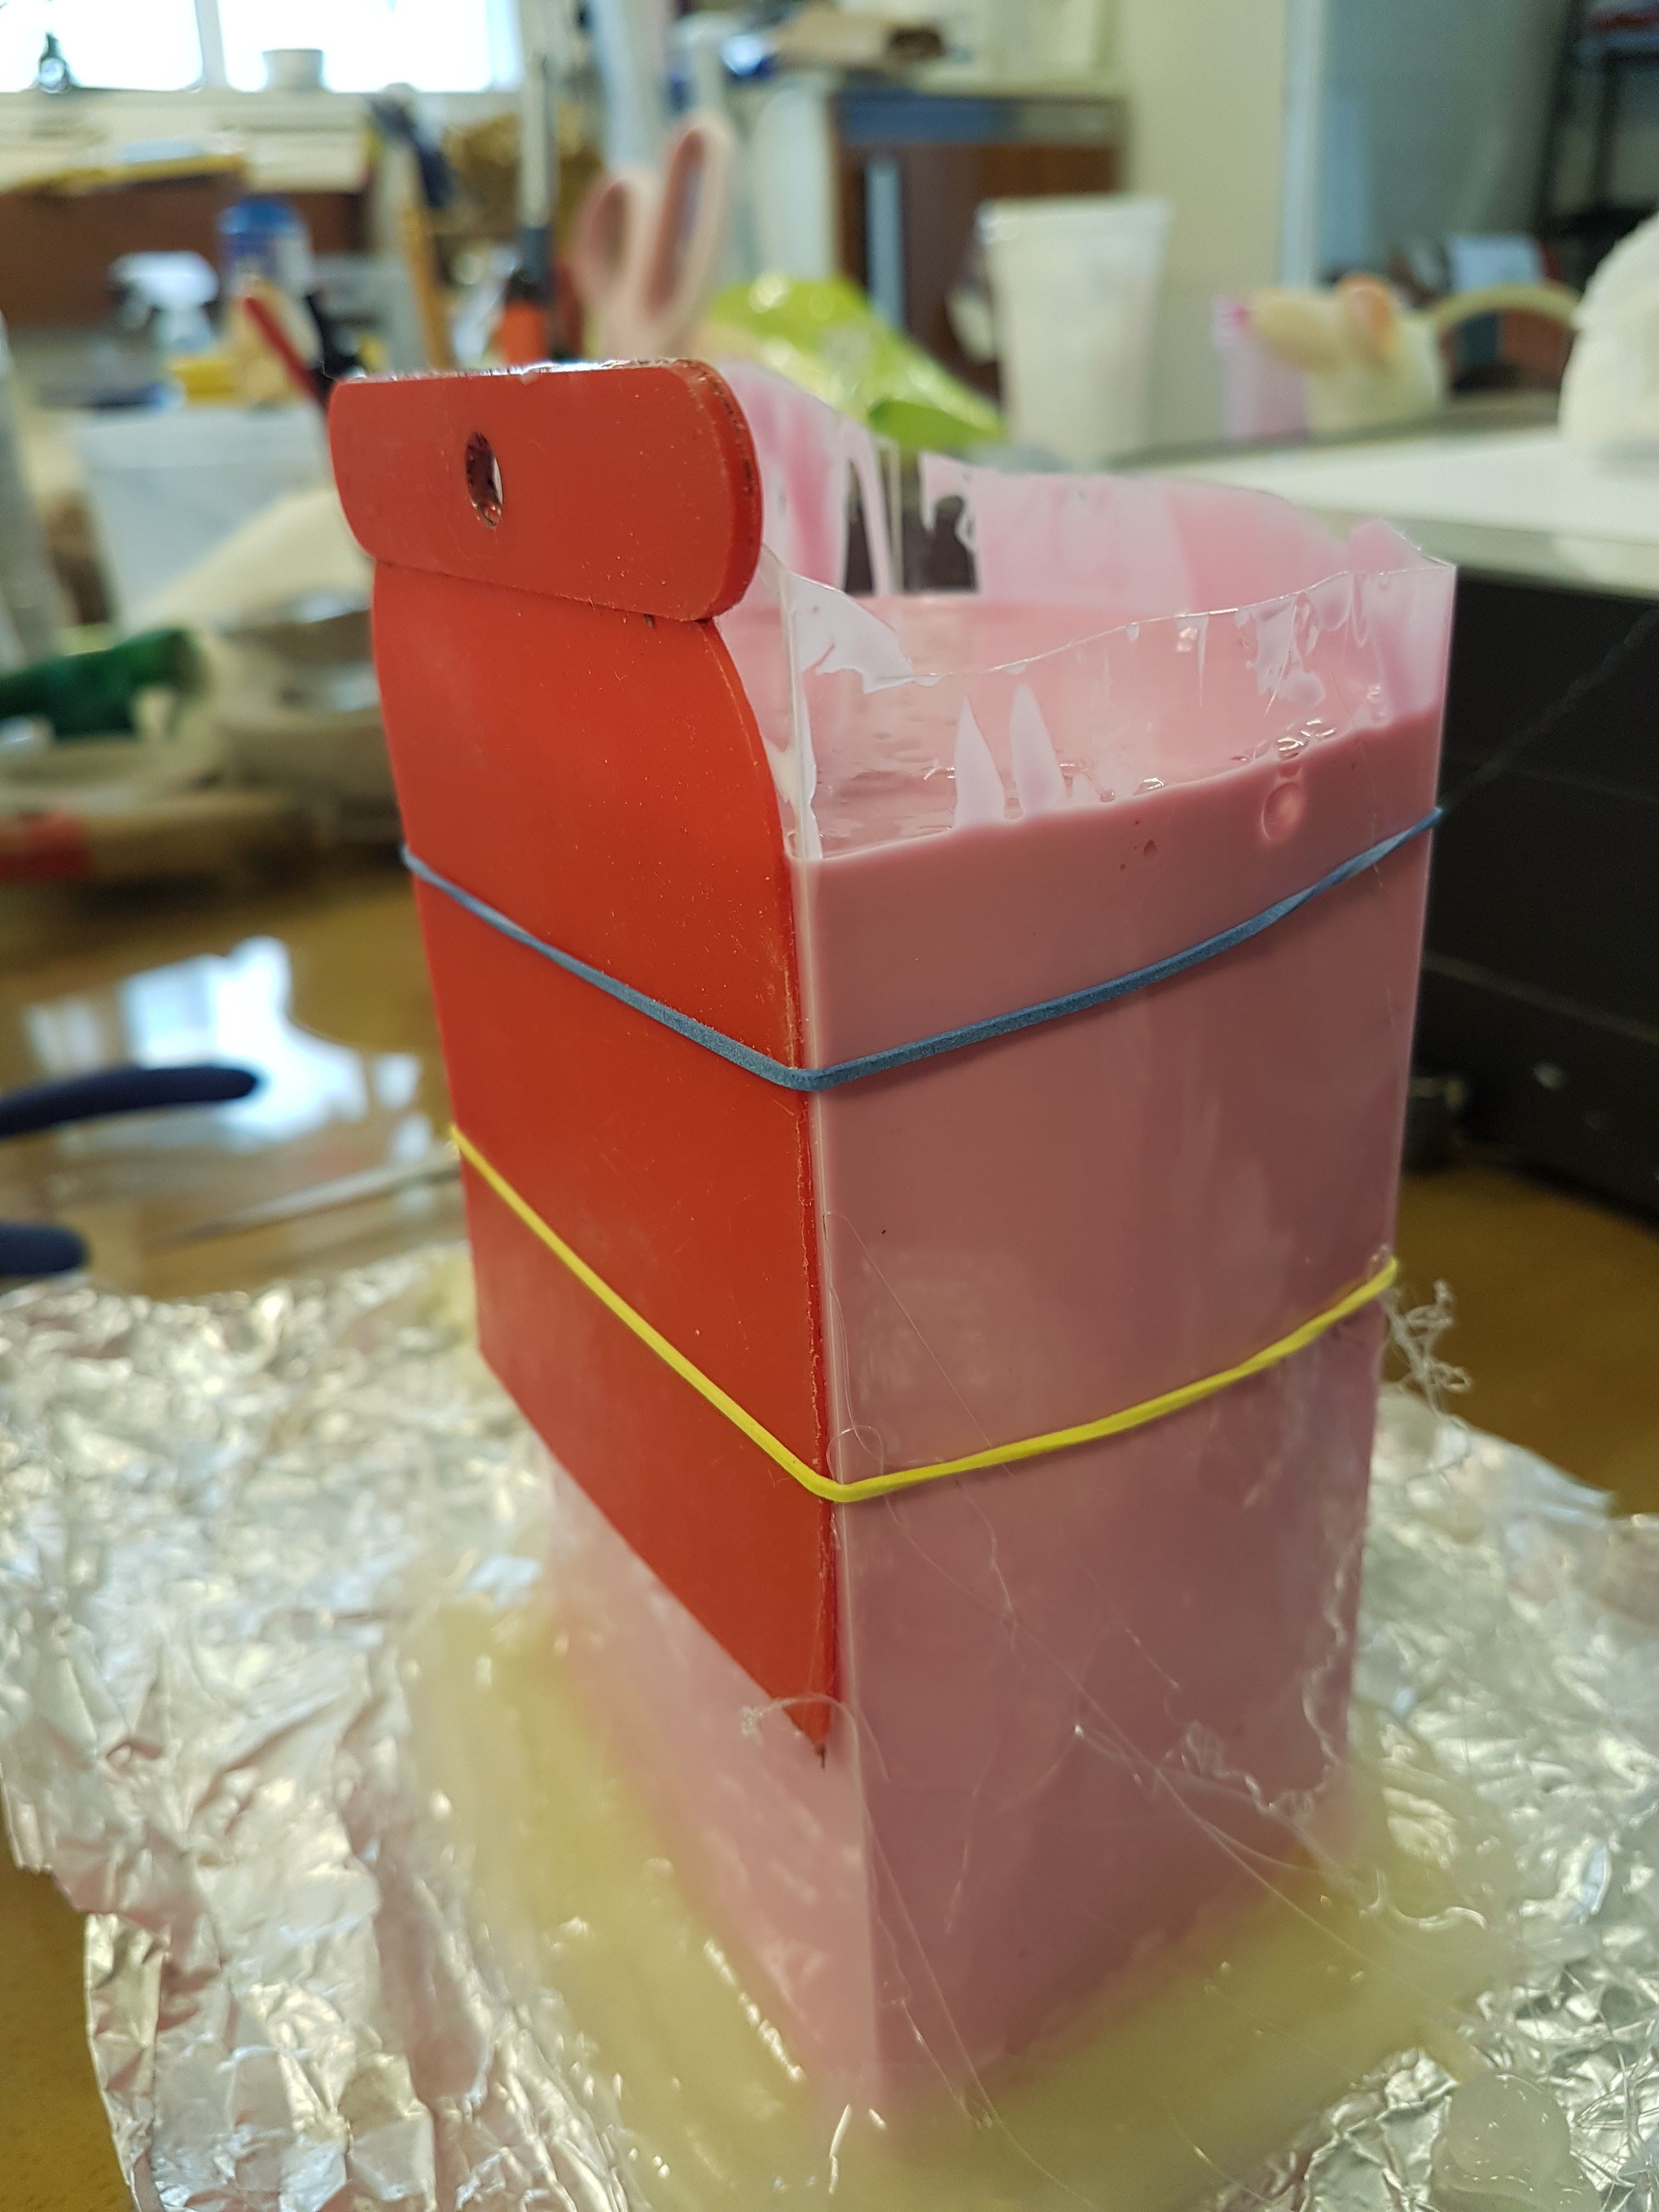
The "Mary" mold needed a little support so I put rubber band around it and som flat items I found to support the bigger sides from gulping.
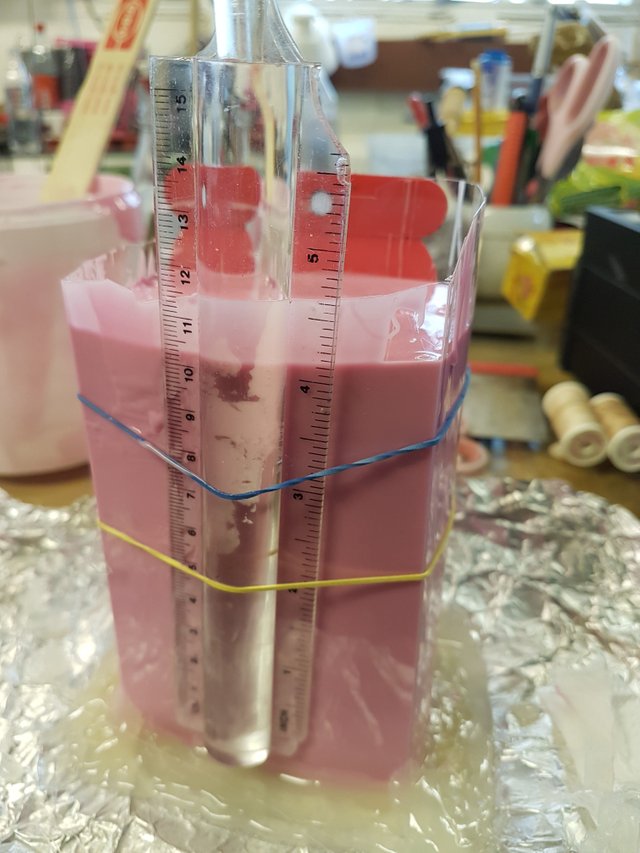
After drying over night I took the molds out of the plastic and the aluminum and I cut them a bit open with a sharp knife to get the customs out.
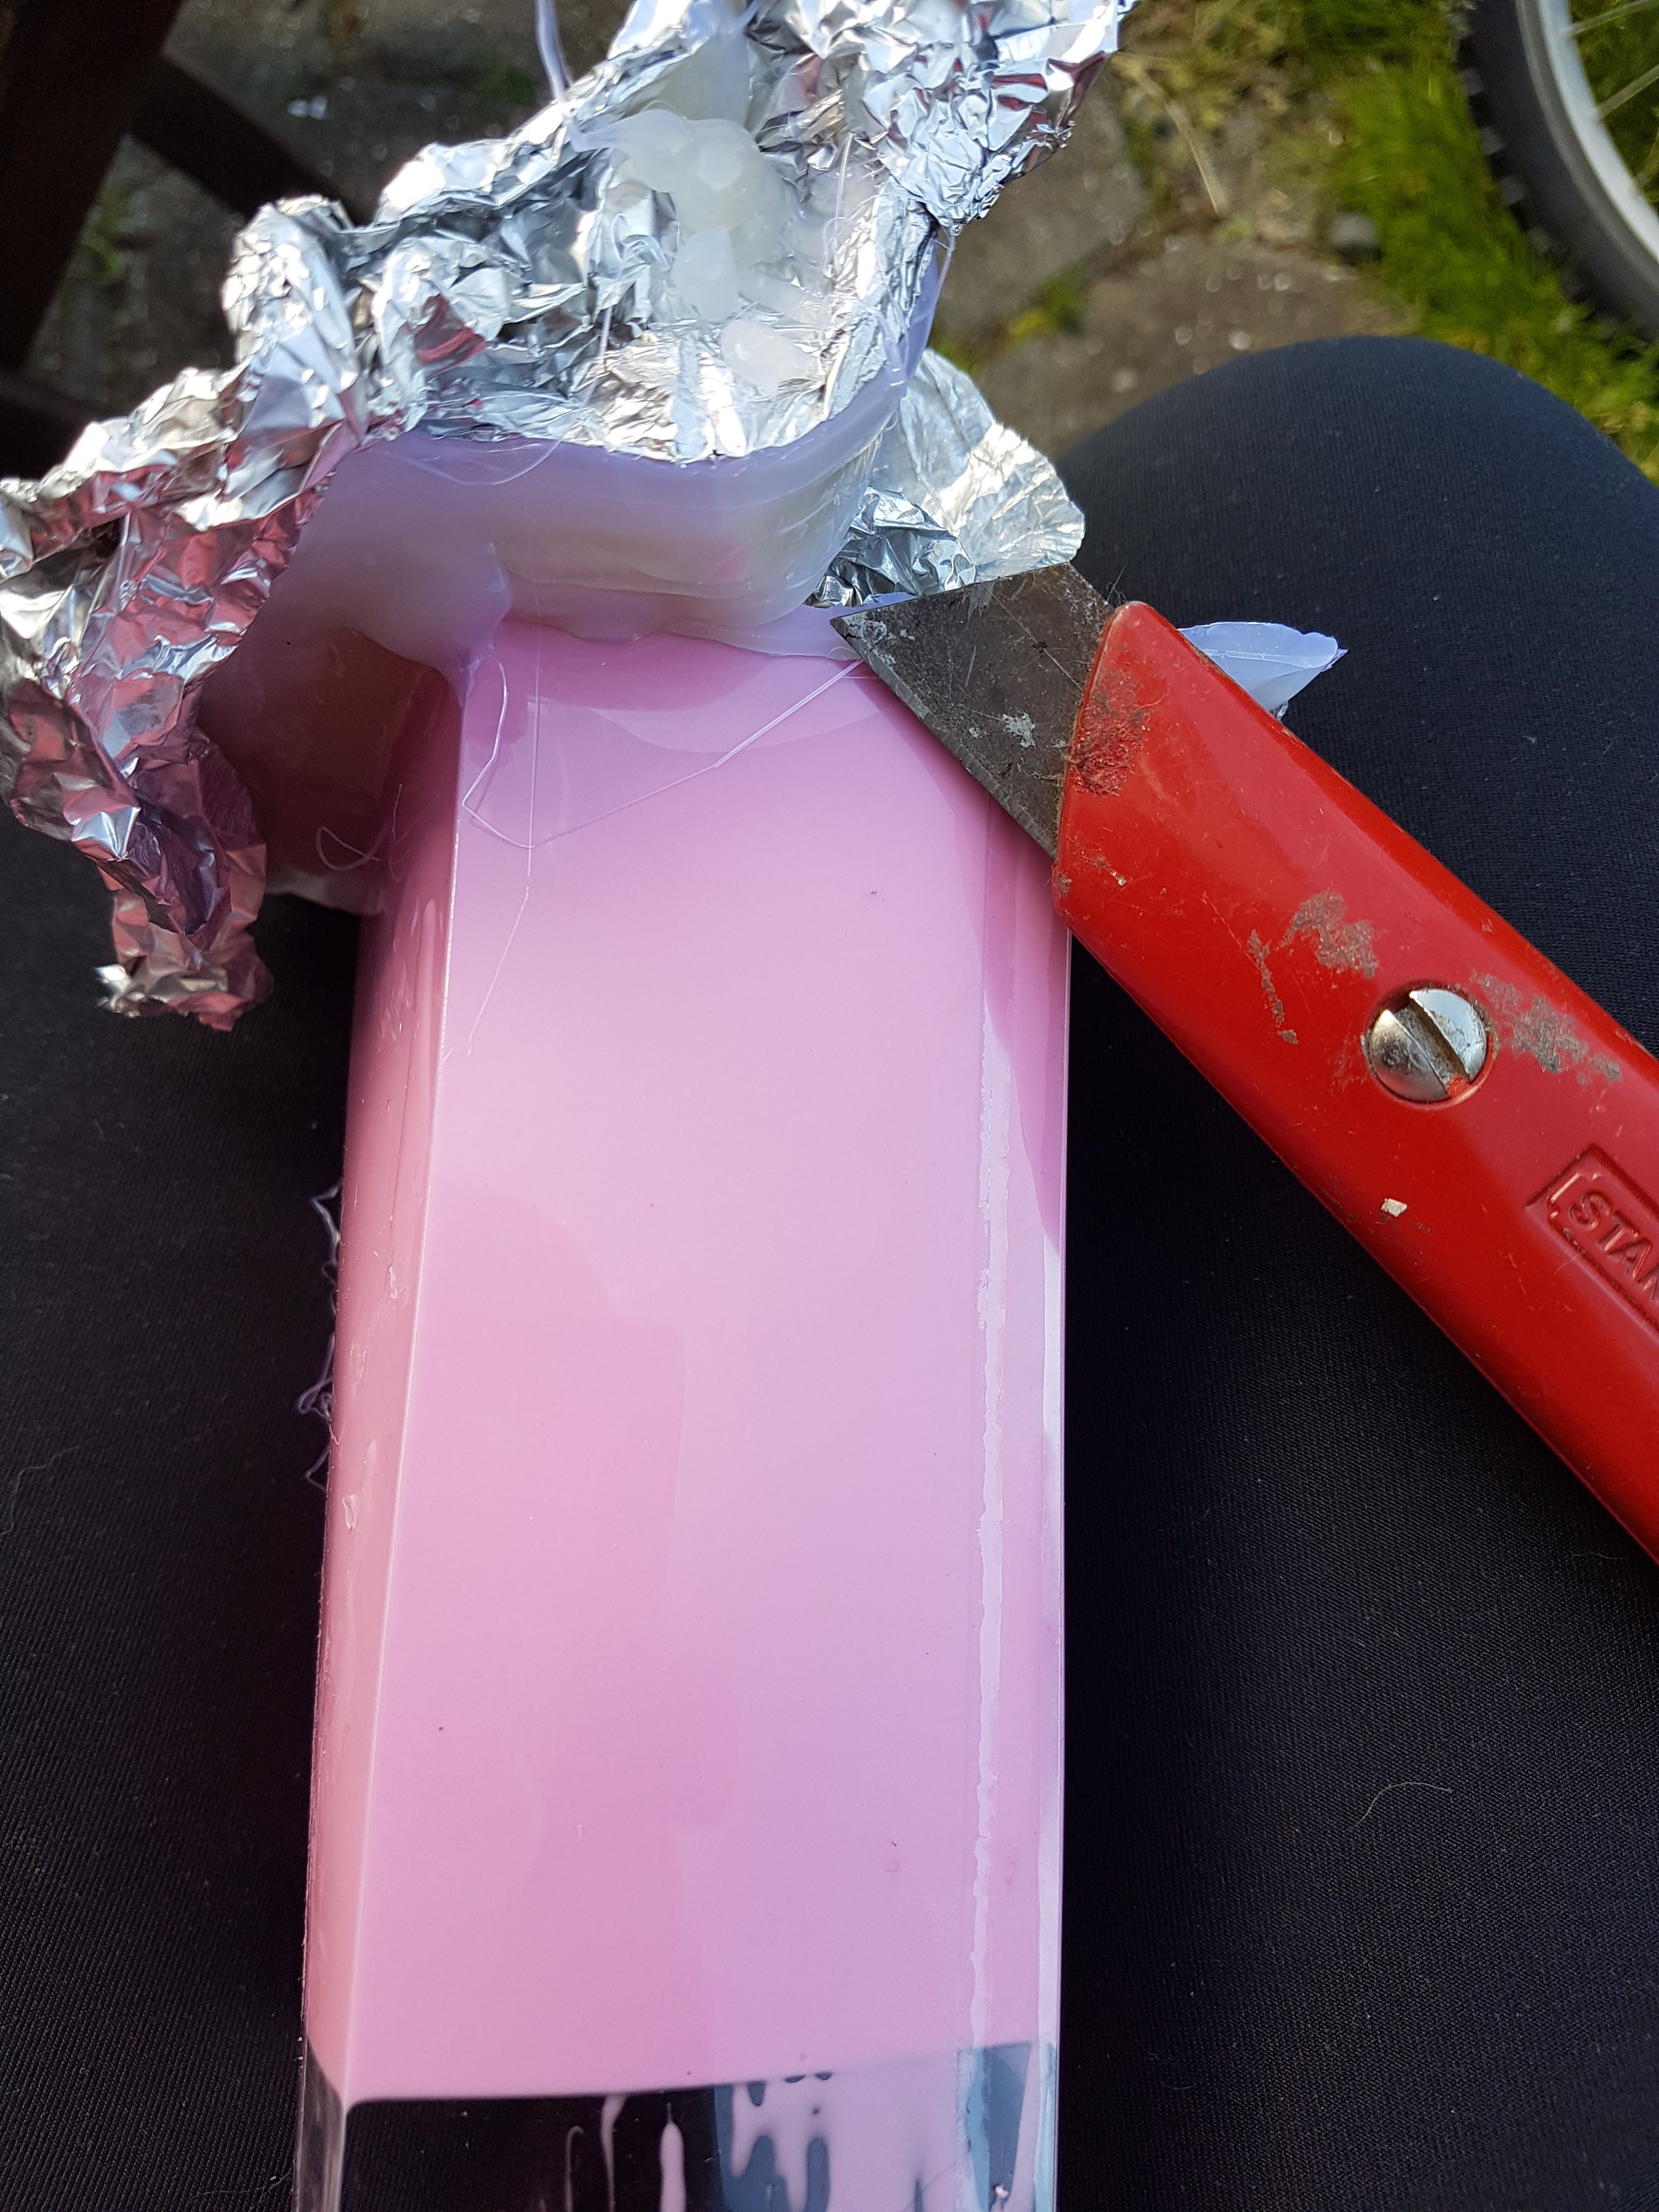
I try´d to cut as little as I could and by the sides of the statue so the lines would not be so obvious if seen.
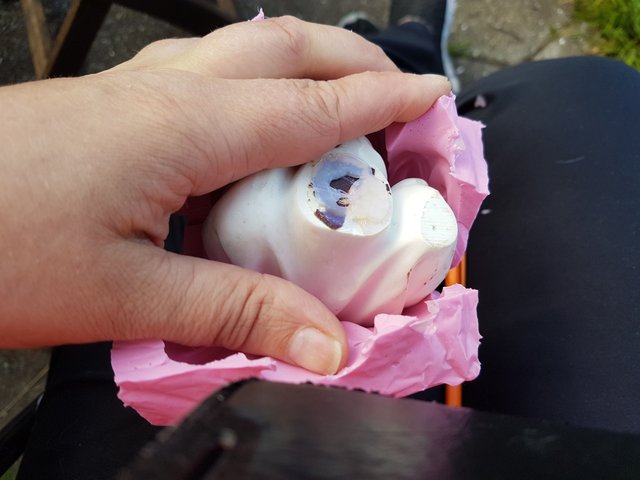
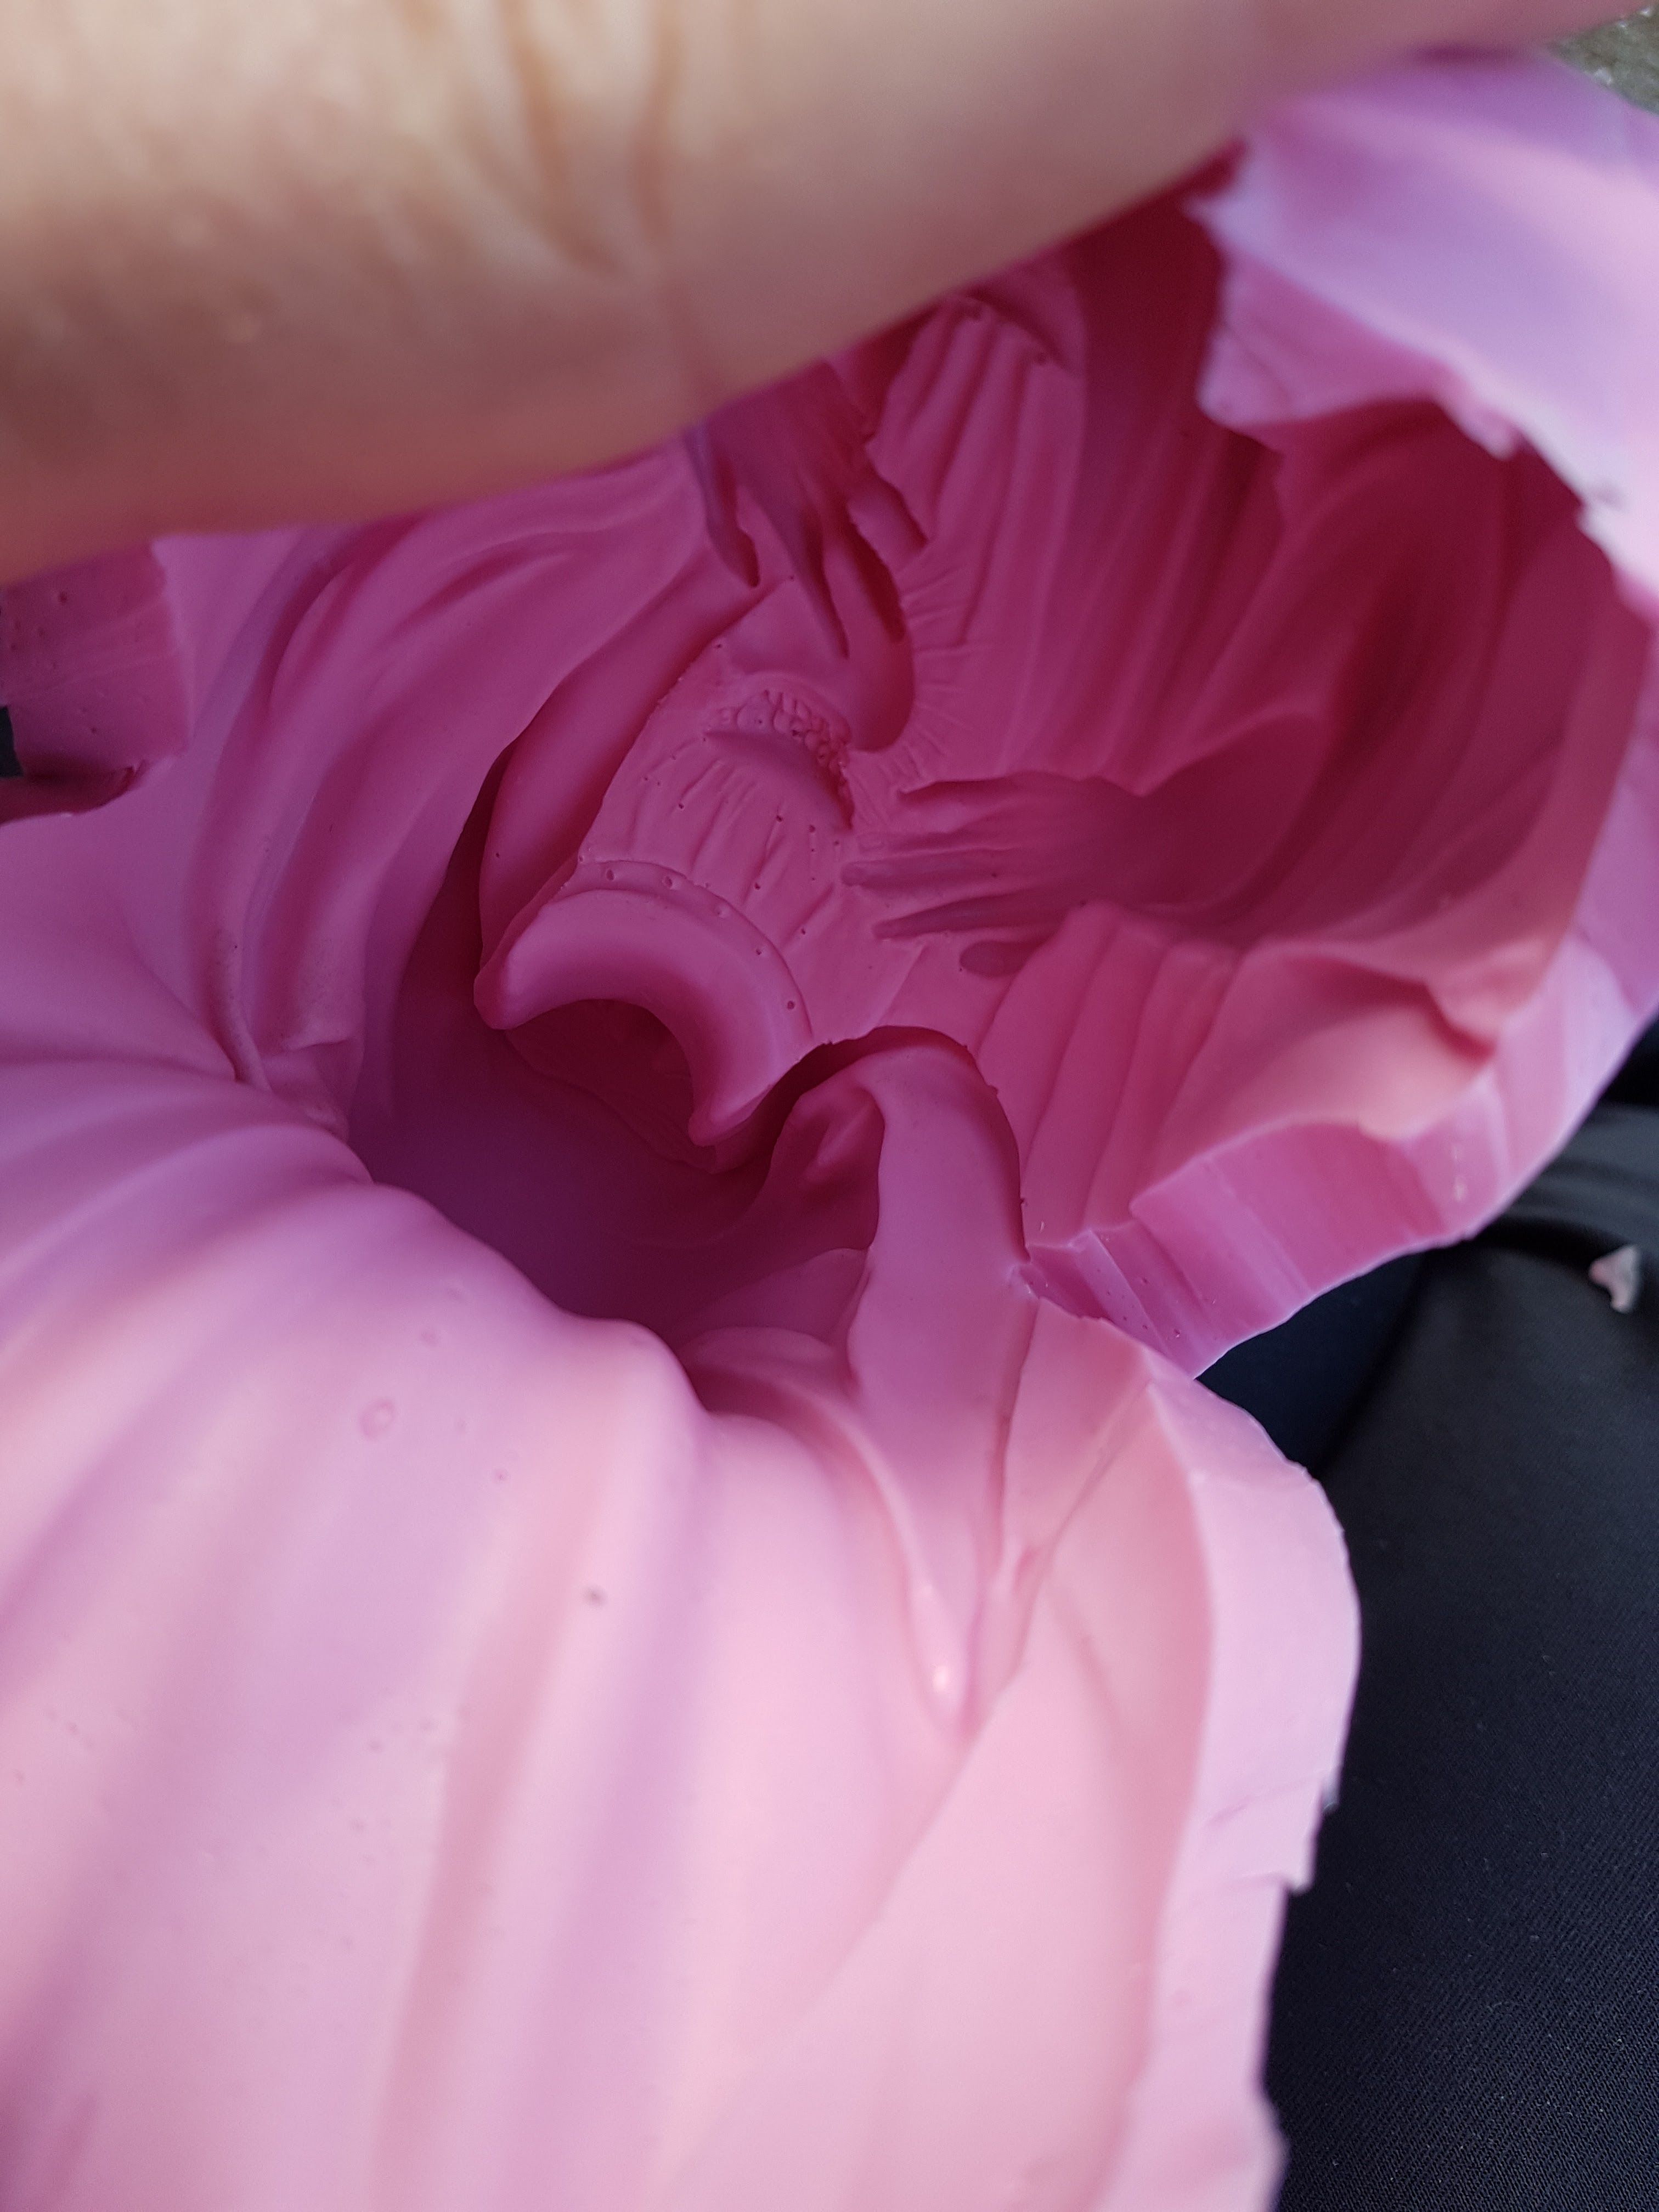
It was rather easy to get the statue out and the details inside the mold were grate.
I had to cut around the edges of the candle holder mold and then bump the bowl to the pavement to get the mold out.
.jpg)
Then I did the same, cutting as little as I could and then try to force the cadle holder out.
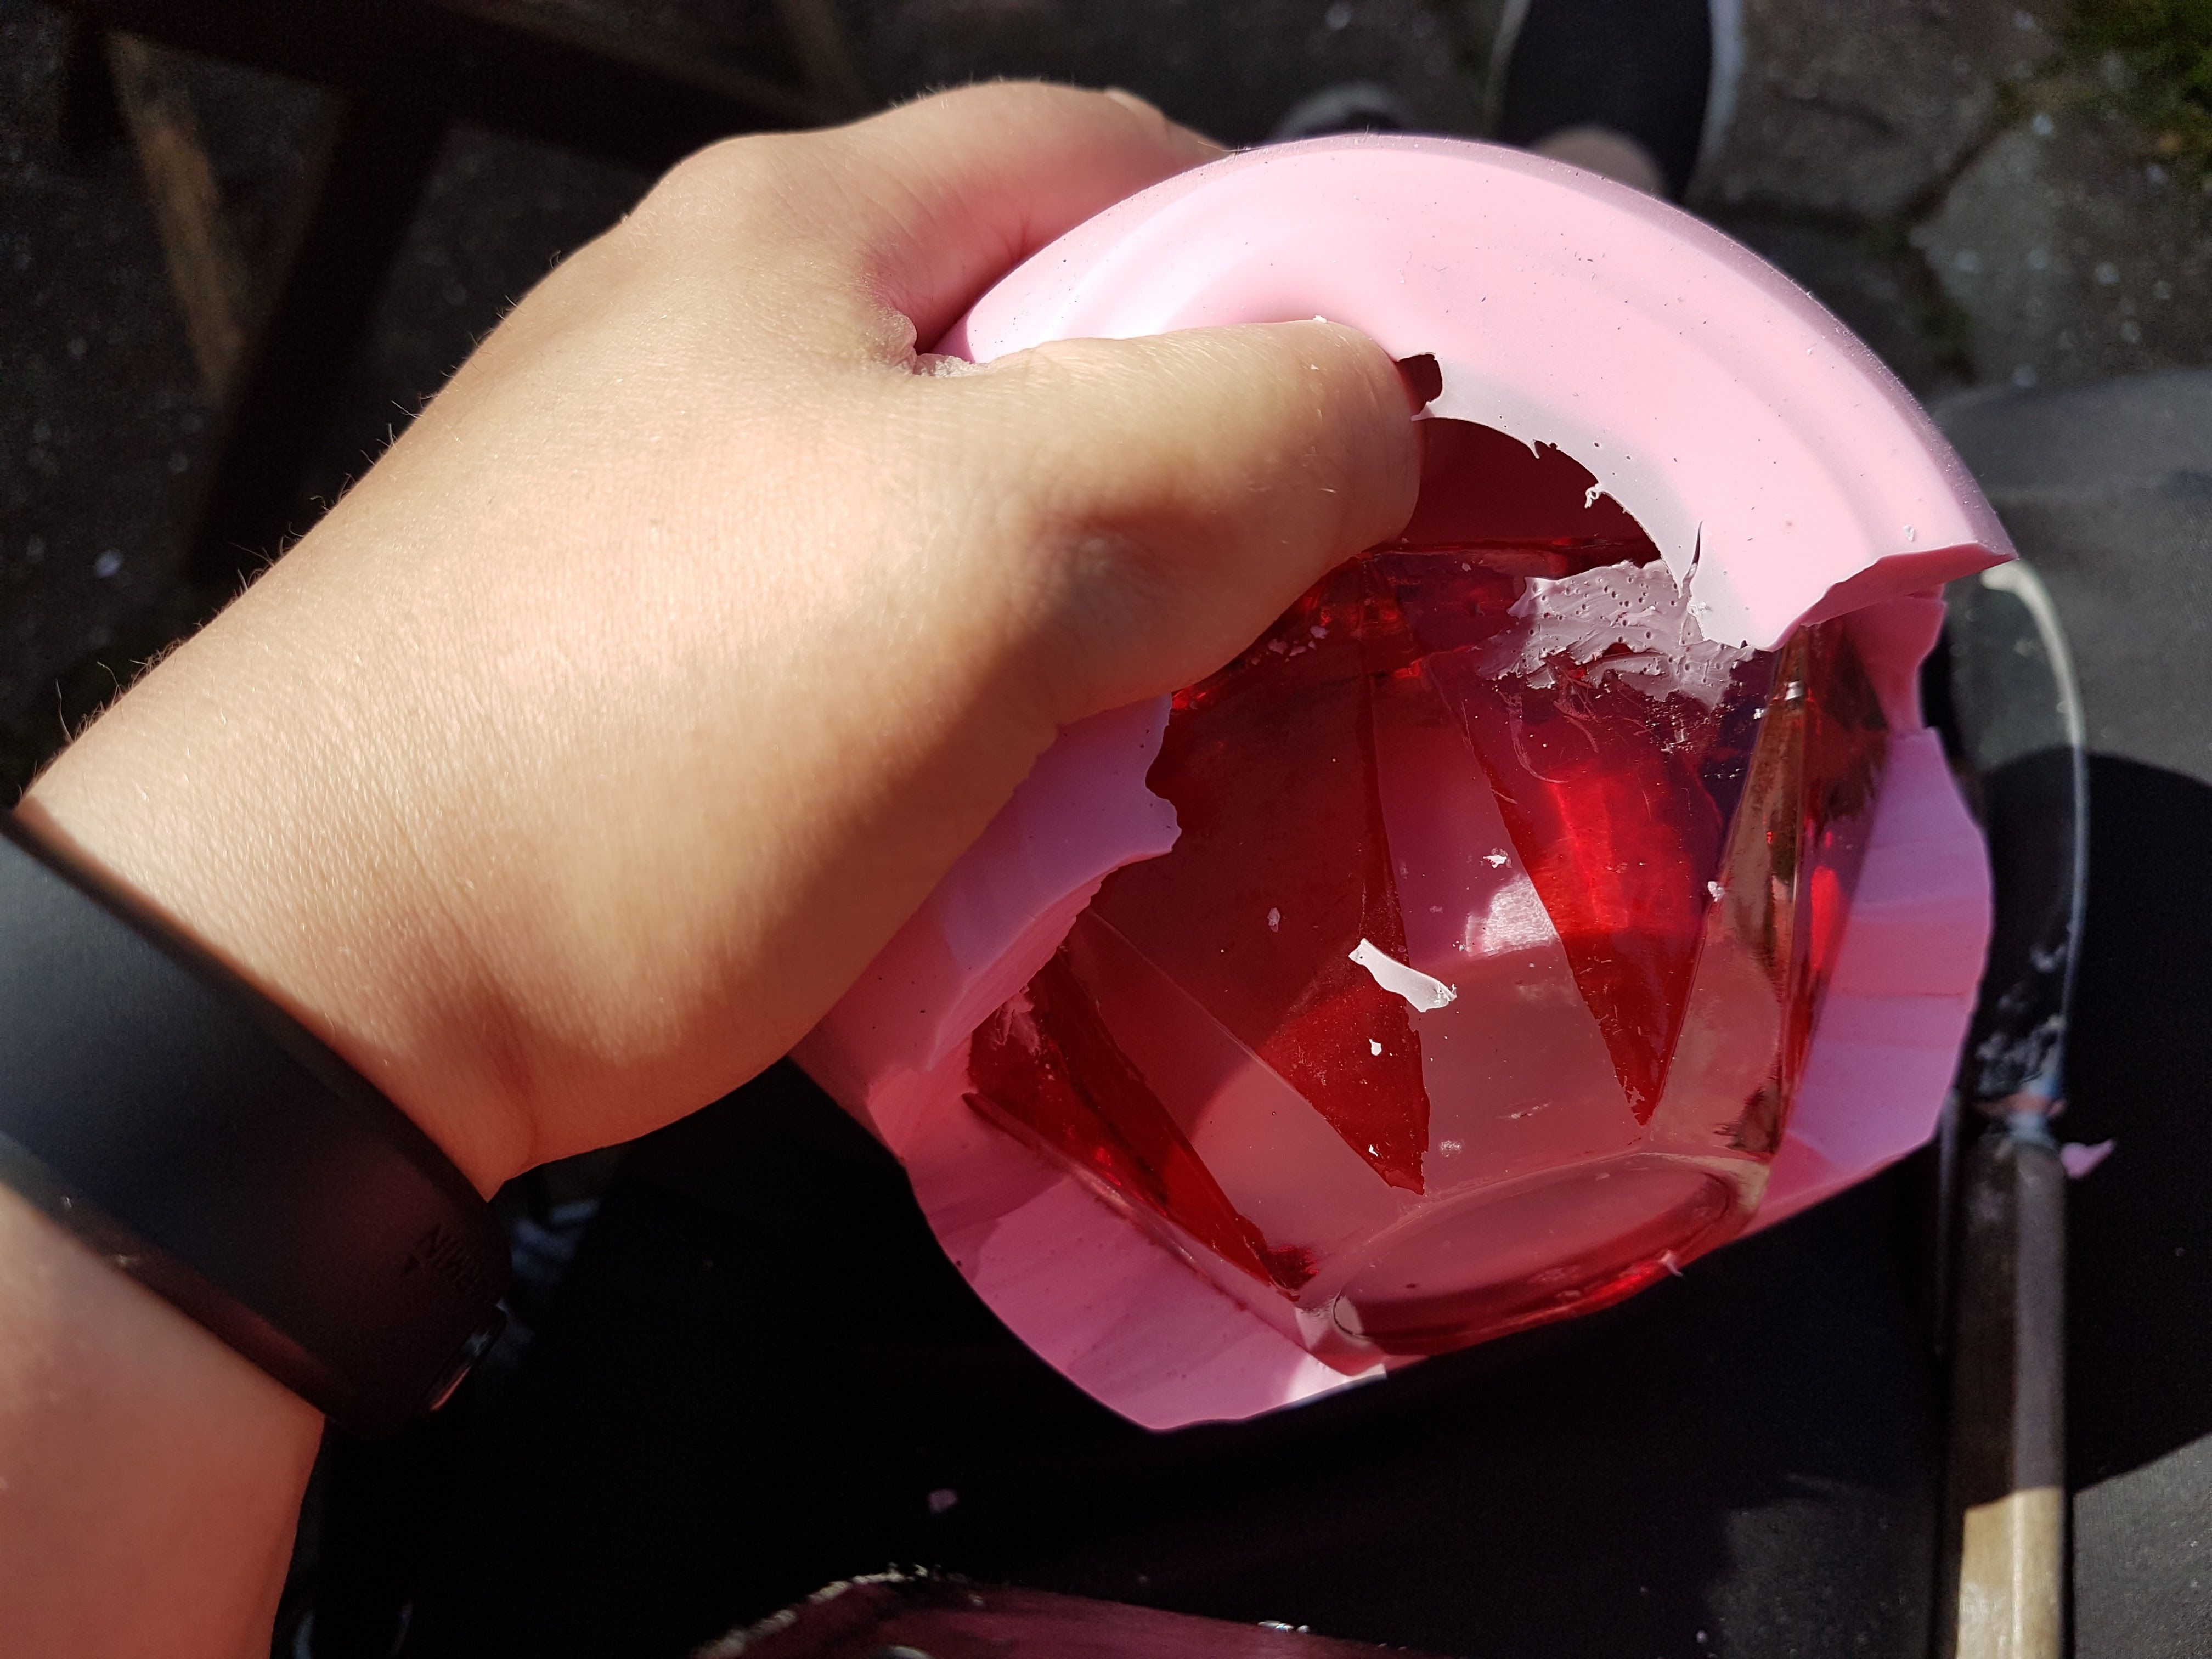
It all gives up in the end but for this type of mold I think a more elastic rubber would be better. Or maybe not.... I´m not sure as it gets heavy when you pore cement in it. Maybe the sides of it were just a bit to thick.

I was qite happy with the result so next thing to do was try making a candle out of the "Mary" and a cement candle holder in the other mold.
Follow the next blog to se the process and the results.
In the mean time, have a grate day!
M
P.s. You can see the second part here: https://steemit.com/diy/@mariap/diy-how-to-make-your-own-silicon-molds-studio-at-hiddenby-lodge-part-2
You are so clever! Upped
Thank you Melinda :)
Nice post. very thorough. it is nice to see how you improved from your first attempts. I have done my fair share of moldmaking myself. Haven't tried casting in cement though. If you make a simple vacuum chamber that might improve your results even more. It is basically an airtight box with some sort of pump. e.g. a vacuum cleaner. it's great both for when you make the mold and for when you make the casting. good to see some diy here on steemit . followed and upvoted
Thanks for the tips. My brother also told me to pour the silicon hard. Almost splash it into the mold. Then I wouldn´t get bubbles. I checked out your site and I´m following you as well.
I grew up in Denmark. A bit funny to comment in English,( men ikke pa dansk ;) ).
Congratulations @mariap! You have completed some achievement on Steemit and have been rewarded with new badge(s) :
Click on any badge to view your own Board of Honor on SteemitBoard.
For more information about SteemitBoard, click here
If you no longer want to receive notifications, reply to this comment with the word
STOPgreat art
Thank you :)
very good
Thank you :)
those look amazing!!
Thank you Shaun :)