How I revamped an old loveseat for my studio

As you may have noticed, I have a lovely new settee in my studio! It's just what I wanted: a subtle, simple yet sophisticated loveseat that I can easily move from one place to another, something my models can lounge on for formal vintage attire to add visual interest to my shop's photographs.

This is the first vintage dress shot using the newly revamped settee. Thanks to model, Maura, for letting me use her as a guinea pig.
Now, those who know me know I'm a yard-and-estate-sale junkie. During the warmer months of the year, I find nothing more exciting than scouring sales and flea markets for unique treasures. Last summer I happened upon a local sale less than a block from when I live and found this little sweetie sadly sitting on porch with a price tag of...$3. Yup. I could not believe it either.

I know quality workmanship when I see it, and for $3, it was sold instantly. Of course, I had to inquire with the sellers to learn anything I could about the history of the piece. I was told by the sixty-something son of the recently departed estate owners that his grandparents received the settee as a wedding gift in the 1920s. He had every intention of refinishing it one of these days—you know how it is, we've all been there—but it spent eons in their basement with a dust cover on it.
The kind gentleman offered to help me carry it down the alley to my garage... where it sat for another few months until I had the space and inclination to attempt my first reupholstering project. Plus, I didn't yet have the supplies I needed...but I knew they would find me as they most often do.
It was solidly built and the fundamentals were there. There was no upholstery remaining, but the original layers of padding on the seat were there: a layer of straw mixed with horse hair (horse hair was a common filler in those days), a thick layer of cotton on top and a linen-wrapped padded ring around the edge. Step one was to carefully remove these layers (minus the padded ring) to determine whether they are worth keeping, or if they should be replaced.

I slid a large plastic sheet underneath and lifted all the padding off together in one move. There were some stray strands of straw but I vacuumed those up, no problem. The underlayment was in excellent condition and after determining there was no mold, mildew, or other odor-causing decay or dusting in the any of the original materials, I decided to keep and reuse it.
I always try my best to maintain the original integrity of any vintage/antique piece I'm working with, whether it be clothing or furniture, and I've read about professional furniture refinishers who purposefully retain the original materials, sometimes if only to establish future provenance of the piece.

My next step was to remove the original square upholstery tacks around all the edges. They came out rather easily with an old putty knife, and though they were a bit rusty, I thought maybe I could also reuse these neat little guys, so I set them off to the side for later.
OK, so many of you are probably thinking, "She tries to keep the piece as original as possible, huh? She painted it!" Ahhh! I know...and I'm terribly sorry to those who find the thought of painting original wood blasphemous!
I will try my best to justify. Having a dark-wood furniture piece in an all-white room would make said piece the center of attention, when what I really want it to do is to be elusive, to be there, but not really. The finish had issues anyway and I would've had to strip the whole thing down, restain and varnish. Decidedly, my philosophy was that I'll paint it for now and maybe someday down the road I'll refinish to its original dark-wooden glory, you know, because I'm already such a pro at this. /sarc

Not a very good picture but this is my cluttered work room before I finished the studio. Lots of pieces that you may see in future shop photos, including my wrought-iron bed frame that I'm in total love with and a vintage vanity that I also refinished (you'll see a lot of behind-the-scenes shots on our social media pages that feature the vanity).Do you see the ream of upholstery fabric? Yeah, at an antique-store closeout a few weeks after I found the settee, I happened to find (and it shocks even me to this day) an entire bolt of high-quality ivory upholstery fabric for five bucks. Back to painting...I did paint the loveseat a matte cream color that I happened to have on hand. In retrospect, I almost wish it were a tad lighter in color but I wanted it to be slightly dimensional and in slight contrast with the background, so I'll live with it for now. After giving it three full coats including primer, I sanded the edges and corners a little to give it an aged look. I was happy with it for the most part but in a few areas more paint came off than I wanted, and revealed the dark wood underneath. I've had to occasionally edit out a spot here or there in the final shots that bother me.

Finally, it's upholstering day! I'm a multi-tasker so I had a few other paint-and/or-upholster projects going on at the same time as I waited for paint to dry, so please excuse my mess. First step was to replace the seat padding, making sure it was very even. Piece of cake.

Next was to figure out what I needed to cut from the fabric.

I used a regular pair of full-size, sharp scissors and left a few inches extra on all sides, just in case. I started with the front and folded the fabric over once about an inch and a half and used a small hammer to carefully pound the original tacks back into place along the face, making sure the fabric is pulled as tight as humanly possible, and that the tacks were close enough to the edge to be covered by the trim that would be added later. I'm sure professionals have a special tool and/or another person to help in this process, but I managed to do a fairly good job with it solo, if I do say so myself. If the piece were any larger, however, I'd probably be in loose-upholstery trouble.

Some of the tacks were too rusty and some too bent to use, plus you don't want the fabric to go anywhere so I also used a standard staple gun to fill in many of the areas. I did the back of the seat second, pulling as tightly as I could, trimmed the edge enough to leave two inches or so to fold over and attach to the bottom of the seat.
The most challenging part of this entire process were the sides of the seat, which I'm still not happy with. Since there was no upholstery on the piece to start with, I was unsure how to adhere the front sides. See that puckering in the corners? No, wait, don't look, I'm embarrassed... tried for what seemed like hours to get it right.

In any case, the seat upholstery is done! Now for the back...
The back had the basic framework that was solid, but lacking in cushioning of any sort. I happened to have a covered foam pad that was exactly the same height (you can see it in the above picture hiding behind the loveseat). I removed the foam from its case and traced where I would need to cut. I started with a box cutter, but actually found it easier and more precise with a pair of regular scissors, though you have to cut very slowly. I stapled along the edge and BOOM. Meant to be. The upholstery for this section was done in the same way, starting at the top.

I was totally getting the hang of this and the back seemed super easy.

Now all that was left was the trim!
One of my favorite things in life is when the right thing happens just when you need it, and so it goes also with my soutache trim that I found at Goodwill...an entire spool for $2 in just the color I needed. I had the painter's tape and crafting glue on hand.
The trim was by far my favorite part of this whole process because it's like a beacon of heavenly light when you see it all coming together. *aaahhhh*
The ends tend to want to unravel rather quickly so you have to be very careful with the cut ends. I folded the original end over an inch, put a dollop of glue and let it dry between a clip overnight because the last thing I wanted was something to unravel on me before I started...or worse, after I got half of it glued down!

I started in a crevice in the front, putting a decent amount of glue down in a continuous line over the tacks and staples, doing about a foot each time. The tape was magical in this process as it doesn't cause damage to any surface, yet holds where and when you need it to. I put a piece of tape every five inches or so and while holding onto the end to make sure it didn't move, I pulled the strand as taut as it would go without strain. With the ends, I made sure to leave extra, and did the glue-and-fold technique, then after the end dried, I finished with the same taping process.

As much as I wanted to immediately take the tape off and cry tears of joy, I had to wait for the glue to dry overnight. While waiting, I worked on a few of my other projects I was working on, including these two vintage stools that I wanted to match the space. I followed much of the same process as the settee.

I took the tape off the following day and felt pretty proud of myself. It's exactly what I wanted and look how it interplays with my wallpapered accent wall! SO. Excited! And the footstool didn't turn out too bad either.

April was genuinely impressed when I told her I refinished the loveseat she was sitting on. "You did this trim?" she asked. Indeed, I did! (April is super talented at making costumes so I greatly appreciated her reaction.)

"Niiiiice," she says. (Here are links to her dress and shoes.)

Here's the back of it. Even that looks cute, right?
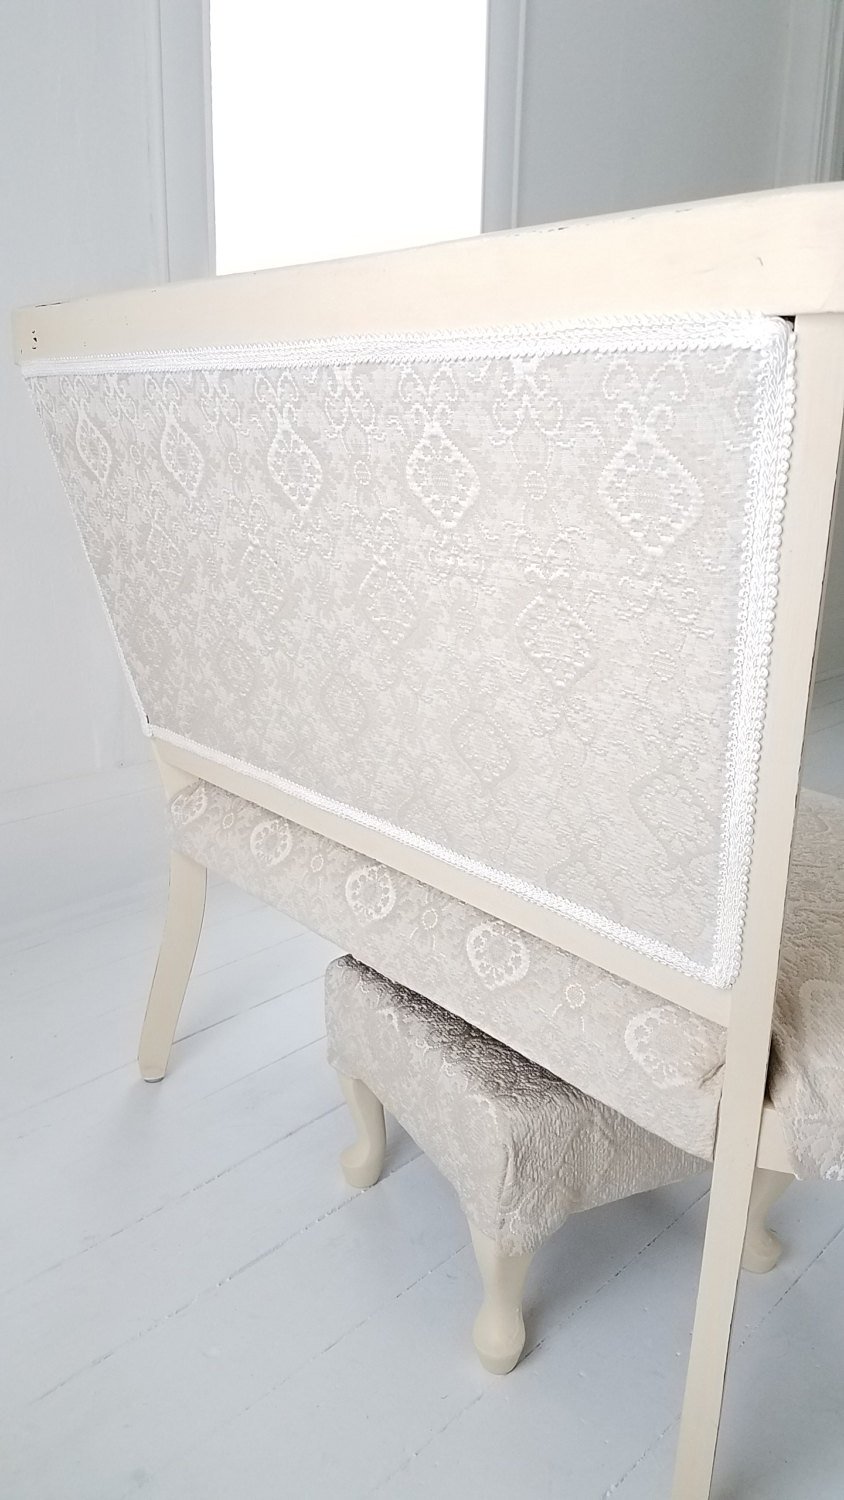
I love it! I put hammer-on felt pieces on the bottom of the feet so the white floors will stay white as long as possible. I can even slide the loveseat around fairly easily.

And here's how the other stool turned out. It's also been a very handy piece to have in the studio. What a difference a little upholstery fabric and paint can do!

Finally, I can rest...it's even quite comfortable!

To date, I have used the settee for four shoots and I have to say that I am thrilled with its look and convenience.
What do you think?
Thanks for reading!
A Great restoration work!
Hey, thanks! It was so much fun :)