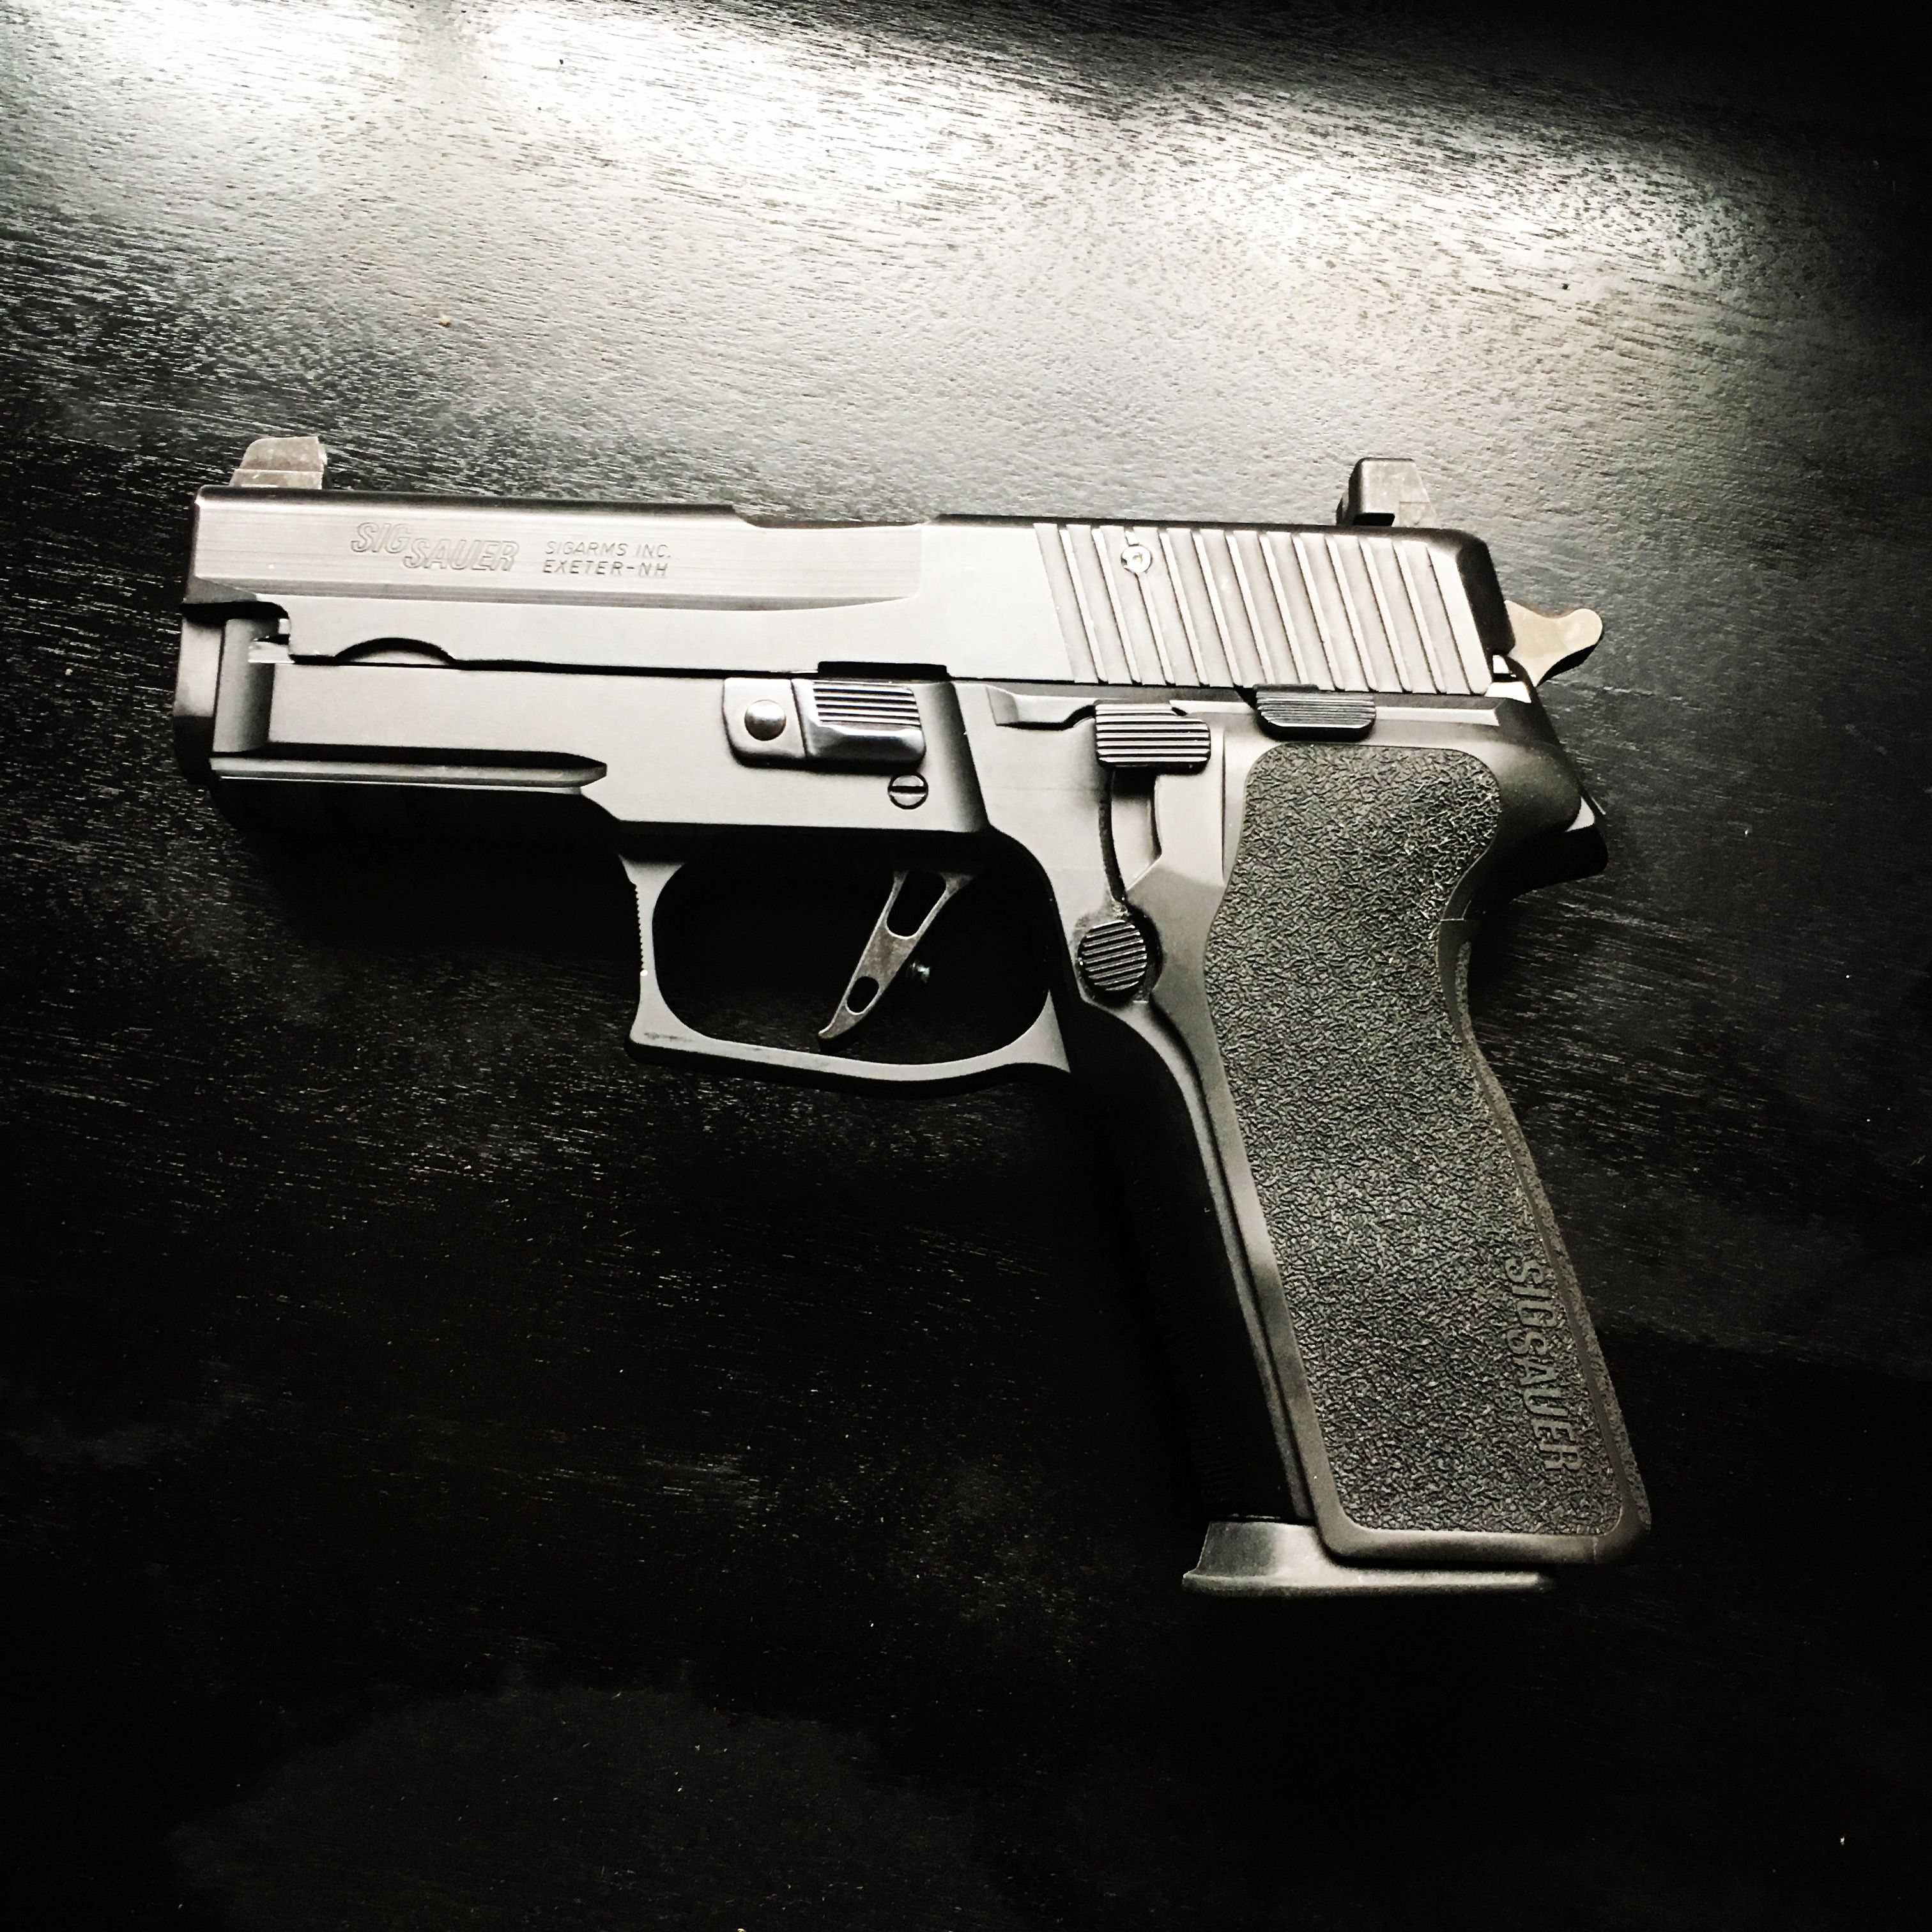
Armory Craft Flat Trigger Install on a SIG SAUER P229r
Installing the Armory Craft Flat trigger in a Sig p229
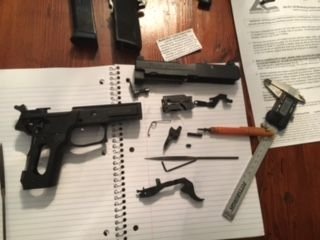
This isn't going to be a complete run down of how to disassemble the firearm or replacement of the factory directions, just my experience of installing the trigger and what worked or didn't for me. If you do not have a good idea of how your firearm works or can't fully disassemble and reassemble your firearm competently please take it to a gunsmith for install particularly a Sig certified Armorer.
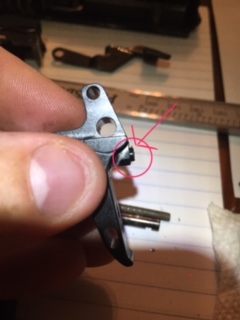
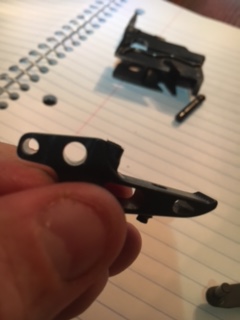
- Overview: The trigger comes with a Delrin pin at the front that will need to be file fitted to eliminate to eliminate pre-travel and a set screw with Loctite pre-applied to eliminate over-travel. I used a set of fine files and a pair of digital calipers the calipers aren't completely necessary but considering the AC instructions give you guideline measurements in thousandths of an inch so if you want to keep track of where your at they help
- Trigger Pivot Pin: The AC instructions ask you to test your SIG trigger pin in the flat trigger and ensure a snug but free spinning fit and instruct you to sand your pin until this is achieved. As a general rule when installing aftermarket parts on my firearms if there is fitting to be done whenever possible I modify the aftermarket part instead of the factory, that way you should be able to reinstall the factory components if desired without issue. That being said when I tried my pin in the trigger is was extremely tight, so to start I used took a drill bit smaller than the hole BY HAND gently used it to knock any burrs off the inside. the pin fit in the hole at this time without too much effort so I applied some polishing compound to the pin and worked the pin in the hole for a few seconds and as soon as it started moving somewhat freely I cleaned the compound out of the hole and pin. I was left with a pin that was snug and spun freely that still had a good amount of finish on both the pin and trigger hole.

- Pre-travel Pin: You will need to file, install, test, remove and repeat multiple times to fit this properly. BE PATIENT! you can get away without installing the locking block and slide release to save some time and effort for test fits. The AC instructions quote "on most but not all occasions the final pin size will be around 0.015" to 0.025". My pistol was outside of this measurement, and as a result of assuming it would be close to it I ended up with a little bit of pre-travel that I will need to add epoxy and re-fit to eliminate completely.
- My Initial measurement of the delrin pin was 0.059" when installed the trigger would not reset even with some forward pressure. I started off slow and removed 0.005" at first, take extra care to file squarely to ensure full contact of the pin at rest, I found a headlamp and a white background to help see that I'm filing square to the pin (its small).
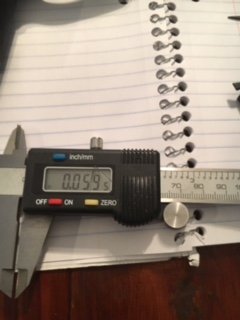
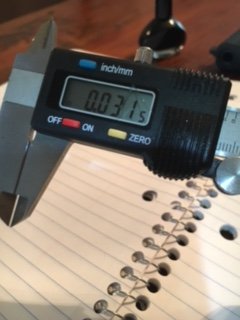
- The test fit after the first 0.005" again felt nowhere close to resetting, this is where my mistake was made to switch to a more aggressive file since the needle file I was using took a few minutes to remove the .005' a few quick swipes of the bastard mill file revealed a measurement of 0.031", I'd recommend going .003-.005" at a time and seeing if slight forward pressure causes a reset if it does go .001" at a time from there. For my 229 .031" gave me a slight pre-travel ~ 1/16" or so at the bottom of the trigger, a huge improvement over factory but i think i could have easily got it close to if not zero pre-travel with a reliable reset if I had not been overzealous with the file.
- My Initial measurement of the delrin pin was 0.059" when installed the trigger would not reset even with some forward pressure. I started off slow and removed 0.005" at first, take extra care to file squarely to ensure full contact of the pin at rest, I found a headlamp and a white background to help see that I'm filing square to the pin (its small).
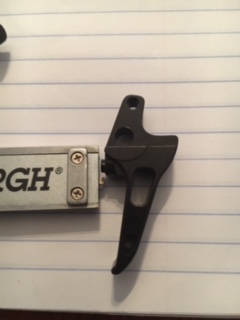
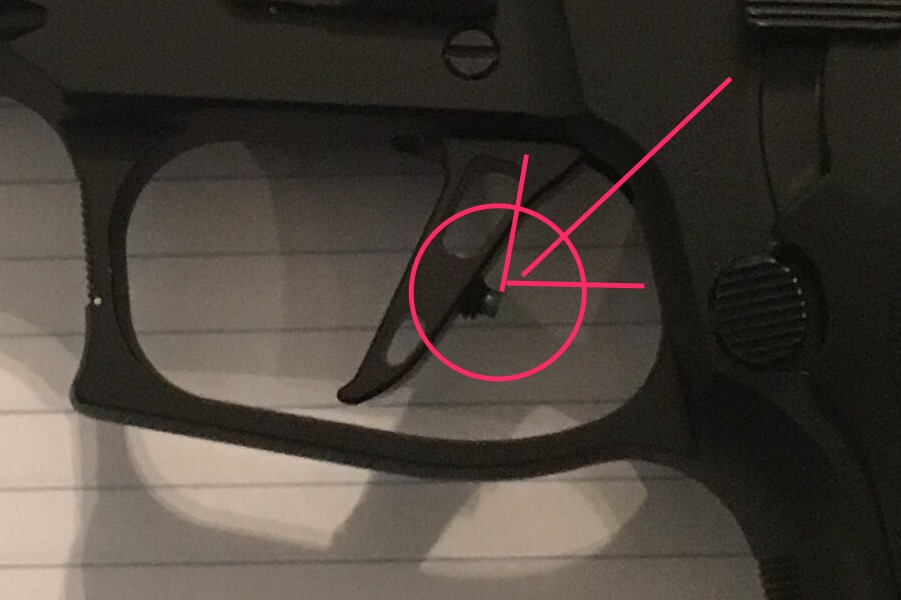
- Over-travel screw: This is much more forgiving and easier to adjust. I would take a look at where your trigger breaks on the last pre-travel test to get an idea how far out of the back of your trigger the screw should protrude. I definitely recommend initially installing the screw with the trigger out of the gun, this is a steel set screw going into an aluminum trigger it wont be hard to strip the threads and the factory addition of the Loctite makes it take some effort to thread, start slowly and pay attention better to back up and restart than to cross thread. Only other piece of advice I'd give here is to double check that your trigger breaks in single action after initial adjustment of the double action break, mine broke in double action reliably but needed a little more travel in single action for some reason.
- Conclusion: Its a fairly straight forward installation that anyone who can completely strip and assemble their weapon should be able to do with minimal tools and a good eye for detail. The trigger looks great and it is pretty amazing how much the feel of the trigger is improved while still maintaining factory trigger bar and sear components.
Cool upgrade, those are great pistols
Thanks! Sig's are definitely my favorite, my 229 is my go to out of all of my pistols.
Congratulations @jwiedefeld! You have completed some achievement on Steemit and have been rewarded with new badge(s) :
Click on any badge to view your own Board of Honnor on SteemitBoard.
For more information about SteemitBoard, click here
If you no longer want to receive notifications, reply to this comment with the word
STOPIf you want to support the SteemitBoard project, your upvote for this notification is welcome!
Congratulations @jwiedefeld! You have received a personal award!
Click on the badge to view your Board of Honor.
Congratulations @jwiedefeld! You received a personal award!
You can view your badges on your Steem Board and compare to others on the Steem Ranking
Vote for @Steemitboard as a witness to get one more award and increased upvotes!