5 MINUTE BOOKBINDING
Materials:
- brown bag
- scissors
- white office paper
- thread (embroidery or book binding)
- awl (or safety pin)
- watercolors to decorate
- ruler

Step 1: Take 5 pieces of white office paper.
Step 2: Rip it in half with a ruler.
Step 3: Fold those in half.
Step 4: Cut out a piece of brown paper bag to fit the exact shape of the folded paper.
Step 5: Fit the office paper in the brown bag.
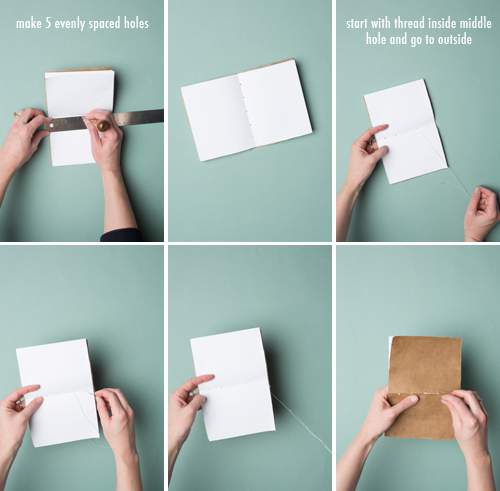
Step 6: Measure 5 holes evenly across the middle crease of the paper.
Step 7: Poke it with an awl or safety pin.
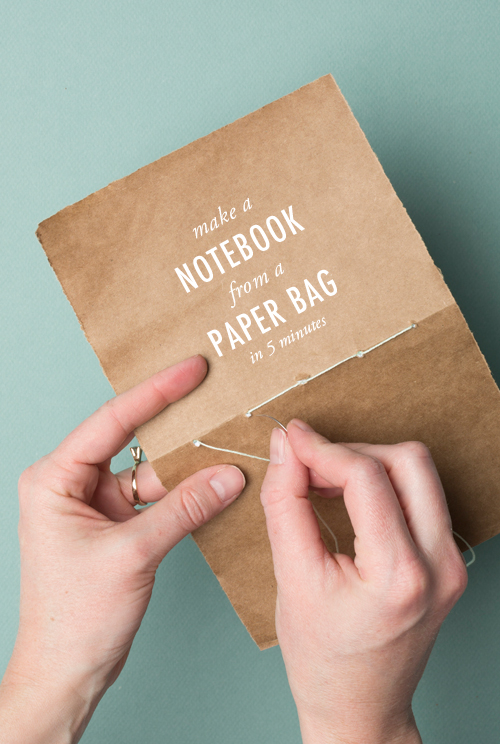
Step 8: Thread a needle and start binding by entering from the inside to outside of the middle hole. Leave about 2″ extra in the inside cover. There’s a larger picture below to show you more details of the pattern of the threading.

Step 9: I hope these drawings make sense below. The dotted lines mean the thread goes on the outside of the book and the solid lines show from the inside. The numbers indicate the sequence.
Step 10: When you get back to one, cut it off leaving about 2″ and then tie the first thread to the end thread.
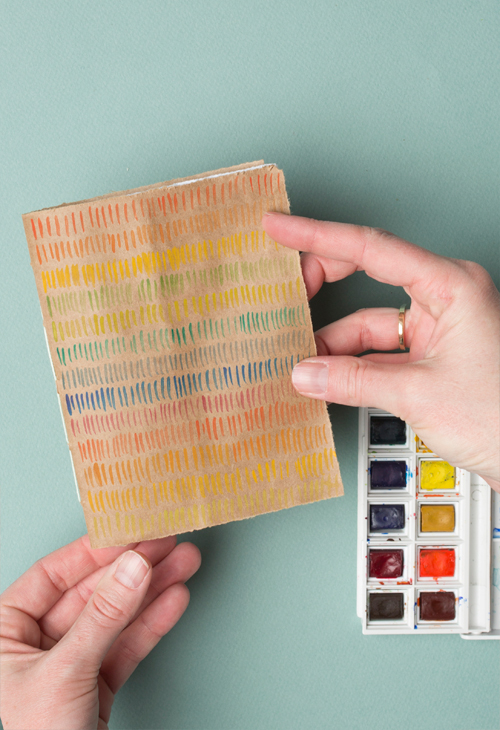
To add some flourish, add some drawings or watercolor. I decided to add small lines of colors with watercolors.
When you create something hand, it will serve us for a long time! Be sure to take advantage of it, and his hands make myself a notebook.
Sweet, nice tutorial. I used to fold paper over my text books during my education and doodle on them. Alas my books were to thick to bind, probably, so I was forever re-wrapping them hahaha :)
Great tutorial. I'm going to let my granddaughter make one this afternoon. She is at the stage where she likes to explore with paper and your method of making books looks so easy. Also a great way to recycle paper bags. Thank you so much for sharing the information.
WoW !