Repairing a Backyard Fountain
Starting a decent size project that I should have done in the spring. I have a decent sized fountain in my backyard. Late last fall it fell over. Turned out the concrete on the pump housing pretty much disintegrated causing the rest to topple to the side. Only thing that kept it together was the copper pipe in the center.
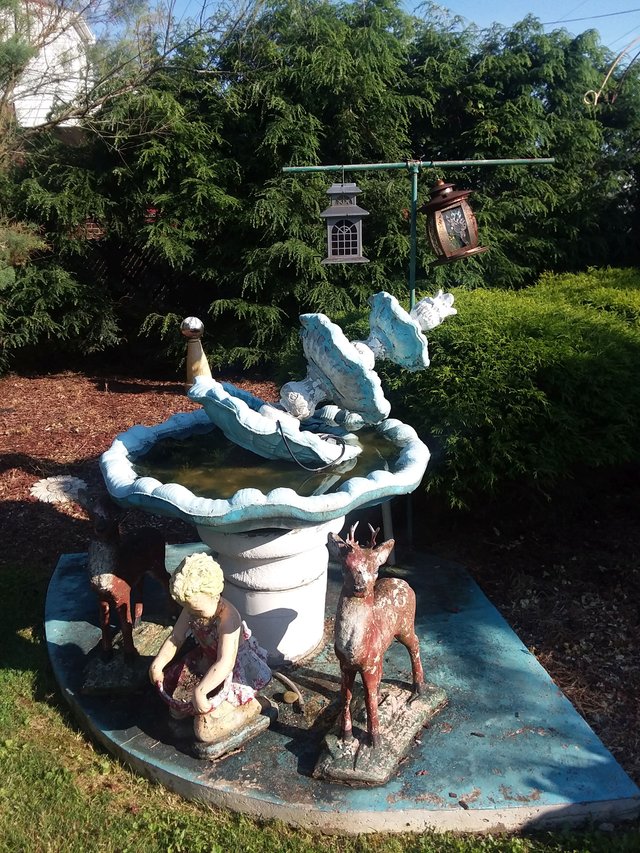
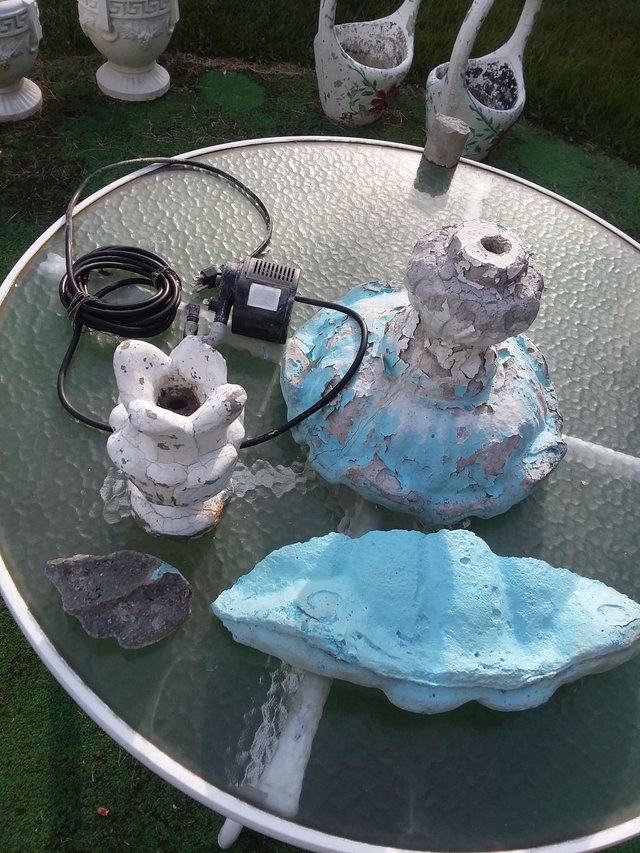
So I decided to try to see if I can fix it. Started off by taking it apart. No small task for one person but somehow I managed. Of course my back didn't like lifting those heavy pieces. Here are the individual pieces:
Top, pump, top dish, and some misc concrete chunks.
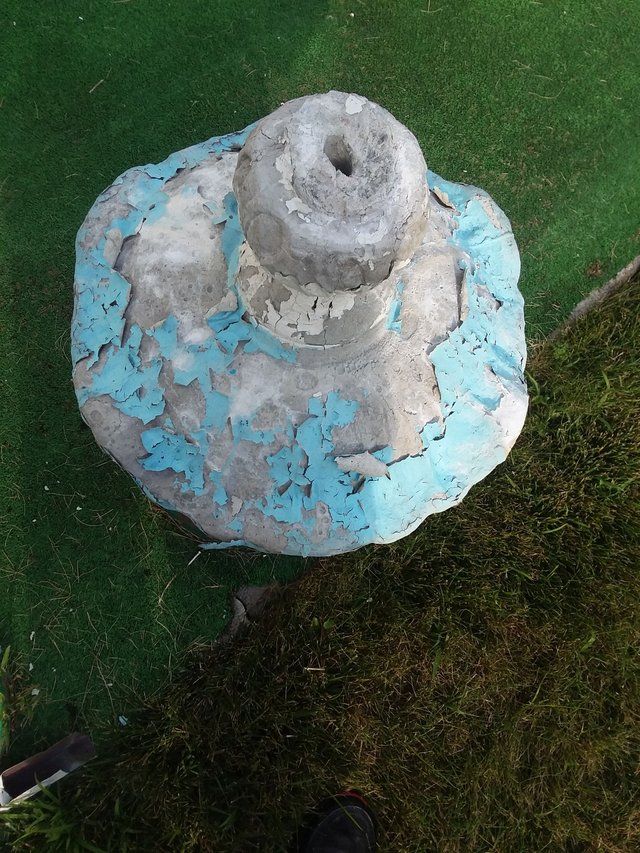
Third tier (upside down)
Second tier (upside down)
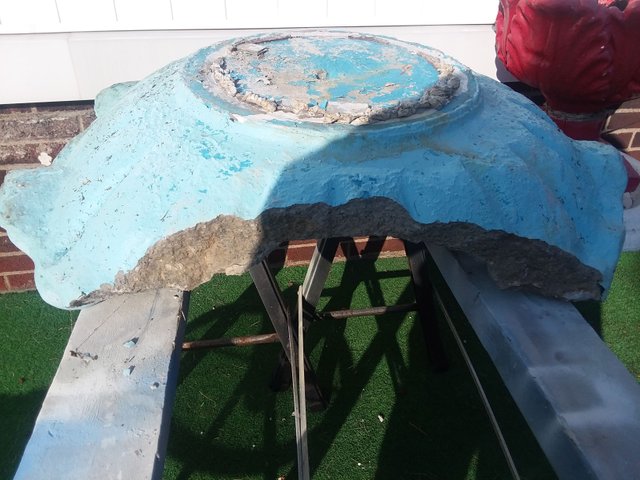
Piece that broke off of the second tier
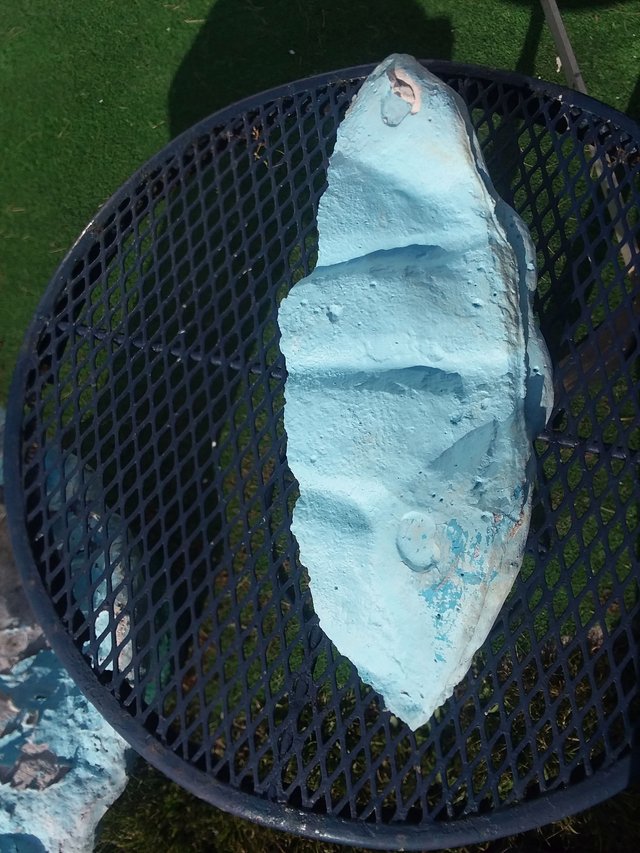
Now that it was disassembled it was time for the dirty work. Getting what was left of the pump housing out of the bottom. There were only 2 pieces left that didn't turn to gravel and those were very small. So it was find a creative way to clean it out. I used 3 flower pots, some Walmart plastic bags I had laying in the garage, and a small shovel. The big pot (not shown) I used to hold the bags. I left the 2 medium sized pots together. This let the holes drain the water out of the gravel without the gravel going though. Started off just scooping with the pots. Let each load drain for a bit and dumped in the bags. I kept the bags small because this stuff is heavy. Can't put too much weight in one garbage can. One thing this picture doesn't give you a sense of is the putrid smell. This water was full of algae, mosquito larvae, and who knows what else. It stunk and every scoop released more of that stink. Anyway after I couldn't get much out with the pots themselves I used the small shovel to scrape the rest out, put it in the pots to drain, and then dump into the bags.
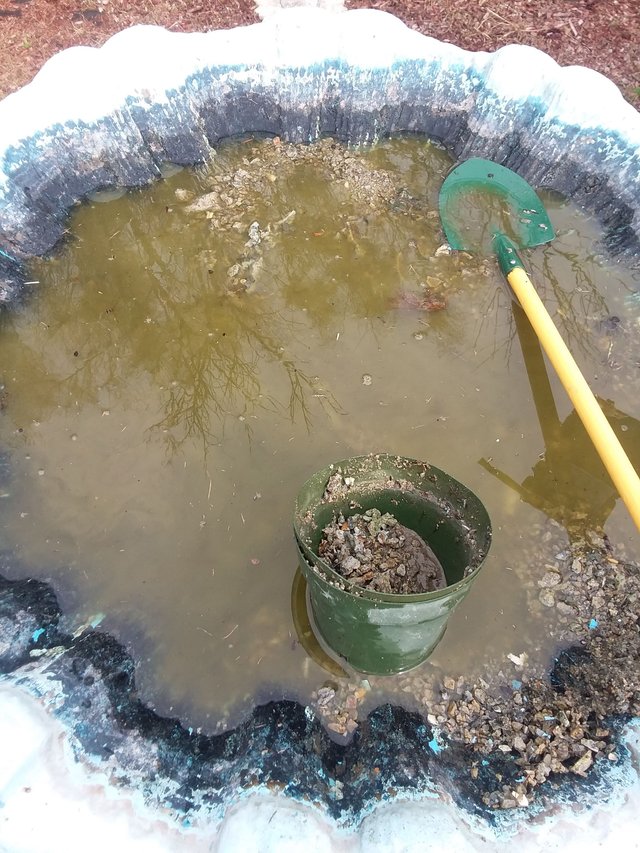
After I used a small pice of the pump tubing to drain most of the water. Then I got the hose out and using a little physics used the water to remove the rest of the water. It turned out to still be in good shape. Still need to pressure wash it and the rest of the pieces to get the paint and grime off but that's a project for when I'm getting ready to paint.
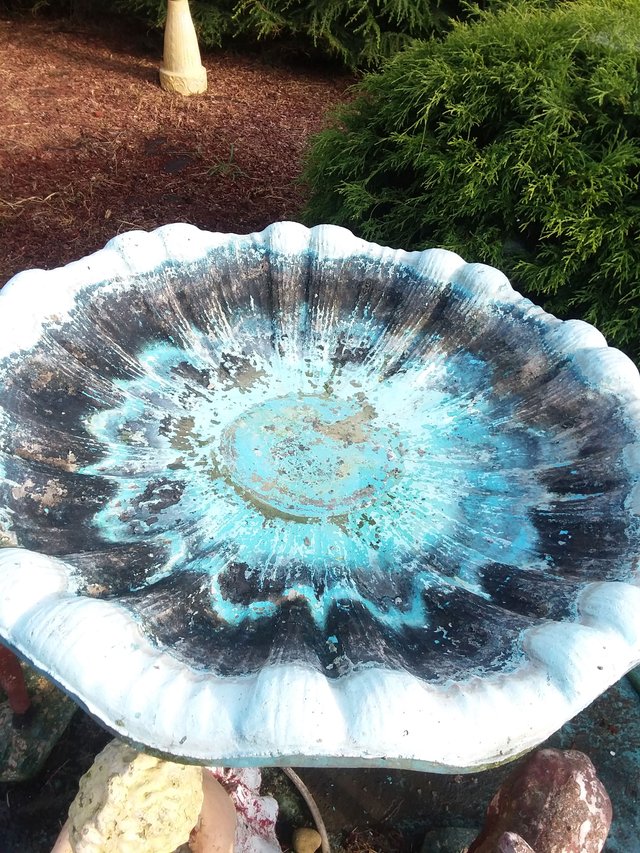
So now comes the fun. How to rebuild it. The pump house section is basically a hollow ring of concrete with an opening on one side at the bottom for the pump to go in and water to get to the pump. So how to build that? Well I have a ton of flower pots around from when I used to have a vegetable garden. I needed one with about a 11" diameter giver or take a bit. This isn't' an exact science it just has to fit inside the bottom of the fountain, fit inside the base of the second layer, and have room for the pump. I found an old greenhouse starter pot probably from a shrub or small tree. I also had an old bucket from some snack mix (bulk from Sam's Club), and a small starter pot.
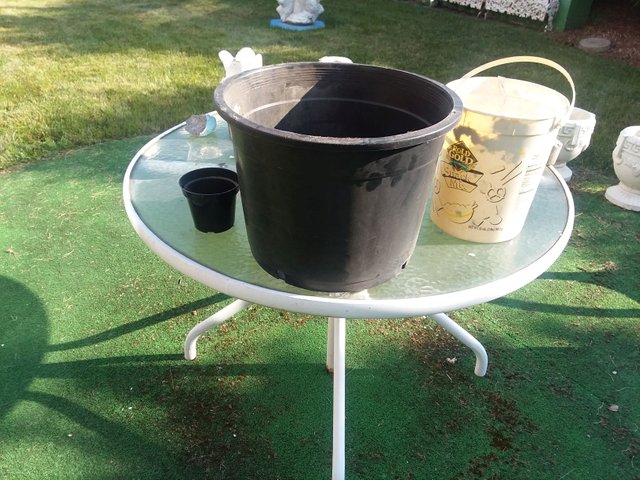
The plan: the big pot holds the concrete, the small pot is the opening for the pipe at the top, the bucket creates the cavity for the pump. So firs the small pot.
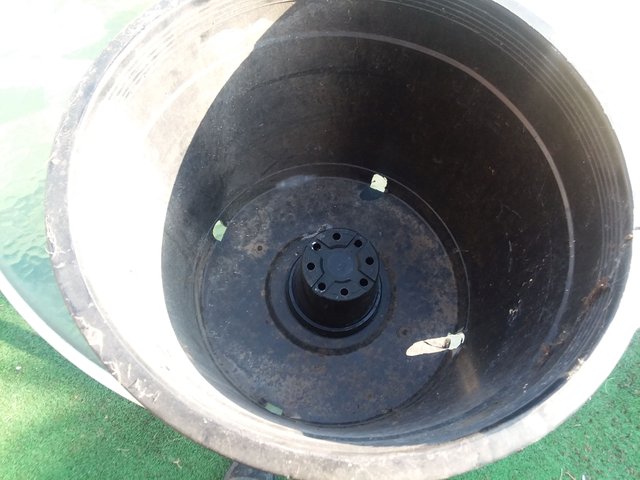
Then the bucket on top of the small pot.
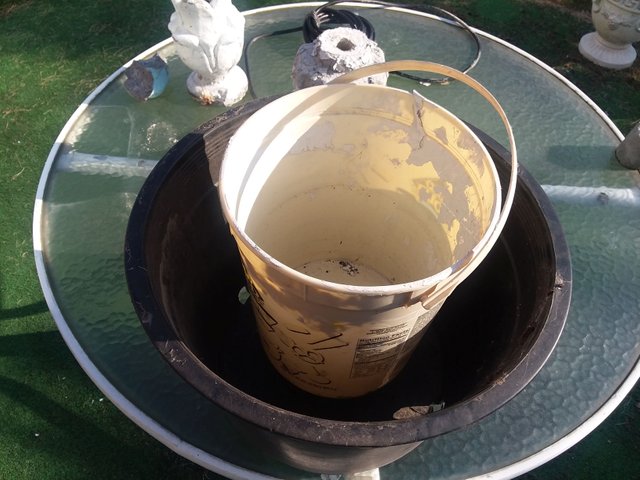
Looks like it will work nicely but what about the opening to slide the pump in and for the water to get to the pump? This one was a challenge. I tossed around ideas for days. From using 2 liter bottles, to wood, to aluminum flashing. No matter what I though of the problem was the angles and curves to match the inside and outside diameter. Trying to get those cuts wasn't going to be easy and the stiffer the material the harder to bend it into shape. The solution hit me when I was tearing up some pizza boxes. Cardboard. Easy to trace and cut. Flexible yet rigid. Add some duct tape and an insert to crate the opening. Not perfect but it didn't need to be. Concrete is thick so not going to run though those small cracks.
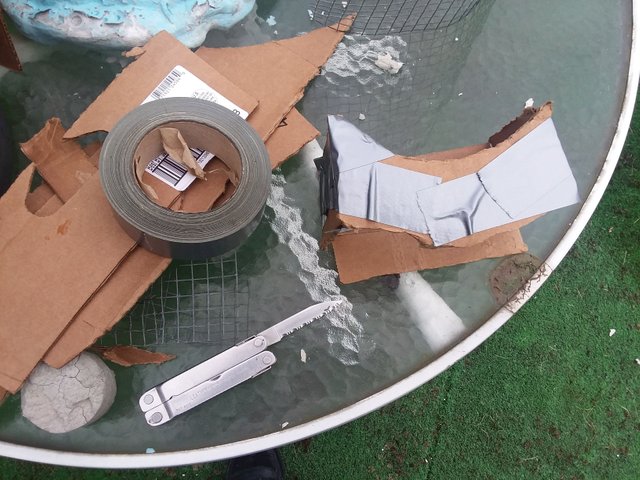
Fits in nicely and the oversized piece at the top keeps it from falling in.
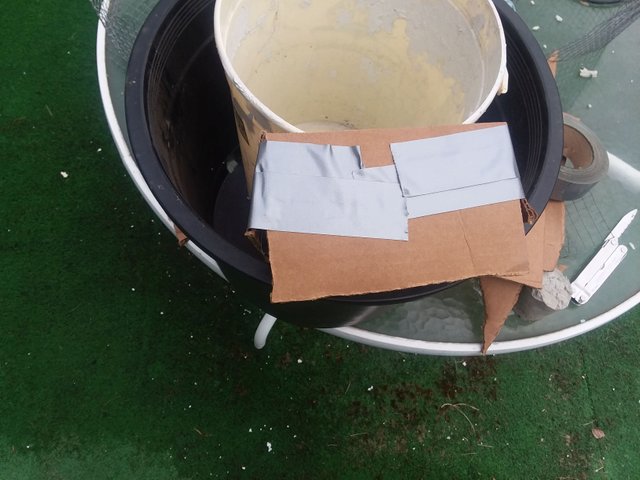
So now the mold is complete. The next thing was to make sure the new concrete would last. The old concrete wasn't reinforced. But how to reinforce such a small piece? Rebar was out of the question. Way too big and trying to bend it in that small area. So what to use? How about some wire fencing. Not sure what the term for this is. It's not chicken wire. It's stiffer and is something you would use to build cages out of. I used to use it to protect my young plants. Made circles around them so the rabbits couldn't get to them. Still had a small roll in the garage.
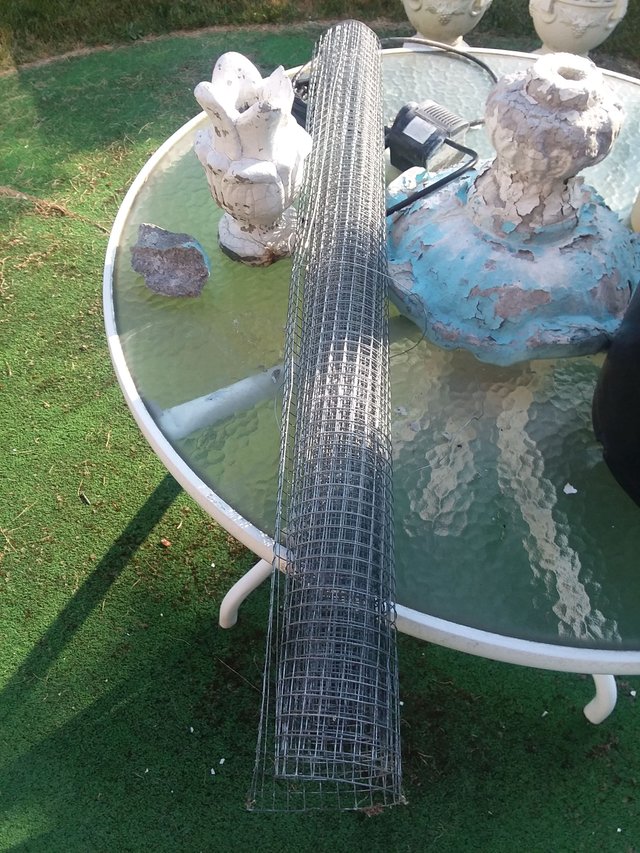
Turned out I didn't even need the roll. Back where I keep the flower pots I still had some circles made up to go around the plants. Grabbed one close to the size I needed and cut that down. Two pieces. One flat roundish piece with a hole in the center and one curved piece.
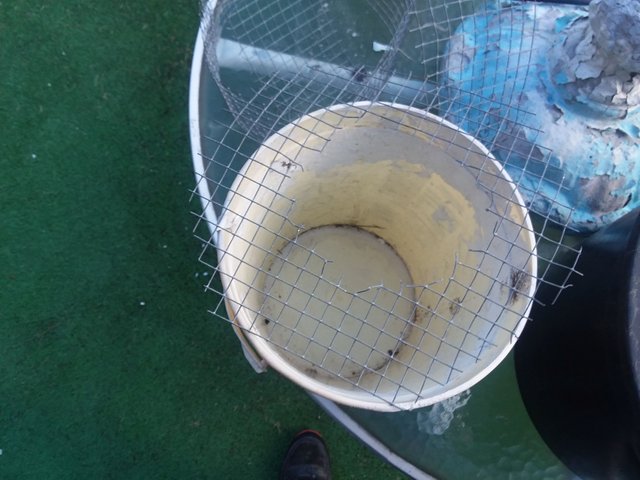
Put them together with some thin wire to make a sort of basket.
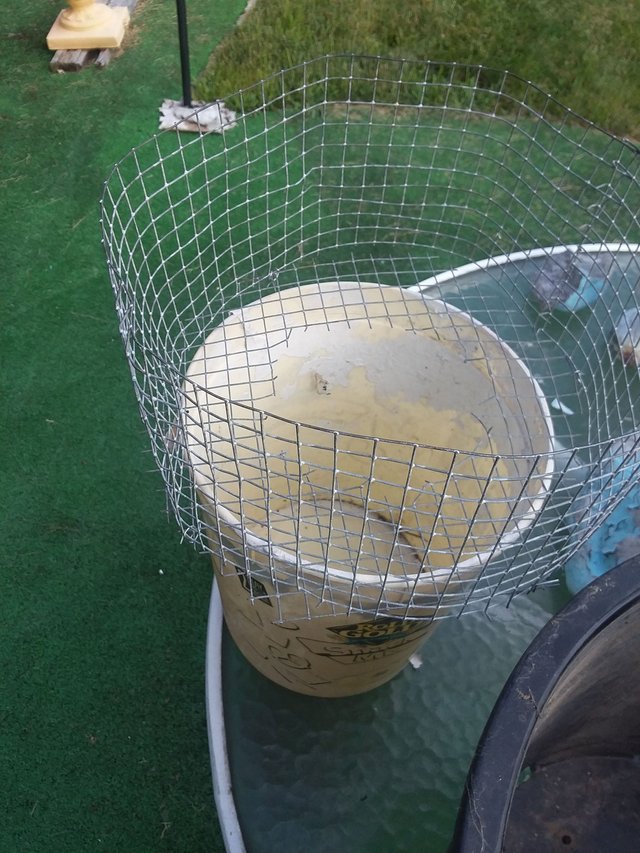
The basket goes around the small pot at the bottom. Of course it won't sit on the bottom. I twill be about half way up that small pot once the concrete is being added. If you think this can't possibly work I have done it before with our driveway. Piece between the driveway and garage used to break every year or two. I put some wire like this but a bit bigger when I fixed it last time. Been 15 years and it hasn't cracked yet.
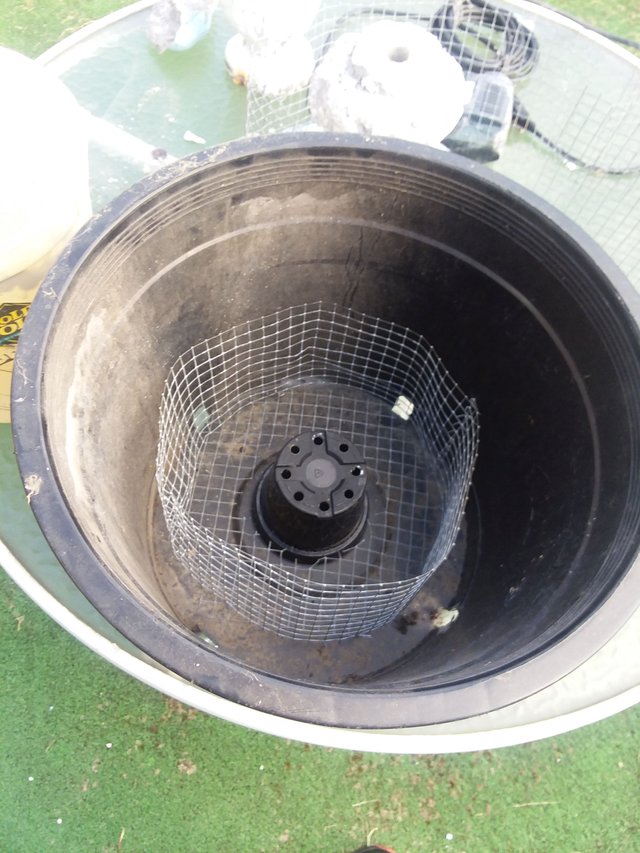
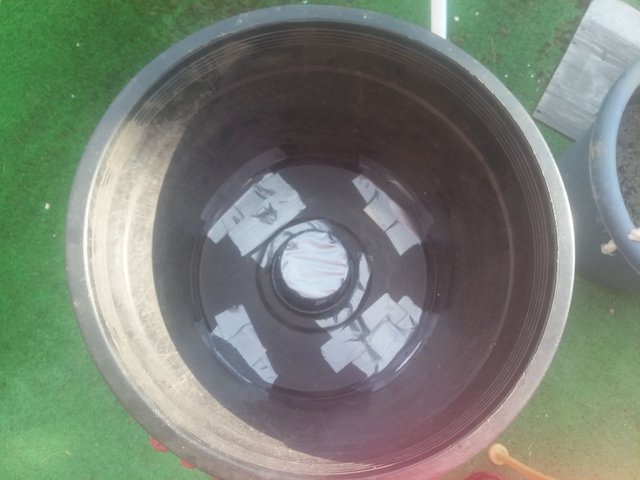
Next was cleaning the dirt out of the pots and of course letting them dry. Then the holes had to be plugged. I found a scrap piece of aluminum flashing and cut 4 small rectangles out of it. Bent the rectangles and taped them over the holes in the side of the pot. Then I taped the small pot in the center of the big one and taped up the holes in it. Got to love duct tape. I also sprayed the inside with non stick spray (generic Pam). It's supposed to keep concrete from sticking to plastic molds.
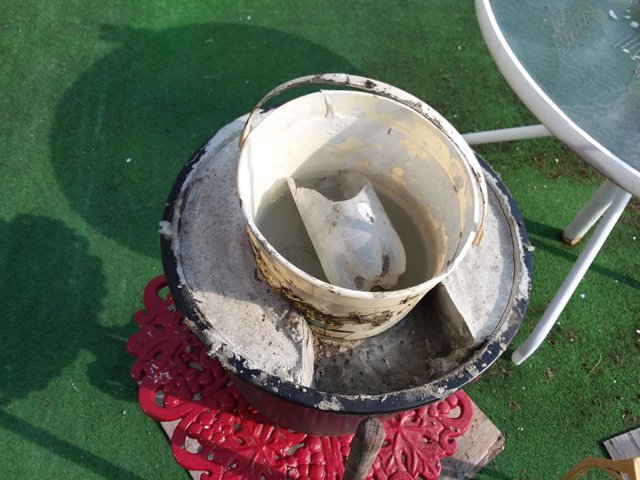
Next up was the heavy work. Mixing the concrete and putting it in the pot. Couldn't take pics of the process as I didn't want concrete on my camera. I filled the bucket about 2/3 of the way with water so it wouldn't try to float or crush in. Turned out it made a nice place to clean the trowel and shovel when I was done. If your wondering what the plastic thing is it's just an old plastic bottle I cut to make a scoop for the concrete. Worked nicely. Amazingly enough I mixed the exact amount of concrete I needed. There was nothing left except the residue on the sides of the container I mixed it in.
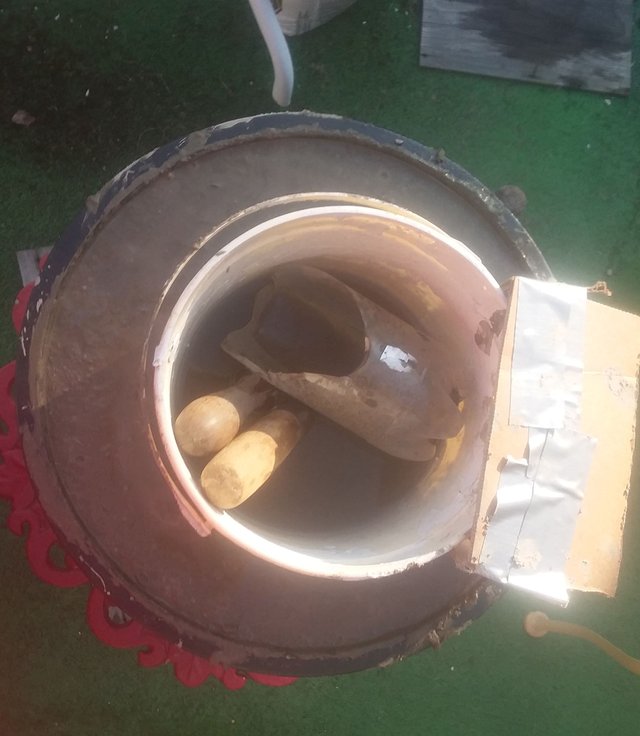
After it dried overnight I removed the cardboard. Tried removing the bucket but that non stick spray trick didn't work. At least I used a sacrificial bucket so I can break it out.
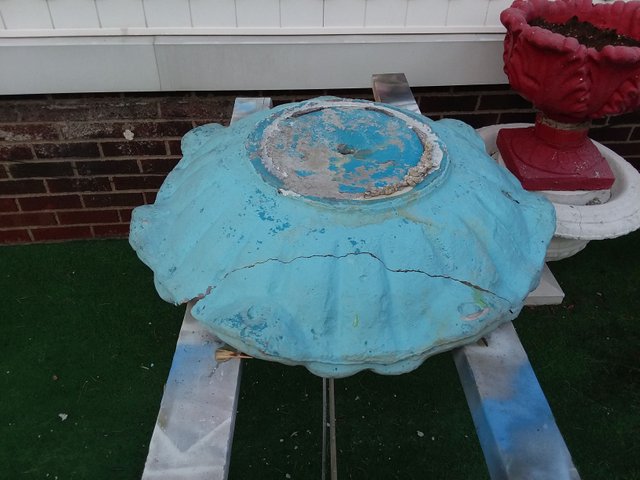
The last thing I did was to clean up and glue the second tier back together. Used a wire brush to clean up the pieces and a can of compressed air to blow the dust off. Dry fit the pieces and the big piece went on first. Tube and a half of epoxy and it's back together. Used some angle brackets to wedge it together until it dried. Seems to have held nicely. Need to put the small piece in still then it's just filling in the cracks either with concrete or spackeling depending on how much there is to fill. Finishing it is a project for another day.
This is where the project left off for now. I'm not sure when I will finish it. I have to wait at least 30 days for the concrete to cure before I can prime and paint it. Not sure if I will finish it this year or wait until spring. Current plan is to get everything cleaned up, repaired, and painted. Probably leave it under the porch for the winter and assemble it in the spring. I most likely won't paint the base until I'm ready to assemble it. No sense letting the paint fade and have to redo it again. Still need to order a pump too but that's the last thing needed. Whenever I finish I'm sure there will be a follow up blog for it. For now it's a big birdbath.
Congratulations @fubar-bdhr! You have completed the following achievement on Steemit and have been rewarded with new badge(s) :
Click on the badge to view your Board of Honor.
If you no longer want to receive notifications, reply to this comment with the word
STOPTo support your work, I also upvoted your post!
Congratulations! Your post has been selected as a daily Steemit truffle! It is listed on rank 25 of all contributions awarded today. You can find the TOP DAILY TRUFFLE PICKS HERE.
I upvoted your contribution because to my mind your post is at least 12 SBD worth and should receive 161 votes. It's now up to the lovely Steemit community to make this come true.
I am
TrufflePig, an Artificial Intelligence Bot that helps minnows and content curators using Machine Learning. If you are curious how I select content, you can find an explanation here!Have a nice day and sincerely yours,

TrufflePig@fubar-bdhr You have received a 100% upvote from @steemguard because this post did not use any bidbots and you have not used bidbots in the last 30 days!
Upvoting this comment will help keep this service running.