Tape Measure Repair
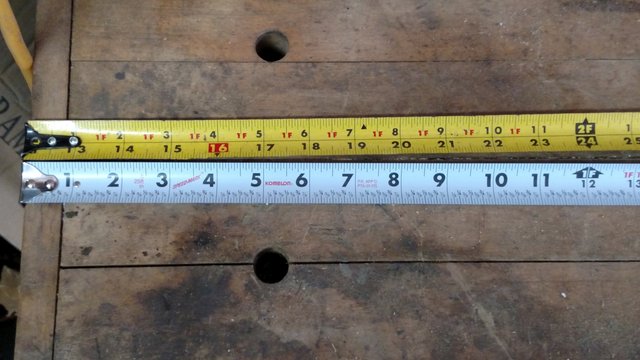
Now I have a 24 foot tape, instead of 25.
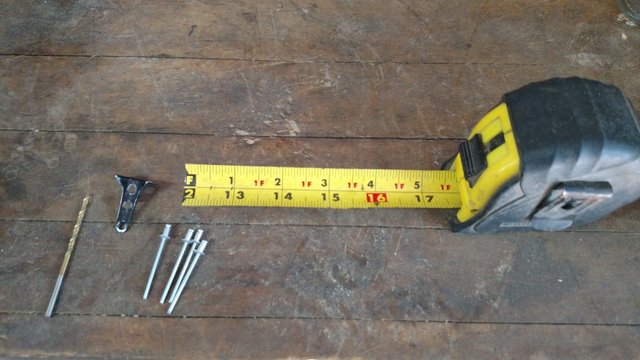

Pretty happy to have fixed this tape measure today. Over the past while it had gradually broken around the 5 to 6 inch mark. The original damage was a chip in the side that then worked its way into a full on break. So after fighting to extend the tape past the break a week or so ago, in a fit of rage I broke the end off and threw it across the yard. Not long after the pieces landed the realization hit me that I should be able to make this thing work. So the thought and idea festered in my brain until it hatched from my skull today.
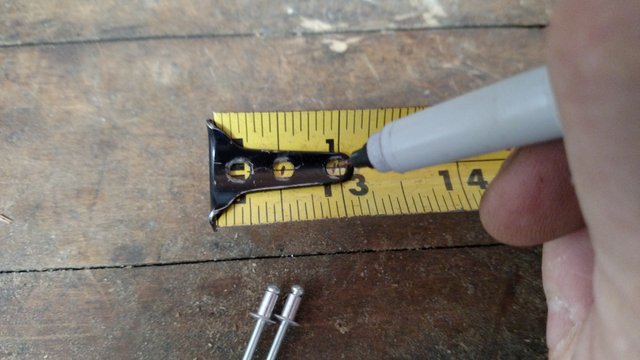
I gathered my tools, pieces, and parts into the shop and got to work. Since I had already broken the tape at the 1 foot mark, exactly, it made it a simple start. The end pice got laid on the tape and the "center" point of each hole was marked on the tape. This gives the center point of the drill hole.
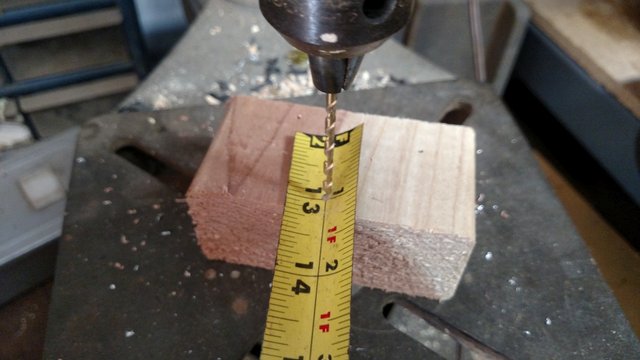
Next I went to the drill and popped holes in each place tht I had marked. I started with a much smaller drill bit to give myself a pilot hole. I then changed bits twice before the final hole was large enough to accept the smallest rivet I have.
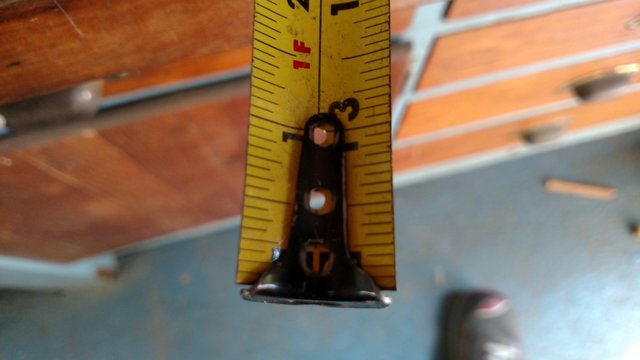
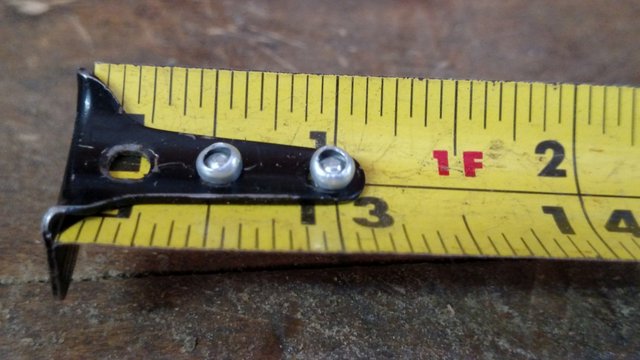
You can see the holes line up quite well. I am really pretty amazed that the end result came out as well given I eyeballed the "center" of each hole and the drilling was not exactly precise.
I put into the rivet gun the shortest of all the rivets I have, (20+ year old rivets from a set I bought at around 20 years old while in the Air Force) after making sure I had the proper eye sized for the rivet in the gun.
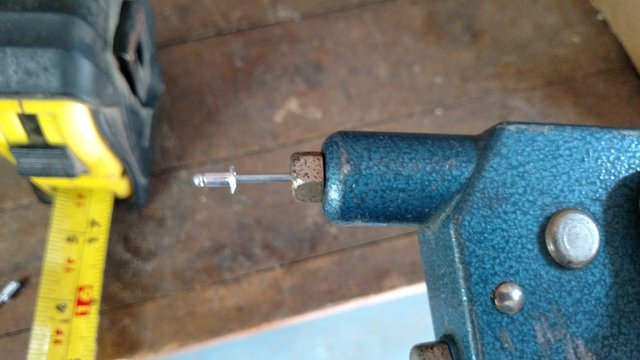
****THE MOST IMPORTANT PART*****
of the process is to make absolutely sure that the rivet is placed through the holes from BOTTOM TO TOP. The way the tape measure is shaped, the lower part of the receiver in the tape measure body is shaped to accept the "HEAD" of the rivet where-as the topside of the tape measure is formed to accept the "BOTTOM" of the rivet, the larger of the sides.
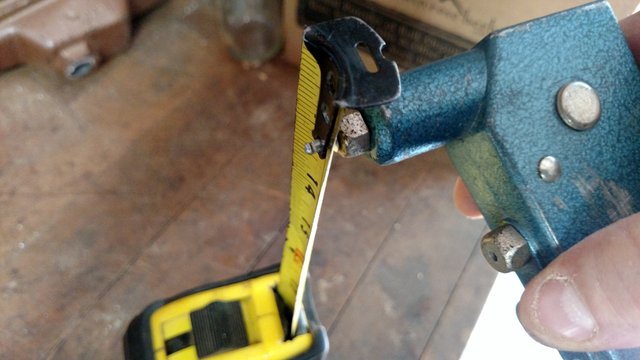
Both rivets popped off in the holes and the end piece is securely fastened in place. It doesn't have the typical loose feel of a standard tape, it is pretty rigid. This is not a problem though as the length of the tape works out quite well.
You can see here how closely the tapes ended up matching up. The white tape on the bottom is a brand new tape measure I got today and you can see just how close the two are at the foot mark. I will have to do a bit of subtraction anytime I use the tape, but it is a far better result than just throwing the 96% good tape measure away since 4% is shit.

Check out my blog @flemingfarm
Fleming Family Farm
FLEMING FAMILY FARM, LLC
Sustainable & Organic Methods | Heirloom Produce
All images are original works of Fleming Family Farm unless otherwise notated and credited.
If you find this post useful or entertaining, your support is greatly appreciated by upvoting, resteeming, following, or setting us to autovote on SteemAuto!


That is great! Love it. I can definitely see myself using this method in the future. Do you find yourself cutting everything a foot to short? hahaha
Hah hah! I've just made it so haven't had the chance to forget yet. I am figuring I will screw something up at some point when I am inebriated and using the tape. I could also use it as a gag tape to hand to people.
Fixing a tape measure, I don't that would have ever crossed my mind. Now I'll keep it at the back of my head if its a decent tape measure that breaks! And I love the gag tape idea, it'd be fun to watch a freind try and figure out why things kept coming out wrong XD
Pretty smart =)