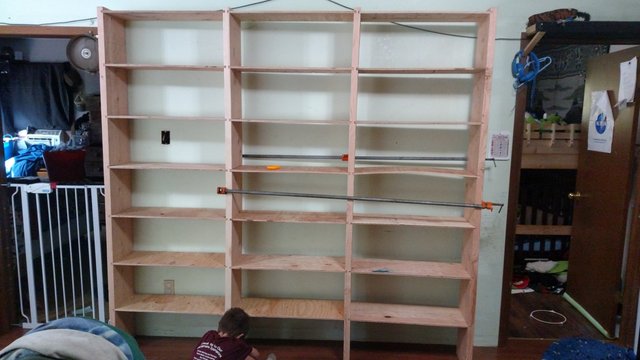
Second Livingroom Shelving built!
FINALLY WE HAVE STORAGE!!!!!
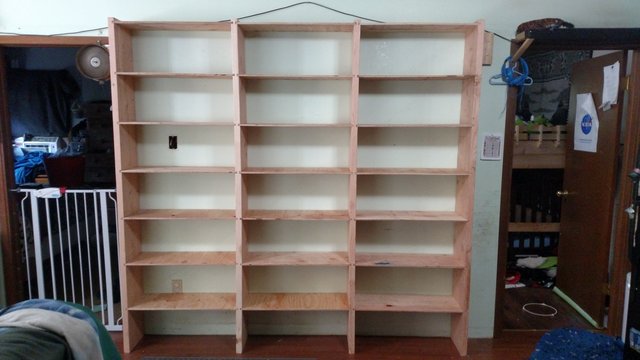

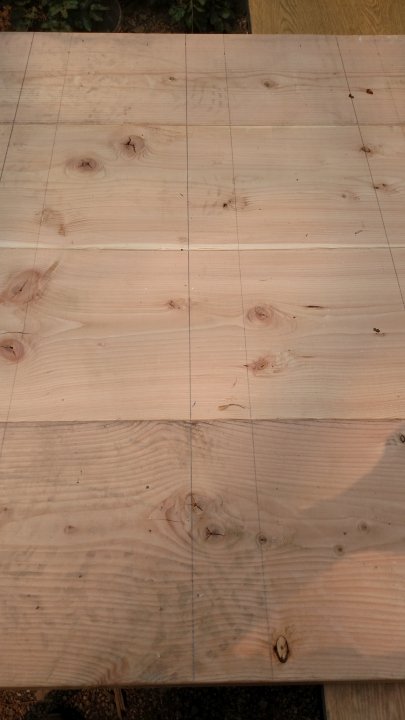
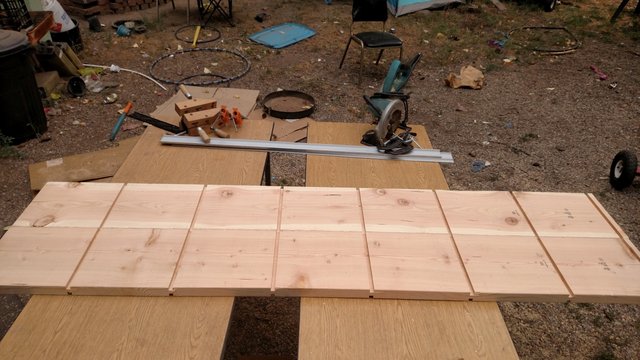
While I was cutting the shelves Sunday for the first unit I went and cut the shelves for the second unit. 14 for the first and 21 for the second. Those were set aside and then yesterday I spent a couple hours routing the vertical supports. The lines were an integral part of the routing process. I made 3 marks, a heavy line for the cutting line, then a mark 3 inches on either side.
The 3 inch marks were to give me a point at which I would attach my 2 four foot levels to use as guides for the router. It worked incredibly well and was well worth the time it took to setup for each cut. On the first set of cuts I clamped all 4 boards together on the sides then used my wood clamps to clamp the toes together to level the boards.
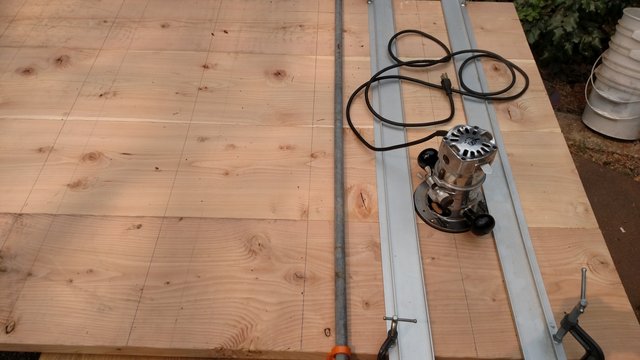
It took about an hour to cut all 7 shelves on the first side. I removed the two outer boards to use for the end boards on the shelves.
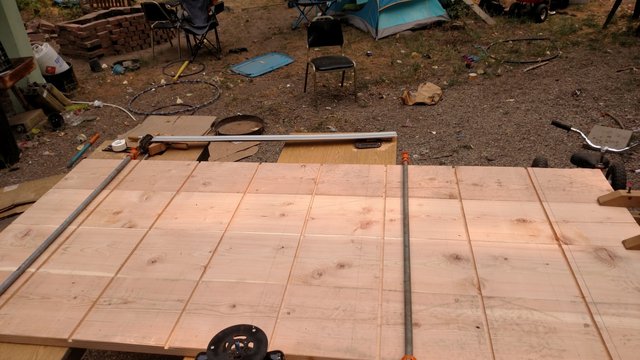
The two boards left got clamped together and then flipped over to have all the 7 other shelves channels cut. It was a good bit easier to cut the 2 boards over the 4, but I still used the 2 piece channel guide for each cut.
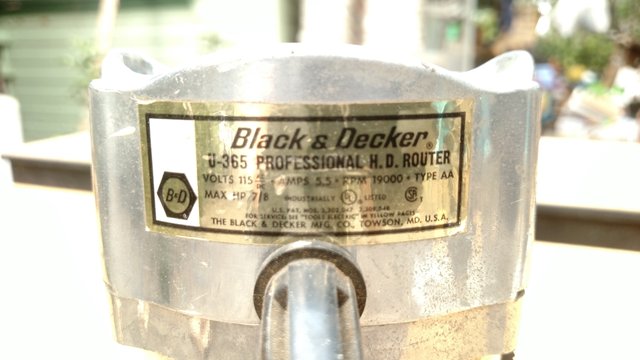
My router is one of my tools that came from my Grandfather. It is from the 60s or early 70s and is still a bomber piece of gear. It is a super strong motor and is very easy to handle. I need to make some projects for me to use it on.
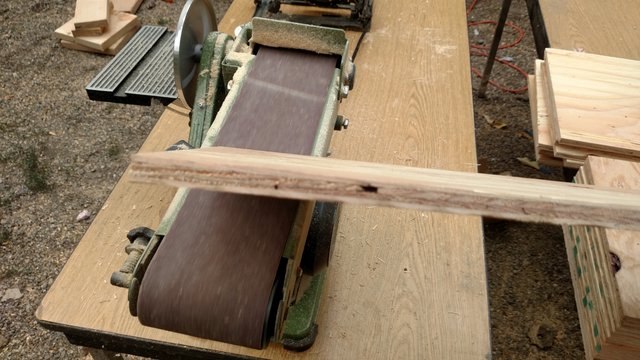
Once I got all the router cuts done I brought out my bench top sander and knocked of the sharp edge of one side of each shelf. I am not a fan of sharp shelf edges around young kids. They have magnets in their heads for the sharp things in life around them so it takes some work to make sure the house is "safe".
This morning I started putting the shelves together. The first part was the middle section which got set to let the glue dry with the vise bar clamps on it to keep it solidly together.
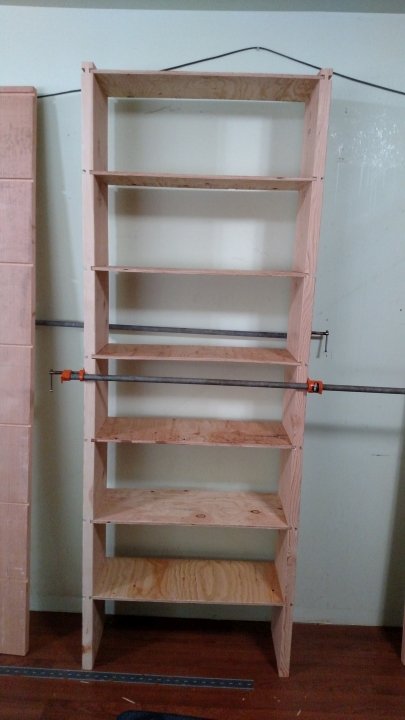
Both sides went on fairly easily and the clamps went on again to hold the shelves tight. After the clamps were removed the shelves were pushed tight against the wall. On the left side I drilled a couple toed holes so that the long screws would sink into the stud. On the right side I added a piece of 2x6 to screw into the stud. All in al I am pretty happy with it. The only thing I could have done better was to pay attention to the grain of hte plywood for the shelves as I could have made them ALL strong, not just some of them.

Check out my blog @flemingfarm
Fleming Family Farm
FLEMING FAMILY FARM, LLC
Sustainable & Organic Methods | Heirloom Produce
All images are original works of Fleming Family Farm unless otherwise notated and credited.
If you find this post useful or entertaining, your support is greatly appreciated by upvoting, resteeming, following, or setting us to autovote on SteemAuto!





Having extra space to put all the goodies is always a treat!
Hello @flemingfarm, thank you for sharing this creative work! We just stopped by to say that you've been upvoted by the @creativecrypto magazine. The Creative Crypto is all about art on the blockchain and learning from creatives like you. Looking forward to crossing paths again soon. Steem on!