DIY Bottle Cap Maps


I originally designed this as a Christmas present for a friend. It's a great souvenir to show places that you've been too. I've seen beer cap maps sold online, but they're pretty expensive, so I decided to try to make my own! Turns out it isn't too difficult if you have access to a laser cutter. The designs I made are a little smaller than some of the ones that I've seen sold online, but the US map can still hold a respectable 43 bottle caps and the Washington map can hold 27 and is the perfect size for putting on the fridge.
In the first part I will detail how I designed the map using a CAD program (I used Rhino, but the process can be replicated in other programs). This will be useful if you want to make a bottle cap map of a different state (or any other pattern for that matter). And in the second part, I will go over the laser cutting and assembly of the beer cap map.
My post on Instructables has a few more pictures and slightly longer instructions in some sections, if you need more information in some parts.
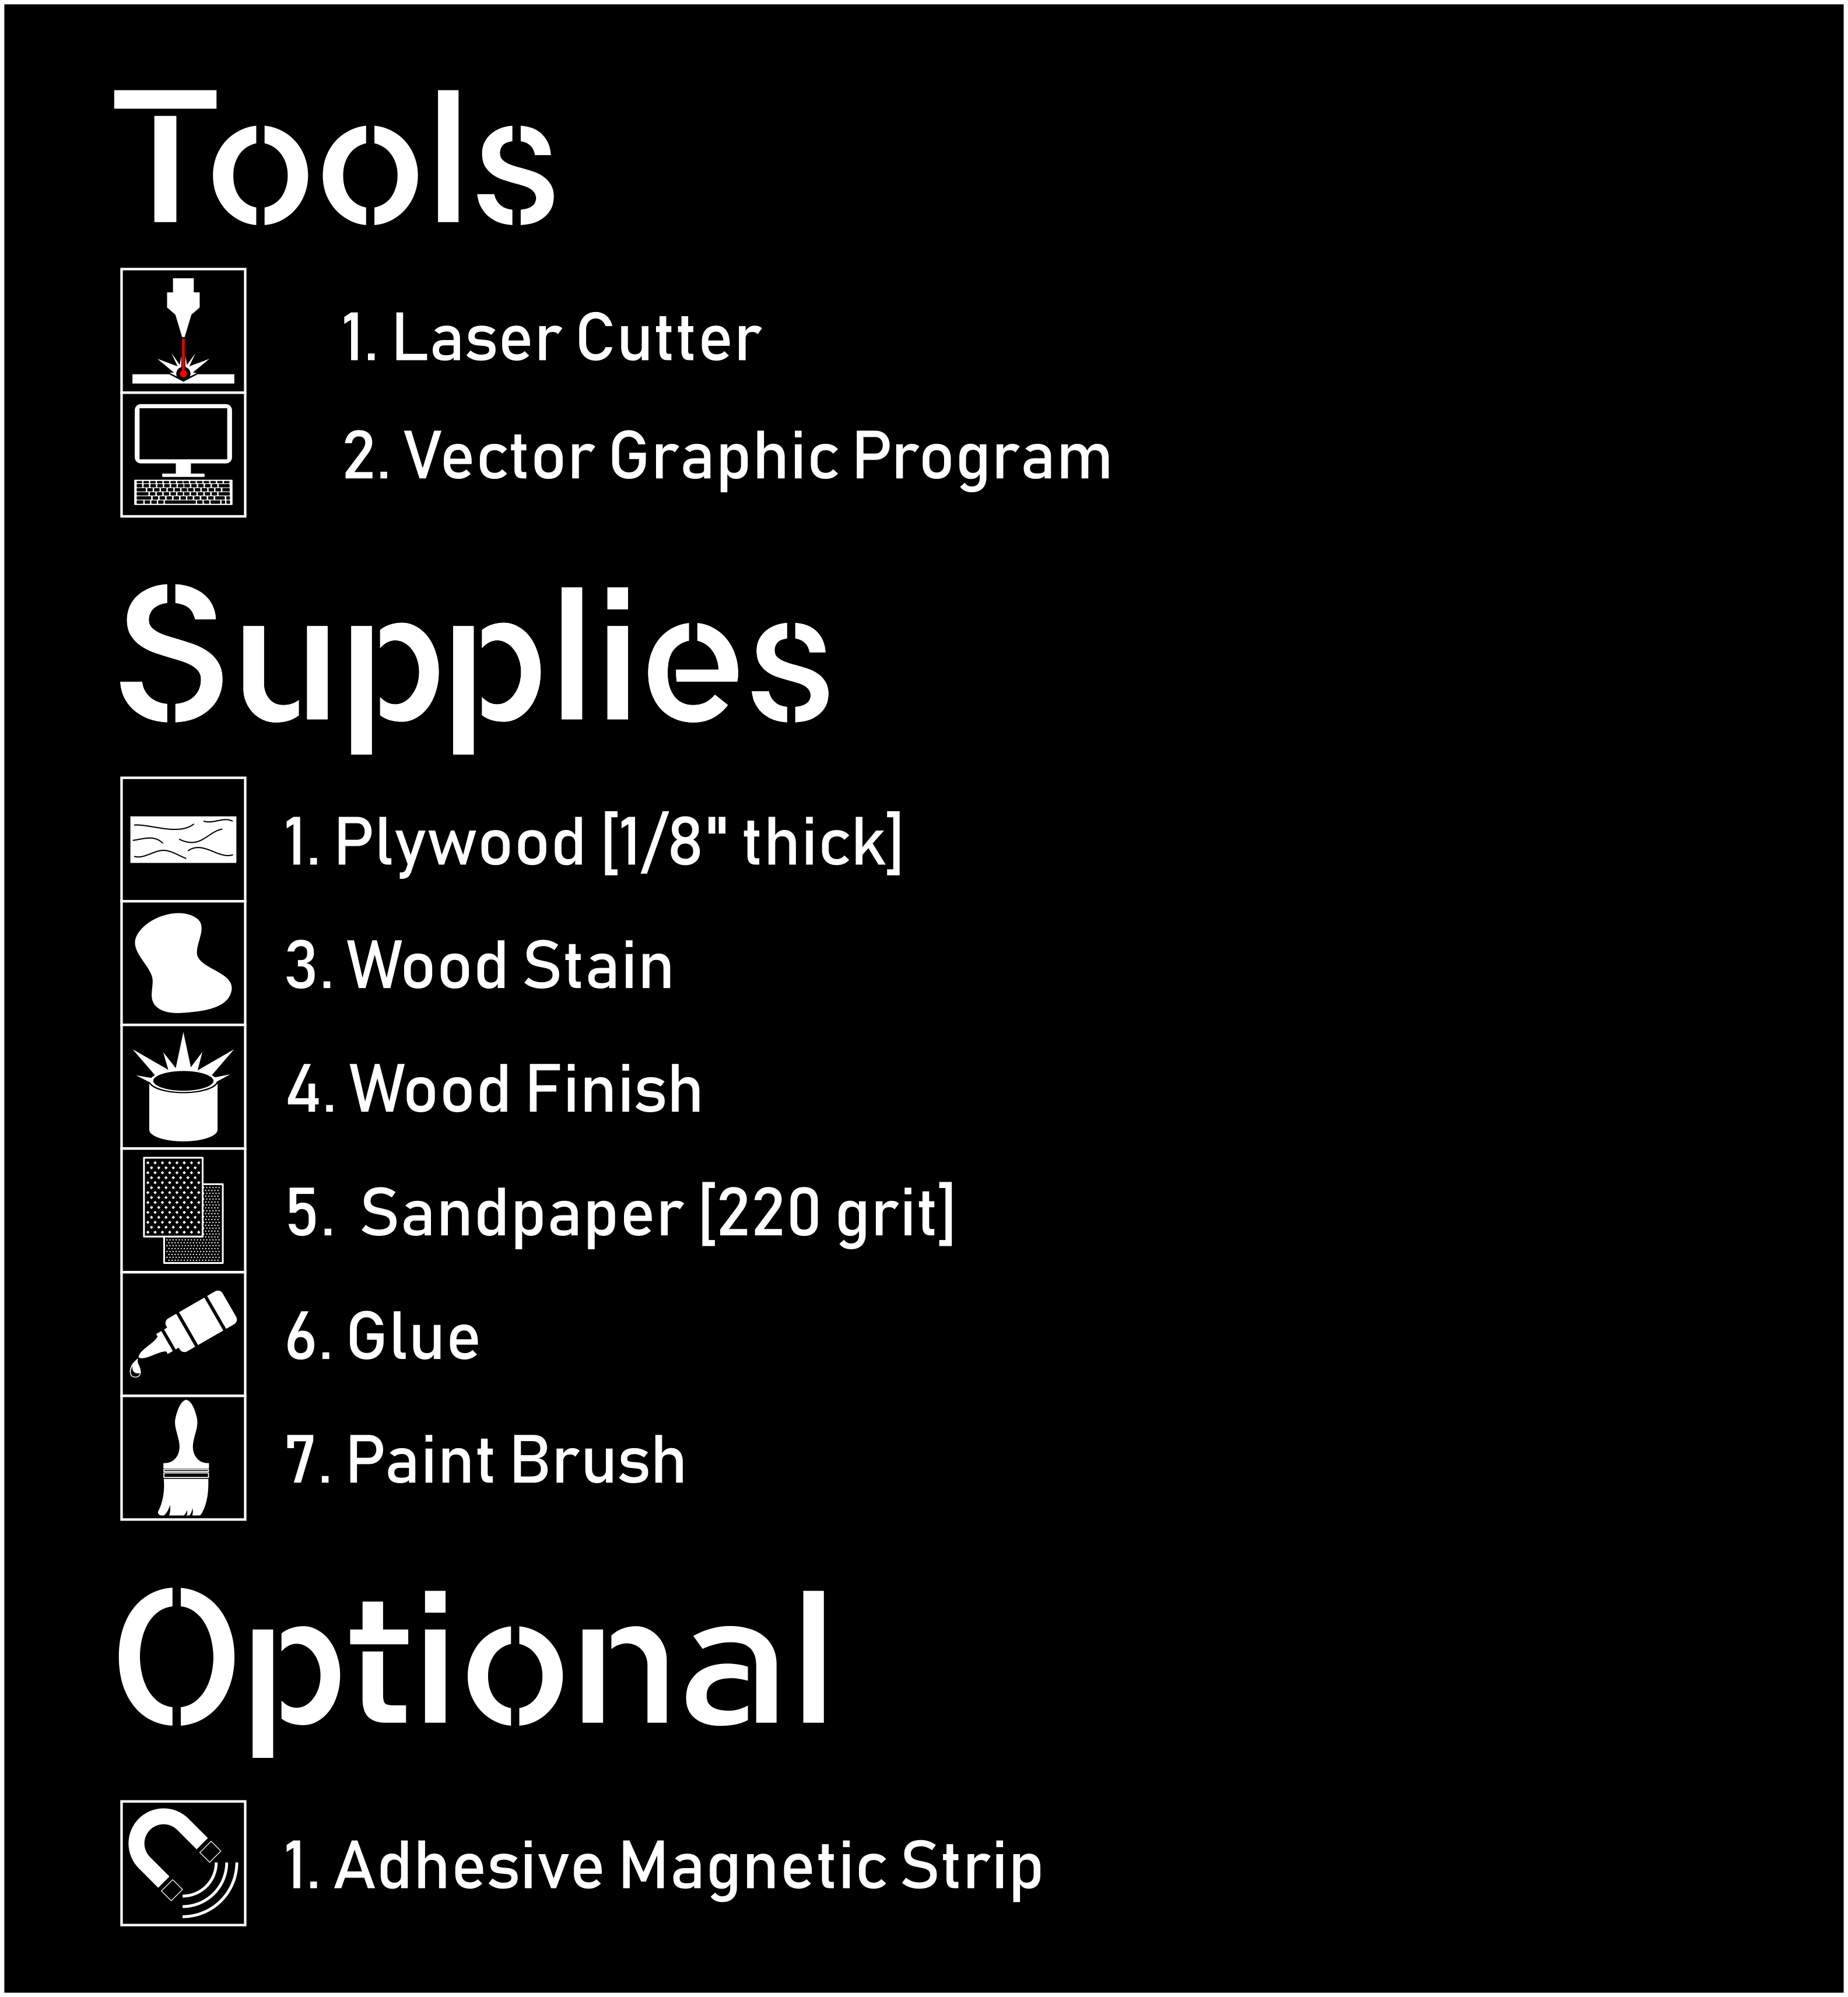
Necessary Supplies:
• Birch plywood (I used an 1/8" thick sheet)
• Paint brush (to apply the wood stain and finish)
• Sandpaper
• Wood stain
• Wood finish
• Glue
• Magnetic strip (or other adhesive method)
Tools:
• Laser cutter
• CAD program (unless you're using my included template for the USA or Washington)
Step 1: Design the Pattern
I've included two designs that you can use, one for the USA and one for the state of Washington. If you're using one of those two then you can move on, but if you want to make your own, I will explain the process here.
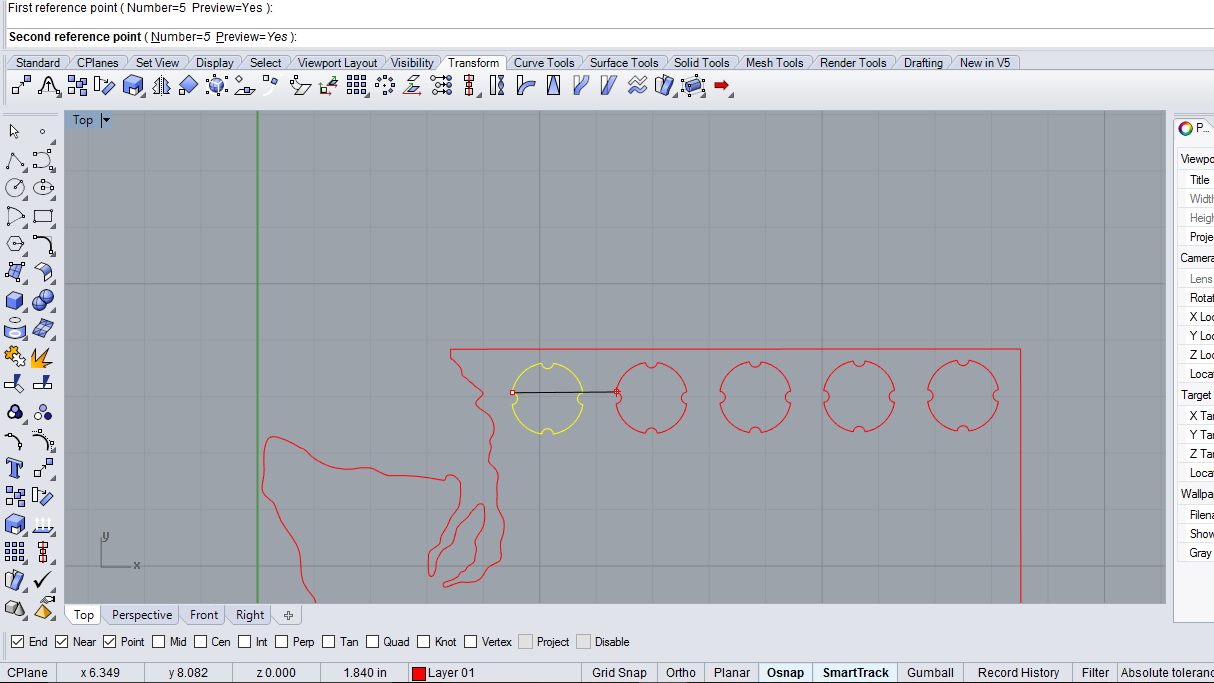
The first step is to design the hole for the bottle cap to fit in, which I already did (and is attached by itself as a file below). The hole needed to be big enough to fit the bottle cap, but also needed to be an interference fit so that once in, the bottle cap wouldn't move. After a couple iterations, I came up with a design that works well. It's included below for you to use.
Next is creating the outline of whatever object you want to use. There are two ways that I've found of doing this:
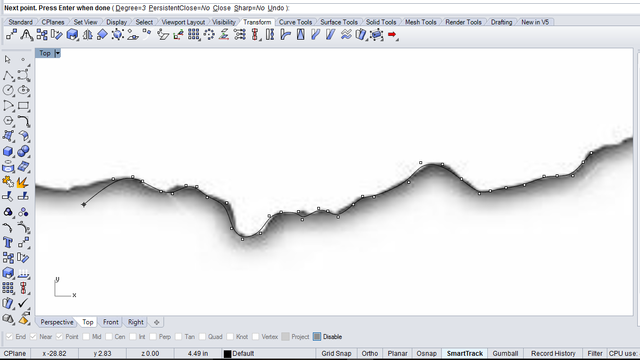
- The first is tracing the outline using a background image of the state (or shape) that you want. I did this in Rhino, but there are other programs you can do this in.
- The second is using a program like Inkscape (which is free) to vectorize the image that you want.
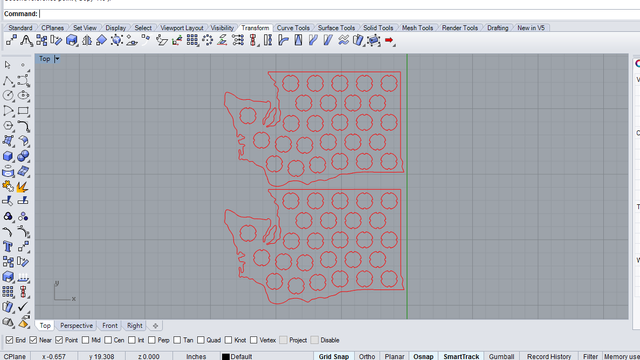
Once you scale it to the size that you want, the next step is to add the cutouts for the bottle caps.
Step 2: Laser Cut
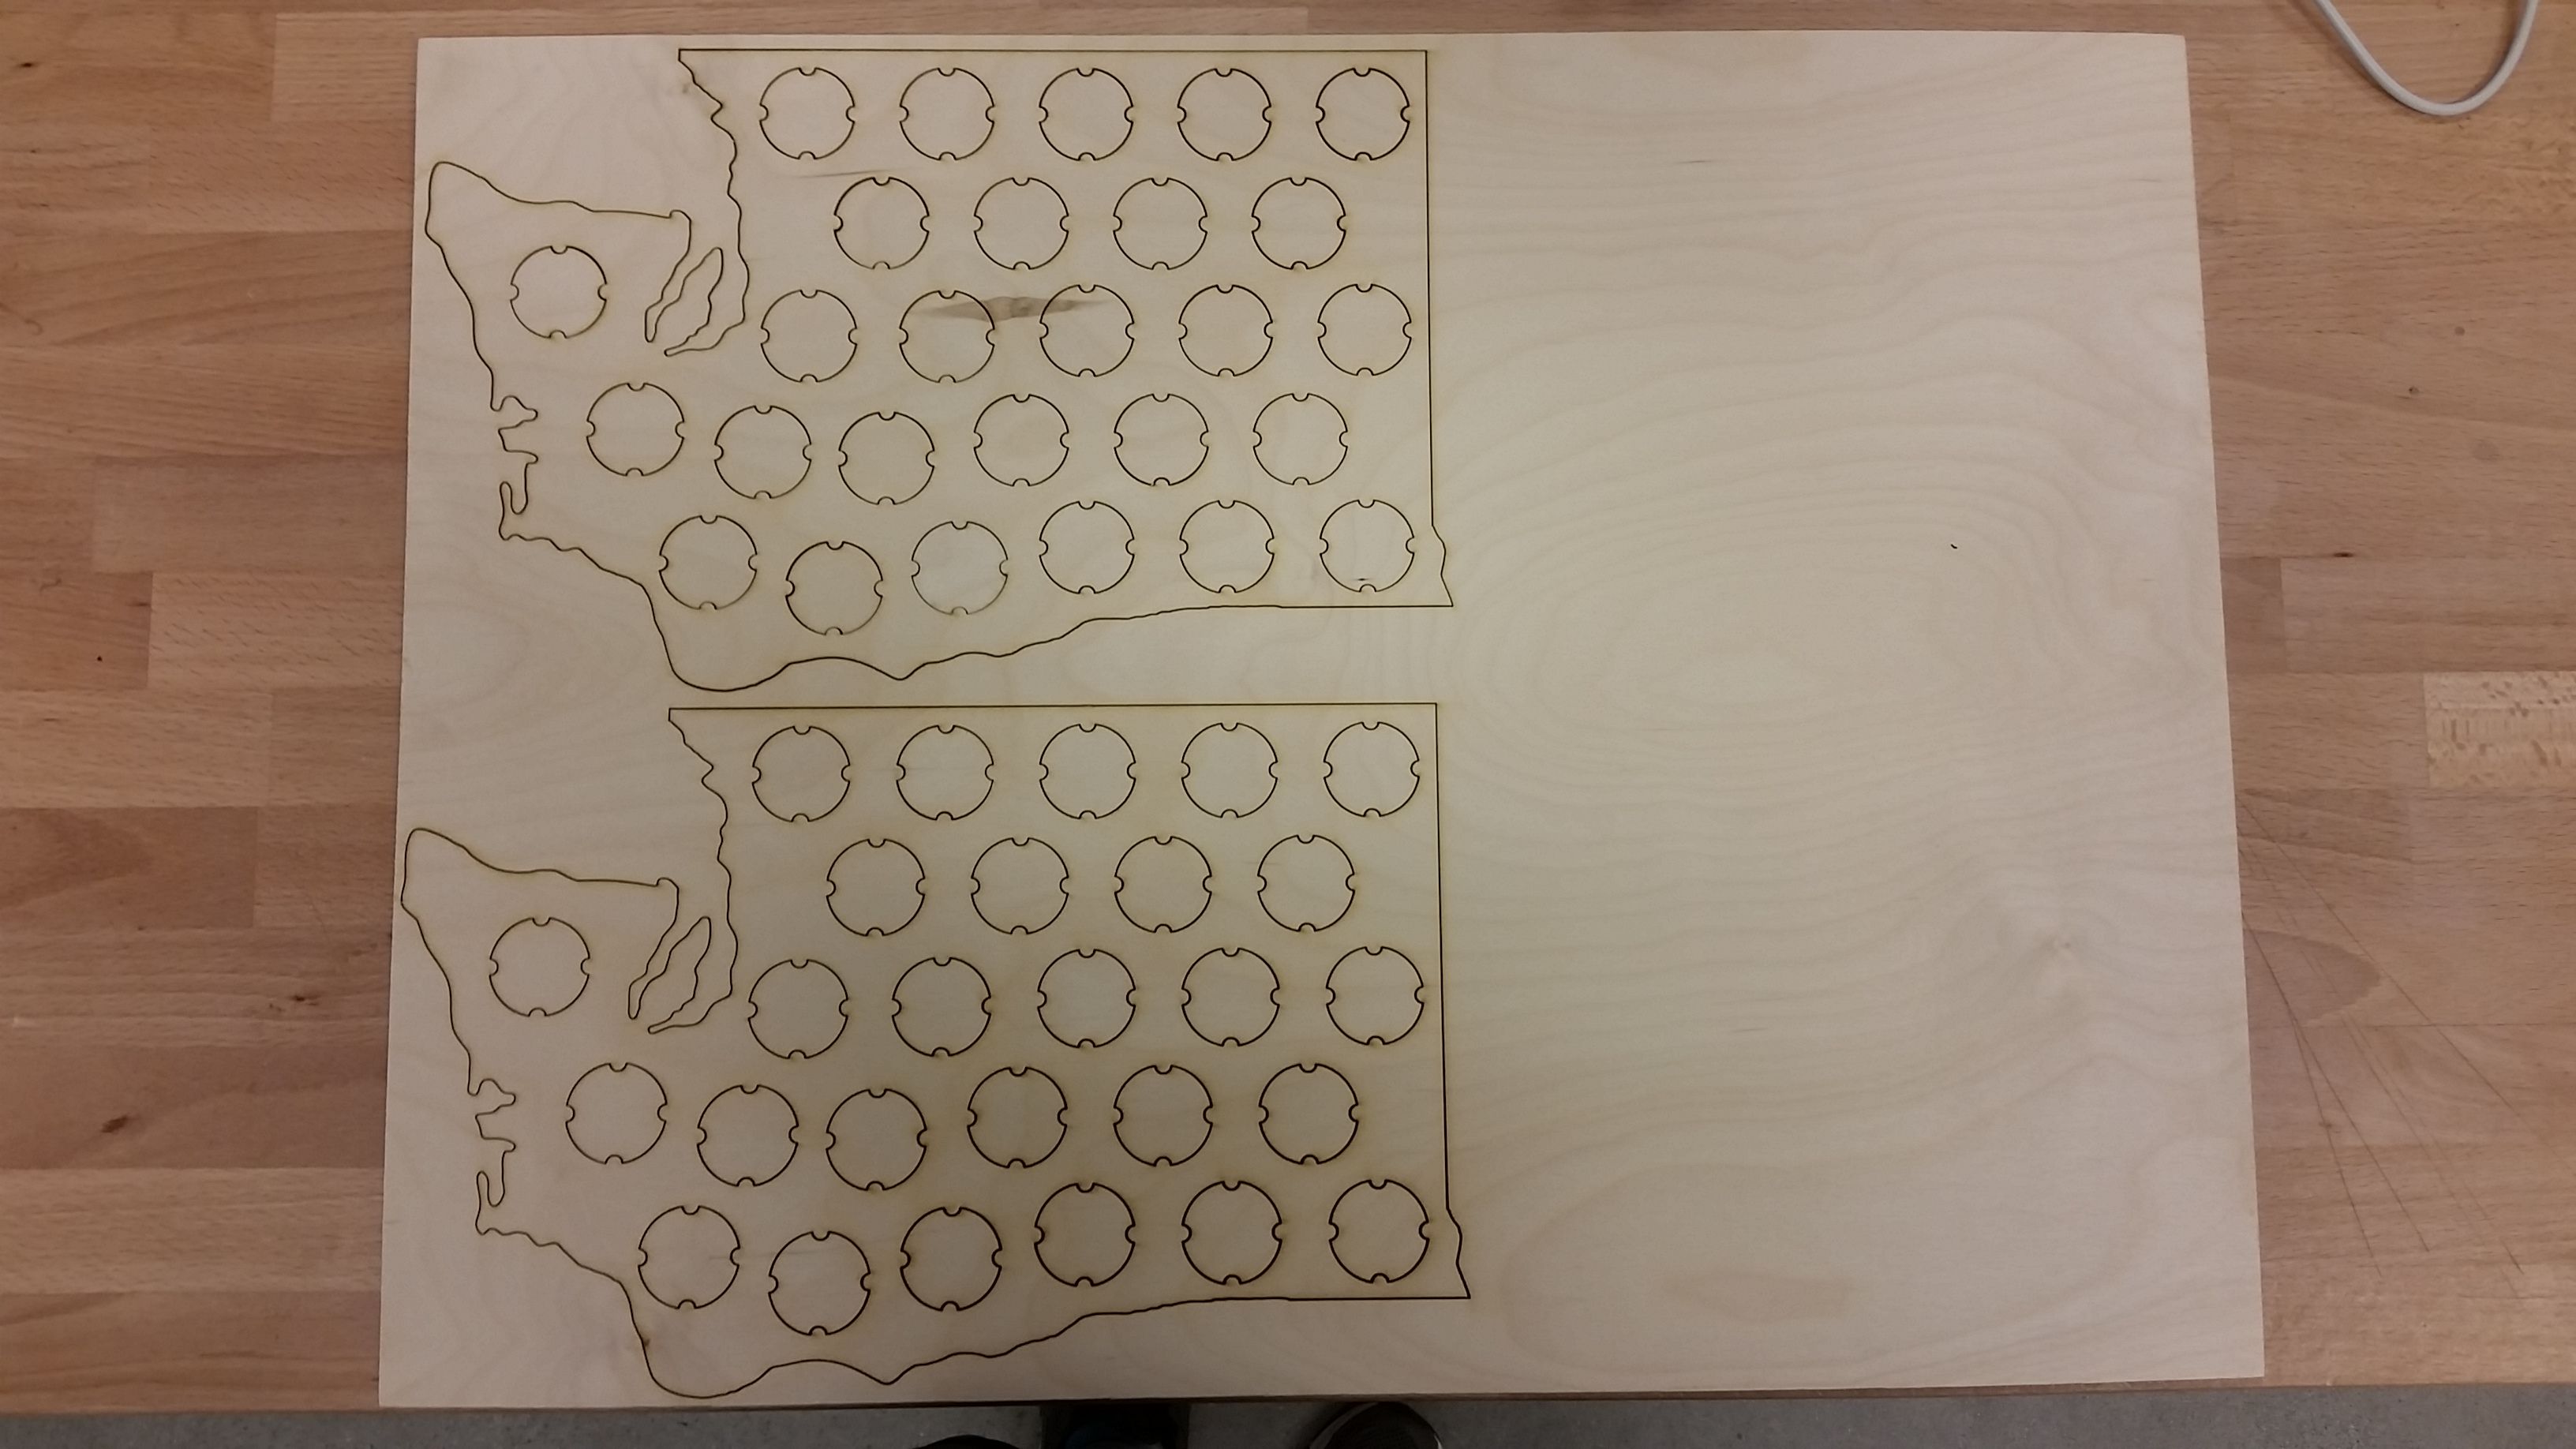
Attached below are the Washington and US designs that I made, saved under different file types so that you can figure out which import method works bets for you. The files were saved in units of inches.
Step 3: Sand
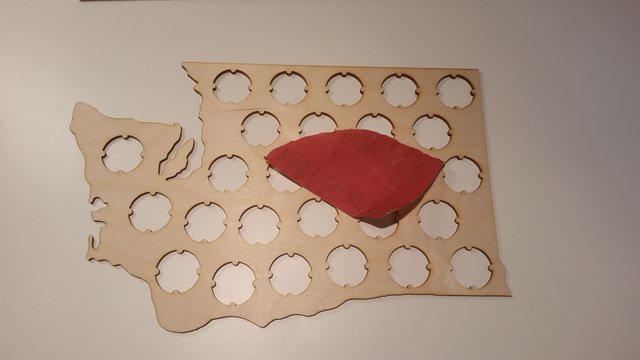
Set aside one of the two pieces that you laser cut since you only need to stain one. If one of them has mild defects, you can use that piece as the back. For the sanding I used 220 grit sandpaper. Nothing excessive, just enough to smooth the surface and edges of the outline.
Step 4: Stain
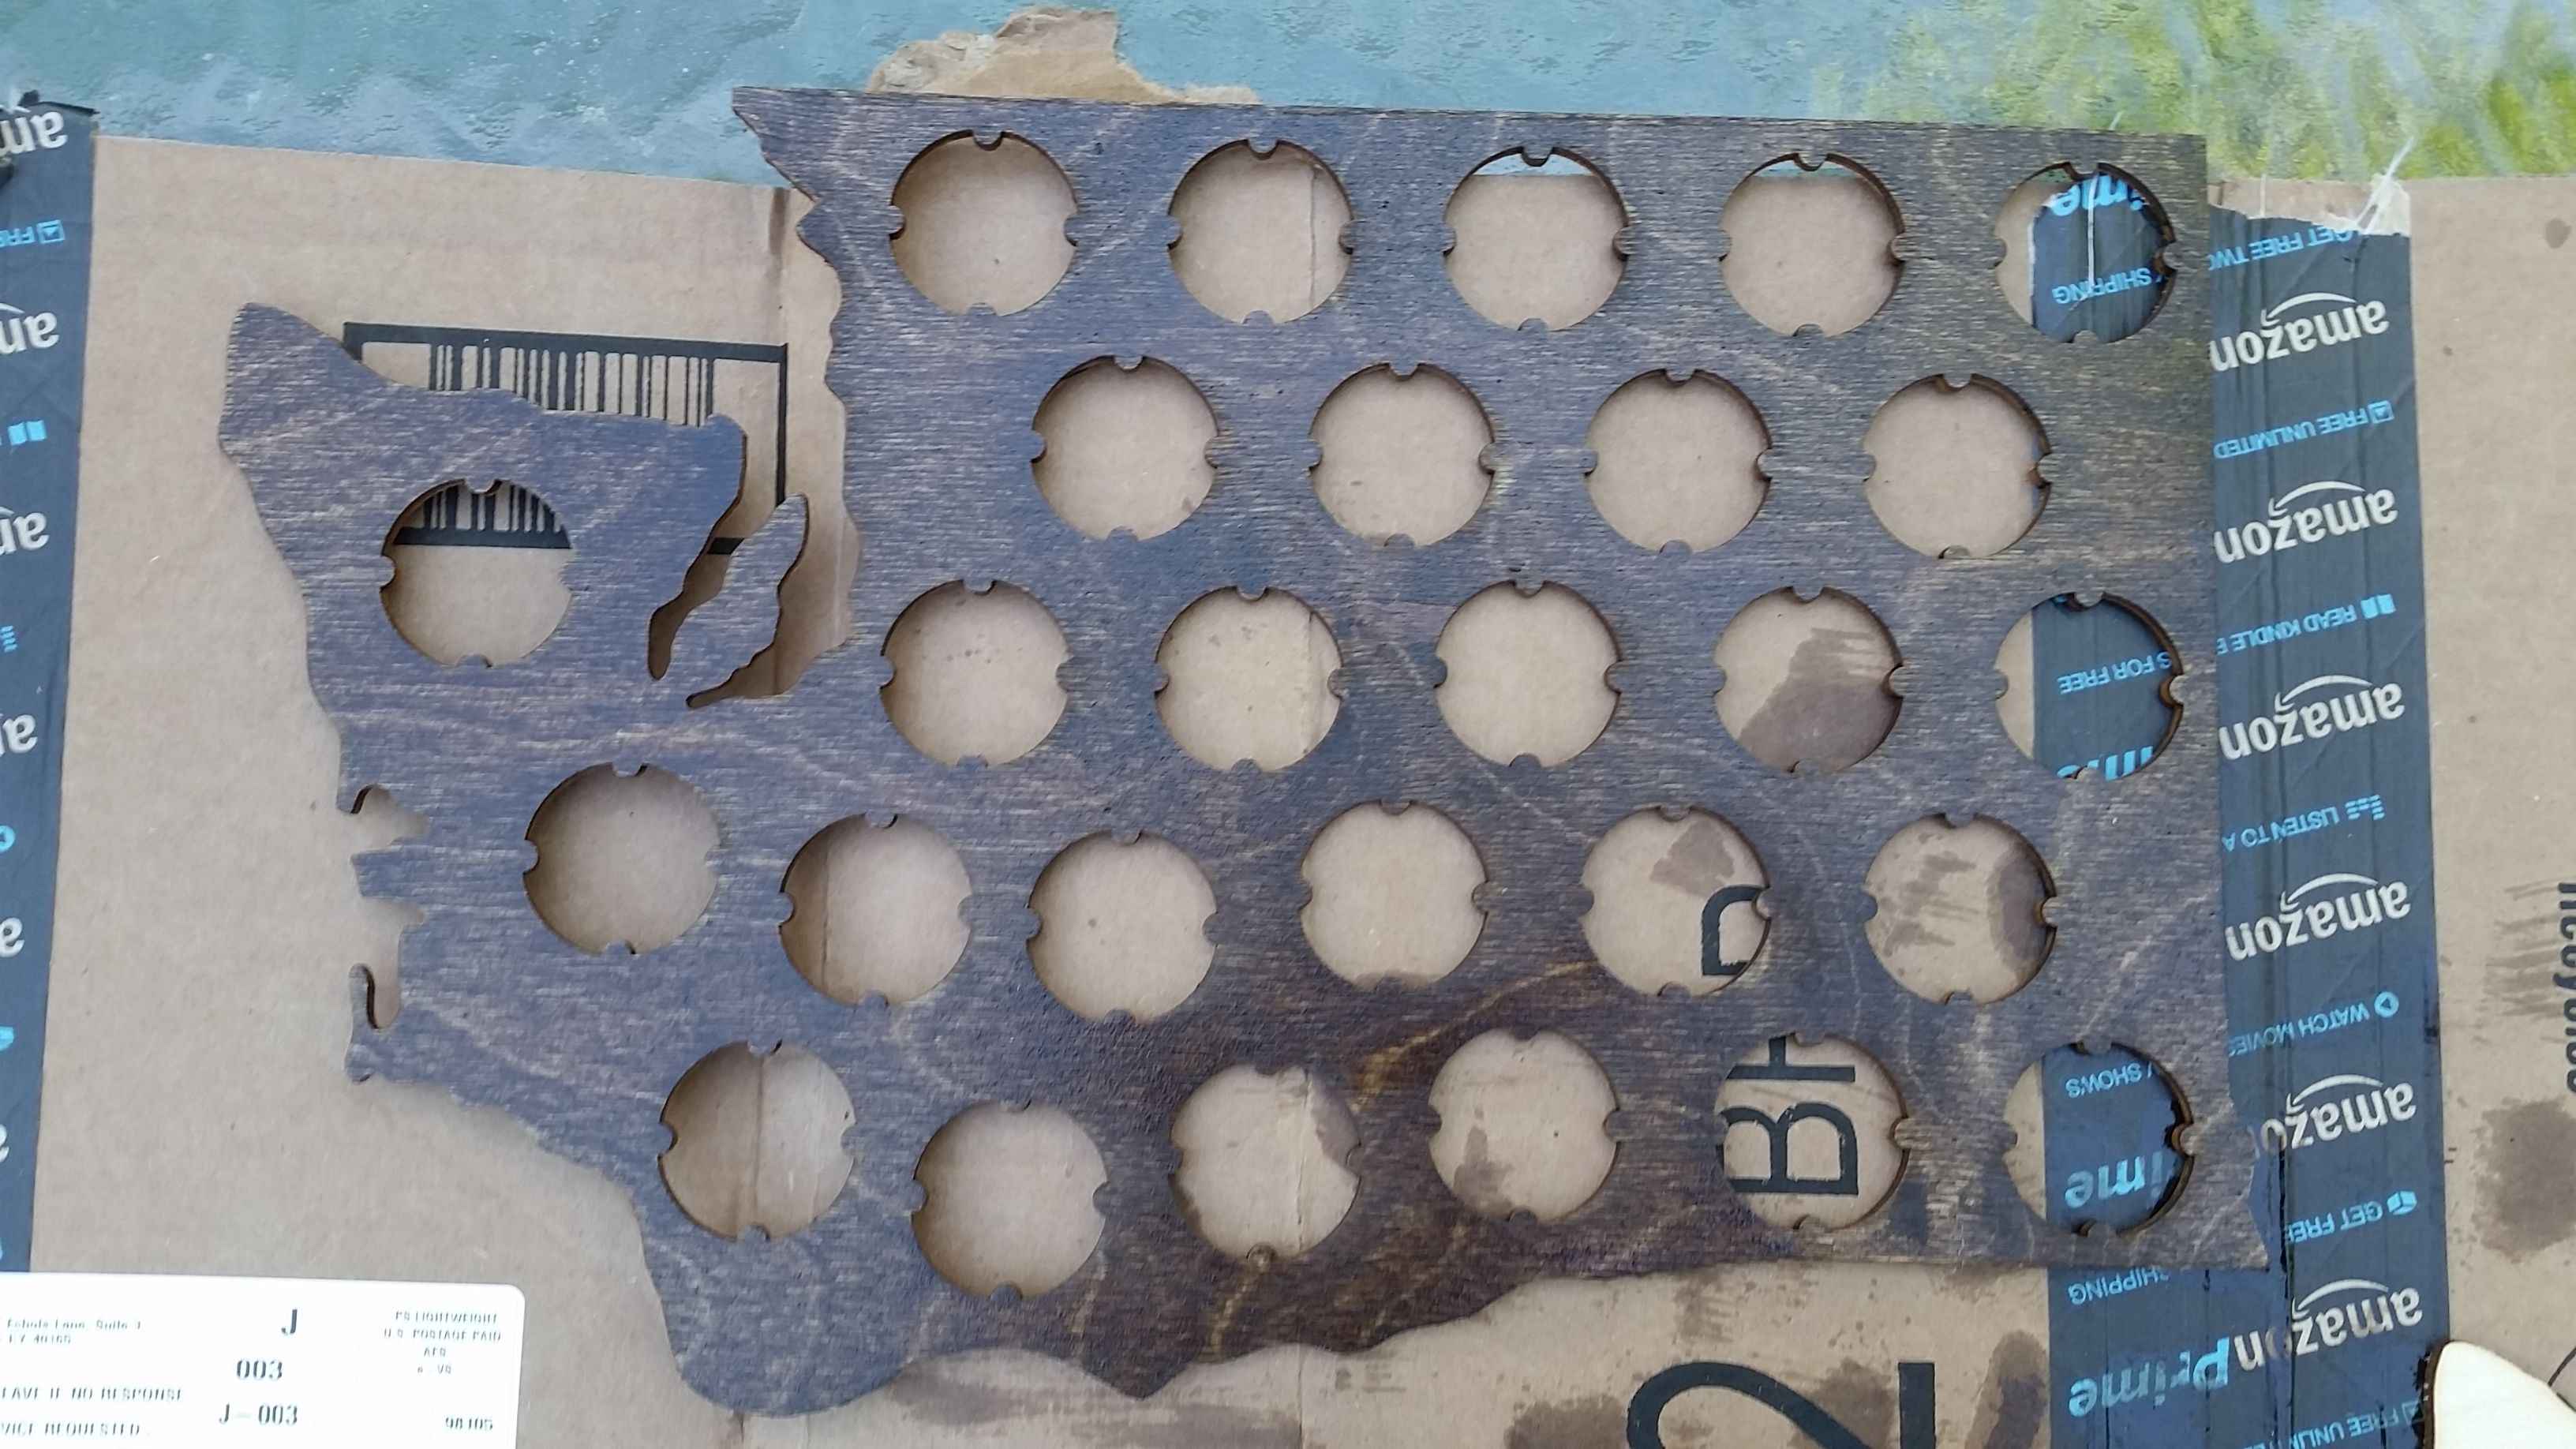
Then for the staining, apply 2-3 coats to the plywood.
Step 5: Apply Finish
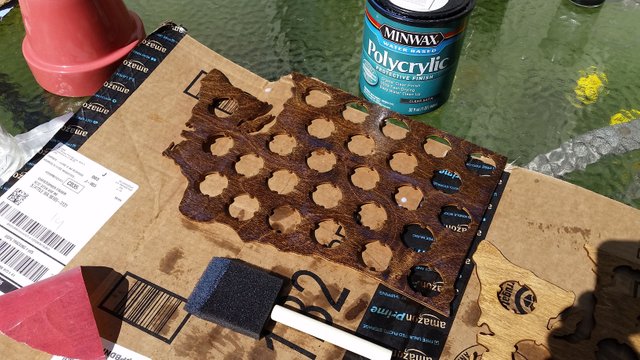
And finally, for the finish, I used a polycrylic finish and again recommend 2-3 coats.
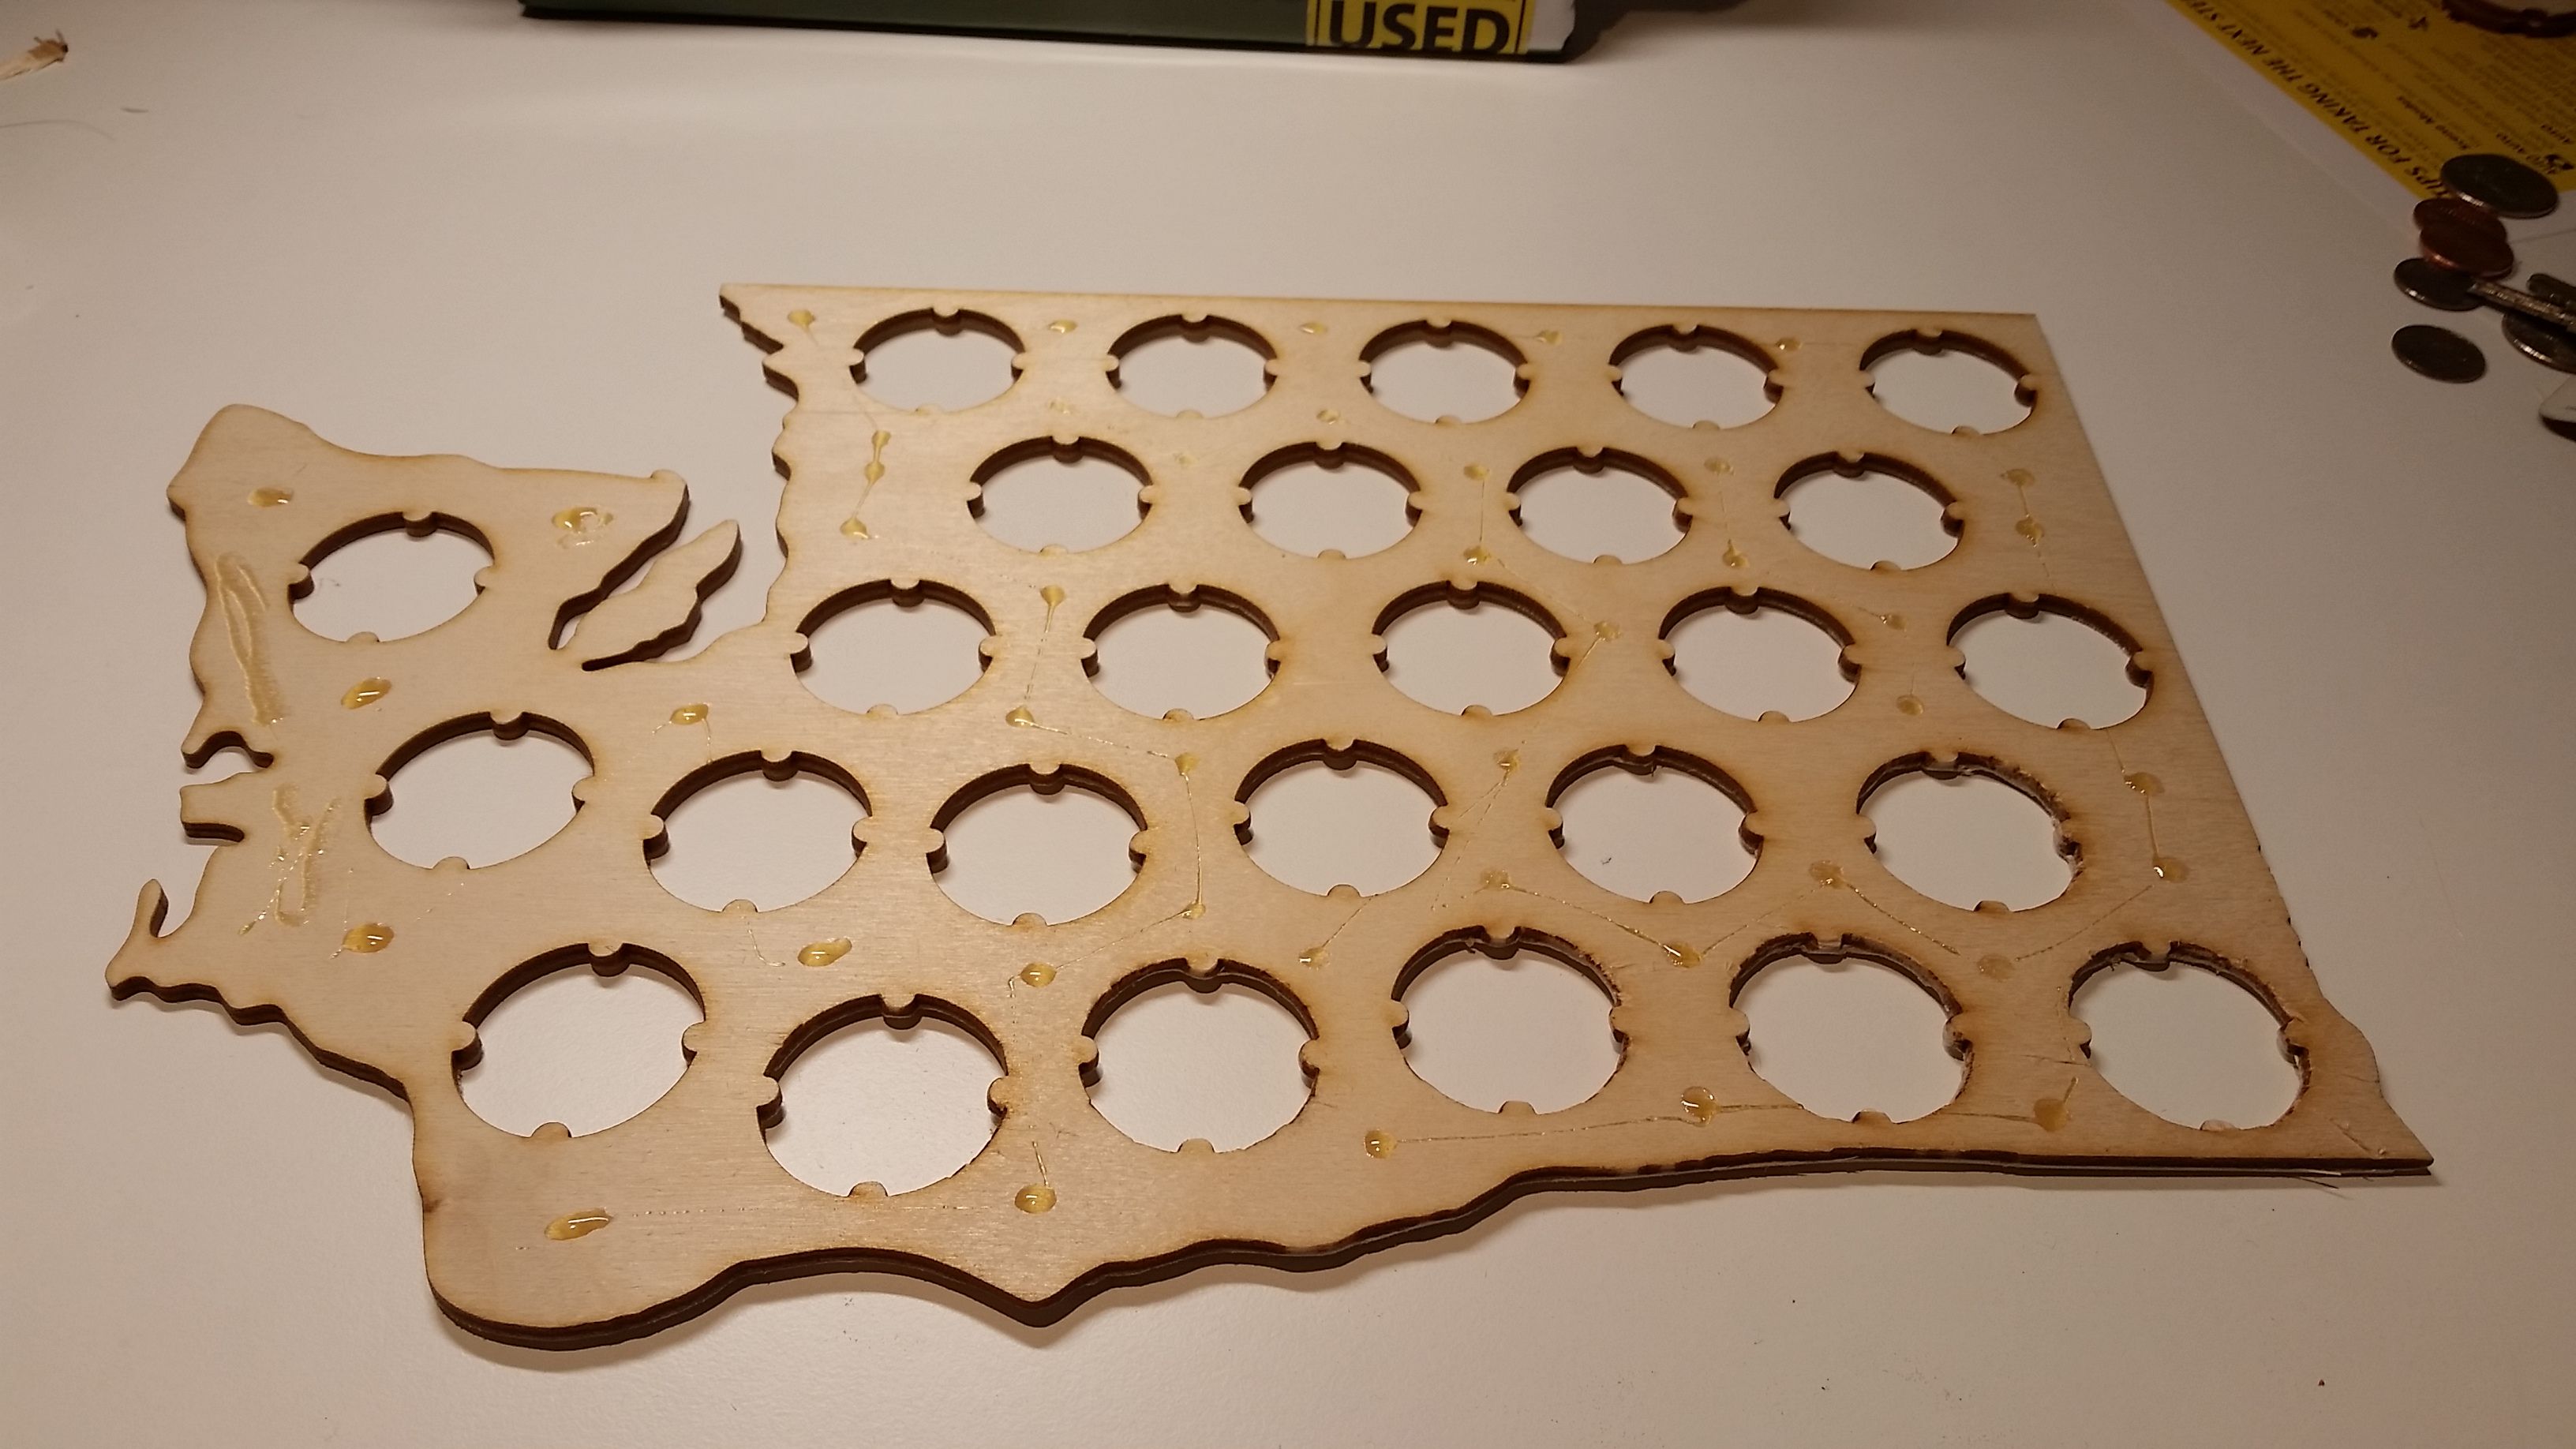
Step 6: Glue together
Apply a glue of your choice (no fancy glue necessary for this job) to one piece, and stick them together to dry.
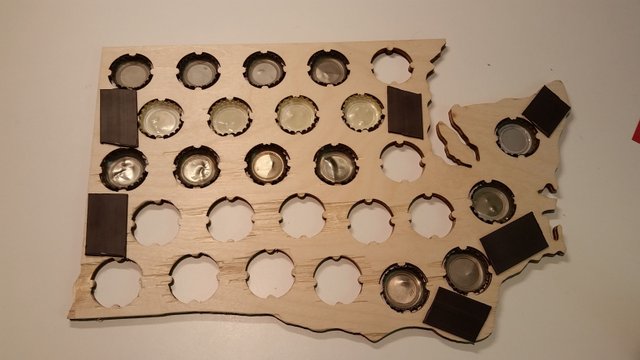
Step 7: Add magnets
Once done, add the hanging method of your choice. I went for magnetic strips with an adhesive backing so that I could put this on a fridge, but another good alternative for hanging it on a wall is using hanging strips. I put the strips on the larger gaps in each design (shown in the picture).

And then you're done! Have fun filling it with bottle caps.
These are really great! Kansas City has some really good microbreweries. You could sell these if you were inclined to do so. People would buy these
Glad you liked them! Unfortunately, I only have access to a laser cutter through a Makerspace, so I don't have my own to use to make and sell projects like this one. But one day I hope to buy my own, and maybe then I can!
Well when that time comes, I have some die hard beer drinking friends in Kansas City I could let know. You might get a couple orders, more or less ( ;
That's amazing. There's a workshop here in Austin that has a laser cutter and classes on how to use it and this would be an awesome gift for some of my friends in Thailand (but I'd have to make a global map - have to think that wouldn't be too much more difficult.)
Thanks! It should work perfectly fine with a global map too. The only thing you would need to be careful about, is as you scale up, you may have a tendency to get regions that are too thin to hold bottle caps (like the Florida peninsula on my USA map). But if you're careful, it should work fine.
That might be problematic as Thailand is also a long narrow peninsula. Maybe wine corks instead of bottle caps? Hmmm...
Hmm, yeah Thailand actually would be pretty hard to do with that long strip on the bottom. If you would try to do Thailand, your best bet might be to just put the bottle caps on the mainland portion, and leave the peninsula blank.
LOVE THIS!
I would love to have one of my my state (Michigan) and I know there are dozens and dozens of local beer breweries and companies that we could specifically use their caps to fill in the spaces!
Glad you like it! Yeah, this idea works very well with states. I know in Washington there are a ton of local breweries as well, so it's not difficult at all finding bottle caps to add to the map.
That’s pretty cool! And very creative!! I bet with all the different colored caps it looks pretty amazing! Nice craftsmanship too! Thanks for sharing!!