Turn a Shelf Liner into a $5 Woodgrain Laptop Skin! | DIY #MakeStuff
.png)
Do you want to know why this project is so rad? Well I’m going to tell you.
It’s FAST, EASY and CHEAP. And most importantly it’ll allow you to break Pinterest and Instagram with levels of craftiness and ingenuity the likes of which the internet has never known!!! insert evil laugh here
NOTE: Contact paper is durable but also easily removable and doesn’t leave any adhesive behind so its safe for your little internet machine <3
Just don’t do anything silly with it, like cover any major vents, or ports, or your screen or something. Got it? Good!
What You’ll Need:
- Contact Paper/Shelf Liner (I got mine on Amazon)
- Tracing Paper or Transparency Paper
- Exacto Knife or Razor Blade
- Masking or Painters Tape
- Scissors
- Sharpie
- An acceptance of the reality that your computer is about to look awesome.
Ready? Lets go!
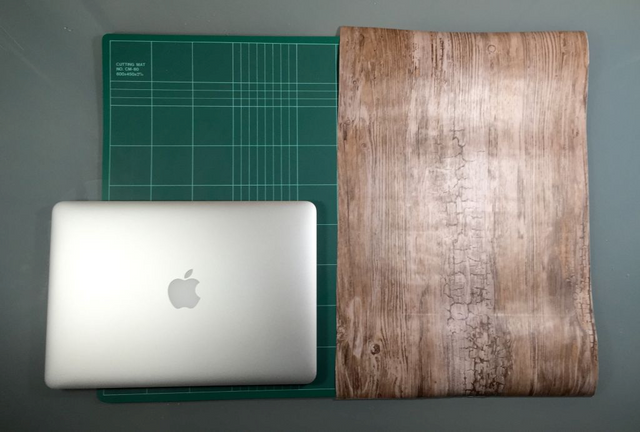
Start by cleaning your laptop, making sure it’s completely dust and grease free or MAXIMUM STICKAGE. Measure approximately how much contact paper you’ll need and cut it to size leaving room on each edge to be trimmed later. The more room you leave yourself, the better.
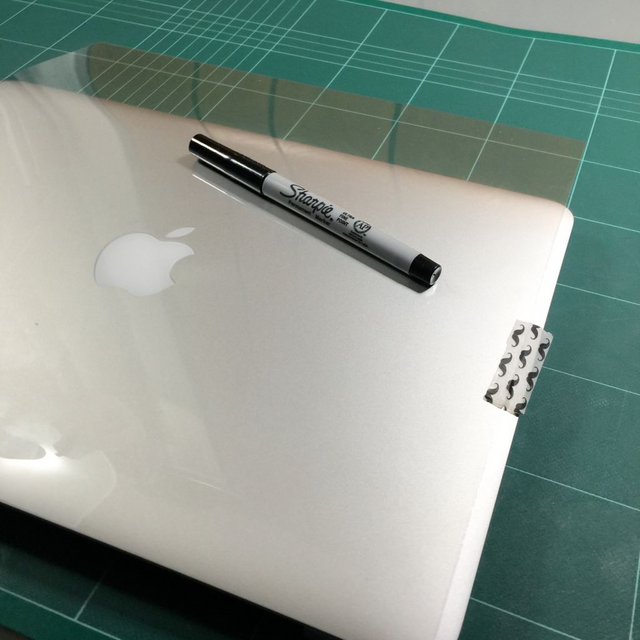
Next, align your tracing sheet or transparency to the bottom edge of your computer, and tape it into place.
PRO TIP Mustache washi tape helps, because it’ll make you smile if you cut yourself with your blade later. If you don’t have that washi, masking or painters tape works fine, just make sure you draw mustaches on it.
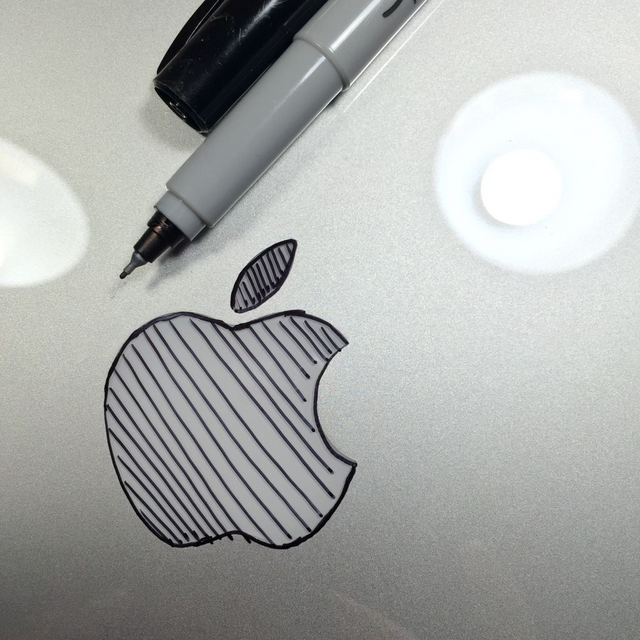
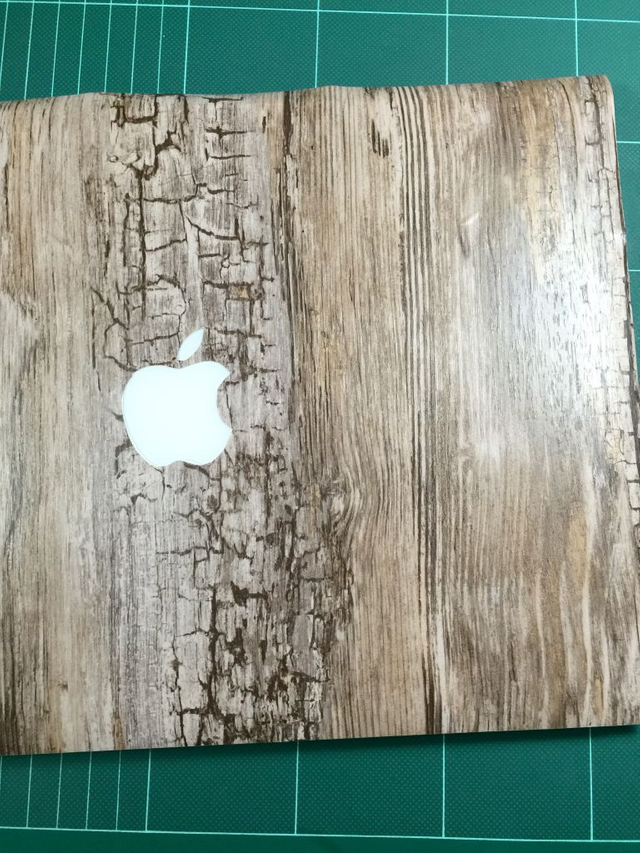
Use your marker to outline any logos or type that you don’t want to cover. I filled mine in a bit since the pattern on my contact paper was so intricate, totally not necessary, but I believe that some of the best things in life are totally unnecessary, so follow your heart.
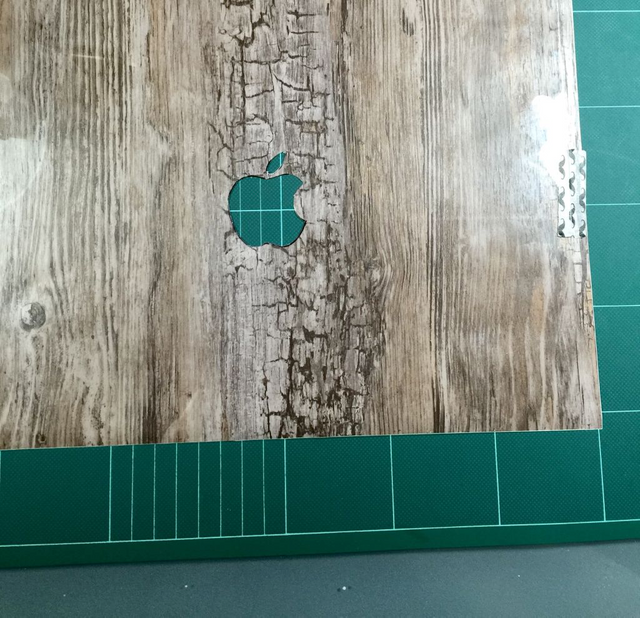
Next, align the bottom edge of your tracing sheet to the bottom edge of the contact paper you’re using, tape in place so it doesn’t move on you and CAREFULLY use your blade to cut through your tracing sheet and contact paper and not your flesh. THANK YOU PSA OVER.
Now you’re ready to remove the backing and line up your logo and bottom edge. Once those are set up, the rest takes care of itself. This may take a few tries so don’t be discouraged! The paper easily peels back up.
PRO TIP: DON’T BREATHE
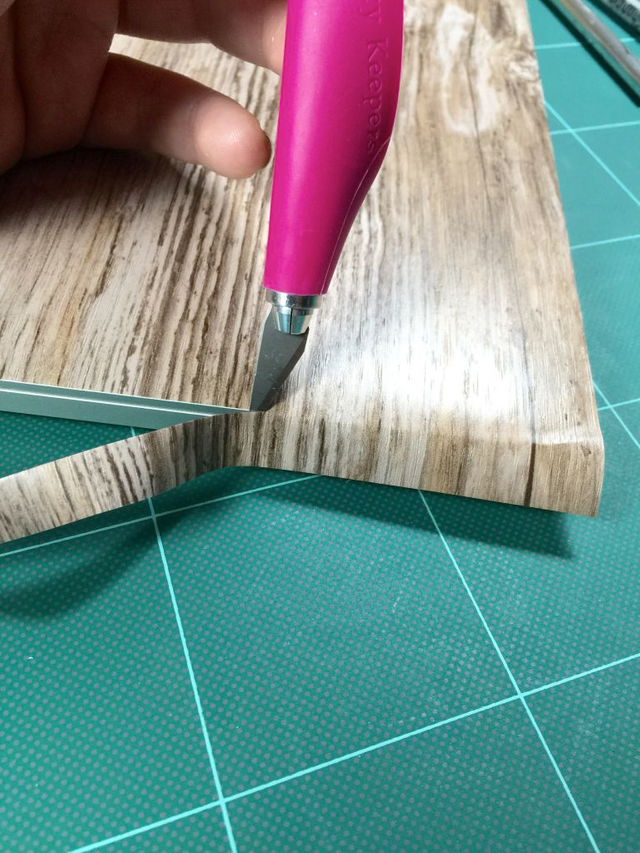
Smooth out any bubbles you have with an old Borders Rewards card paying special attention to the edges. Once everything is locked down, CAREFULLY run your extra sharp blade around the edges for a clean cut all the way around. If you have any rogue bubbles you can gently pop them with a small pin and press the air out.
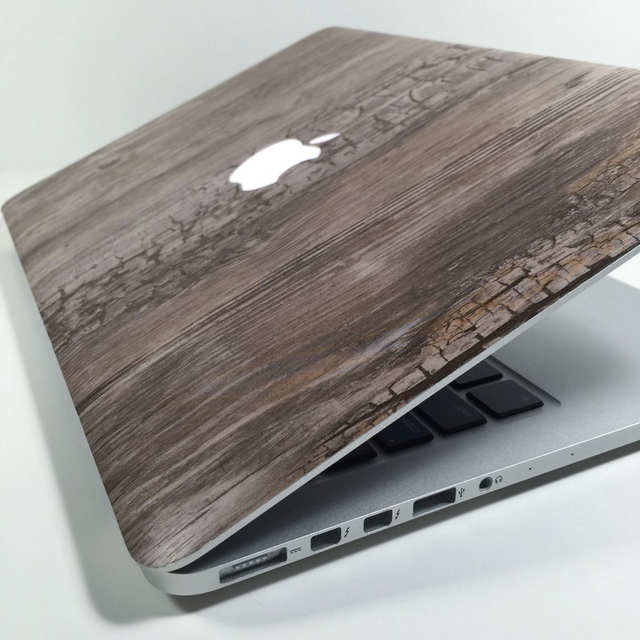
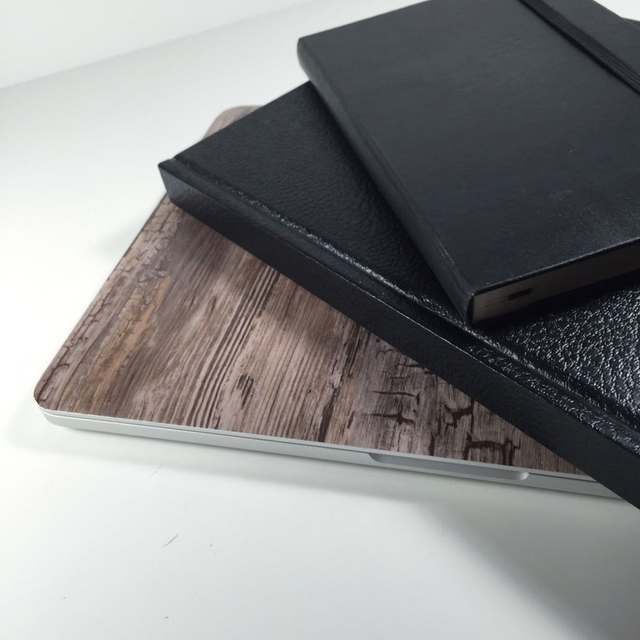
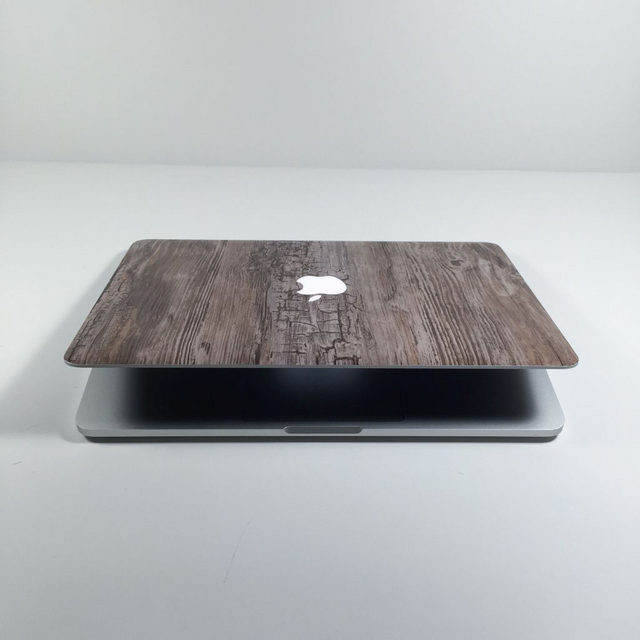
Well look at you! Doesn’t your computer look amazing!
PHOTO SHOOT TIME!
Please imagine camera shudder noises and runway music.. ok GO!
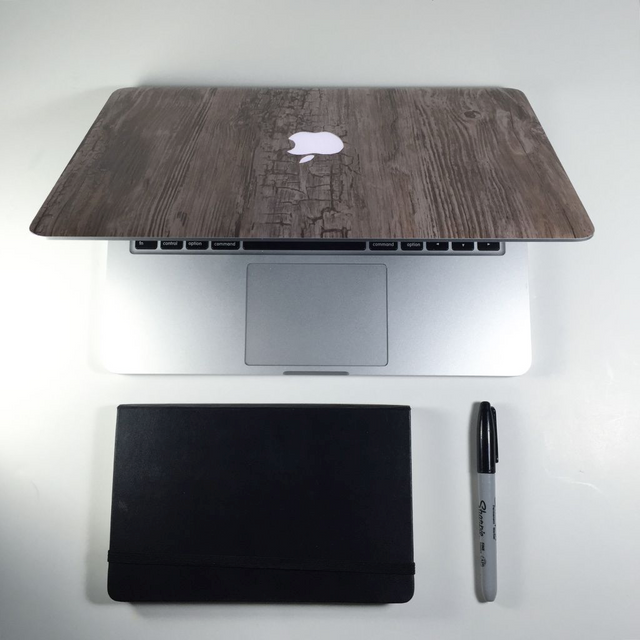
I really hope u guys try this one out, there are some seriously cool patterns and textures out there I’m dying to try in the future, so if you do decide to give this project a whirl, let me know!
Here’s to Contact Paper Wishes and Exacto-Knife Dreams!
Until next Time
<3 Dayleeo

 |  |  |  |
|---|
Oooooo I want to try this with marble contact paper!