I built my own arcade cabinet (what a fun project!)
So once upon a time when I had a house with a shed, a tiny amount of money and plenty of time to spare, I built my very own arcade machine.
Yeah as projects go, this has got to be one of the biggest, the most frustrating and ultimately the most rewarding thing I've ever built. I had to sell it in the end to fund my move to the Gold Coast but when I buy another house with a shed/garage, I know what I'm building first!
To start, I used bits and pieces from an old computer. Thankfully you don't need a super over the top machine to power this thing. Even an office pc with a mid range graphics card should be more than enough.
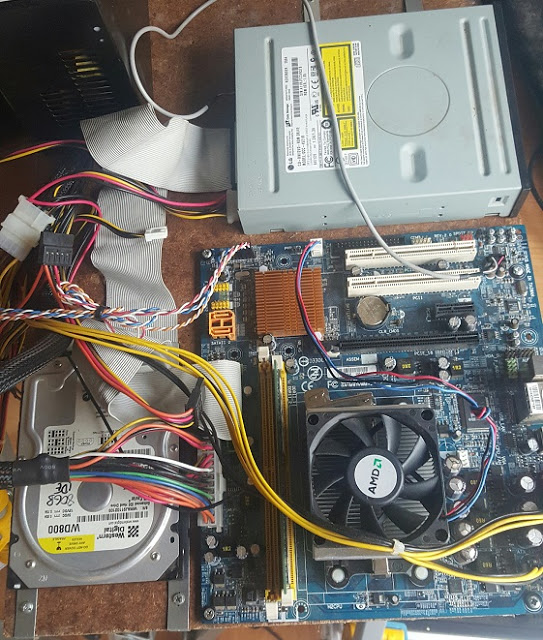
Sure it looks rough, but you're not going to see these bits most of the time..
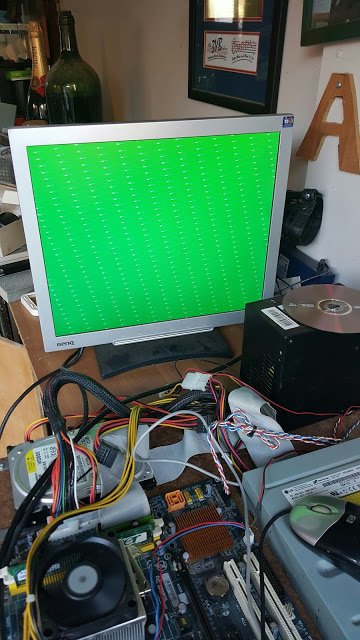
Er...what the hell are you doing machine?
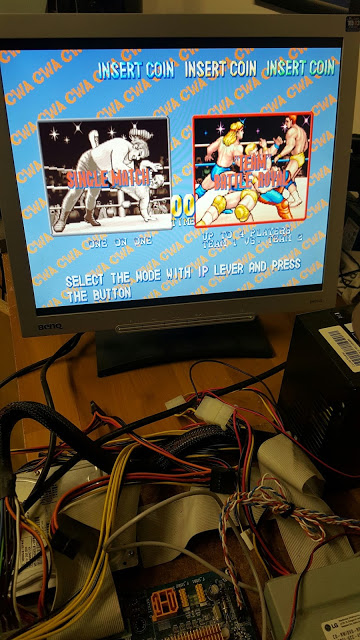
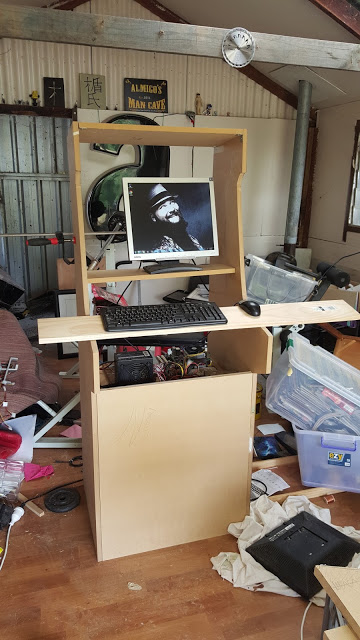
Oh wait, that's better! Now that the basic system is working, let's get into the building side of things.
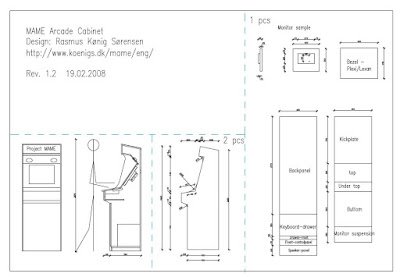
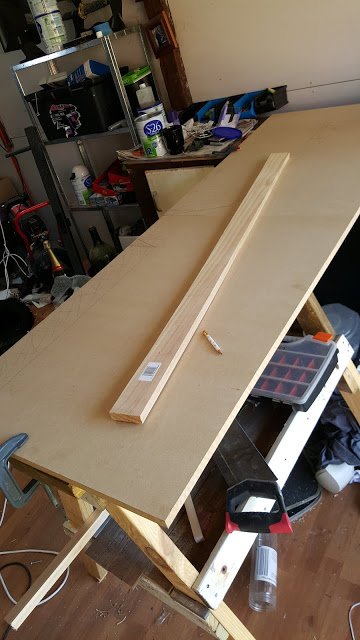
Let's break out some plans:
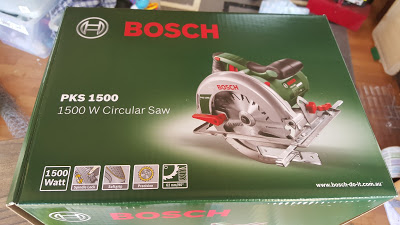
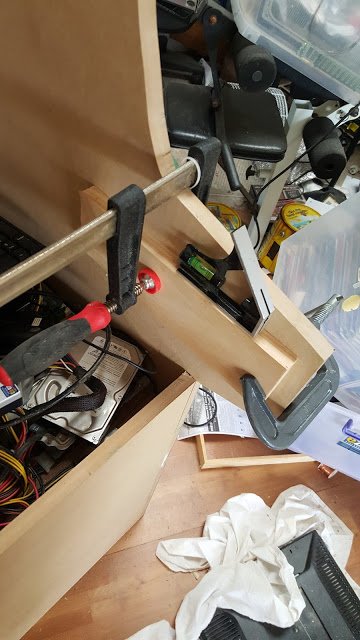
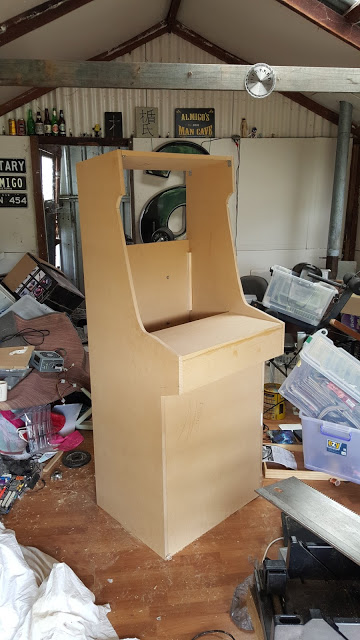
For the walls of my new cabinet, I worked with MDF. It's stupidly heavy and creates way too much dust but it is cheap and plentiful. And I got just the right tool to cut it with for Christmas.. (make sure you buy a blade that is designed for mdf)
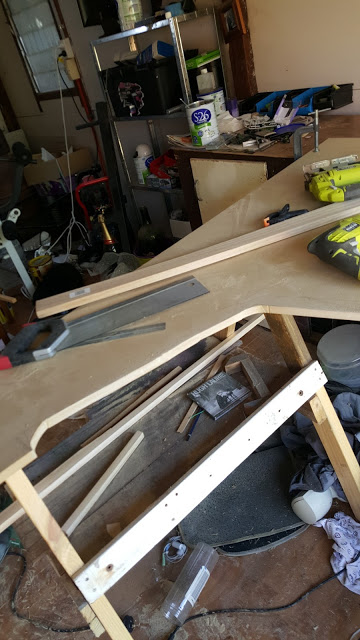
MDF dust went everywhere and I was still cleaning it up a couple of months later. Next time I'm just going to work with marine ply or something less hazardous.
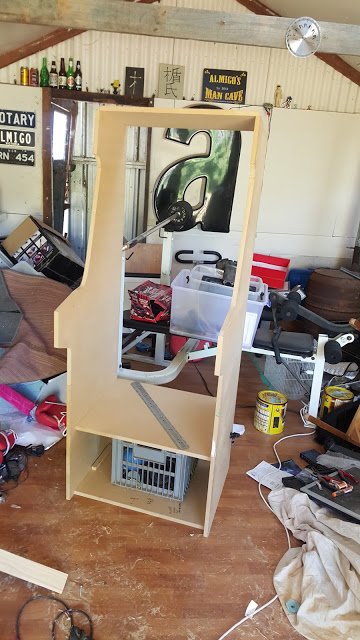
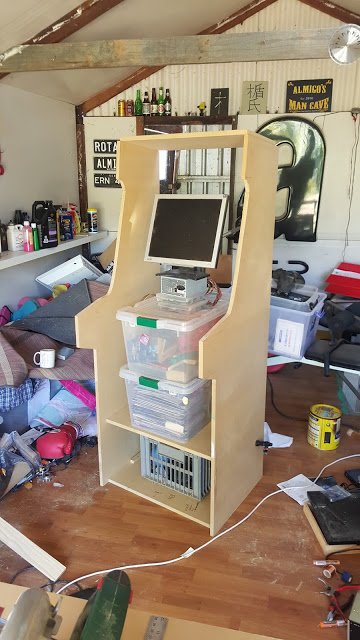
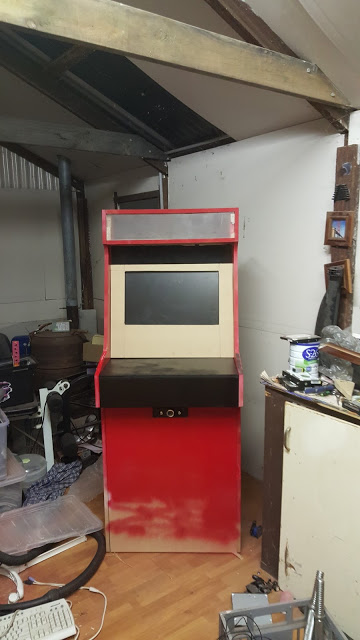
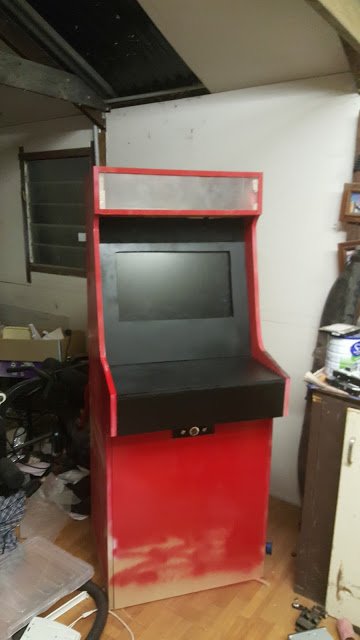
Ahh it's coming to life! (Well it did very slowly.)
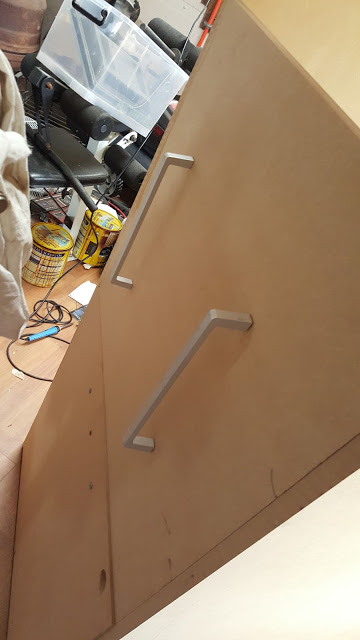
I found a lot of stuff that I could use for nothing or next to nothing around the scrap yard at work, including these handles off some kind of broadcasting equipment from the 80s. Now they'd have a new life for back panel access.
Bray helped a little..
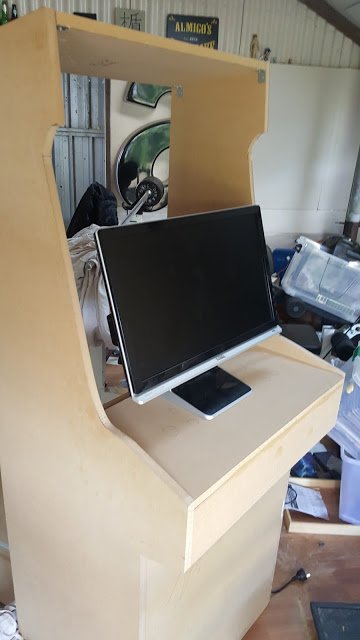
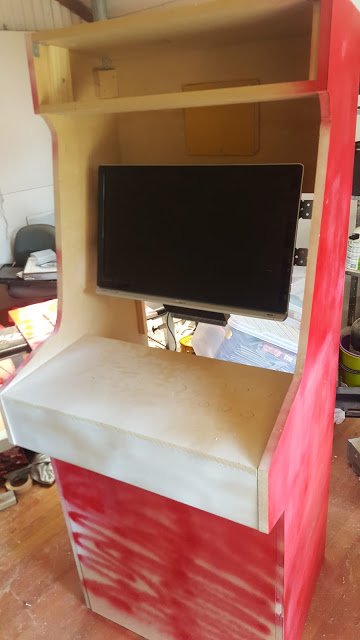
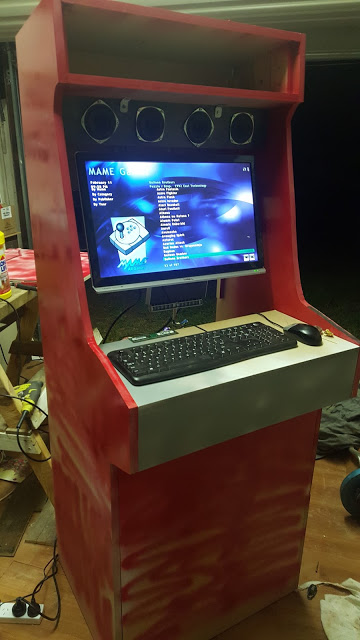
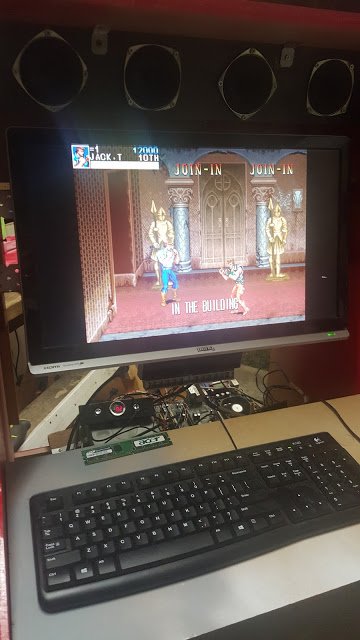
I also found this bargain BenQ 23 inch monitor which fit perfectly on Gumtree for only $30! (Seriously, I love Gumtree!)
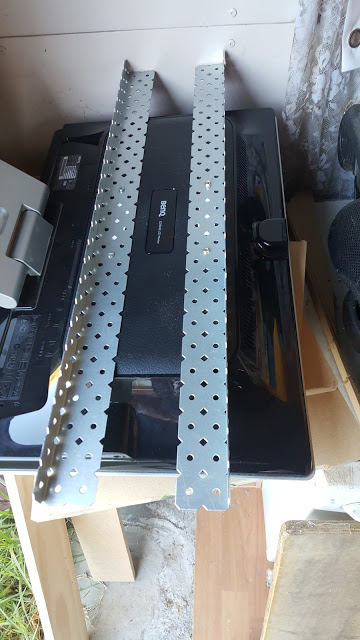
I forget what these cheap brackets were originally made for (roofing possibly?) but they lined up to my monitor perfectly!
I went through a lot of paint. A lot. The cut MDF would leach a lot of the colour out so a coat of primer was essential to make it really sing.

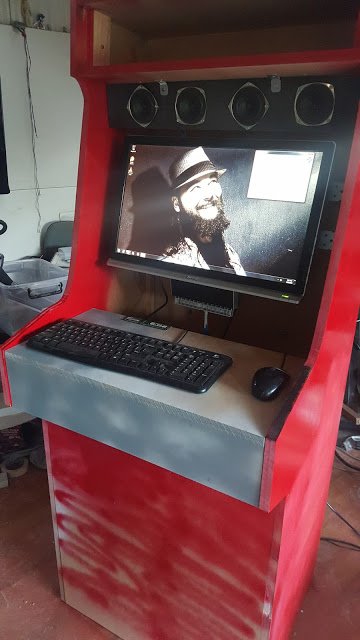
The speakers came out of a free broken ipod stereo dock. The part that clicked into the ipod was broken but these speakers worked just fine. A lot of this build was recycled or salvaged. More money on paint and other bits that way!
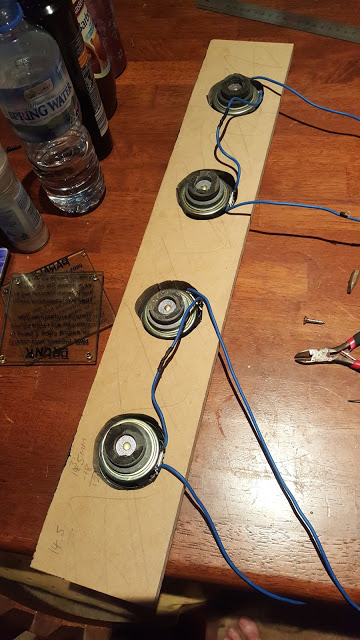
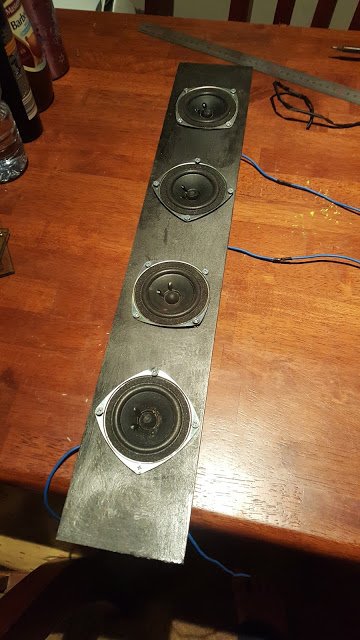
It was wired into a cheap amp from a set of pc speakers.

Bray was very happy with how it sat..
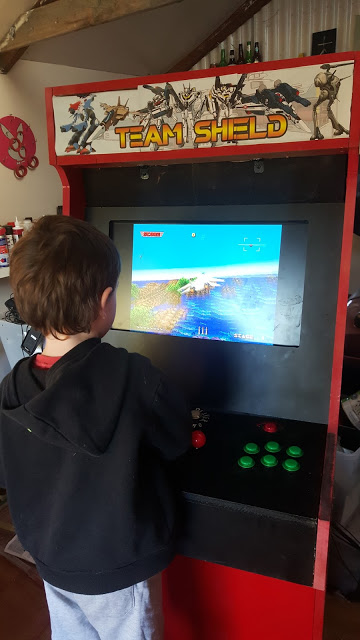
Gaming system installed and tested (I went through a few of them to find ones that were easy for my kids to use and easy to change around/add new games etc)
Cadillacs and Dinosaurs - I loved this game as a kid!
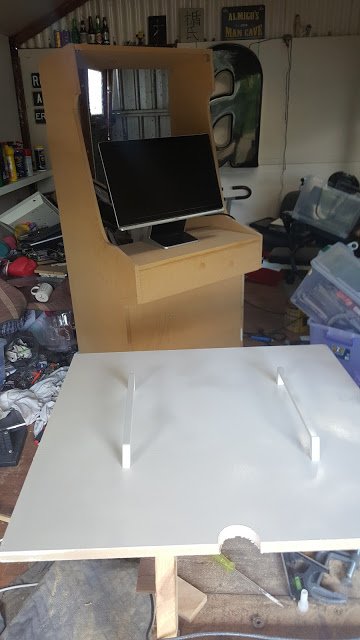
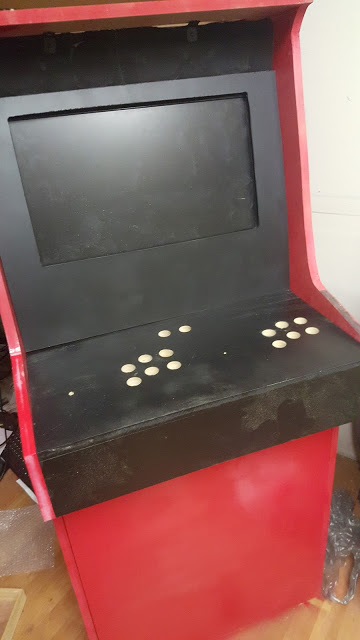
A decent sized sheet of perspex would have been pricey so I opted for some thin wood instead.
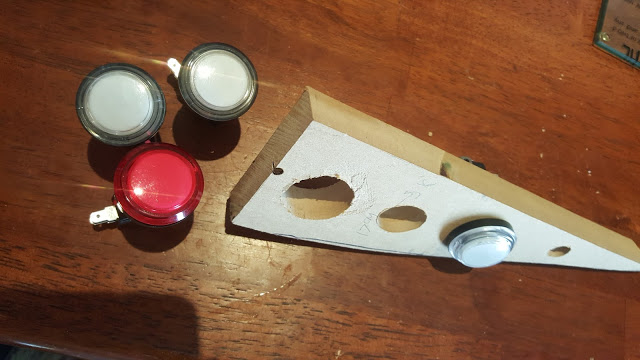
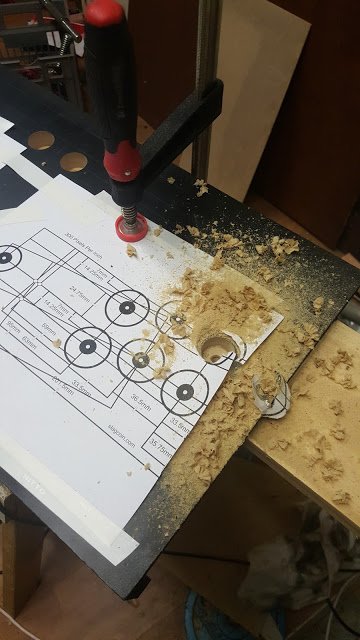
Buttons and controls were next and thankfully they were nice and cheap via ebay (and they're led, whee light up buttons!)
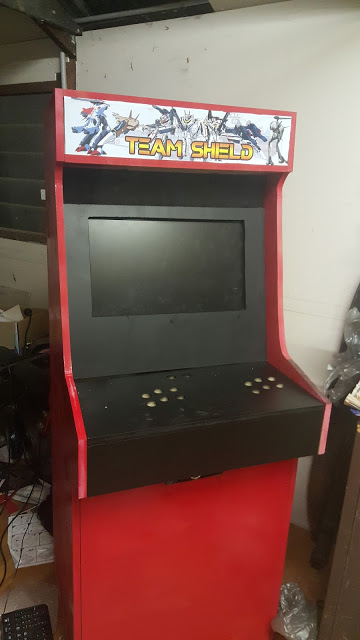
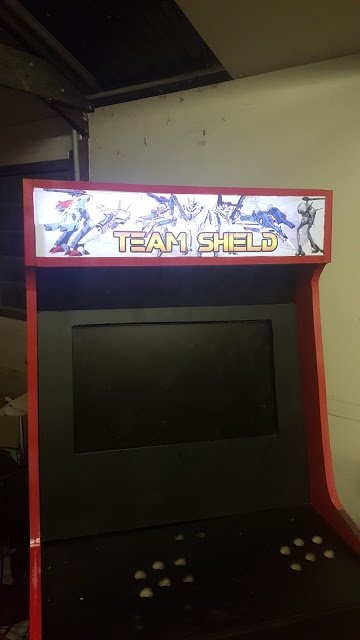
The light up marquee panel was next. That's some cooking foil glued onto angled wood panels, with a strip of 12v leds, behind a design I whipped up on Photoshop and then printed out at work.

So off...
...and on!
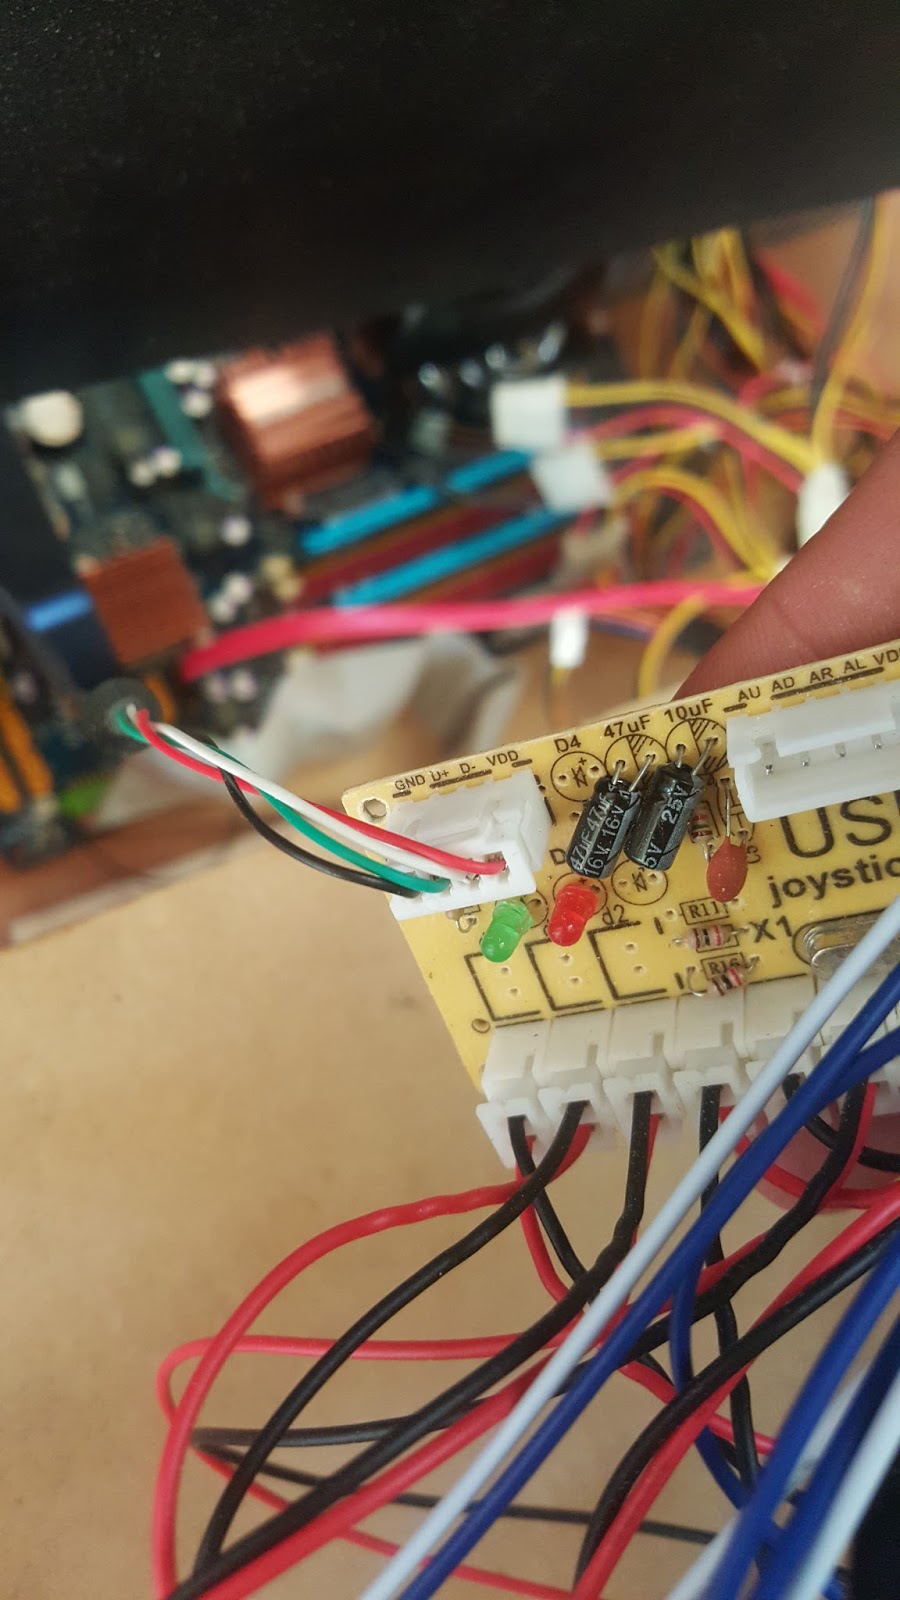
The joysticks arrived soon after so it was a quick job of wiring up the encoders to connect all my buttons via usb.
Testing the lights...
.jpg)
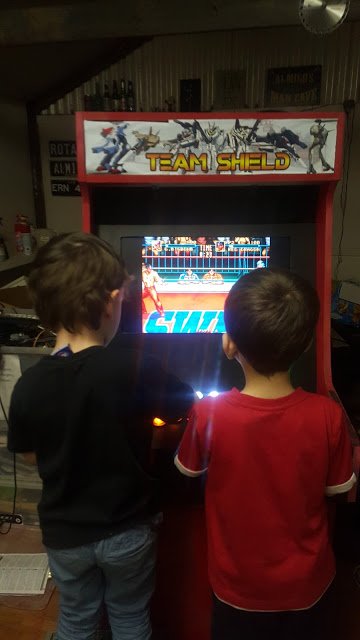
And then the ultimate test - unleashing the kids!
IN THE END
It was still a bit rough and I managed to break a few things in the process (a couple of mother boards died, one power supply exploded..) but it was a fun build, the kids loved it, everybody at work wanted a turn and I was very sad to see it go.
Still, there's always the next one..
(To get the full run down of this project including all the computer bits and software used, just head to Almigo.blogspot.com and search for Mame)
Join our Discord Channel to connect with us and nominate your own or somebody else's posts in our review channel.
Help us to reward you for making it ! Join our voting trail or delegate steem power to the community account.
Your post is also presented on the community website www.steemmakers.com where you can find other selected content.
If you like our work, please consider upvoting this comment to support the growth of our community. Thank you.
really nice project, you can make a business with that :)
Ha ha not with my terrible diy skills. A nice thought though!