How to Design a Glass Bottle with SelfCAD
How to Design a Glass Bottle with SelfCAD
Welcome to this tutorial on designing a glass bottle using SelfCAD! In this step-by-step guide, we'll walk you through the process of creating a sleek and functional glass bottle from scratch using the powerful features of SelfCAD, an intuitive and user-friendly 3D modeling software.
To access the interactive tutorial to this article, visit https://www.selfcad.com/tutorials/674v353z4k6l5s6a285f1p1m2s3b2k1a1l1b
Once you’ve launched the editor;
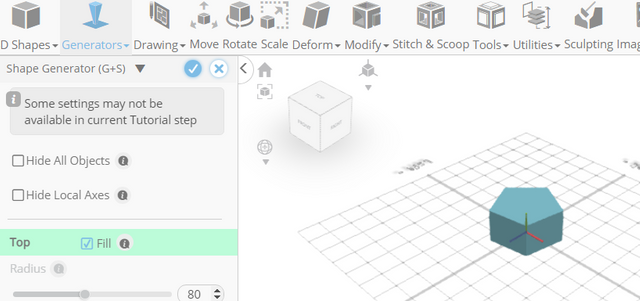
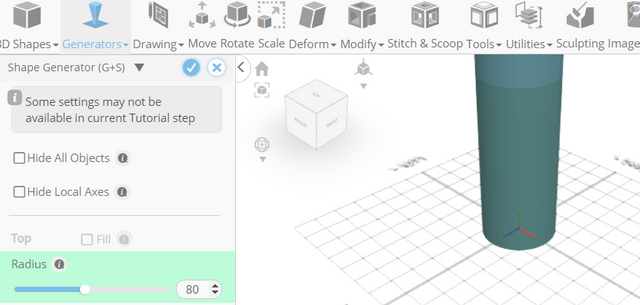
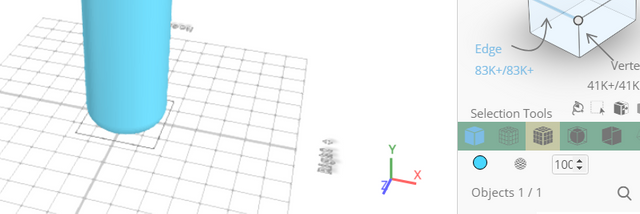
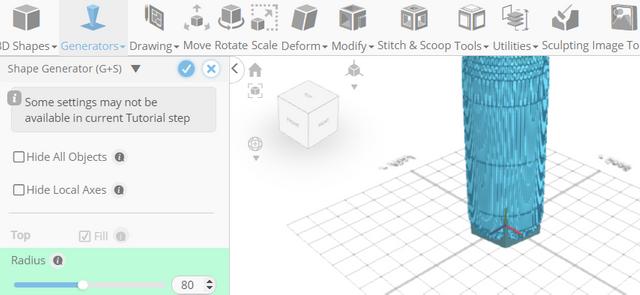
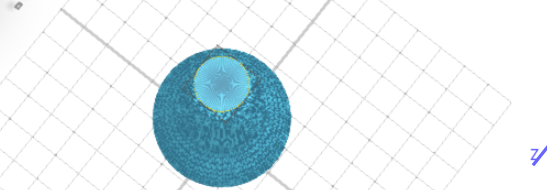
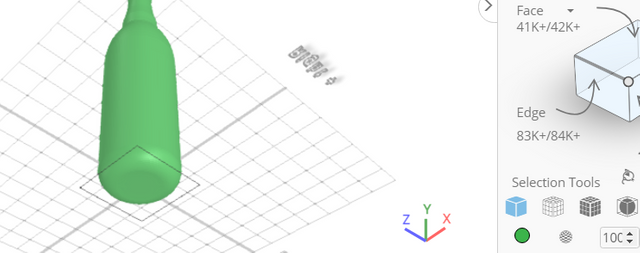
From the Generators Category on the Toolbar choose Shape Generator
Set Fill Top to false, Number of Edges to 64, Height to 350
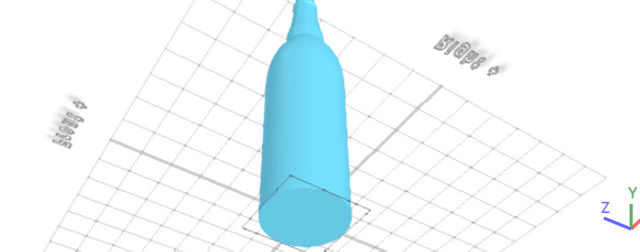
Click + button to add new segment
Set Top radius to 40, Fill Bottom to false, Height to 120, Bevel offset to 1, Bevel Level to 4
Click + button to add new segment. Set Height to 35, Bevel offset to 0. Click + button to add new segment. Set Top radius to 25, Height to 100, Bevel offset to -0.1, Bevel Level to 20, Bevel Weight to -1
Click + button to add new segment. Set Height to 15, Bevel offset to 0.3
Click + button to add new segment. Set Top radius to 22, Height to 20, Bevel offset to -0.1, Bevel Weight to 0
Tick the checkmark to finalize Shape Generator
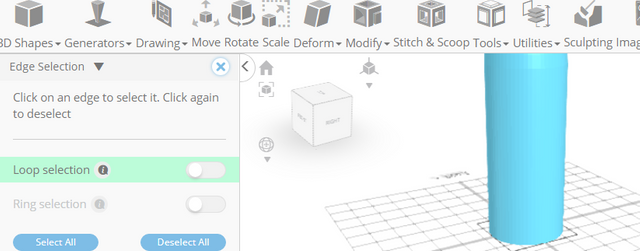
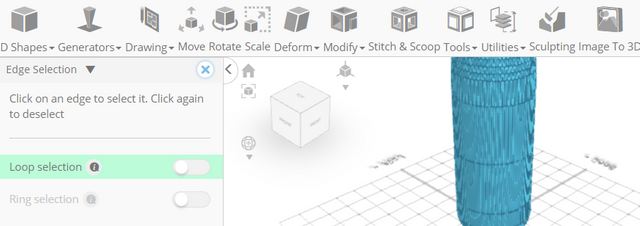
Click to activate Edge selection
Click on the gear icon to open the Advanced selection tools. Set Loop selection to true
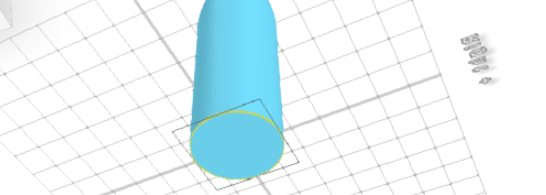
Click on highlighted edge to select loop from the object

Click on highlighted edge to select loop from the object
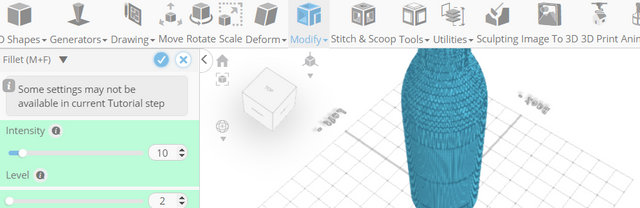
From the Modify Category on the Toolbar choose Fillet. Set Intensity to 39, Level to 10
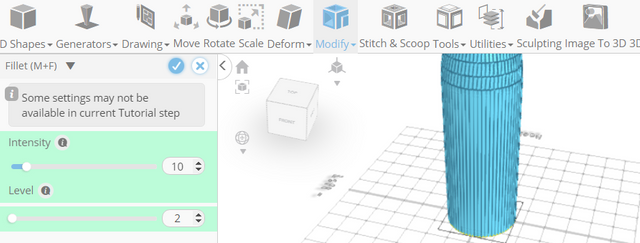
Click to finalize Fillet
From the Modify Category on the Toolbar choose Add Thickness
Set Use Mirrored Thickness to true
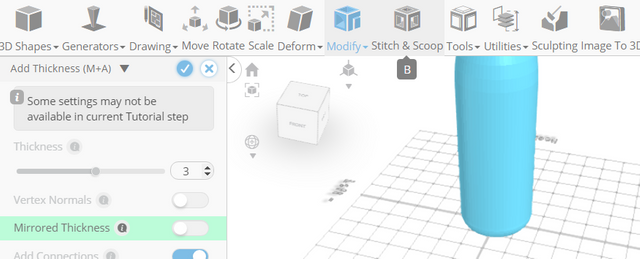
Tick the checkmark to finalize Add Thickness
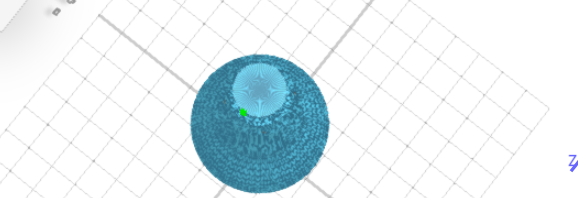
From the Modify Category on the Toolbar choose Round object
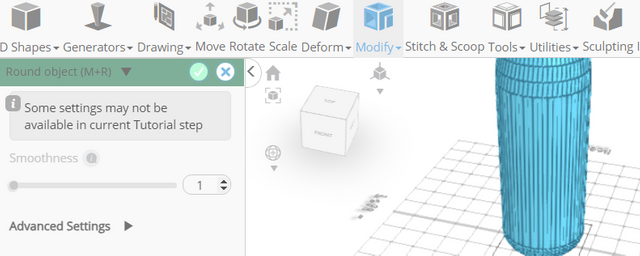
Click to finalize Round object
Click Solid+Wireframe button to set rendering mode
From the Generators Category on the Toolbar choose Shape Generator
Set Top Radius to 21, Bottom Radius to 18, Number of Edges to 64, Height to 50
Set Position y to 624
Tick the checkmark to finalize Shape Generator
Click on the gear icon to open the Advanced selection tools
Set Loop selection to true
Click on highlighted edge to select loop from the object
Click on highlighted edge to select loop from the object
From the Modify Category on the Toolbar choose Fillet. Set Intensity to 1, Level to 10
Click to finalize Fillet
Click color picker button to change color of selected object. Click Brown
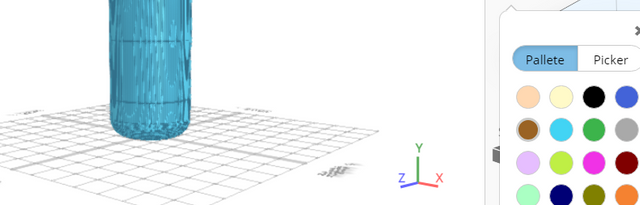
Click OK to confirm color change
Click highlighted part on selection cube to turn off region selection
Click on shape 1 to select it. Click on shape 2 to deselect it
Click color picker button to change color of selected object. Click Green
Click OK to confirm color change
Click Solid button to set rendering mode
As you continue honing your design skills, remember that SelfCAD offers a wealth of resources to support your learning journey. To deepen your understanding and explore more advanced features, consider checking out the interactive tutorials (https://www.selfcad.com/tutorials) available on the SelfCAD website. The tutorials page provides a treasure trove of guides, tips, and tricks that cater to designers of all levels.
More structured learning experience can also be accessed at the SelfCAD Academy (https://www.selfcad.com/academy/curriculum/), https://www.youtube.com/@3dmodeling101, and 3D Modeling 101 series (https://www.youtube.com/playlist?list=PL74nFNT8yS9DcE1UlUUdiR1wFGv9DDfTB). This comprehensive resource offers in-depth courses taught by industry experts, allowing you to master the intricacies of SelfCAD at your own pace.