3D Design - Clank Head Keychain
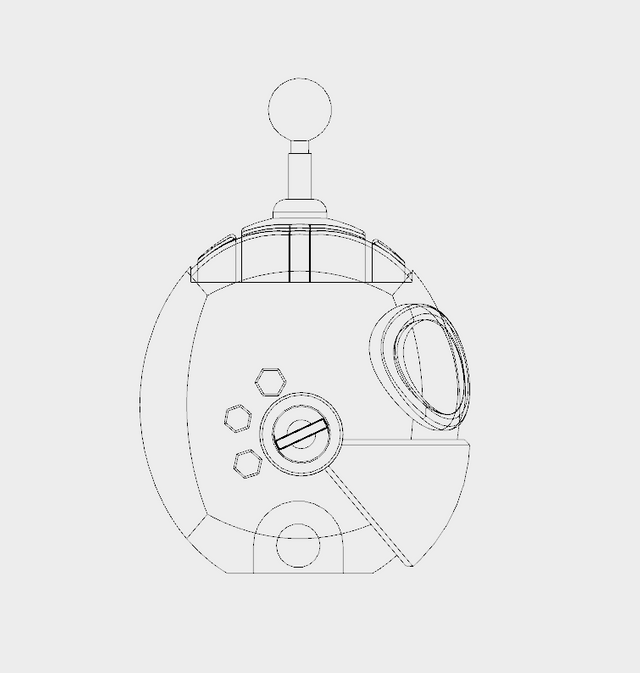
In this more advanced tutorial I show in easy to follow steps how to model a “Clank Head Keychain” using Fusion 360.
Import Reference Image
1. Find an image you like to use for reference.
2. Create a new sketch and Import the image, make sure you put the opacity down in order to see through the image and place the image in the center (horizontal / vertical).
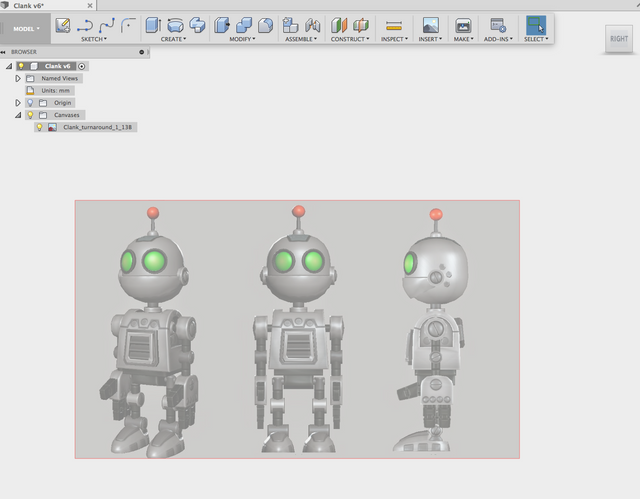
Clank’s head
1. Go to Create Form and select the Quadball
2. Right click to open the context menu and select Edit Form
3. Under Selection Filter choose Edge
4. Start to bring the edges into shape using the image for reference.
5. TIP: You can use the mirror tool for the Quadball to safe you some time.
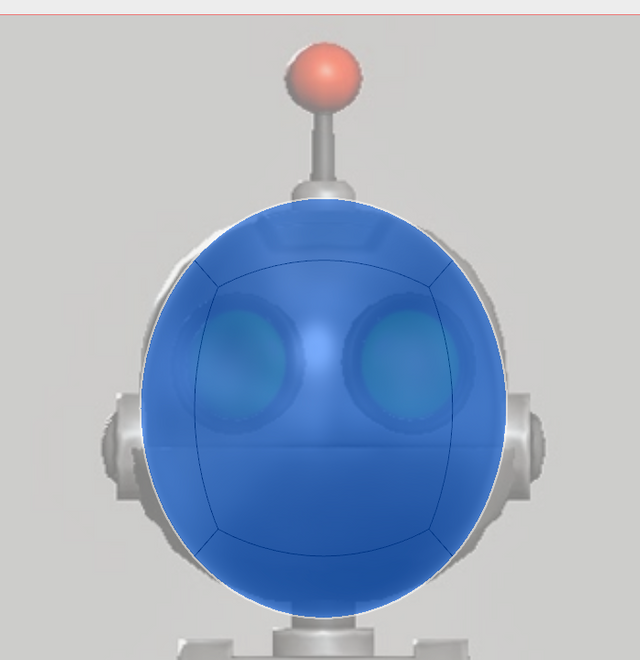
Clank’s Eye’s
1. Start a New Sketch using the Right Plane and draw two circles aligned to the reference picture.
2. Please just focus on one half of the face yet since we are later on mirror all parts across using the centre line
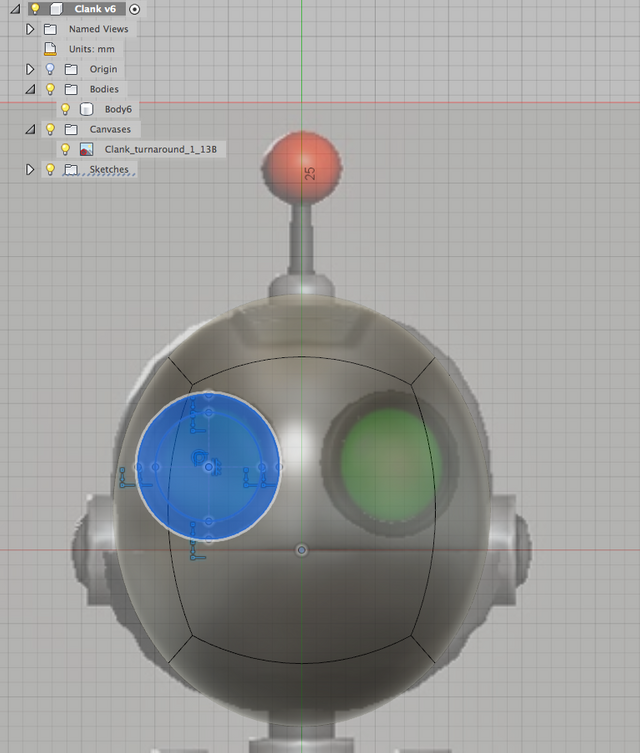
3. Extrude the outer rim of your sketch like this
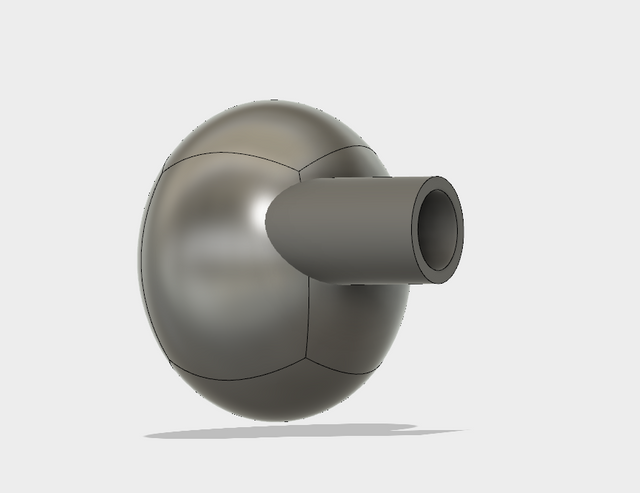
4. Extrude the inner circle of your sketch like this
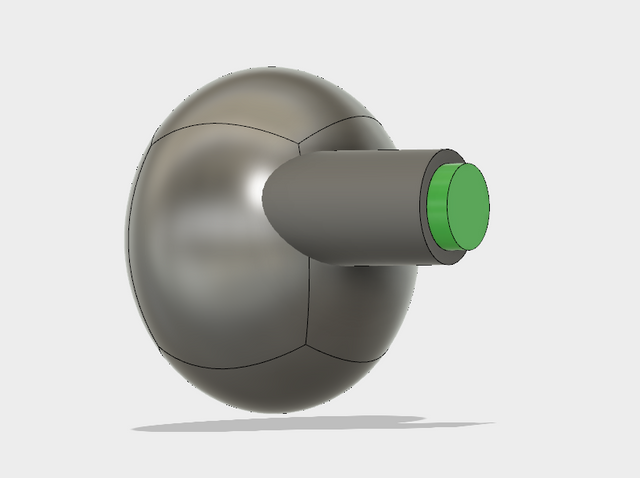
5. The goal is to get that *Rounded* shade for the eyes. The way to achieve that is to Intersect the two Extruded parts with the head. Please be sure that you make the check box Keep Tools
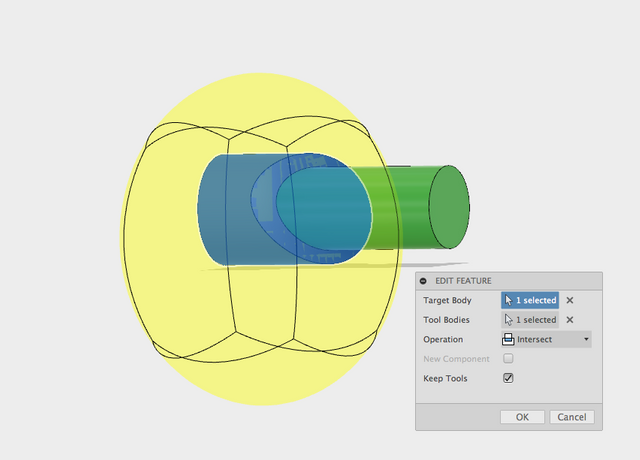
6. If you do step 5 for the outer rim and for the center circle, the result should look like that. Now the surface of the eyes has the exact same shape than the head.
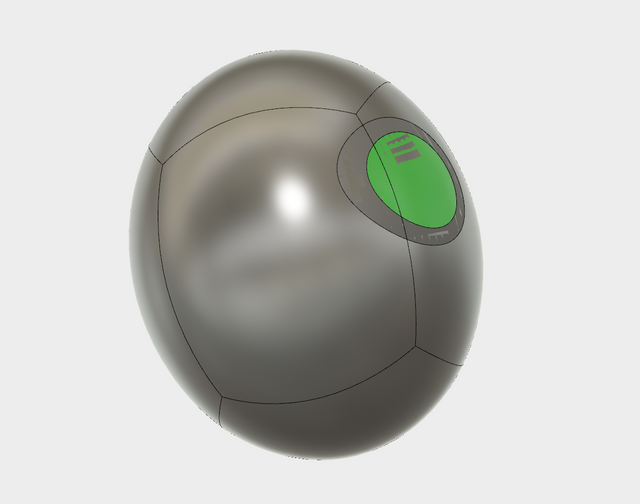
7. To complete the eye(s) the last thing we need to do is to select the Move tool and “move” the parts a bit so that they will stick out.
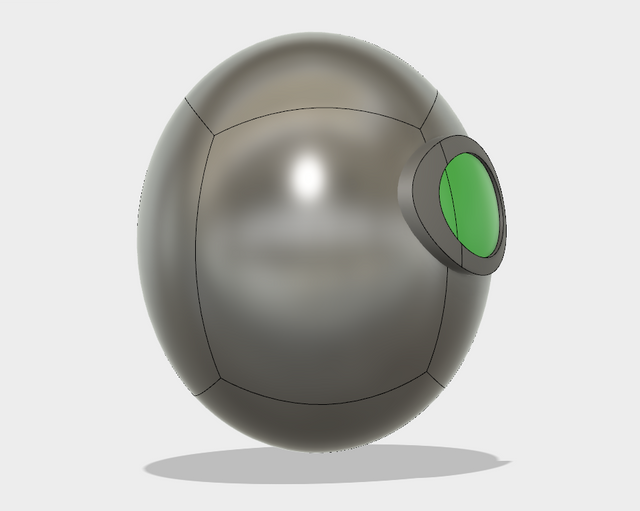
8. Luckily at the start of this project we placed the image in the center, that allows us now to select the eye parts and mirror them over using the mid plane as axis.
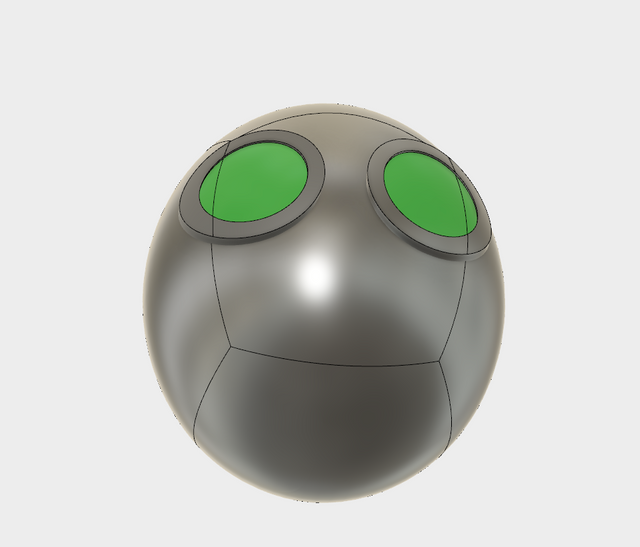
Clanks Jaw
1. Create a New Sketch using a side view of the head (Front Plane with me)
2. Based on the reference Picture, draw two circles and three Hexagon shapes.
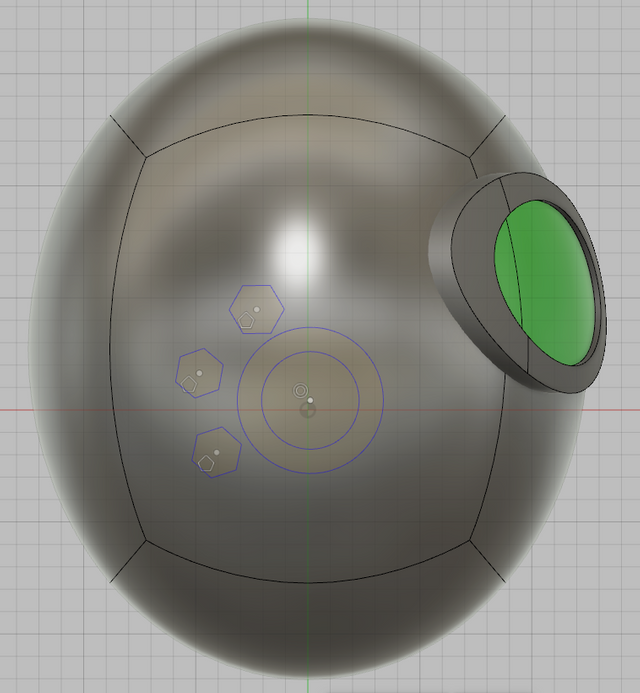
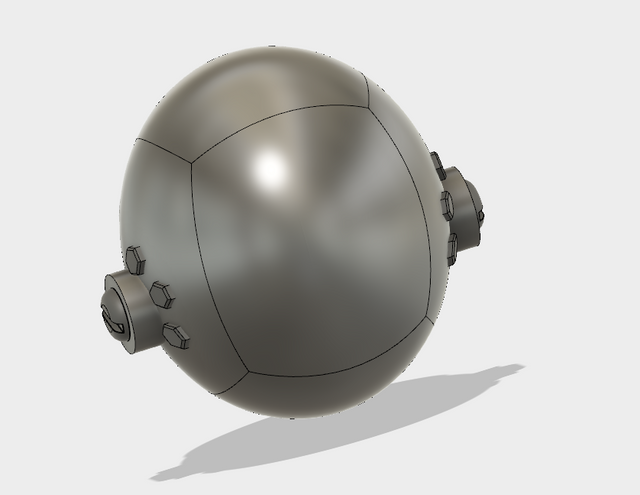
3. The bolts should have the rounded shape of the head. Please go ahead and apply the same technique we used for the eyes. (Hint: Extrude, Intersect, Pull)
4. The Jaw part is a straight extrude and doesn’t need to be rounded. Your final result should look like this.
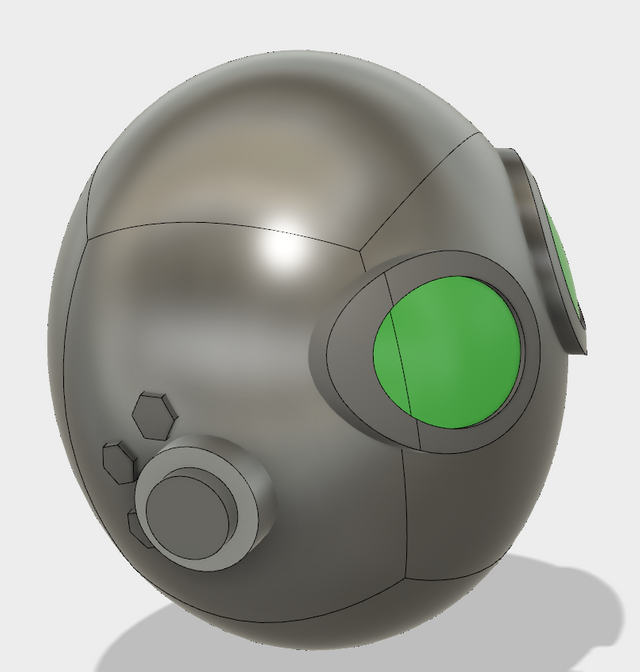
5. Now is a good time to apply some fillets and chamfers to those parts before we are going to mirror them over to the other side. You can take your time and add any details you want. My final Jaw parts looks like this.
Clanks Mouth
1. Create a New Sketch using the Top Plane
2. Again, since we aligned our images at the horizontal and vertical center we can complete the mouth part quite easily by drawing an arc and strait line
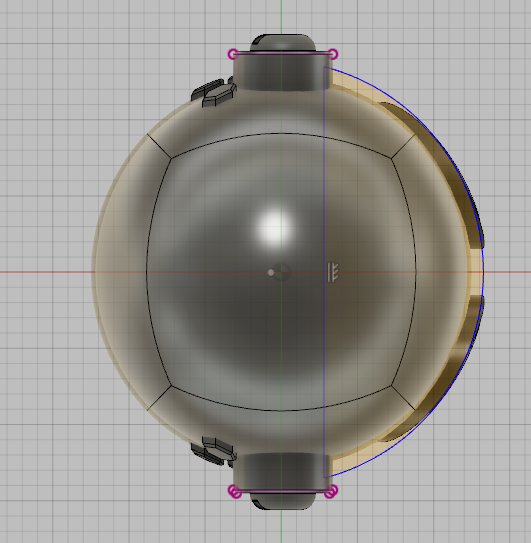
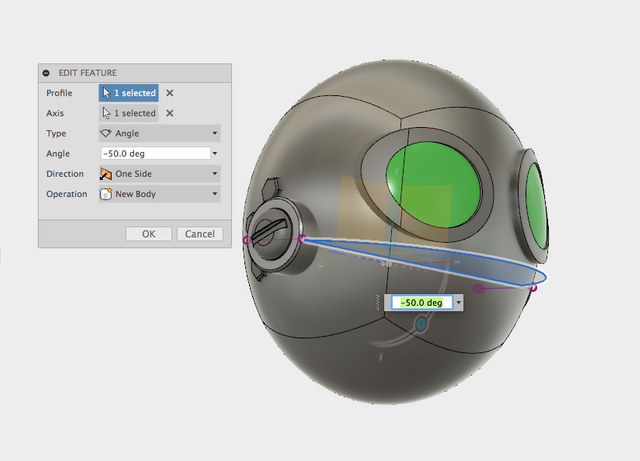
3. Now we can select the face of our sketch and use the revolve tool. You can play around with it but for my design I used an angel of -50 deg.
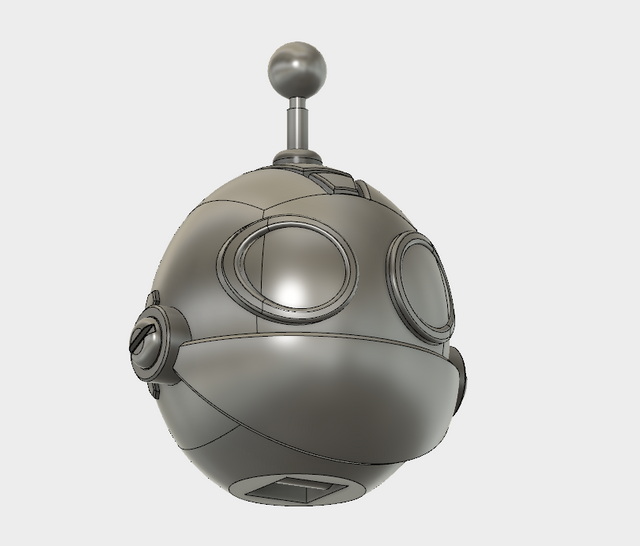
4. At this point you should have all the knowledge to complete the reset of this model yourself. Please go ahead and practice as at the end only this will help you to learn and remember long term. My final result looks like this and is available on Thingiverse for download.
thx for sharing
so cool
You are welcome! I am glad you like it.