Shiny Button Graphic - How to Make it? A Tutorial for You!
Hi Steemians! Today I will teach you how to create a Shiny Button using Photoshop. This is a beginner tutorial where you don't need to much of a skill to make! It's as easy as pie!

Source: Giphy
Are you getting too excited? Like how Jake is? Haha. That's good to hear. Just scroll down and follow my lead - learn your way to making a super useful technique in Photoshop!
Let's start of with choosing the proper background color. I chose a tone of blue for this work:
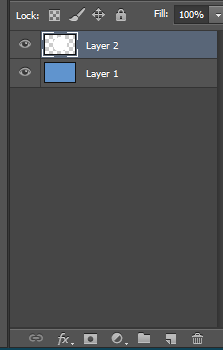
I added a layer on top of it where I can draw my basic shape - just press the Create New Layer (looks like a peeled off paper) down on the lower-right corner of your screen.
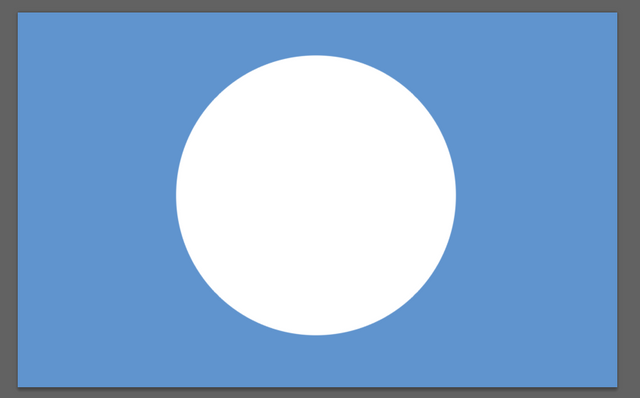
I drew a simple circle using the paint tool - I just made sure the size of my brush is really big.
Create a new layer and draw an outline for the shadows using the Polygonal Lasso Tool:
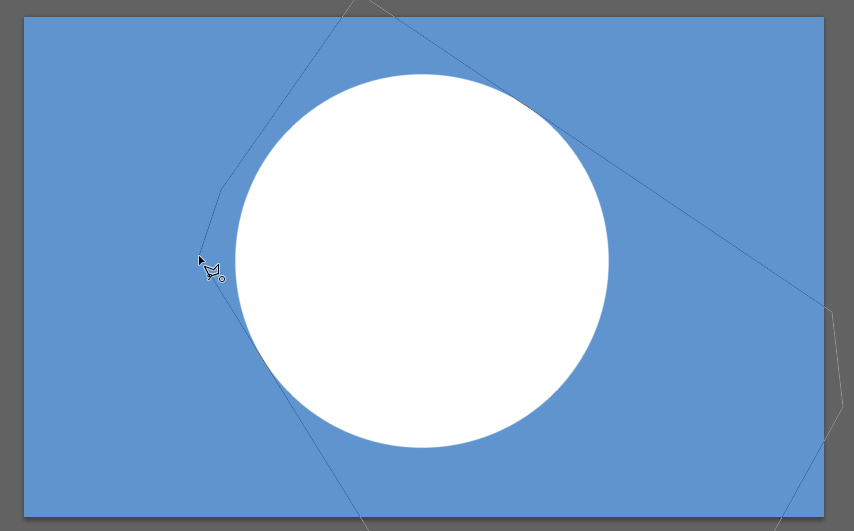
Using the paint tool - fill out the outline with black paint to define the shadows - only draw where you want the shadows to be in.
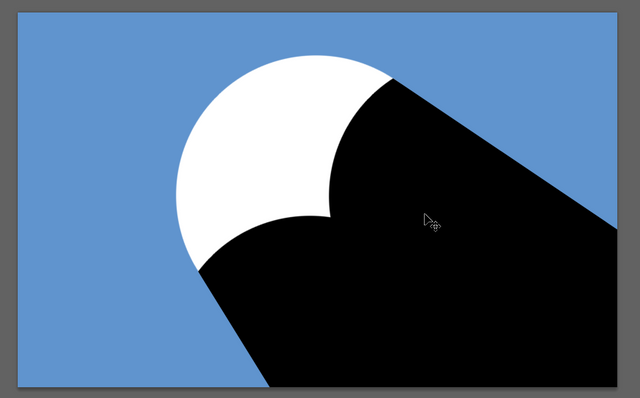
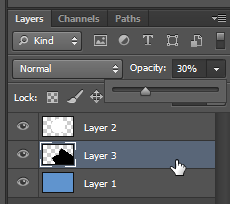
Move the shadow layer below the circle layer and make its Opacity 30% to lessen the black.
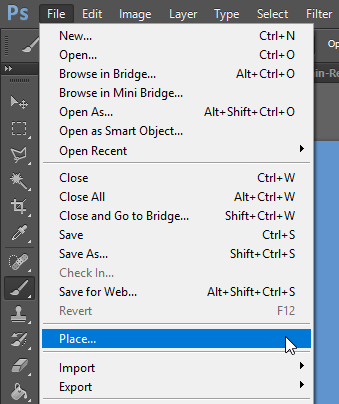
Next, find an image in your gallery by going to File > Place.
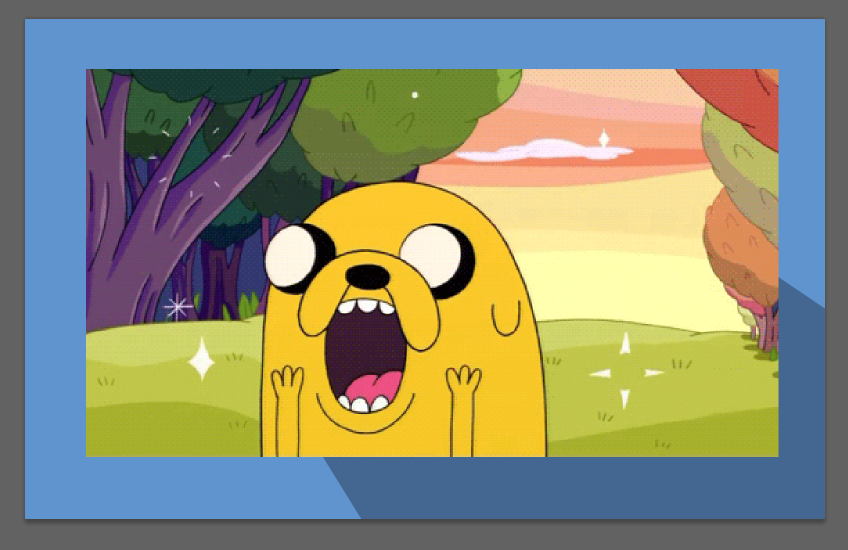
I've chosen Jake the Dog for this work we're doing today:
Make sure to Rasterize the layer so you can apply edits on it, this time I used a Filter called Poster Edges:
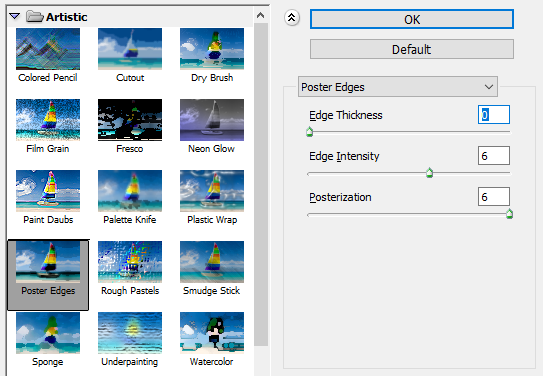
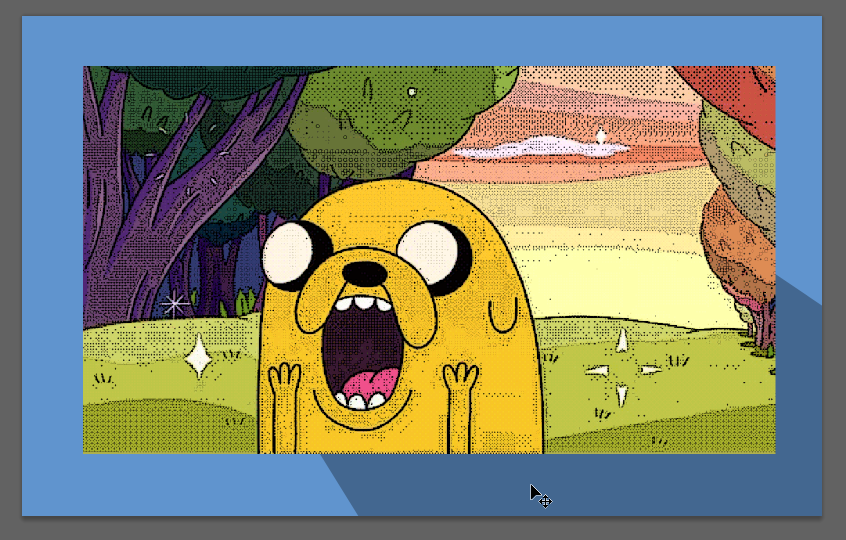
You can follow the same settings on the parameters above to make your image look like this:
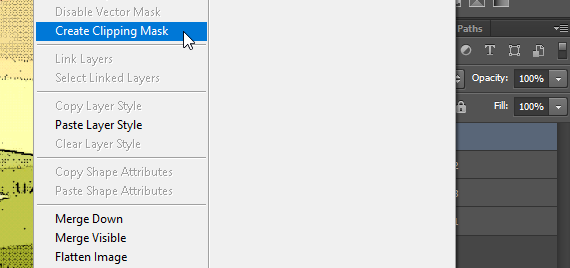
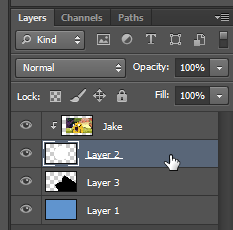
Next, right-click on the Jake layer then choose Create Clipping Mask:
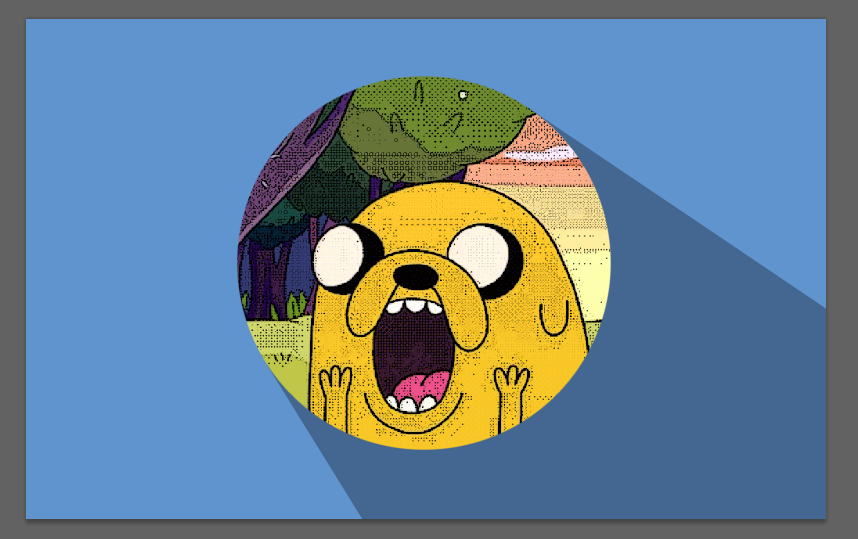
Adjust its position above the circle until you have the most suitable position for your image, I decided to place Jake like this:
Now hit left-click twice on the circle layer to open up Layer Styles:
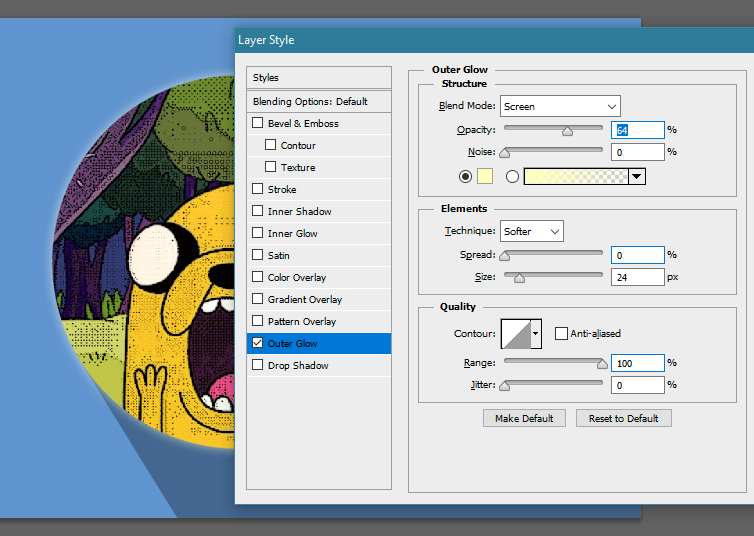
I've added a light glow on it by using the Outer Glow feature with these settings:
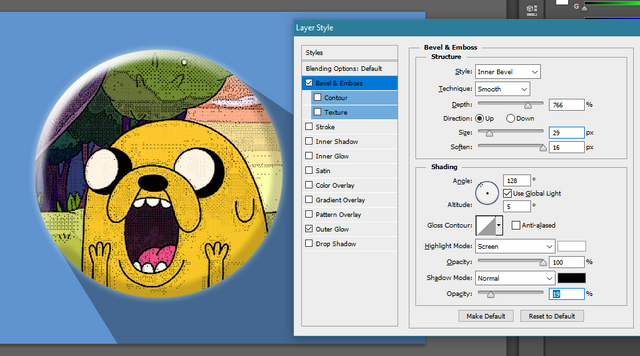
I also added styles from the Bevel & Emboss settings with these numbers:
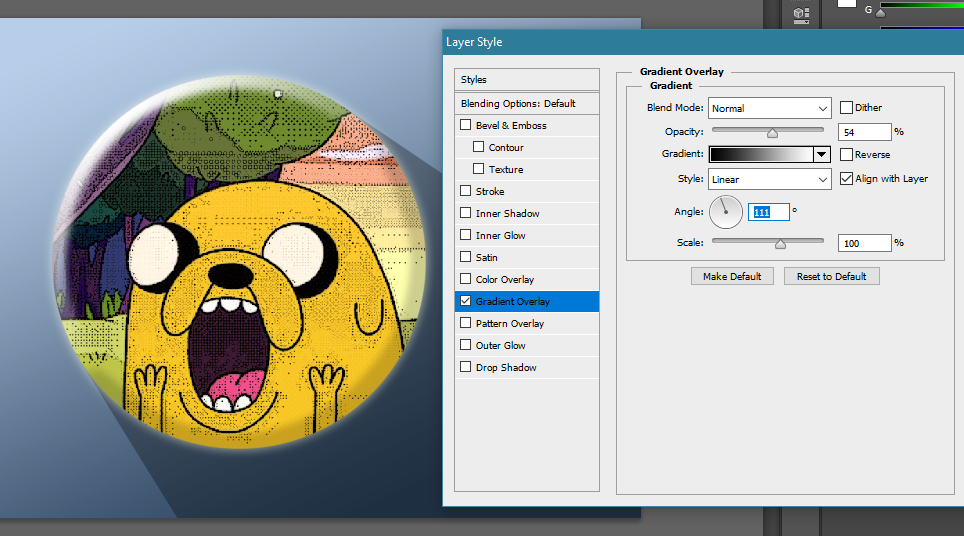
After that, I also added layer style to the background (simply hit left-click on it twice to launch the Layer Styles menu). I used a gradient overlay with the following settings to make it look like this:
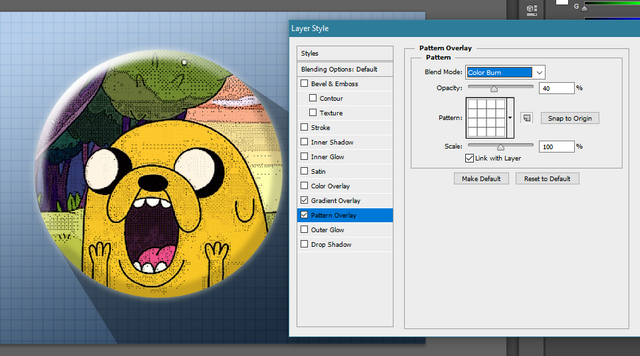
I also added a Pattern Overlay on it with these settings:
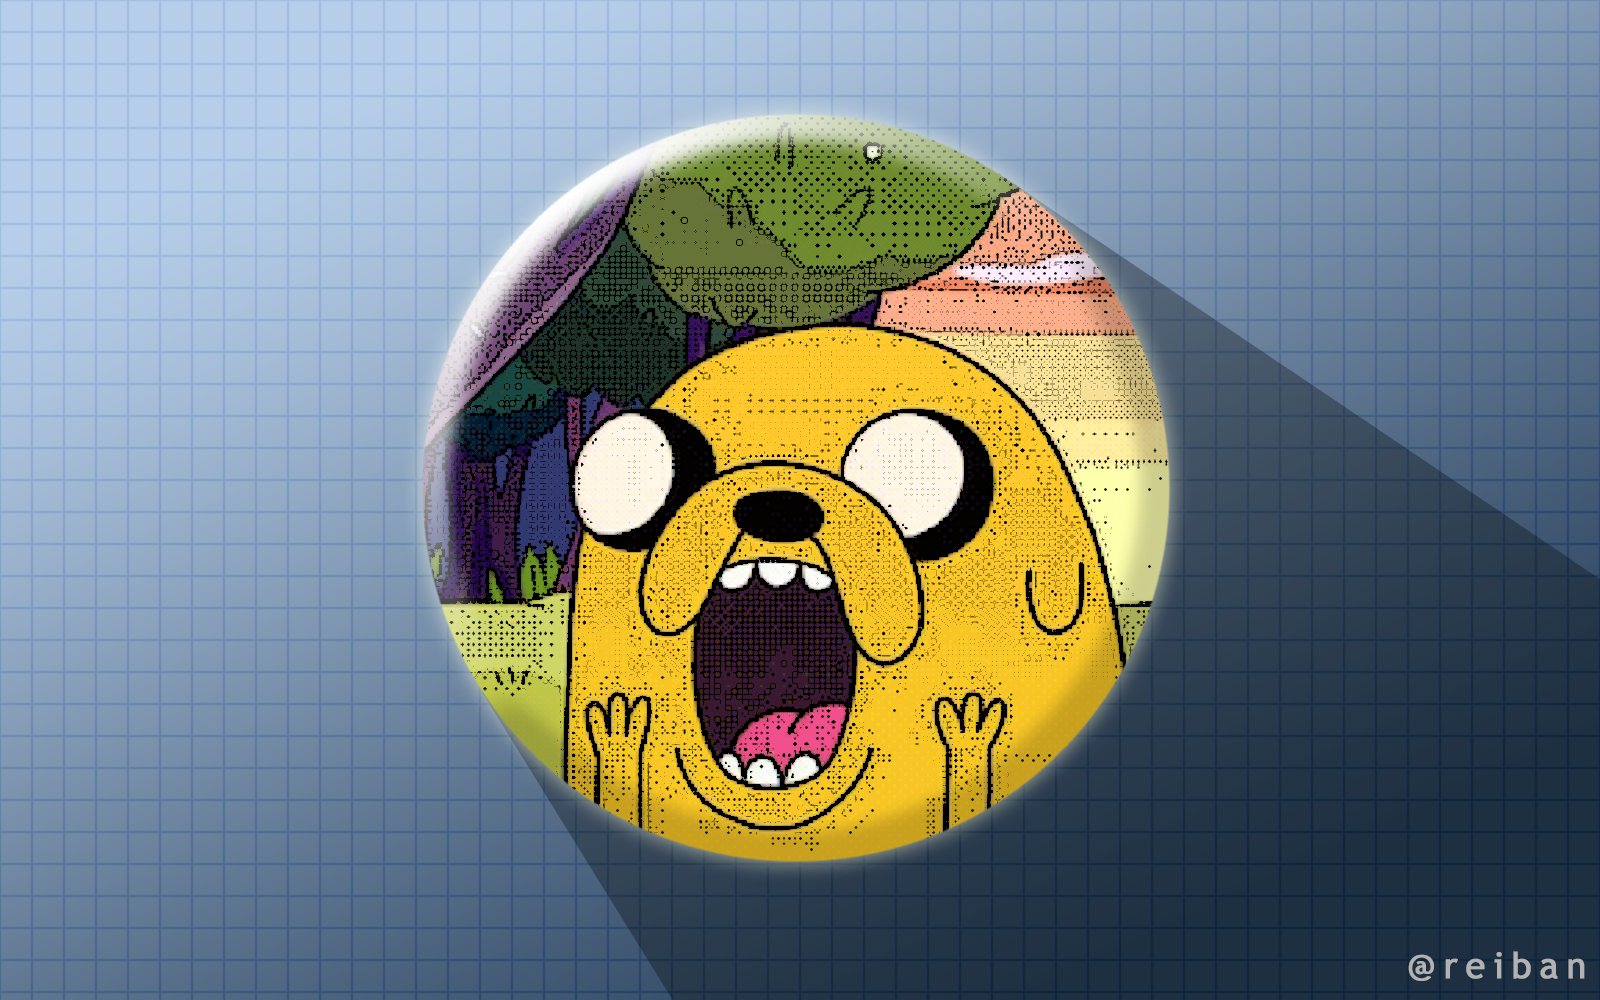
Here's the final image I created using this technique:
Thanks!
