Greetings to the entire Steemit community, today I bring you a tutorial about something that I am very passionate about, THE DRAWING.
But it is not an ordinary drawing that I am going to show you here, this character comes from one of the animated series that I like the most, DRAGON BALL,
The character is BROLY, one of my favorites and I hope you can learn how you can draw it by applying a little technique, without adding it, let's start.
I will make a replica of a drawing that I show below

Source
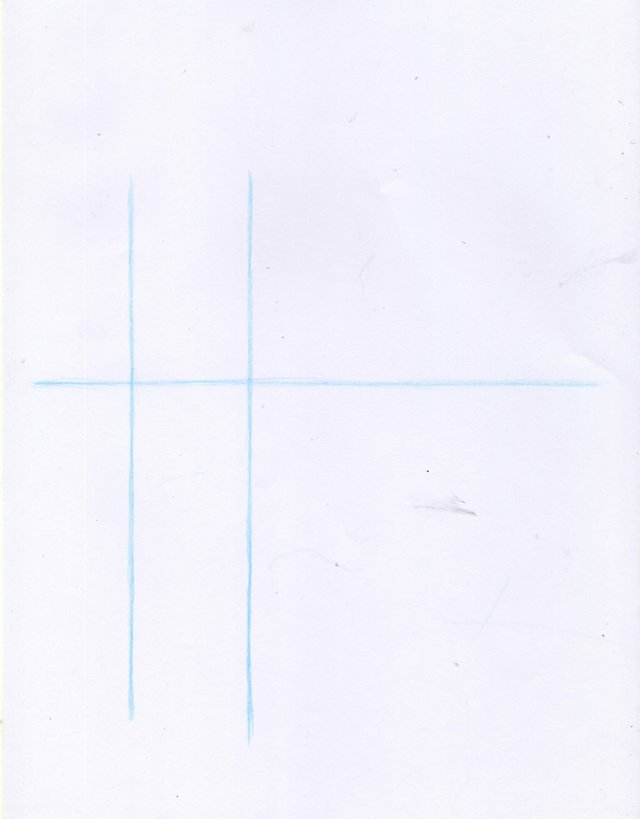
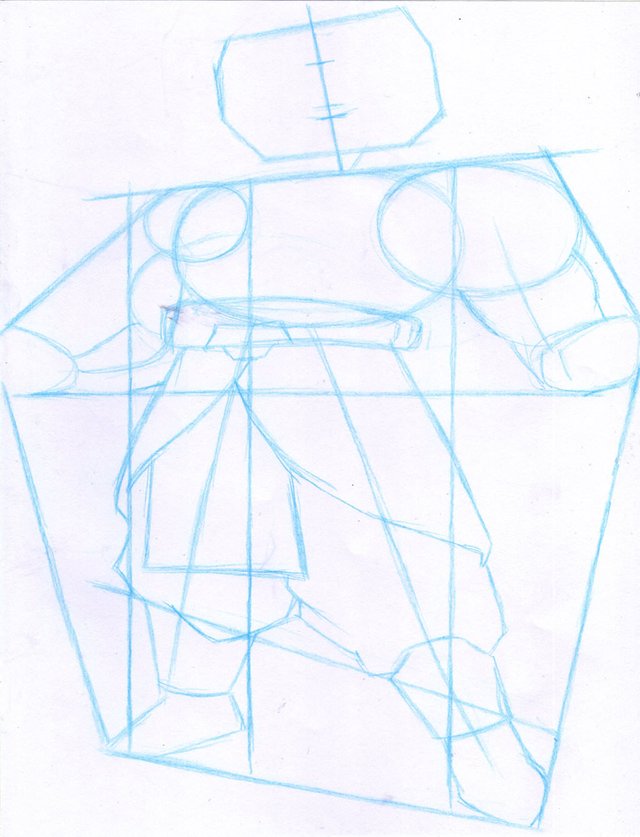
1. The first thing you should get is a white, letter size and make 3 lines as you can see below
2. Then you have to make a grid similar to this, you can use a rule
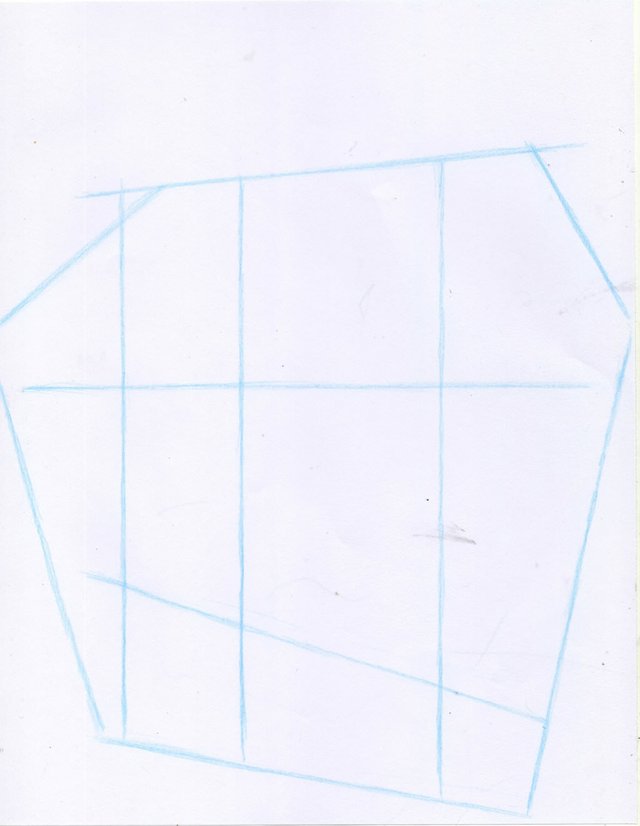
3. Take special care with the inclined lines, they must be very similar to those shown in the image
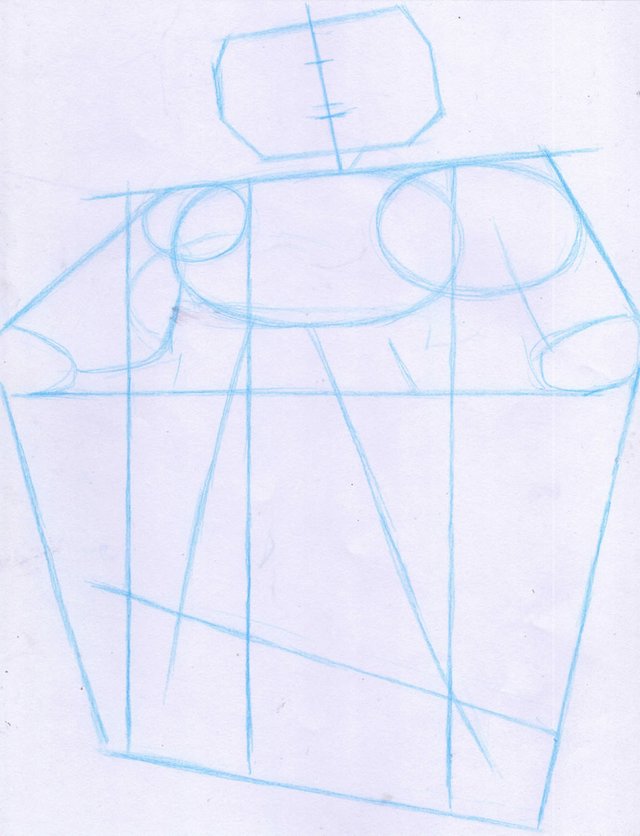
4. Now draw a sketch using ovals and lines and fit it into the grid, as seen in the image
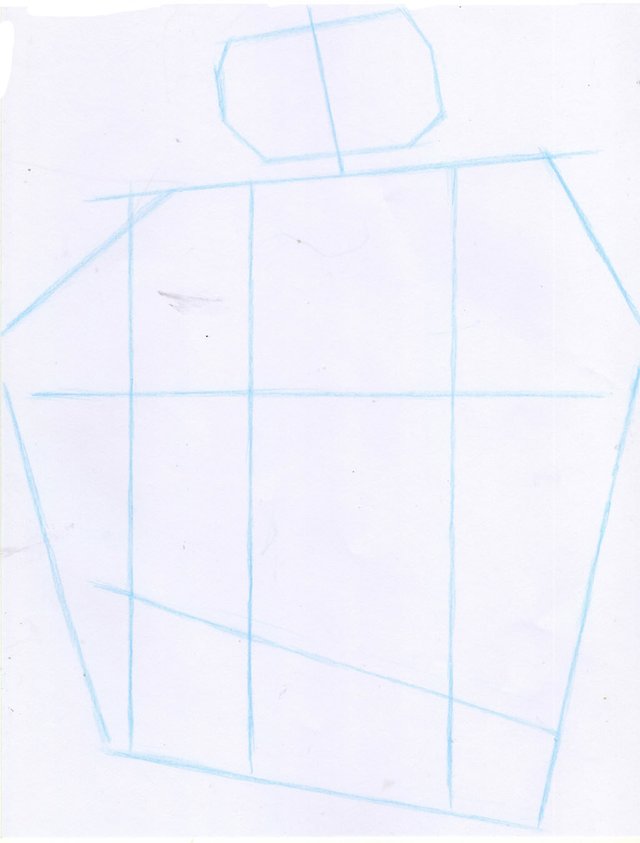
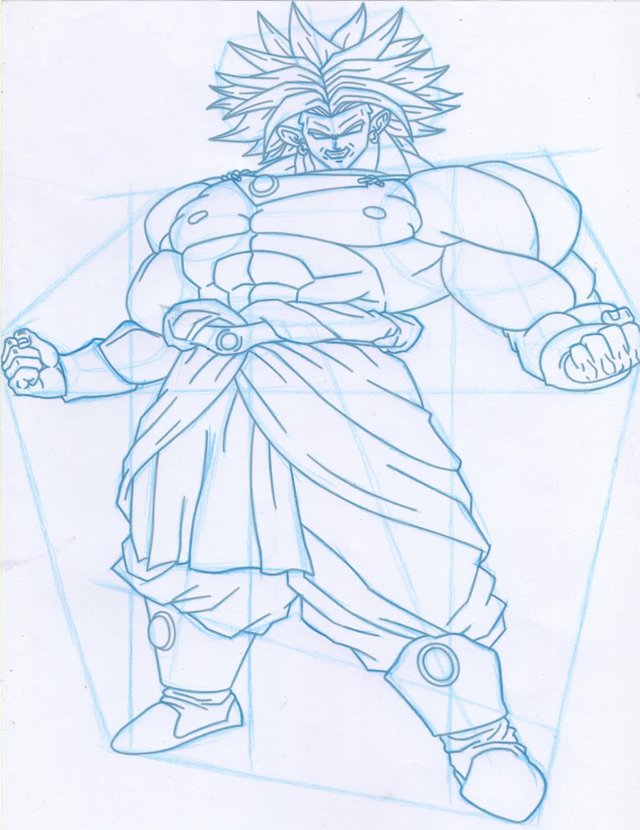
5. Finish squares the drawing using simple lines, without detailing
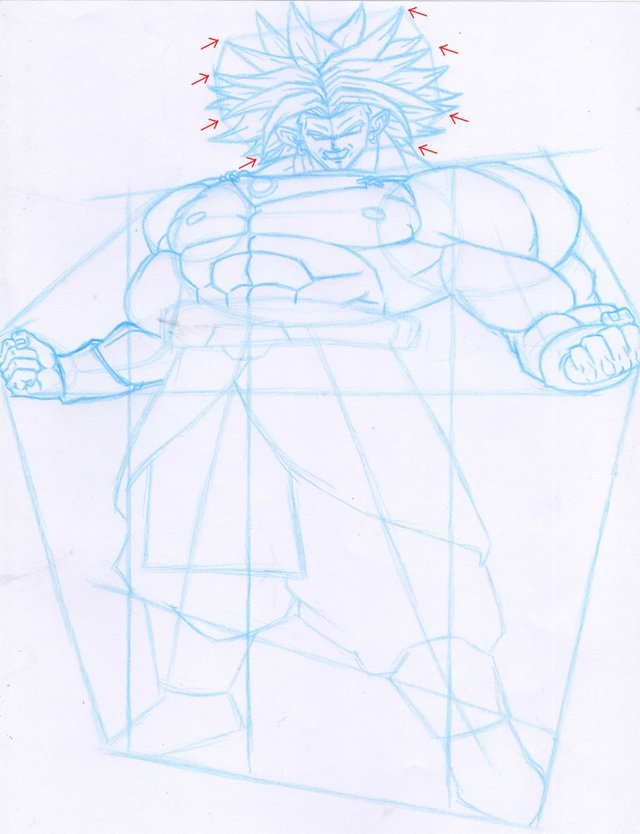
6. From here the thing gets complicated, we must add the details and this is difficult to explain with just photos, at least I will tell you the steps I give to finish the drawing, I begin to detail the arms and chest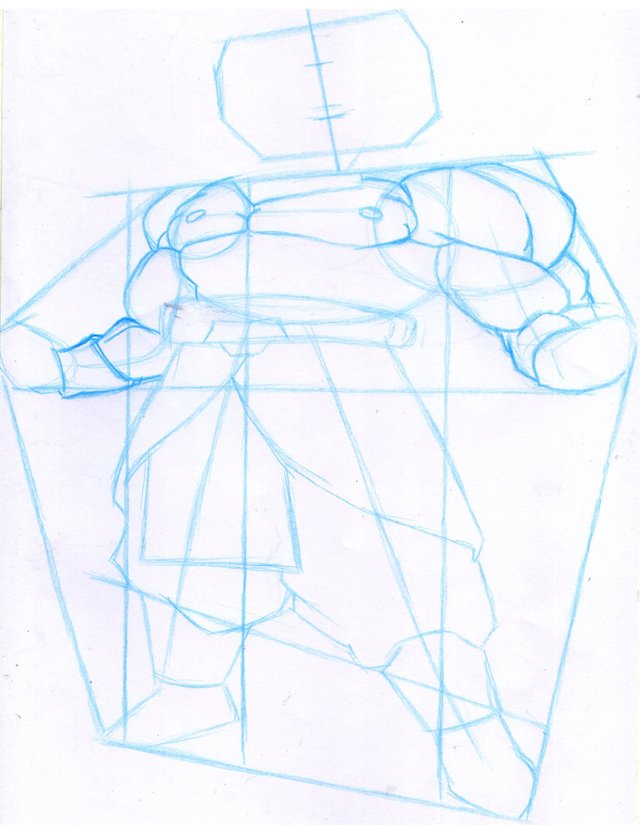
7. Then I continue with my hands and abdomen

8. Proceed now with the head, you will notice that in the image appear red arrows, these indicate a point where each strand of hair should fall, broly has 4 on one side and 4 on the other, once you draw them on the rest of the strands will be easier to position
9. The next step will be to draw the belt, the pants and finally the shoes
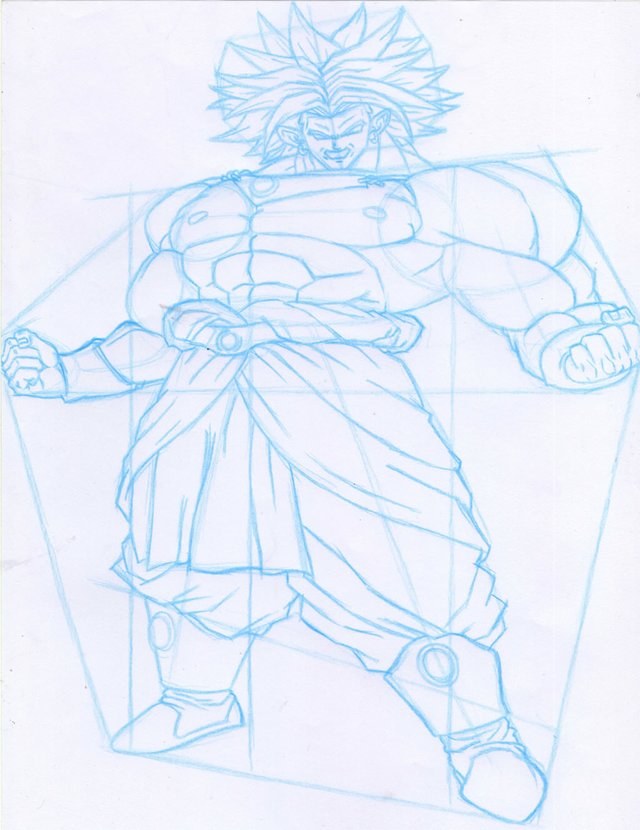
10. The final step will be to review the drawing with marker or black color
With this I finish this mini tutorial, I must clarify that I used a blue color for the sketch, it is not necessary that you do it that way, you will have to use a pencil so that you can erase easily when you make mistakes.
My intention was to make this video tutorial, but I do not have a camera for that, I'll see how I get it, if you want me to draw a picture about a particular character, please indicate me in the comments, I hope you liked this post and what can take advantage, greetings.
@terminator2756