Curie Logo Design Contest (Conceptualization, Logo Creation Process + Steps)
Hello Steemians,
I am really excited about the opportunity Designers on this platform are given to express their artistic skill and to emanate a new Logo based on the ideology Curie as a community was formed on. After hearing about this opportunity, I took my time to sit down to think of something unique Curie could use as a New Logo, so I came up with this new logo I will be unveiling below and how I came about creating it. Mind you, right from the onset. I had properly defined my aura of thoughts within the confines of the Initial but thought out of the box to bring out something unique.
Note Before: The graphic software used for creating this Logo is Photoshop CC 2015
Below is the end Result of my Entry into the Curie Logo Contest:
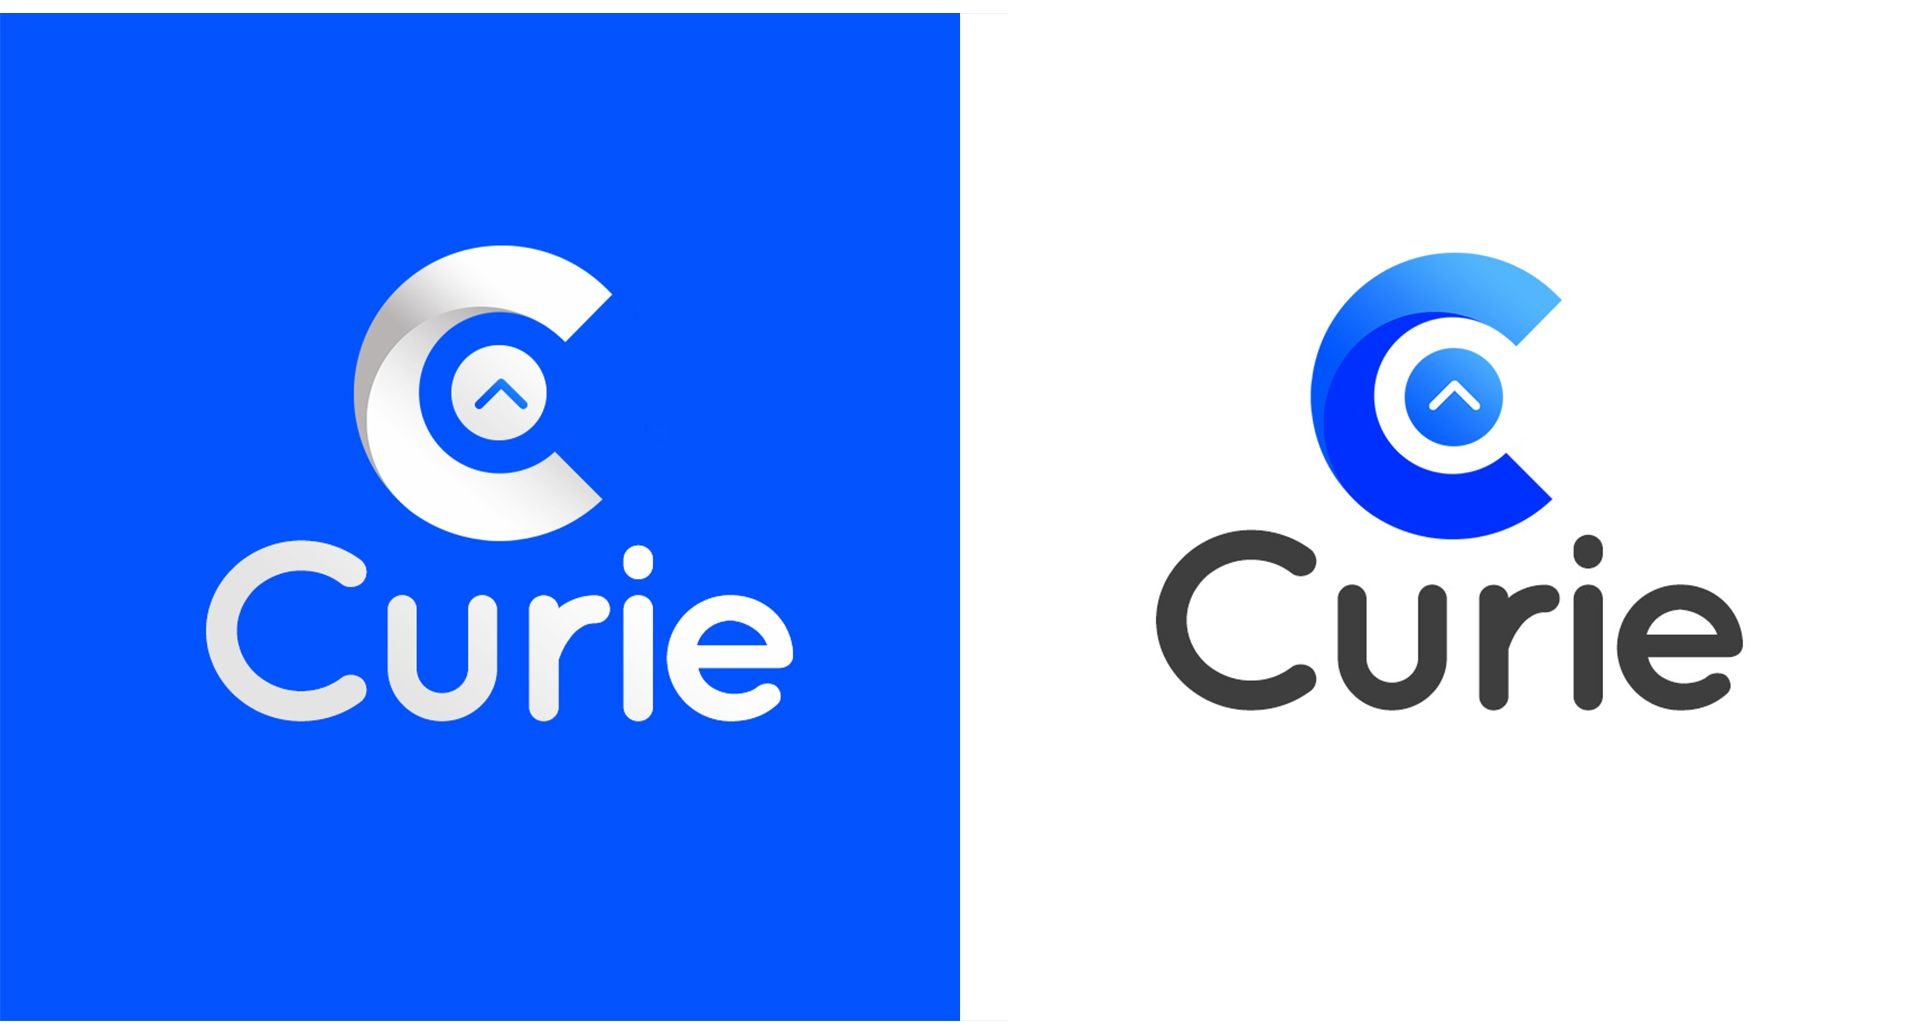
Simple but Amazing Right?
Below I will be explaining the Process of how I came about this Logo.
Conceptualization Stage
At this stage , I was really deep in thoughts of what exactly I wanted to do. And the concept I could bring in to make the work deem fit for approval. Taking a look at the community itself, which happens to be a community that rewards people for creating engaging and Original Posts I believed making emphasis on what the community does for the platform is important , so I came up with a "C" and and Upvote button"^". To butress my emphasis on the Logo, I would be making a detailed explanation:
I created the "C" to consist of 2 major parts; The Upper and Lower Division with the combination is what perfects my idea behind my aim.
The Upper Division

The Lower Division

Upvote Button

Logo Creation Process
After successfully explaining my conceptialization process, I see it deem fit to also explain how I came about this Logo with my graphics software,"Photoshop CC 2015"
Step One
Open your version of Photoshop and create any size of Canvas you feel you can use, I decided to use 900 pixel by 900 pixel for my own project.
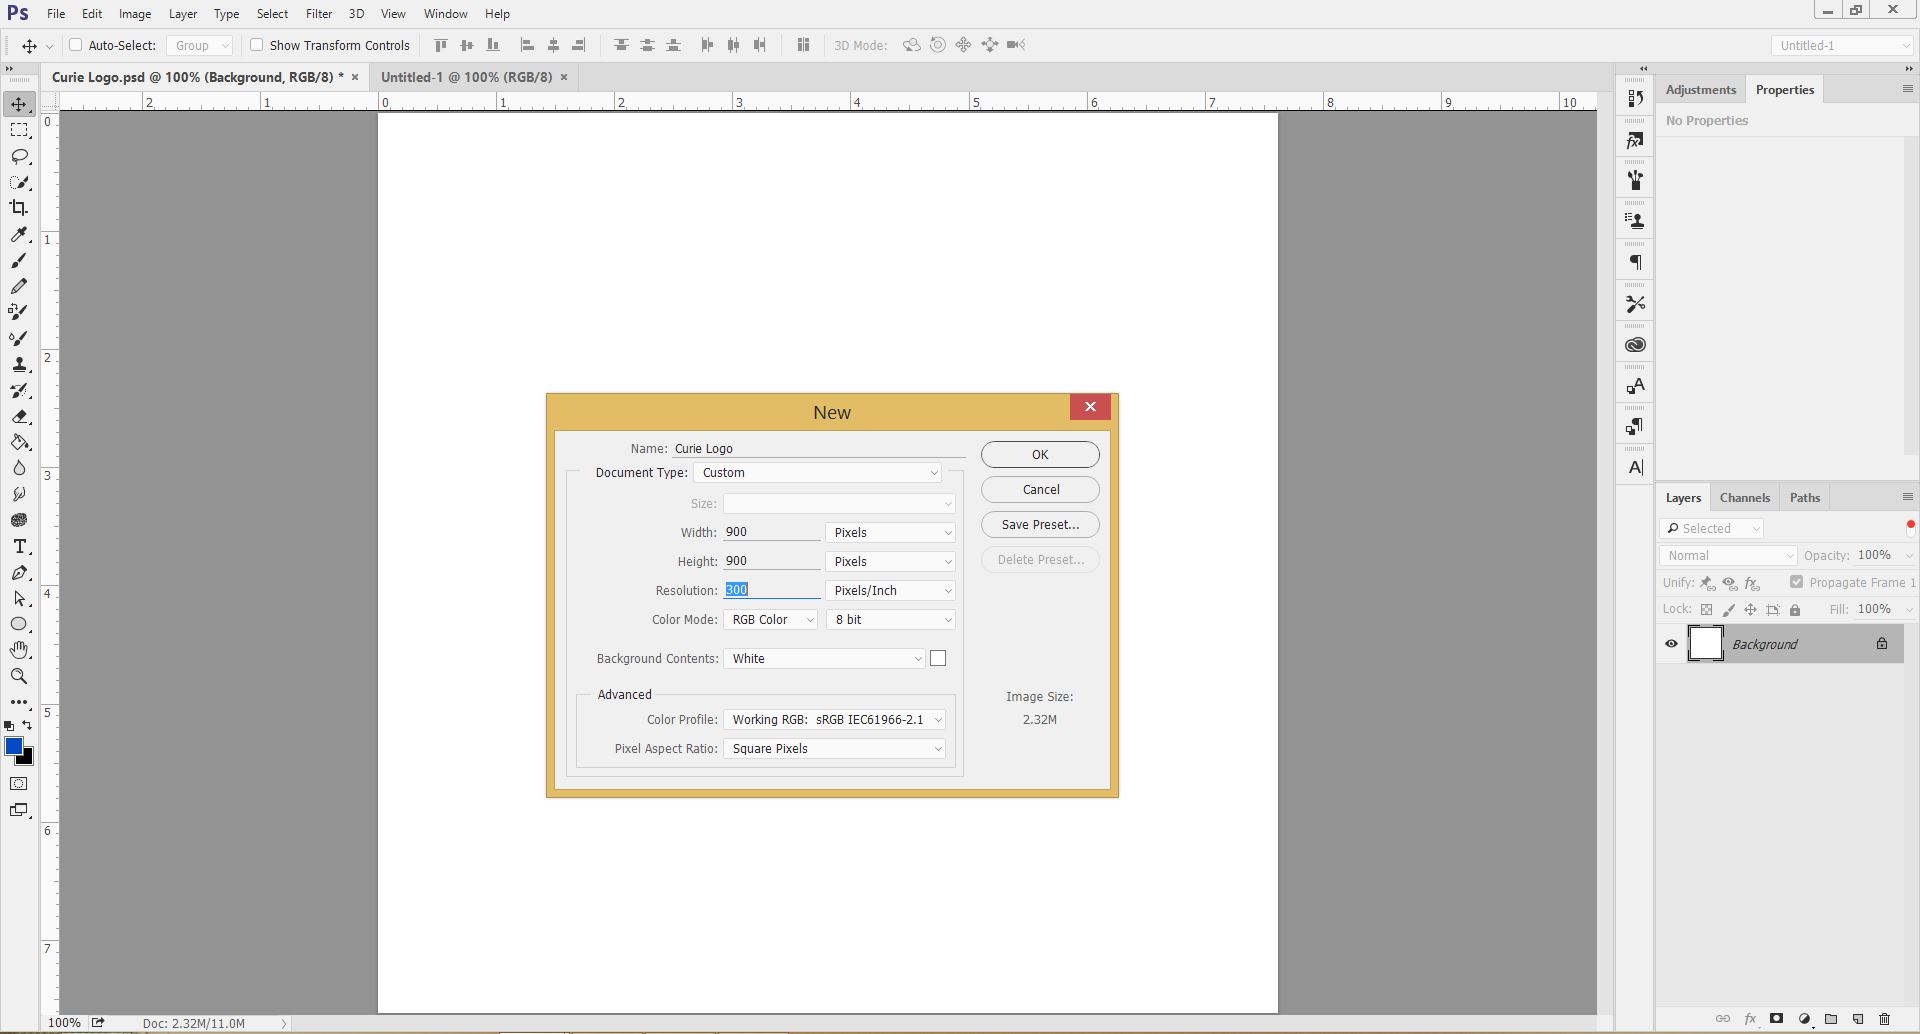
This can be achieved using Ctrl+N if you are using a windows operating system. Or you can simply use "File" on the upper toolbar and click on "New"
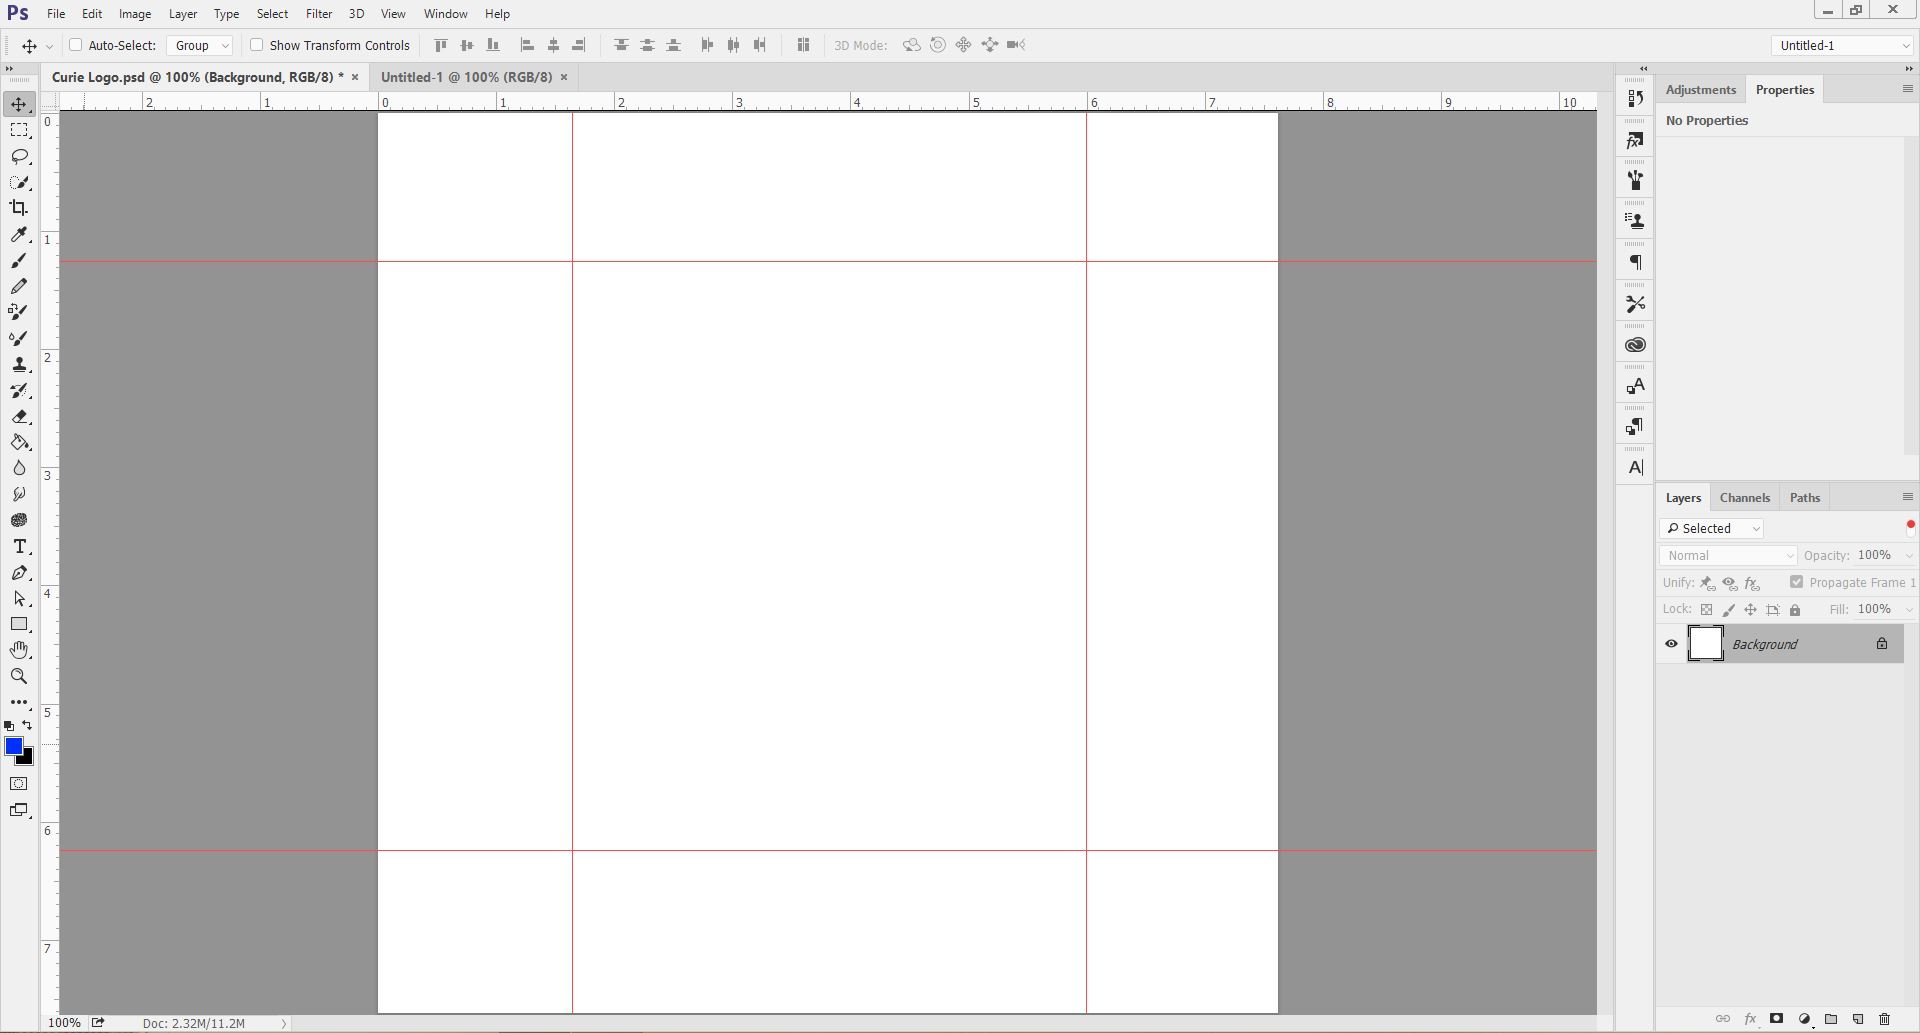
This should be the End result after using any of those commands mentioned above. The Red Lines seen on the canvas were brought into the canvas by dragging from the Horizontal and Vertical parts of the Workspace, please note that this cannot be done without firstly, using the command Ctrl+R
Step Two
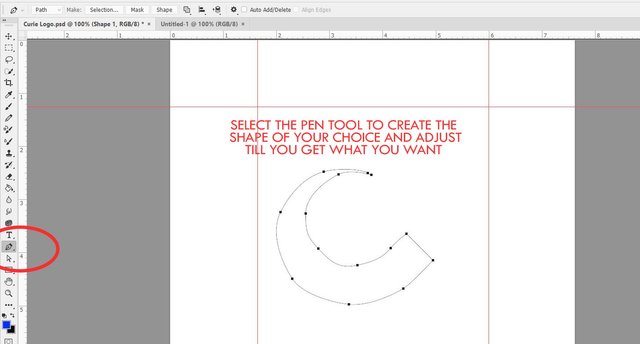
Now you need to make use of your Pen Tool to create the shape of your choice, I started by creating the lower of part of the "C" fisrt and adjusted till I got exactly what I needed. To access the Pent Tool, you can simply click on P on your keyboard or simply click on the Pen Icon on the Toolbar, the screenshot below clearly explains this.
Once you have achieved this, repeat the same process to create the upper part of the shape.
Step Three
If you have successfuly created the shapes of your choice, you can change the colours of the shape to any choice of yours or simply use gradients on them like I did. CHeck the screenshots below to get a view of what I mean.

This is for the lower part of the "C", then I decided to use Gradients for the Upper Part of C which you can see below.

This is how to Access The Gradient Overlay I used on the screenshot above...


Step Four
After effectively using the gradient overlay and colour option of your choice for your logo, you can then combine the two shapes together, Once you have done that, you should have something very similar or exactly what is seen in the screen shot below depending on the colour option you used and also the shape you drew with your Pen tool.
The Lines you see on the C shape I created below is going to serve as a Guide on the unnecessary part of the C shape which I want to get rid of. And creating this isnt much of a Big deal, you can simply create it by using the Line tool which is also found on the Toolbar to your Left.
A simplier way to avoild this step, is by simply using your "Path Selection Tool" to adjust the shapes created. This tool can be found immediately after the Pen Tool.

Step Five
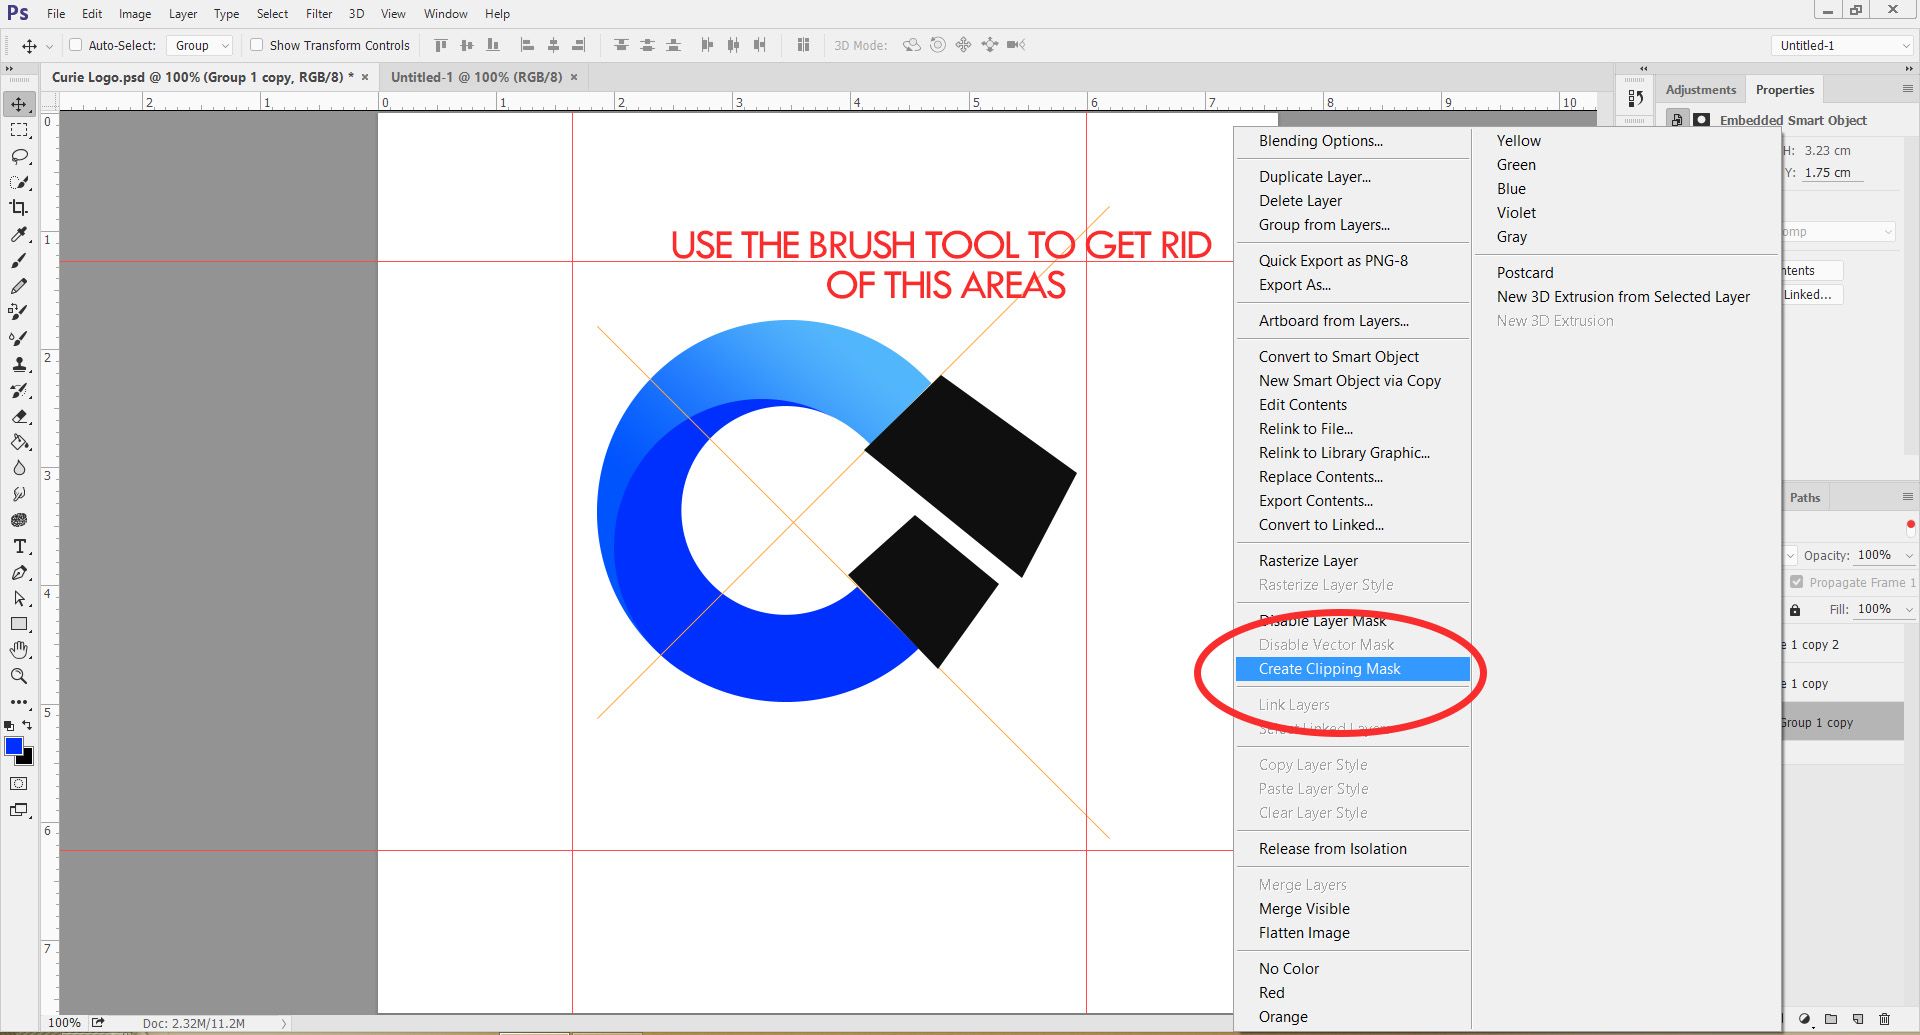
Its time to get Rid of the excess part of the Shape which I need, and I achieved this by using the Clipping Mask Tool, remember, I stated earlier that you can askip this step if you use your Path Correction Tool. But for those who would Love to learn a Little on how to use the Clipping mask tool, this is for you.
Firstly, use your Pen tool to create a shape on the part of the shape which you want to cut out, but please remember to create a New Layer on the Shape before Creating this shape so you dont mix up the Shapes, the purpose of the creating this with the Pen tool is to eliminate the Unwanted part as I stated Earlier.
After creating the Shapes, Click on "Create Clipping Mask" by right-clicking as explained above. Then Use "Brush Tool" to erase them.
Please also note that the created shapes should be selected
The Screenshots below would give a Pictorial Guide on what I explained above.

Step Six
After following the Instruction above, you can then create your desired Circle uing the Shape Tool found on your Toolbar,I decided to use the Gradient Overlay on the Circle I created, the screenshot is seen below:
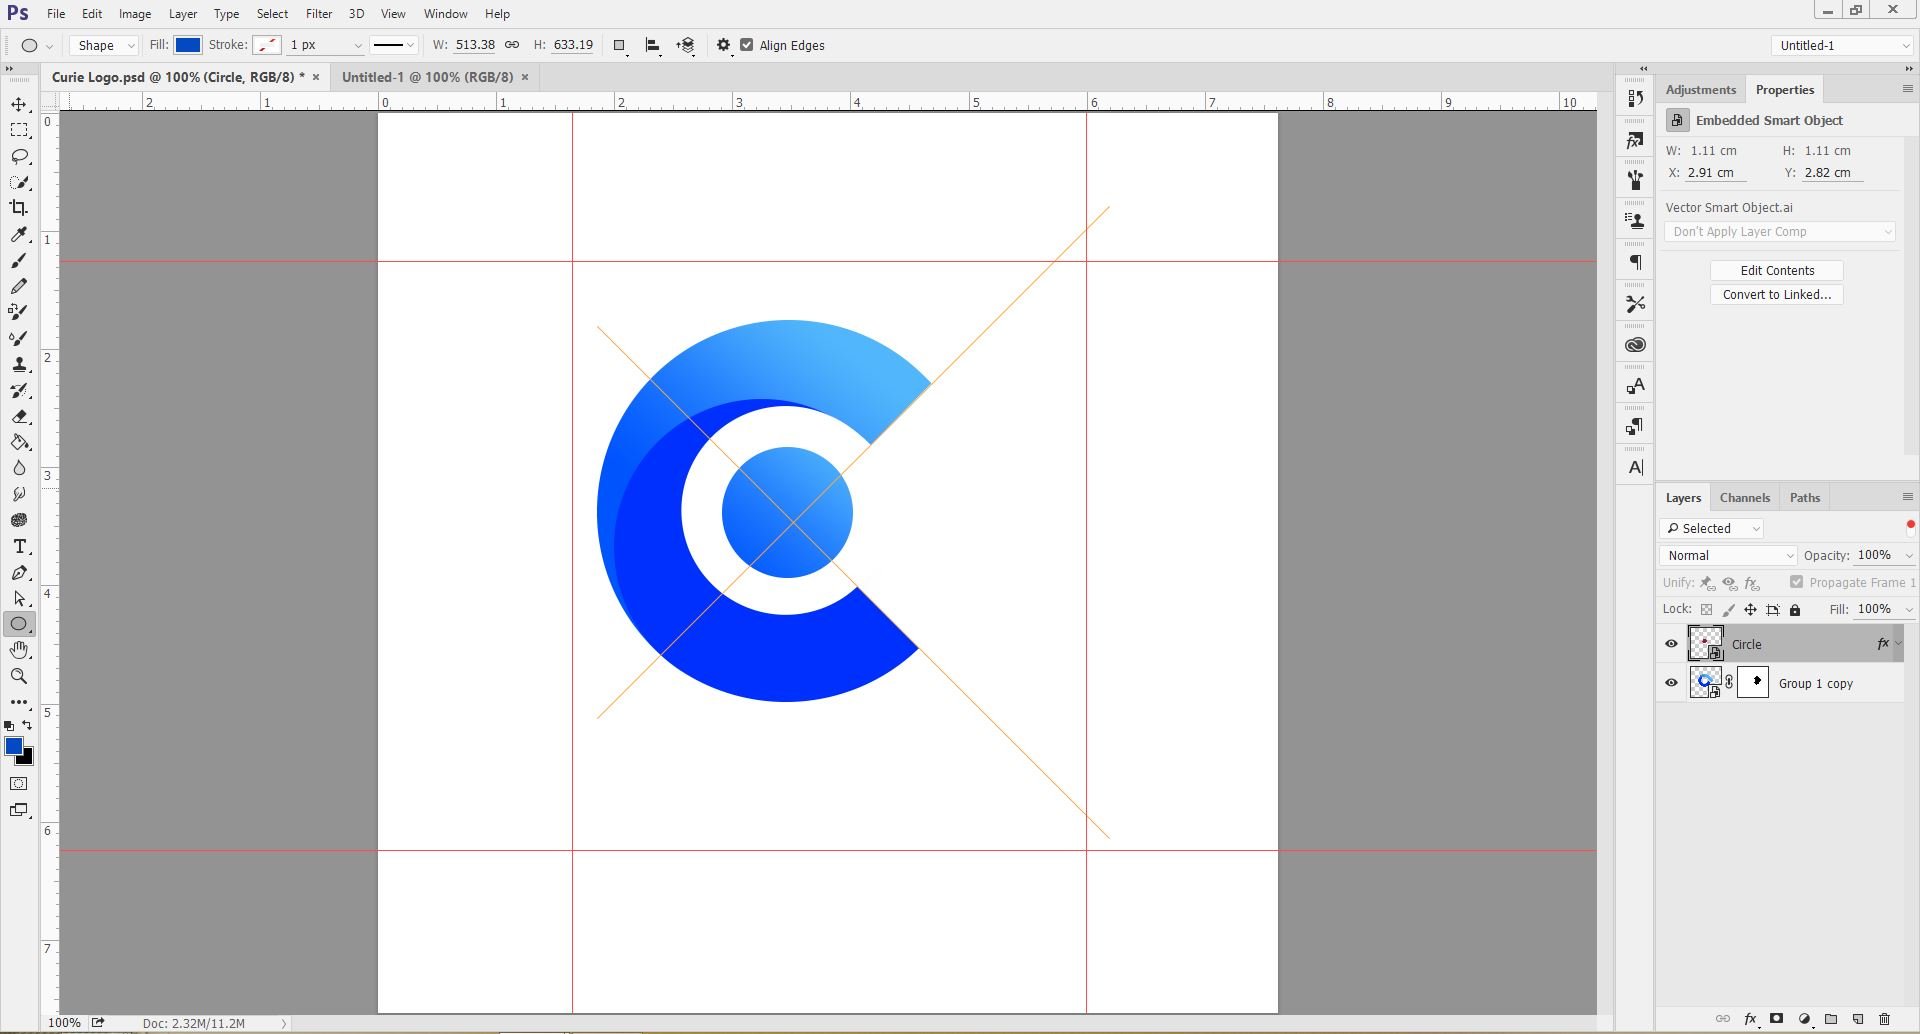
The Next Step is to create the Upvote Arrow using the Pen Tool, this time you need to convert Shape created with the Pen Tool to a Real shape Like we did to the Other shapes created from the scrath. The Result is shown below:

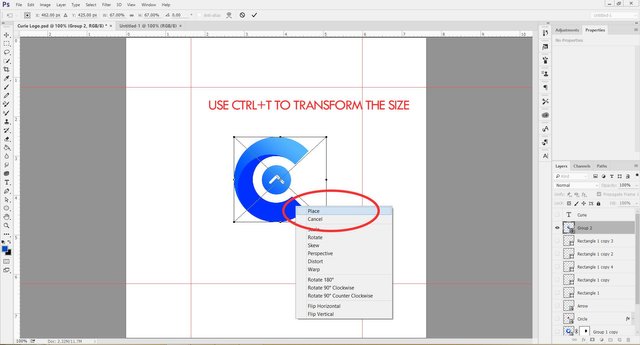
Step Seven
After creating the Arrow you can then decide to adjust the Size of the Shapes (Logo) created using Ctrl+T.
After effectively following this step, I added the needed Text "Curie" using the Text Tool. See screenshot below on how it was done.
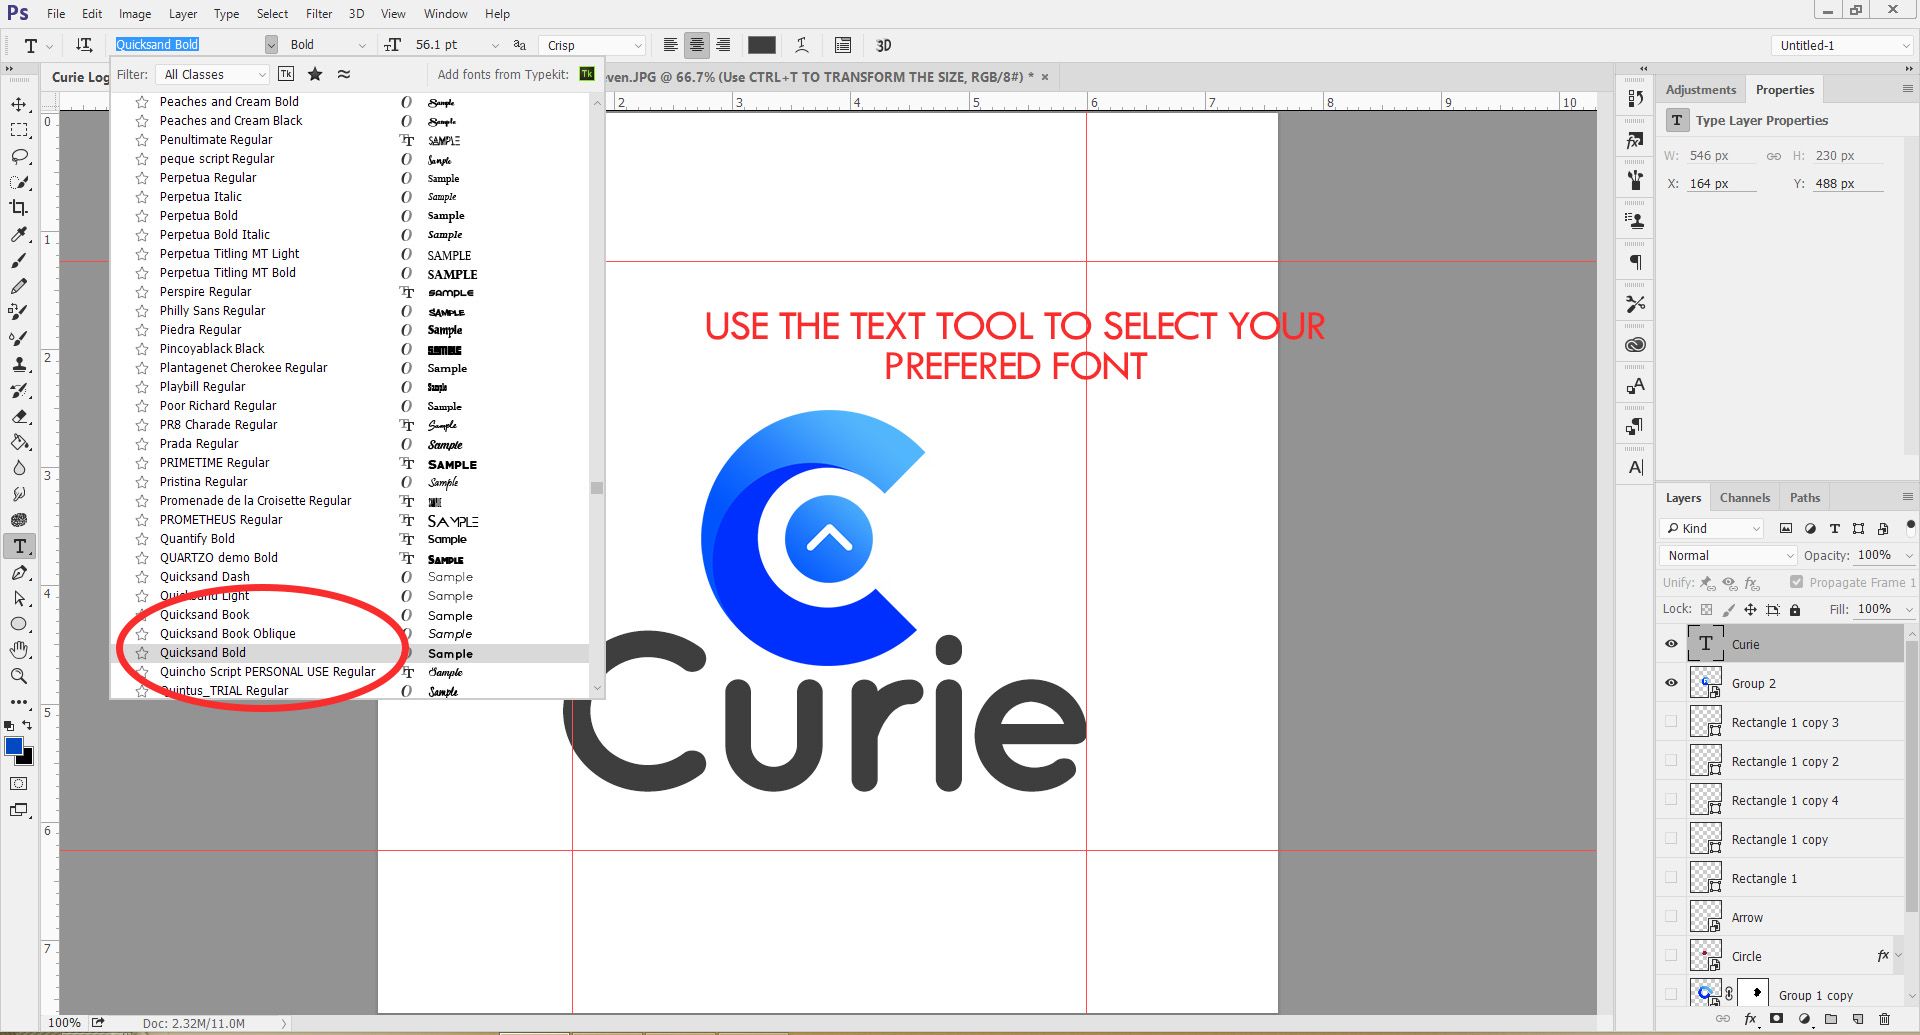
This is the End Result.

The arrangement of your layers might be abit different from mine, this is because you might have have other steps to achieving what I did, but the main point is getting the desired Result.
The source file(as Required) to this Logo Contest is found below.
https://github.com/ufxpression/Curie-Logo-Source-File

Thanks for Reading Through.
See my post and vote my last 3 post and I will upvote you 100% in one hour.... No reply