Upload files to Storj using FileZilla
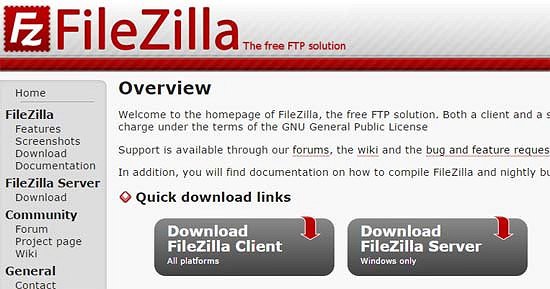
FileZilla is a cross-platform FTP client and also supports Storj. It seems one of the easiest way to use Storj.
I tried to upload files from my Mac to Storj using FileZilla. It worked well but names of uploaded file were broken on https://app.storj.io/
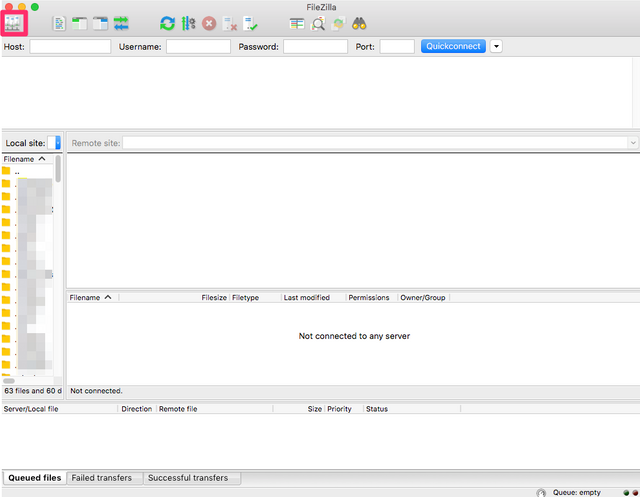
I opened FileZilla and click the button in the upper-left corner to open the site manager.
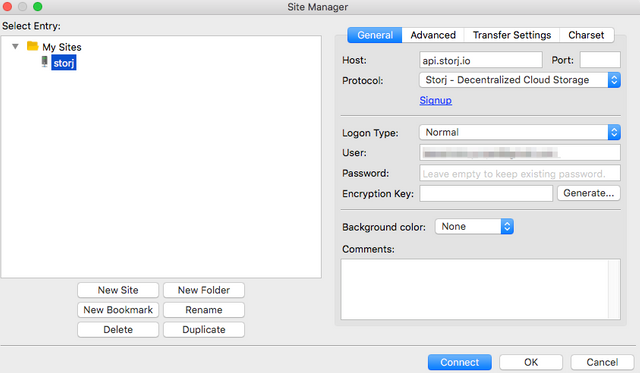
I then set the following information on the boxes:
- Host: api.storj.io
- Port: 443
- Protocol: Storj
- Logon Type: Normal
- User: your user name
- Password: your password
- Encryption Key: your encryption key
Since I had not generated a secret key, I clicked “Generate” button to create a secret key.
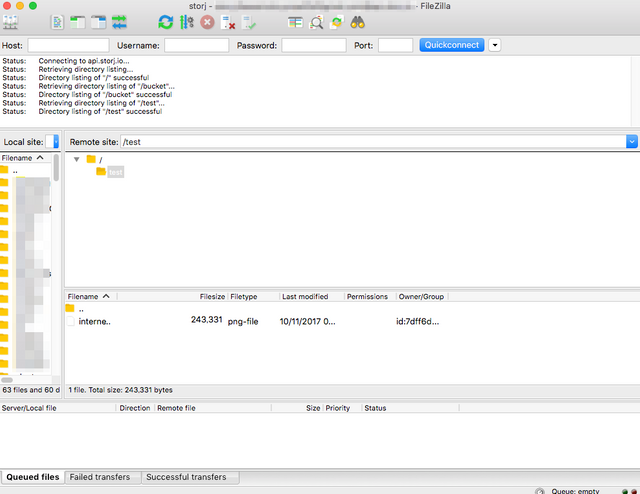
Then, I clicked “connect” button and FileZilla showed a list of buckets in my Storj account.
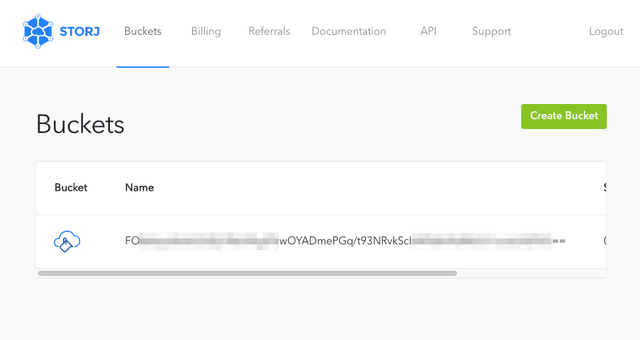
Next, I created a bucket named “test” in FileZilla, and open Storj’s web application https://app.storj.io/ in my browser.
As the above screen shot shows, the created bucket name wasn’t “test” and it looks a base64 encoded data. I tried to decode it but I couldn’t find what it means.
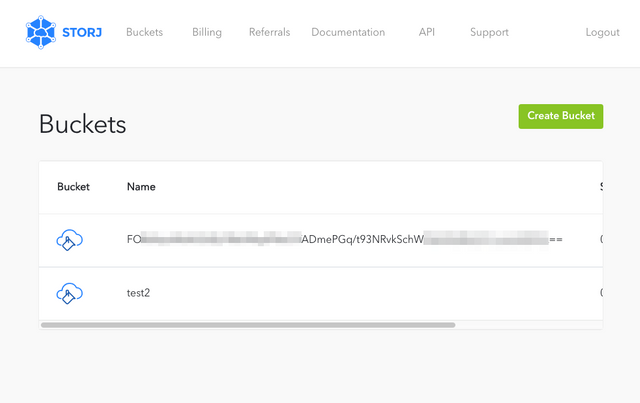
I also tried to create a bucket, named “test2”, on the web application.
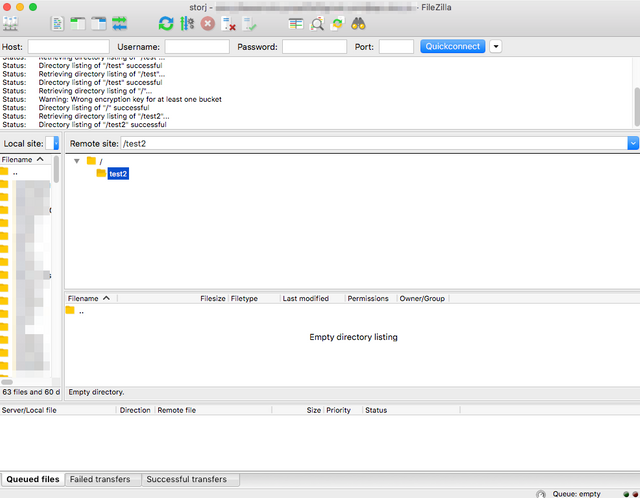
The bucket created on the web application was shown in FileZilla and the name was not broken.
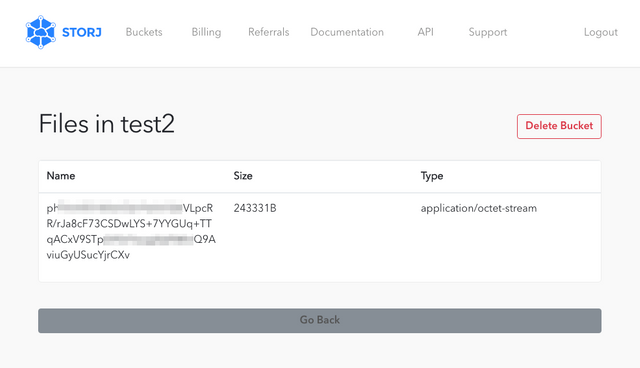
Finally, I uploaded a file to bucket test2 and checked it on the web.
The name of uploaded file was also like base 64 encoded string.
I uploaded a 2MB file and it took about 40 sec in my ADSL network. However, when I tried to upload bigger files, errors happened and finally I couldn’t upload them.
