Yobit.net crypto-currency exchange: how to register and install two-factor authorization
On the Yobit.net exchange you can buy, sell various cryptocurrency. There is a Russian language. About 450 currency pairs are traded. A big advantage of this exchange: a small commission for putting rubles or dollars, and putting rubles with KIWI generally occurs without any commissions. To put in and withdraw classical money or cryptocurrency, there is no identification (there is no need in passport data, phone number, etc.; only e-mail and password are needed).
Registration
Enter the website and the page opens.

On the upper right click on the "Registration" link and the registration form opens.

Fill in the login with Latin numbers and letters, type in your real e-mail, create a strong password and confirm it. Then put a tick "I agree with the rules ...", as well as a tick "I'm not a robot", unravel the captcha (picture) and press the "Register" button. Enter your mail box.

Click on the link and the exchange opens.

You will be asked to enable two-factor authorization. Let’s turn it on later. Close the message window. After that the working window will open.

Congratulations! Registration is finished!
Entry to the exchange
Enter the website. The page opens.

In the upper right corner click on the "Login" link. First you must be registered. The login window opens.
Fill in the e-mail, password, unravel the captcha and click on the "Login" button.
Two-factor authorization
This method significantly improves the security of your account. At the entrance you need to enter not only the data of your e-mail and your password, but also additional code that will come to your mobile phone number or to a special browser plug-in. The code periodically changes.
Authentication via phone
After entering the exchange enter to your personal cabinet. Click on the human symbol and in the drop-down menu choose "Settings".

The page for setting two-factor authorization opens. But don’t hurry to press the "Enable" button. First, read below what you need to do.

What and how to do.
- Take a screenshot of the two-factor authorization page and save it in a safe place. If you lose your phone, you will not be able to enter the exchange, and having a QR code, you will always be able to restore authorization data on any phone.
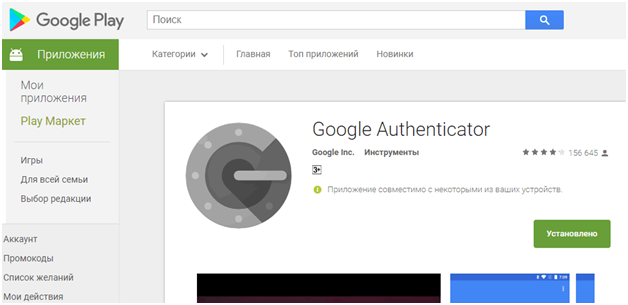
- Install the Authenticator program on the phone (it is for both android, and ios)
After installing the program on your phone, open Authenticator
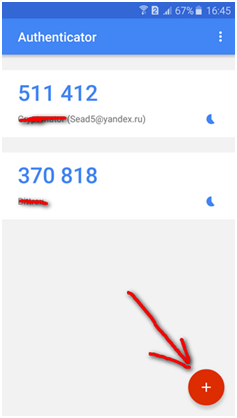
And click on the red round button.
Then the window opens
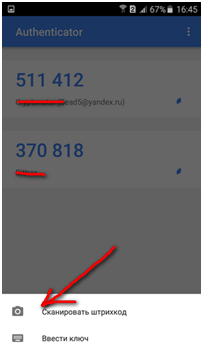
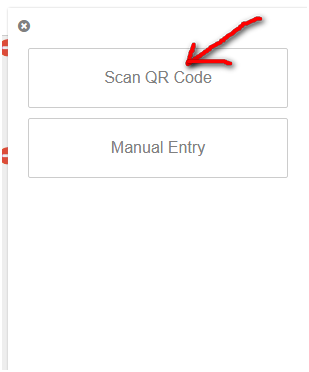
Click on the "Scan barcode" link and read it from the page of two-factor authorization.


Then click OK. Everything is saved.

In the program of the authenticator we can see the code

On the page of two-factor authorization, in the field on the left of the "Enable" button, insert the same code and click on the "Enable" button. Then you will see this screen:

This means that two-factor authentication is enabled.
Browser Authentication
Enter the "Settings", the two-factor authorization tab (as described above). We will need QR code for authorization. If you have already turned it on with the phone, turn it off. To do this, enter the code from the phone and press the off button.
Then continue in the Google Chrome browser.


On the top right, go to the settings, then "Additional Tools", then "Extensions". Scroll the page to the bottom.

And install the extension.
An extension icon appears in the upper right corner of the browser. Click and select "pencil" in the context menu.

Click on +
Click on "Scan QR Code" and scan the same QR code on the page of two-factor authentication. Mouse around the QR code and click the left mouse button. Now open the installed extension.

And you see the code 841352, which you insert (just click on the code and it will automatically be copied to the clipboard), where Google 2fa code is written and click on the enable button.

After that, you see that two-factor authentication is enabled.
