TUTORIAL | How to set up and configure your mining rig on Linux (NVIDIA cards)
So you have been fed up by the wide variaty of Windows 10 errors that haven't let you to run your mining rig properly and you decided to try Linux instead? But you are not a tech and moreover - you are not familiar with Linux? No problem - I got your back on this one!
Disclaimer: I suppose you got through the OS installation - it's pretty straight forward (make sure you have formated your disc and installed Ubuntu 16.04 - formatting is necessary in order to make sure there is nothing left on the disc!). If you have encountered any issues during the installation - google them or search for some tutorials on YouTube - there are plenty of them out there. The real thing that internet is missing is the configuration tutorial and that's exactly what I am offering you, so let's get right into it!

Step 0:
So you are staring at the desktop right now - go ahead and click on the Launcher icon (top left corner) and write "ter". The search bar wil offer you to open terminal so you click on it or press enter. If you wanna be a cool kid - just press ctrl + alt + T shortcut and the terminal will open by itself.
Step 1:
First thing you gonna do after opening your terminal is write following command:
sudo add-apt-repository ppa:graphics-drivers/ppa

Then press enter. System would ask you to type in your password - just type it there (do not worry that no symbols are appearing while you typing - that's normal). After you press enter you should get output that looks like this:
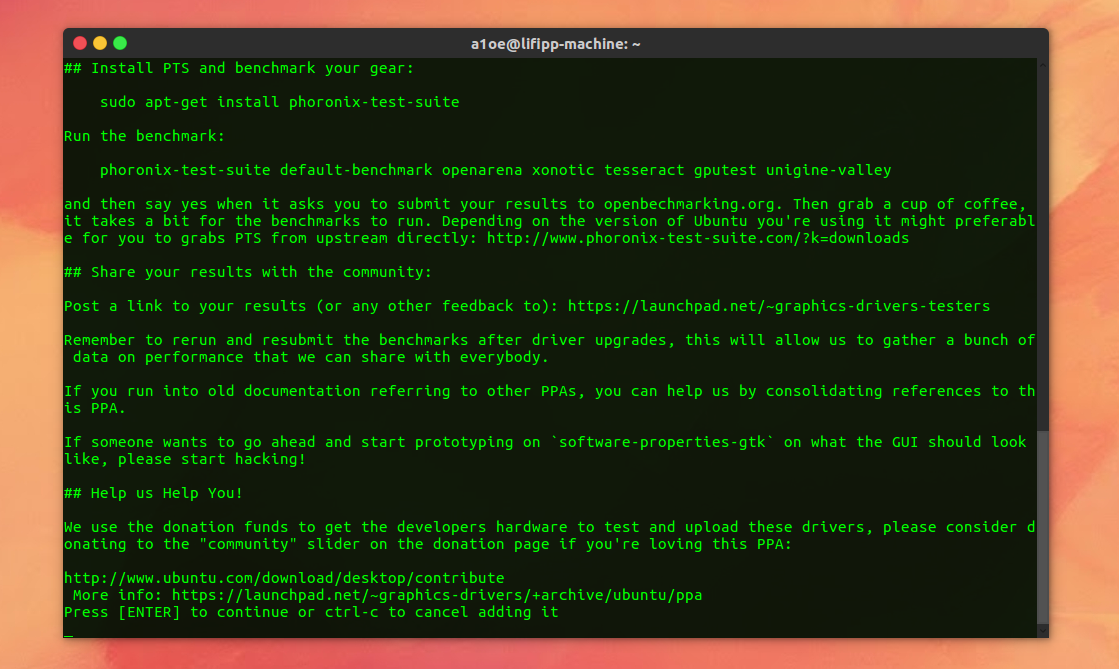
Again press enter and you let the sequence finish. That sould be your final screen:

Step 2:
Next you gonna update your system and automatically install the best NVIDIA drivers for your GPUs from the new repository that we've added in the previous step. Type:
sudo apt-get udpate && sudo apt-get upgrade -y

This might take some time - you will see many lines of code running through the terminal window - that's all system updates that are downloaded and installed right now:

Step 3:
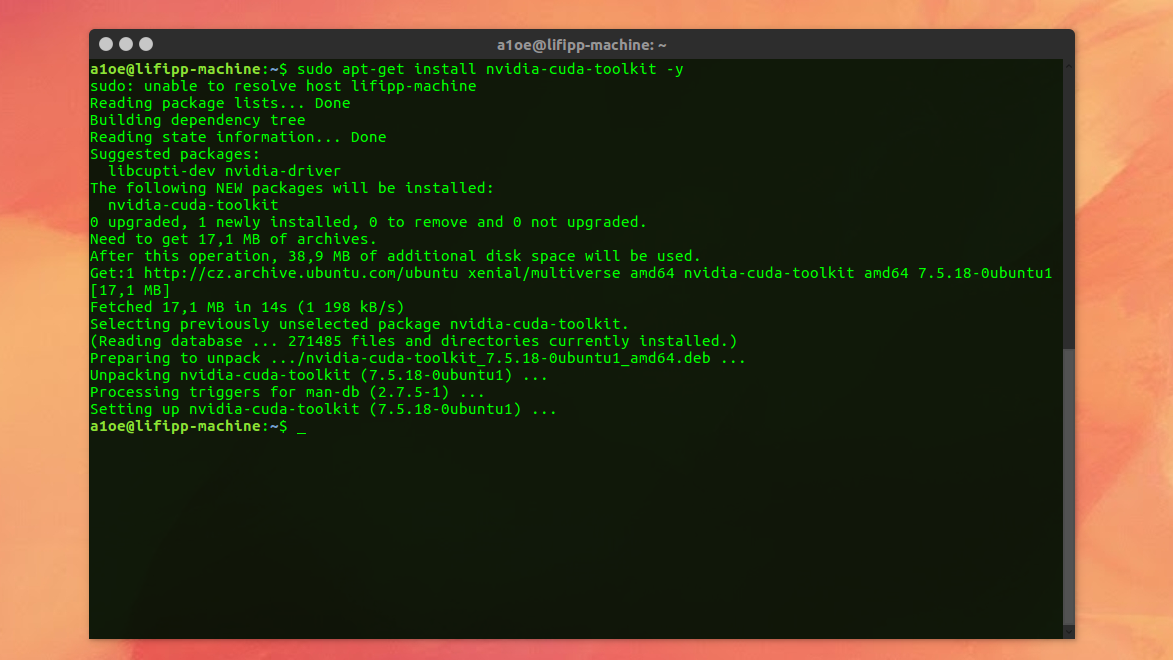
After it's done you are gonna need to type th following command in order to install additional toolkit for NVIDIA drivers to secure the maximum support for your cards:
sudo apt-get install nvidia-cuda-toolkit -y

Again - it's gonna take some time (around 10 minutes) - just let it work for a while. The next screen should look like this:
Step 4:
Good, now we are done installing all the necessary things for you rig. It's time to enable a monitoring and fan controling utility (Overclocking also possible, still though, I wuld not recommend that to the new users or people with freshly build mining rigs - let it run for at least month and then you can consider to OC it a bit) called NVIDIA X Server. Type:
sudo nvidia-xconfig -a --cool-bits=28

You should get output similiar to this one afterwards:

Last thing you gotta do is to enable all you gpus to be monitored in that utility. That is done through the following command:
sudo nvidia-xconfig --enable-all-gpus

If you have done all the steps above you can reboot your system now simply by typing:reboot
If your system has finished booting sequence, you click on the Launcher icon (top left corner and type: nvidia, the search engine should suggest you wanna open NVIDIA X Server - click on that and it should appear in your dock. Now right-click on the dock icon and select "pin to dock" - that's for easy access. If you open it you should see many different options under GPU 0, GPU 1 etc... - if you would like to change the fan speen of the cards go to fan control and enable the manual fan speed control. Then you can adjust the fan speed in % to your needs.

Step 5:
Now you have to prepare your mining software. Download tar archive file of the latest EWBF's CUDA miner (3.4.b) from this link: https://mega.nz/#F!aop0BLaR!qQUGG6C2ZhE2zAC0XAlMSw and extract the whole thing to your Desktop like you do it with WinRAR on Windows.

Now open the extracted folder. While you inside right-click and choose "open in terminal". Now your screen should look like this:

You have to create a 4th file in that folder called start.sh that's a stratum script that is used to start your miner adn to choose which crypto and on which pool you gonna mine. Type:
sudo nano start.sh

A blank window in terminal will appear. You can type there this:

NOTE: Instead of the long line of symobols type your zcash wallet address.
I chose a Zcash mining pool called Nanopool - it's a good quality mid-sized pool. If you have another cryptocurrency that you would like to mine or another pool desired, go to the web page of your pool and follow step by step instructions on how to setup stratum for this particular pool. After you are done press ctrl + O then enter and then ctrl +x to exit the text editor. Now you should be back in the terminal window and there should be one more file in your miner's folder

Step 6
The last step before you can start to mine is to make both miner and start.sh files executable. To do so type:
sudo chmod +x miner && sudo chmod +x start.sh
Note: you gotta be in your folder while doing that - in the terminal, there has to be path to the directory shown, like here:

Step 7:
Now it's time to mine! Just type in your terminal window:
sudo ./start.sh

If you have followed all the instructions and have done everything right you should be presented by a colorful window of a EWBF's CUDA miner:

And yea... that's basically it! I hope I've helped you with this tutorial! Share you experience in comment section below, upvote if everythings working and enjoy mining!

lol - my laptop NVIDIA graphics are doing 65 h/s.... :D
If I see enough support for this post I will make a second part tomorrow where I will show you guys how to automatizise the whole process - how to make Linux run miner without your help even after power loss or reboot. Stay tuned for upcoming tutorials!
Hi lifipp,
I did it all so far until I cant decide which mining-pool(scroll down) to chose for BTG .
I dont care too much about PPS/PPLNS or min. payouts, but I care for good performance and low fees (1% would be fine). Any suggestions?
Also I'd like to ask you if you could help me setting up the start.sh file right.
And of course: Thanks for the tutorial. :)
Holy Sh*!!! You are an absolute life saver, or at least time saver, if only I found this 4 hours ago when I started trying to mine Snowgem using the BWBF Cuda Miner for the first time...
Been mining for awhile but mostly using XMR-STAK, this tutorial has been invaluable!