M.2 PCIe Adapter Install and Review
I mentioned in one of my past blogs that I may try running 7 GPUs with the use of a M.2 PCIe adapter. Unfortunately, I don't have a 7th card to put into my rig, but I did test out the M.2 PCIe adapter with an existing GPU to make sure the adapter actually works.
The adapter was purchased from Amazon for $5.99. Here's the link to the product: https://www.amazon.com/Bee-easter-riser-expansion-adapter/dp/B073WG56FV/ref=sr_1_3?s=electronics&ie=UTF8&qid=1515873041&sr=1-3&keywords=pcie+m.2+adapter+bee+easter
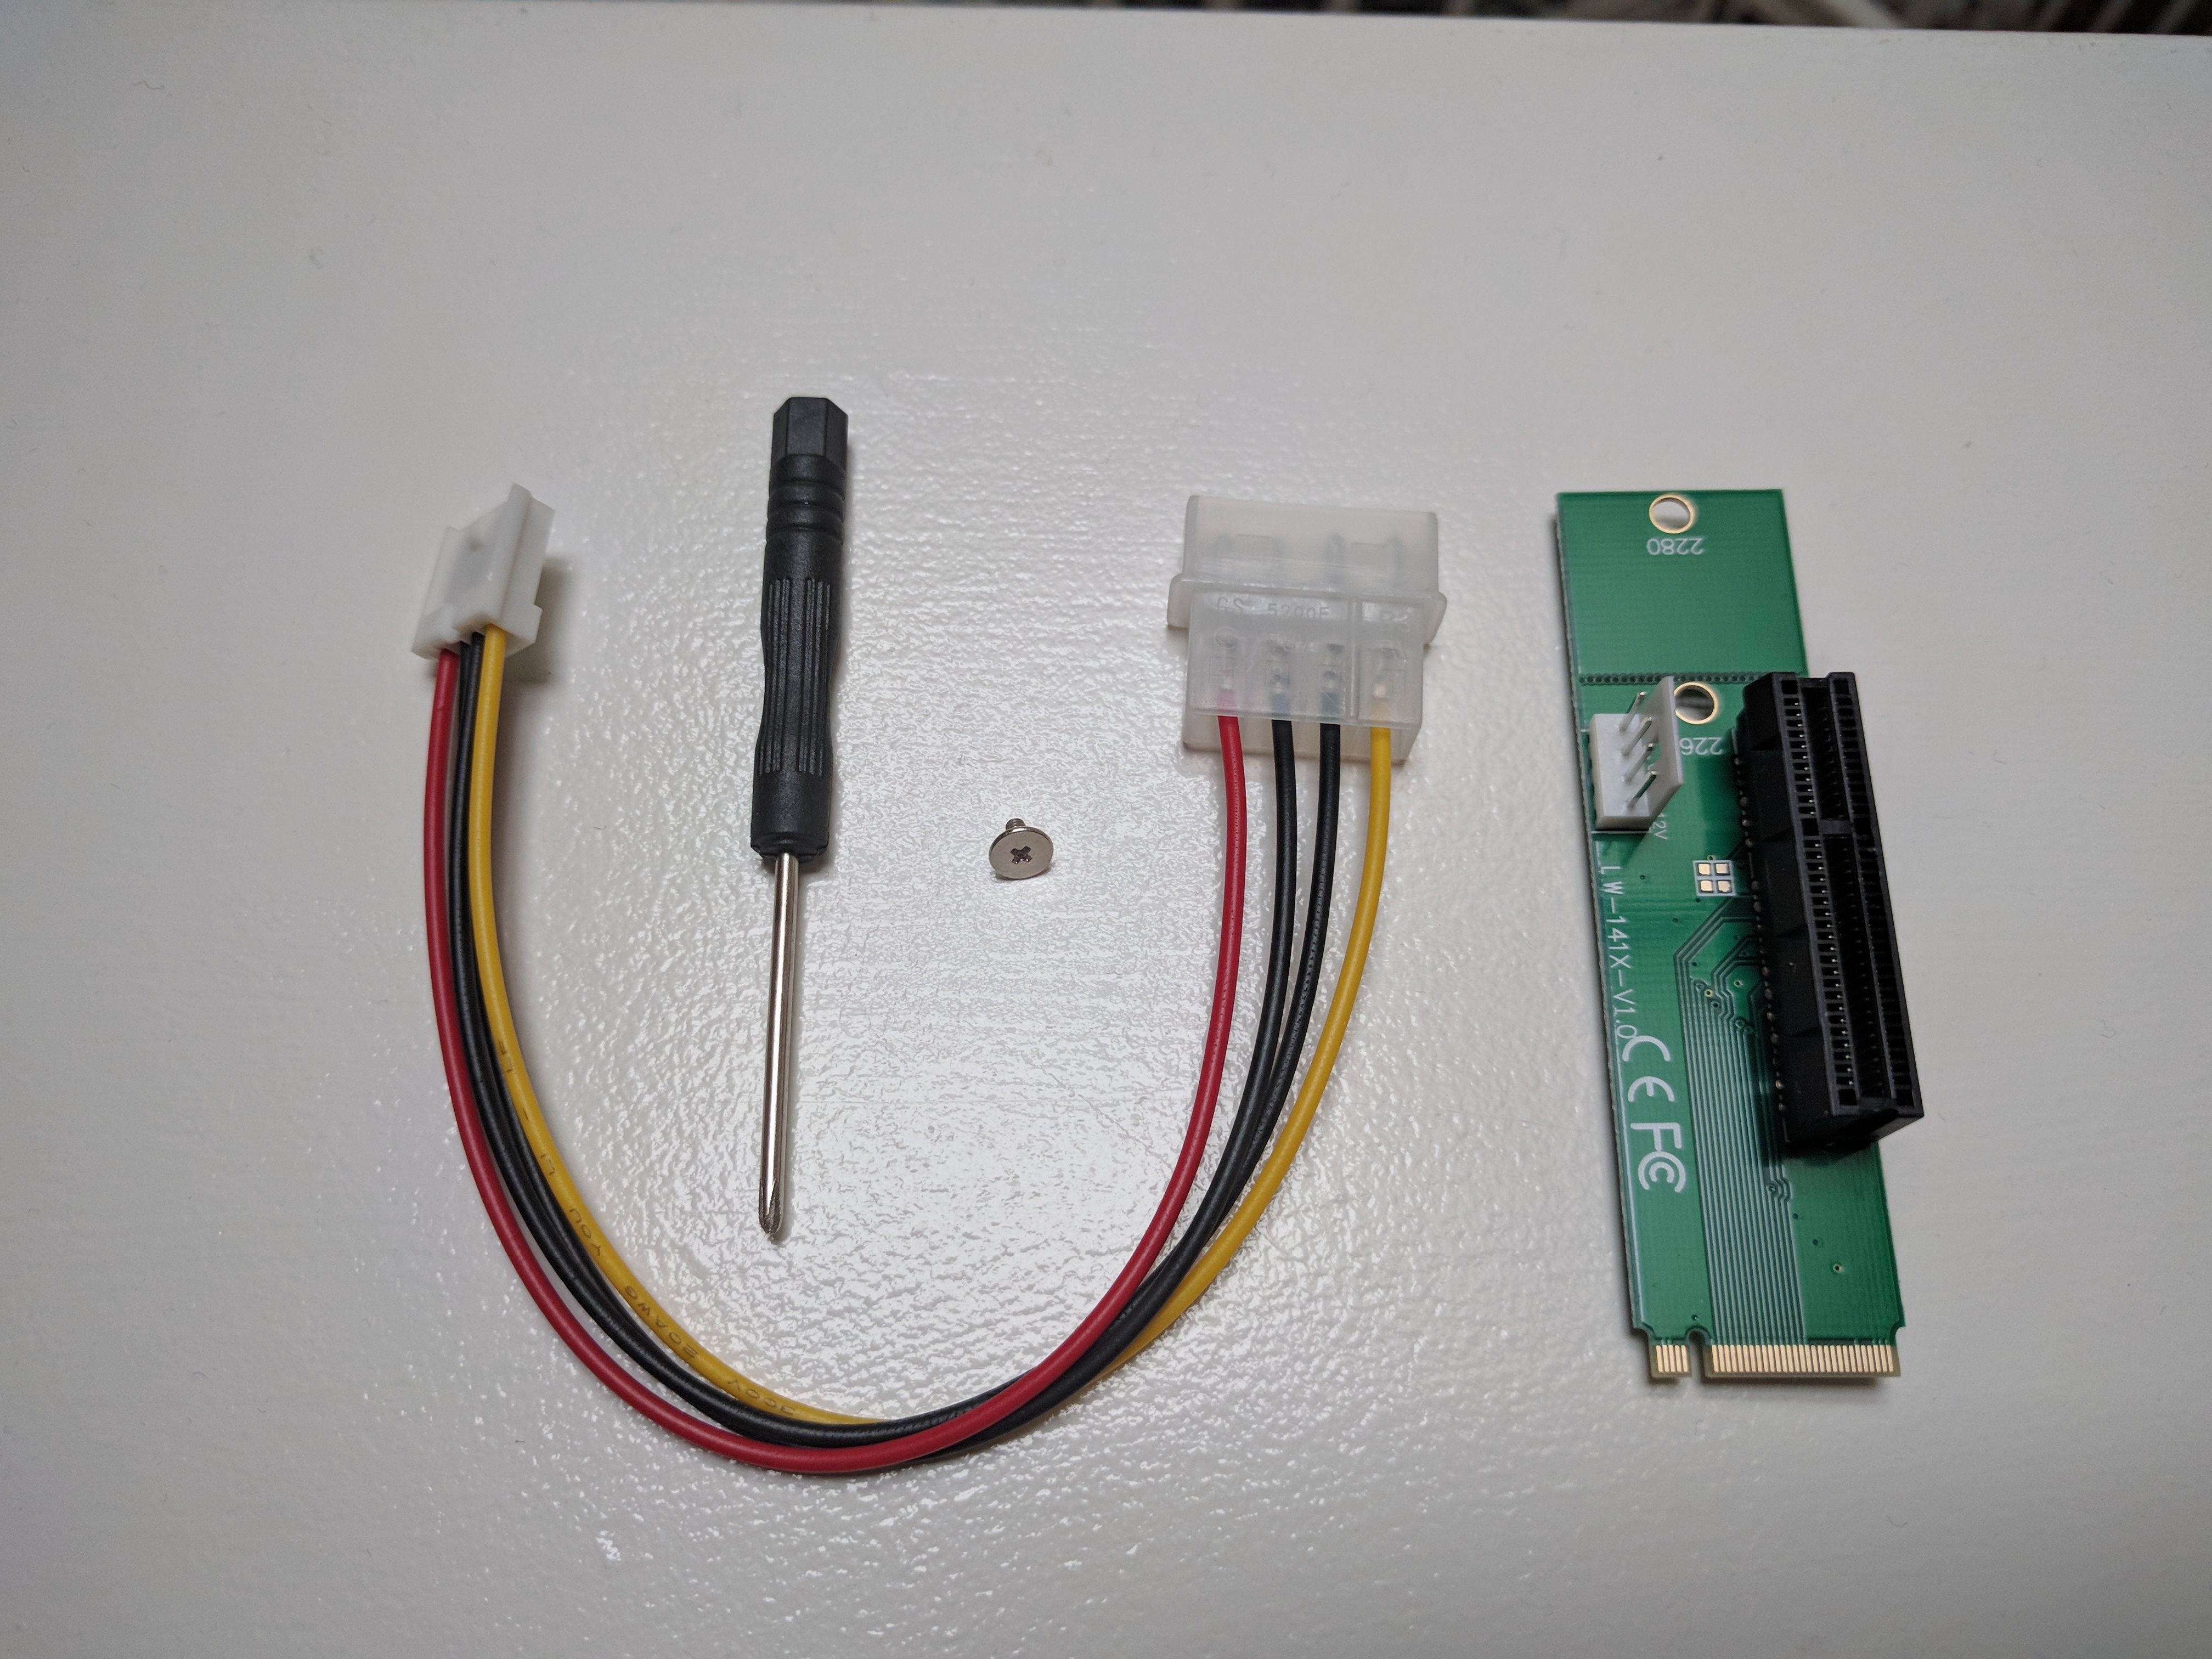
The package came with:
1x PCI-E 4X to NGFF M.2 M Key Adapter Card
1x Floppy 4 Pin to Molex Power Cable
1x Screw
1x Screwdriver

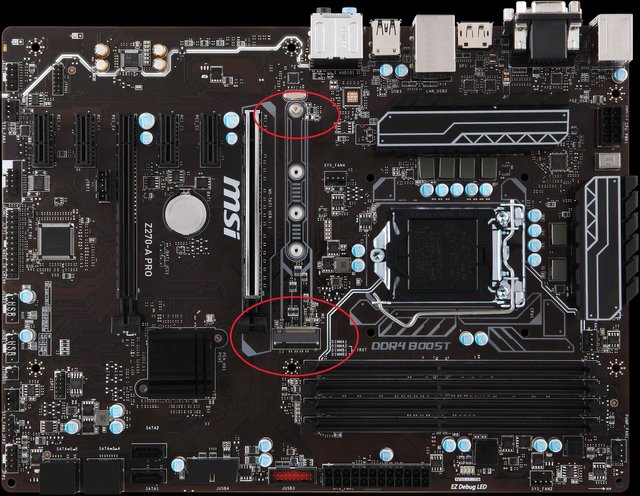
The adapter was installed onto a MSI Z270-A Pro motherboard which has 1 M.2 slot (see image below). If your hard drive is connected to SATA port 1 make sure to move it to a different SATA port because the manual states that the m.2 slot will disable/use SATA slot 1.
Install the adapter at an angle and don't use the 4 pin molex power cable if you are using powered pcie risers. Using the 4 pin molex power cable with powered pcie risers will overload the adapter and possibly burn the adapter. The motherboard came with a screw and a spacer for the m.2 adapters, make sure to move the spacer so it matches the hole on the adapter.

Once I installed the m.2 adapter, I just moved one of my GPUs to the m.2 pcie adapter and it just ran the miner program. The system ran for 12 hours with no issues or lag and no drop in hashrates. Thank you for reading.