Building a Crypto Mining Shed

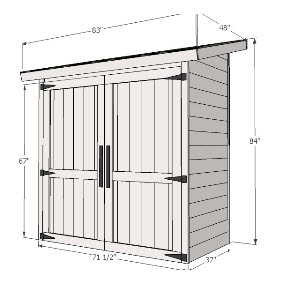
In my previous post on how I became a crypto or Bitcoin miner, I discussed my initial foray into cryptocurrency and the need to build a mining shed in my backyard. In brief, I had several miners on their way from Bitmain in China... and no place to put them. However, my buddy and I found basic lean-to shed plans (Thanks Ana White!) and headed to Home Depot to pickup materials. While this shed was not designed specifically for mining, it perfectly fit the space I had in mind, looked good, and met all my requirements.

The first stage of the shed build was to pour the cement so we headed to home depot to pickup 17 bags of Quickrete and 2 x 4’s to build the forms. We also took the time to pick all the other building materials, making sure we overestimated by 10% on everything. This probably saved a few trips to Home Depot, then at the at of the build, I was able to return unused material for a refund.

Breaking ground in the backyard next to the electrical panel. The shed would be about 18” from the wall of my garage and the back wall of the shed would be just under the roof eave. This would add additional protection for the air intake and exhaust we would eventually add to the back of the shed.

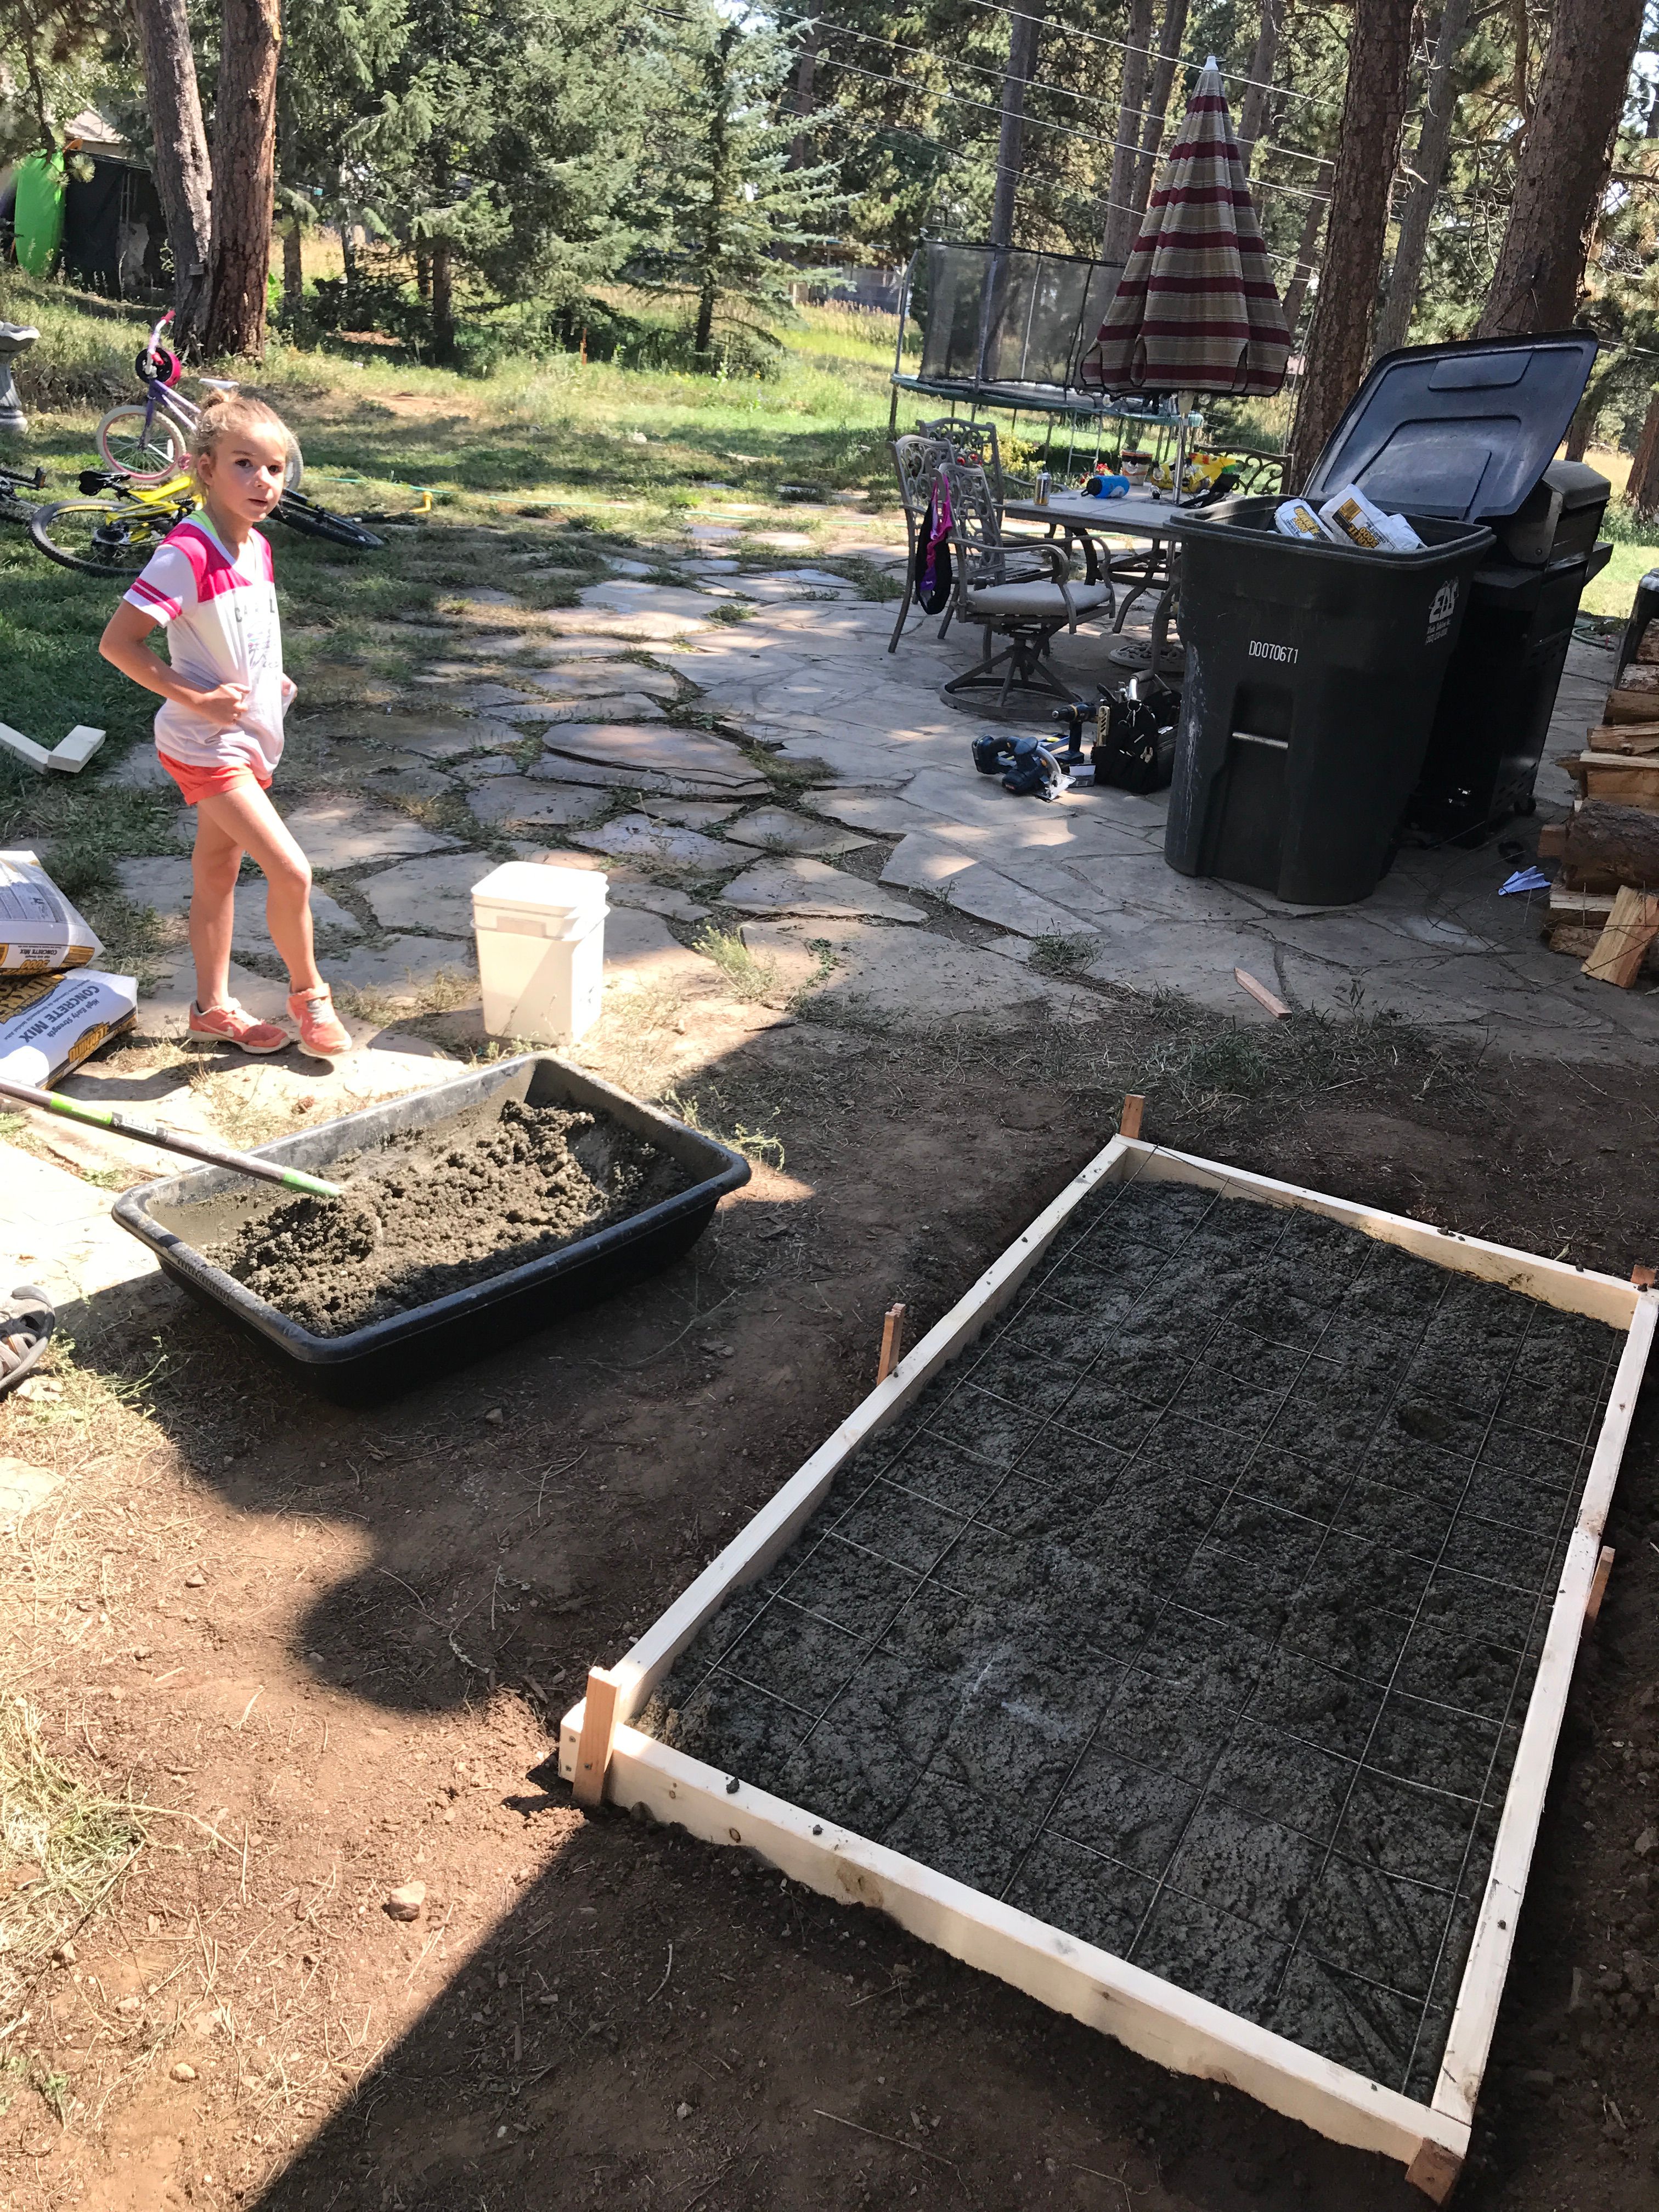
The concrete form is complete and pea gravel established as the base. This was the first time I had poured concrete and we hand mixed about 16 ½ bags for the 73 ½” x 39” x 3” concrete Slab, 1” larger than the shed footprint.

At first we tried mixing two bags a at a time but found it actually went faster doing one bag of Quickrete. My daughter was an enormous help ensuring a bucket of water filled to a preset line was always ready for the next bag. Adding the concrete steel reinforcement halfway through was probably unnecessary for such a small slab but we wanted to to do it right!

Concrete has been screed (leveled with a 2x4) and we are using a “darby” to smooth the edges of the slab. Notice we did not use any finishing tools on the concrete, it’s going to be a rough slab.

The day after we poured the slab I had backyard barbecue and everyone was commenting on my new “sarcophagus”.

The next weekend we cut our 2x2 cedar frame to the shed plan specifications and used a nail gun to rapidly assemble the three walls.

After framing the three walls, Cedar fencing was lapped to the frame for siding. Again, the nail gun made for fast and easy work.

Doesn’t look like much without the roof and door, but the shed footprint fit perfectly to the pad, it was coming along exactly as planned.

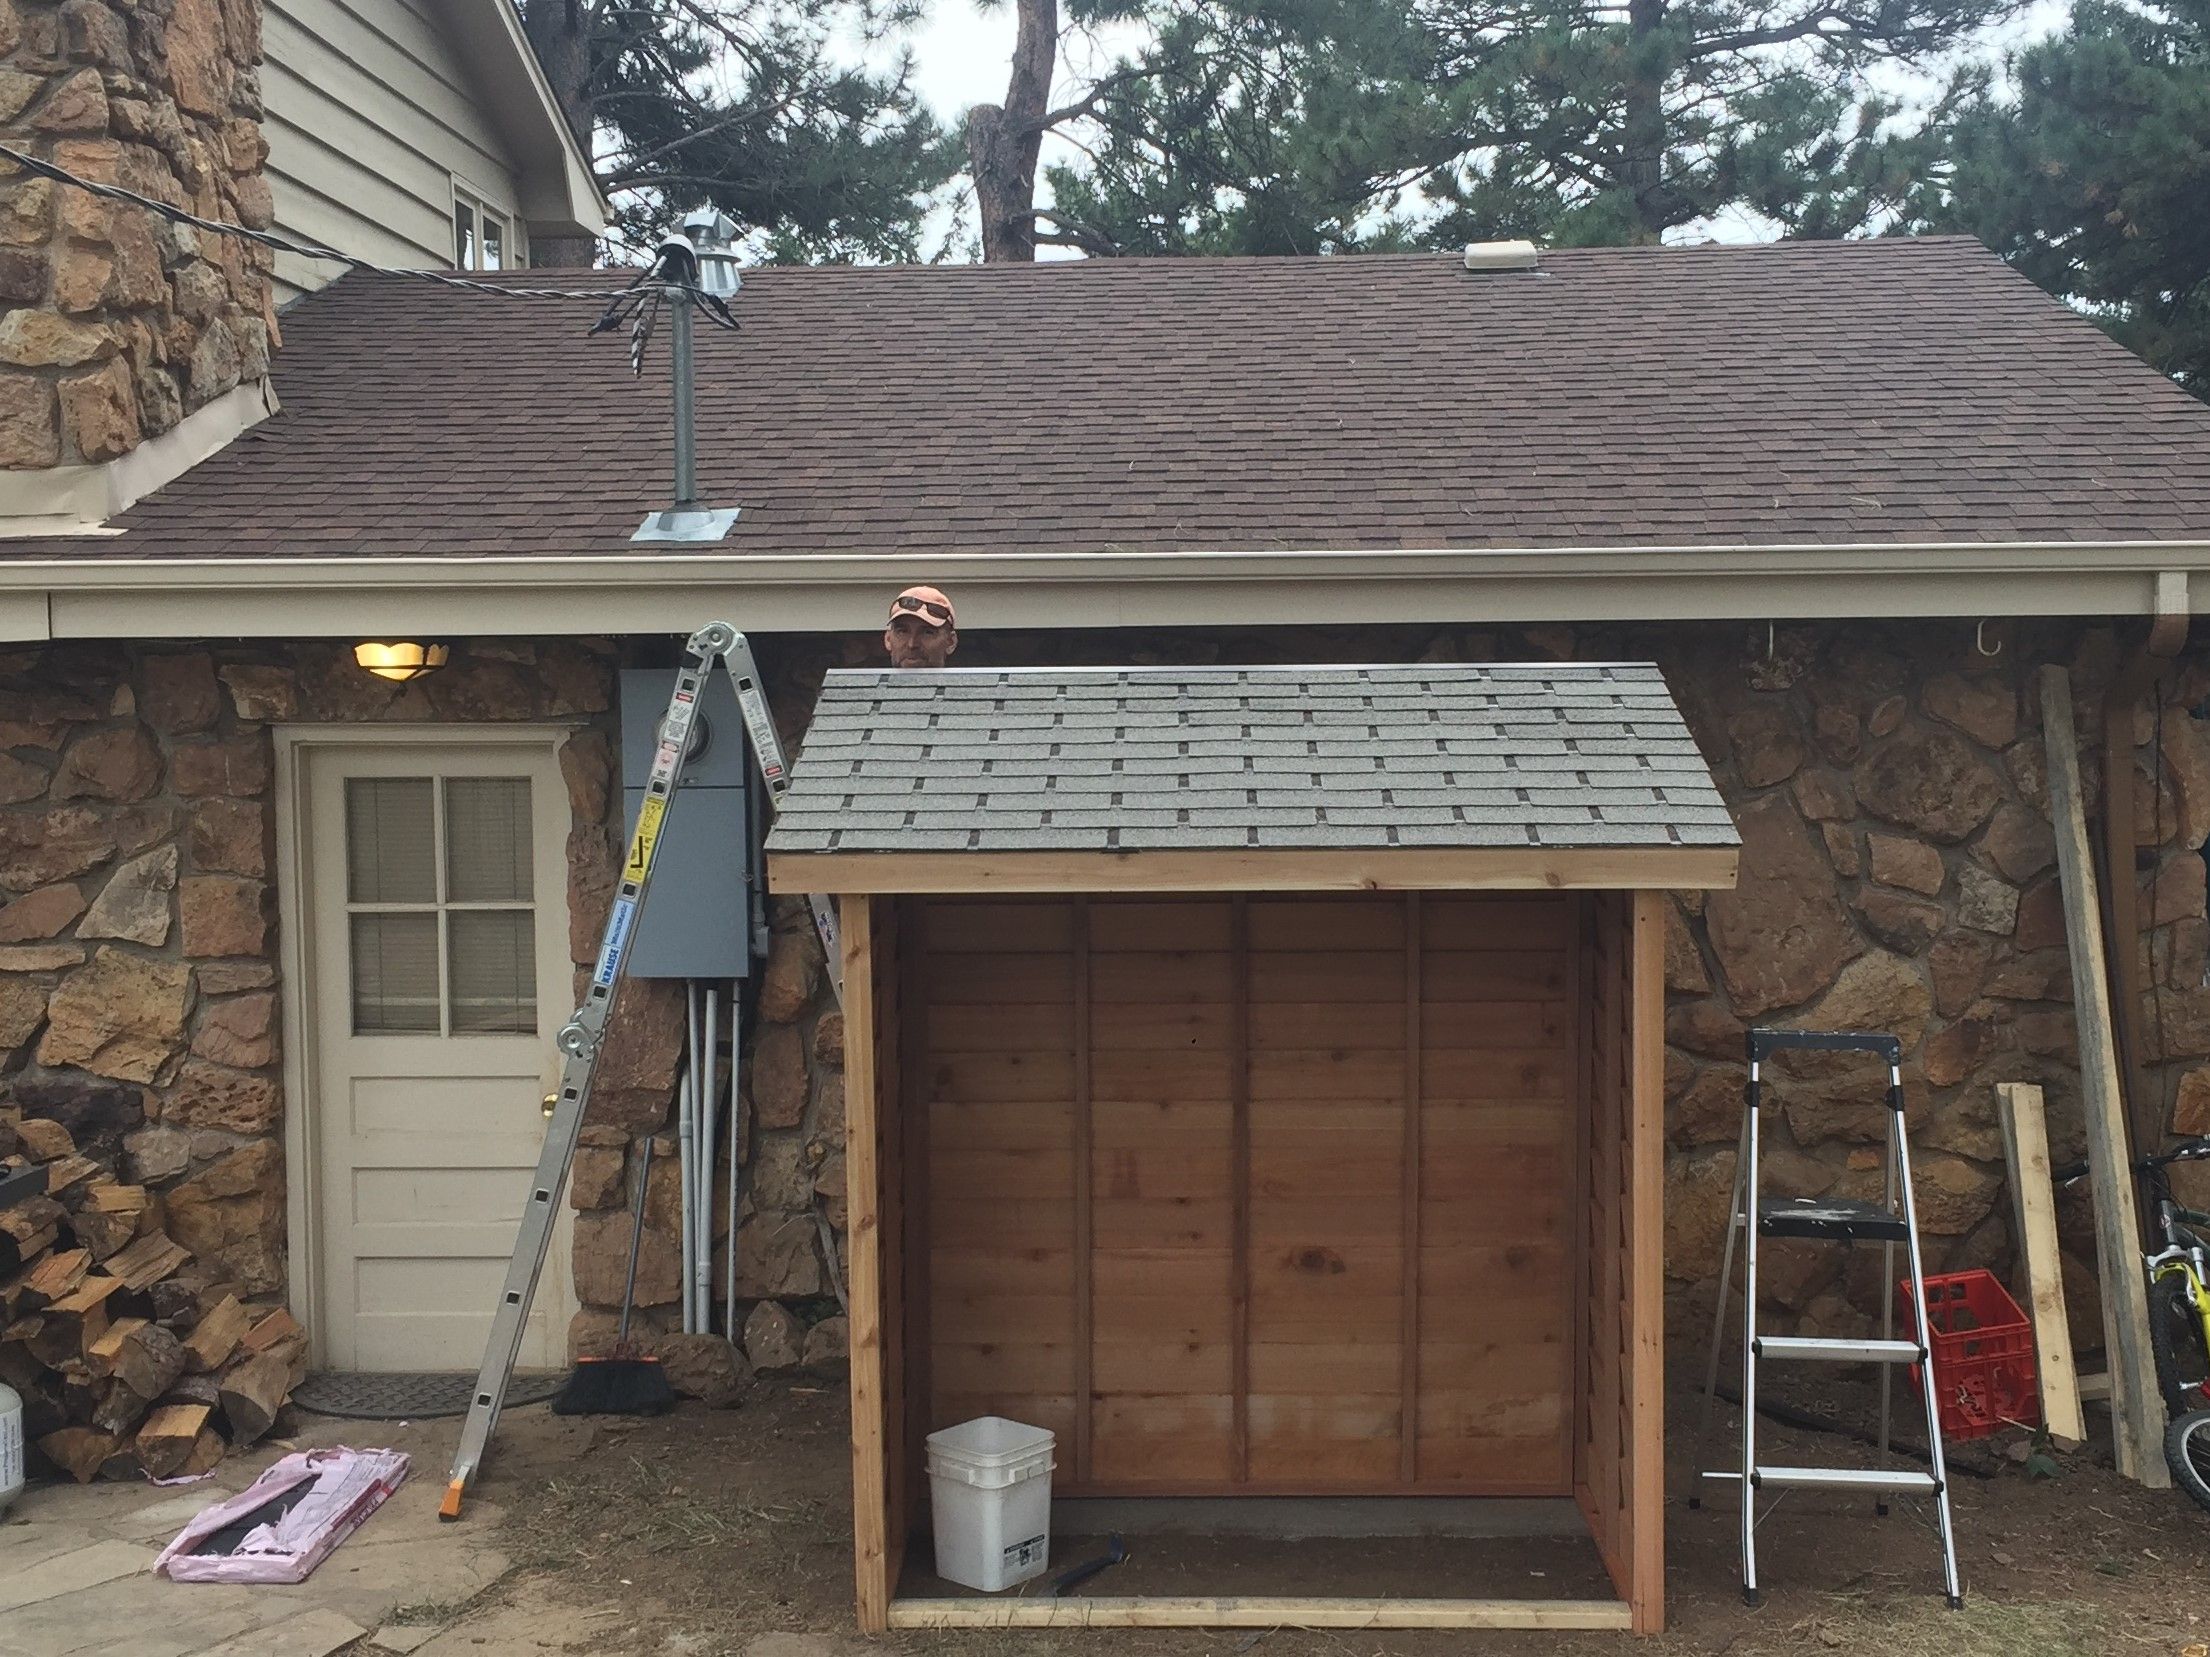
We screwed a temporary 2x4 to the front bottom of the shed, connecting the right and left walls to add some stability. We ended up moving the shed around a bit because we had to pull it out from under the house overhang in order to add the roof.

We originally bought only one pack of roofing tiles thinking it would be plenty but we had a lot of waste due to the shed dimensions. We later had to go back to Home depot for more tiles and could not find the same color anywhere. However, the HD computer system showed they had another bag in stock and we must have spent another 30 minutes helping the sales guy track it down in the back.

Roof is complete. Whoops! We thought we were matching the shed roofing tile to the house roofing tile color but somehow grossly misjudged that.

Next we drilled holes into the framed walls and pounded in cement anchors to secure the shed to the concrete slab. Once we did that, we were able to remove the temporary 2x4 bracing.

On to wiring the shed into the house breakers. Due to lack of space in my breaker panel, we obtained “skinny” breakers. We ended up wiring for 3 x 20 amp breakers for the miners, and 1 x 15 amp circuit for the fan, light and router outlets. Looking back at it, I think we should have wired 30 amp breakers and wiring. As a result, I will need to be very careful about not pulling too many amps on each circuit.

Conduit from Breaker panel to Shed was probably the easiest part of the job, I had one remaining knockout on the panel and somehow we got four sets of wire through that pipe!

First of three junction boxes, one for each circuit coming in from the breaker panel.

Starting to frame the doors. I also added a few Paving stones to the front to make it look nicer, and also because we were tracking mud each time we went into the shed.

I purchased a wall mounted variable speed 16” shutter exhaust fan on Amazon, as well as a 20” x 20” furnace filter intake grill. The fan fit perfectly between two of the studs because we had accidentally framed them a little off. However, I ended up returning the grill for a 16” x 20” furnace filter intake grill which ended up fitting just as snugly as the fan.

220V receptacles wired, there will be one miner on each receptacle. Again, hindsight is 20/20 but I wish these had wired for 30 amps as I want to ensure we don’t draw more than 75% of the circuit rating with the miners. However, I’ll start with 2 x L3+ Antimers which each draw 800 Watts, so 1600W / 220V = 7.27amps. Well within the safe load limit on the circuit.

We wired the exhaust fan is wired to a variable speed controller which is then wired to a thermostat with fire protection. With each miner pushing air at about 200 cubic feet per minute, I wanted to ensure the exhaust fan could support up to eight miners or 1600 cfm. However, with only a couple of miners to start, one thing we were worried about was the large exhaust fan in such a small space cooling the shed very quickly. We thought the fan would fire up, cool the shed rapidly and shut down again, then the Antminers would heat up the shed thus kicking on the fan again and causing rapid and extreme temperature fluctuations throughout the day. With the variable speed controller, I can slow down or speed up the fan to find a happy medium of constant temperature.

One 220v and one 110v circuit wired, as well as the furnace intake air grill on the outside of the shed. I also purchased a permanent air filter for the intake which is accessed behind the shed so I can take it out for cleaning. The next step was to seal every overlapping board, and every crack with caulk. This would ensure it was extremely weather proof and that most air flow from outside would come through the furnace filter.

Shed doors built and Amazon choice wire frame rack installed and ready to receive miners. Notice the doors are lined with plastic wall on the inside for weather protection. While I loved the shed plans, there was definitely some modifications needed for added weather protection and general air tightness. I ended up with a sill all the way around the doors and added weather stripping as well. Also, I pulled the paving stones away from the drip edge of the shed as rain water was splashing up onto the doors.
We used foil lined Styrofoam insulation for the interior. While not quite a finished look, it sure made the shed feel more cozy. We chose the Styrofoam insulation because it was inexpensive but looking back on it I think we should have chosen something that could provide a bit more soundproofing. I may end up just getting sound deadening tiles for the doors.

Shed fully assembled, wired, and ready for miners. Notice the cross bracing on the door corners. Those were supposed to be temporary, when I framed the doors I needed them to keep the doors square. However, I kind of like the look and may keep it that way.

I worked from home the day the Miners were arriving, I literally tracked the UPS truck as it meandered through town. They finally arrived on a snowy October afternoon but I couldn’t hook them up yet because I was still busy with work responsibilities. Which was fine though, electronics should be warmed to room temperature before firing them up after they’ve been out in the cold.

Bitmain came through! I’m now a proud owner of slightly used (I'm convinced they mine with them for 2 months before shipping) AntMiner L3+! I bought the Bitmain APW3++ power supply with the extra cables as each one power supply can power two Antminer L3+ at 384 Mhz.

As soon as I was off work, I ran the miners to the shed and plugged them in, and they were definitely loud. I wired them to to a Linksys WRT54GL router with DD-WRT installed, and the router configured as a wifi bridge to the main router in the house.

The next day, my buddy’s miner joins the party. I set him up with VPN access into my network using OpenVPN so he could configure his miner remotely.
In my next post, I’ll detail configuring the miners and connecting to various mining pools.
Wow, awesome I want one too. Bitmain huh... hashocean was supposed to send too.. Any idea what the payback breakeven time is on those miners?
ROI is difficult to determine because the hash rate increases on a regular basis, the price of Litecoin fluctuates and of course electric rates are dependent on where you live. However, over the last week my two Antminer L3+ have been making approximately $35/day before electric costs, this is nearly identical to what I see in the litecoinpool calculator.
I see a number of scenarios playing out over this next year:
Plenty of other scenarios could play out as well. Ultimately, I think the adage don't invest what you can't afford to lose applies here as well. If it works out that would be fantastic, if not it was a fun project and I learned a lot.
well eddy how about the price now.
Congratulations @eddyout! You received a personal award!
You can view your badges on your Steem Board and compare to others on the Steem Ranking
Vote for @Steemitboard as a witness to get one more award and increased upvotes!