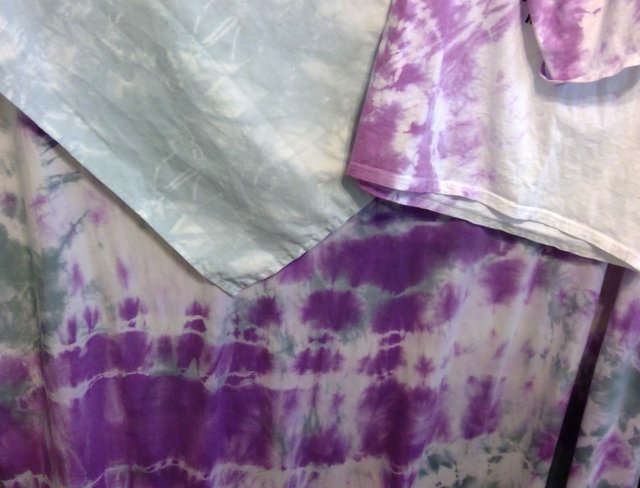
Tie Dye Extravaganza - Fabric, Shirt and Apron
I have always loved tie dyed garments but I have never attempted this procedure myself. The process is not difficult and it is often used in classrooms across America in art classes. I started off admiring some Batik fabric and I researched the Batik technique. The batik process is much more difficult with hot wax, painting on designs, using multiple dye baths, etc. Then I read about using washable glue instead of hot glue to paint on fabric, and then using cold water dyes to complete the process.
I mistakenly bought hot water dye along with my washable glue, so I went shopping yesterday for cold water dye. The cold water dye is much more expensive and it also comes in smaller quantities, so I decided to use what I had on hand and try my luck with regular tie dyeing.
I have plenty of fabric and rubber bands so I figured if I messed up, . . . oh well. Nothing ventured, nothing gained. I started off by following the directions on the package which required a gallon of steaming hot water, and 1/4 cup of salt added to the dye package.
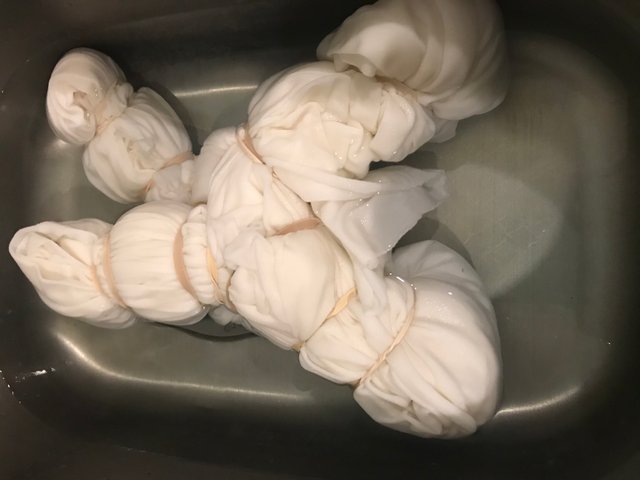
I prepared my fabric by twisting it and applying rubber bands to hold it together. I then immersed the fabric in hot water and squeezed it out before I put it in a large stainless steel bowl with the dye mixture.
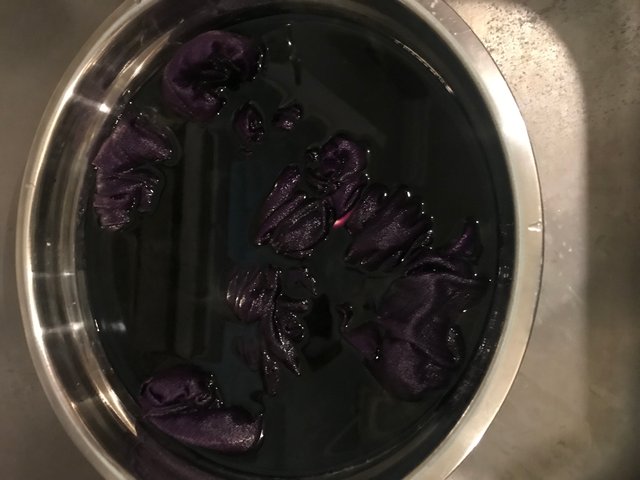
I stirred it around for several minutes and then I let it sit in the dye bath. Afterwards, I rinsed it out in the sink in cold water and took off the rubber bands. I squeezed out the excess liquid and then applied rubber bands in a different pattern. I immersersed the fabric in a black dye bath the next time, but I didn't let it stay in very long because I didn't want the black dye to overpower the purple dye.
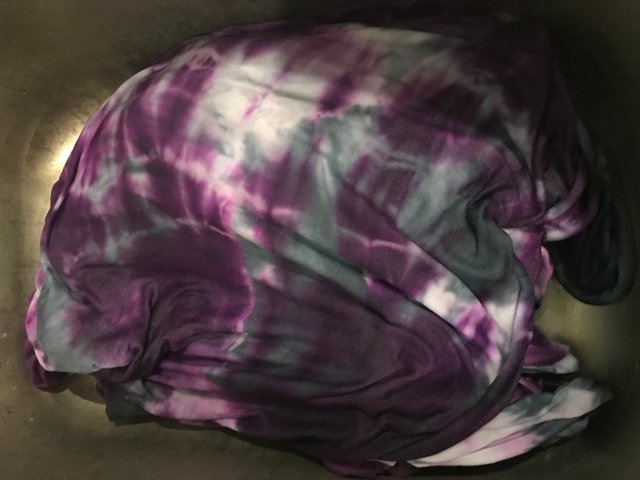
I rinsed it out and took off the rubber bands a second time. The next thing that I did was add some vinegar and salt into a cold water bath to help the dye to become color fast. I squeezed it out and then threw it in the washing machine to wash it so that I could dry it in my dryer.
I repeated the process with a white tshirt and a white apron that I had. I only used the purple dye on the tshirt and the black dye on the apron.
They were all washed together in the washing machine and dried together in the dryer. I did not want any dye bleeding on my clothes or furniture.

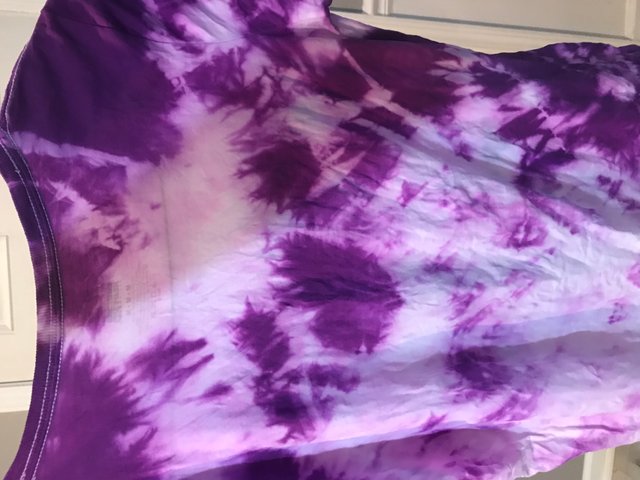
A lot of the color came out when I washed them in the washer. I probably should have left them in the dye bath a lot longer which is what I had read about. I will try this again and leave the objects in the dye bath for a longer period of time.
I still like the results, even though the colors are not as deep or vibrant as they were when they were wet.
Have a great day!

Hi, @jluvs2fly!
Thank you for using the #diy tag. This post has been rewarded by @build-it.curator with BUILD tokens in the form of an upvote. Build-it is a new tribe on the steem blockchain that serves as a central hub for DIY contents on steemit.
We encourage steemians to post their DIY articles via our website. Have a question? Join us on Discord and telegram
This project is run and supported by our witness @gulfwaves.net. If you like what we do, vote for us as a witness on the steem blockchain.