Project model railway #1
Since I was a kid I always wanted a model railway.
Not a small oval shaped track. It had to be a big one! With hills, trees, roads and all this stuff.
Well, I was a child, my pocket money wasn't nearly enough and my room was far too small for a project like this anyways.
But now, like 15-20 years later, with a house and a neat job my time has come!
I am not that a train fan itself, more a fan of model building in general. So it is not 100% about trains.
The follwing features had to be included:
- Train operation fully automated
- Landscape as realistic as possible
- Cars (the active ones) and buildings have to be illuminated
With that in mind I started to create a track plan.
For this I used SCARM from http://www.scarm.info and after many many concepts I cam up with this (keep in mind, it is planned in 2 levels)
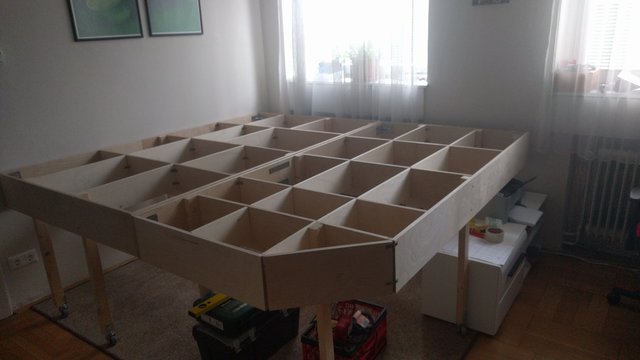
The next step was to build a solid frame. I planned it for 2.1m x 2.2m with a cut off edge. The main struts are made of 16mm plywood. The inner ones from 12mm plywood. Put it on wheels for mobility and splitted it in two halfes for transport reasons.
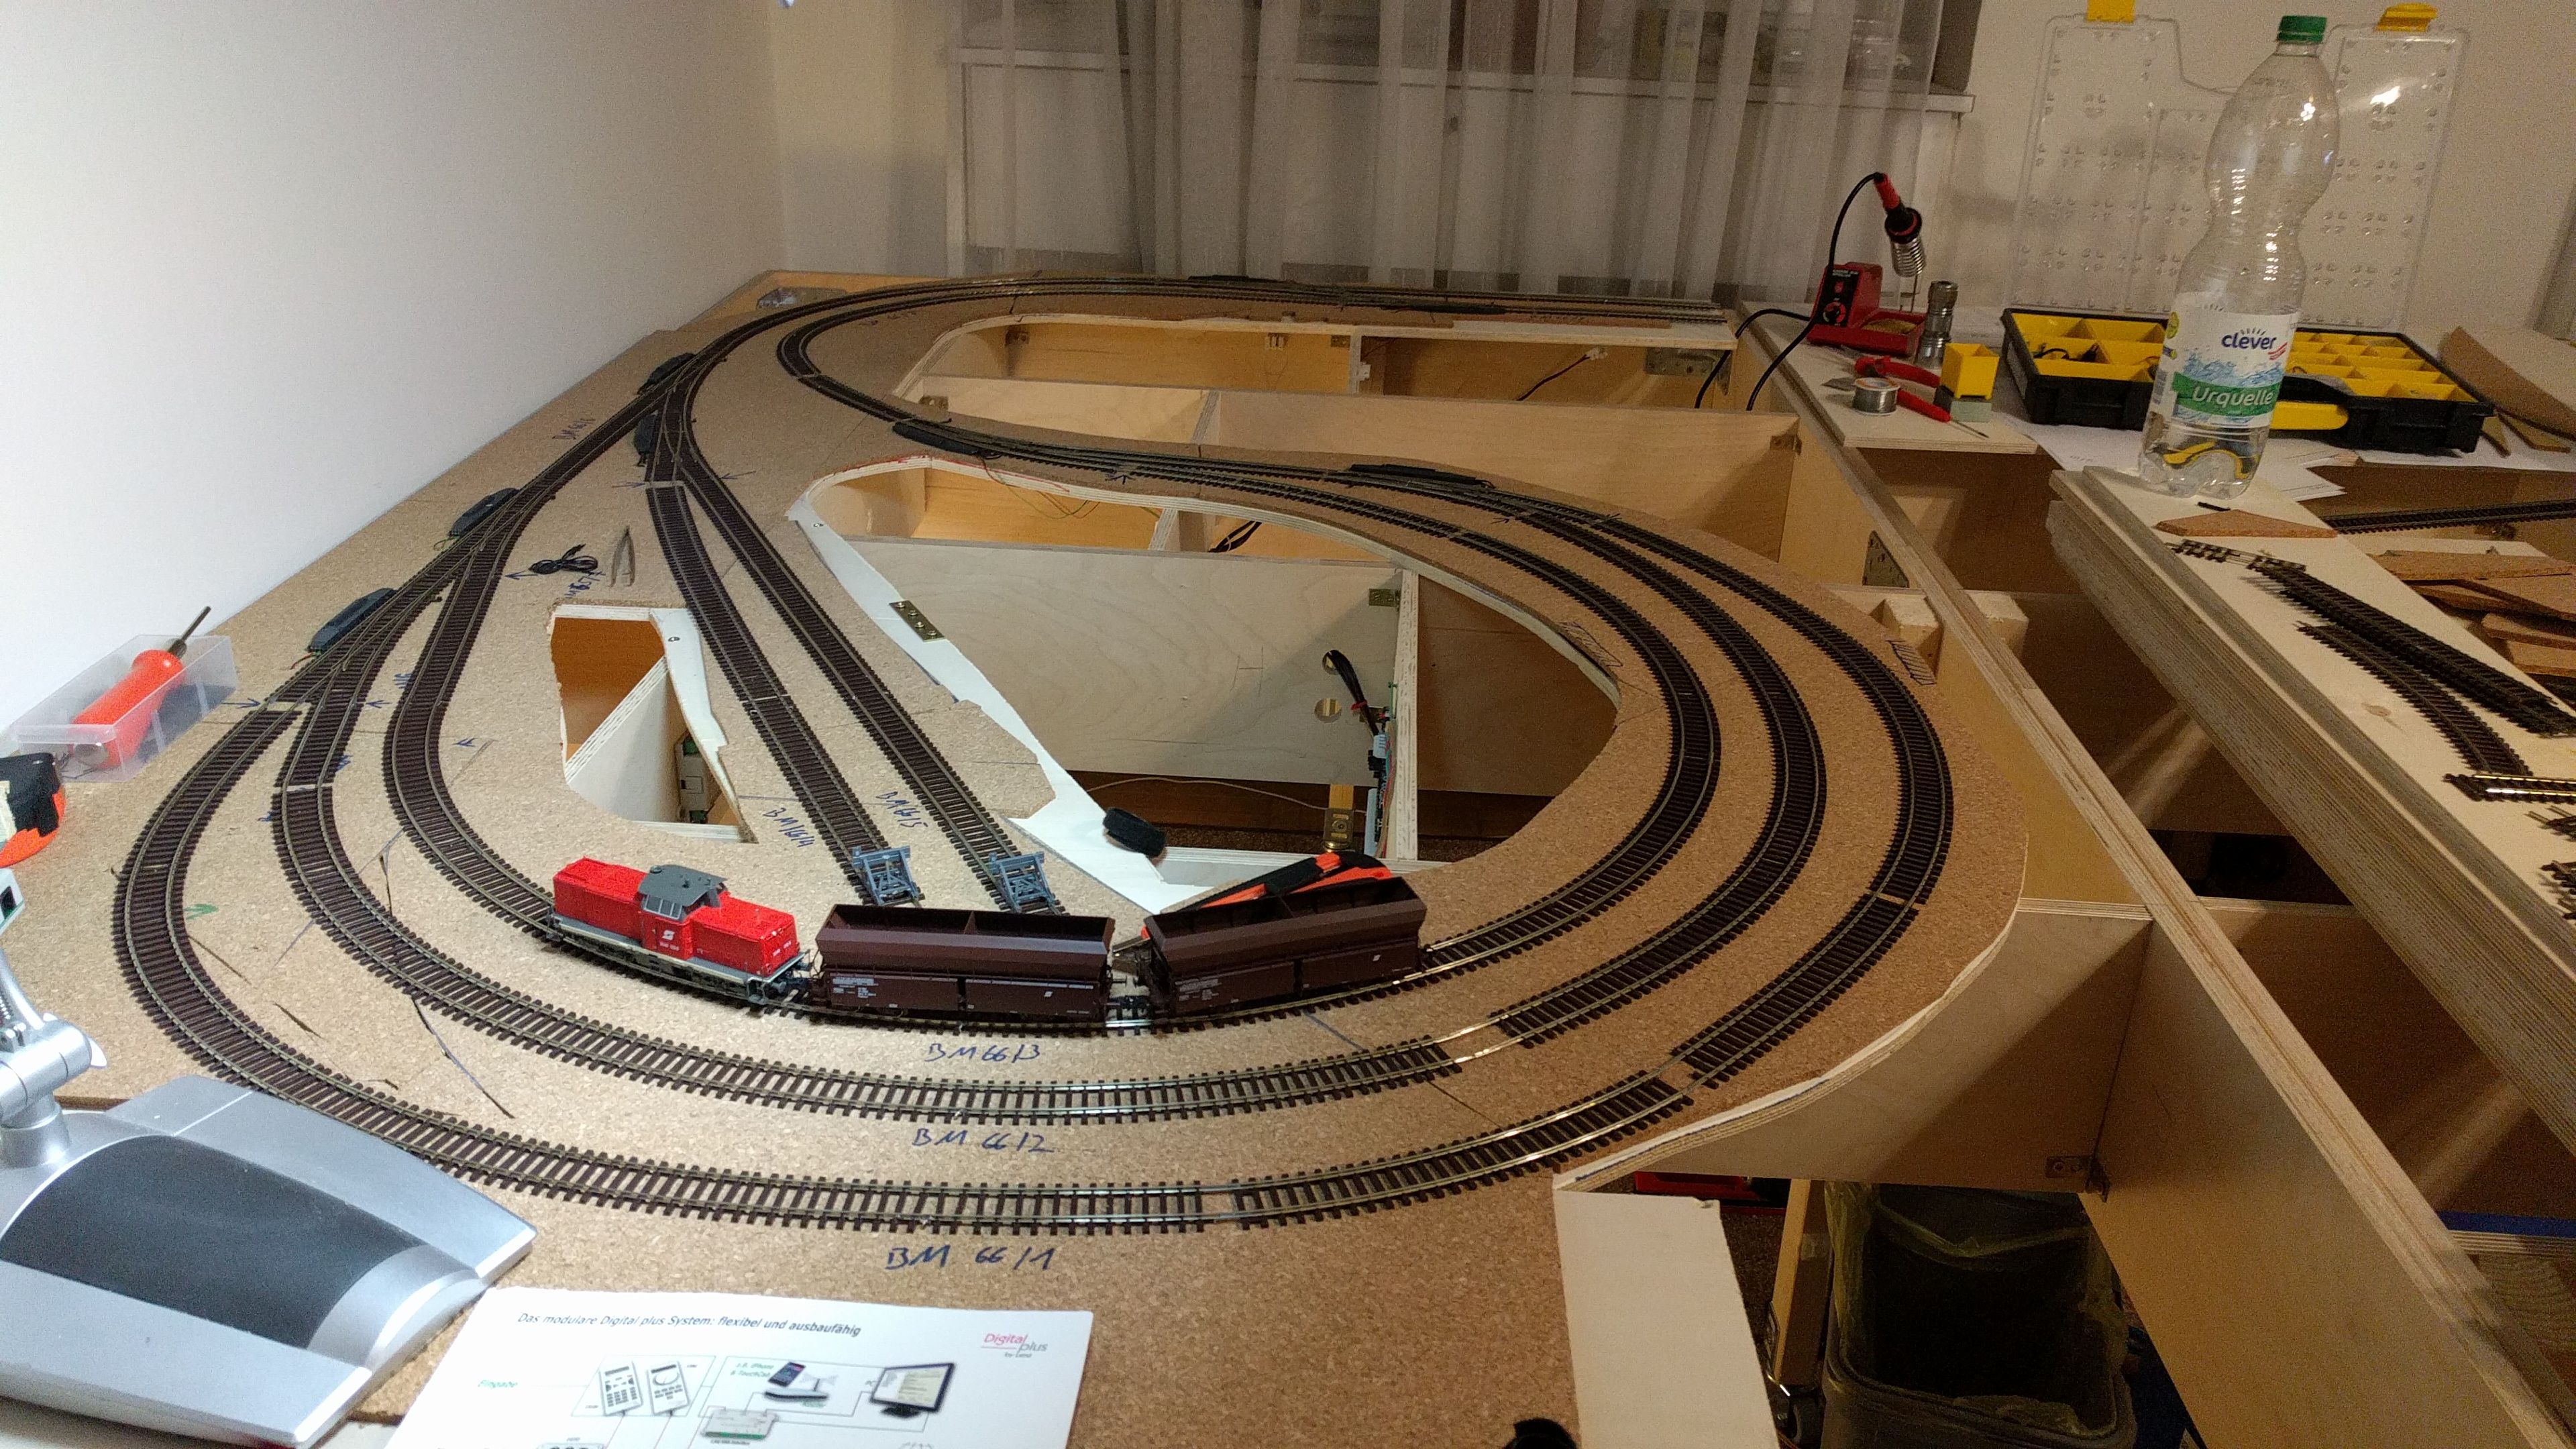
With that base I started to place the tracks for the hidden sidings. Since those are not visible at the end, I did not pay attention to aesthetics but more to reliability. At the end, you don't want to climb under the table every 2 minutes to fix derailed trains, right?
For the controlling part I have chosen to use components from Lenz http://www.digital-plus.de , Littfinski https://www.ldt-infocenter.com and as software TrainController http://www.freiwald.com. Why this, you may ask?
First Lenz and Littfinski work perfectly together and second the famous Miniatur Wunderland https://www.miniatur-wunderland.de/ from Hamburg uses them as well, so it can't be wrong, right ;)
And last but not least, TrainController is not the cheapest solution but provides all those neat thing I want to do
Time to pull some cables. I am not an electrician, so please do not bash me :D
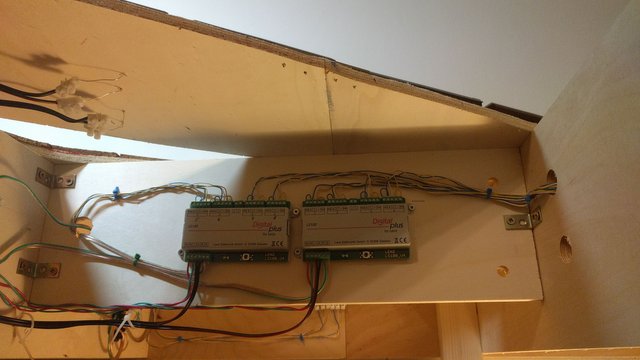
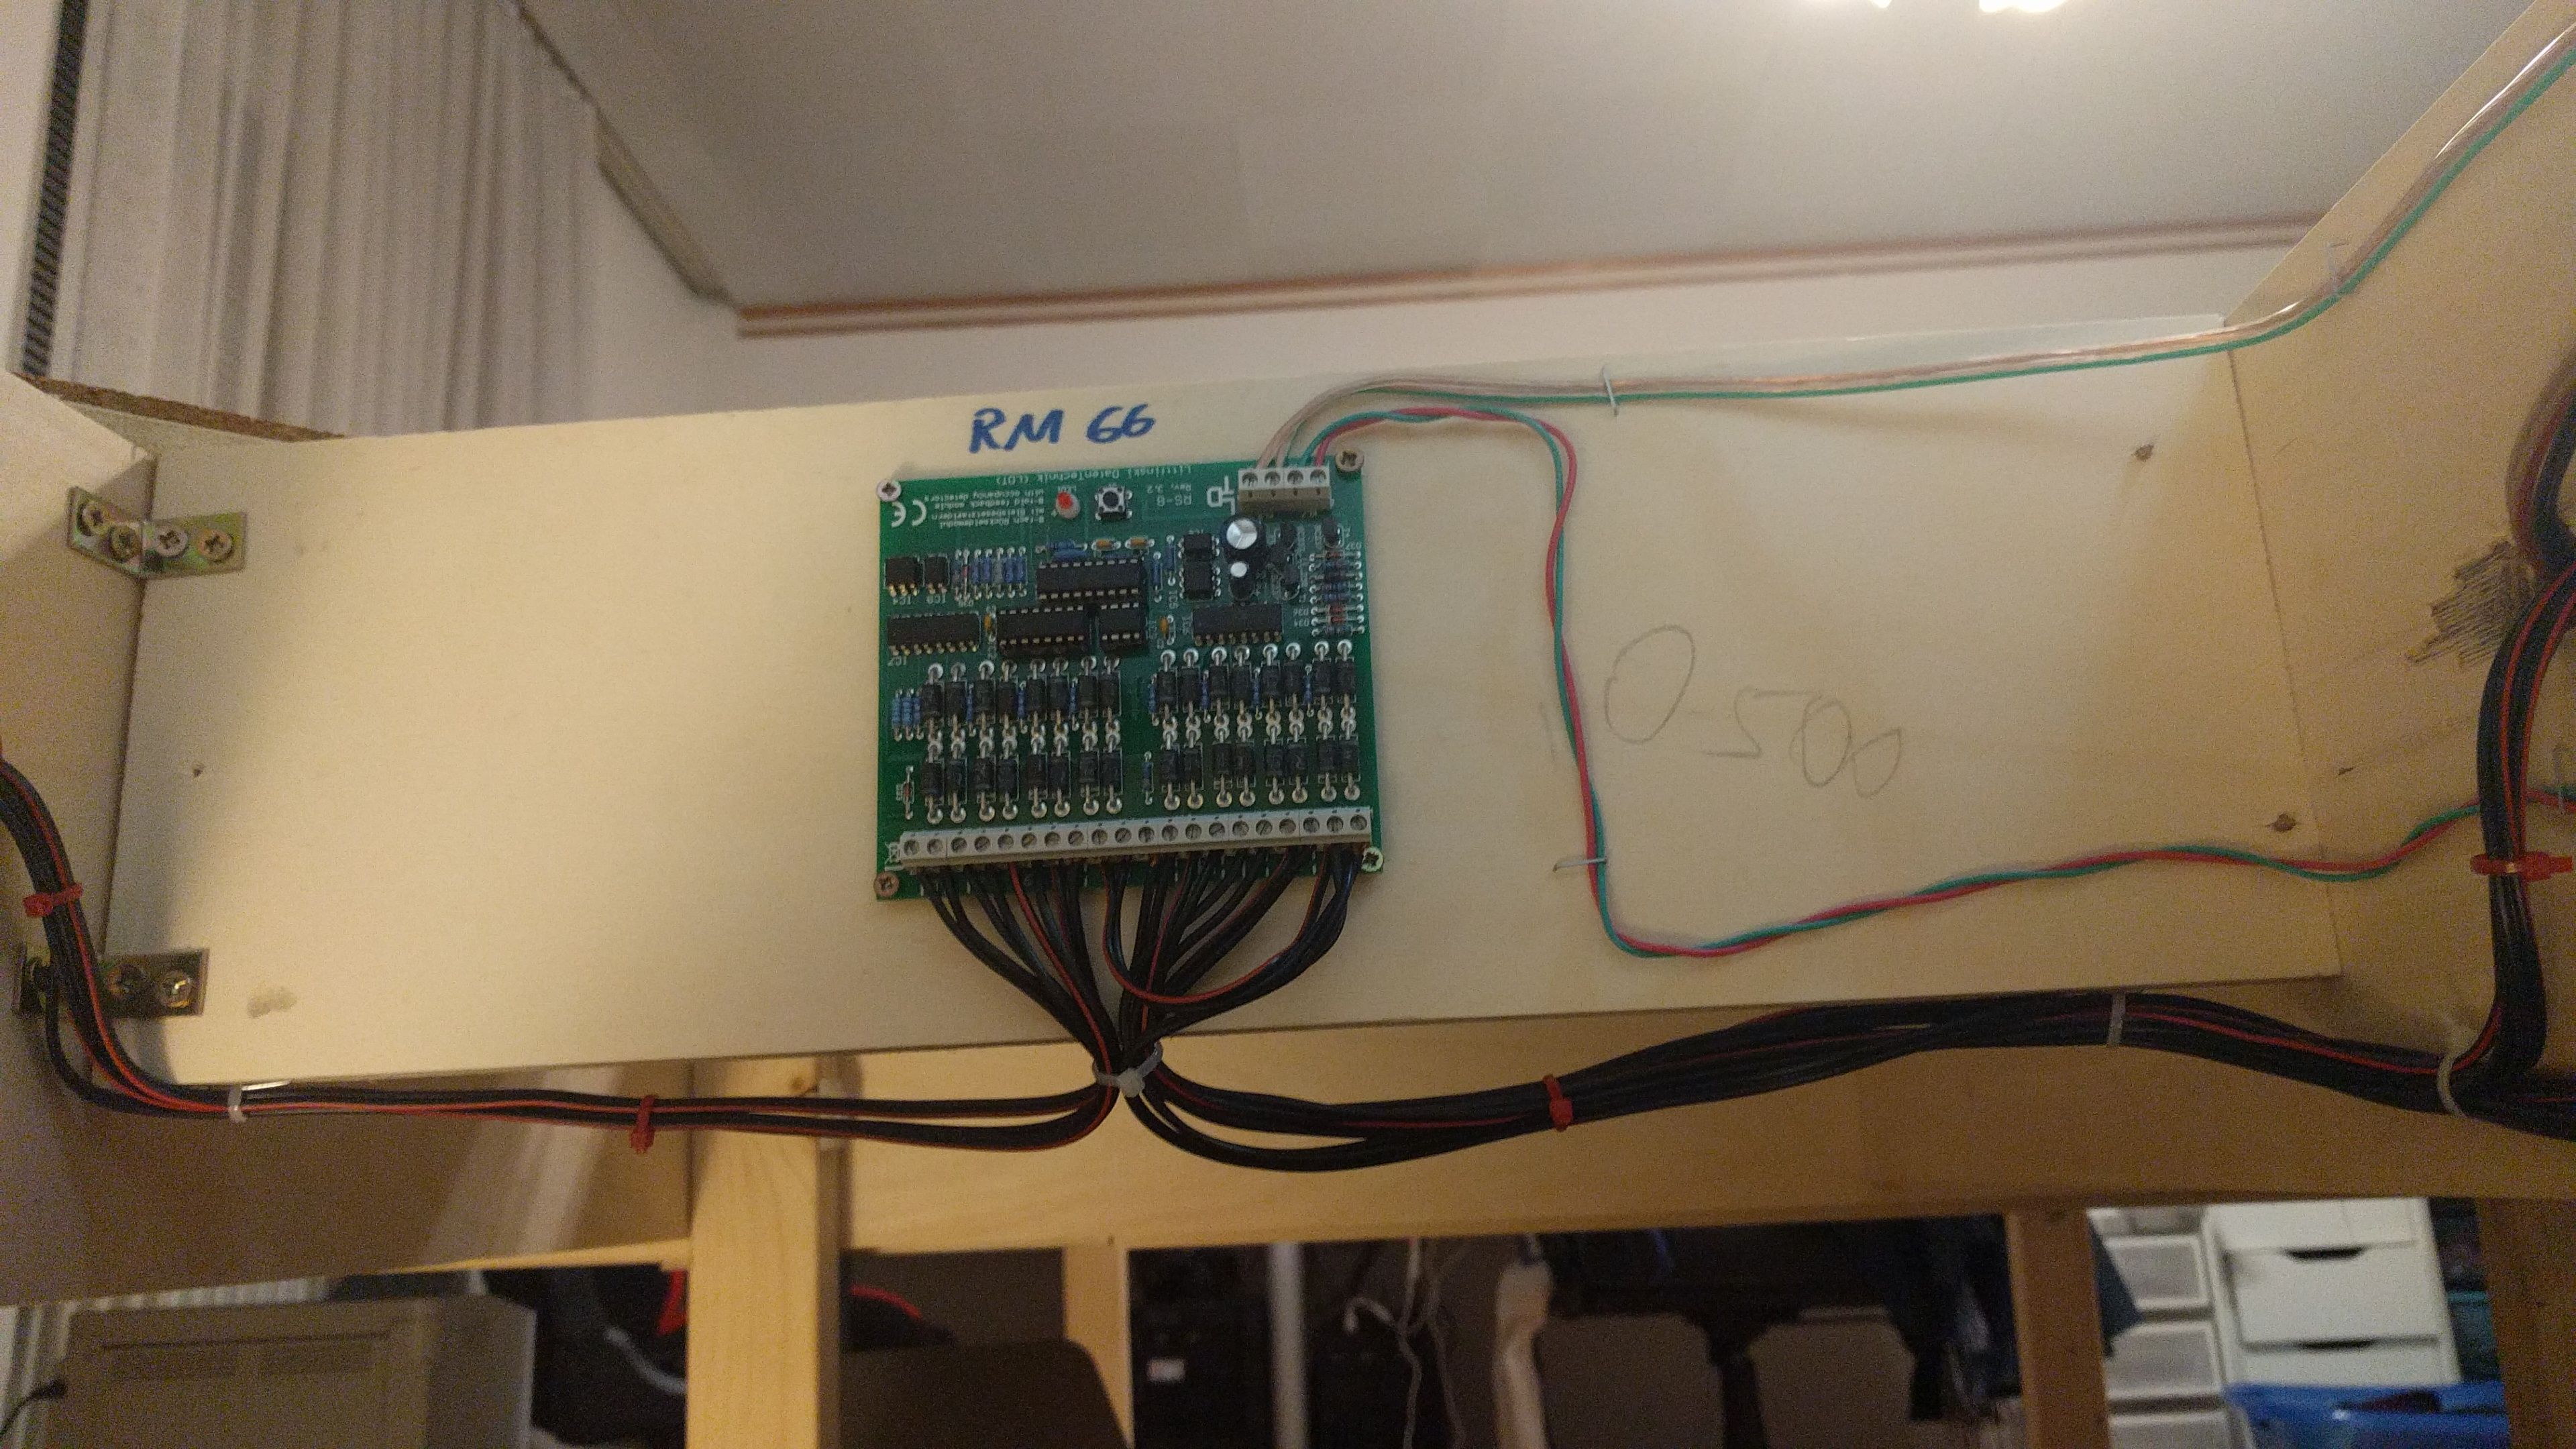
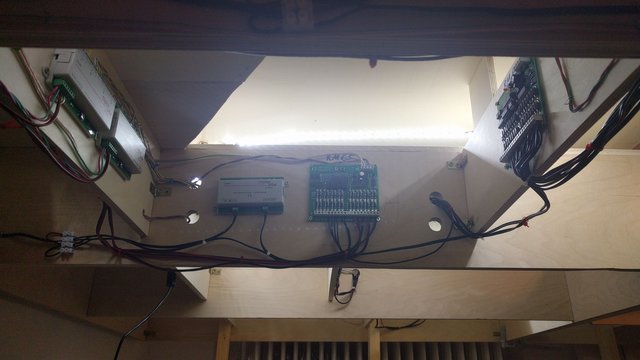
After the initial electrification it was time to start the work on the upper level. Here I need to be more carefull since this is all visible and should look nice.
At the beginning a ramp was required - obviously. To make it look smooth I tried not to exceed a rise of more than 3,5%
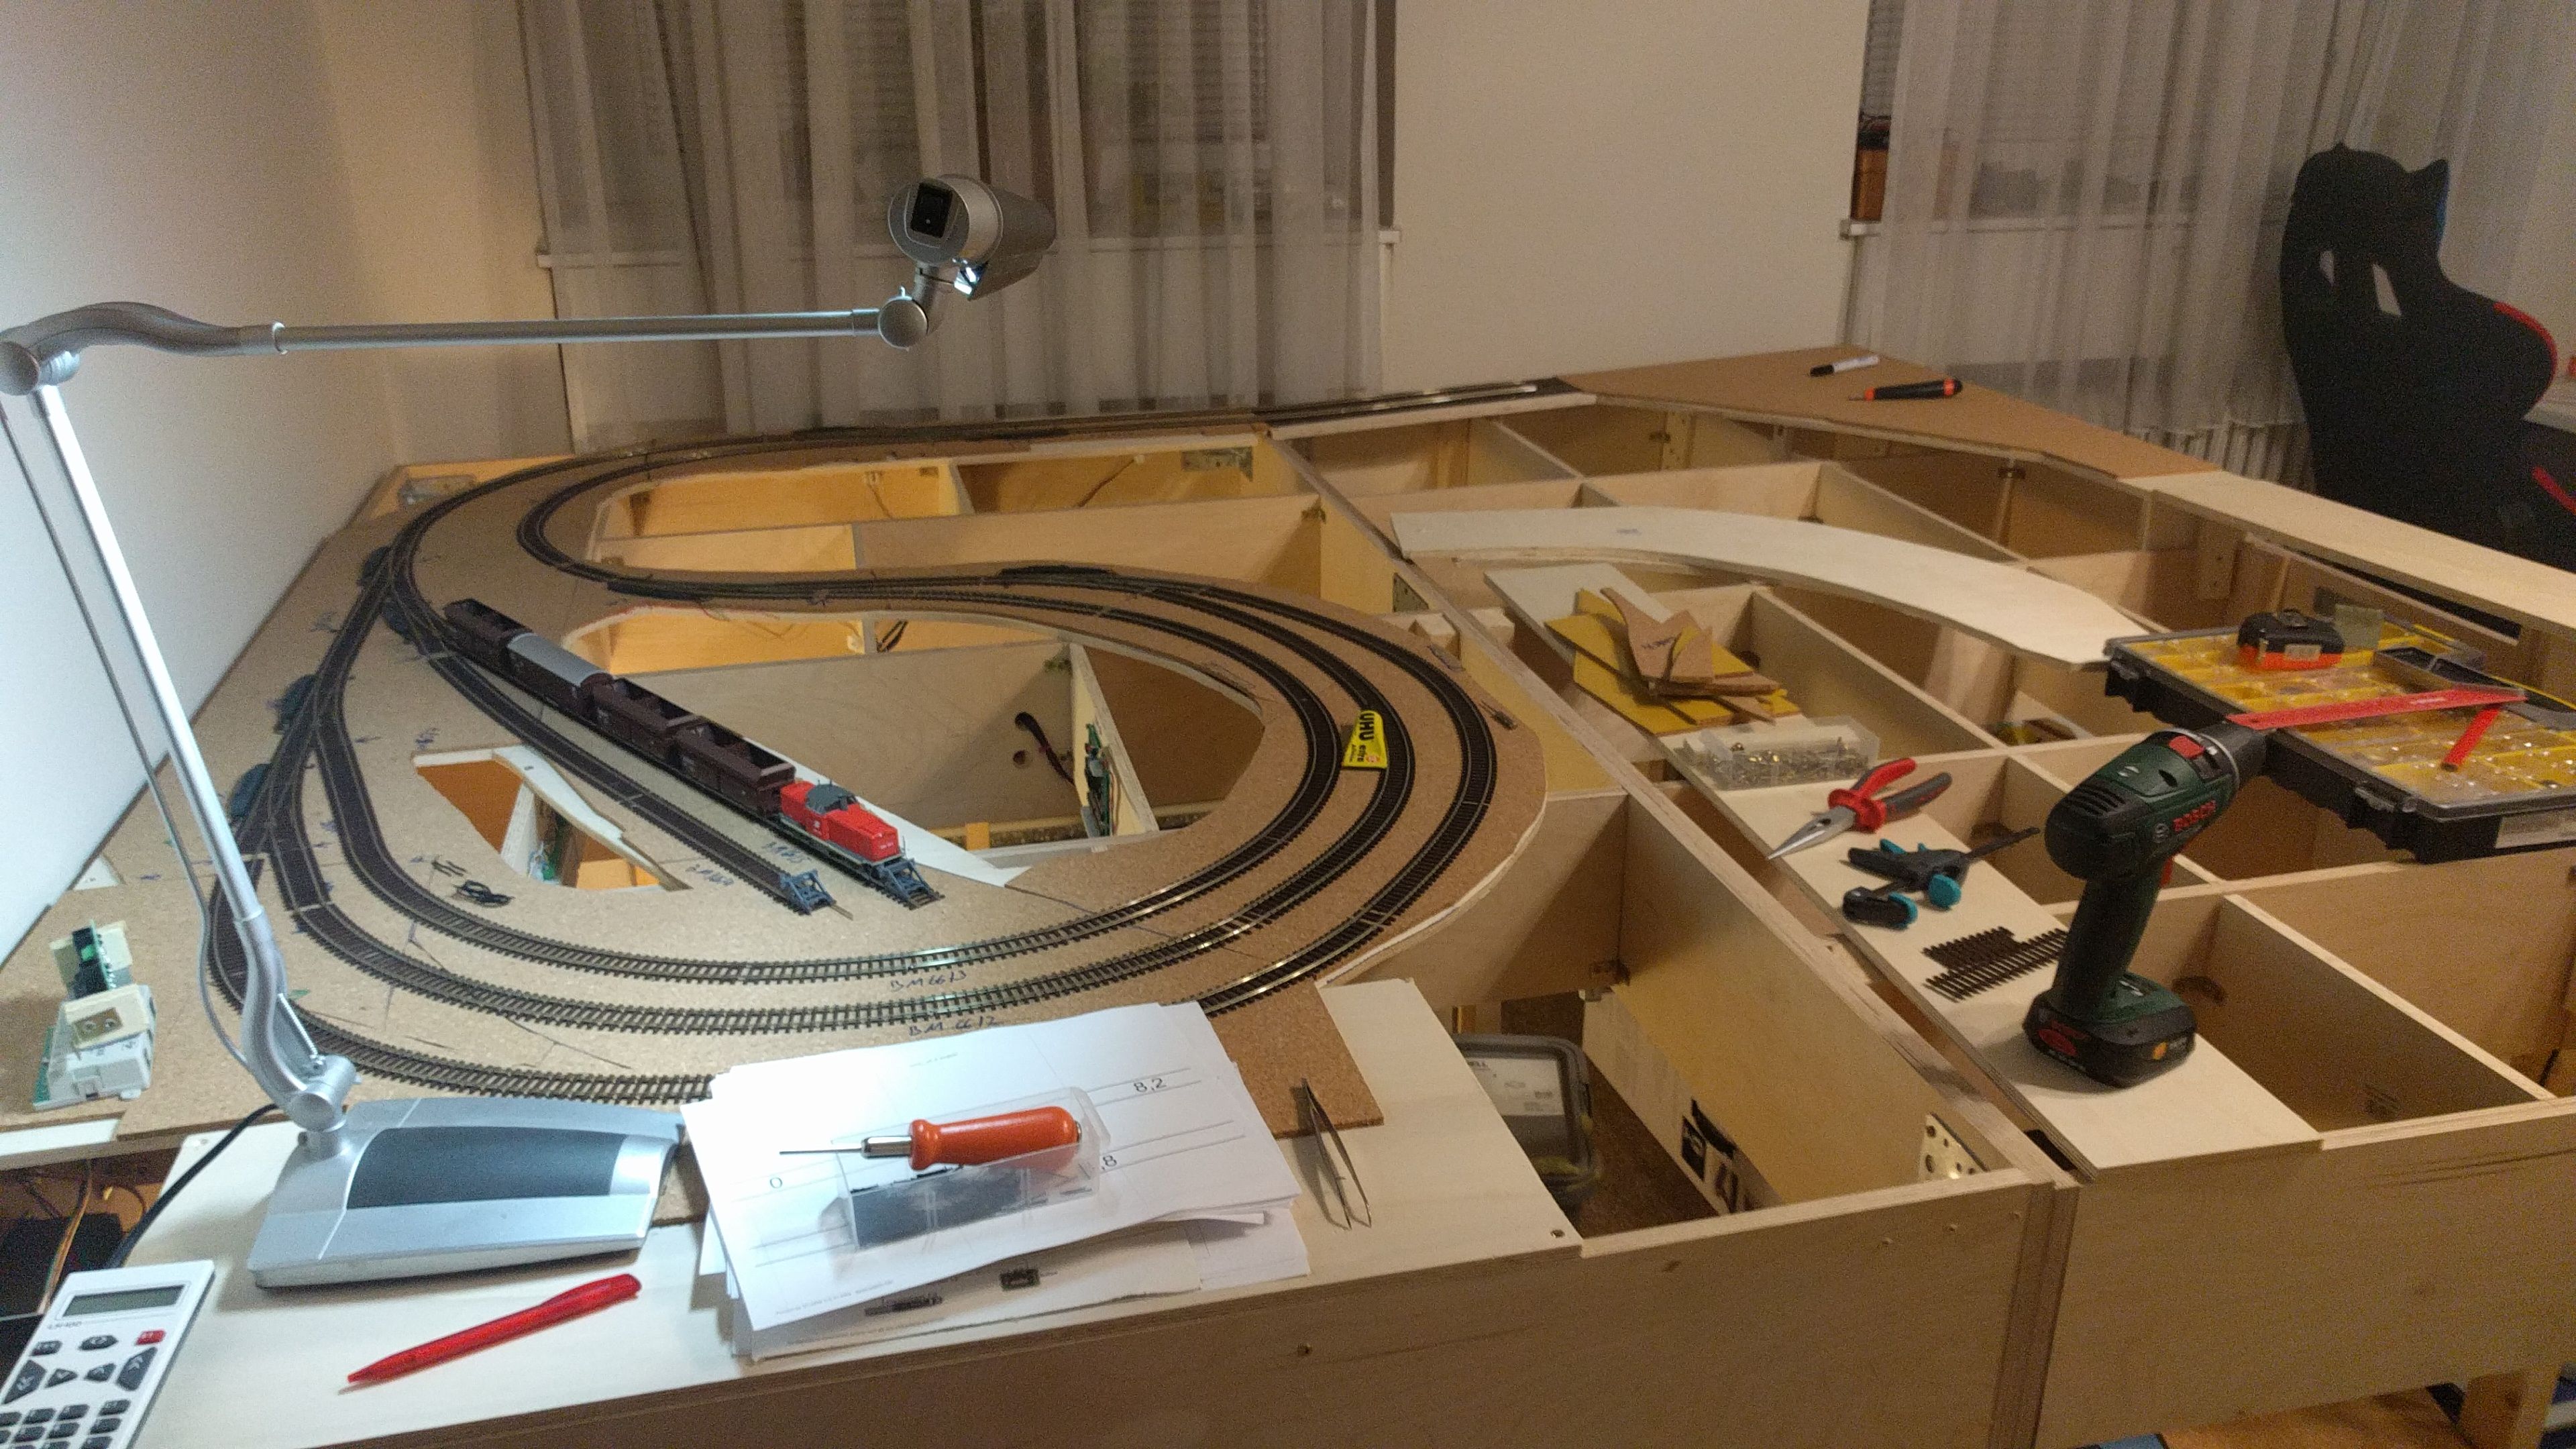
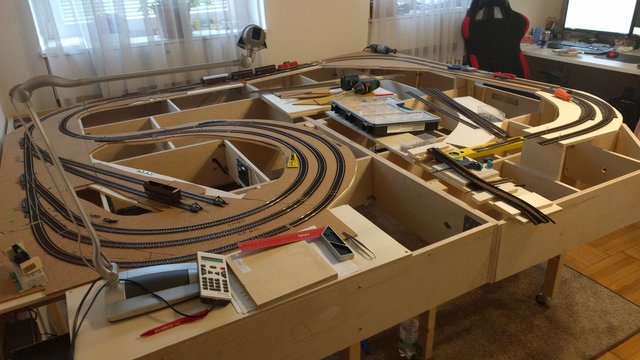
This was the first posting of an upcomming series which I want to update each day till I reach the current state.
Currently I am already working on planting gras and setting up buildings. So don't forget to follow if you want to see the final result! ;)
If you have any questions, ask right away in the comments.
Look forward to watching your progress.