Leafa Mellow Maid - Work in Progress (Part 1)

Hey !
I'm going to show you a bit of what i'm working on for the moment !
Reference pictures :

(sorry, i don't remember where i get Leafa's ref in high res :/ Maybe amino ?)
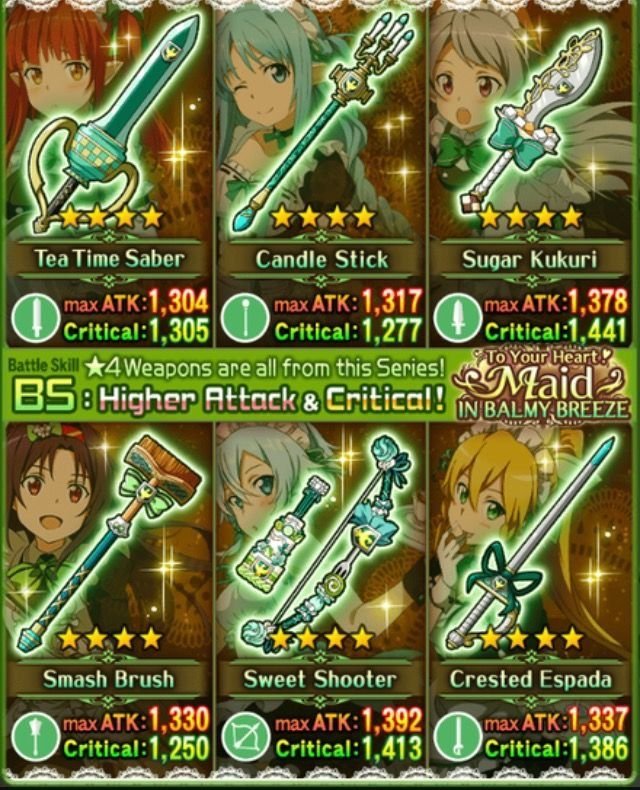
the weapon is the one on the bottom right corner, i found the pic in SAO MD wikia
Yes, that's the only one i've found, i also have a friend who got her in game but i haven't made screenshot of the game, i've just watch how the character move and a bit of the back
Research
This costume seems simple but there's a lot of details and some questions came in my mind.
I've found on facebook a maid costume that is almost the same as my ref pic so i decided to buy it and custom that to get as close to my model.
A first question that came up to my mind after founding the dress was "How about the socks ?" I definitely hate sewing high socks because i've attempt a lot of time without good advice, without good tutorials and i haven't achieve to make one pair by my own. To simply that, i decided to just add the ruffles seperatly with a rubber band hidden and to not make the feet part white but black.
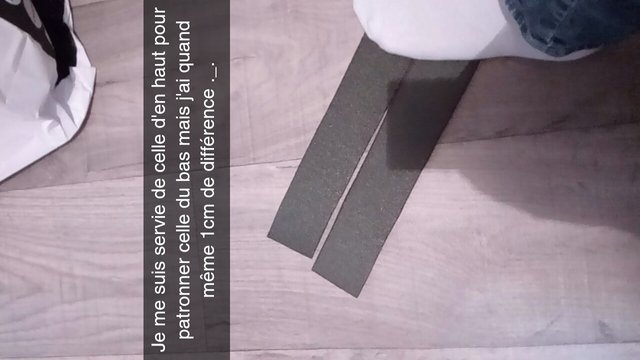
Secondly, i've some trouble to see properly this part :
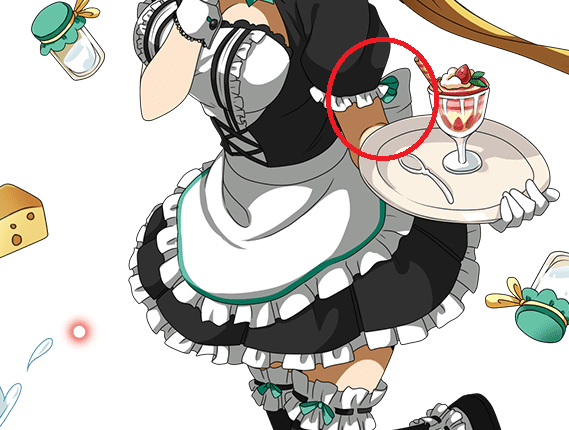
I couldn't really see where the ribbon were. I decided to imagine a bit ; so i've choosen to add green ribbon on the side of my sleeves and in the waist of my apron.
Finally, the challenging part came : the sword, i mean, the rapier. I haven't done a prop such like that, i only knew that i need a base inside my sword to not get it flabby. I decided to go with a wooden base inside. I wanted the sword to be able to seperate and at that time, i hadn't any idea on how to make that quickly and easy. With some more research, i'll go with neodym magnet. That's strong magnets that could be use for a lot of different things, depending on the strengh of the magnet. It could be use behind your photo family or for industry who needs a big magnet.
The only thing i don't know (and still really don't know at that time !) is what strengh my magnet need to be to be easy to seperate but in the same time, keep my rapier in place. I've decided to try to weight my wooden stick and buy magnet accordingly to its weight.
Finally, my research ended and i decided to start my custo.
Sewing parts
I haven't finish that part when i'm talking so wait for the second part to see everything done ! But i'll start with what i've already done... It's better, right ? ^^
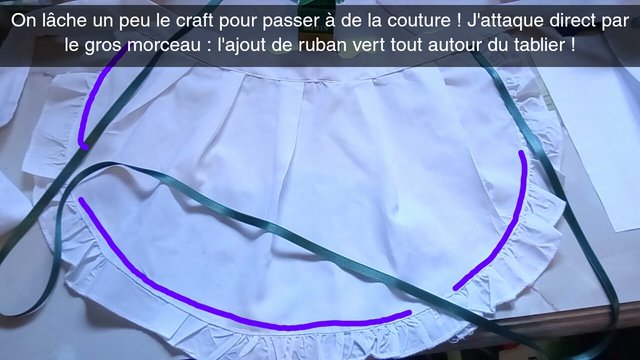
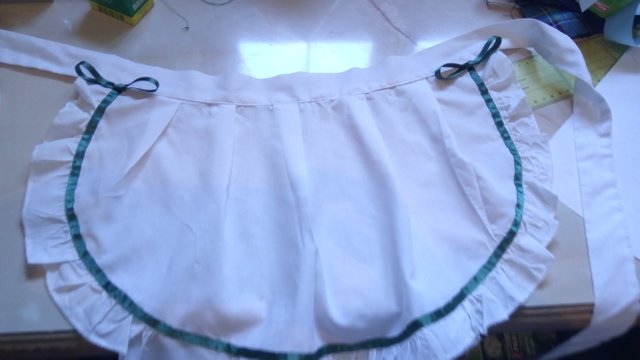
I decided to start slowly by making the custo of the apron. I've bought 28m of green ribbon thanks to a big promo so i could not worry about how much i need. For this project, i've already use more than 3m of the green ribbon. So if you want to make this costume, prepare to swim in green ribbon ! Or use piping if you sew the dress by yourself (it will be as easy and it will make nice edges ;))
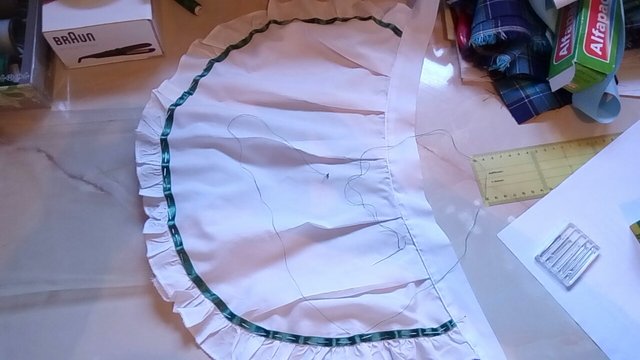
I've started by pinning my ribbon, following the sewing line. Then, i've sew everything by hand :
Then, the funny part begin hello irony !. Accordin to my research, i needed 8 bow tie. With different size but the same shape. I've simply following one of my favorite bow tuto (i've already use this method on a Miku Hatsune costume) : "the fork bow". I don't know how it's called in english but to help you if you want to find out how i've made my tie, that's completly the translation of how it's called in France and it's mostly use in scrapbooking.
Here's a link to a french tuto on youtube about those bow tie : link
I've spend about one hour to get all of my ribbon ready. And i've lost 2 of them because the uneasy part is that i don't need to see the left part of the tie, just the tie itself. And i have to burn the edge to seal them. So to explain you, here's the step of how to make one bow : make your fork bow -> cut the lost part of the ribbon to hide them but not too much to let the bow stay in place -> burn the edge without burning your finger or let your bow fall in candle wax true story -> Definitly seal the bow with hot glue on the wrong side.
Finally, when i've got all of my bow, i've take two of them and sew them on my apron and tadaa !
And that's all i've made for the sewing part for the moment (in reality, i've a bit much but i don't want to say verything in one post ;))
Craft part
Firstly, i've buy a wood curtain rod and i've written on it where i want to cut it (my curtain rod was 2m long, it was a bit too much !). My father cut it for me (i don't know where he hide specific tool, it's too messy in the basement !). I've make a pattern of a quarter of the blade on a paper tablecloth (Really useful to draw any pattern, you have to get one roller in your house !). Then i redraw it and cut it in foam, from a yoga mat buy in a sport shop. If you can, take a better quality foam, it will help you reduce the amount of time.
But in my case, it was leftovers from my splatoon wig (i will talk to you a bit about that later).
Once cut, i heat them with my heat gun to get them flat (i stock my foam roll in bags).
And that's all i've made for the craft part.
To finish
I really don't know if i could finish this costume for the end of the week, timing will be short. Fortunately, since last tuesday, i'm officially in vacation. I've finish my last exam so i'm able to spend all my week on this costume. And when it's finish, i'll go back to Ria because Japan Expo is coming and my jacket isn't ready at all !
Stay tuned for part 2 !
Bye, bye !