Creating Realistic Emboss Effects With Transparency And Gaussian Blur Commands
A question a few days ago in the CorelDRAW User Community about creating emboss effects,
How to make emboss effect like gini master mbakter?
Thanks * Clearly mbah. Step by step Example image as below:
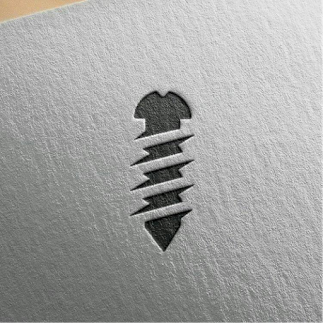
Photo source www.belajarcoreldraw.co
Answer: Almost 1 hour I make this tutorial, but if the image is directly process quickly, shake the mouse .. click this push, click click click glodag ... finish, let alone use mockup ... sret .. sret .. criet .. , So half sincerely I if there is a copies of this tutorial without paste the source of the blog Learning CorelDRAW, but if anyone sends + cigarette + kretek sampoerna kretek sugar & coffee really mantaf .... wkwk ... ok bahlah ... O he ... actually there is already a mockup that has lived and can be downloaded on his website here Prejudice like this if our drawing design is displayed on the mockup by using sotosop, but this time not how to put the picture into mockup and also not how to make mockup which we will discuss but how to make the effect of emboss like with CorelDRAW ... Ok, we start .

Photo source www.belajarcoreldraw.co
1. Create Image curve with Bezier tool or Freehand tool or similar tool
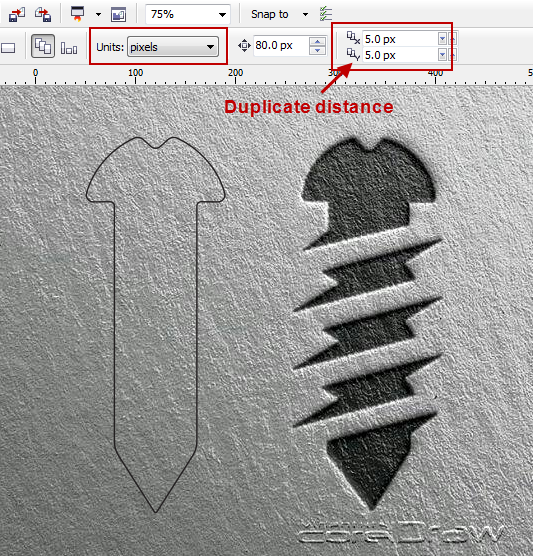
Photo source www.belajarcoreldraw.co
2. Make sure there is no selected object how to do with mouse click on empty area or push Esc key on keyboard, here I use unit pixels, fill in column duplicate distance 5.0px 5.0px
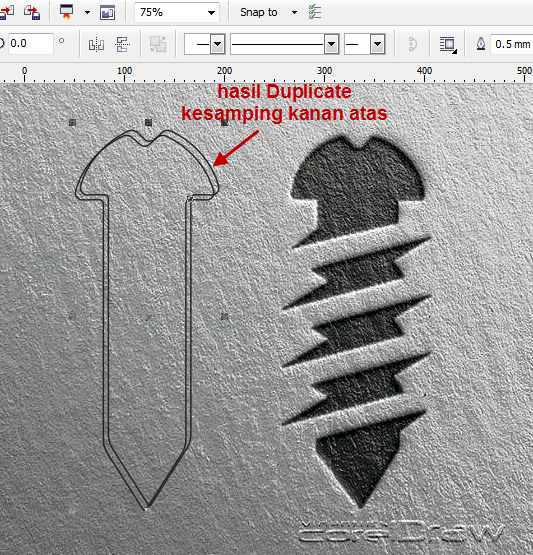
Photo source www.belajarcoreldraw.co
3. Selection curve object (design that we have created), then push Ctrl + D key on the keyboard, or go on Edit menu> select Duplicate, sehinggah image into two.
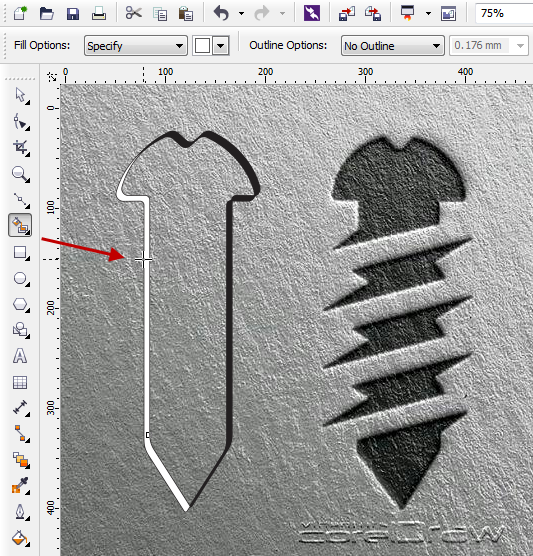
Photo source www.belajarcoreldraw.co
4. Create a new object with the Smart Fill tool between the intersections of the 2 curve objects, in black and white, as shown below. (On the x7 & x8 location of Smart Fill tool below)
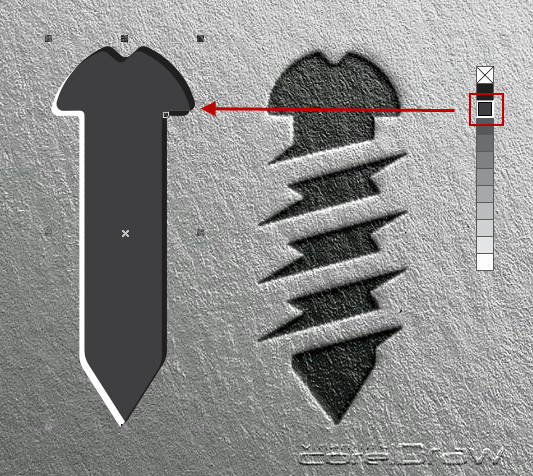
Photo source www.belajarcoreldraw.co
5. Selection by click the curve object, give it a gray color.
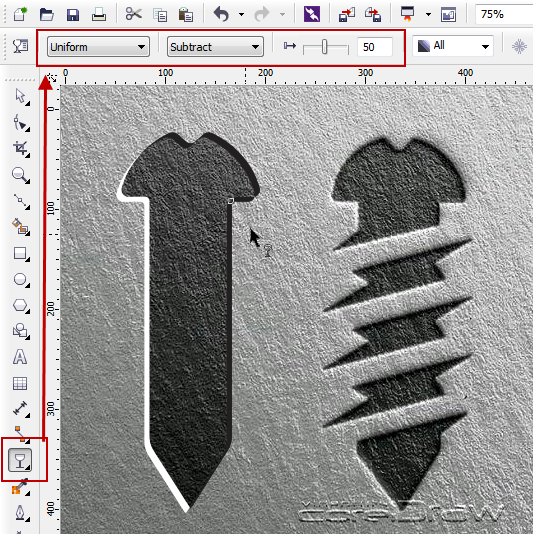
Photo source www.belajarcoreldraw.co
6. Select the Transparency tool menu, in the Property bar setting as shown below
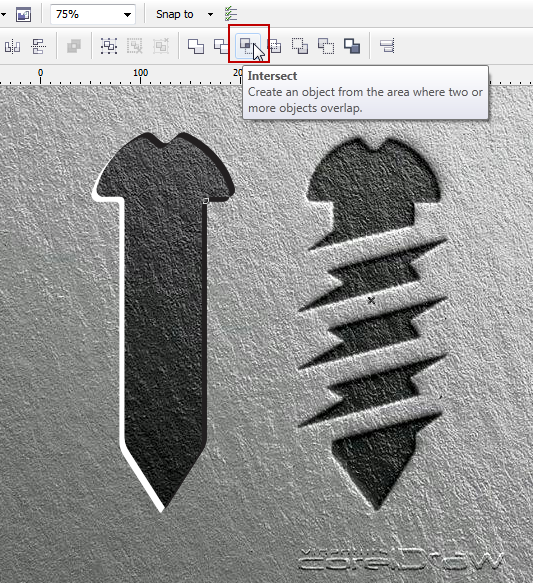
Photo source www.belajarcoreldraw.co
7. Selection by clicking Curve object and Shift click the emboss object texture, then push Intersect button in Property Bar.
hoto source www.belajarcoreldraw.co
8. Next, select the result object of Intersect texture emboss and Shift click the curve object, then on Bitmaps menu> select Convert To Bitmap> click OK, Still on Bitmaps menu> Sharpen> select Sharpen ... and in dialog box set as shown below.
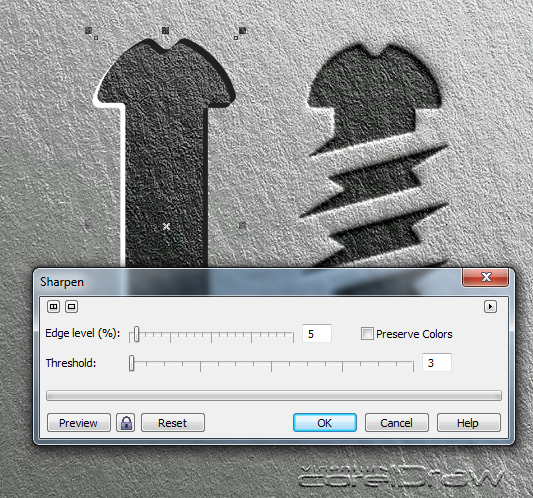
Photo source www.belajarcoreldraw.co
9. So the dark gray texture image looks more realistic
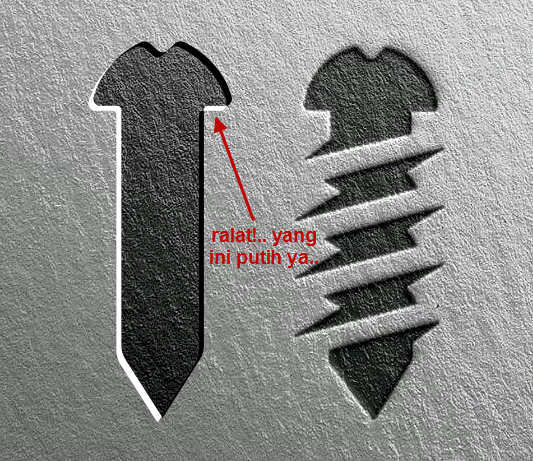
photo source www.belajarcoreldraw.co
10. The next step of selection of objects in black and white, on the Bitmaps menu> select Convert To Bitmap> do not forget to check the Transparent background and click OK, the step with the object purpose in convert the result without background.
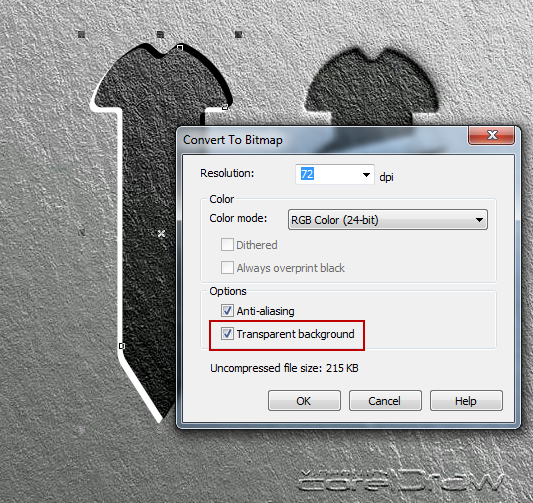
Photo source www.belajarcoreldraw.co
11. The result image becomes bitmap object without background.
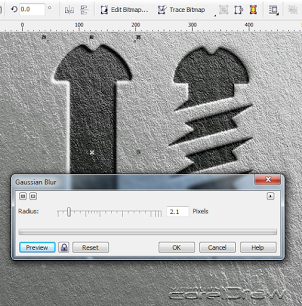
Photo source www.belajarcoreldraw.co
12, Object is still selected, then on the menu Bitmaps> Blur> Gaussian blur, set as shown below.
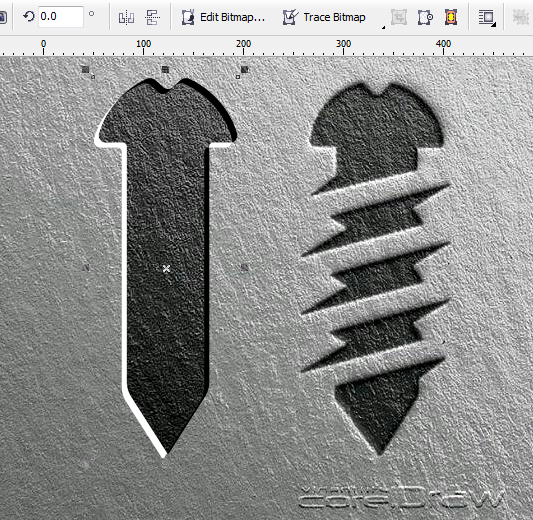
Photo source www.belajarcoreldraw.co
13. The end result like this picture .... so, easy right?
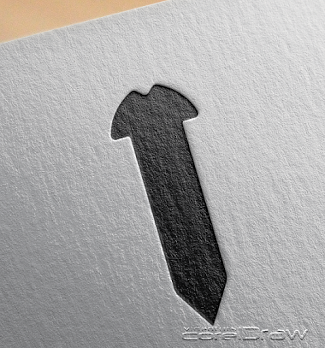
Photo source www.belajarcoreldraw.co
So, may be useful to the reader, and if there is something that is not understood can ask the comment field.
To add a refrence
Information / quote / source: www.belajarcoredraw.co