Paneer Cheese - Great high protein addition to salads, curry or a snack. Husband loves it for his weight training.
Paneer Cheese
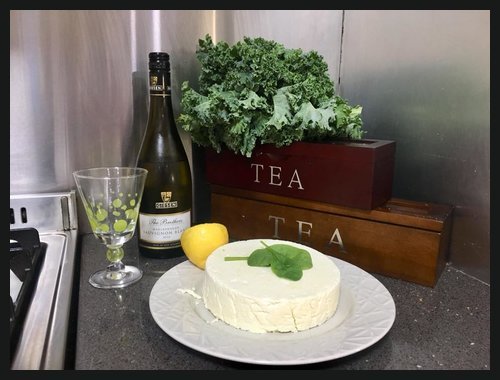
Simple, high protein, delicious cheese that is amazing for adding to salads and curries. Or just a snack with rice crackers and fruit.
This really is very very easy to do once you have done it once. MOST of the work is cleaning the kitchen first and preparing the equipment. The actual cheese is just 1. Boil milk. 2. Add lemon. 3. Put in cheese cloth. 4. Press.
My husband does weight training, needs more protein than I want in meals. So I make him this as an addition. He takes it to work in his salads. Its very light firm and creamy.
Ingredients:
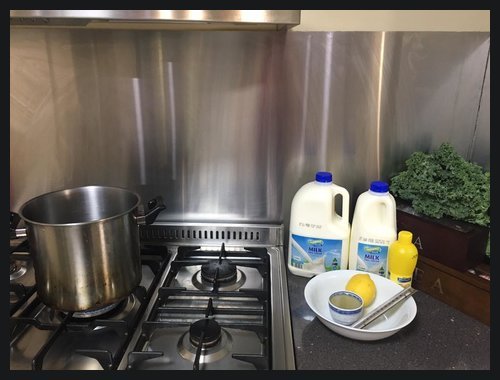
5 litres of full cream milk (NOT light skim or anything else. you want full cream full fat milk.)
2 lemons, or a ½ cup of lemon juice in a bottle
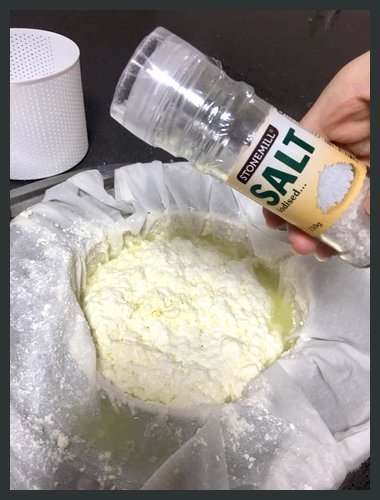
Salt to taste
Equipment:
Large pot a few litres bigger than the amount of milk you have. The milk expands and froths. Save your stove. Get a bigger pot. 10l pot would be good. Mine is 8l and it is tight!!!
Thermometer is helpful in getting good result.
Cheese cloth (square piece of muslin or a very light cotton will do.) I sew so I have plenty.
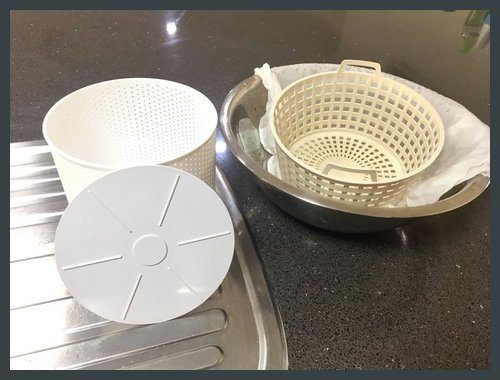
A strainer/colander of some sort.
Some sort of cheese press. (non-essential but you will get a much better consistency if you can press it nicely.) I got mine from a cheese shop. If not I’ll explain what do do in that step. A bit later.
Preparation.
Don’t be lazy. Don’t miss this step as once the cheese is on the stove you HAVE to watch it ALL the time… you need to be ready.
I stand the milk in their bottles, in warm water in the clean sink while I’m preparing. It lowers the temperature, saves time and also saves gas or electricity.
Clean your kitchen… your cheese cloth with drape in bits over the bench at times. Make sure it is very clean. Also scrub out the sink in case it falls near there too. Sinks are disgusting and you want it fairly clean for cheese making.
I sterilise my press and cheese cloth. Basically just put it all in the big pot and pour boiling water all over it. Making sure everything was clean first. Don’t need to go super crazy… No hair nets and masks… lol… but it does pay to be clean.
Put your cheese cloth draped over you colander and stand in a big bowl if you have it to avoid splashing yourself.
PREPARE THE LEMON when you need the lemon you have a few seconds at a very crucial time. Get it right by the stove.
COOKING:
Pour milk into pot carefully apparently too much sloshing up the sides of the pot can hurt the milk? to be fair i've not looked into this very much.
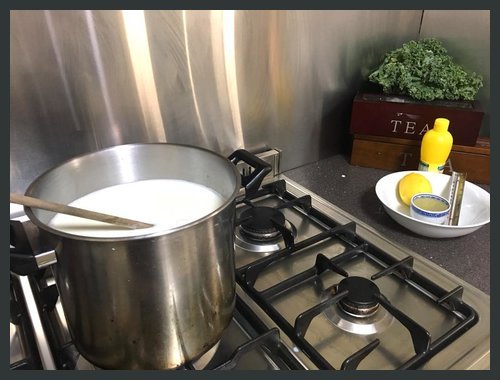
Heat and gently stir with long spoon as milk can stick to bottom if not moved about carefully.
It will gently start to foam and increase a little in size
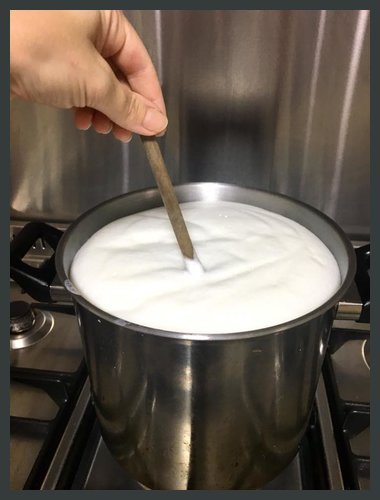
ATTENTION: When it hits 90 degrees C. (Just under the temperature for water boiling) WATCH IT AS IT WILL BOIL OVER EVERYWHERE IN 2 seconds flat if you let it. Somewhere just under the point of water boil it will suddenly start shooting up the sides of the pot very quickly. Add your lemon at this point and keep stiring for 30 seconds or so. Reduce the heat so it is foaming but not boiling everywhere.
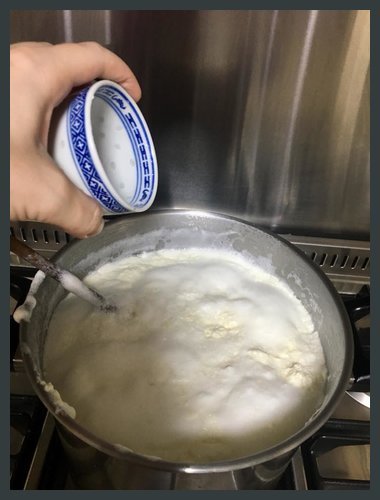
Turn off the heat and you will have a lumpy foaming gross looking curdled mess of grossness. do NOT let your 3 year old see this or she will proudly state it looks like vomit and never eat the cheese again!!!!
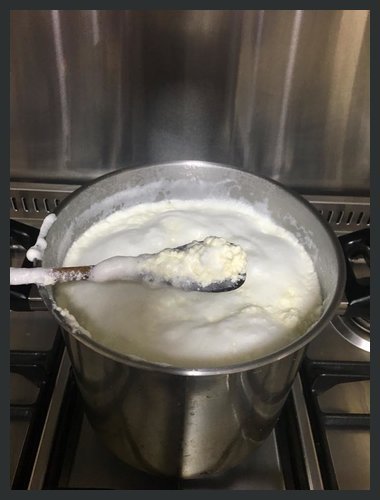
stir for a few seconds and strain.
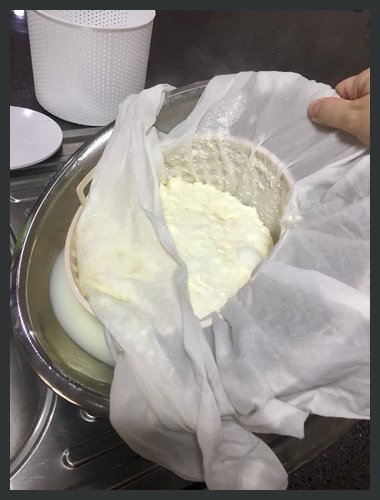
there is lots and lots of liquid to strain. more than you will think. Look at the amount of cheese that 5L of milk makes. That is a lot of left over whey. (Which can be used for lots of things. cooking, garden, protein shakes.... another story there)
PRESSING
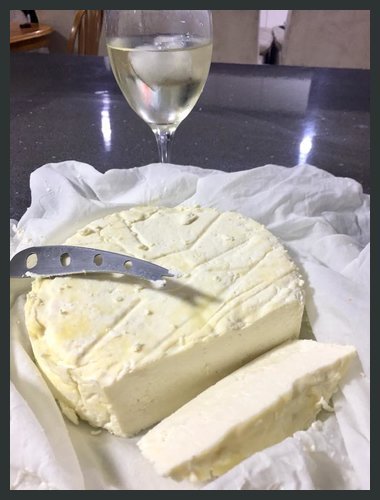
Basically the firmer the cheese the more liquid whey you need to get out. I like mine quite firm so you can cut it a bit like a smooth hard fetta cheese. but you can make it a bit softer if you want.
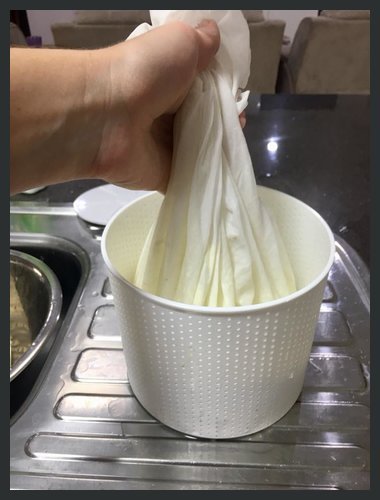
Ok so basically put it in the press and press down hard with your hand on the lid of the press and squash some liquid out. wait a few seconds and do it again, and again until less is coming out. The put some cheese weights. laughs. Or rather cans and heavy books on the cheese and leave for an hour. Give an occasional squooshing out of liquid.
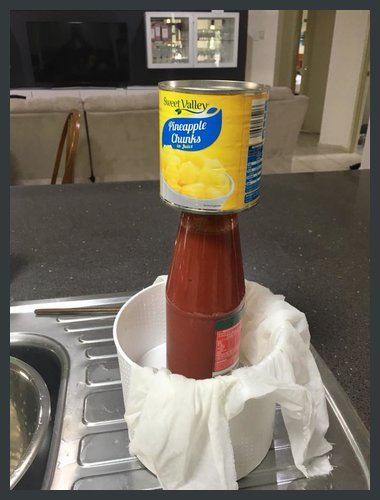
If you don't have a cheese press... you can use anything that looks similar, or just wrap it tight in the cloth and pt it over a wire cool rack with a heavy book (protected with a chopping board). Won't be as pretty but you get the idea.
TIP: if you fold the cheese cloth just once over the cheese and DO NOT pile it all in the middle before you press, you will end up with a nicer finish on top on your cheese. Other wise you will have a big dent in the top of your cheese where the cloth all puddled and knotted up.
After the hour. Put it on a plate. cloth included and put it in the fridge to firm up. you could also sprinkle a tiny bit of salt on top too. DON"T eat it warm... I think is yuckky like this!
We keep ours in the fridge all week. It hardens on the edges and can go a touch yellow on the edges as well. but the flavour of the cheese is best about 2 days after making when it has aged just a touch. slice it up and put it in salads, or a curry.

ALL DONE:
I hope you all find the post easy to understand and appreciate the AGES it took for the photos... lol... my computer is a piece of shit that needs to be drop kicked tonight.... i swear....!!!! Well i swore lots at the bastard computer anyway.
there are lots of ways to "dress this up" lots of variations... share yours below by all means. this is just how I make it :-)
Cheer all, happy eating
Sarah