Egress Window Installation
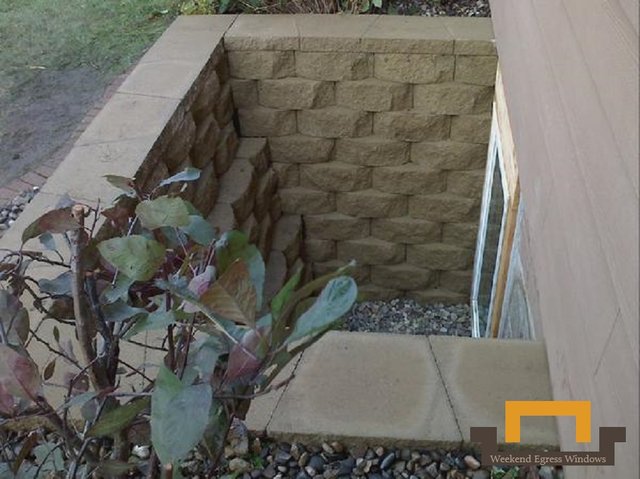
Since 2002 I have installed over 1100 basement egress windows. You could say it is one of my passions in life. Everything about them is great. They make homes more valuable, they increase the chances of a successful escape in the event of an emergency and they provide beautiful views to once dark, dingy basement living rooms and bedrooms.
Living and working in Minnesota where I own an egress window installation company, Weekend Egress Windows makes for some interesting seasonal challenges. I do egress window installs year round, from 90 degrees and sunny to -10 bitter cold.I thought I would take some time today to share what the typical egress window installation en tales.
First Things First...
Start digging. Then keep digging, and when you can't dig anymore, keep digging. The typical egress window well will need almost 3 yards of dirt removed in order to install the well. That's a lot of dirt. It will be about 45 wheelbarrows worth of dirt. Believe it or not there is actually is a systematic way to do this that will greatly speed up the time to completion. Starting from one side working perpendicular to the house and gradually digging to the other side seems to be the fastest and provides for the least amount of work in my opinion. This way of digging keeps the well from being to deep in any one spot where you would have to reach down much further than you should need in order to shovel out the dirt.
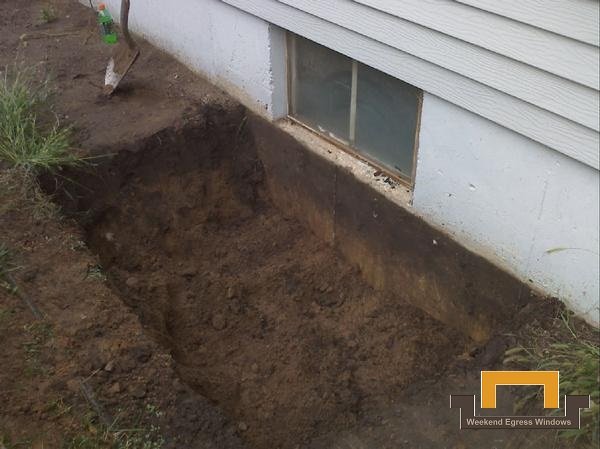
After You Have Dug Yourself To China...
It's time to install the window well. There are many types of wells that can be installed from galvanized metal to wooden cedartone timbers or even decorative block.
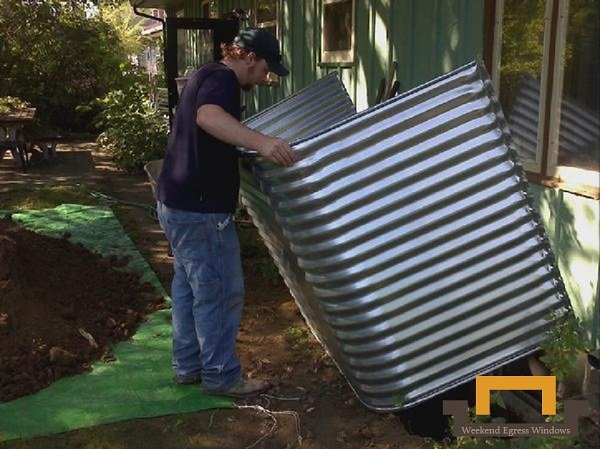
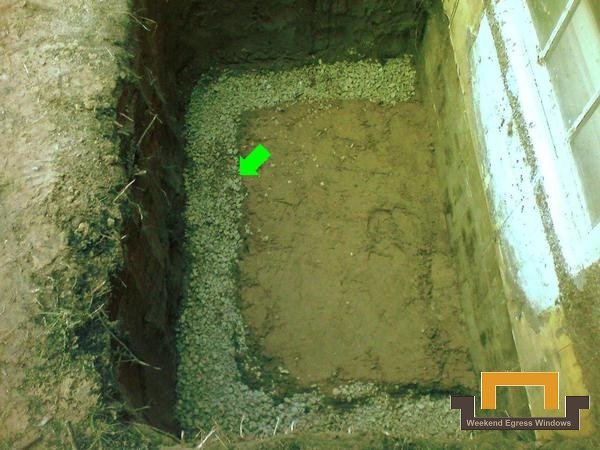
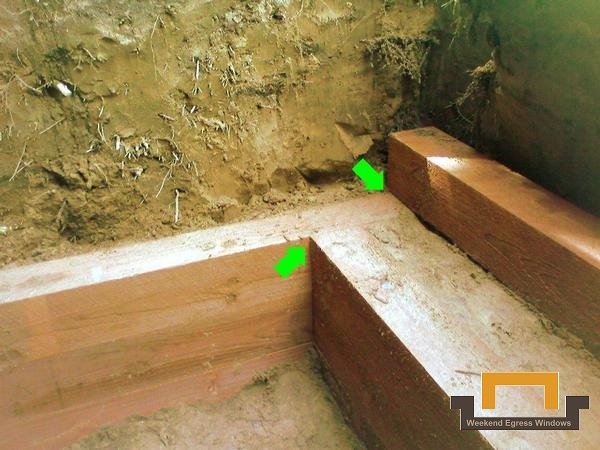
My personal favorite is the cedartone timbers, mainly because they can be constructed in ways that allow for more light to be let into the house. Before starting the timber well build you must first create a good foundation. The tamped down foundation rock will make the timber well extremely sturdy and not allow for any future movement of the well.
I like to build the well using 3 timbers per course, alternating every other course. This will provide for stability within the well itself. The last thing you want is the well moving when you start back-filling dirt behind it. The timbers will be held together by 10" steel spikes keeping everything strait and flush.
Now Let The Dirty Work Begin...No, Seriously...
Once the window well has been build or Installed you should turn your focus to the new window that will be installed, and the concrete cutting that will be needed.
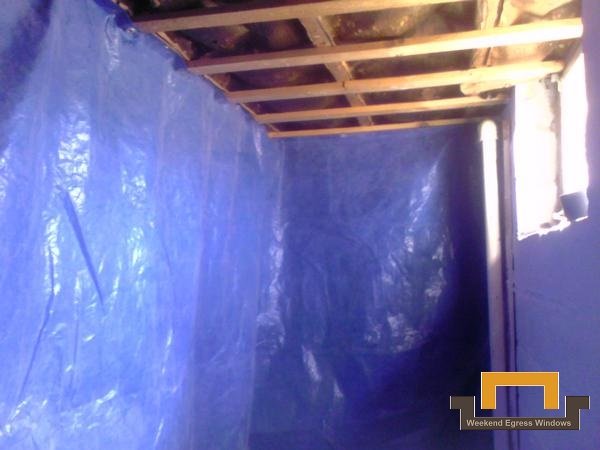
Depending on the basement conditions of the house(finished or unfinished) you will want to take proper action with tarps and drop clothes that might be needed to protect basement furniture and carpet. You will want to then build a wall between where the concrete will be cut and the rest of the house. You defiantly don't want dust going all over the house getting into all sorts of places that will take days and days to fully clean.
Next mark the concrete wall for the areas you plan to cut. Cut the exterior concrete first. You'll want to do this for a couple of reasons. One you can leave the small existing window in place as a barrier between the dust outside and the interior basement. And two, it is much easier to see outside while cutting which will give you a feel for what to expect on the inside.
After the exterior has been cut, remove the old window then repeat the cutting process on the interior wall. You should place a small fan in the old window location that will help push the dust outside making it easier for you to see in the basement.
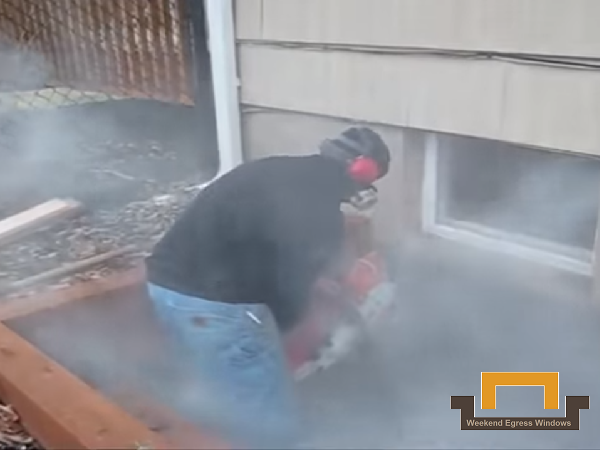
If you have never cut concrete before it can be quite an experience. It really isn't all that hard as the saw does most of the hard work, but it is impossible to see what you are actually doing. I have taught myself thru many hours of concrete cutting, exactly what to listen for, and how the concrete actually feels when you are making progress.
Because concrete cutting creates such and enormous amount of dust you always start by scoring the lines. This will make things much straighter in the end as you now have created a little path to follow. You should wear protective googles, but don't expect to see anything thru the cloud of dust.
Get Your Sledge Hammers, It's Time To Swing For The Fences...
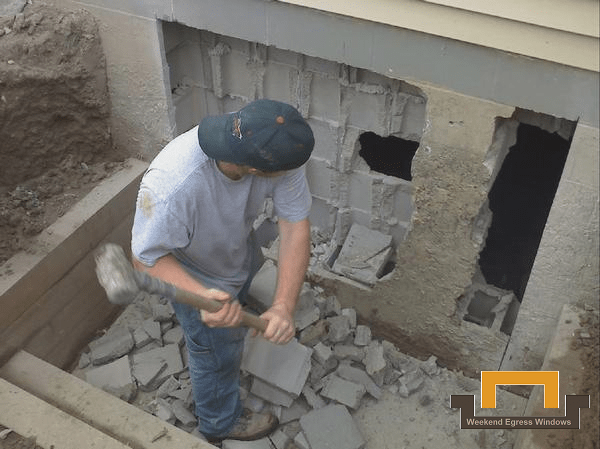
Seriously don't. The concrete removal process is actually more complicated than you would think. The last thing you want to do at this point is make a mistake and be in a position where you are making repairs due to being overzealous. Take your time.
Now That You Have Made A Huge Mess, It's Time To Clean It Up...
At this point it would be a good idea to clean up all the remaining debris and get ready to shift gears toward the actual window install.
The window framing should be made out of green treated lumber. The window framing needs to be securely fastened to the surrounding concrete with anchors. I prefer Tapcon brand concrete screws to accomplish this.
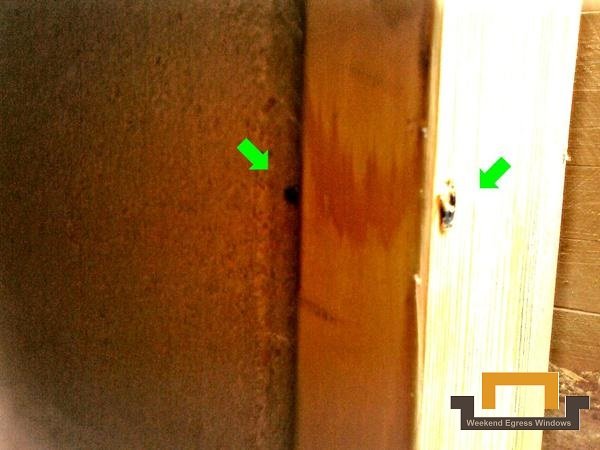
You should insulate in between the concrete and the framing for a nice airtight seal. I like to use expandable foam insulation for this due to the different size gaps in the concrete wall.
Install The Window Already...
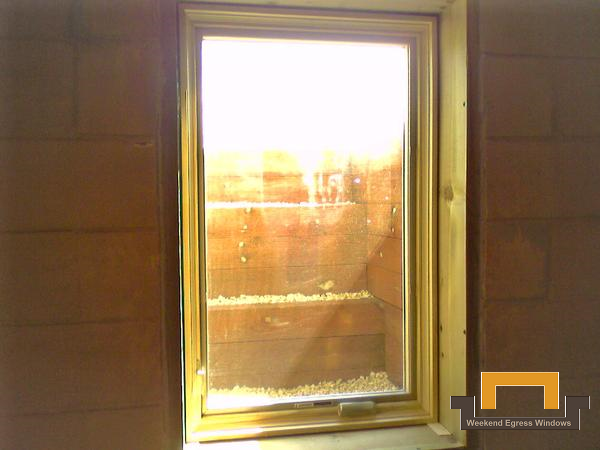
Install the new window using the nailing flange to secure the window to the framing. For exterior finish trim I like to use cedar. Cedar is a product you don't need to worry about rotting away anytime soon and can be painted as well as stained for the desired look you are going for. Make sure to caulk the window and the trim, you don't want any rain water getting in.
We Are In The Home Stretch Now...
The last thing to take care of is how drainage in the well area will function. Many contractors use different methods to keep all the rain water as far away from the house as possible. Over the years I have come up with a few different ways I prefer based on soil type and window install location.
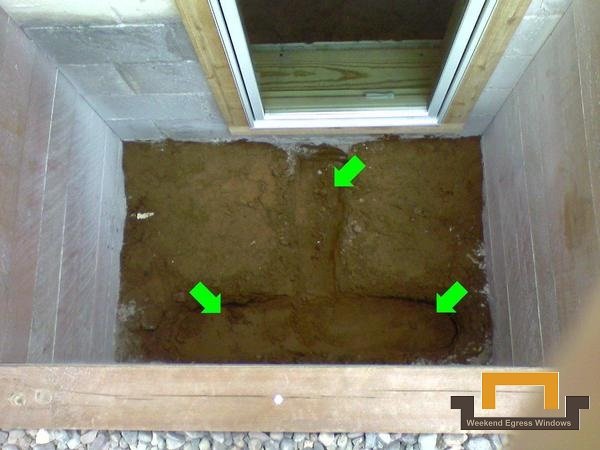
The drain pictured below is what I have dubbed the "T" drain system. The dirt slopes away from the house forcing all water into the middle drain and then to the back corners. In some situations I have even added vertical drain tubing to extend the drain depth a few more feet.
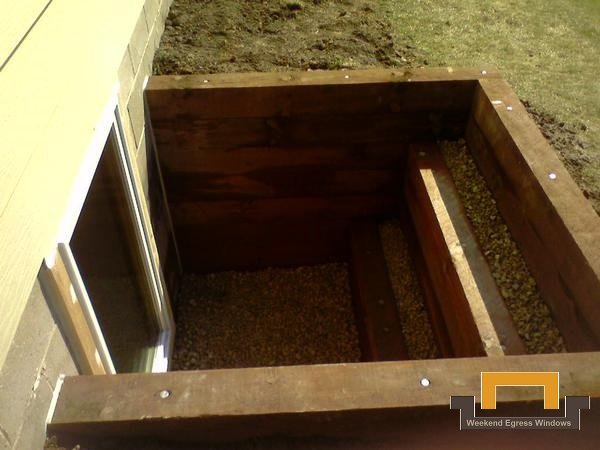
The last thing that needs to be done is the decorative rock in the bottom of the window well. Pour it in being careful for the new window.
I hope you have enjoyed taking a look at what I do as much as I enjoy providing beautiful emergency escapes for people.
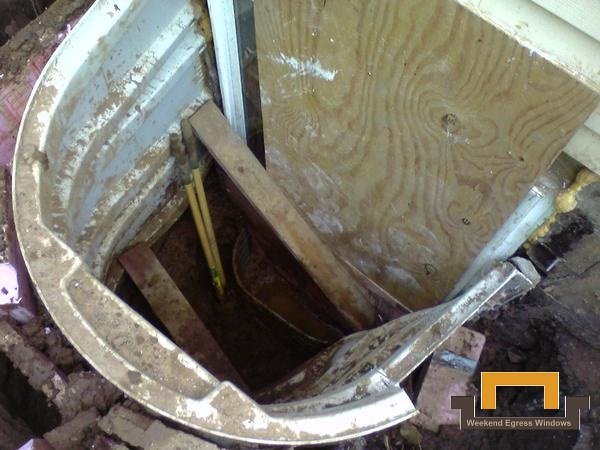
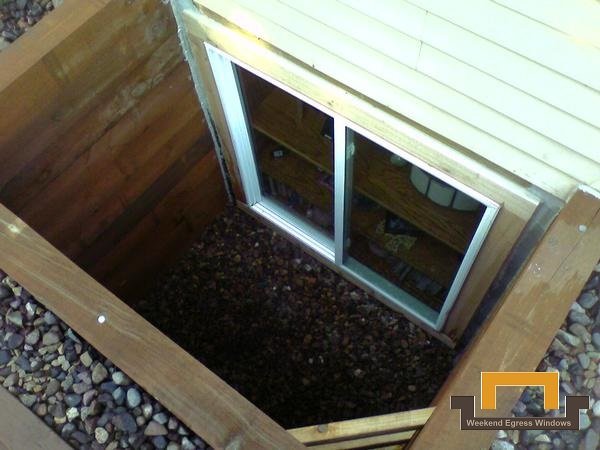
I usually don't recommend people doing their own installs since it requires some knowledge on varying areas of construction and tools. Here's an example of a home owner install gone wrong.
What the window looked like when I arrived at the home.
How it looked after I had fixed all the problems.
If you would like to learn more about Egress Windows or see more windows I have installed, check them out at: http://www.weekendegress.biz/
My grandmother's house has something similar, but not quite as deep. Toads kept jumping in and couldn't get out. So I leaned some timbers in there for them to climb out. Do you know of a better solution for something like that? The timbers look kind of trashy...
There are many types of covers available that can help keep the little critters out. Whatever solution you choose you'll want to insure that the window is not being blocked in case of an emergency. I usually don't recommend covers because they get covered in snow and children will not be able to lift them off. Best of luck solving you toad problem.