Modeling a Stylized Head in ZBRUSH
Hello everybody, today I'm gonna share you my step to do a head model in ZBrush!
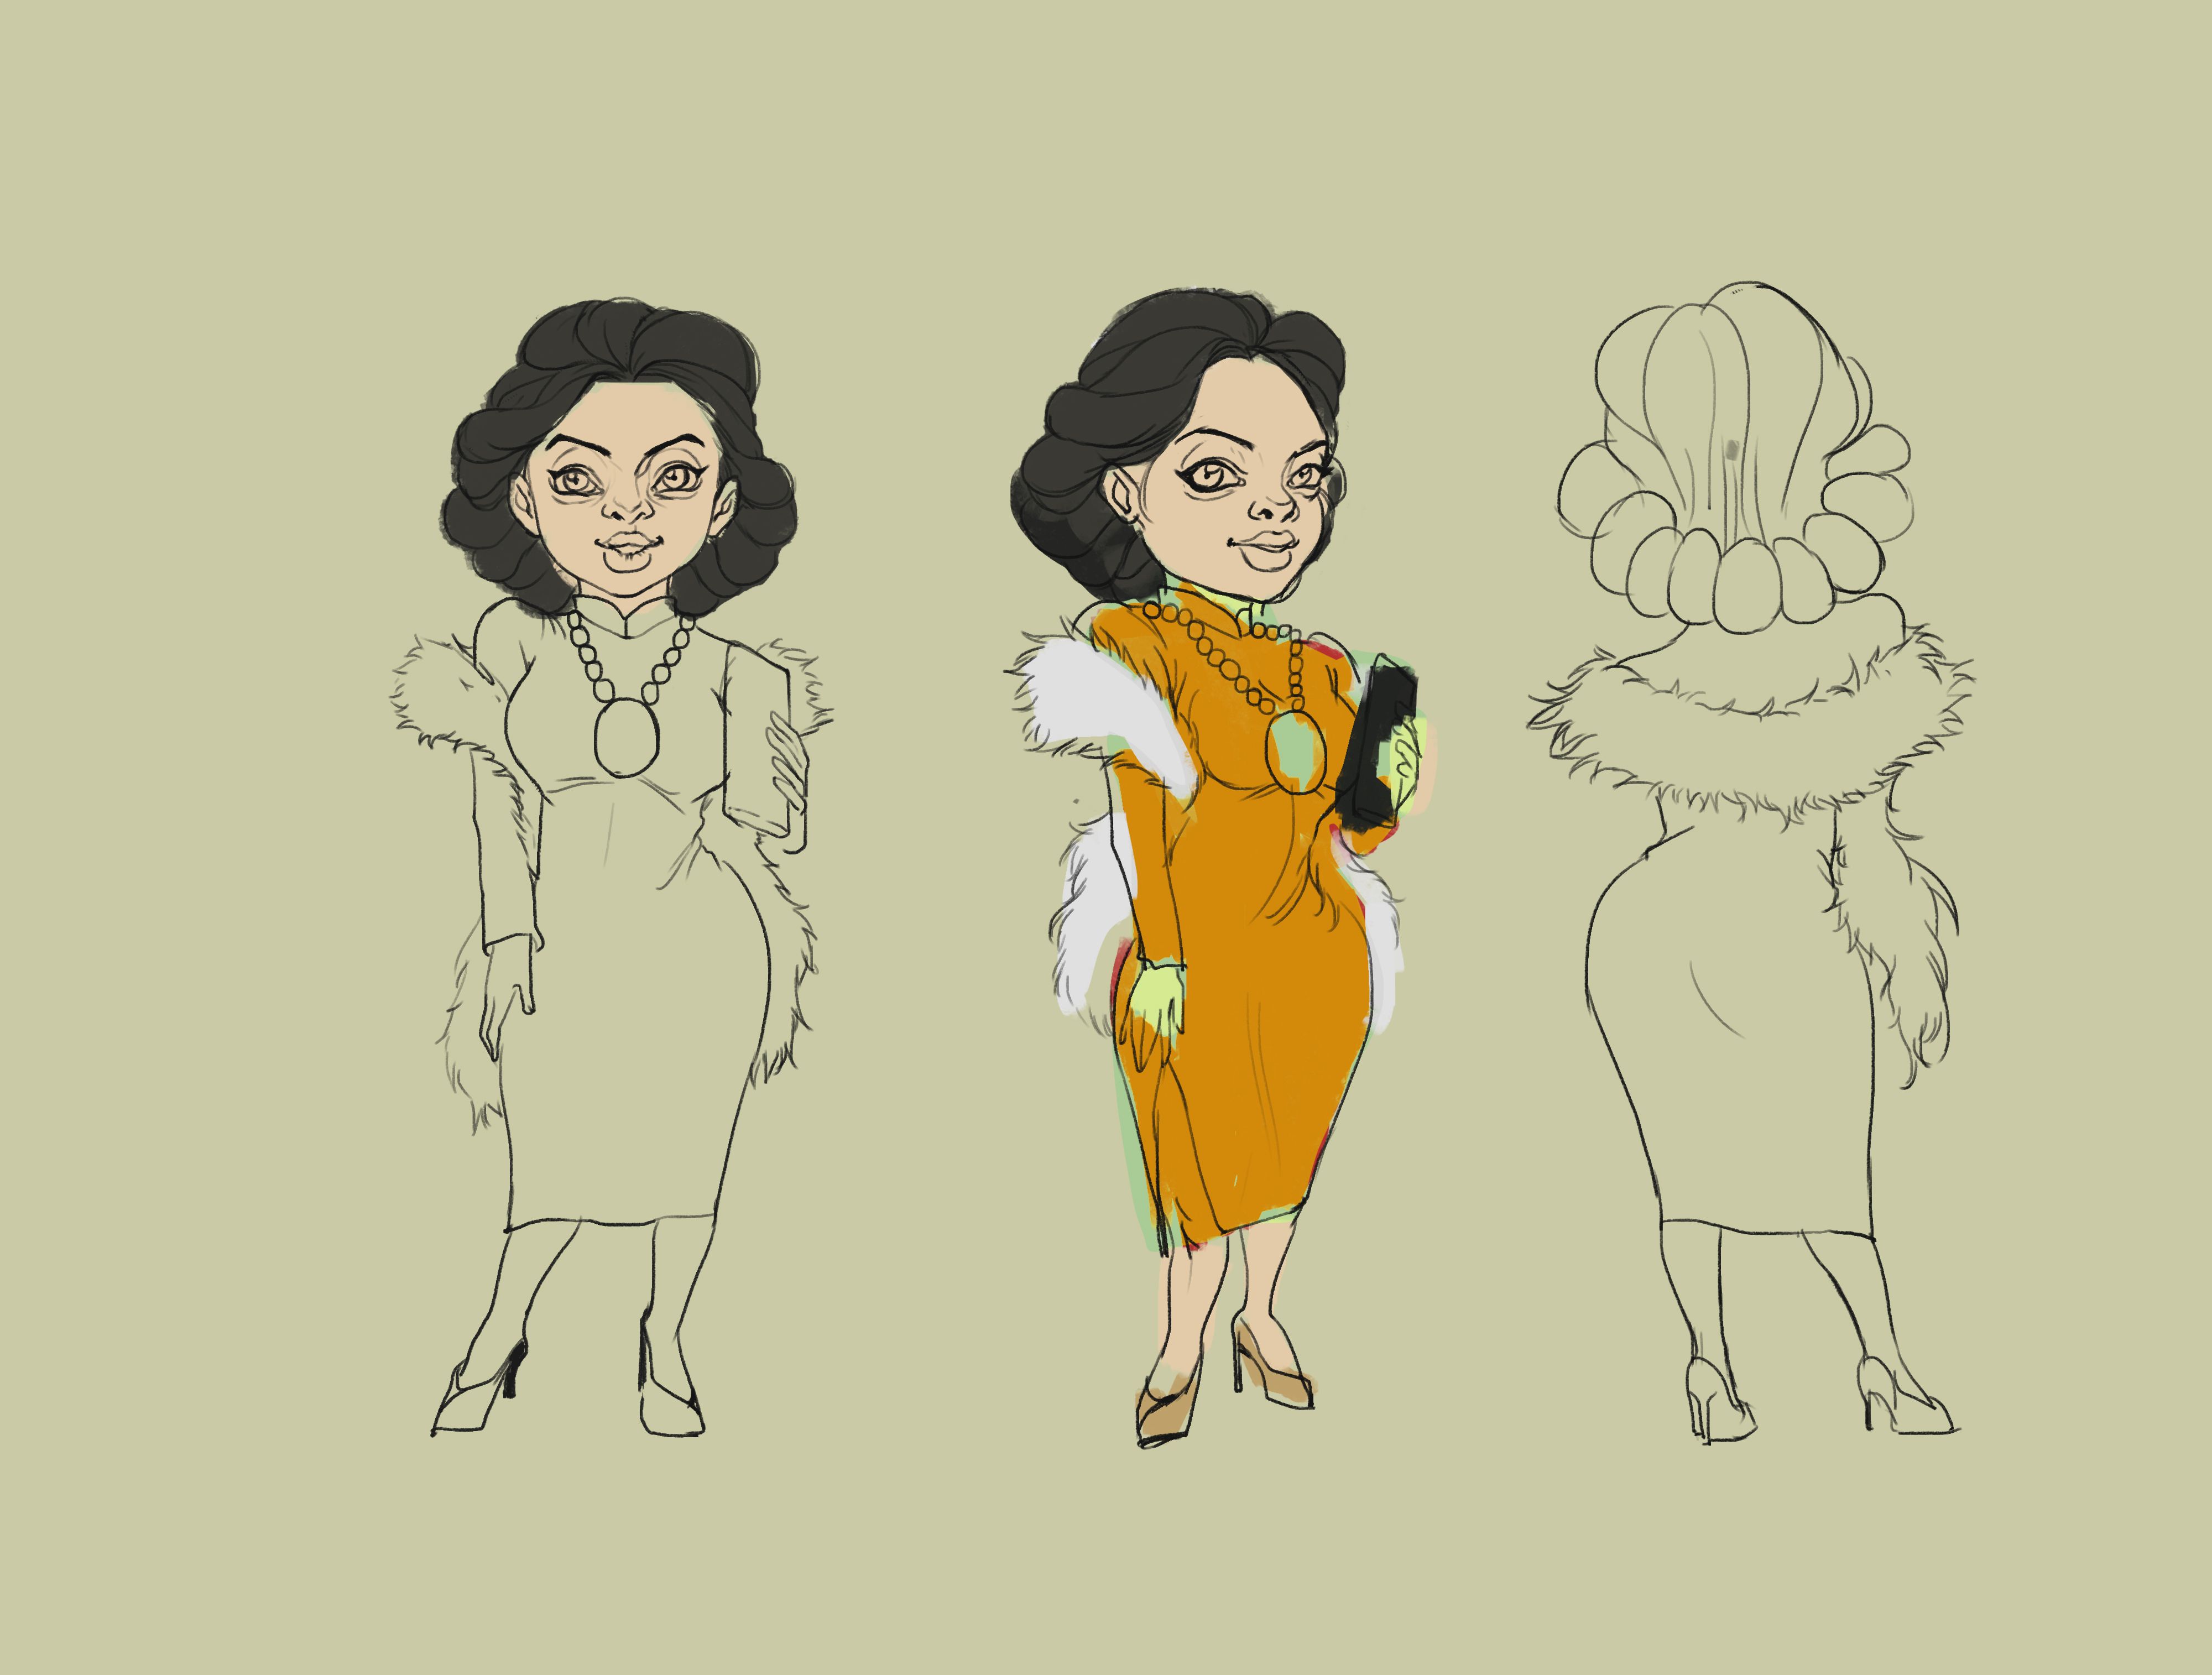
First of all, you need a reference, in my case , I have a base concept which I drew couple days ago. ( This is also my team project in school . And I'm very hornored to be the concept artist for the project )
Here is the concept of Nina - a rich lady who will present in my team's animation. I take inspiration from ''Ao dai'' and style of the woman in 20th century of Saigon...... OK ! I will mention more about them in the next article how I create Nina ^^ !
Actually I and my team haven't decided the color yet... due to my.... laziness ! I kinda want to jump right into the model and did everything in 3D first , it's so tempting... you know....
So first of all, you need to add a Sphere, like this , I do every head in Spheres.
From that, I prefer Dynamesh for some quick block the shape of the face I want !
Yeah ^^' I know, it seems far more light years to catch the right shape of the concept.... But what you need to do here is just blocking the very normal anatomy of the face, eyes, nose, cheeks, lips... I mostly use 'Move tool' and 'Standard brush'.
Then I kept using Move tool to sculpt the face to the shape I want
And then, I sculpted the detail of the face, I used a lot of references from 3D models which are stylized and human face for the eye lids (most of them are from Disney ! )
OHH....Woww...hey... That's a bit too fast....!!Haha sorry ^^ this part I was kinda excited and forgot everything around me so... I didn't remember to take process pic...
But hey, that's easy ! I used a lot of Dam_standard brush to create the eyelids, nose and lips, because it can work very well on small details. You can see, it's kinda neat !
Remember to keep your sculptures' skin as clean as possible. Because it's gonna help you with your map. You don't want your models have not smooth skin right ? I'm still trying really hard on this part....
As you can see, I switch to another material which has great contrast and is shiny to check. So be sure not to work on only one material.
NOW IS THE HAIR !
I still used Dynamesh because it's fast and easy .

That's all ! My... beginner process.
It took me a lot of time though.... sigh.... 7- 8 hours....
I hope it can help you guys somehow.... And I hope you guys take a look and give me some feedback ! <3


Congratulations @taois.thu! You have completed some achievement on Steemit and have been rewarded with new badge(s) :
Click on any badge to view your own Board of Honor on SteemitBoard.
For more information about SteemitBoard, click here
If you no longer want to receive notifications, reply to this comment with the word
STOPCongratulations @taois.thu! You received a personal award!
Click here to view your Board
Congratulations @taois.thu! You received a personal award!
You can view your badges on your Steem Board and compare to others on the Steem Ranking
Vote for @Steemitboard as a witness to get one more award and increased upvotes!