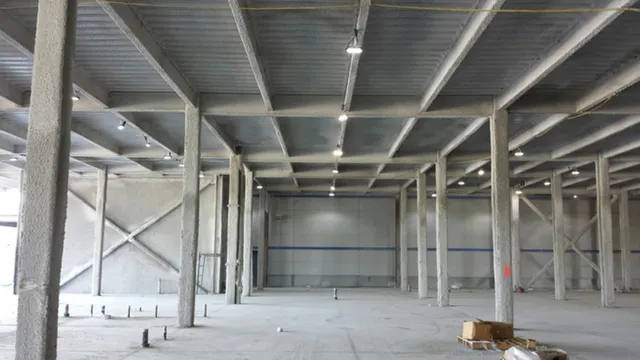
Concrete Polishing
In order to keep your concrete floor in a good looking way as well as prolong its lifespan, you have to make sure that you polish it. But polishing a concrete floor requires the right tools and procedures in order to make sure that you do the task in the right way. Below are the stages towards polishing your concrete floor;
Determine the hardness of the surface using the MOHS test Kit
The first stage is to determine the concrete hardness using MOHS concrete hardness tester. This will help you to select the right metal bonds diamond abrasives. You will have to start with the highest number of tips then work on the surface with descending tips until when the tip stops scratching the floor. When the tip stops scratching the floor that means you have reached the hardness level of the concrete. It is sensible to test at least three sections of the floor to get the average test ratings.

The concrete surface preparation for metal grinding
In case you that your floor is coated, you will have to determine the type of coating and remove it with the appropriate tool. Repair and refill the entire surface holes and cracks. Do the grinding using 16, 30/40,70/80 grit metal bond working to achieve the specific exposure and floor flatness. Make sure to start with the highest grit where possible and move towards the lower grit whenever it is necessary.
The transitional stage for removing metal tools marks
You have to remove metal tooling scratches with 50, 100, or 200 grit transitional tooling. Transitional tooling is an effective way to remove scratches and to create a surface which is suitable for polishing. You have to make sure that your floor is free from all visible tooling marks after the grinding.
Densify and harden the concrete
You have to make sure that you vacuum your floor and you remove all the tool marks. You can use ULTRA Hard Lithium or ULTRA Densifil densifiers to the concrete so as to enable solidification and densification of the surface as well as provide extra protection. This will prevent water penetration and staining. Never let densifiers pool and puddle on your floor. This will create staining that is too difficult to remove in the polishing process.
Create Polishing
You have to begin with appropriate resin bond tooling which includes 200, 400, 800, 1500, 3000. You have to make sure that you vacuum the dust which is in between the passes. You have to burnish the floor using a 3000 grit burnishing pad after your reach the final grit level.
Sealing and protecting your Polished concrete
Protect the surface of the floor by applying a commercial stain guard product. Do this when you get the right polish off the floor. There are many stain guard products out there like WerkMaster ULTRA guard and surface wear protector. This will protect your floor especially in an environment where there is grease, chemicals or oil. Use a pump to spray and apply two thin coats. Wait until the coats dry, this may take up to 30 minutes between coats. Burnish your floor to get the best shine and polish it using Propane Burnisher or WerkMaster Machine.

Cleaning and protecting your floor is very important whether it is at your home or business area. This will increase the natural life of your floor as well as make it attractive. Make sure that you follow the above-discussed processes in order to keep your floor intact.
For more update , visit us : https://www.commercialpaintingservices.com/