Learn coding in HTML for Steemit - Lesson 2
Last week i started with an introduction to HTML(Hyper Text Markup Language for Steemit). A couple of people found it very helpful and needed more so i decided to continue with some more helpful tips in HTML.
You can use this to edit your posts like i mentioned in lesson 1. And even in your comments.
A lot of people wonder how some people edit their comments to look bold for example, the answer is HTML. And thankfully today, you have me to gladly walk you through it with some more tags and tips.
Please note: Steemit doesn't support all html tags yet.
To know more about tags, refer to Lesson 1
But even though it doesn't, it still accepts some of them and eventually, probably will. It's also worth learning it anytime anyday :) It will go a long way in helping you :)
Some more tags
The tag
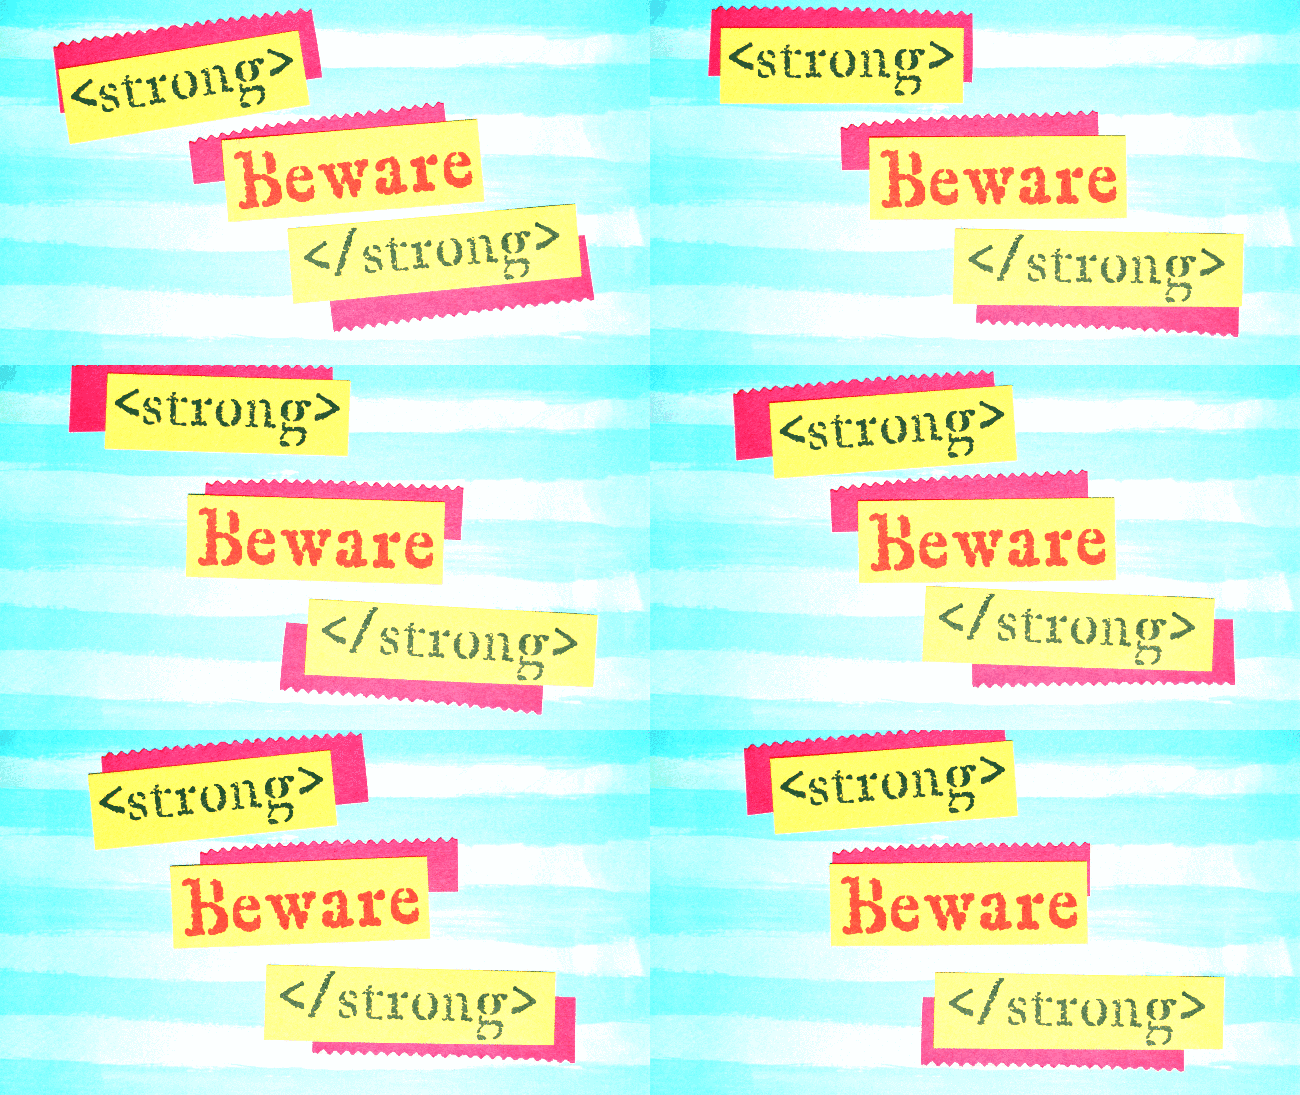
Image credit
lol
Remember from lesson 1 that each tag has an opening tag and a closing tag. Although this tag is already implemented in the editor as the big (B) button on the far left among the editing buttons, it helps to know this, to use in your comments. Also you can use this in the Raw HTML section of the submission text area if you don't want to use the editor.
Purpose: To make text bold
Opening tag:
Closing tag:
Example(Type this in the Raw HTML section): This text will appear bold and strong because it is surrounded by an opening and closing strong tagUse strong tags to make your text pop out and look bold and strong.
The tag

Image credit
Also called the emphasis tags/Italics tag. You can also use the tag in the comments section. They're already in the editor as the capital (I) button.
Purpose: To italicize and bring emphasis to text
Opening tag:
Closing tag:
Example(Type this in the Raw HTML section): This text will appear italicized and emphasized because it's surrounded by an opening and a closing em tagUse this to emphasize a word or a sentence in your posts or comments on Steemit
Line Breaks in HTML for your posts and comments on Steemit
If you've realized, anytime you hit the enter key in the editor when writing posts, it creates a line break with big spaces in between them. A new friend of mine on Steemit didn't like that as it was bugging him and wanted to know how to fix that and close those gaps. He was surprised at how simple it was to fix it. You will too.
The first and easy way to fix it is in the editor. Before you hit the enter key, hold shift and it will create a new line without a Donald Trump huuuuuuuuuuge :D space in between. Rather, that line will appear deleted like Hillary Clinton's emails :D OK enough with the politics. Behave Kay, behave! Ok I will :D
That was just for fun by the way :D
Yeah so holding shift whilst pressing the Enter key will create a line break without a space. Very thin line spaces if not none. That's the quick and easy way to do it. What is happening behind the scenes is that, anytime you hit the enter key without holding shift, it creates a tag (paragraph tag) as opposed to a
(paragraph) tags are discussed in Lesson 1.
The
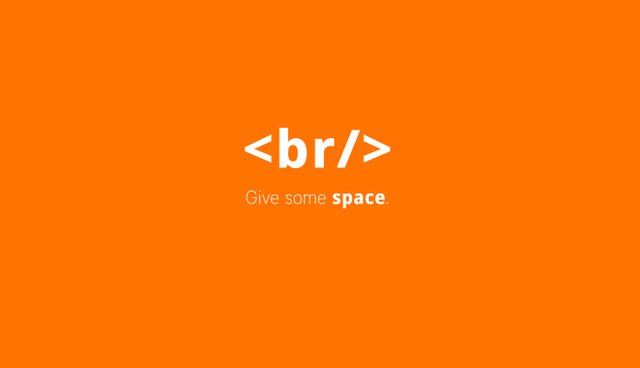
Image credit
Known as the break tags.
Opening tag: None required although you can start a break tag with a
tag. And it will still work. HTML is forgiving like that.
Closing tag/Only tag:
But ideally, only use
Example (Type this in the Raw HTML section): First sentence
Outcome: There will be a line break without a huge space in between First line and Second sentence
I hope i didn't confuse you :) Please let me know if you have any questions. We'll continue next time if people find this helpful and want me to do more of this and shed more light.
For the mean time, if you're hungry for more, head over to http://www.w3schools.com/html/ and learn more HTML.
Image credit
Keep coding happily everyone and Happy Steeming!

Image credit
lol
Remember from lesson 1 that each tag has an opening tag and a closing tag. Although this tag is already implemented in the editor as the big (B) button on the far left among the editing buttons, it helps to know this, to use in your comments. Also you can use this in the Raw HTML section of the submission text area if you don't want to use the editor.
Purpose: To make text bold
Opening tag: Closing tag: Example(Type this in the Raw HTML section): Use strong tags to make your text pop out and look bold and strong. Also called the emphasis tags/Italics tag. You can also use the Purpose: To italicize and bring emphasis to text Opening tag: Closing tag: Example(Type this in the Raw HTML section): Use this to emphasize a word or a sentence in your posts or comments on Steemit If you've realized, anytime you hit the enter key in the editor when writing posts, it creates a line break with big spaces in between them. A new friend of mine on Steemit didn't like that as it was bugging him and wanted to know how to fix that and close those gaps. He was surprised at how simple it was to fix it. You will too. The first and easy way to fix it is in the editor. Before you hit the enter key, hold shift and it will create a new line without a Donald Trump huuuuuuuuuuge :D space in between. Rather, that line will appear deleted like Hillary Clinton's emails :D OK enough with the politics. Behave Kay, behave! Ok I will :D That was just for fun by the way :D Yeah so holding shift whilst pressing the Enter key will create a line break without a space. Very thin line spaces if not none. That's the quick and easy way to do it. What is happening behind the scenes is that, anytime you hit the enter key without holding shift, it creates a tag (paragraph tag) as opposed to a (paragraph) tags are discussed in Lesson 1. Known as the break tags. Opening tag: None required although you can start a break tag with a Closing tag/Only tag: But ideally, only use Example (Type this in the Raw HTML section): First sentence Outcome: There will be a line break without a huge space in between First line and Second sentence I hope i didn't confuse you :) Please let me know if you have any questions. We'll continue next time if people find this helpful and want me to do more of this and shed more light. For the mean time, if you're hungry for more, head over to http://www.w3schools.com/html/ and learn more HTML.
This text will appear bold and strong because it is surrounded by an opening and closing strong tag
The
tag

Image credit
tag in the comments section. They're already in the editor as the capital (I) button.
This text will appear italicized and emphasized because it's surrounded by an opening and a closing em tag
Line Breaks in HTML for your posts and comments on Steemit
The

Image credit
tag. And it will still work. HTML is forgiving like that.
as the closing tag if you want and it will still work. Again HTML is very forgiving.
Image credit
Keep coding happily everyone and Happy Steeming!
Thanks for the tutorial as im very new to HTML....much appreciated
I'm very glad it was helpful :) Keep learning and before you know it, you'll be writing HTML in your sleep :)
Good job Kay...easy to understand.
Thank you @bhavnapatel68 . I'm very glad it's easy to understand :)
@kakradetome Excellent article. I had some trouble making my first couple of posts, and I wasn't sure why. Will definitely be looking forward to more of your articles!
Thank you @joeld . Sorry to hear you had trouble. You can code your content in HTML and have more control if you know a bit of HTML. I'm glad you like it and yes, I will post more of coding stuff as that lights up my brain :)
Thank you, much needed info!
You're very much welcome :) I'm very glad :)