Project: Casemod - Hardware@Wall - Letters
Habedere,
if you missed the 12th part (Profil cover); here it is:
Project: Casemod - Hardware@Wall - Profil cover
I started with the plexiglass cover.
Normally this is the right area for a project name, but the project doesn't have special or sexy one, neither I had any sponsors.
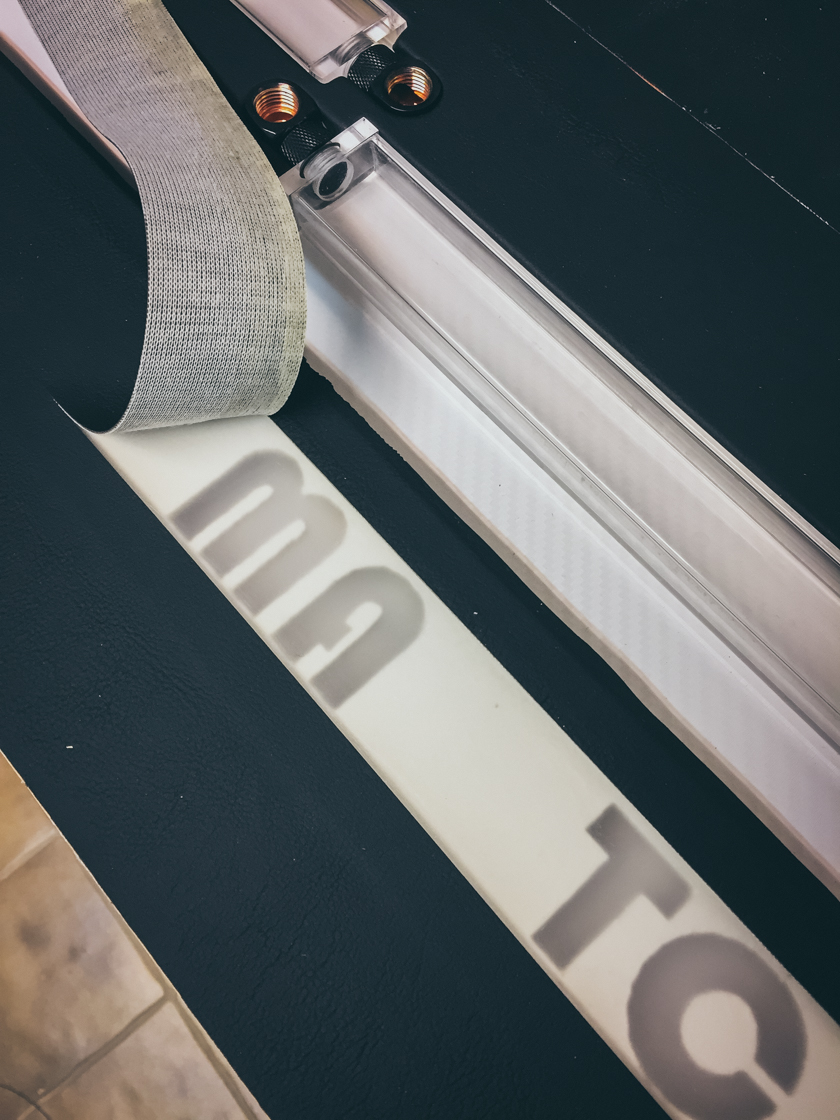
So I decided to use my "name" which will be displayed in that area.
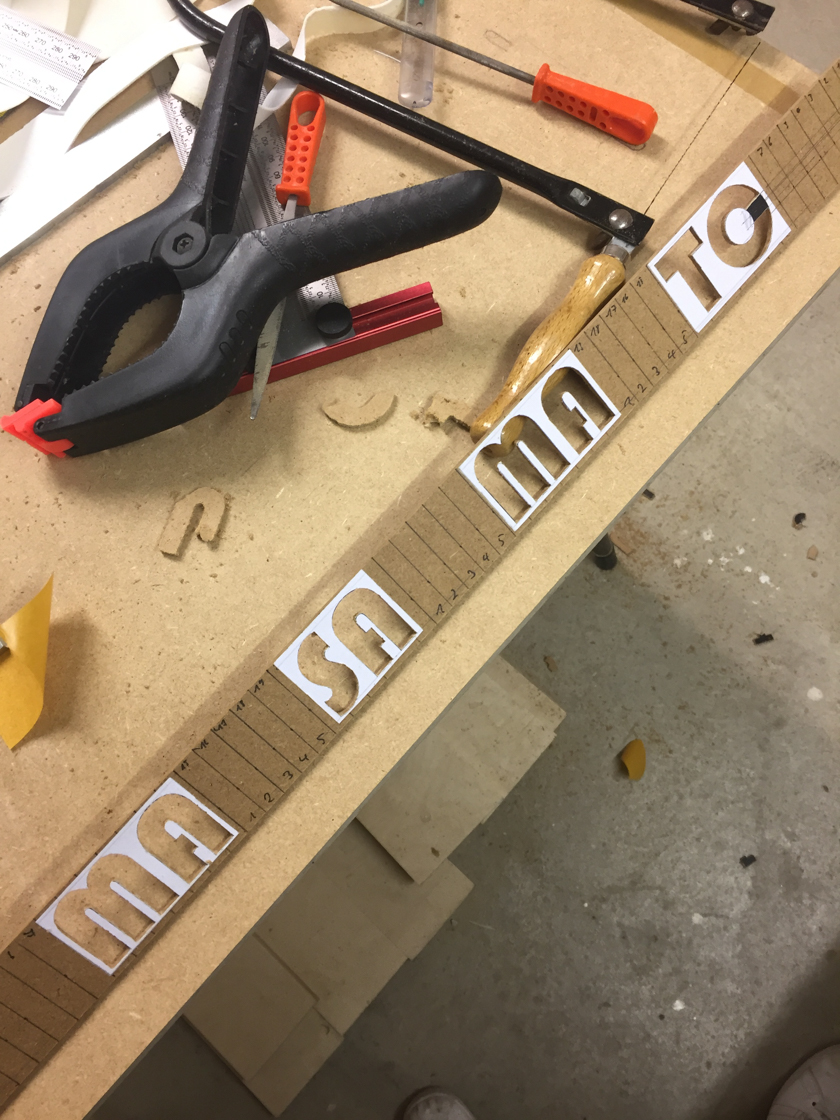
I printed out the name and glued it to some 3mm MDF.
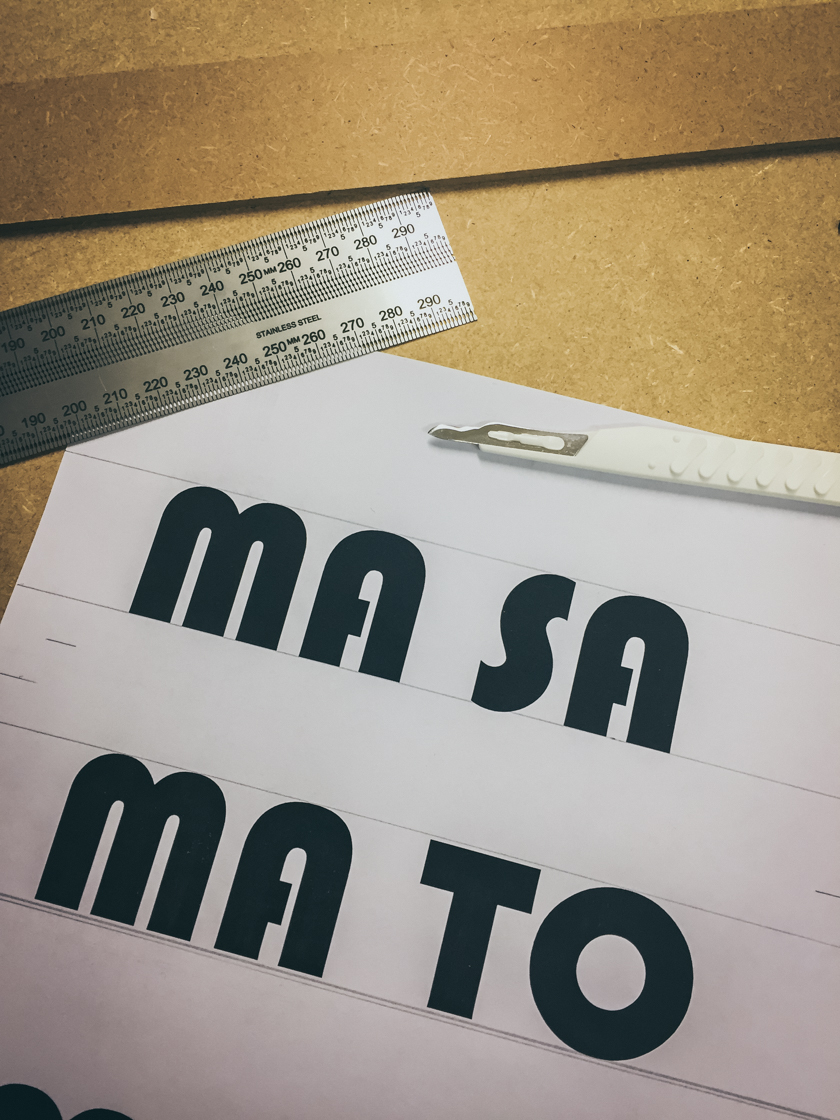
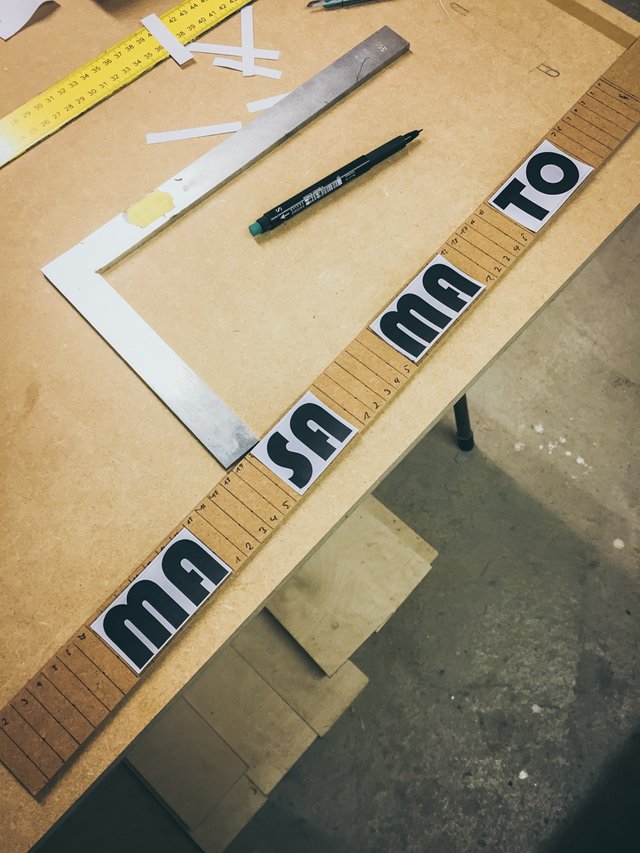
After that I cut out every single letter with a fretsaw.
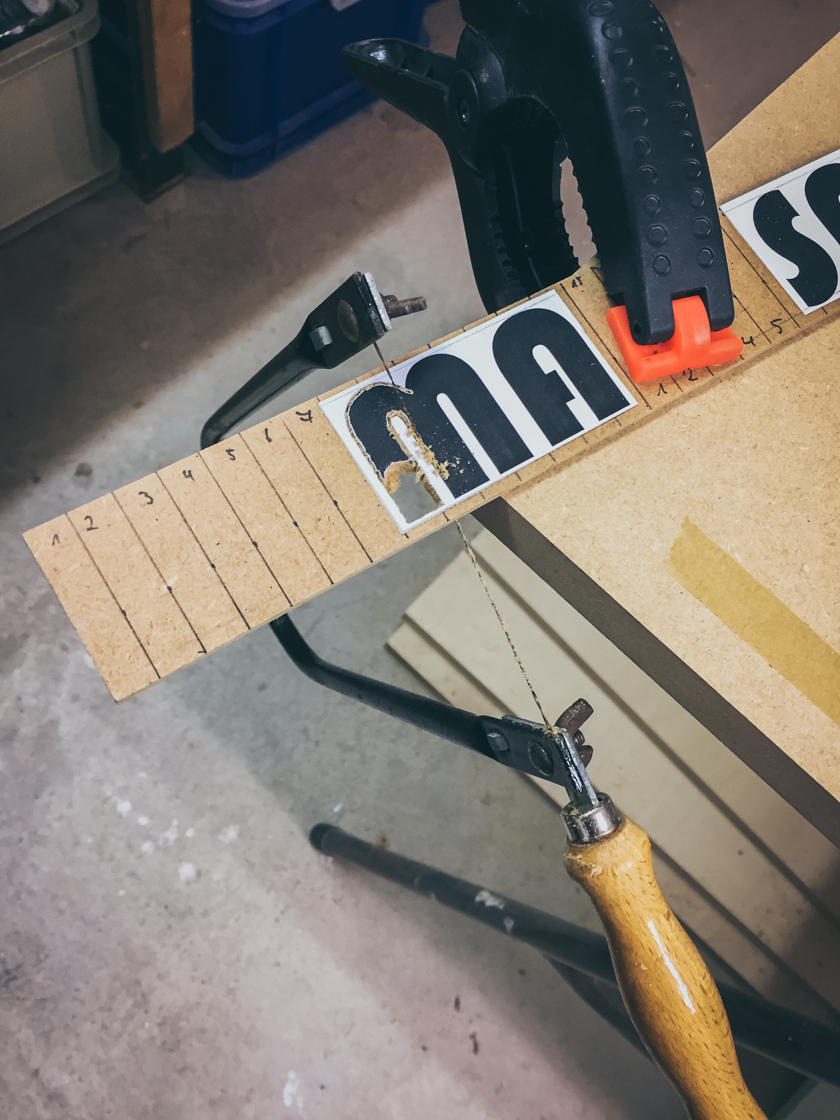
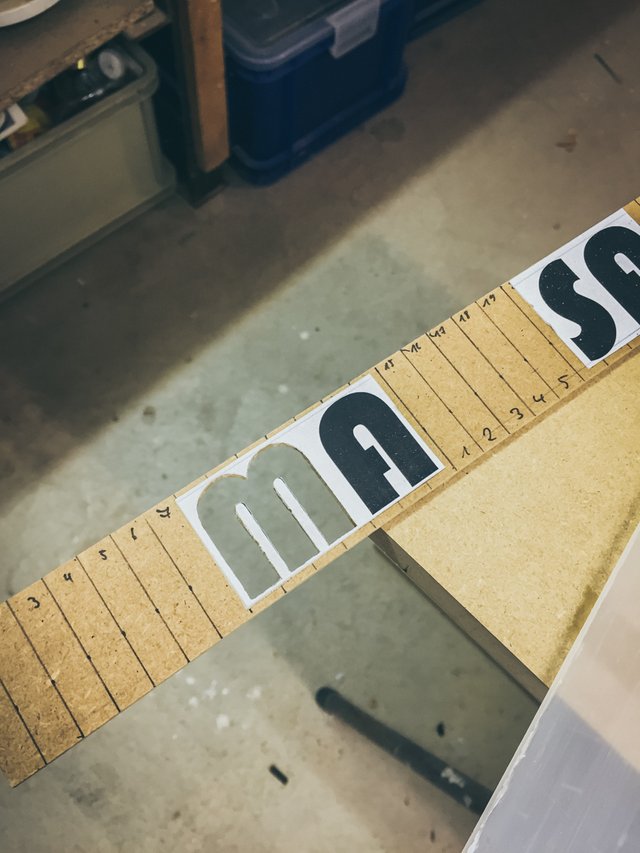
The area behind the plexiglass was equipped with a SMD led strip.
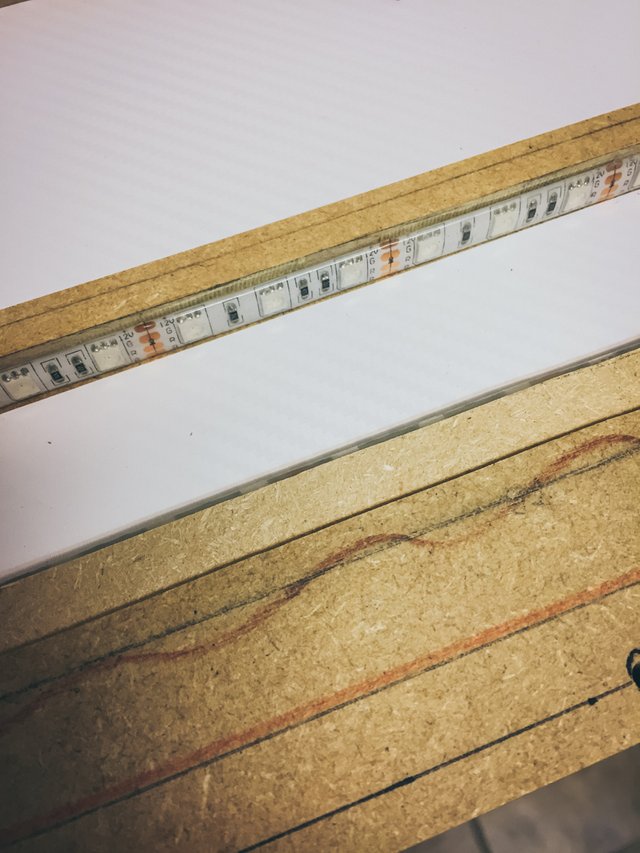
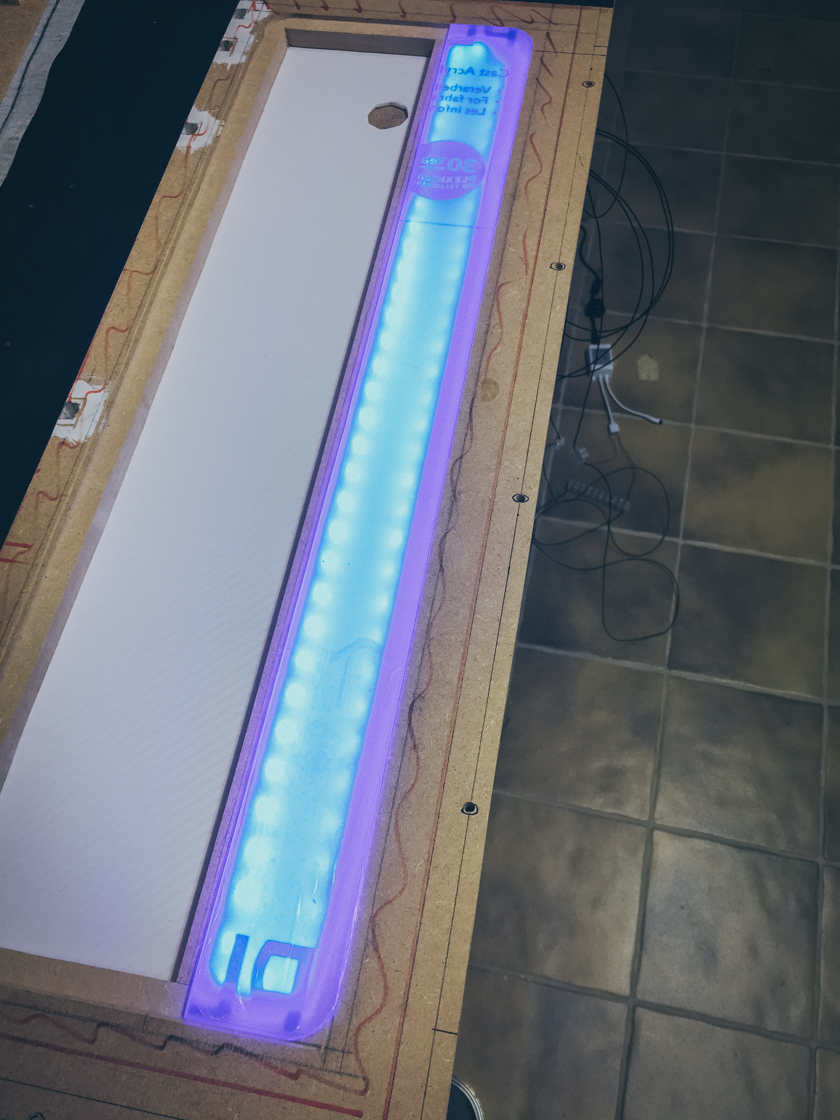
Then there was a tricky step that has to be done.
First I glued in the MDF letters cover, then I glued in the plexiglass cover and last I glued the MDF main cover to the MDF main panel.
A lot of gluing :)
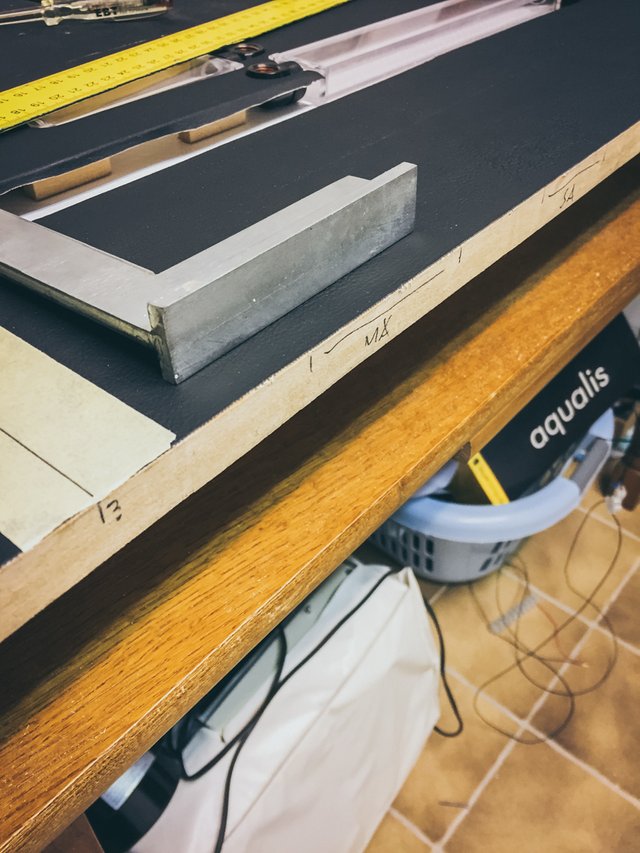
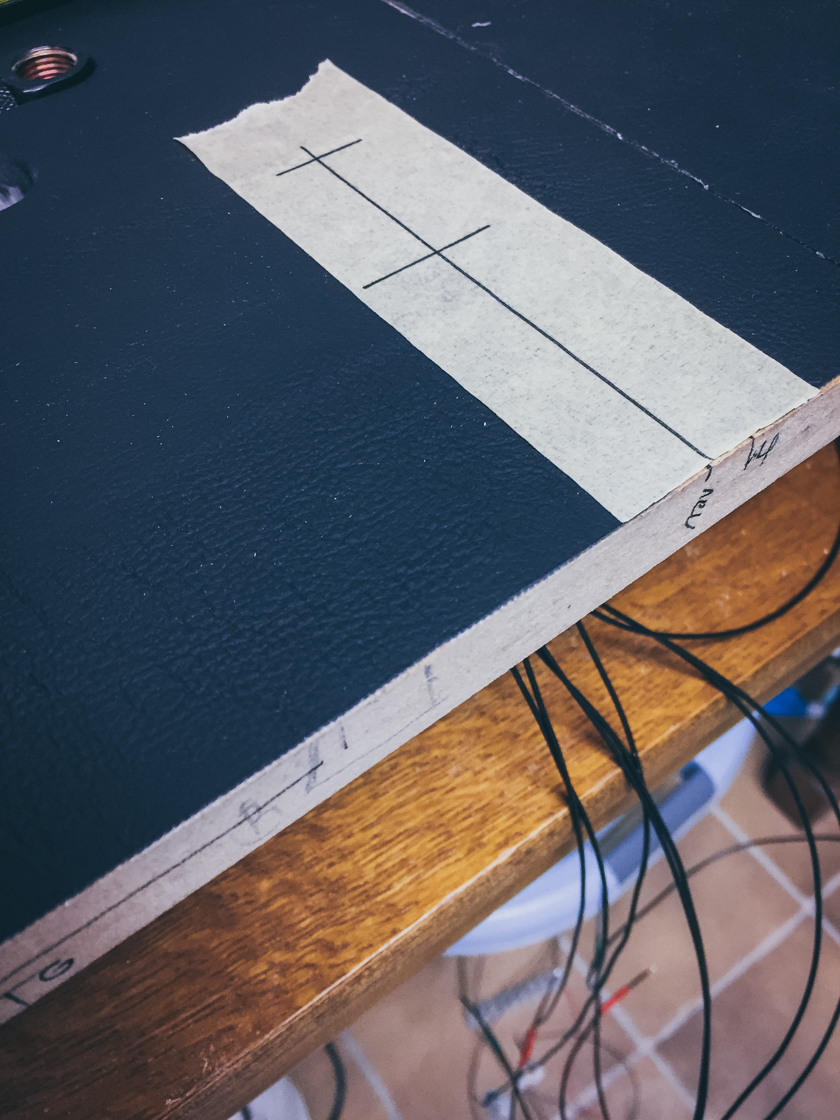
Then I had to cut blindly trough the leather, so that in the end only the plexi cover is visible.
I used some markers on the edges of the main panel as reference.
And yeah, It works perfect.
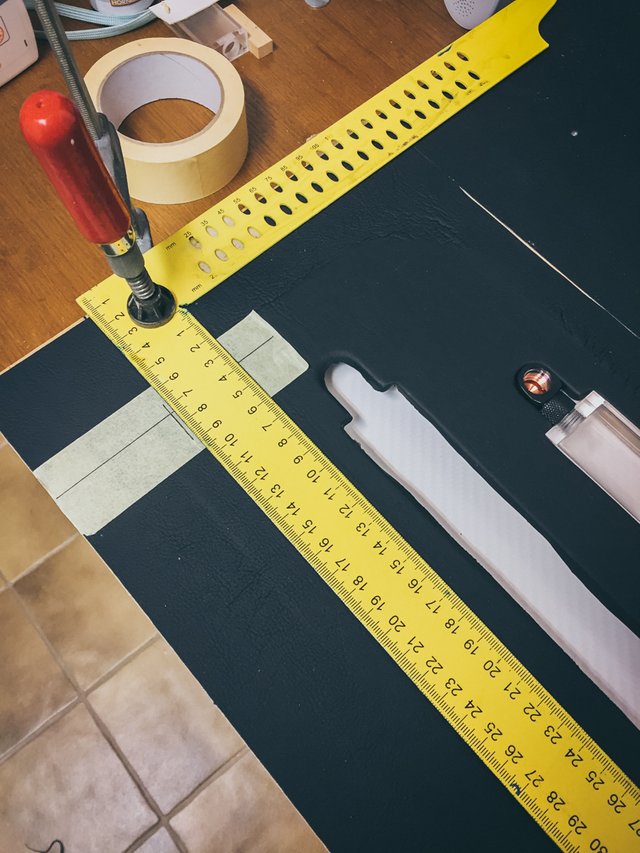
Then I combined the frame with the main panel.
On the main panel I cut out the areas for the led SMD strips.
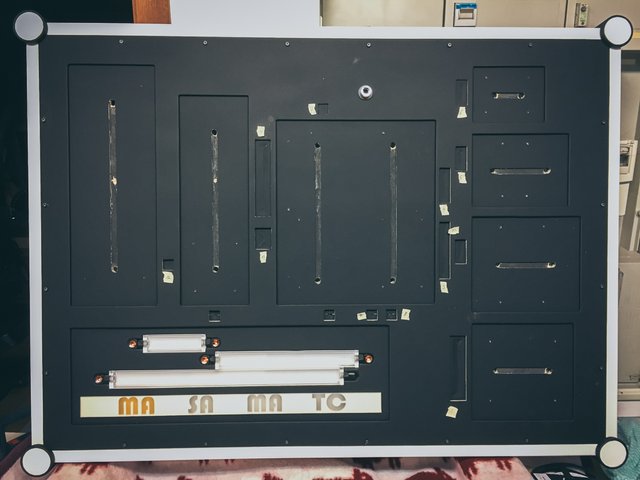
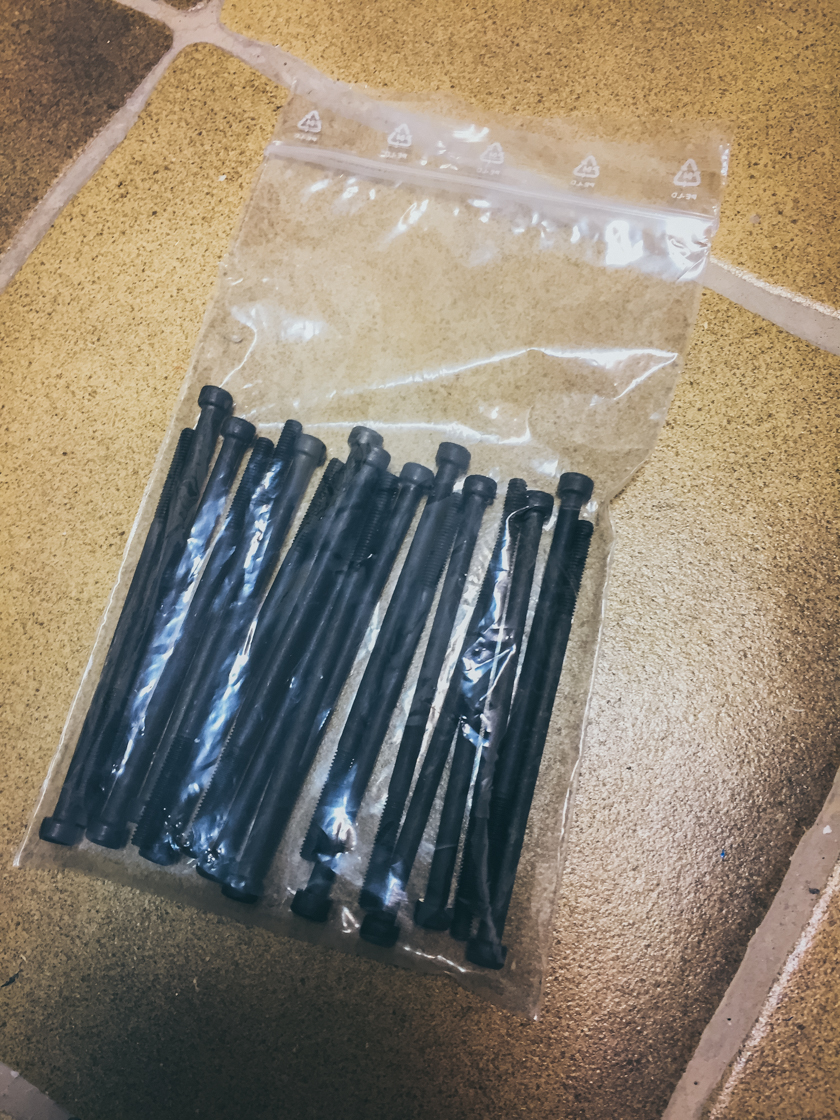
To mount the frame I use this screws.
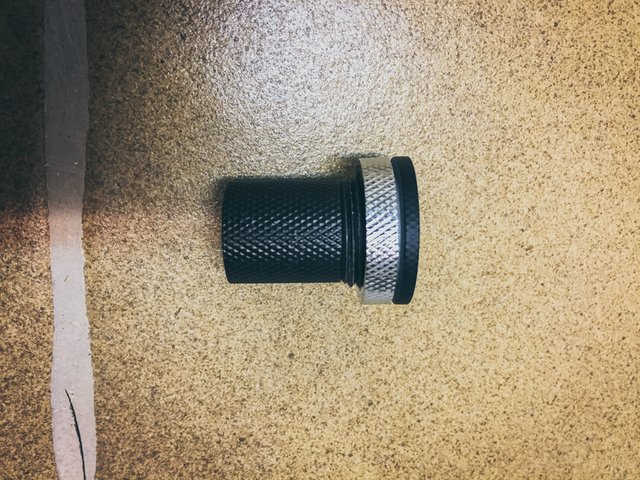
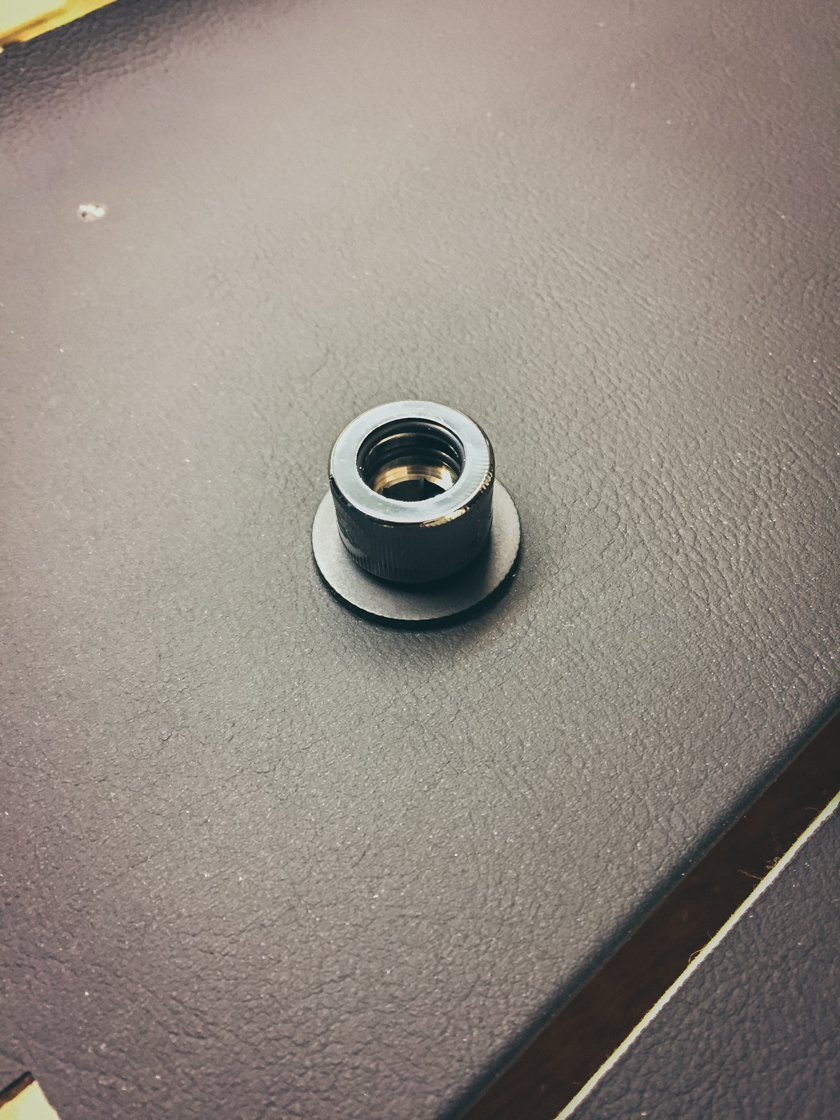
This is the pass-through to the overlay and the main panel to the backside.
What's next?
I'm going to mount the hardware to the panel.
Servus and cu next time.
Join our Discord Channel to connect with us and nominate your own or somebody else's posts in our review channel.
Help us to reward you for making it ! Join our voting trail or delegate steem power to the community account.
Your post is also presented on the community website www.steemmakers.com where you can find other selected content.
If you like our work, please consider upvoting this comment to support the growth of our community. Thank you.