BMW Z4 E 85 Fitting Aux Input WITHOUT REMOVING VENT/RADIO Tutorial/ How-To by Senzenfrenz
klickt hier für die deutsche Version dieses Tutorials: https://steemit.com/deutsch/@senzenfrenz/bmw-z4-e-85-aux-input-nachruesten-ohne-ausbau-des-radios-und-der-lueftung-tutorial-senzenfrenz
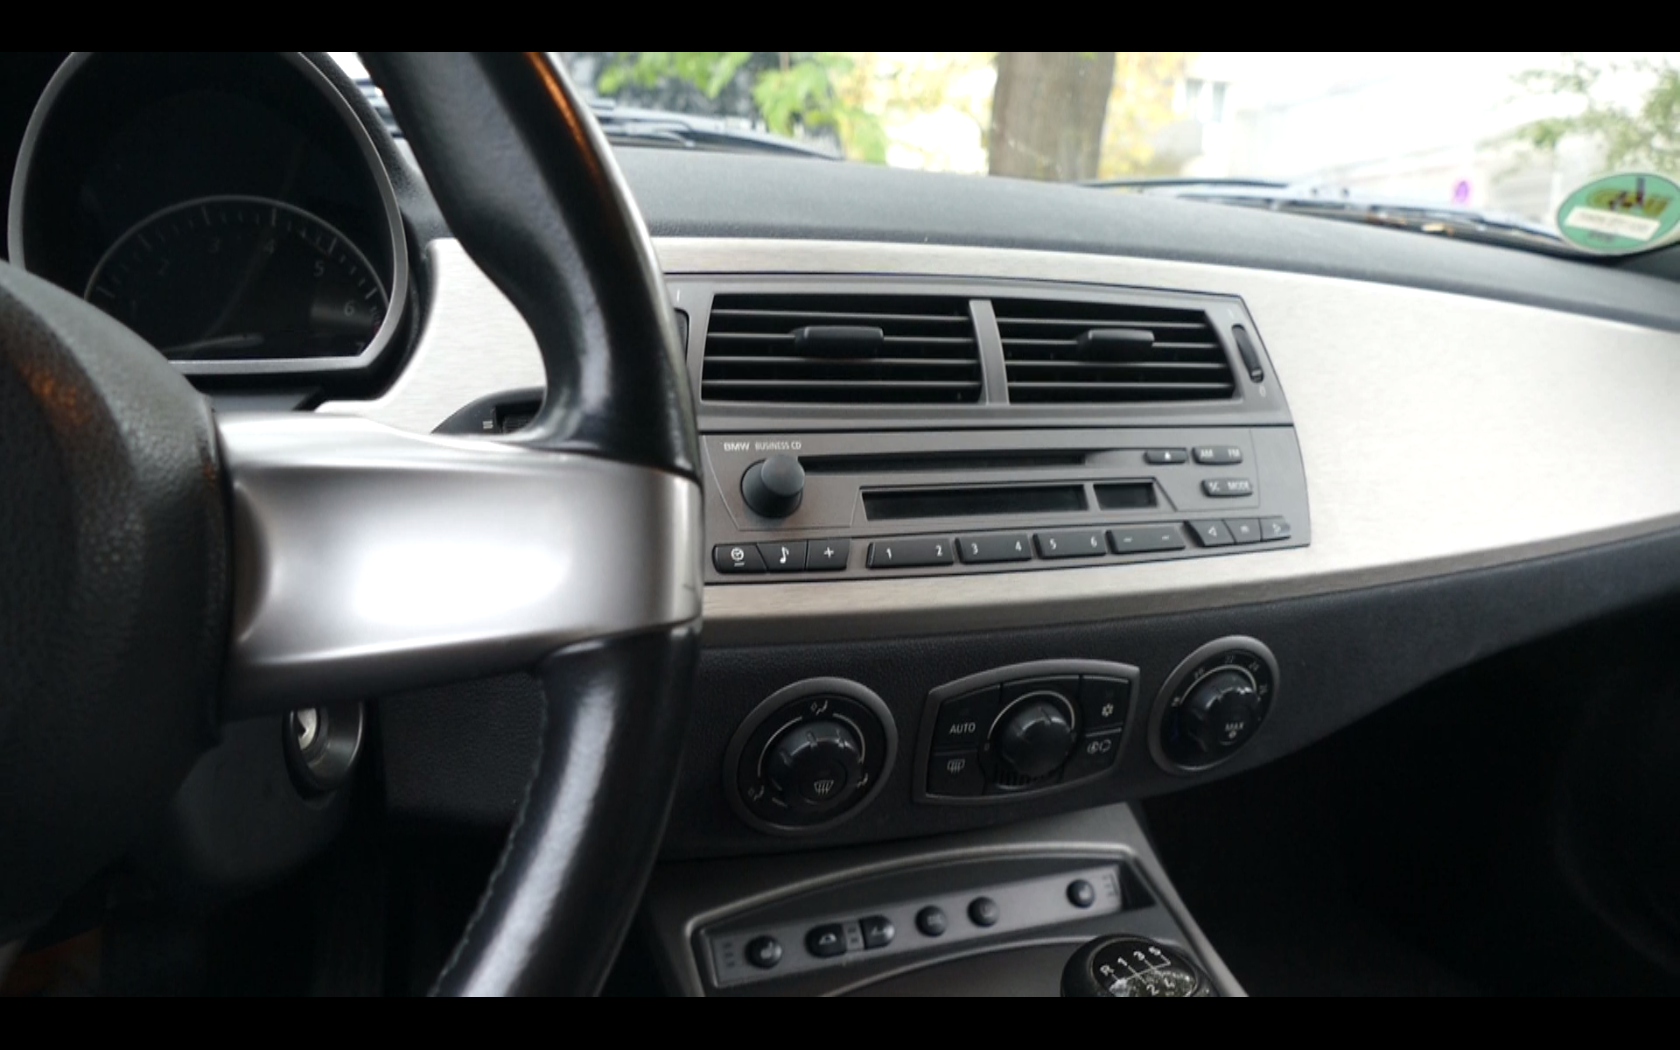
You want to have your Smartphone or MP3-Player connected to your original BMW Business CD Radio?
Well you might be glad to hear that you can fit an Aux-Cable plug and play because your Radio is already able to process Aux-Function. This also works for other BMW Models like e46, e65, e39...
This Tutorial helps you to get it done for only around 6 Bucks, even without removing the Radio or Vent Section as described in other How-to's!!! This prevents you from scratching your panels while working the vent and the radio out without the original tools from BMW which - you might admit - is great news!
So let's begin!
1. Circuit board
To tell the radio that it should turn on Aux-Function (which it does not just by adding a genuine Aux-Cable) you have to solder a little Circuit board with a resistor and two condensors like this:
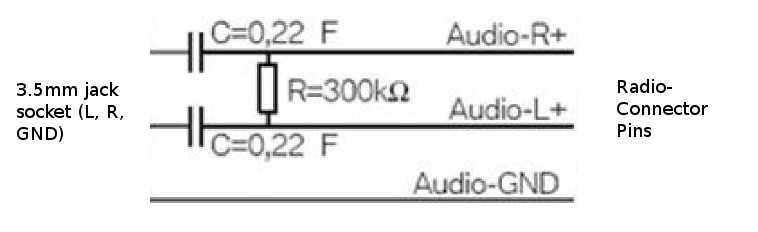
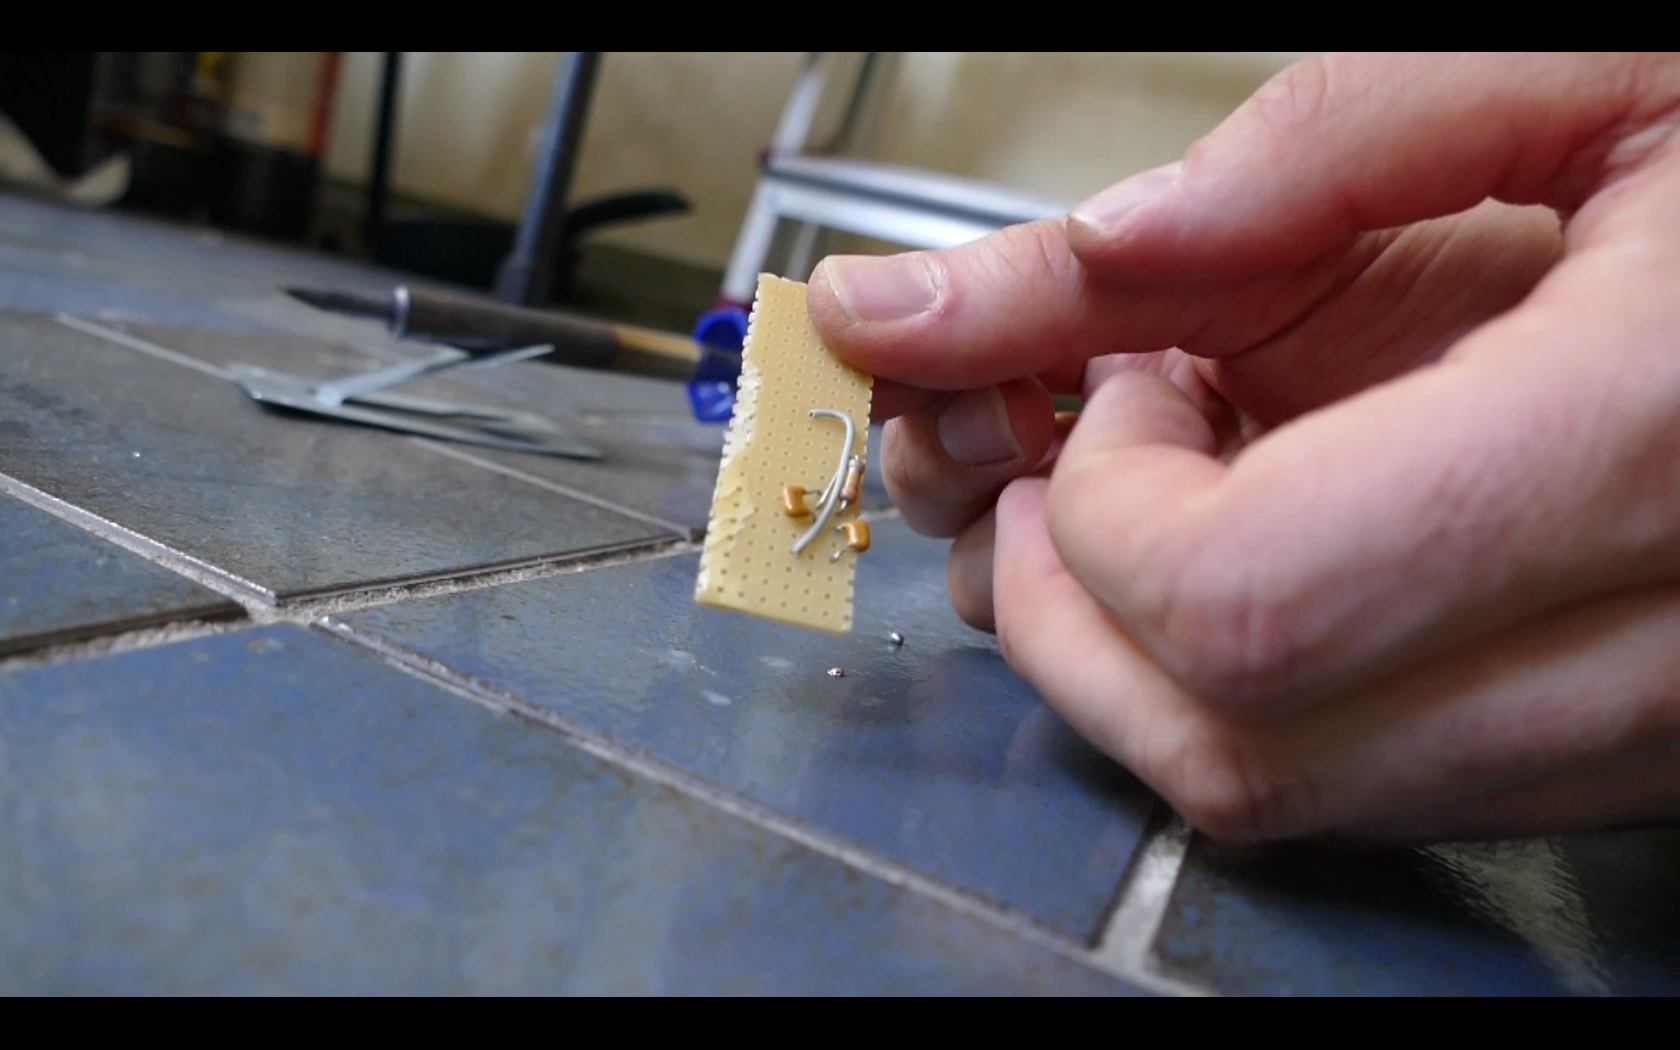
You can use a perforated panel where you prepare your components for soldering related to the above circuit diagram:
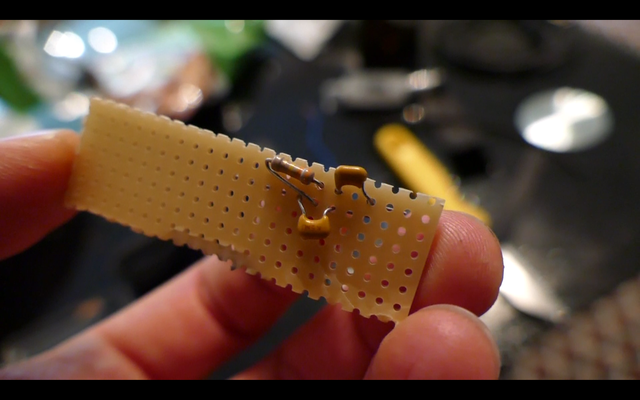
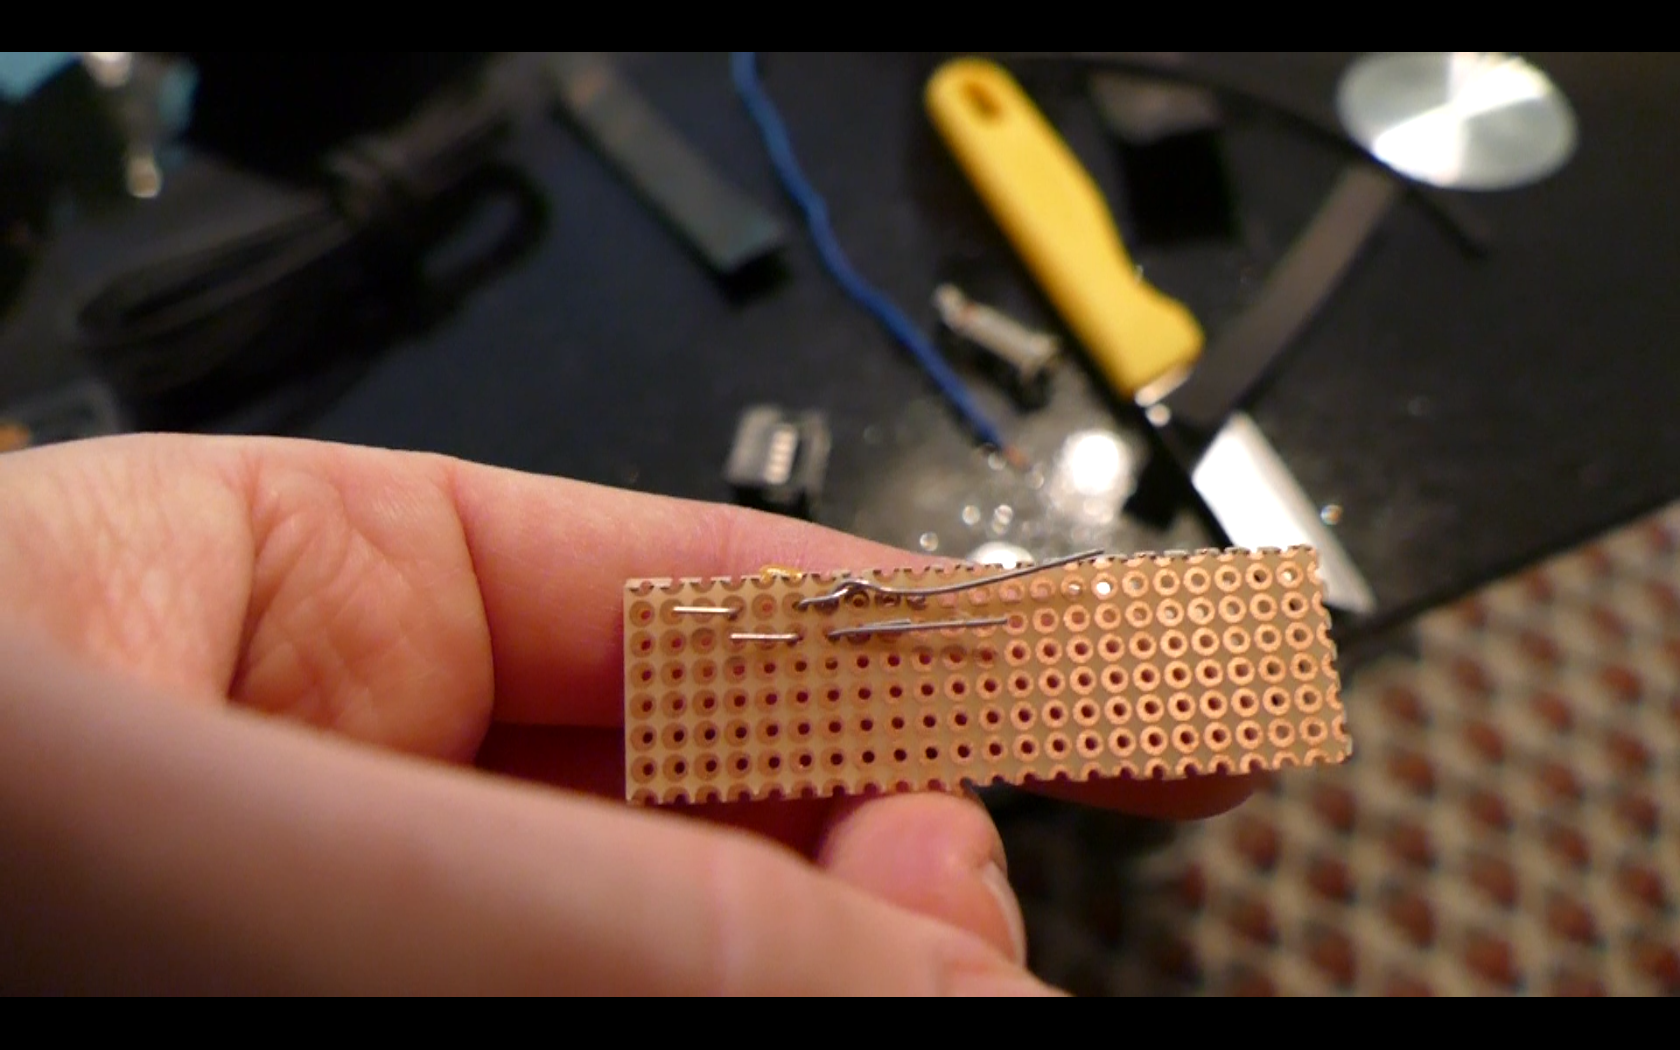
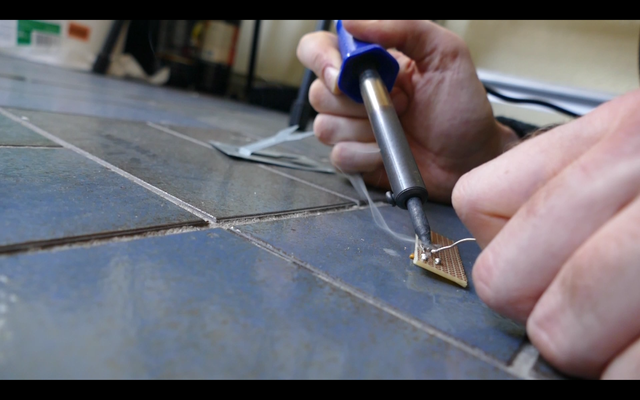
Carefully solder it on the bottom side:
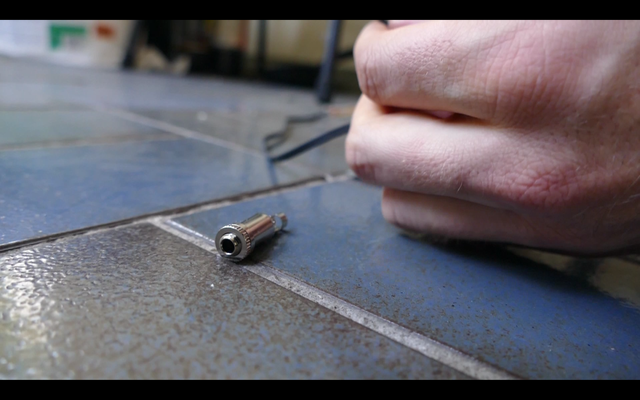
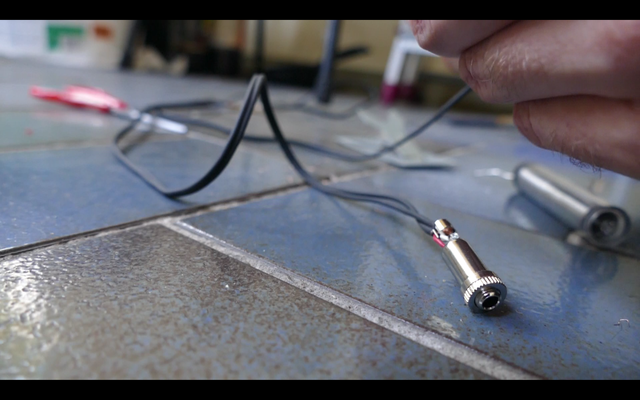
2. 3,5mm Jack Socket and Radio Connector
Get yourself a 3,5mm Jack-Socket where you will be able to put your Smartphone Audio Cable in. Of course you can use other ports as you like.
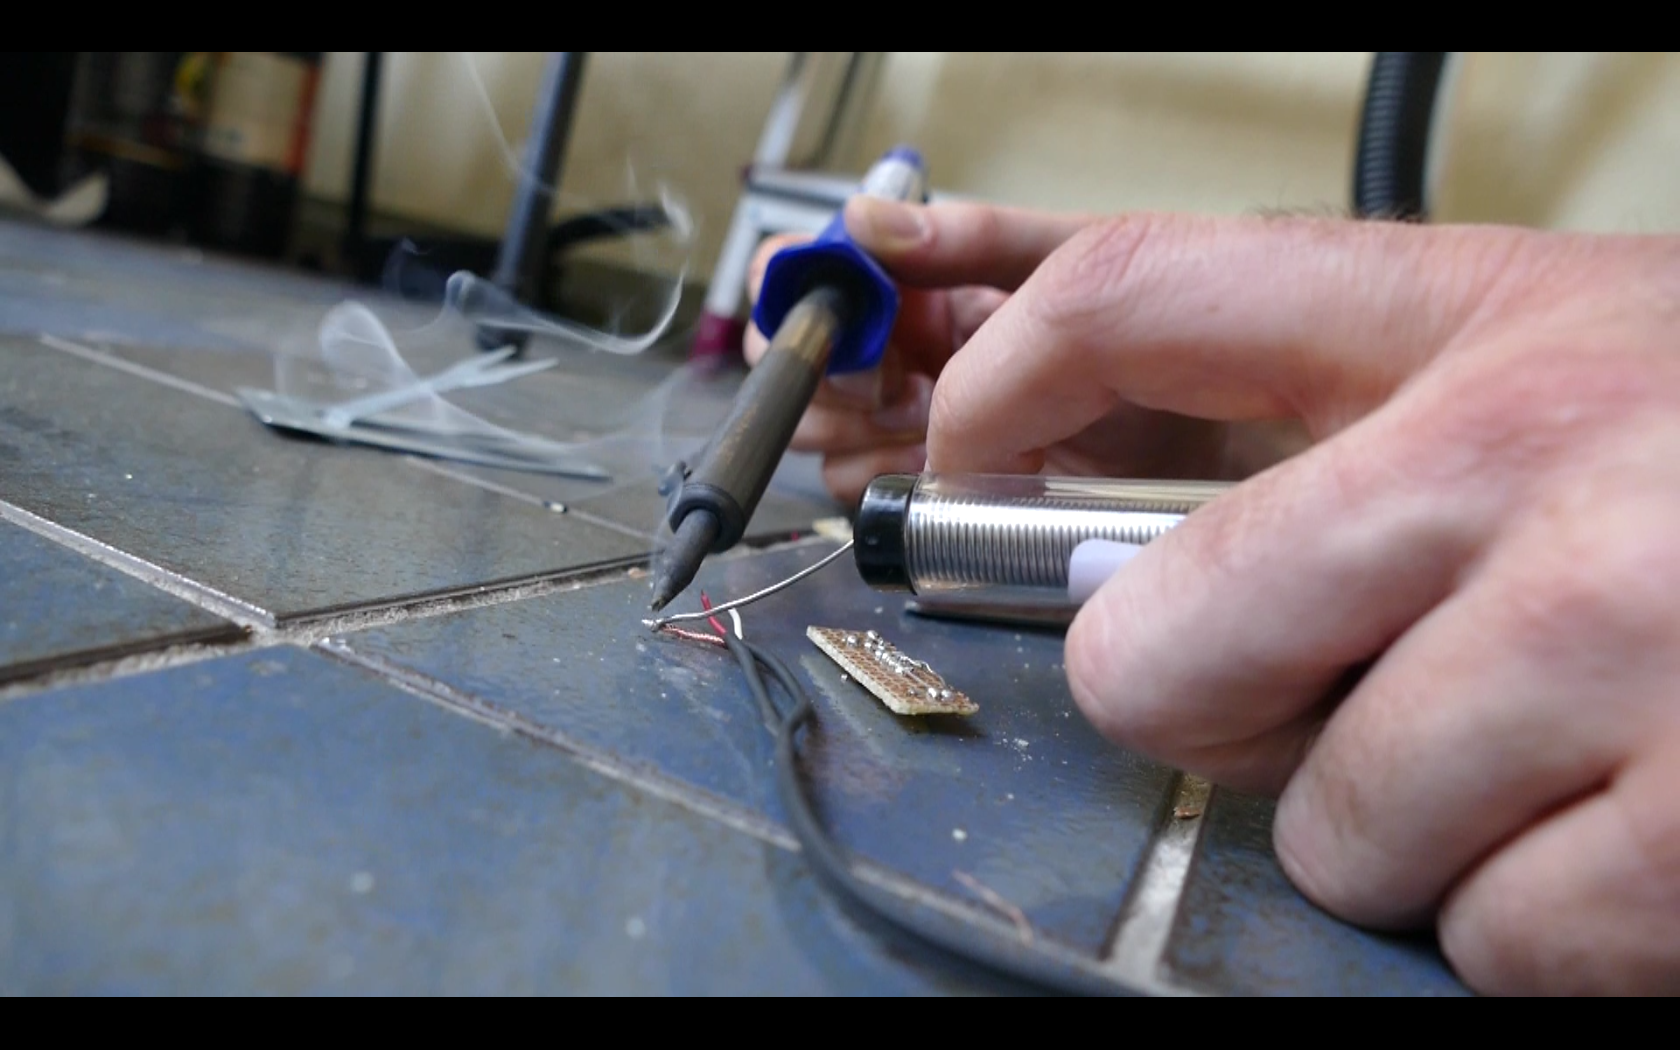
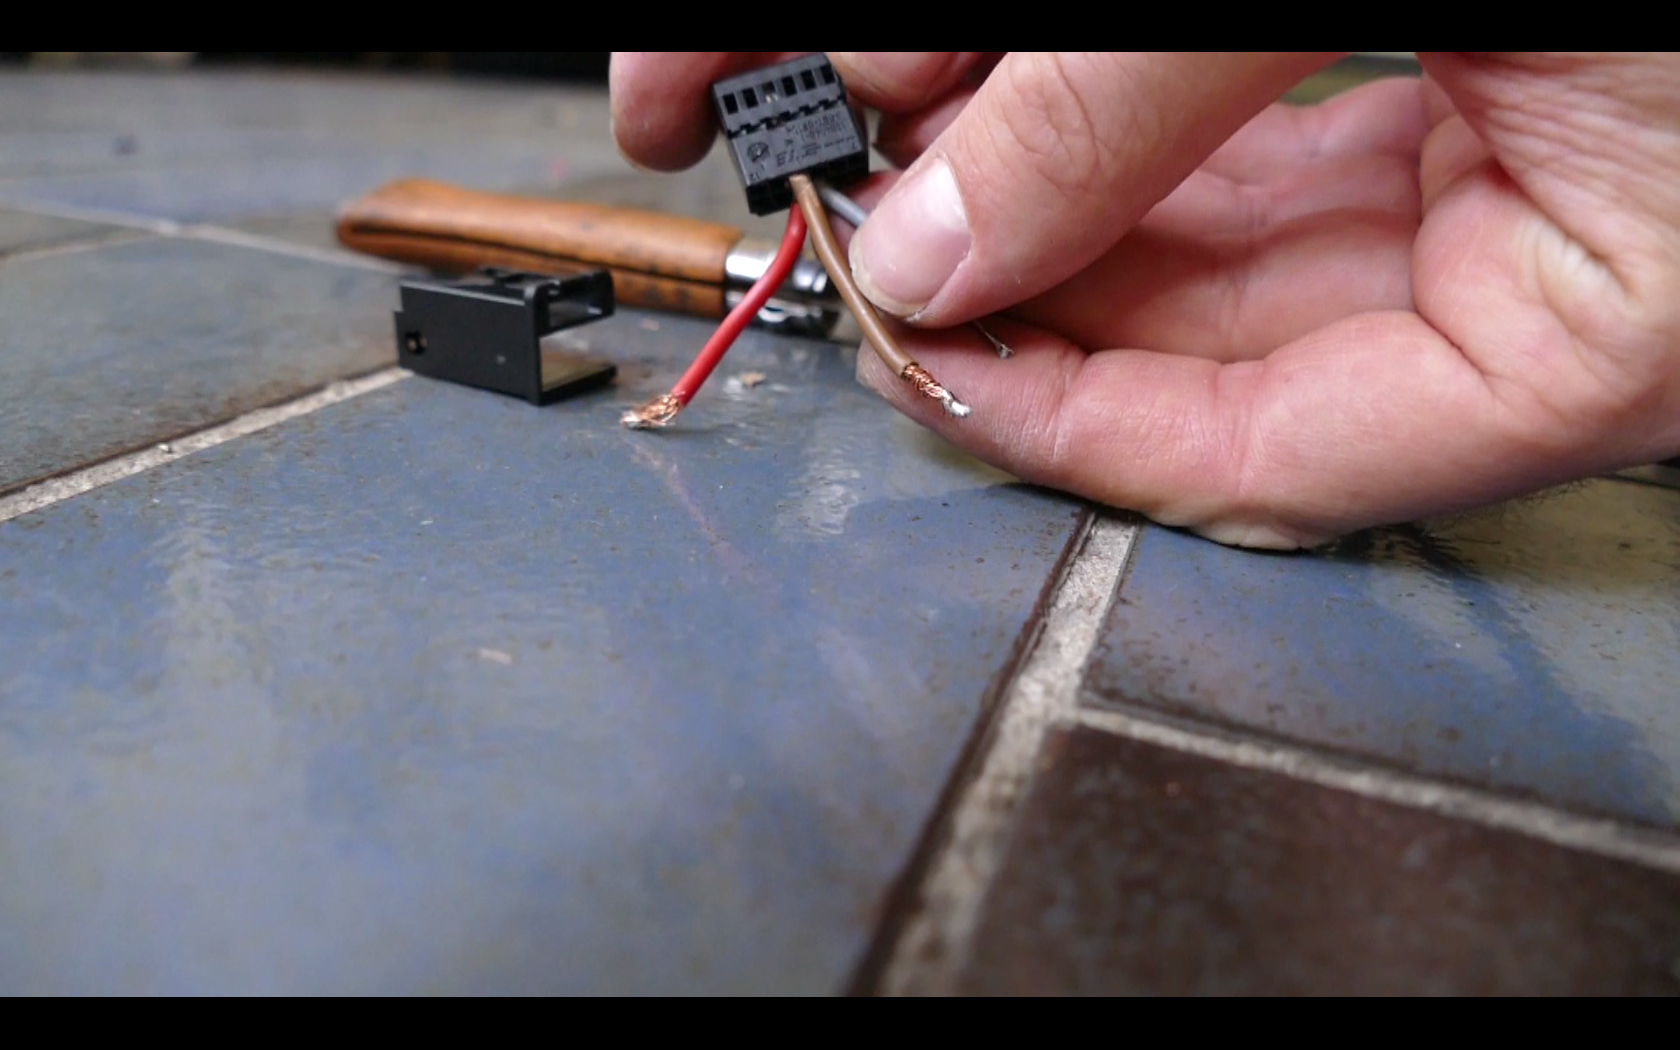
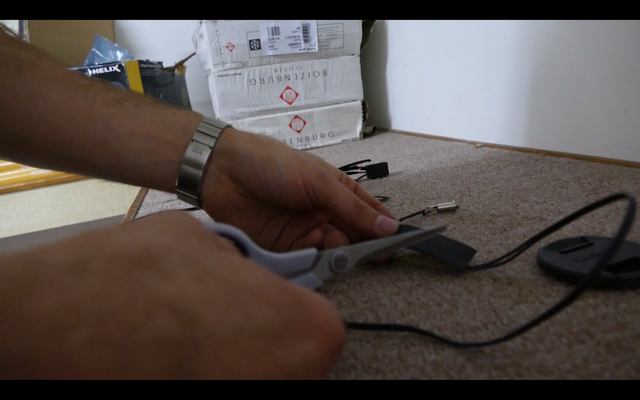
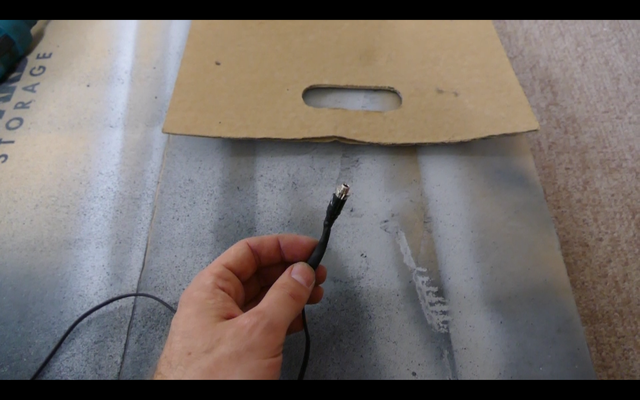
Remove the insulation from a Stereo Audio Cable and tin it with solder.
Solder it to the Jack Socket on the one hand and to the circuit board on the other hand.
Be aware that you put it on the right side of the board.
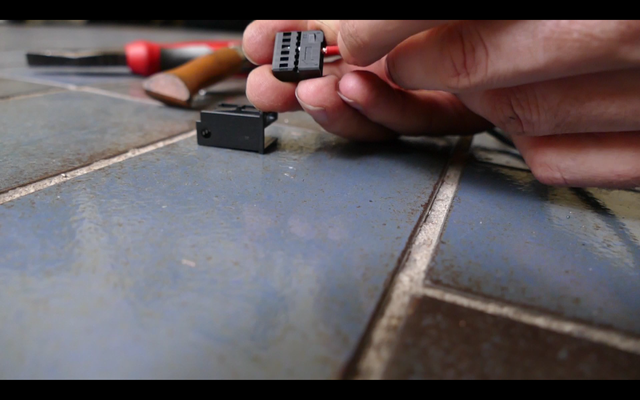
Now get yourself a connector (genuine part) from BMW.
Here are the part numbers:
61 13 8 387 204 (1x)
61 13 8 384 550 (1x)
Cable ties 1/8”x6” (3x)
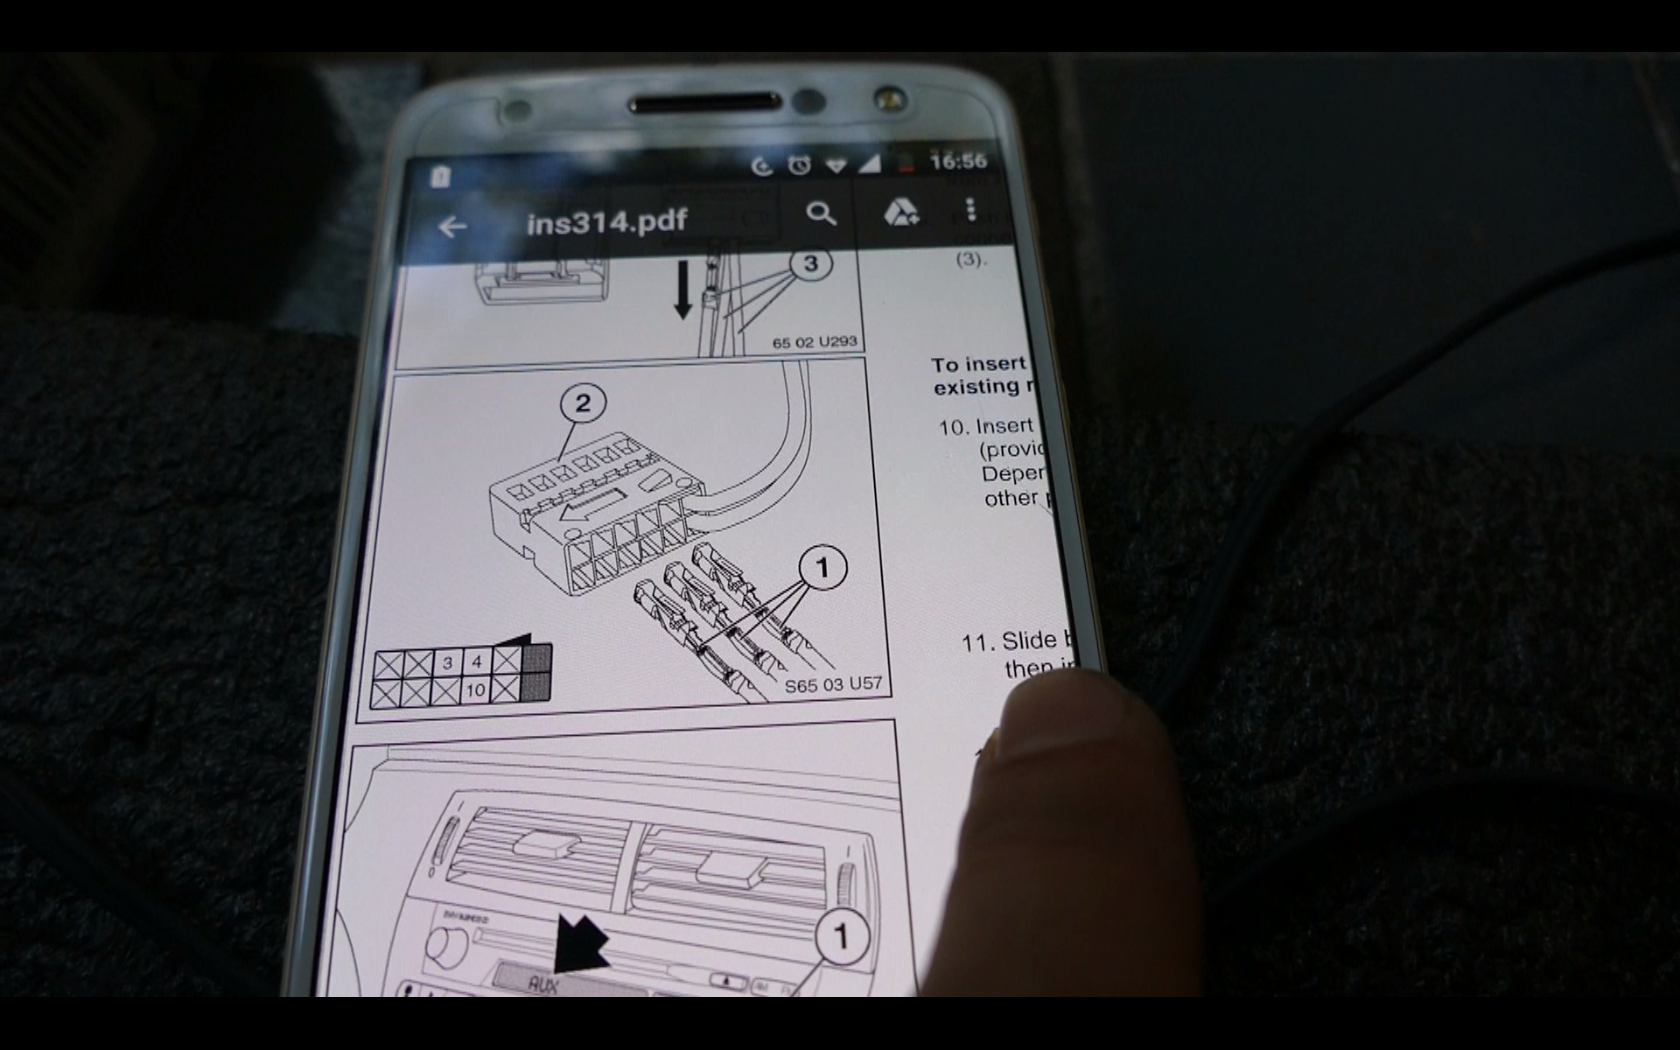
Pin the Connector to the Audiocable and solder it to the board. Here is a link that provides the Information on how to pin it (page 3):
https://www.bavauto.com/Assets/inst_pages/ins314.pdf
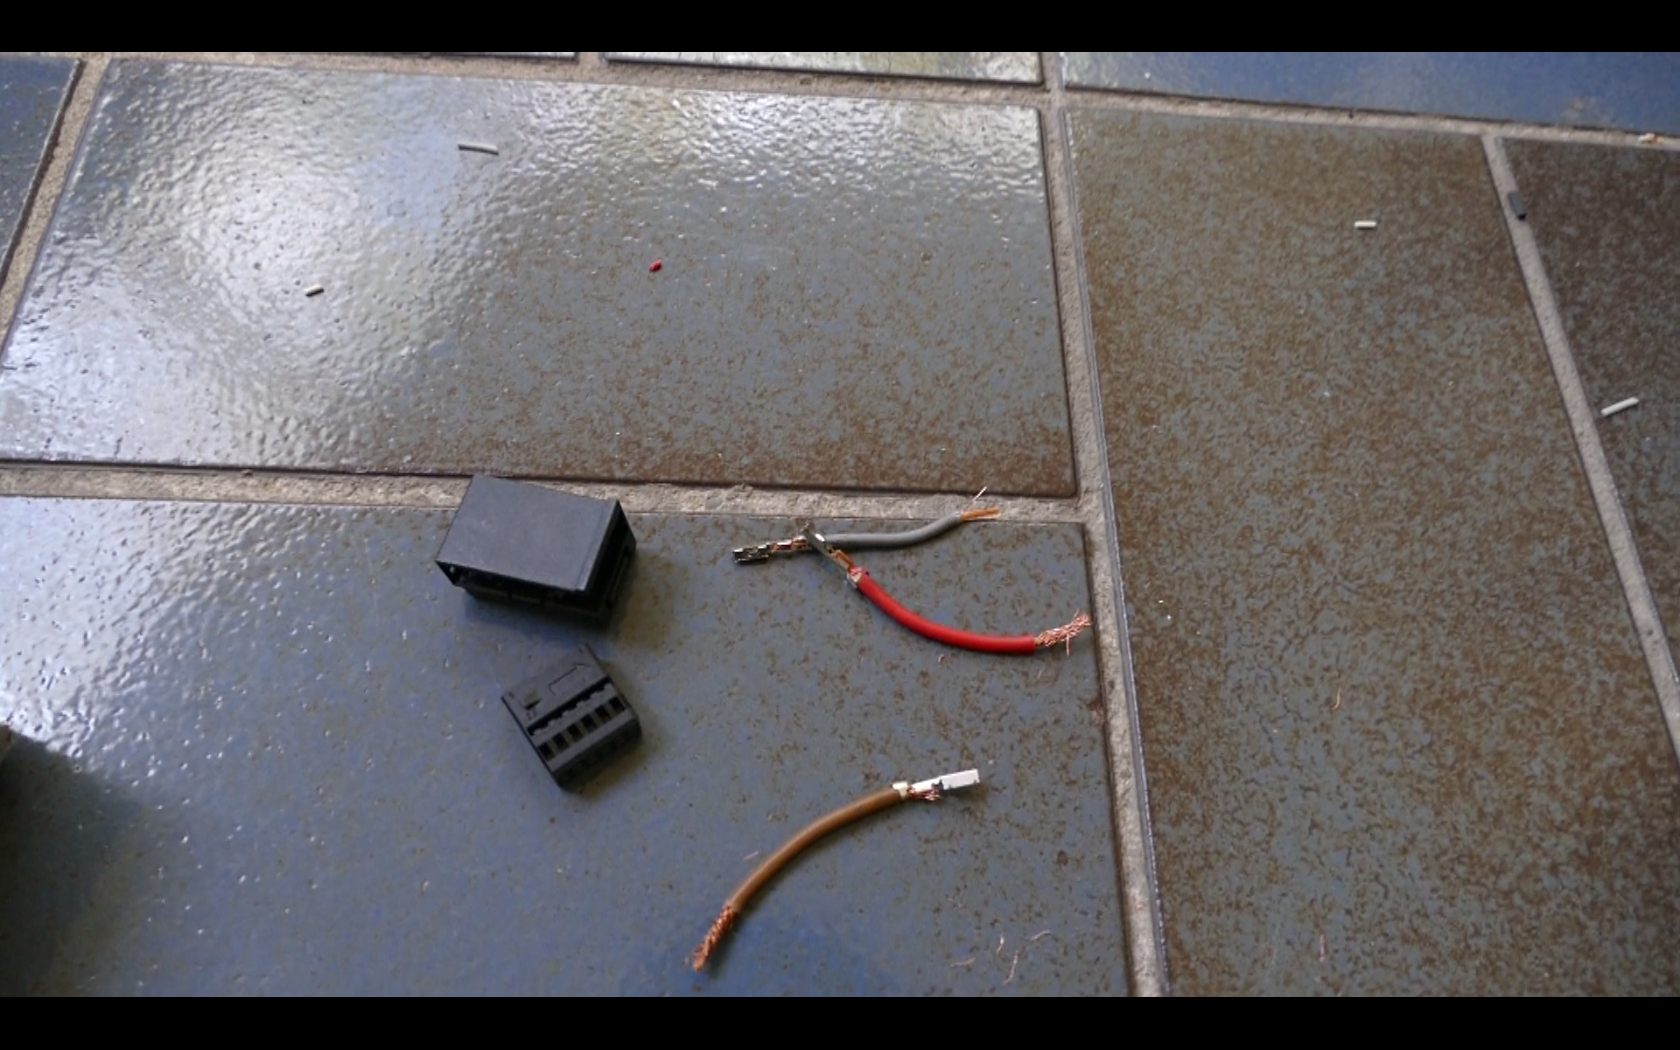
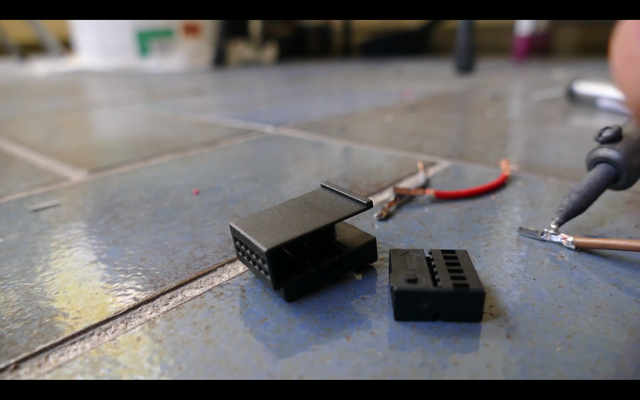
Make sure you don't mess with the pins:
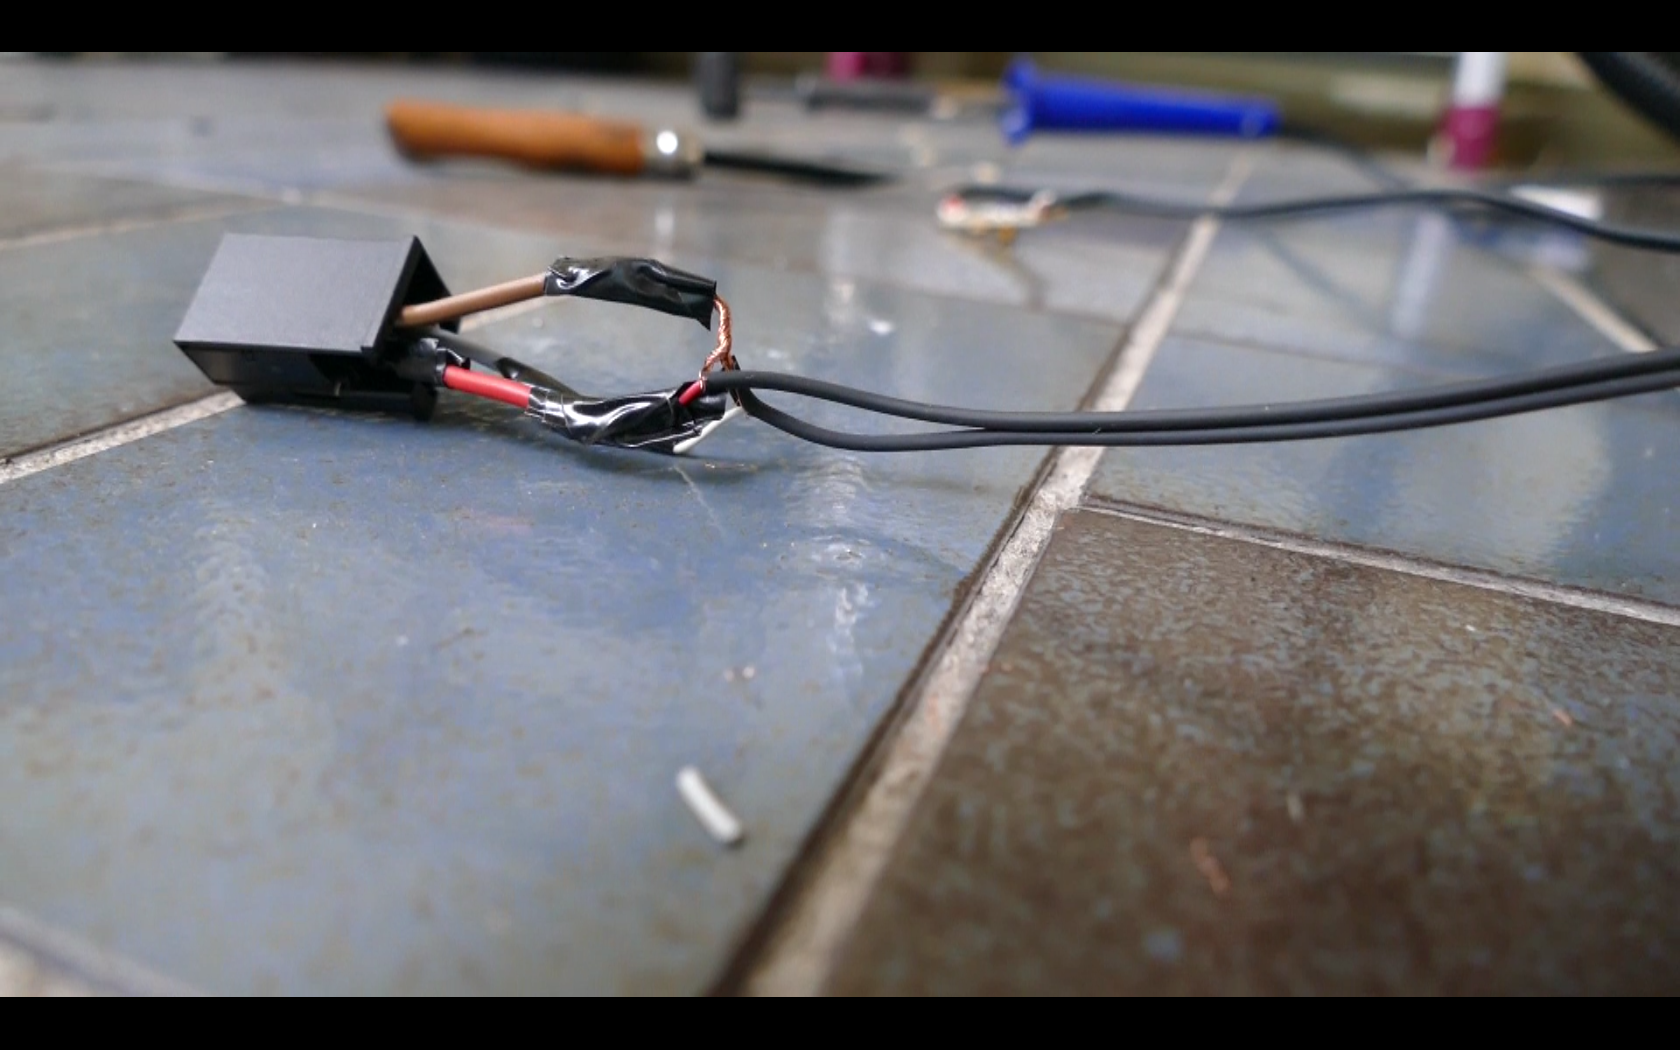
I made short connections in order to have the possibility to change L and R if the Audiosignal is delivered through the wrong speaker:
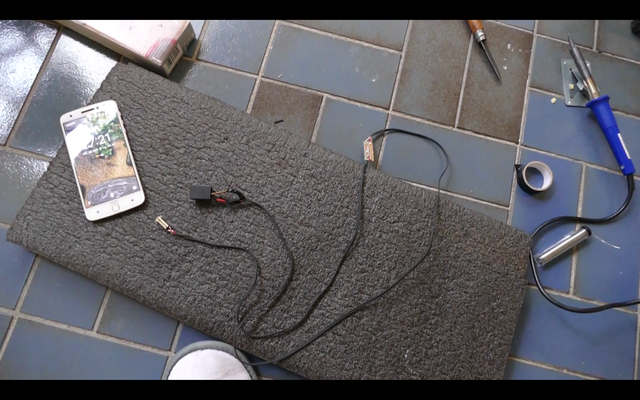
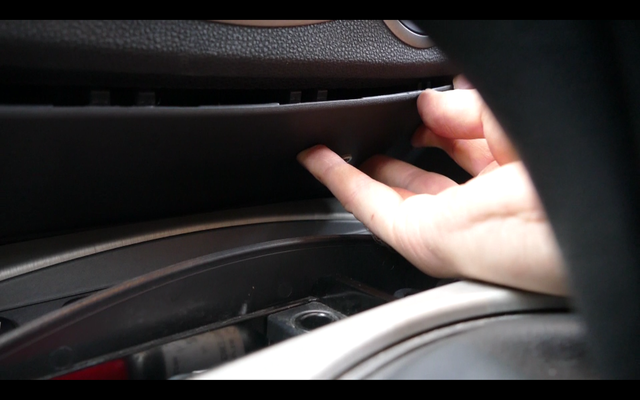
3. Check whether everything is working before drilling holes and putting all together
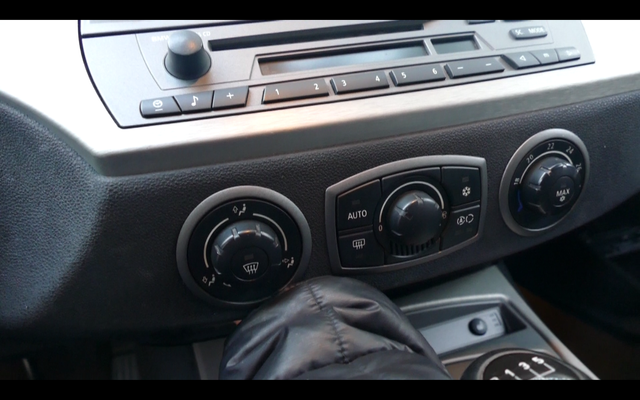
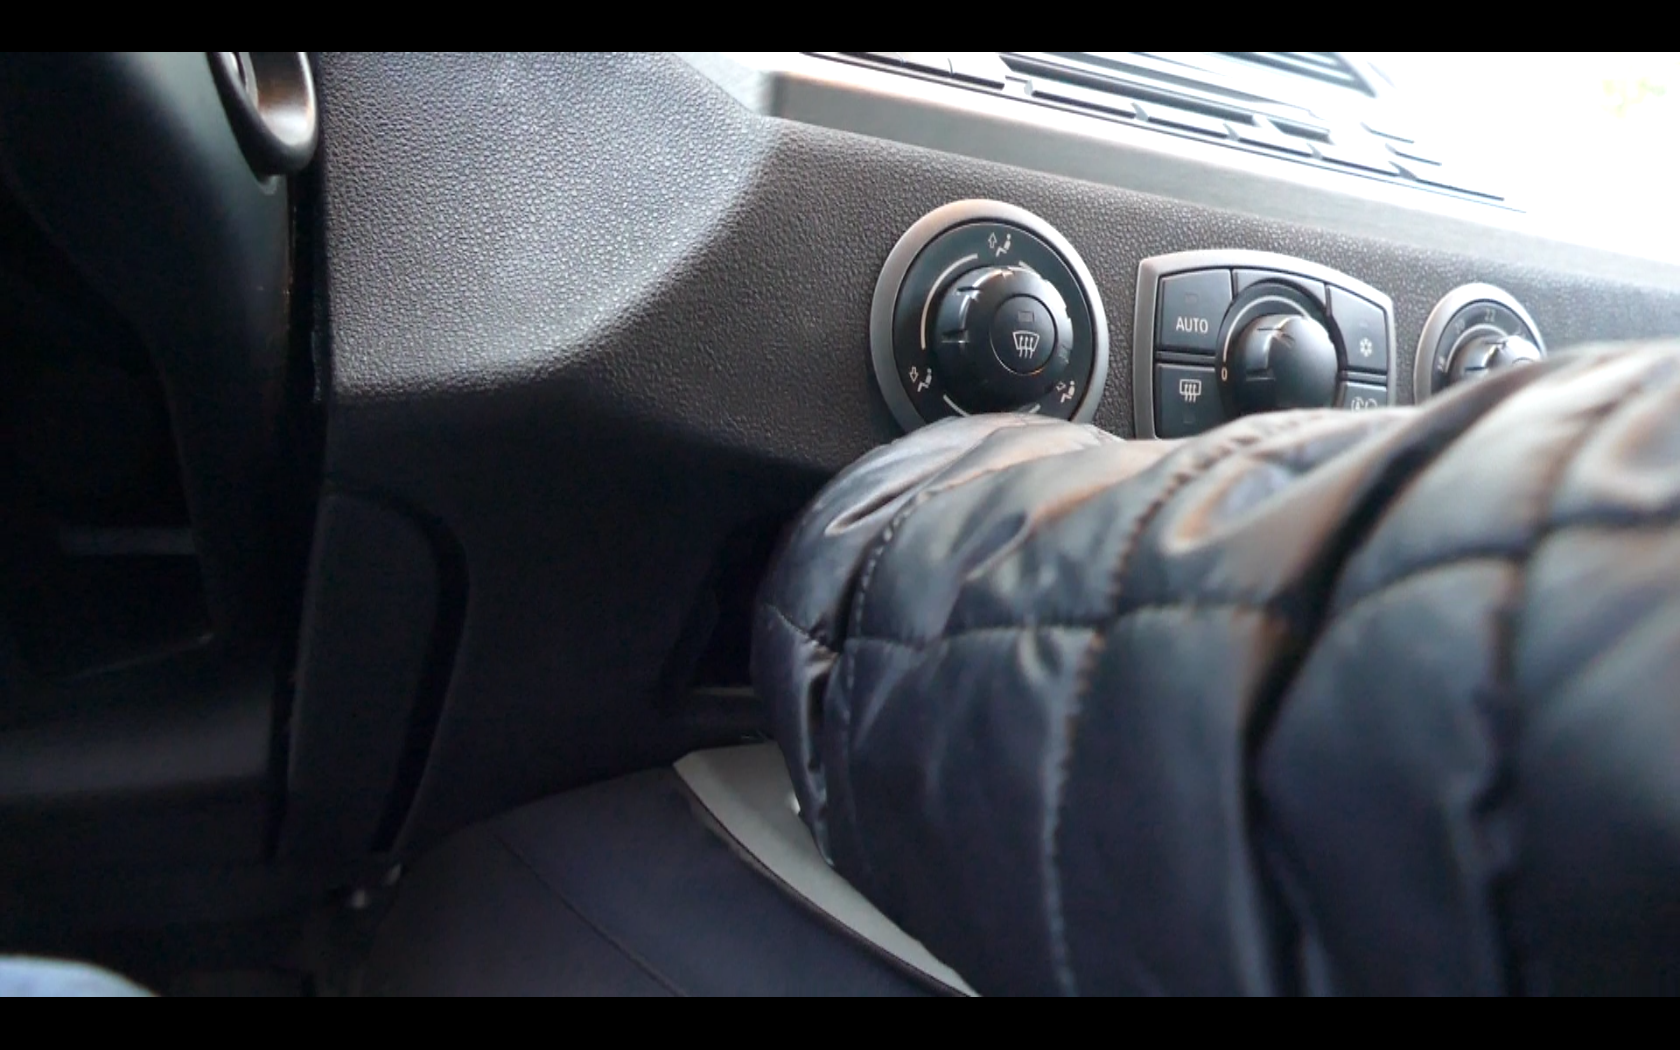
Go to your Z (or any other BMW) and undo the panel under the climate control section:
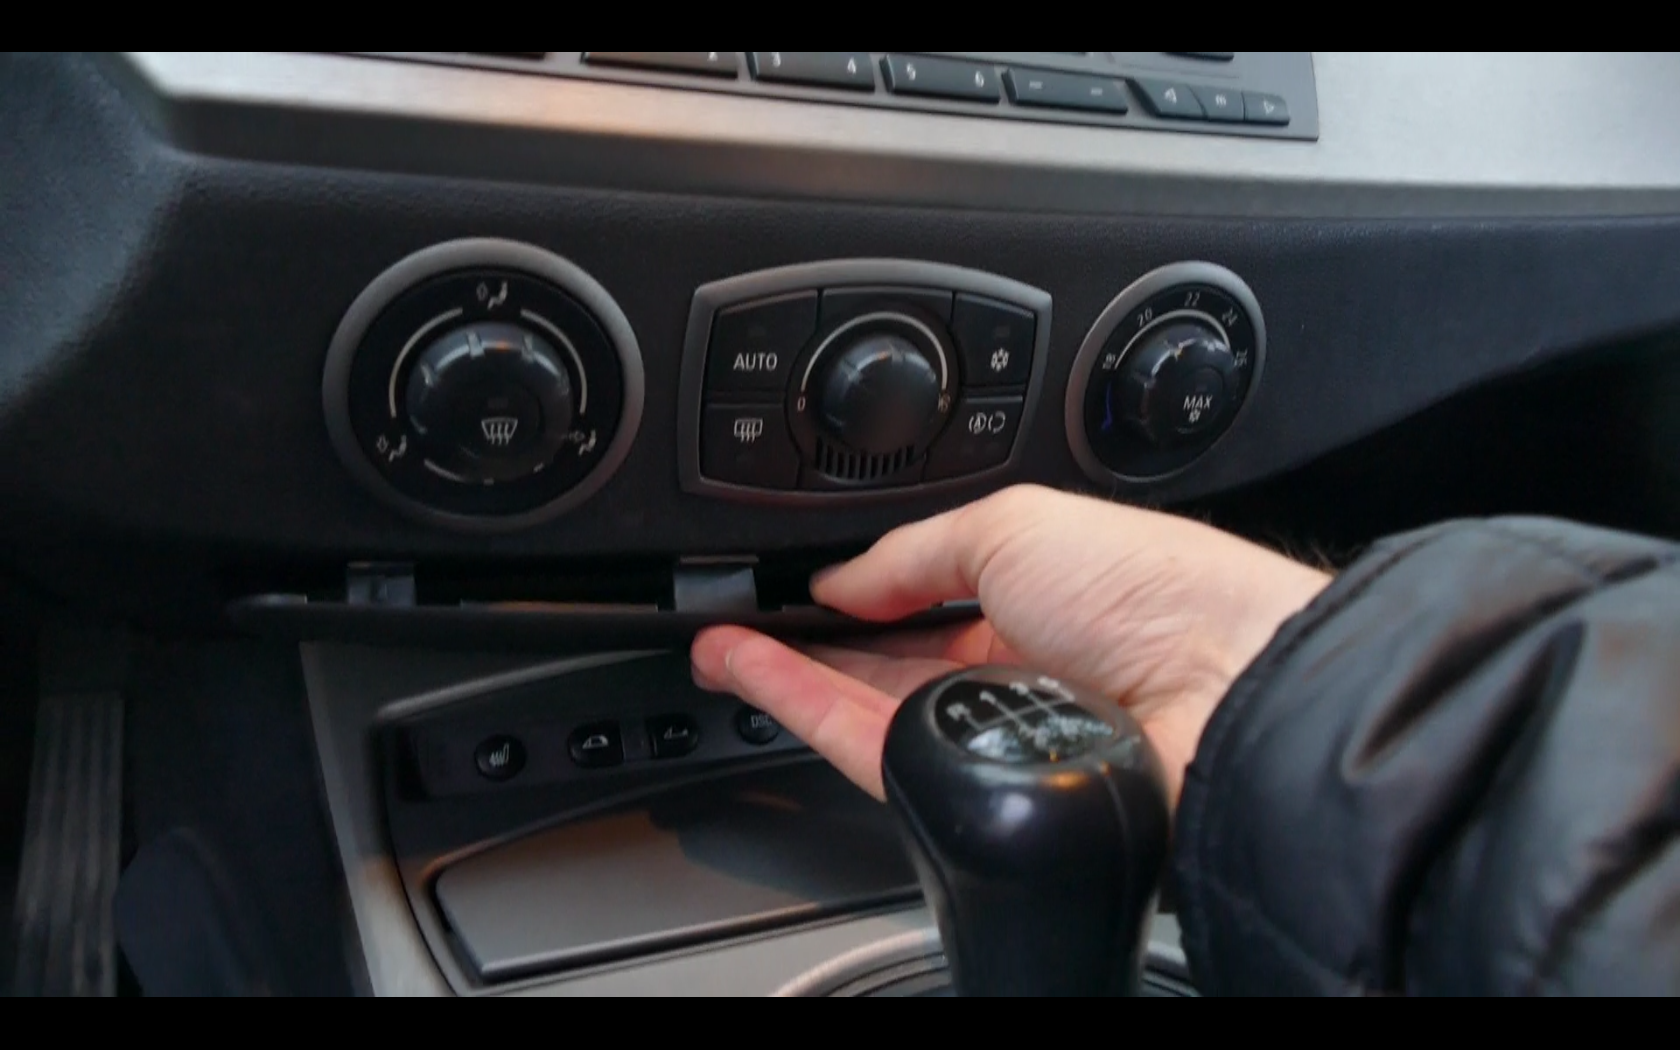
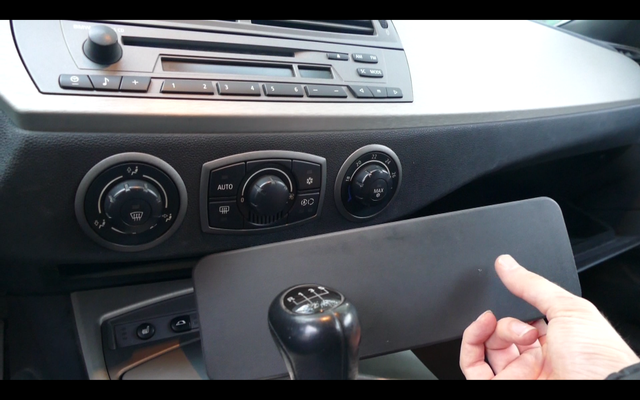
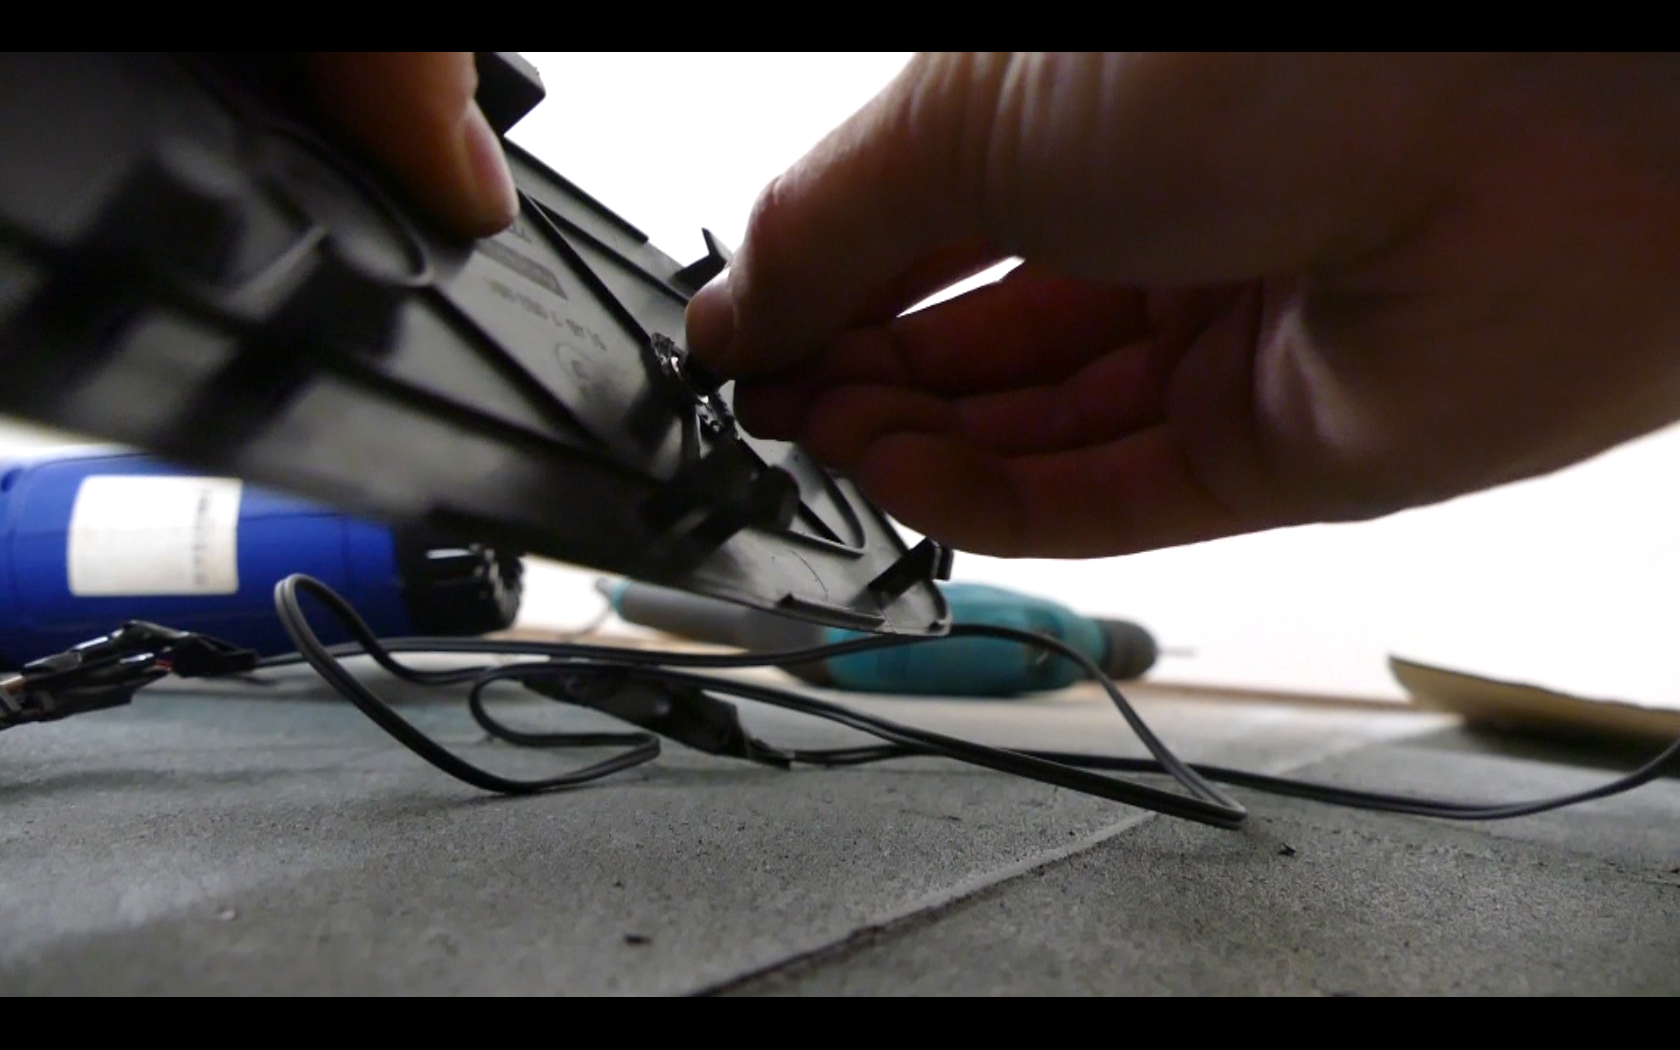
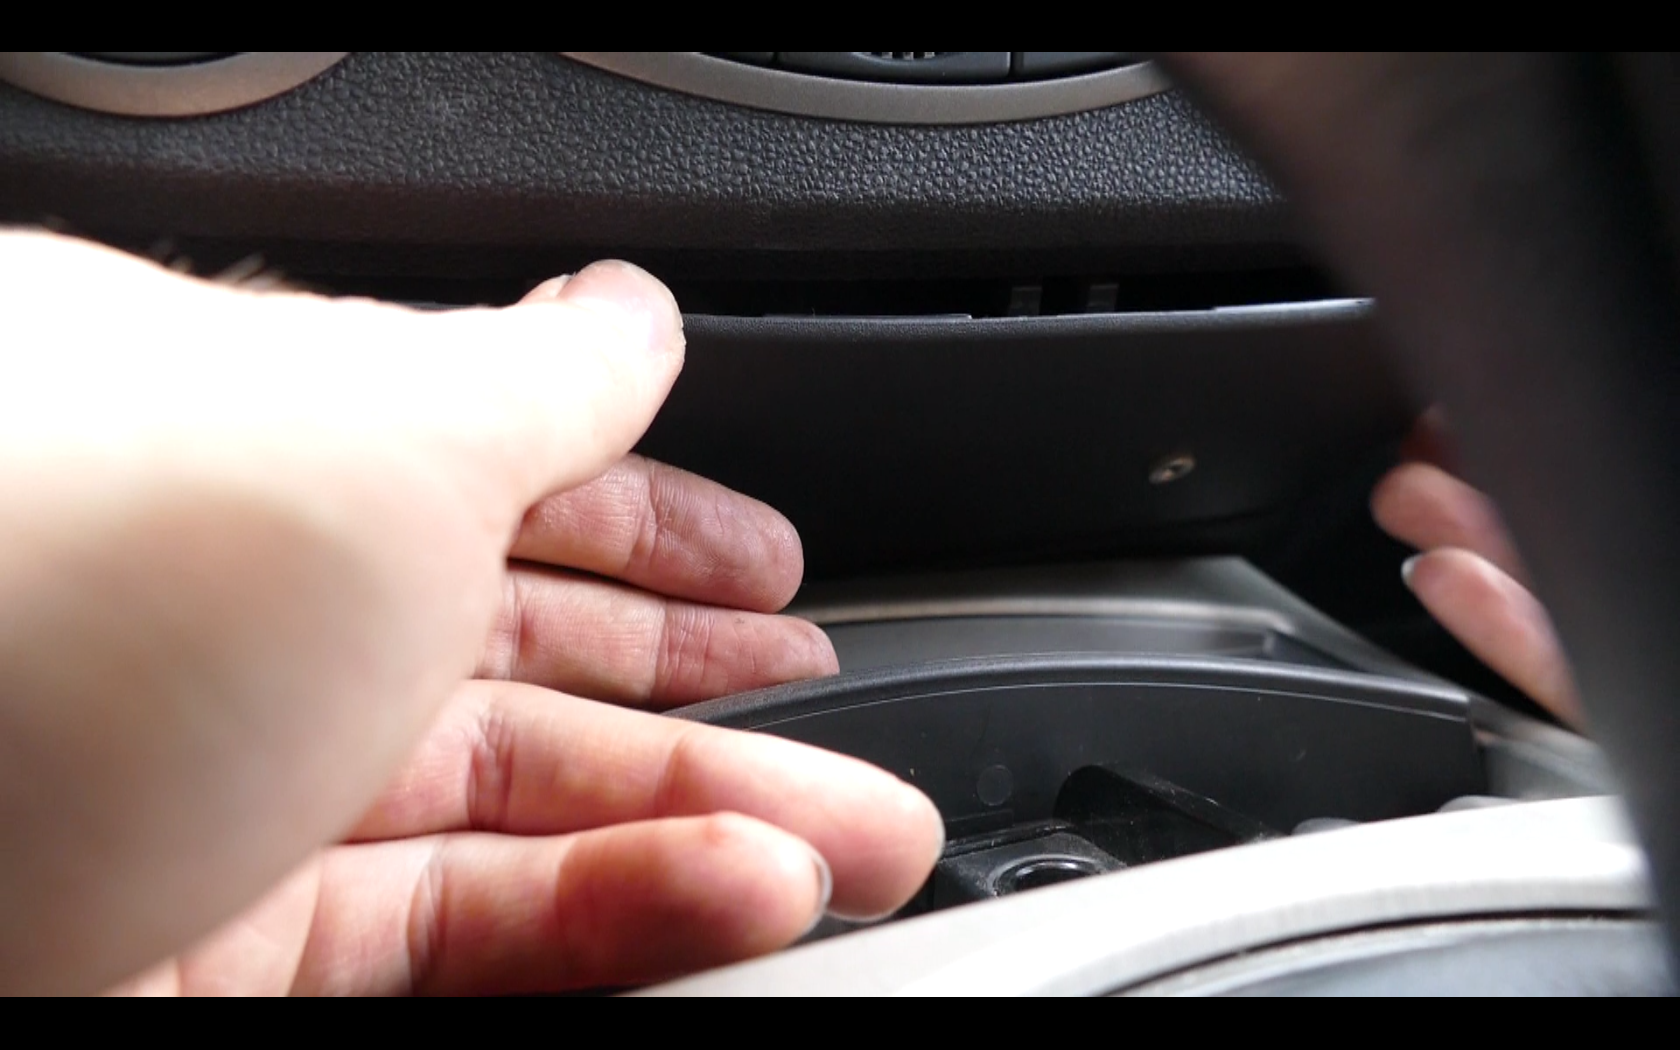
Now reach through the hole with your hand and palpate a big Connector that sits on the left side at the back of the radio. Release it by folding a bracket back (You can see the bracket on one of the following pictures):
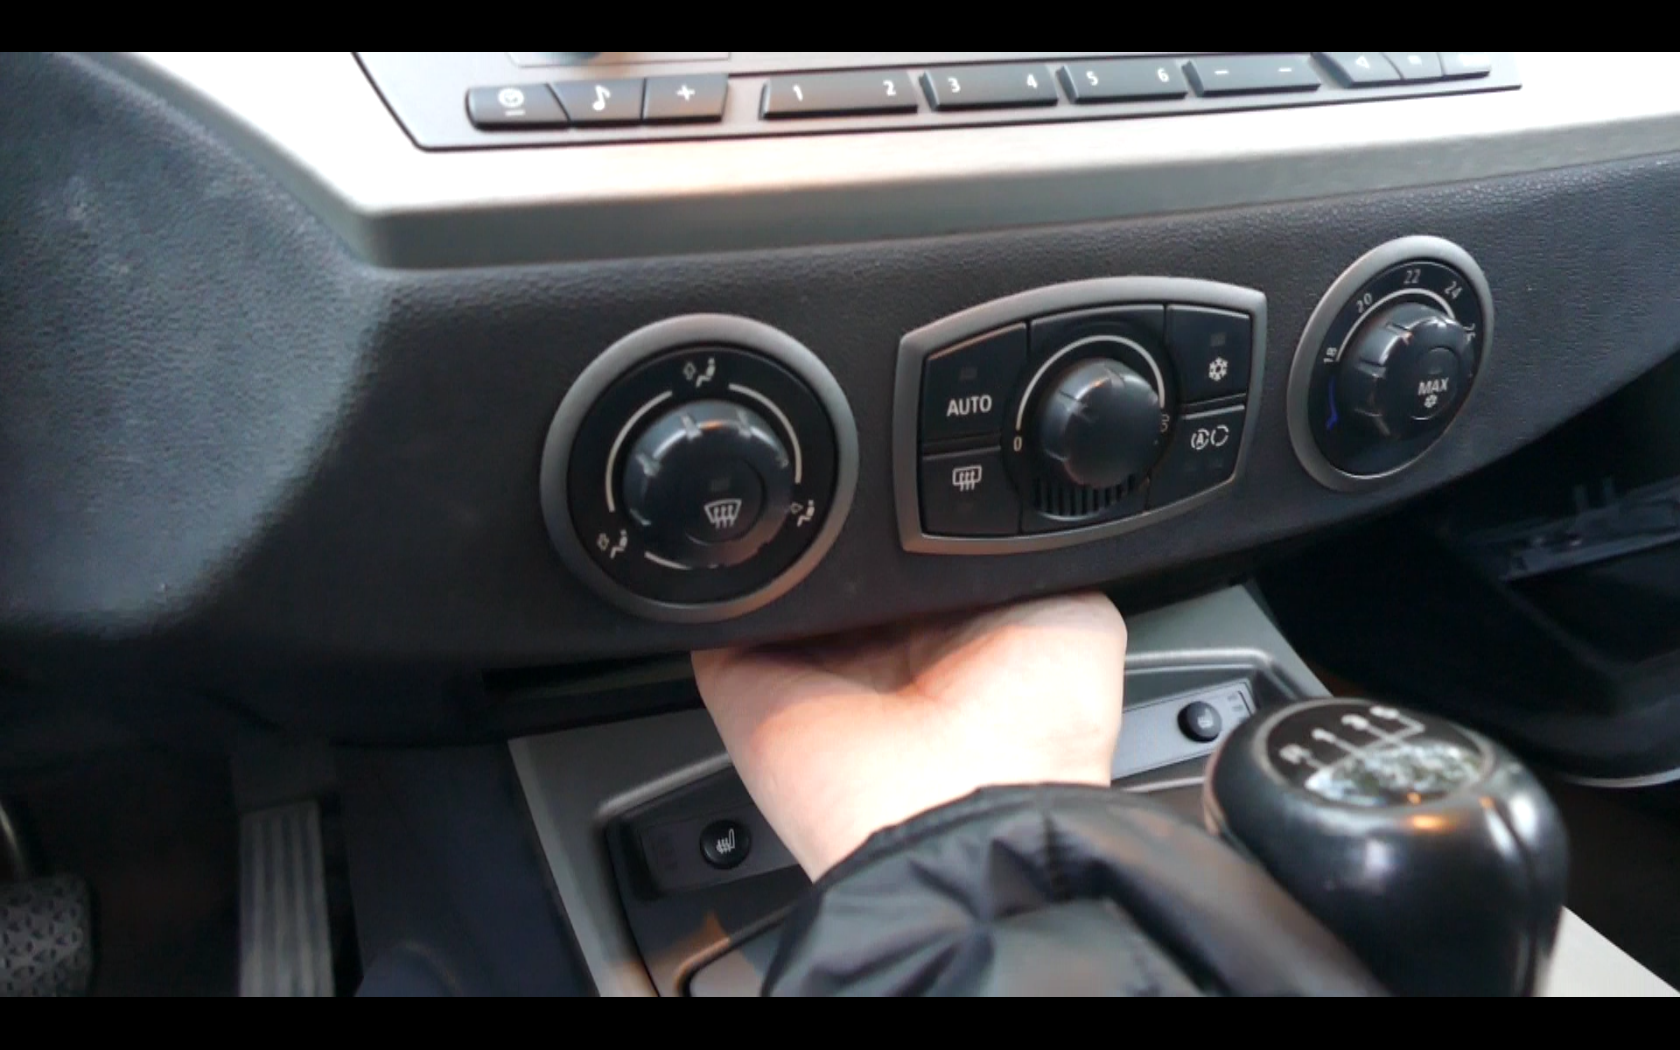
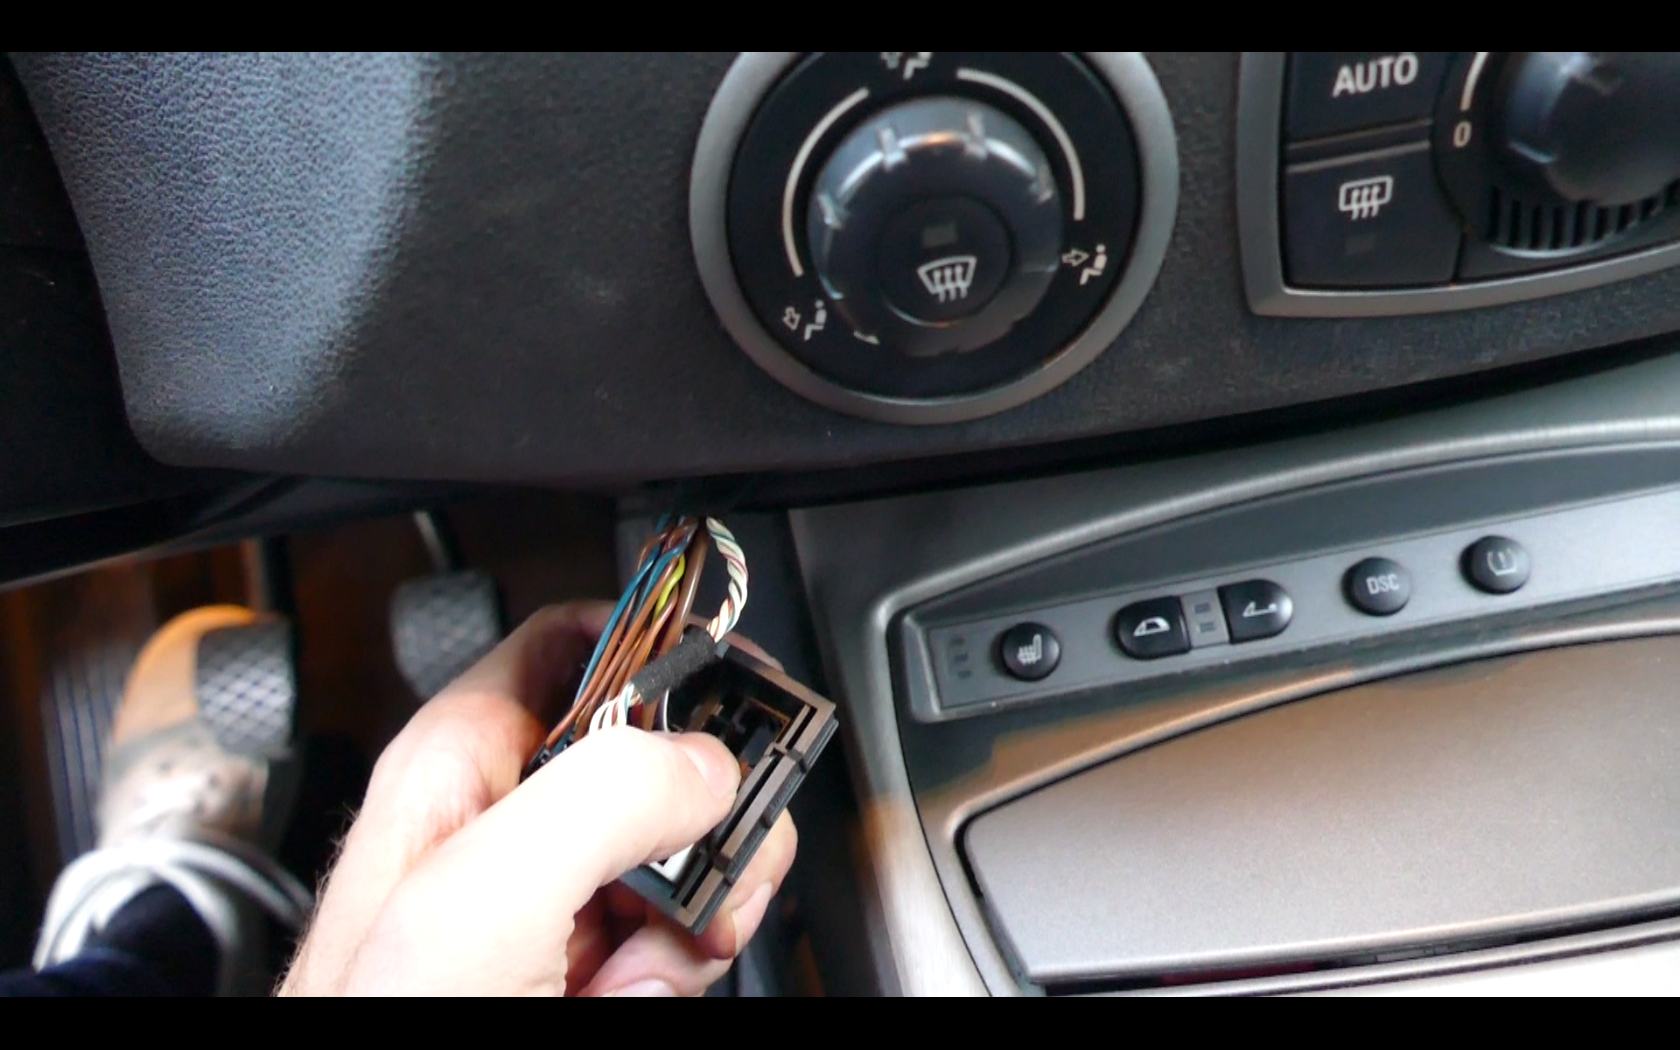
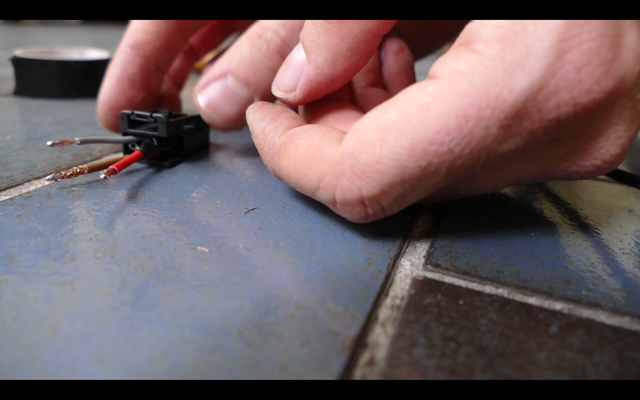
Now insert your Aux Cable via the original Connecter:
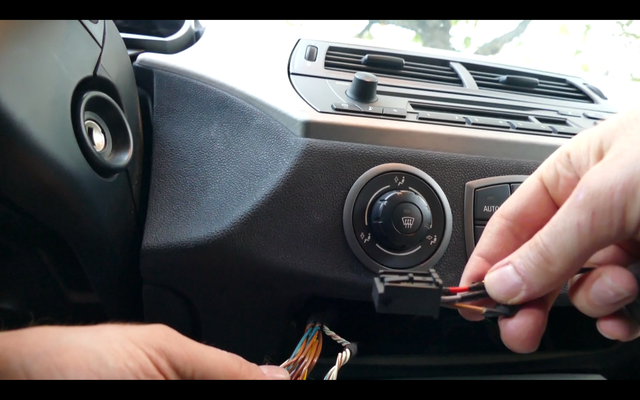
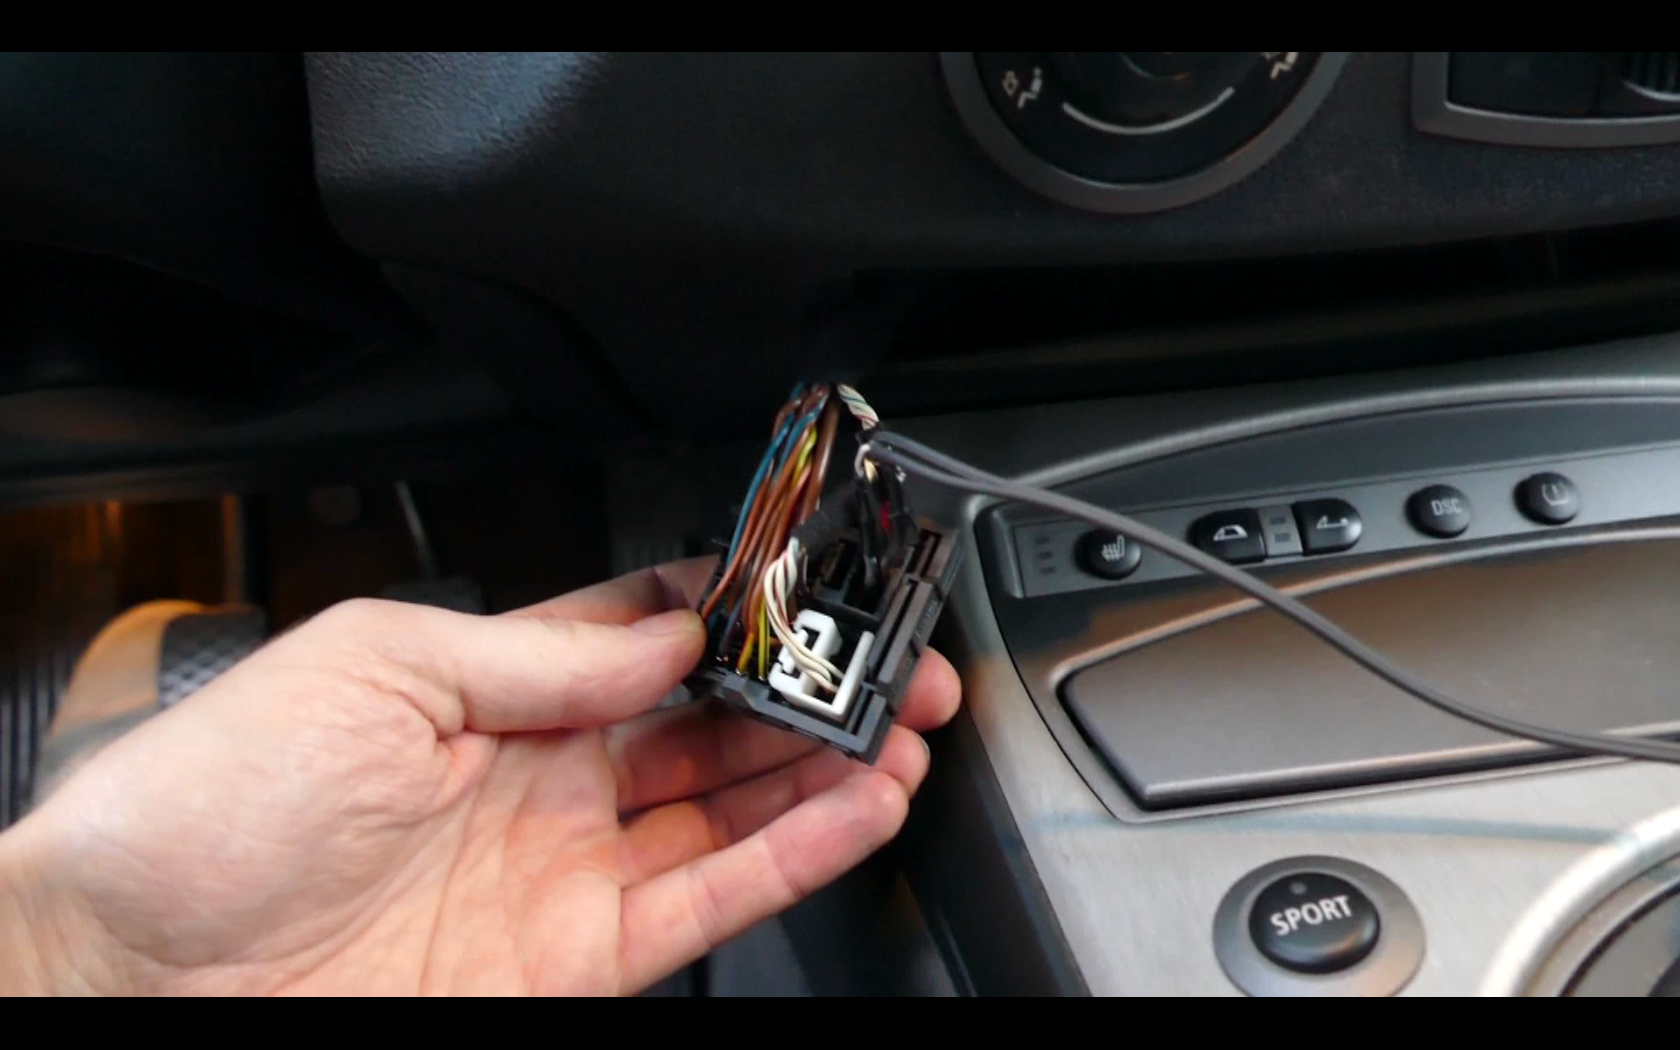
Release the bracket (This is the Picture I refered to above)...

...and connect all together to the radio. Be careful and patient;)
4. The Moment of Truth, does Aux come on?
Well, press the mode button...
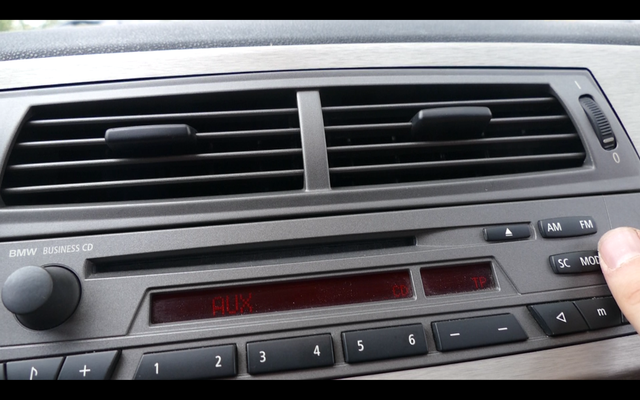
Yes!!!!
Check if stereo channels are processed the right way.
Then go back to yourplace to get the rest done.
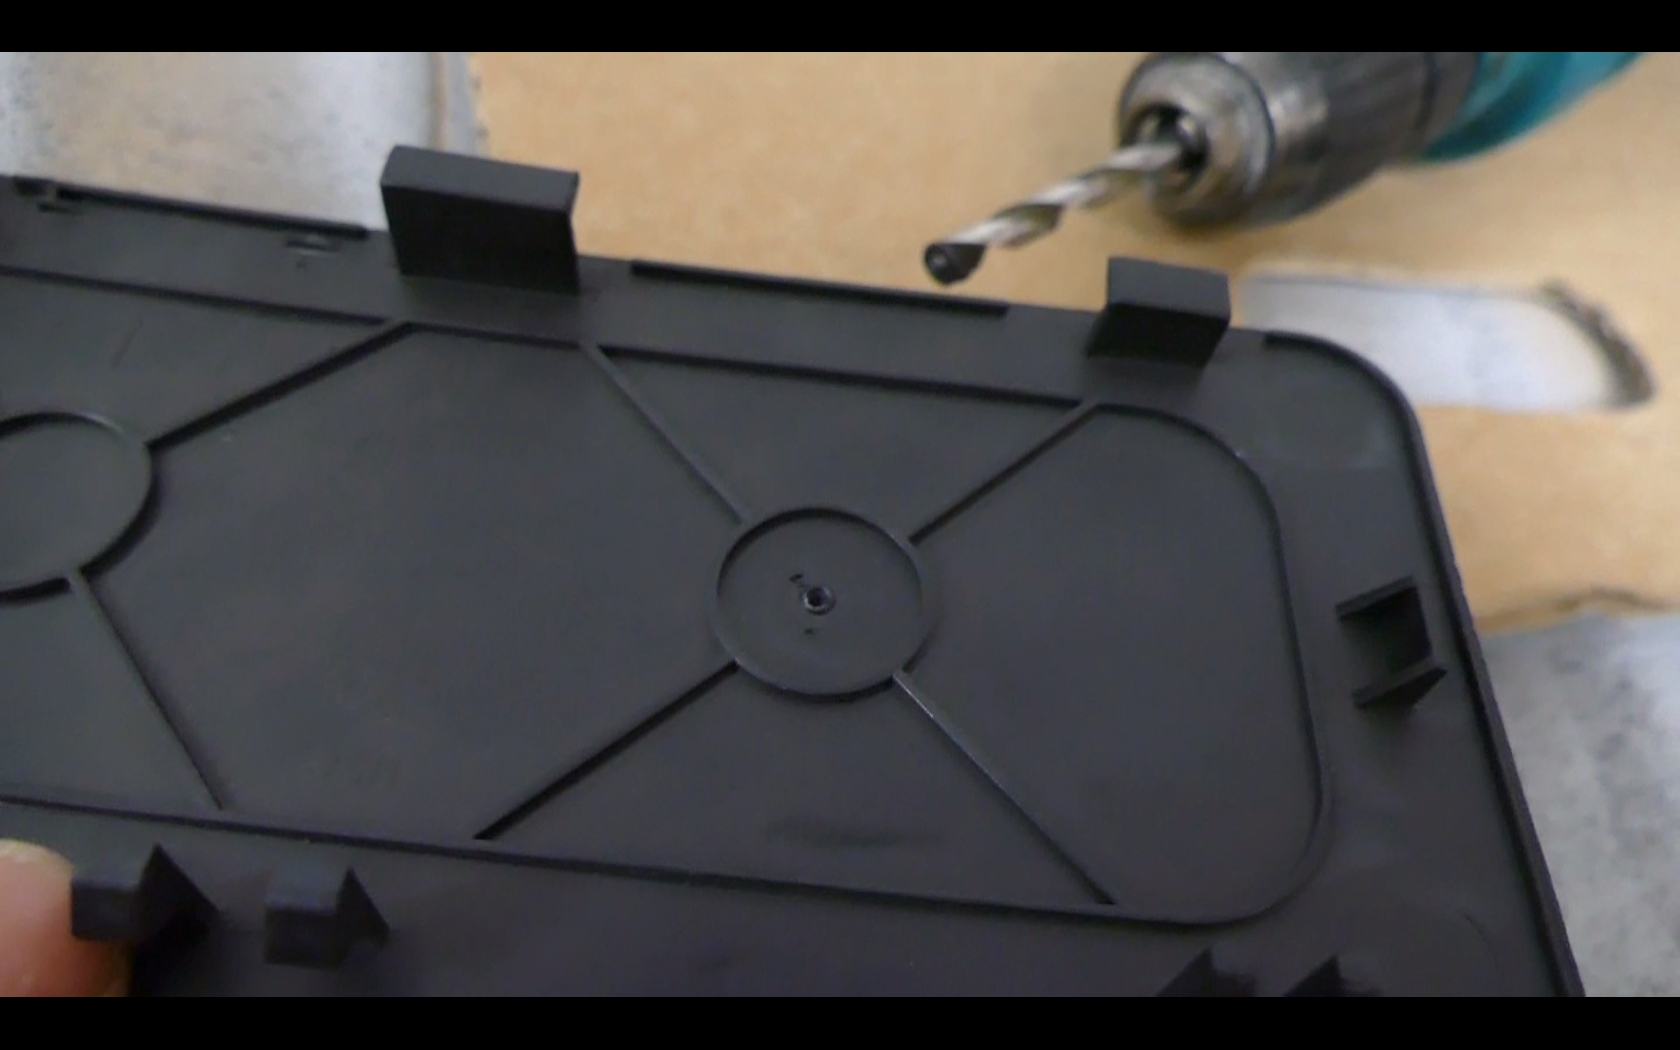
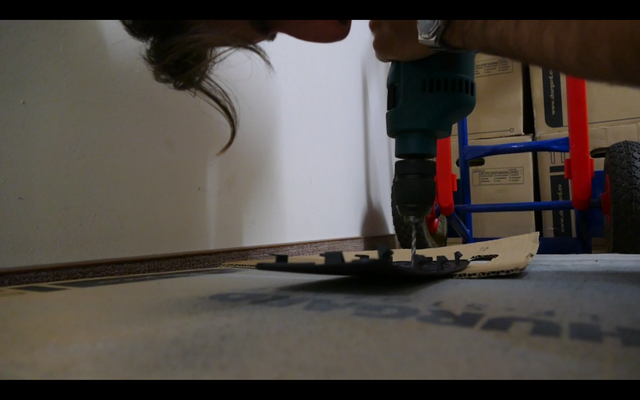
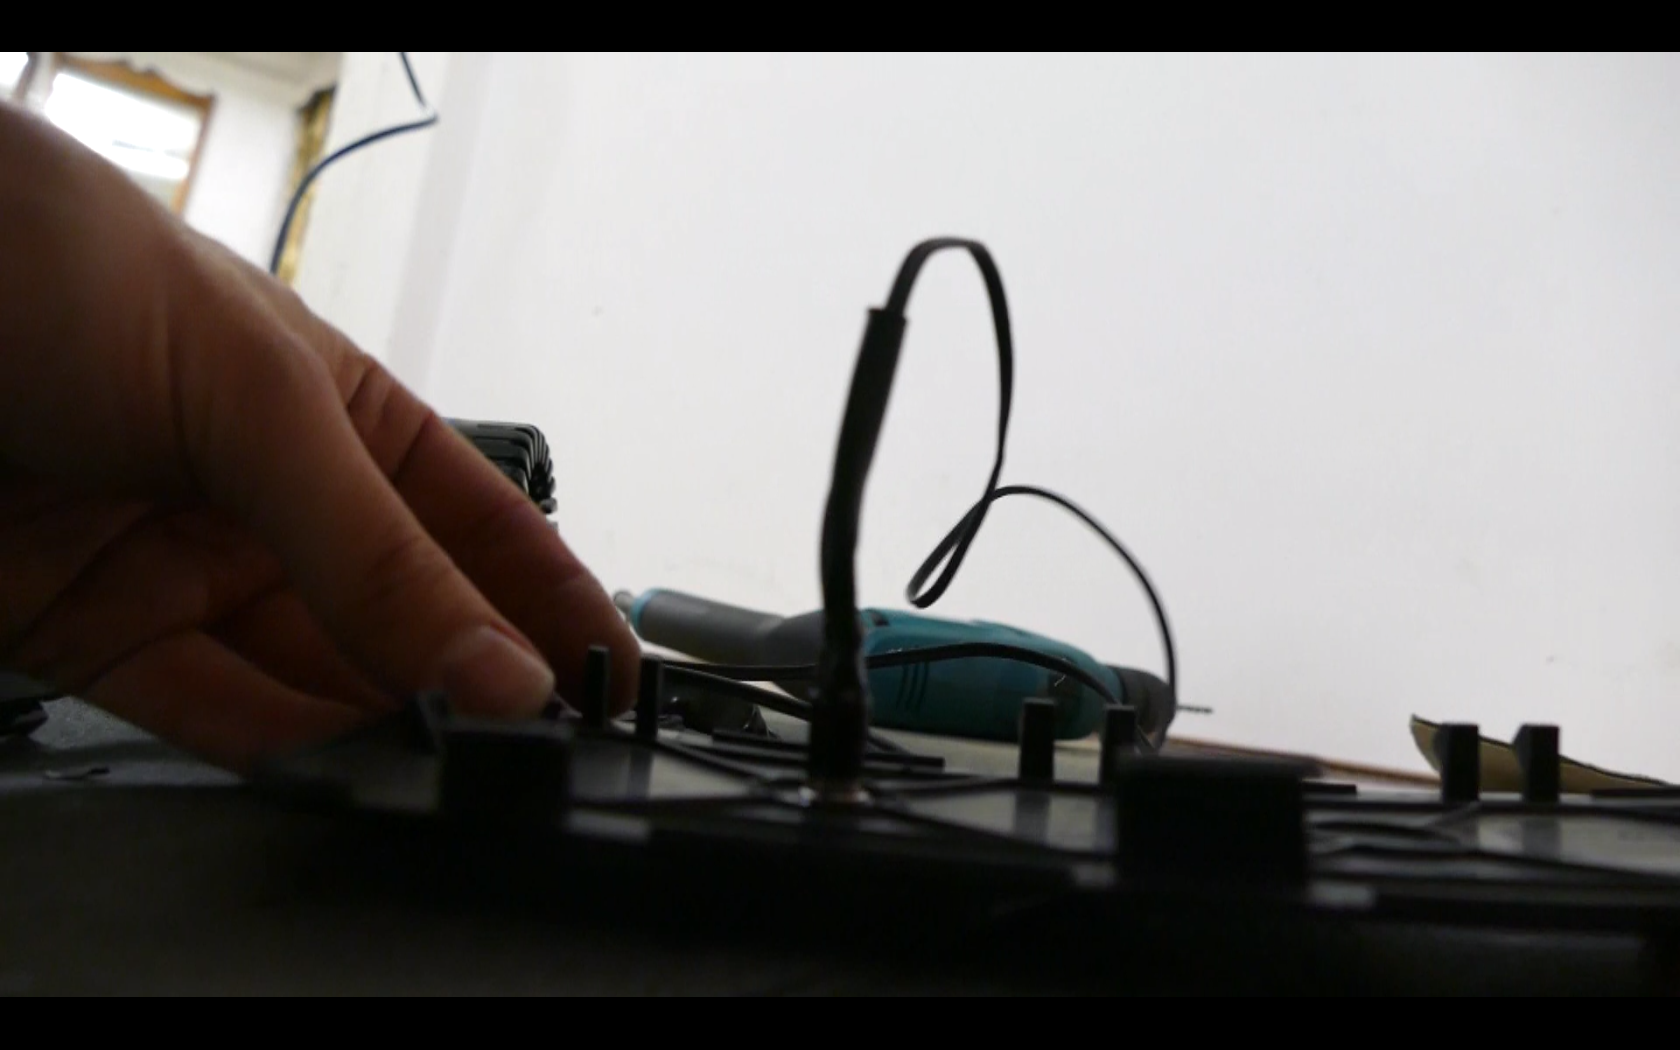
5. Fitting the jack to the panel
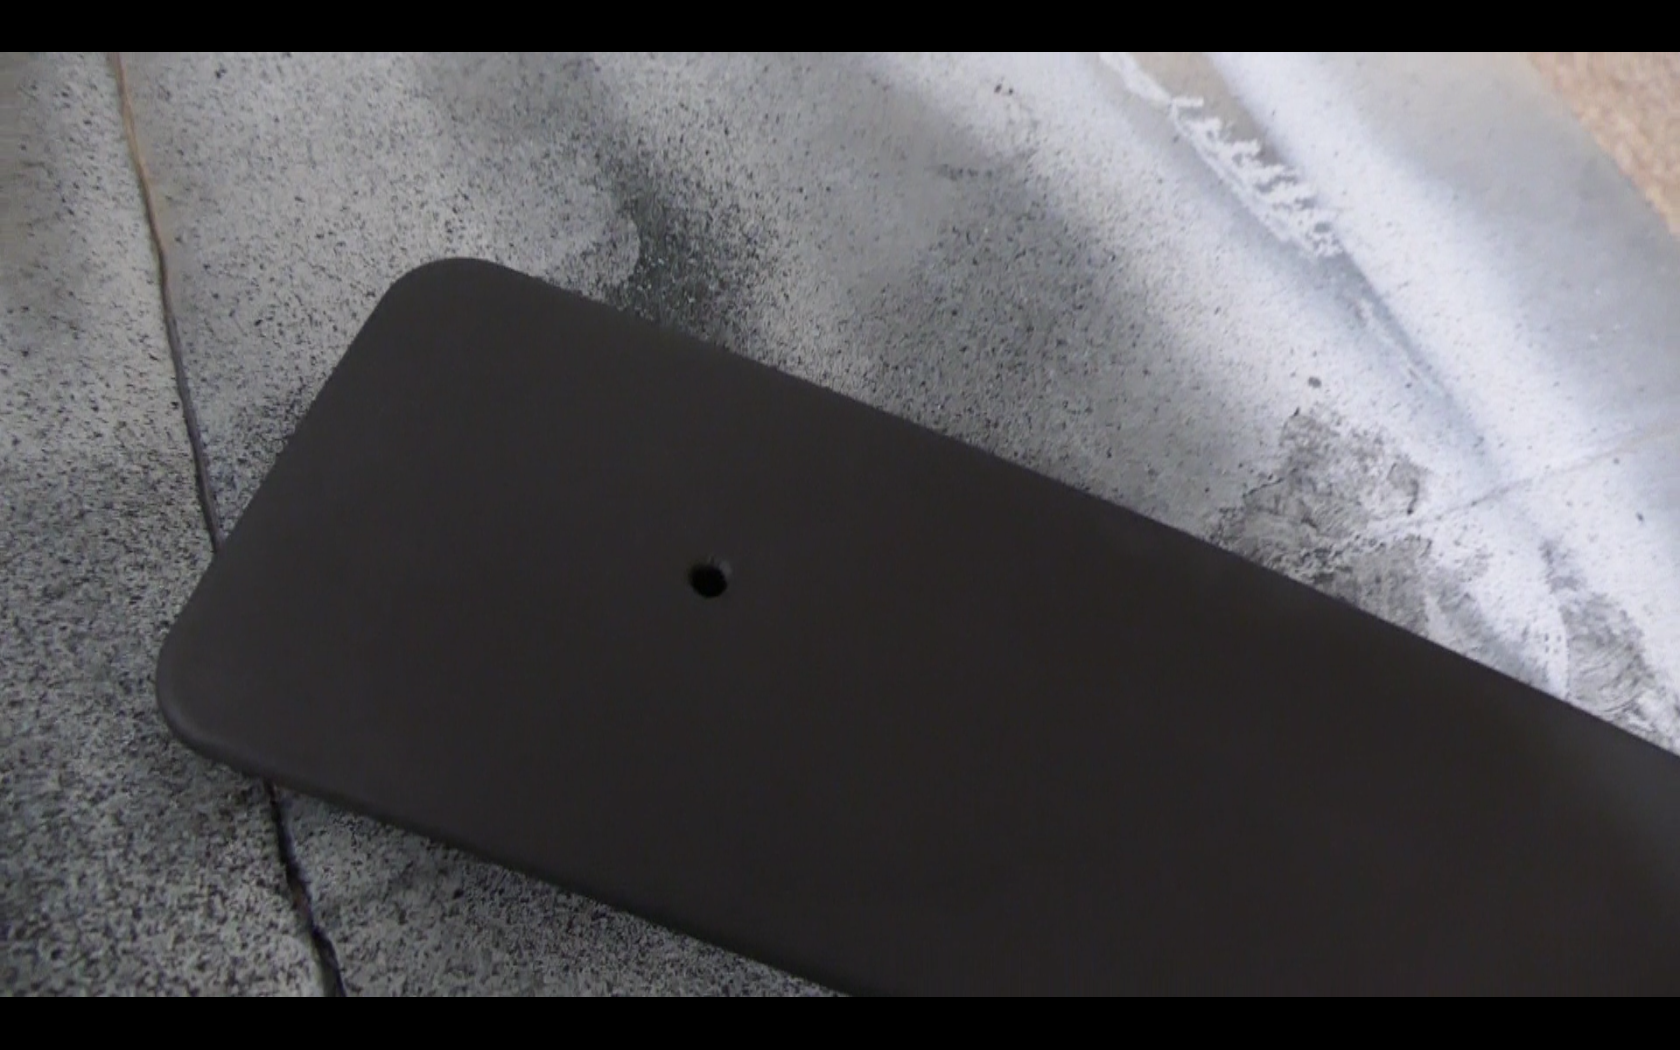
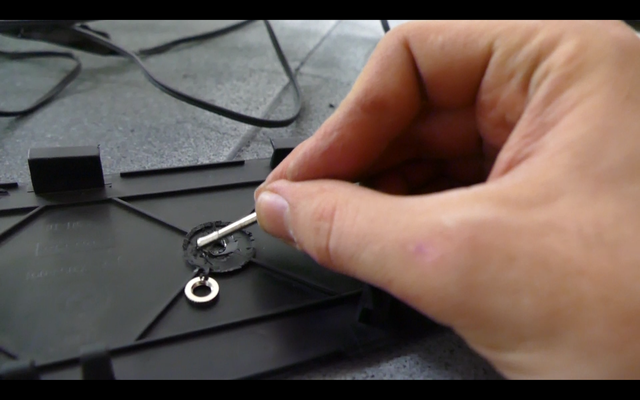
Now you want to drill a hole into the panel. Be sure you do it right because you only have got one chance otherwise you must buy a new panel and your cheap trick is not as cheap anymore:
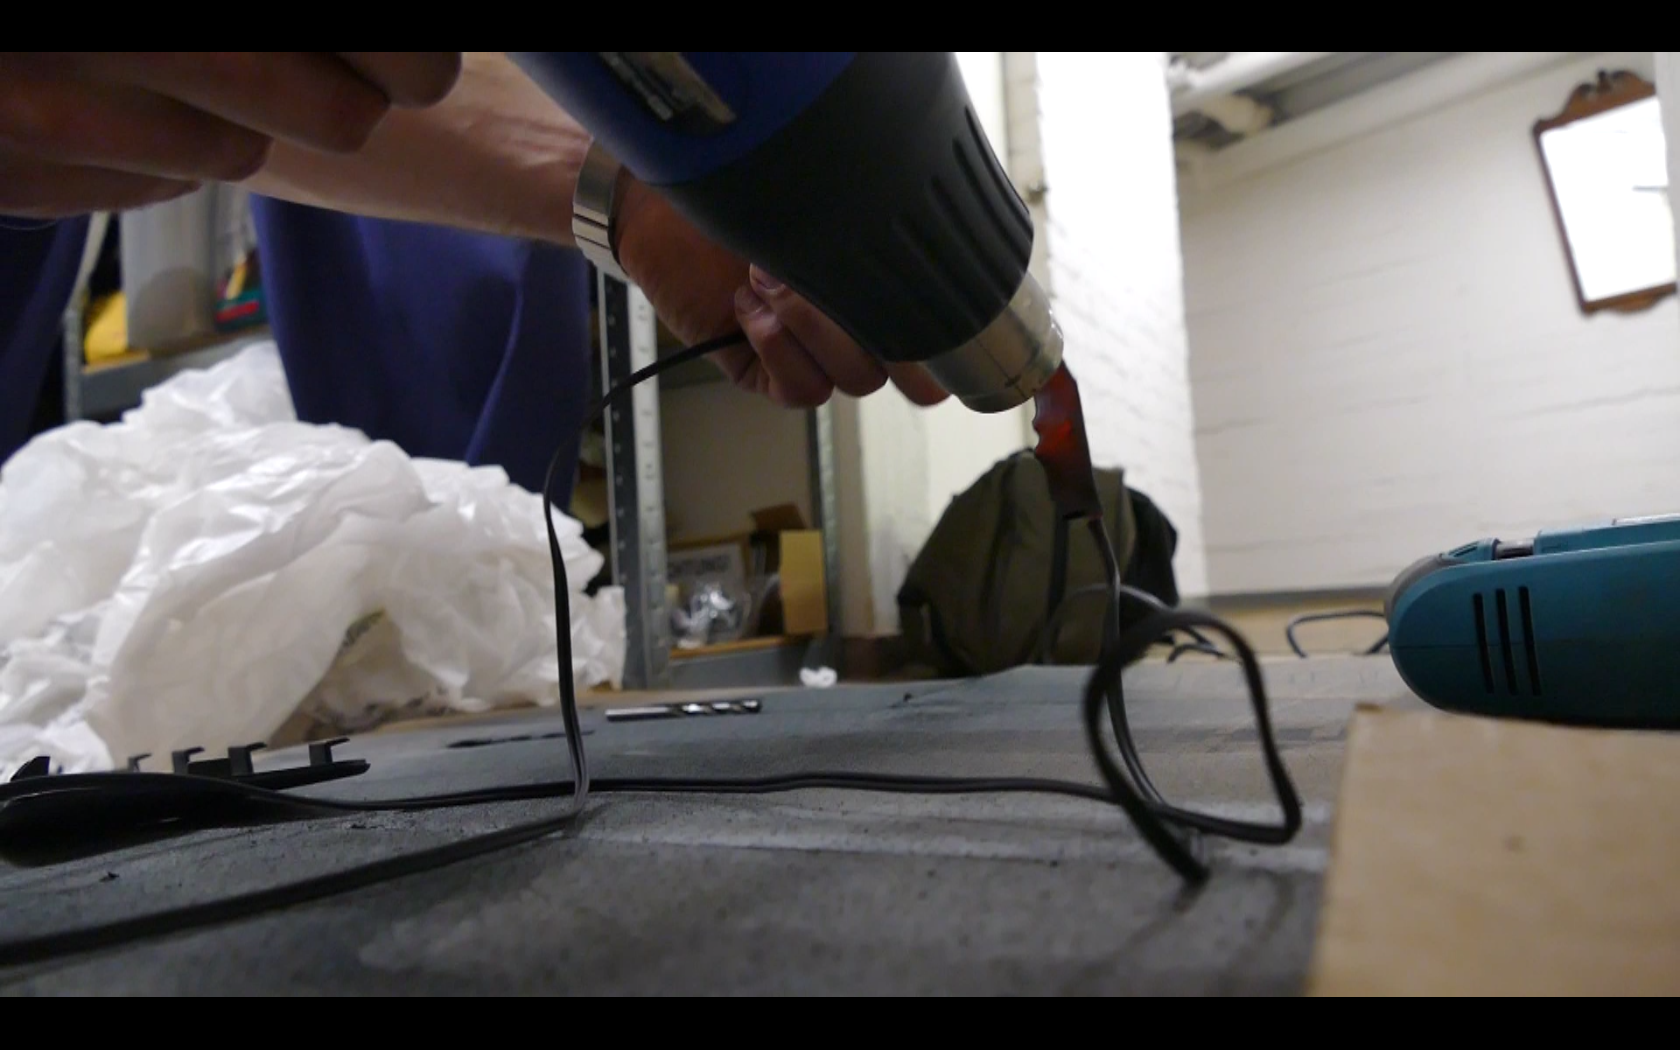
Doublecheck if your jack fits. Then remove it again to insulate everything. I am using heat-shrinking tubes:
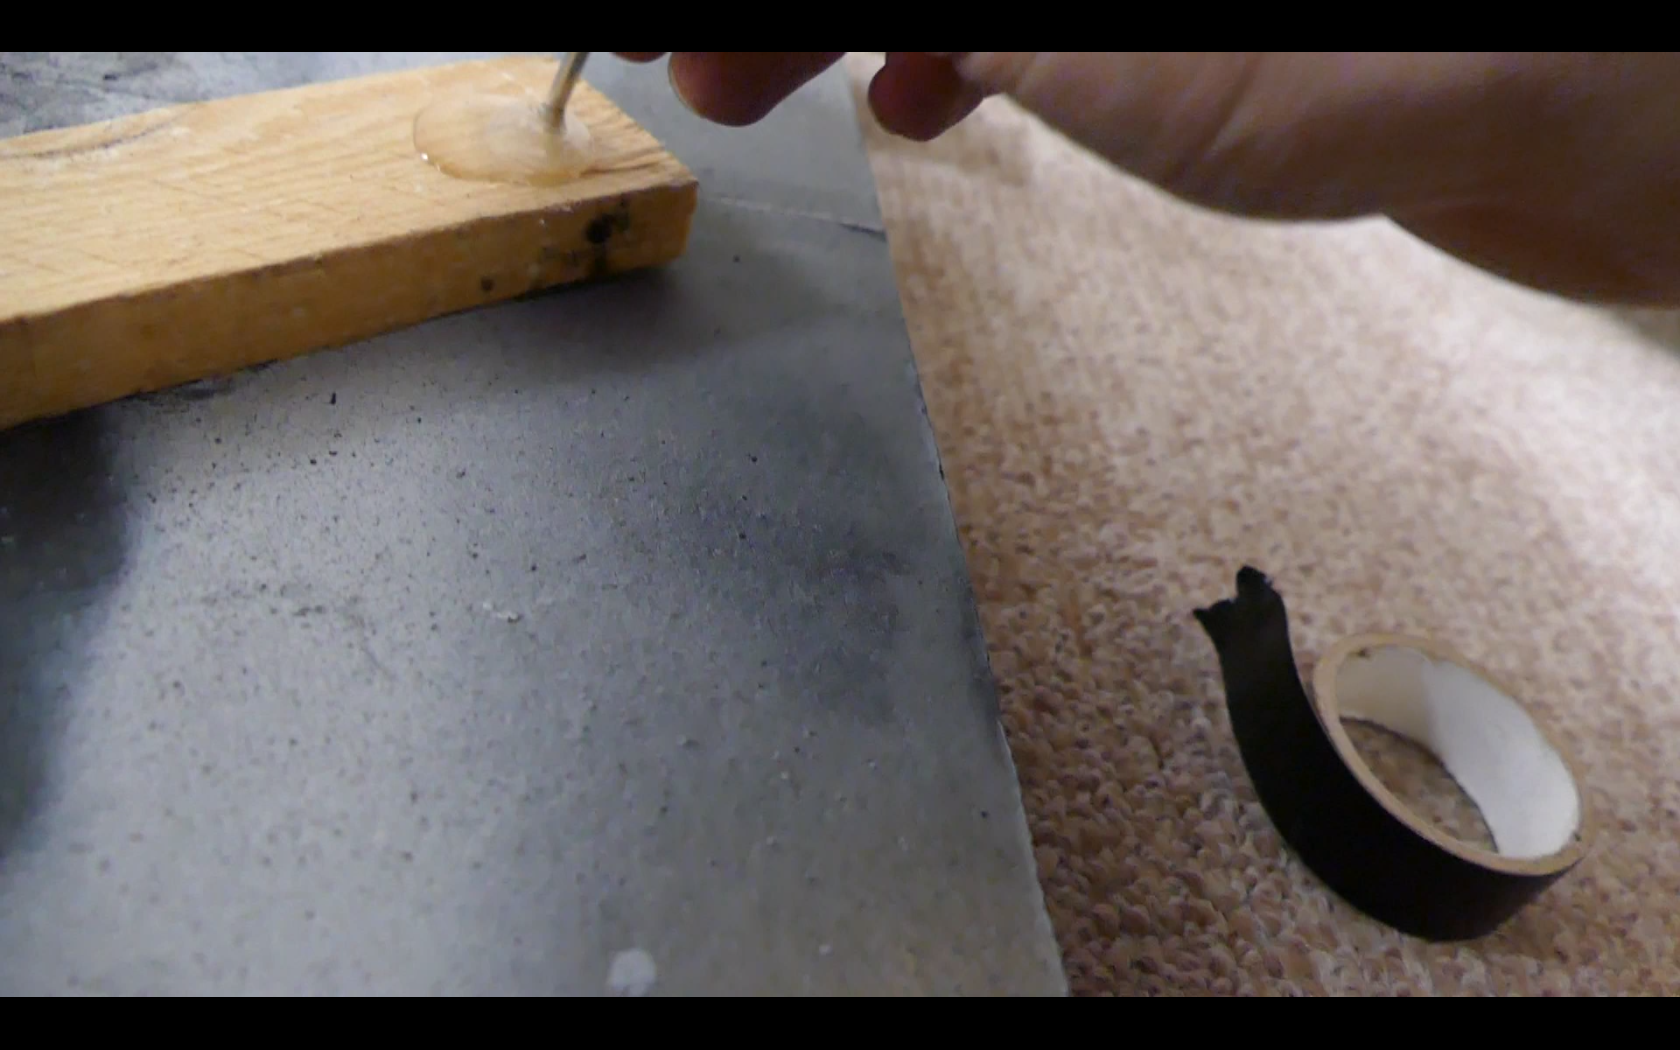
Glue the Jack into place (I use 2k-Mixture) therefore it won't become loose from heavy usage in your car:
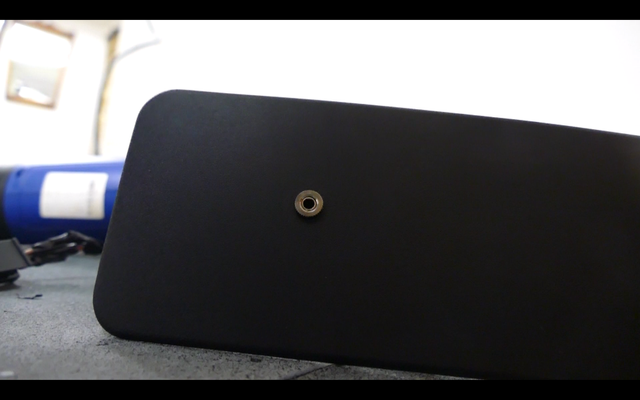
Well done: That looks almost original (well it is stated here with the e89 normally but I think with the e85 it is a nice place to be too):
Put all together again at your car:
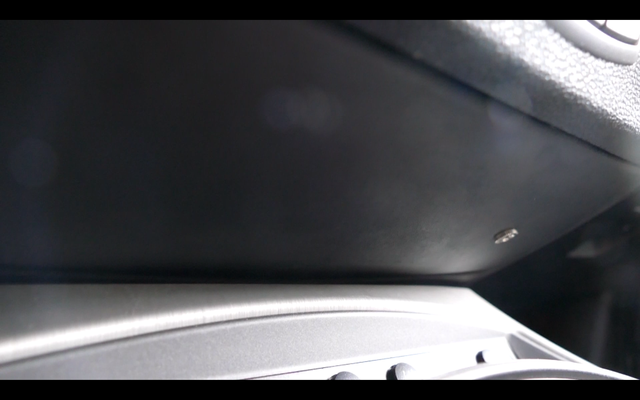
Nice! From a drivers perspective you normally won't see it, so you don't mess with the originality of your Z:
6. And now have fun with your very nice Z with some individual music on your playlist!
if you liked this one, please upvote and follow for more, perhaps you want to support me with some of my other recent posts, thank you!!