DIY - Buying a 15 year old super wagon 2005 S211 E55 AMG (M113K) | Inspection and Plans - Pt. 2
Welcome back to this blog fellow Steemians. This is to document my journey with a 2005 Mercedes E55 AMG Wagon from purchase to initial inspection and maintenance right through today.
In case you missed part 1 you can find it here:
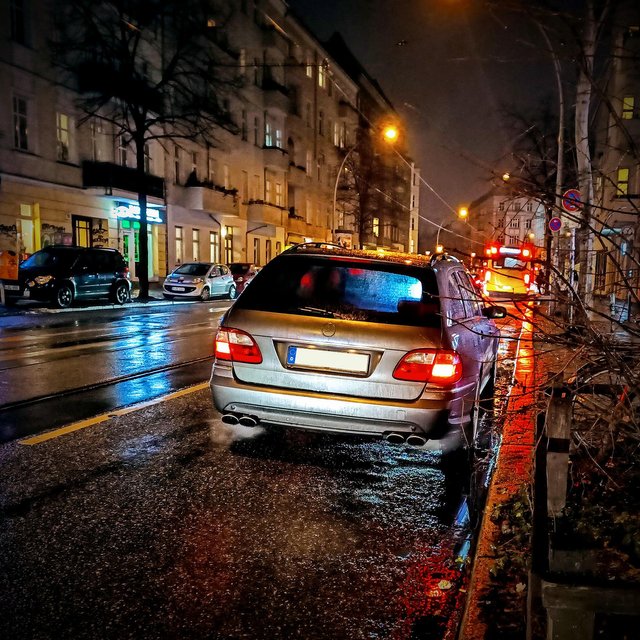
We left off the moment I parked the car after picking it up. There were no hiccups during the almost 1.000km drive home and the car performed flawlessly as far as getting from A to B goes.
ToDo List
Since I bought this car as a project and it is a 15 year old German high performance wagon the list of things to do is naturally quite long. Initially I knew about and/or noticed the following items:
Keyless Go system was inoperable so the door handles didn't work remotely and the start/stop button on top of the shifter also didn't work
Dynamic Seat cushions did not actuate, the seats are adjustable and heating and ventilation work but the inflatable air cushions did not move an inch
Distronic cruise control threw an error code and was inoperable, this is a radar controlled automatic cruise control and in and of itself I could live without it BUT if the car detects Distronic inactive it also disables the cruise control altogether
The check engine light was on, according to the previous owner due to a secondary air pump failure
Engine oil smell in the cabin when idling and driving hard, this usually results from leaking valve cover gaskets, one of the few areas of attention this engine actually needs as it is generally regarded (and I can confirm that) as super reliable
The power steering pump made a horrible noise and steering was quite heavy, there was ATF fluid (red) instead of Pentosin CHF 11S (green) in the system and the pump was shot
The tires were compeltely shot
The car was missing all (ALL!) of the engine and transmission protective underside covers and both front wheel well liners were broken
The side markers/blinkers on the mirrors were cracked but functional
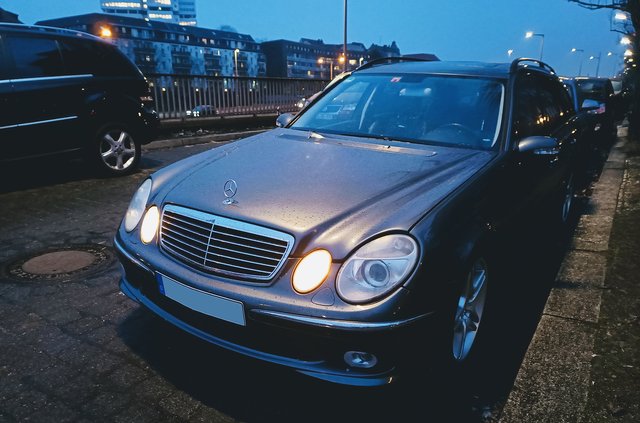
The headlights were dull and the left one had a red shine
There was a vibration under certain braking conditions in the front and rear axle
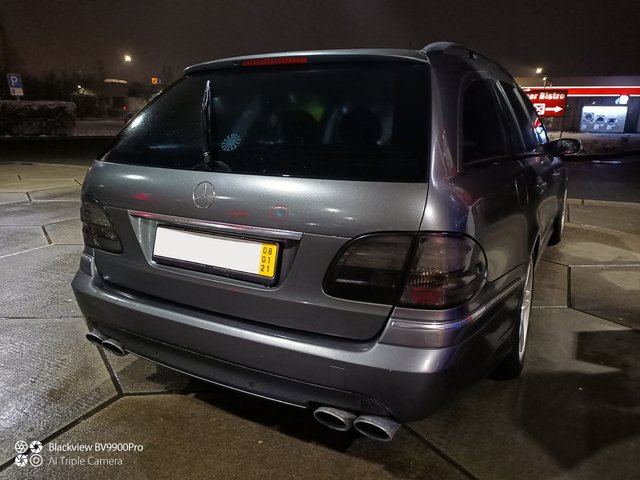
The car had smoked tail lights and grill and a bunch of stickers applied
The front engine cover was missing the Mercedes Star ornament
The car sometimes throws an error message on startup about 'Battery Protection, comfort features disabled', usually an indication of one or two faulty batteries (since the car has two of them)
So, while this may seem like a long list we have to consider the number of gizmos and systems that do work given this is an almost fully optioned E55 with an original MSRP of EUR 113.859,80. Also fixing this stuff is mostly very straight forward and I costed it into the purchase price and overall expected project cost.
Initial Cleanup, Cosmetics and Tires
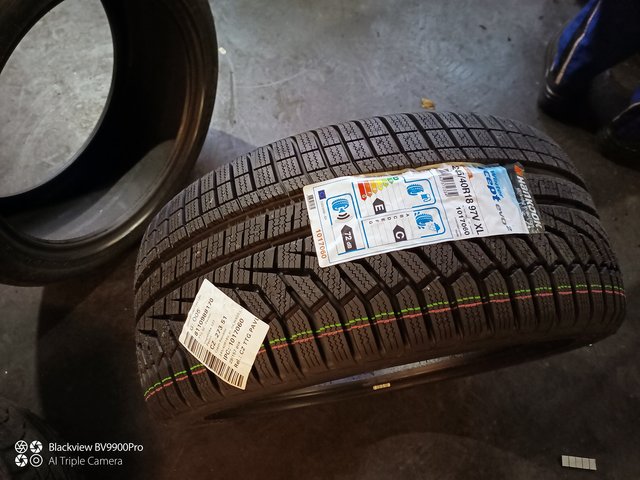
Since I bought the car in January and this winter was especially brutal with long periods of sub zero, rain, sleet, snow, hail, etc. I took care of the tires first thing and ordered a set of 18" winter tires:
HANKOOK Winter icept evo2 W320 tires with dimensions 245/40R18 97V + 265/35R18 97V*
As some of you can see the 'V' indicates a speed limitation on the tire of officially 240km/h so they're probably good for around 260km/h with a load index of 97 which equates to 730kg. I mention the load index as this is an important factor for summer tires rated over 240 or 270 km/h because that requires a load index higher than 96 for the rear wheels which severely narrows down the available tires specified up to 300km/h which this car is able to reach. There are no winter tires with 300km/h specification for this car, at least officially.
Either way I supported my local tire guy and paid a bit of a premium but I did not want to do all my car shopping on the big online platforms and always enjoy having a qualified wheel guy around the neighborhood.
He had them on site a few days later and I got them installed which threw the first used car buying surprise. Get this, the front axle had one 9" rear wheel mounted on the right with a front tire and the rear axle had one 8" front wheel with a rear tire mounted on the left rear - hence the vibration under braking. Obviously this lead to a severe imbalance in the drivetrain and suspension. So we mounted the new tired and balanced the wheels and they went on the car.
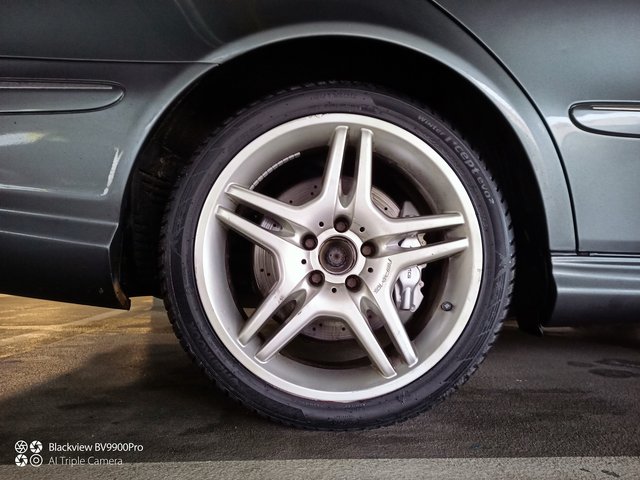
The car had different lengths wheel lugs front and rear and this was due to 10-15mm spacers mounted on the front. Since they were not registered in the car papers I was going to remove them when going to the shop.
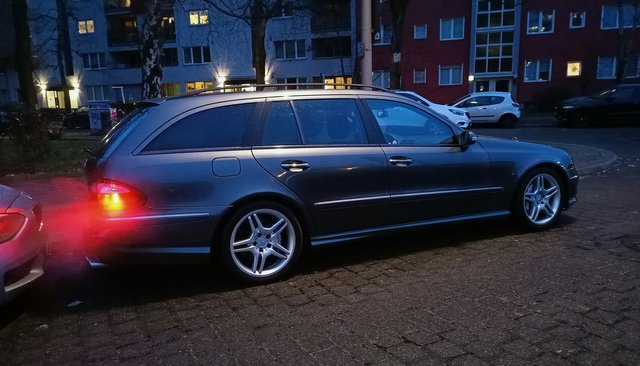
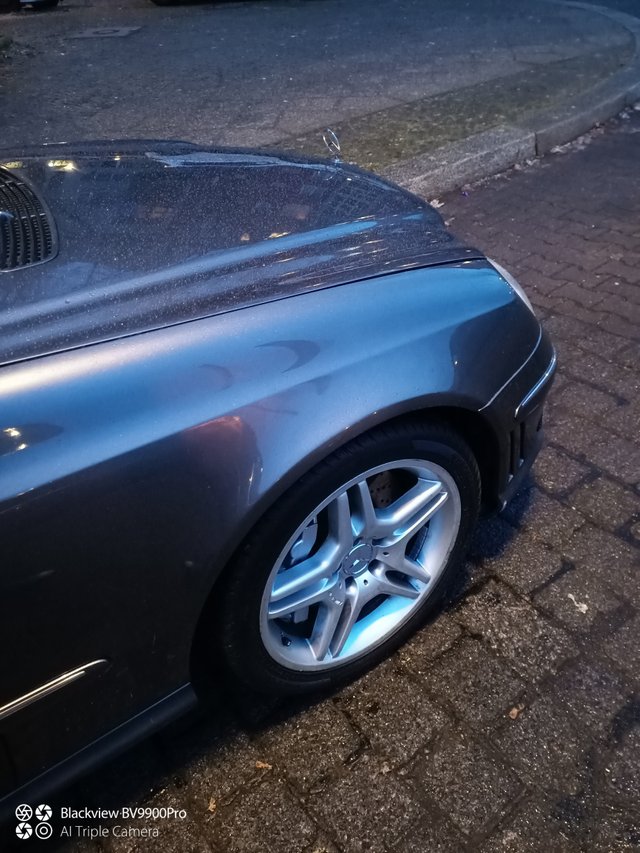
To round it off I put on some genuine standard silver Mercedes center caps, really do like the look of these and they cost less than EUR 20.
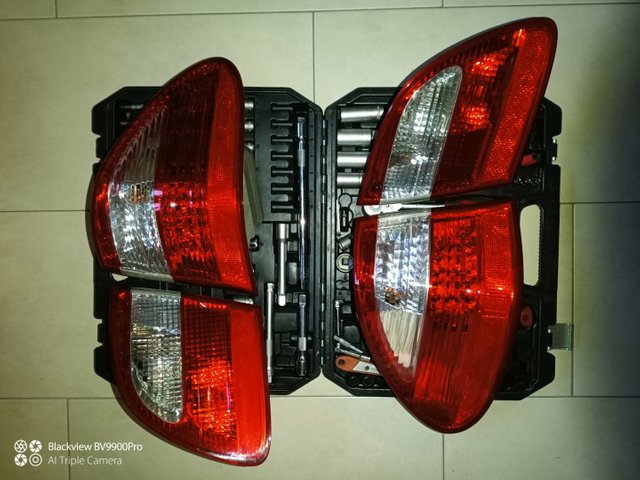
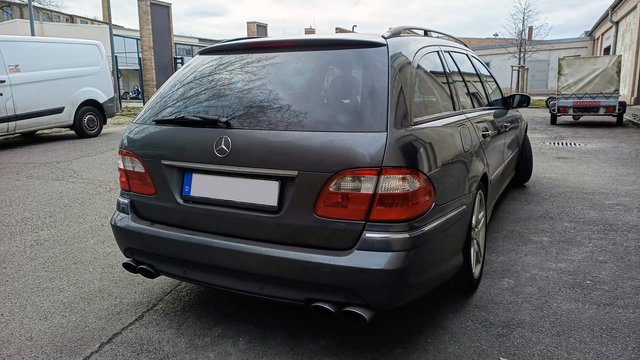
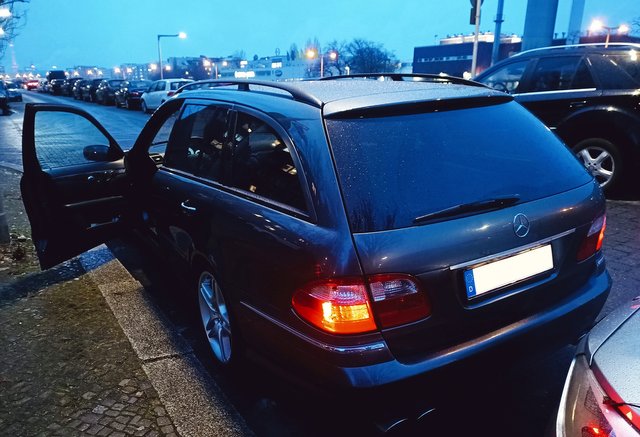
I had gotten a set of original, used LED tail lights which all E55s and all Avantgarde trim level S211s came with in December already and since I couldn't be bothered driving around with cheap looking smoked tail lights I quickly installed them as well as a stock chrome grill.
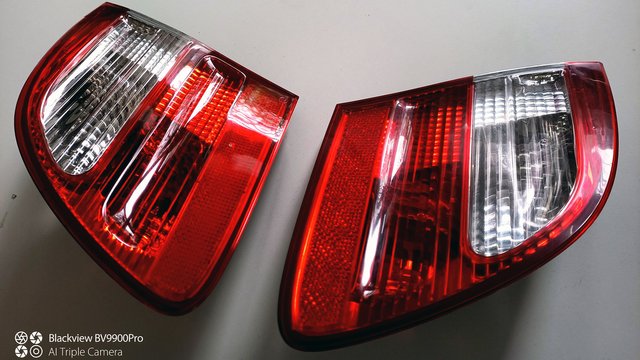
So before:
And after:
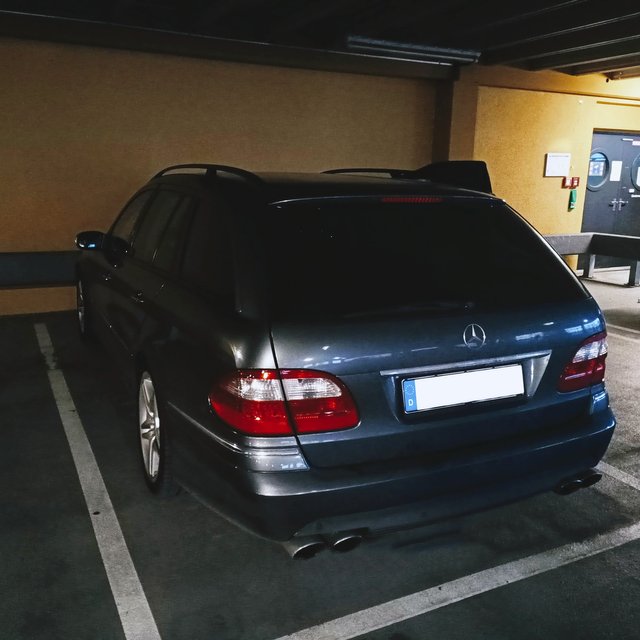
And before:
And after:

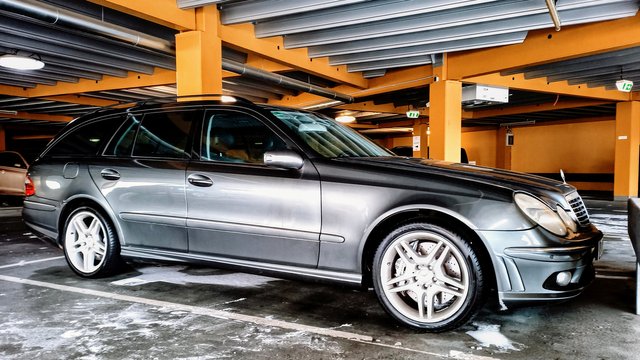
The car is parked in front of the Berlin Olympic Stadium after my first cleanup.
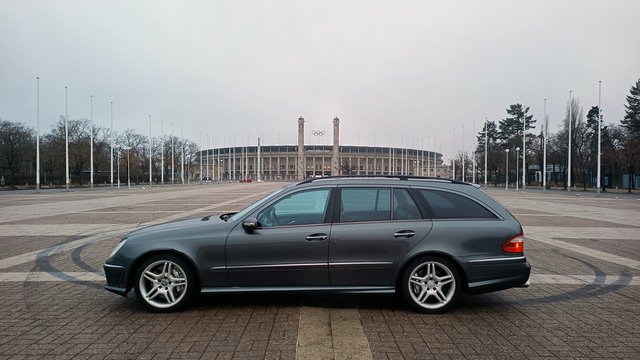
No, the donut marks are not mine even though it probably would not have hurt the power steering pump anymore than it was hurt already.
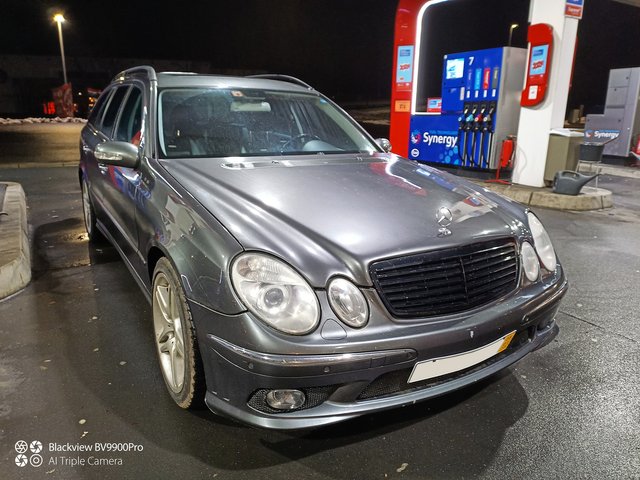
Like the original look much better personally, obviously a question of preference.
Another little thing were the key batteries, which were almost entirely drained and the car came with all of the original keys!!
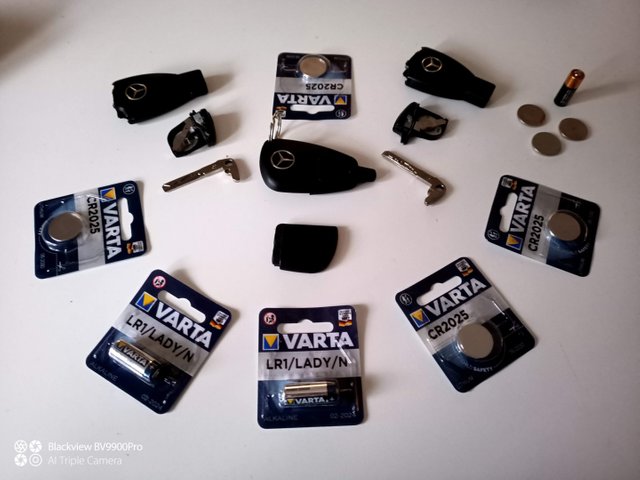
The large round one is actually the remote control for the auxiliary heating which you can program to start heating the car before your drive in cold conditions. I never used it to this day :).
Next up I replaced the mirror signals with factory ULO parts, cost around 60 bucks, easily remove 10 years of age from the look of the car. These are original LED side markers, look very cool and pretty nice feature for 2005. The only strange thing is that the car has LED tail lights, LED side markers but no LEDs on the headlights.
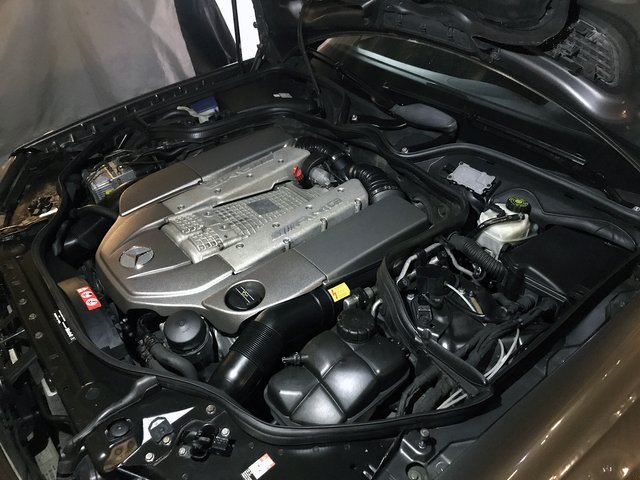
Before making my way to the shop for the initial maintenance items and oil change and stuff I took it upon myself to clean up the engine bay:
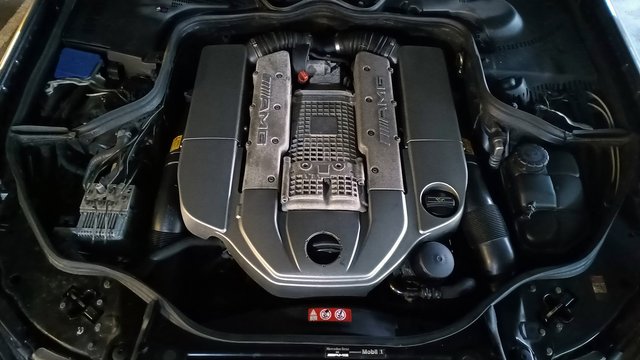
It wasn't terrible dirty but also looked like it hadn't been cleaned in a long time which I actually like because some sellers think it a great idea to power wash the entire engine bay before selling the car and submerge all kinds of electrical connectors, spark plug holes, switches and sensors and that kind of trouble shooting is tedious and just unnecessary. I use standard cold cleaner, brush and some microfibre towels. I also replaced the broken front cover with a new one which I found on ebay classifieds for EUR 140 - it is discontinued from Mercedes so good to get it while you can.

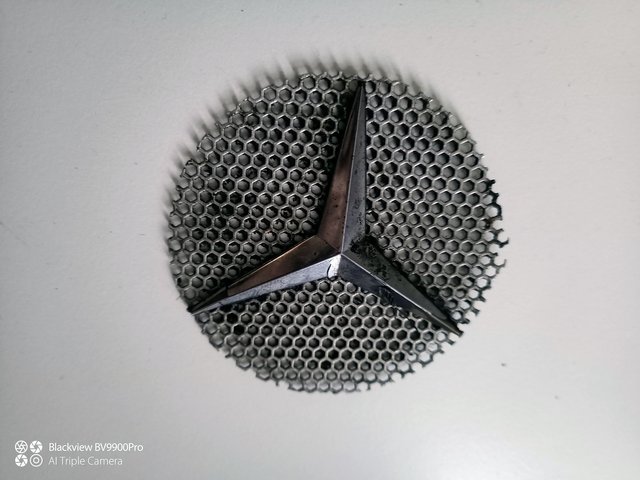
Here is the old star that practically fell off as I was removing the cover:
On the lower left you can see the SBC (Sensotronic Brake Control) pump assembly.
Next to the coolant expansion tank you can guess the location of the power steering pump which we'll have to replace soon.
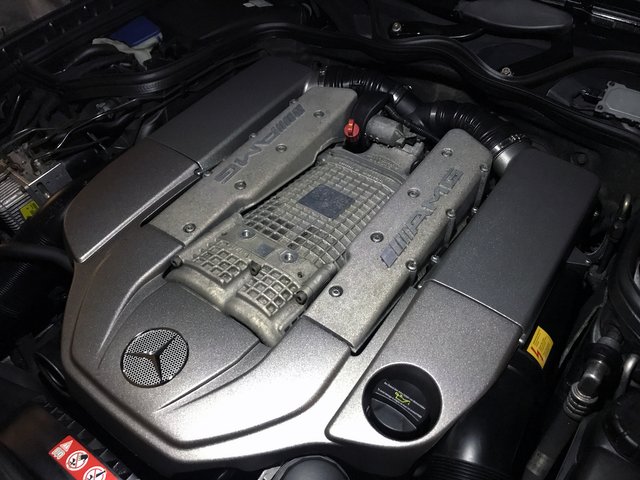
The centrally mounted supercharger sits inbetween the V and is cooled by an intercooler which sits below the charger even deeper in the V between the cylinders. Here is a diagram of the intricate cooling system which actually is very efficient but definitely needs the auxiliary pump (lower left) to work correctly:

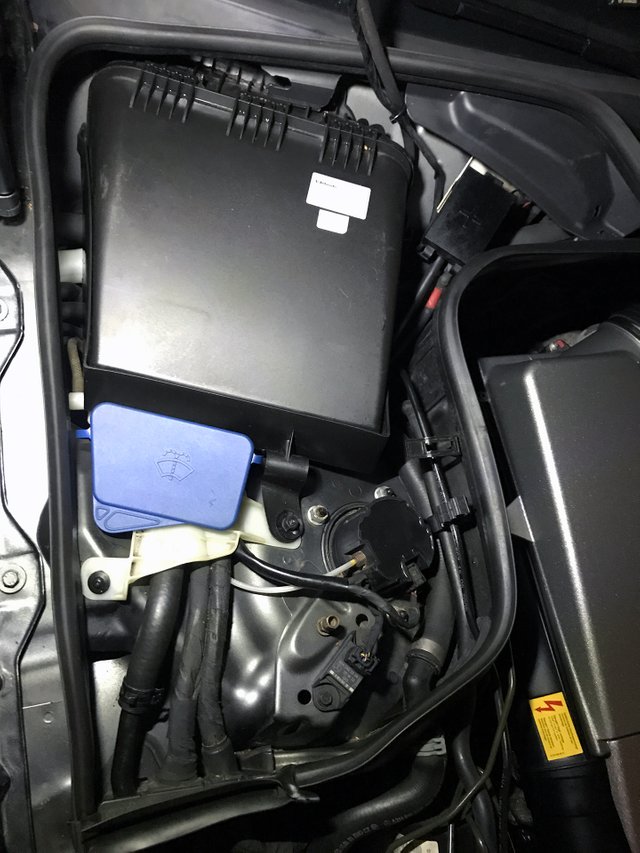
This is the right rear section of the engine bay housing the cabin air filter, positive battery terminal and below the air filter housing the secondary battery.
I replaced the air filter and checked the secondary battery which looked new and recently replaced, which the previous owner said he'd done.
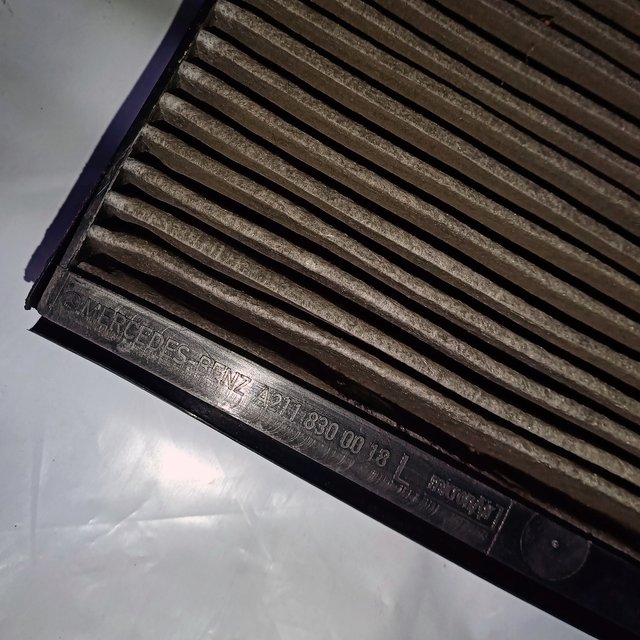
The cabin filter was totally shot and old but check it out, genuine Mercedes part :). I put a MANN & HUMMEL one in.
All plastics and cables seemed in very good condition.
Overall the engine bay was very tidy except for a surface rusted front right reinforcement plate and some related misalignment along the front end where the radiator and headlights sit.
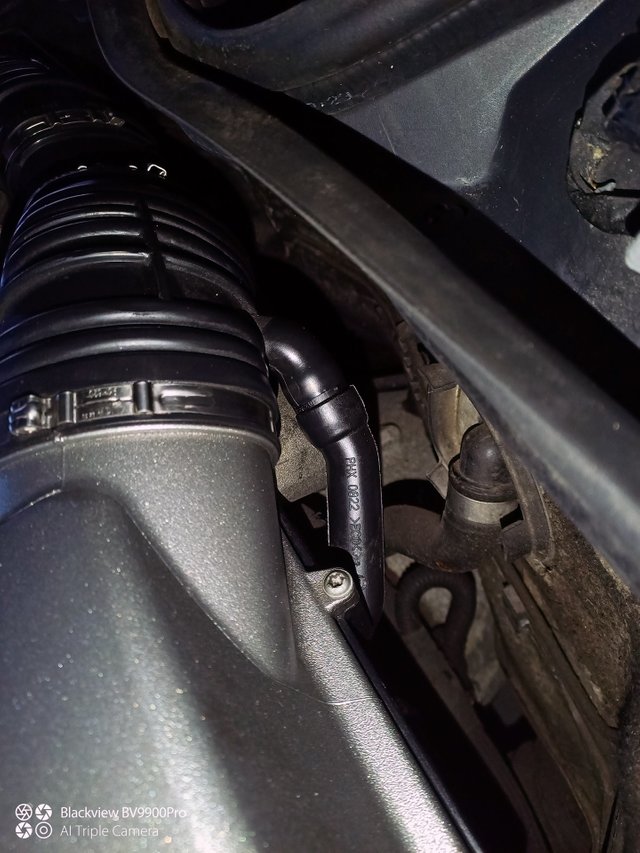
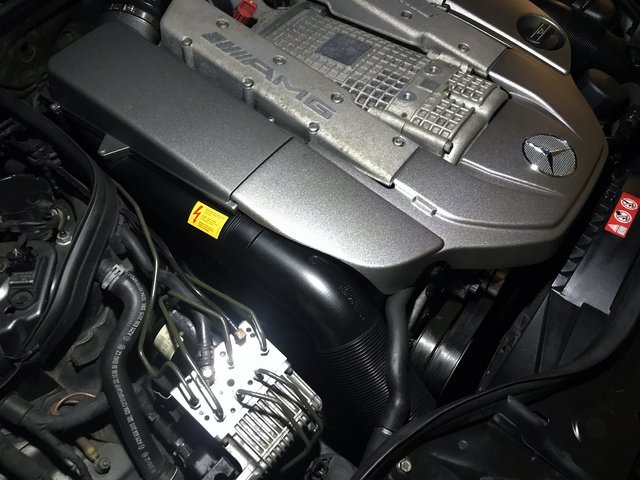
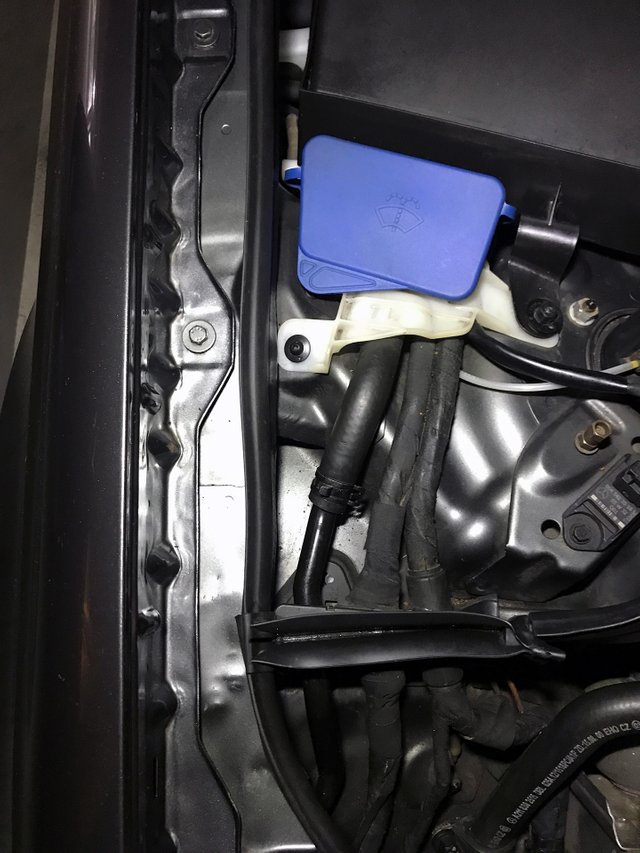
Above you can see the crankcase ventilation hose going to the airbox near the throttle body. If you do a prepurchase inspection or have an E55 and are unaware, always check for the presence and correct fitment of this hose as it can lead to a number of issues if missing or cracked.
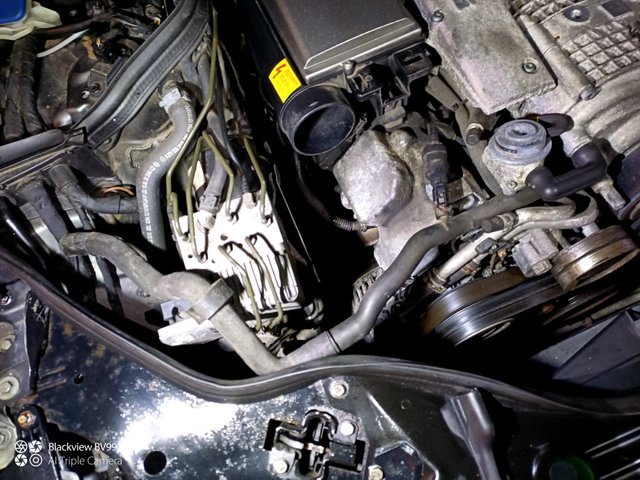
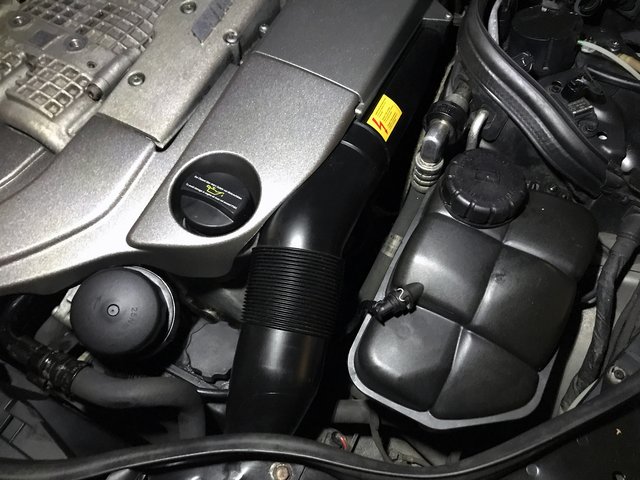
I also noticed this large air hose going from the supercharger to...well nowhere, it was disconnected and just kind of hanging down in front of the SBC pump. The hose was a two piece with factory markings and clearly an AMG part but obviously was missing something on the other end. After some research I found out that at the other end the secondary air injection pump was supposed to sit. Remember the check engine light? Yes, it all came together. I still hadn't managed to read the codes from the ECU but a disconnected or missing SLP (the air injection pump) would certainly explain the error code. For the time being, I left it in and checked the other outlets on the front side of the supercharger and noticed this rubber AMG blind plug on the other side:
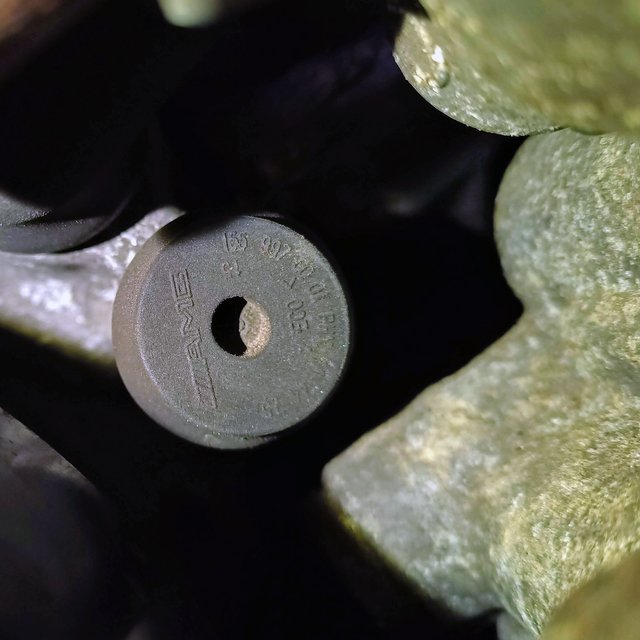
More on that later.
Shopday Numbers 1 and 2 - Valve Cover Gaskets and other stuff
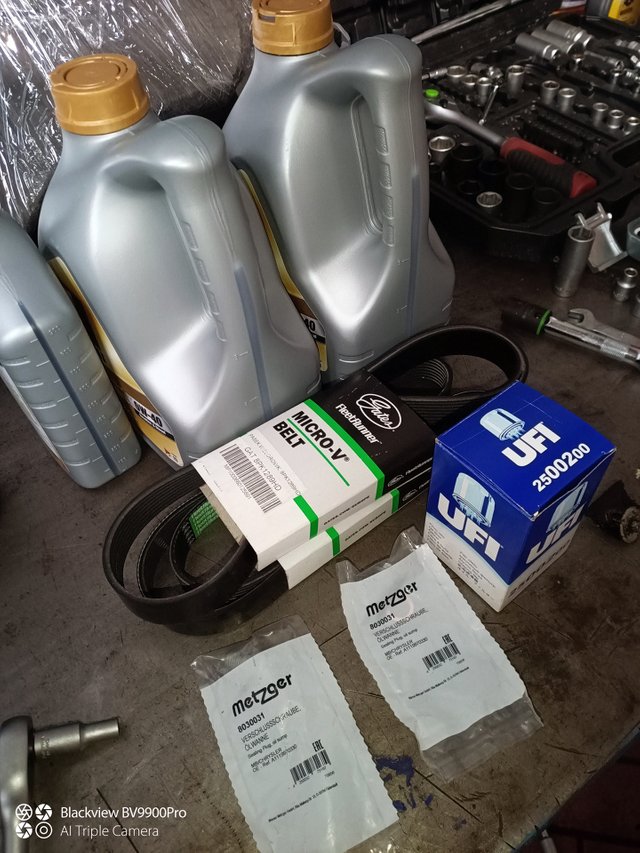
Full of confidence that I'd be able to reslove most the mechanical and big item issues from the list above and based on around 70 hours of research and parts and tools preperation and buying I went to the good ol' shop and was ready to go to work:

- Engine oil and filter
- Valve Cover Gaskets left and right
- Serpentine and Supercharger belts
- Power Steering pump and fluid
- 16 new wheel lugs (equal length)
- 1 front engine cover (used but good condition, AMG part, very hard to find)
- 1 center engine cover (used but original and good)
- 1 transmission cover (used but original, cracked slightly on the rear right)
- 2 wheel well liners (new, not original, terrible fit!!)
Oil and parts were reasonably affordable but the underside covers front to back set me back EUR 350. If you have them especially when they are AMG specific with the air vents in front - hold on to them :).
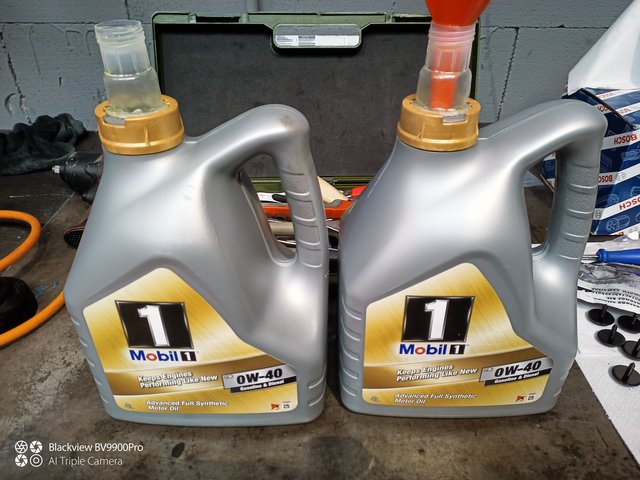
I went for the Mercedes recommended Mobil1 0W-40. The original 'New Life' oil for this engine is actually discontinued by Mobil 1 and this 'FS' one is the successor even though it is generally agreed that the quality is not the same as before. Either way I went with this as the safest and most stock variant.
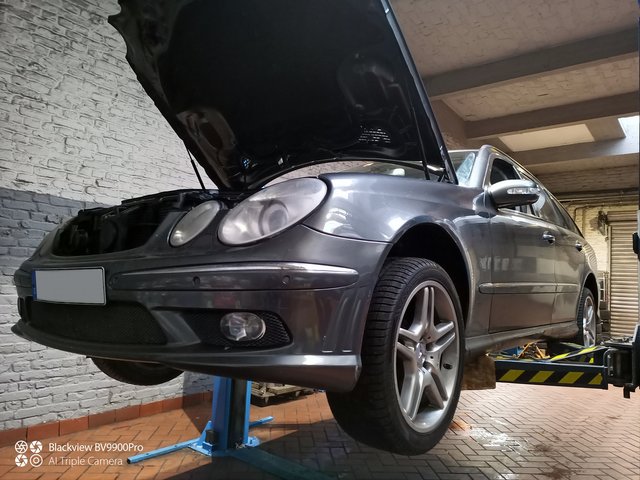
Due to completely collapsed jack points which are rubber pieces clipped into the outer frame rails it took me forever and a day to even get the car lifted because there are special little 'extenders' which I didn't have that are used to put the car onto the lift points as the side rocker panels actually extend down further than the jack points and you risk bending and/or scratching them when you don't use the extenders.
Needless to say I put it up anyway and ordered me some 4 rubber extenders, you can get them for any Mercedes model for like EUR 8 - really useful!!
Starting with the oil I drained the old oil from both drainplugs the E55 has two drain plugs in the oil pan, if you only do the rear one there's a good 500-1000ml which are left in the engine!
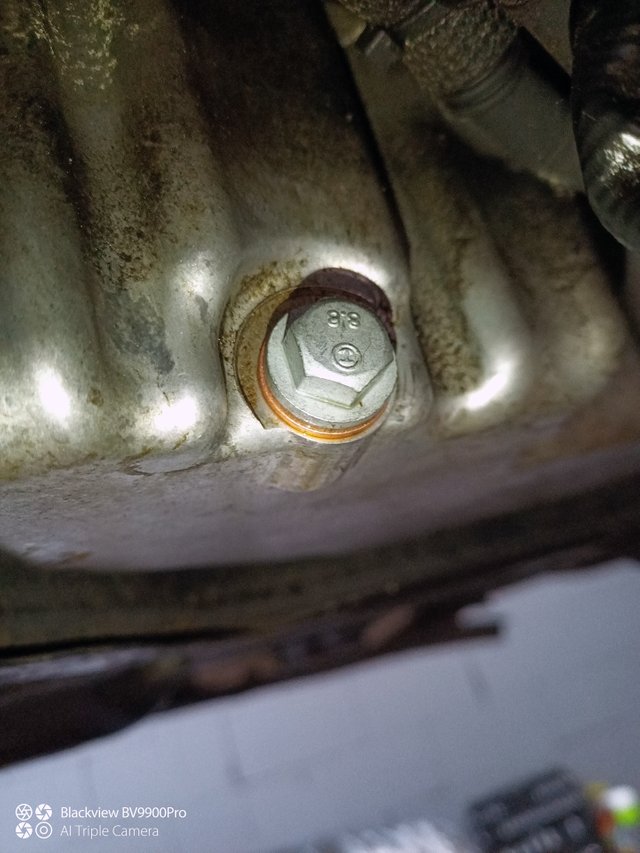
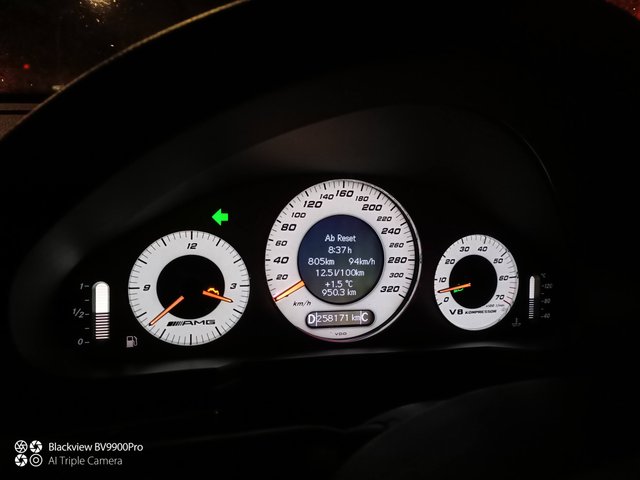
I put in a total of 8L, the engine oil capacity is 8.5L but there's always some oil in the oil cooler and lines so it seemed ok. This engine from factory does not come with a dipstick but instead solely relies on an electronic sensor which you can read via the instrument cluster.
Next up I removed the airbox and covered up the throttle body.
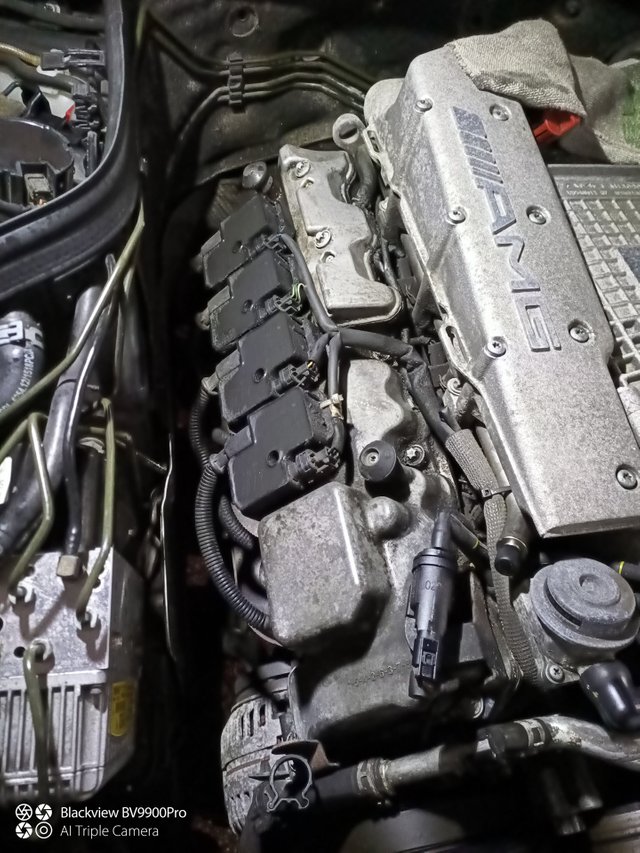
Then unplugged and removed the 4 coils of the passenger side bank:
I also tied the ignition cables to the intake manifold and started removing the valve cover bolts.
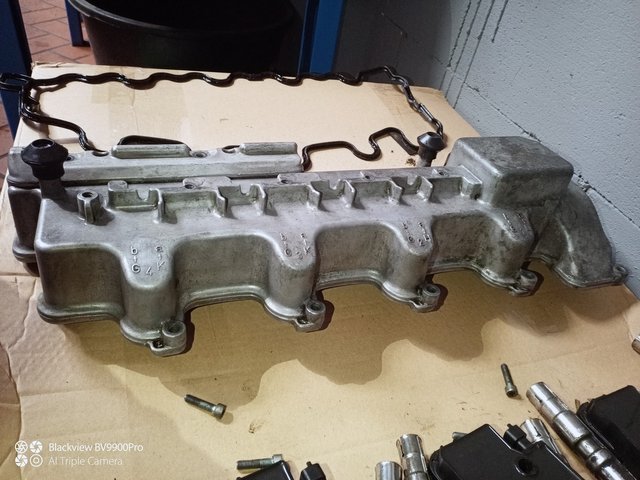
This is what you end up with, I already cleaned it thoroughly.
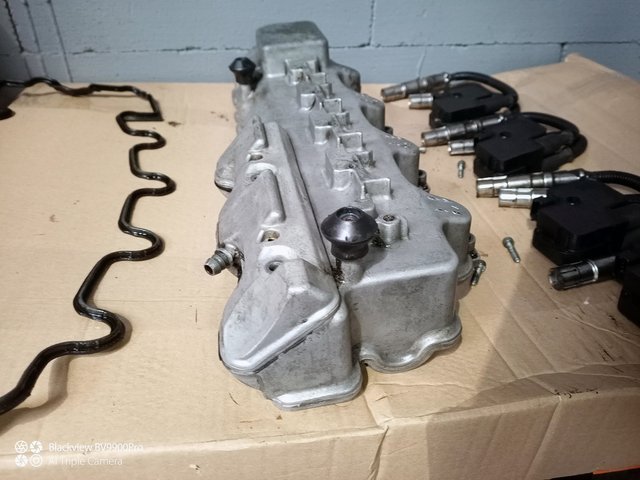
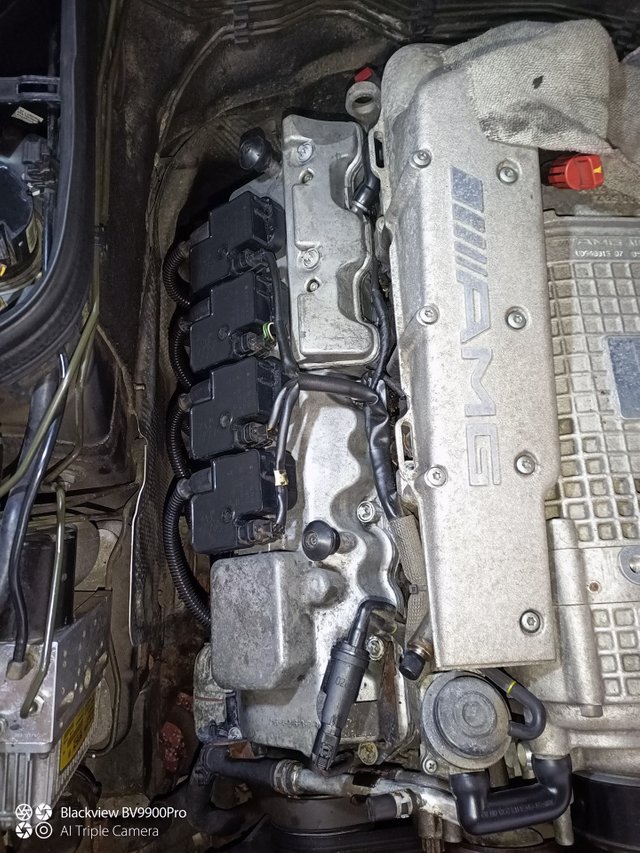
With the new gasket installed it went back into the car.

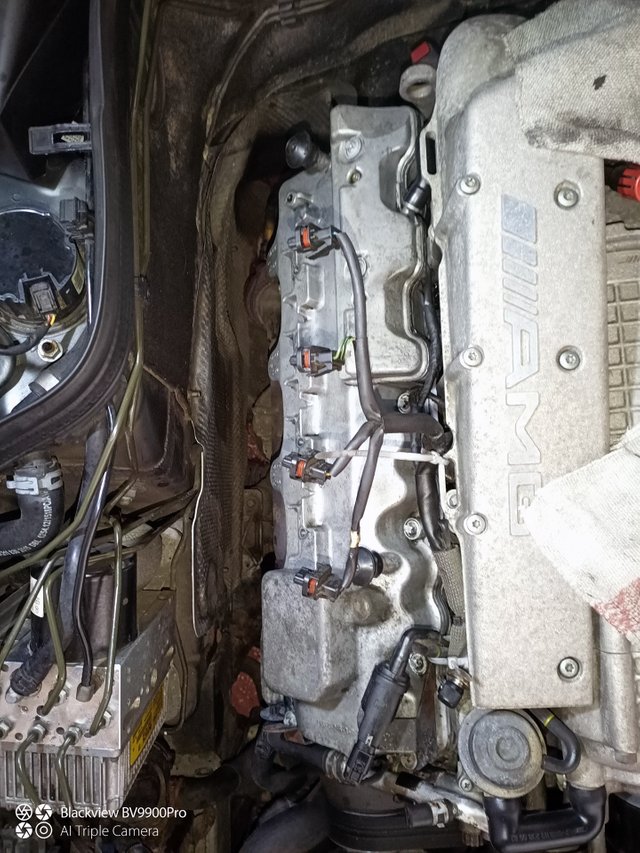
In reverse order, reconnect and bolt down the coils, the front ground wire and the little metallic hose clamp on the lower front and reinsert the valve cover bolts.
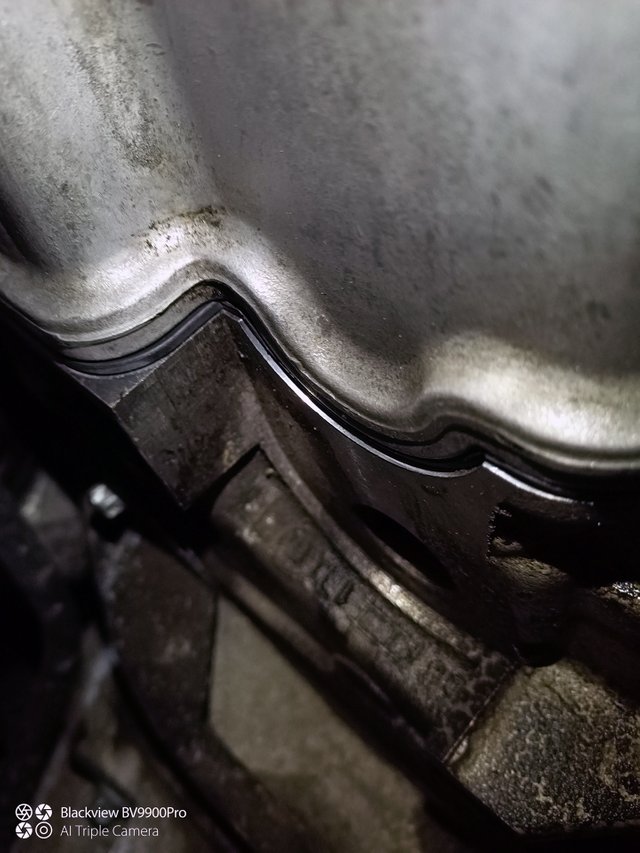
It's important to ensure good and flush fit especially on the back of the engine:
Because this was the first time in and under this car for me many things took a lot longer than expected and I didn't to change the driver's side valve cover gasket nor did I attempt to replace the power steering pump, pulleys and belts.
I did however do a lot of checking and looking at things, how they are put together, routed, their condition and accessibility. On the underside I did notice that the engine and transmission mounts were completely shot but that would be a much bigger operation and take a whole day so > do it later.
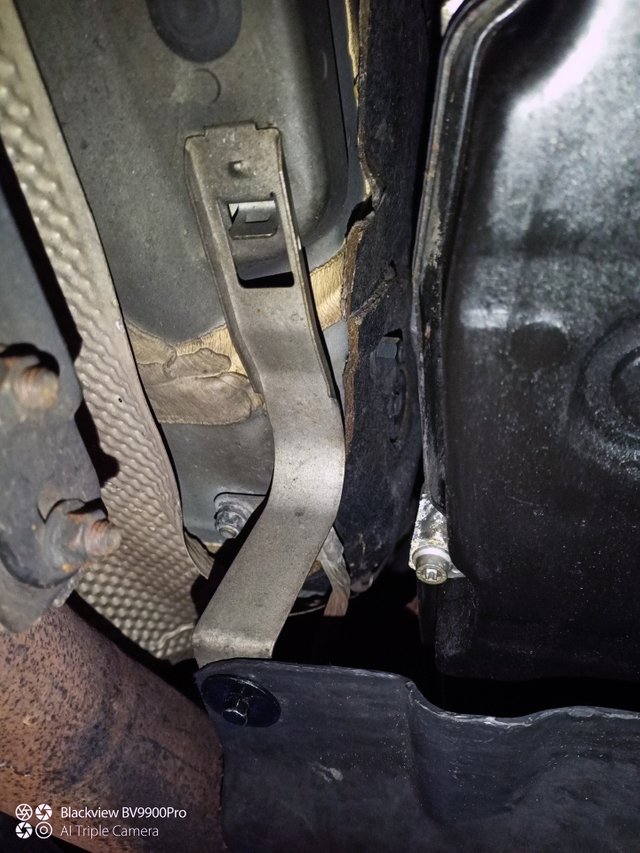
I also saw that this bracket was missing on the passenger side, I ordered a new one later that day. Also you can see a badly deterioirated ground cable going from the transmission to the body. I also ordered that.
As a final step that day I installed the wheel well liners and underbody panels > quite tedious especially because the non-original, and admittedly very cheap liners I bought had extreme fitment issues. Both were EUR 40 each. Used original ones cost about the same and I strongly recommend those over any non original new stuff.
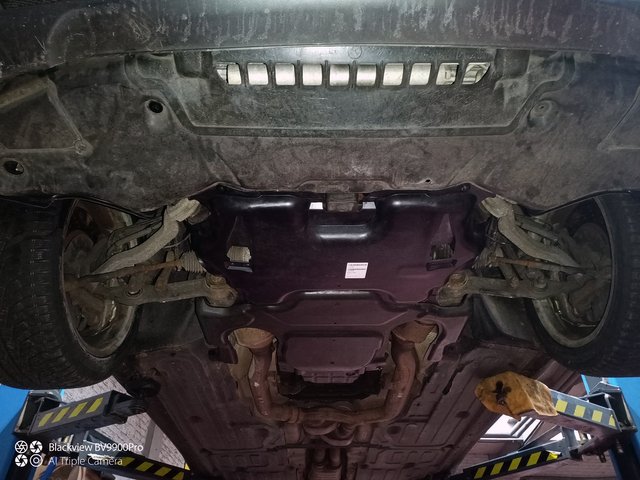
Note the badly worn out front axle, all the wishbones, stab bar and steering rods look about as shot as they were - still drove great though :).
To wrap things up I gave it a bit of a cleaning and was quite satisfied with the visit to the shop even though I didn't get much done, new oil and some stuff fixed felt good. Plus I found a lot of things to do as well, none of them fatal.
Looking good for a cosmetically challenged, 15 year old driver with 160.000mls on the clock!
Steem ya later!
