Assetto Corsa Car Modeling / Ferrari 365 GTB/4 Daytona in Blender
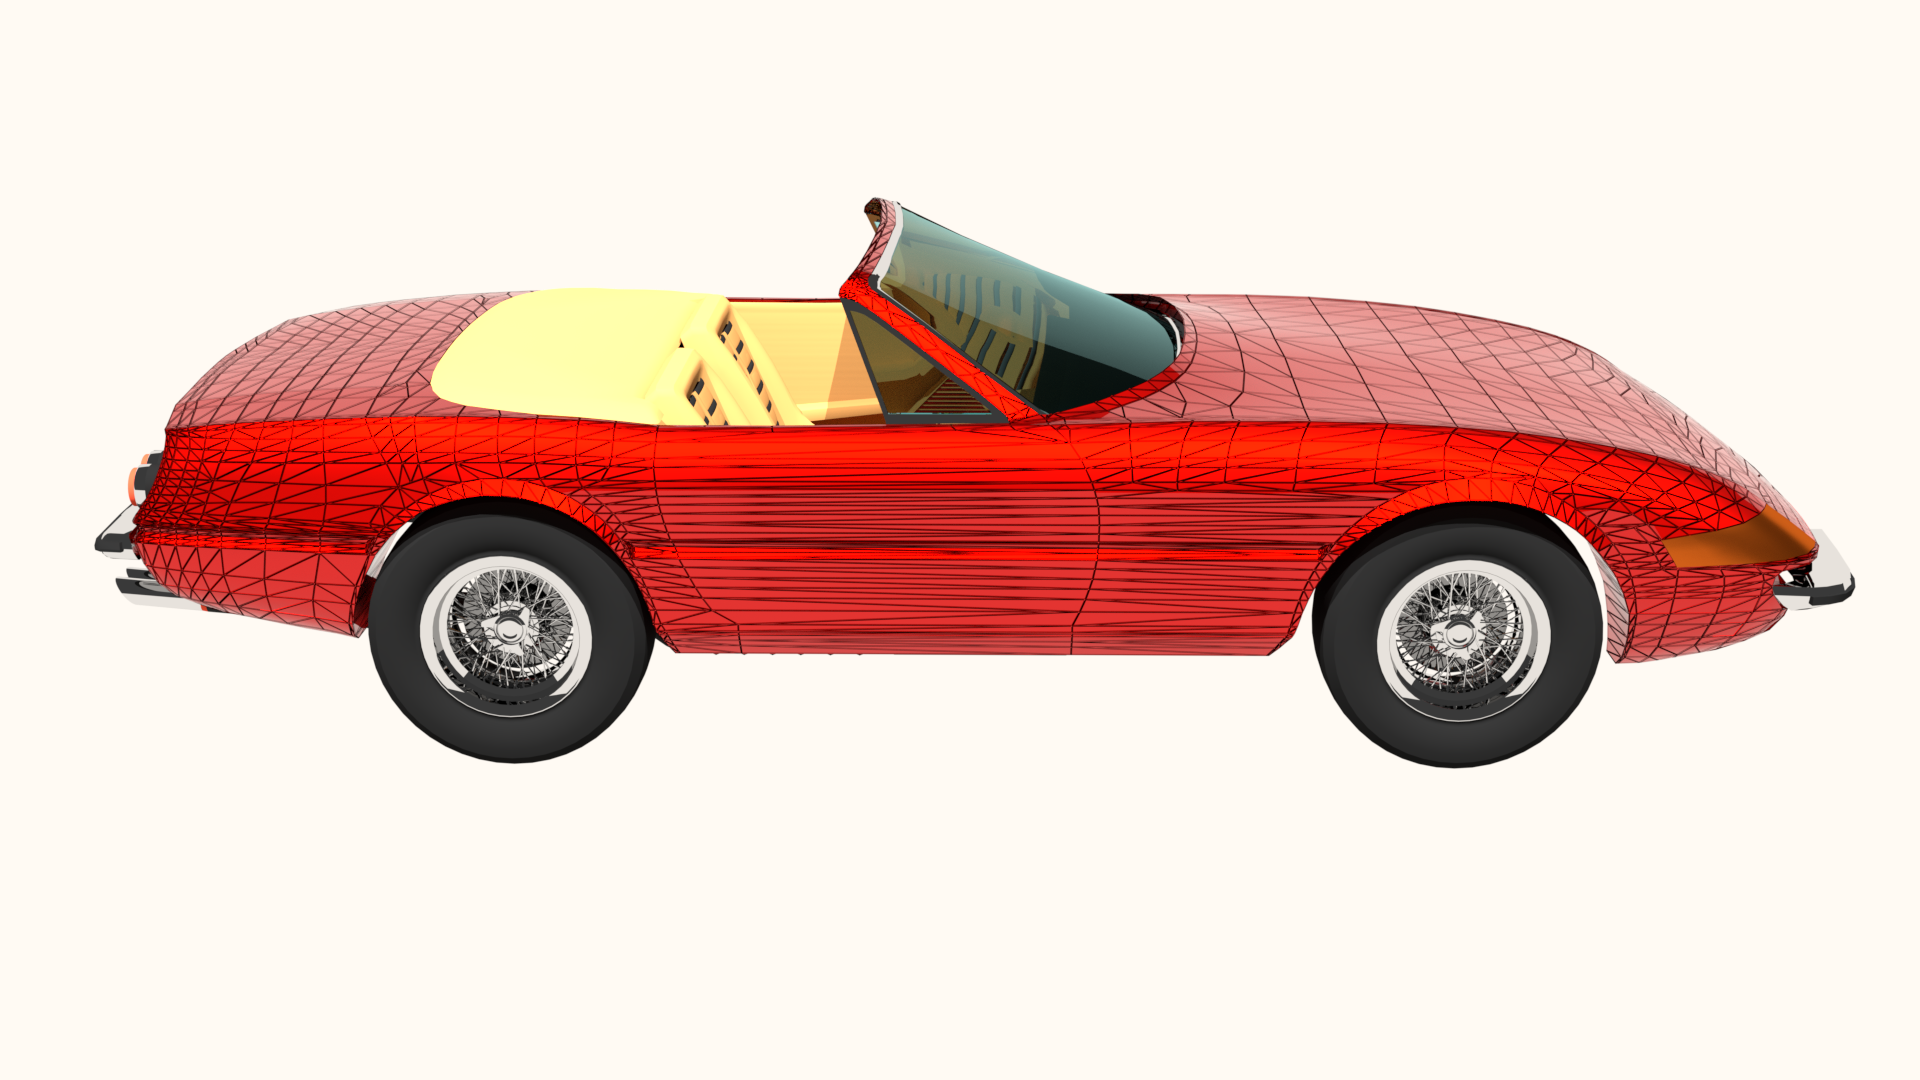
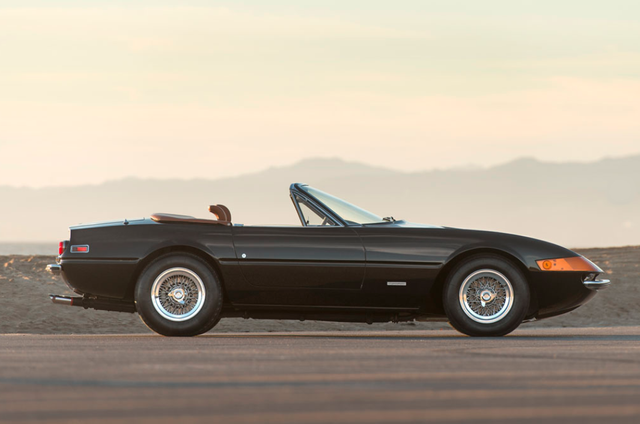
One of the most iconic Ferrari's and AFAIC cars of all time is the 365GTB Daytona Spider. Made famous around the world by an appereance on Michael Mann's decade defining hit TV show Miami Vice even though the original Ferrari only appeared in two shots (one driveby and one stationary) during the entire series. A Doctor in Miami had lend the show his authentic Daytona Spider for inclusion but the production company didn't want to deal with insuring multiple original cars (of which only a handful had been exported to the US anyway) with the certain fate of partial to complete destruction during filming. Here is the movie version in RL:
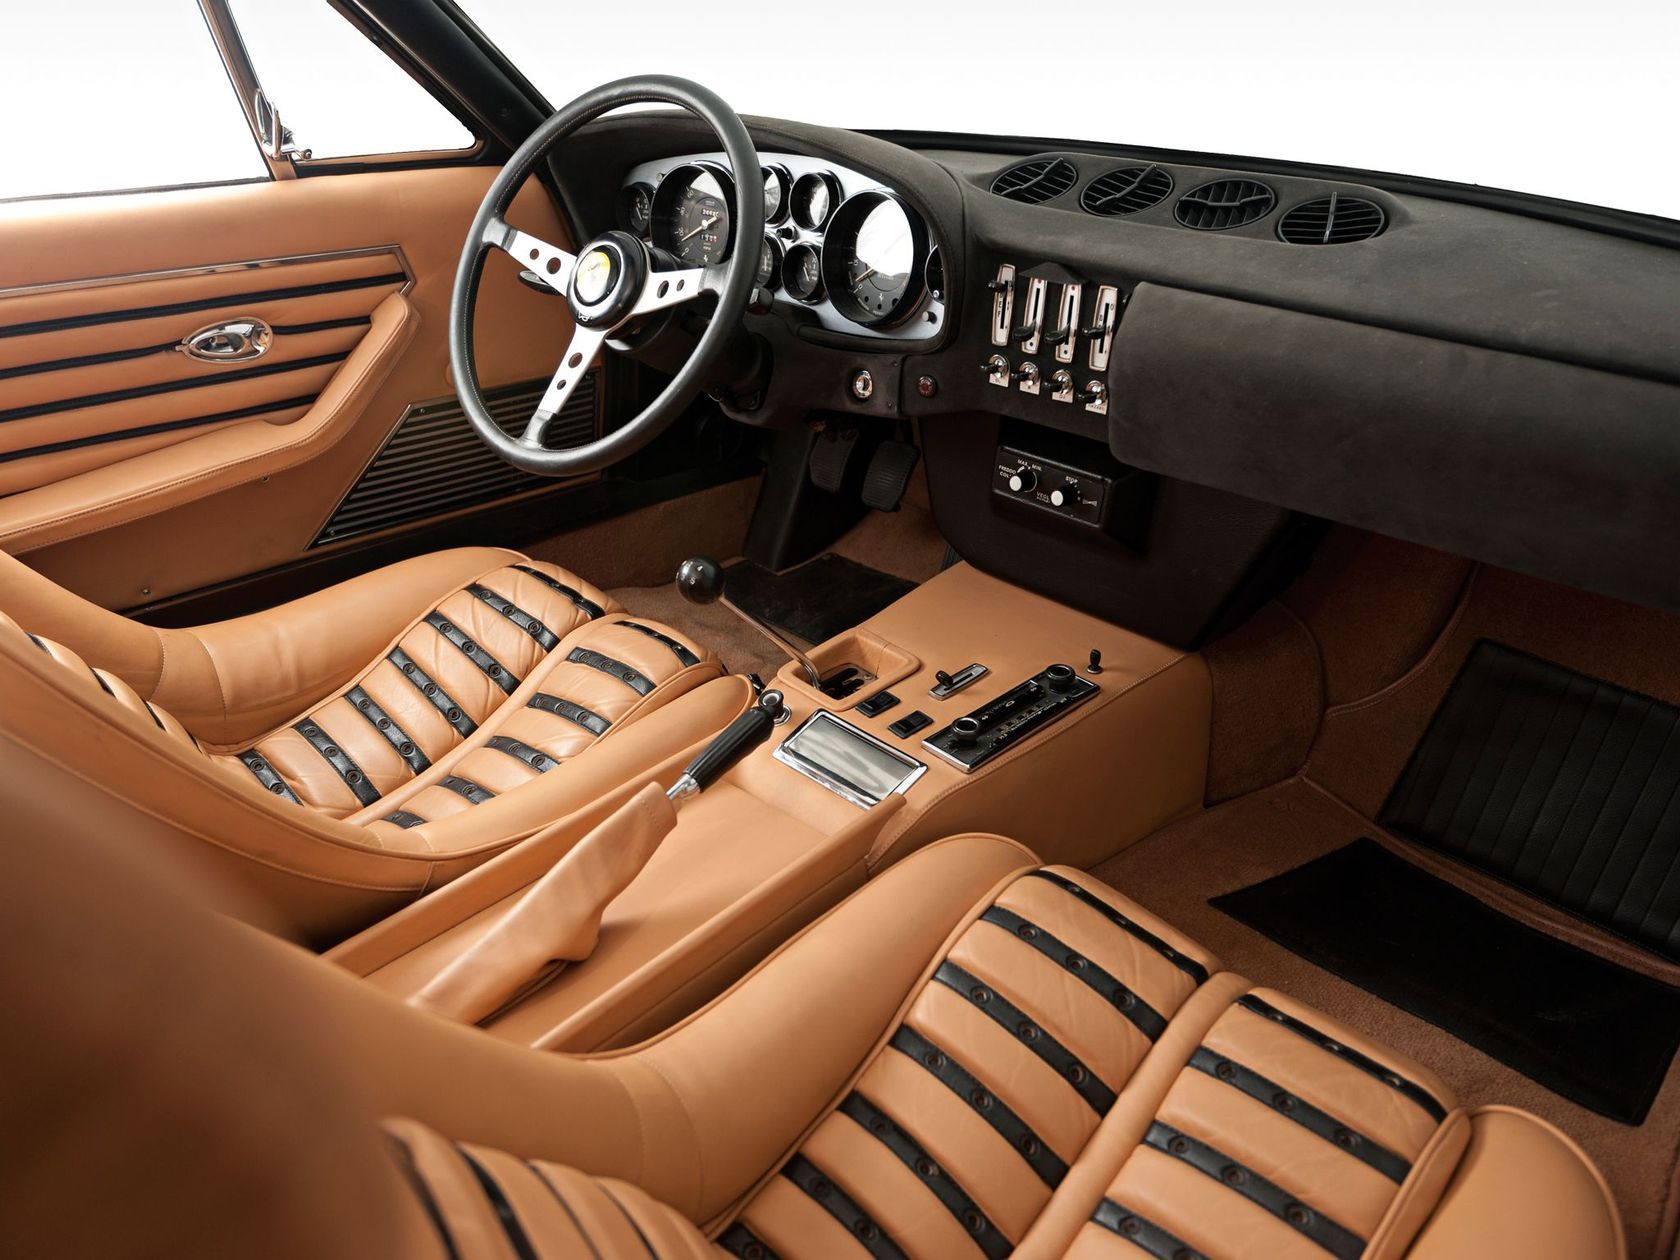
In any case this car is the last vehicle released under the company direction of Enzo Ferrari himself and it also features some of the best known and most loved seats of any Ferrari that would years later still be referred to the 'Daytona Seats'.
Apart from that it is a classic short wheel base, long overhang, front engine, longitudinal V12, rear wheel drive, transaxle drivetrain setup with independent suspension and disc brakes all around. The engine is mated to a 5 speed manual and this particular version has a factory soft top. In addition to the roof the rear quarter panels, rear fascia, trunk lid and top cover are the parts separating it from its Berlinetta brothers.
It is a thing to behold and as such I feel quite good about choosing it as the first car I'm going to model. As some of you who follow me know I'm quite heavy into modeling aircraft and needless to say this is a different world. In certain aspects much easier as the packaging doesn't constrain object proportions. On the other hand that makes it harder as you are much more bound to 'looks right feels right is right' instead of having the model come together sort of on it's own based on modeling different aspects of it.
Also a big difference is the complexity which here is not less just different. A car doesn't have 8 wing spoilers with actuators and 6 DOFs but it is important to have the switch for the electric windows look just right.
Anyway here goes...
Part 1
Starting with the wheels...yeah I don't know how or why I did that. I quickly moved on the bodyshell:
Pretty simplistic, everything you see will have been reworked and rebuilt by the end of this post but I really had a hard time getting into this car thing.
Ortho view of my beginning. Here in perspective:
Step 2
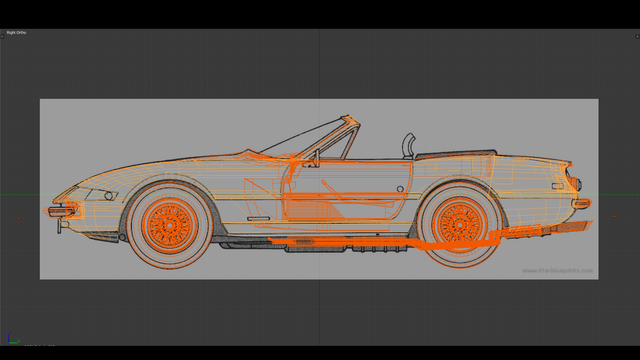
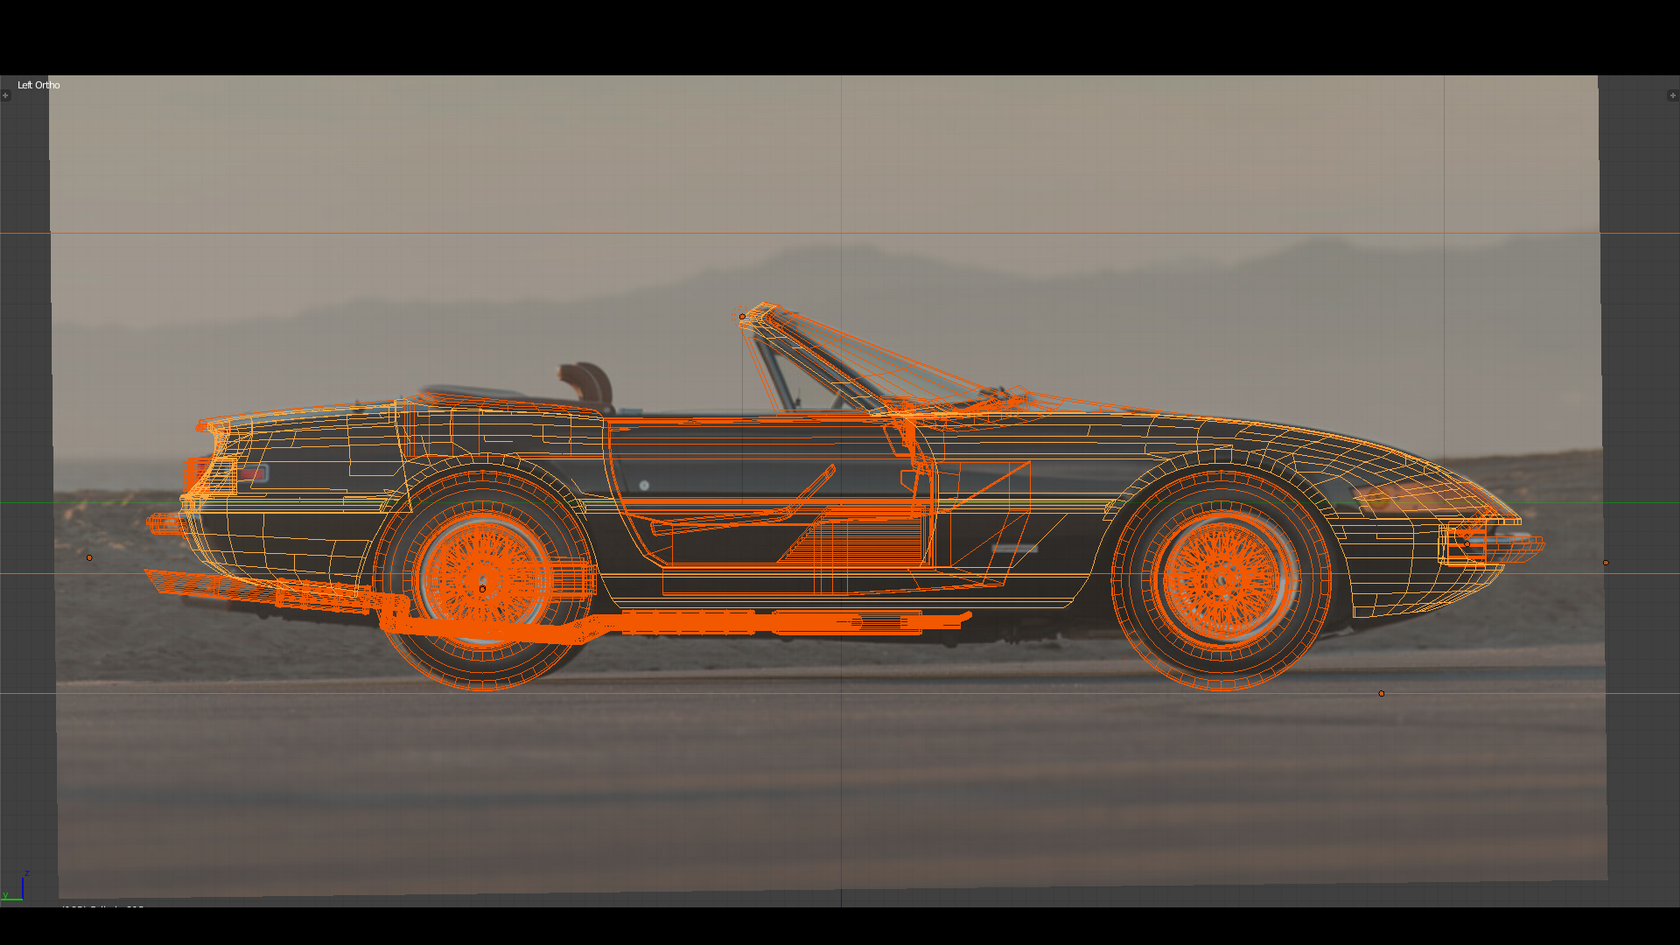
I soon realized I it would be super efficient to use the photo matching technique which I still haven't figured out. That said I started by really sifting through the blueprints, brochures and pictures to find the optimal baseline in terms of proportions.
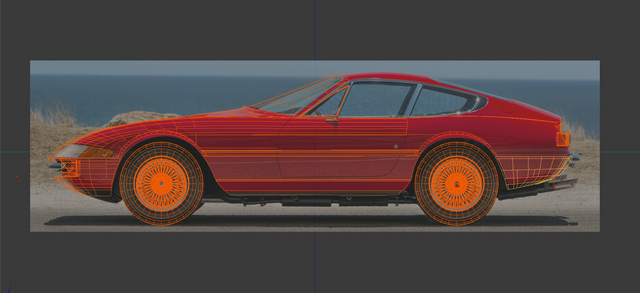

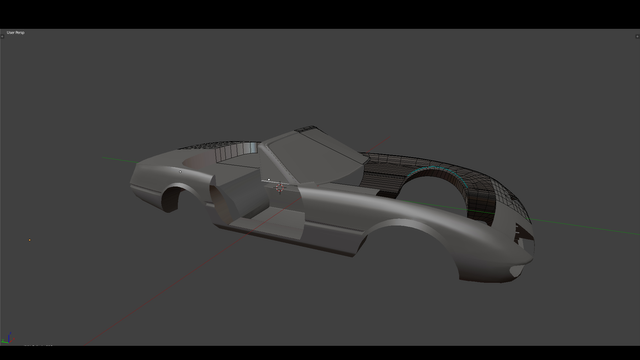
With a bit more modeling I arrived at a more or less complete bodyshell that I could now take apart and split into its respective components. I know that there are many different ways to go about modeling a car or any other object and that this isn't the most efficient or easiest but I just wanted to see how far I could take my simple toolkit.
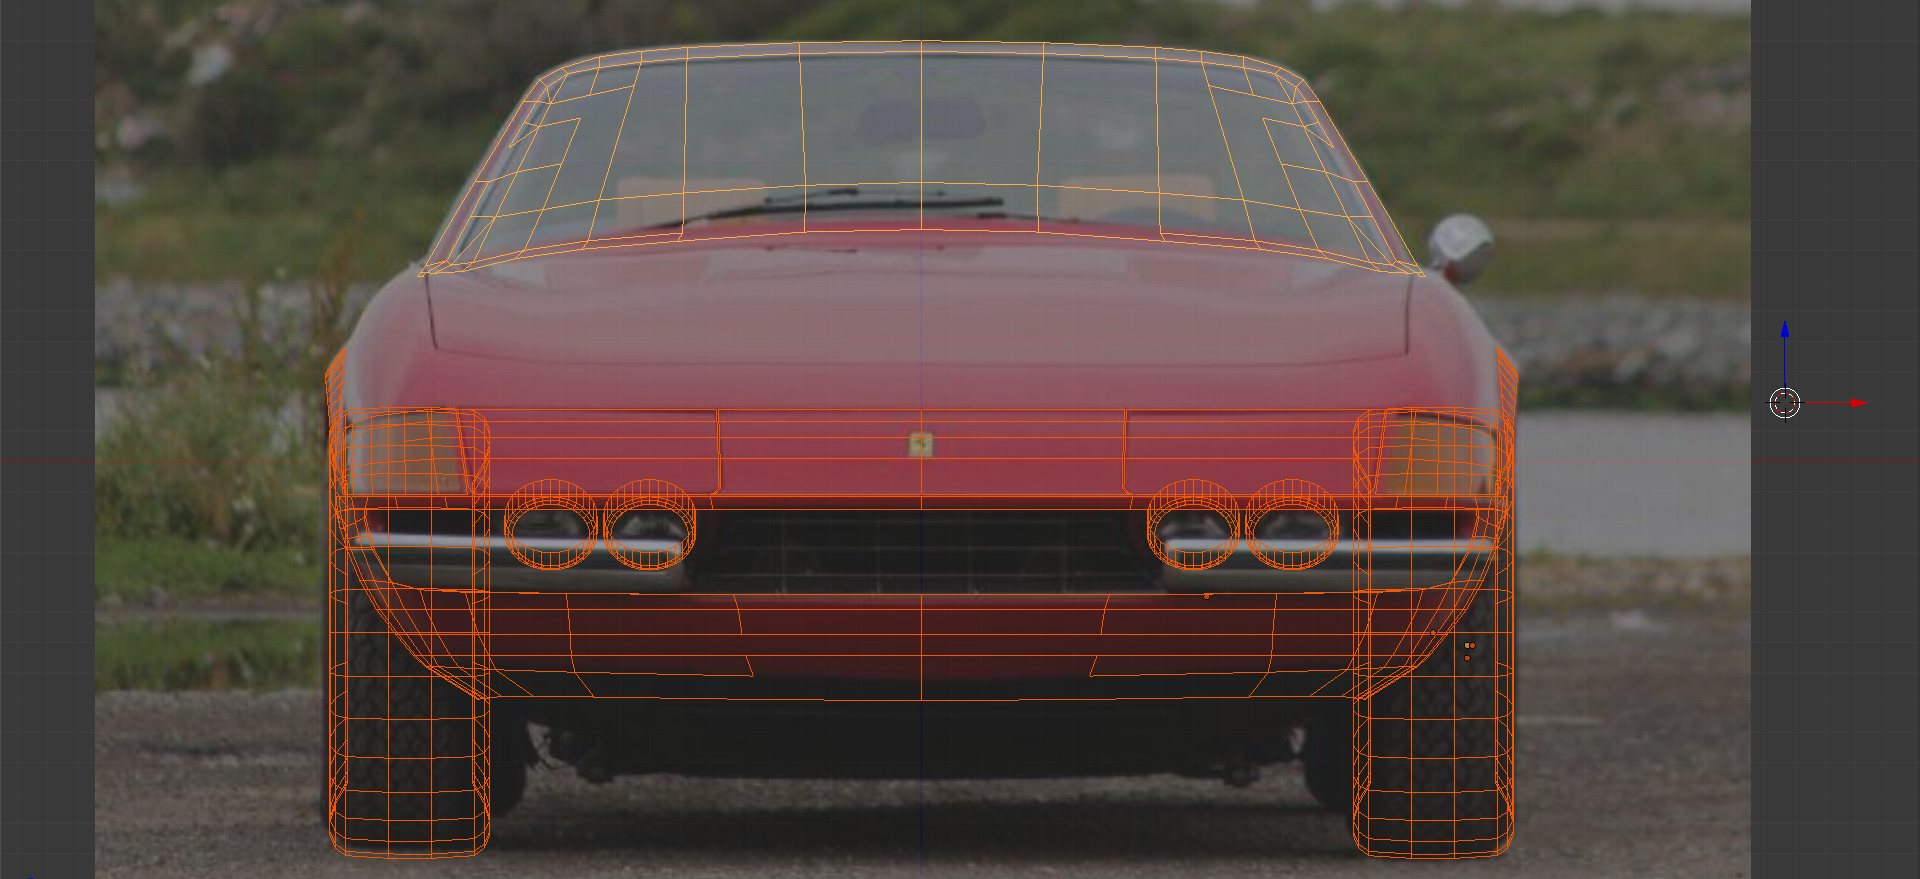
Step 3
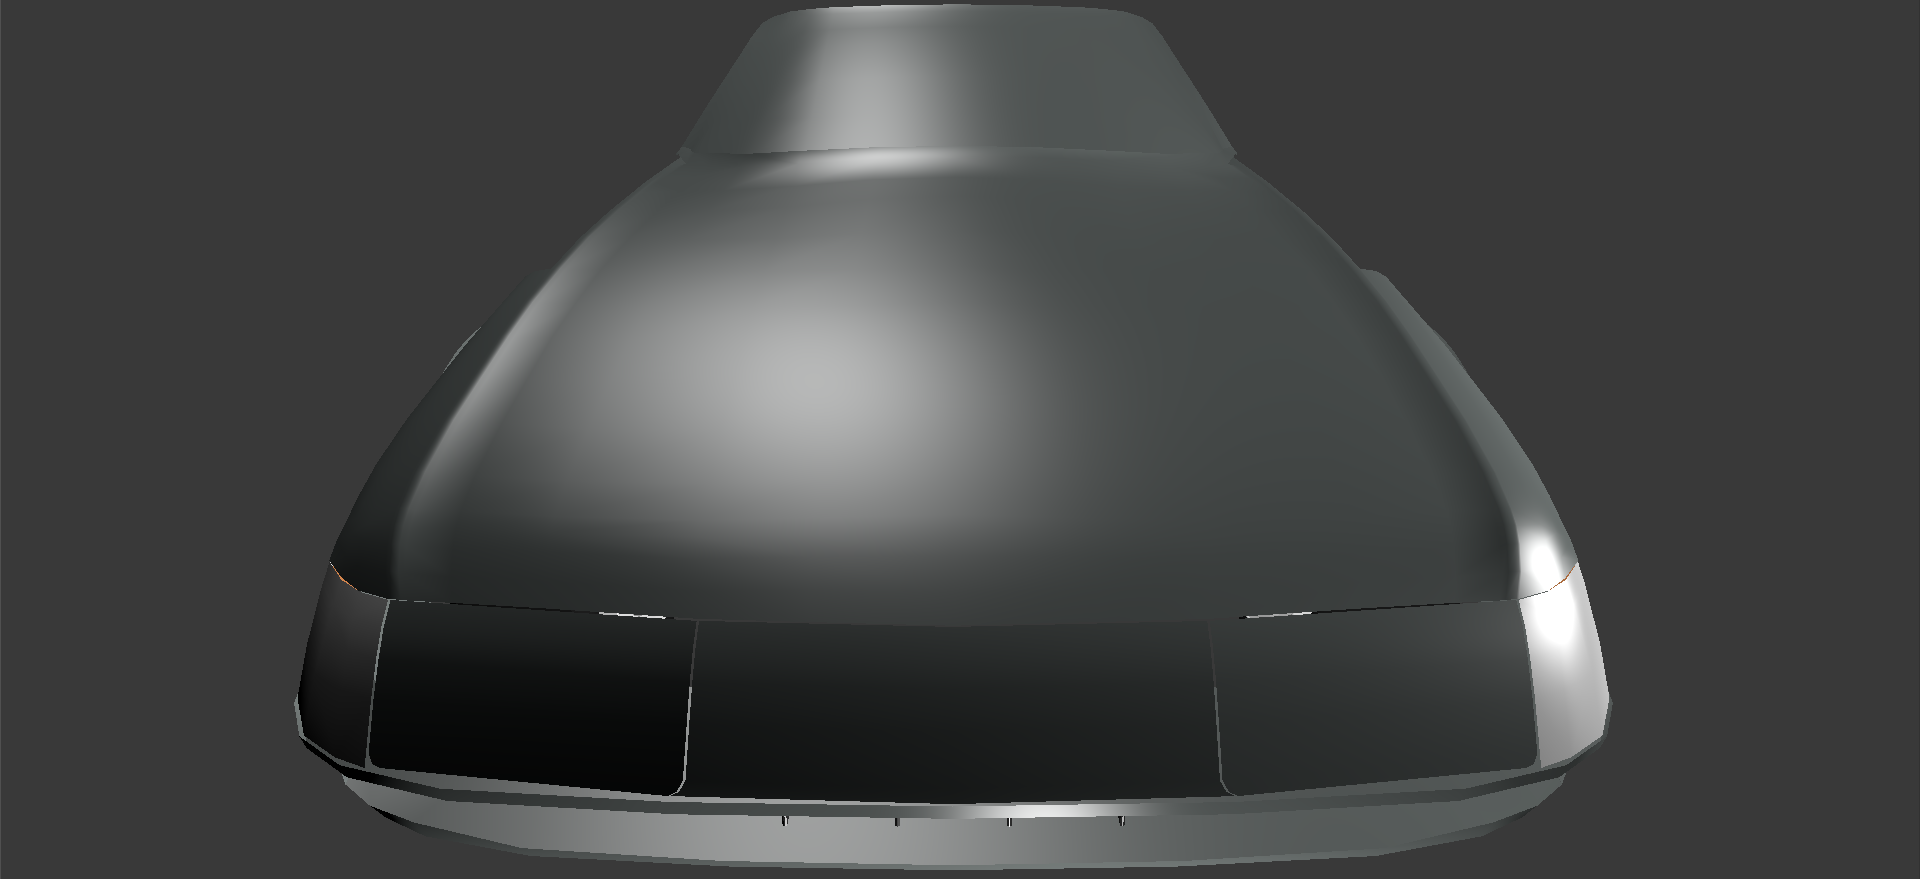
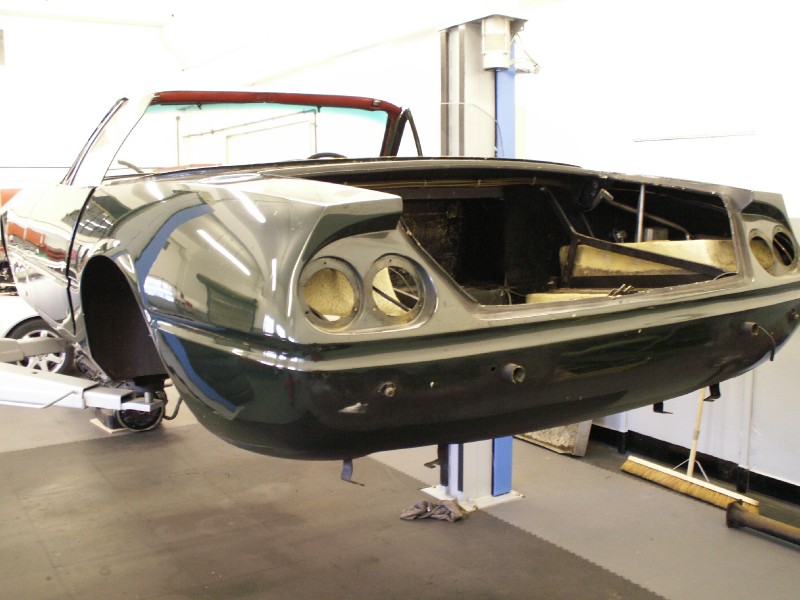
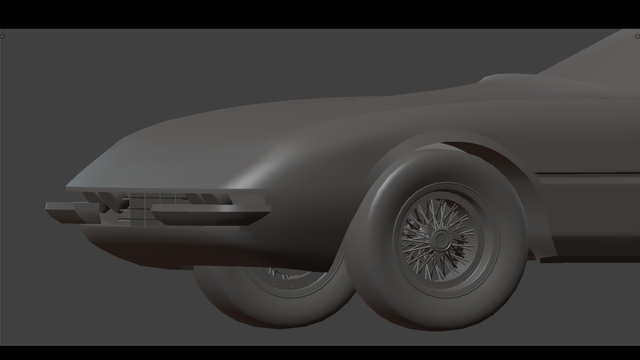
The rearend of this car is really something and I was able to find a picture of someone who was restoring one which helped a lot. Assembled you can't see many details:
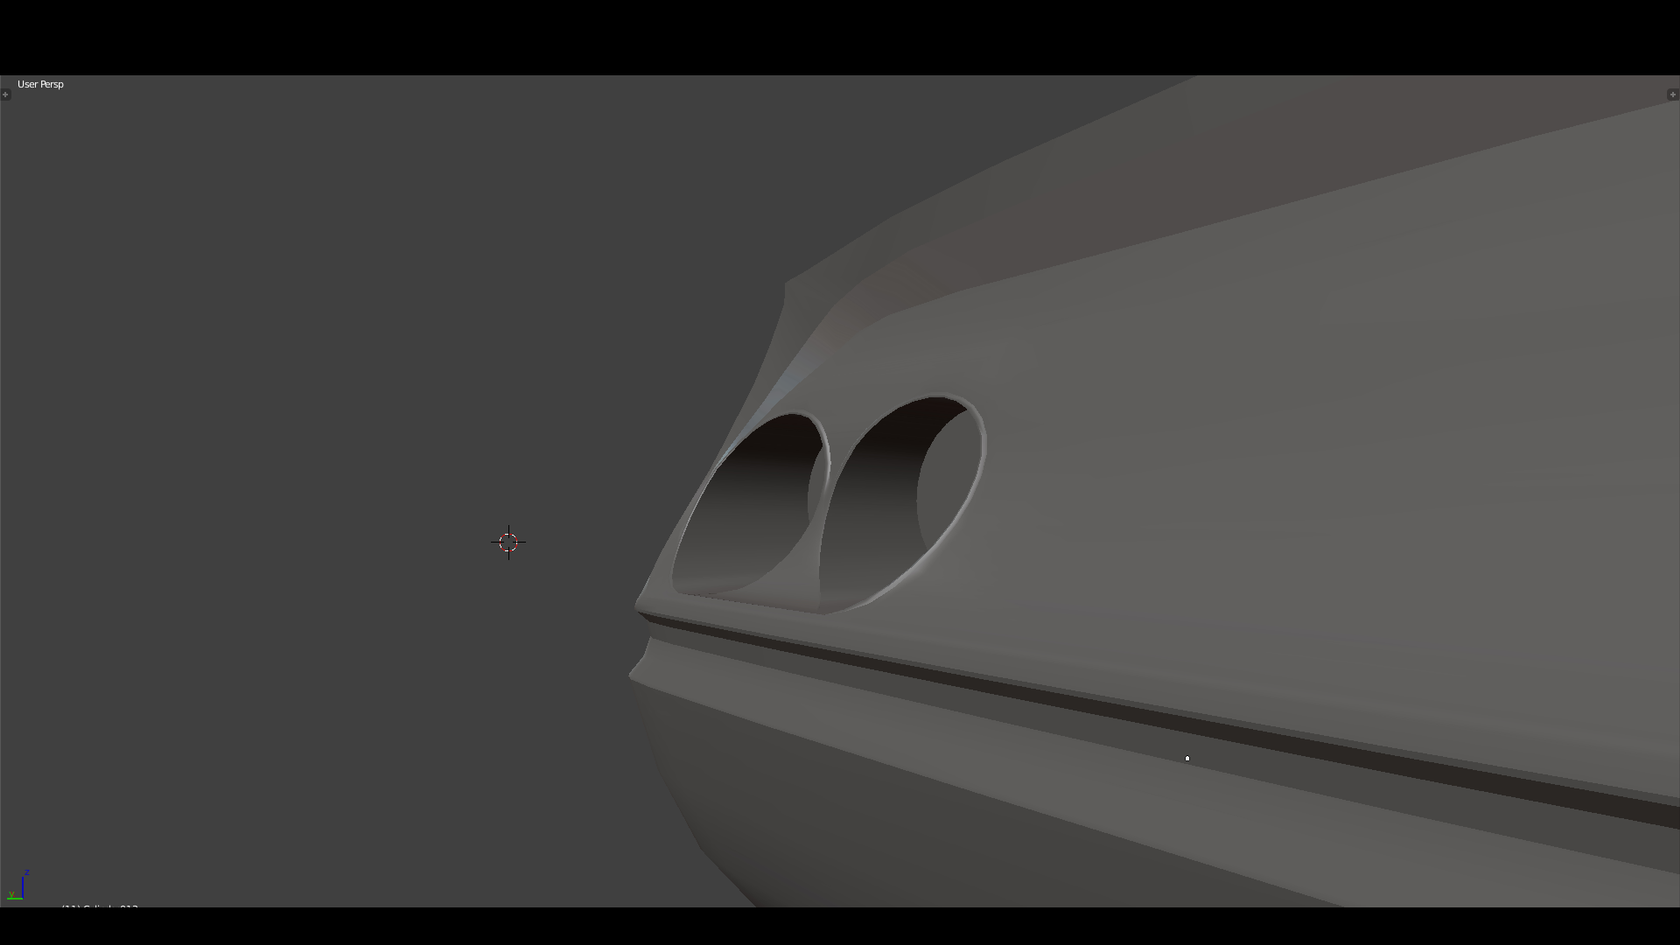
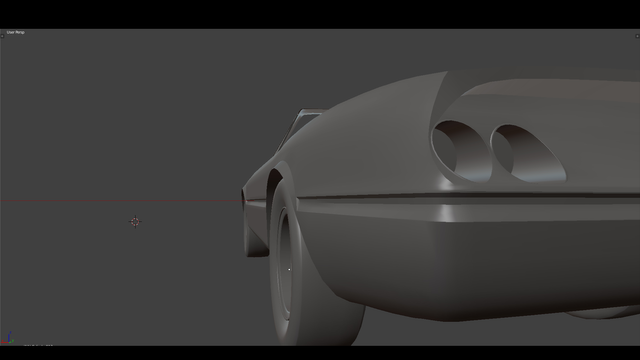
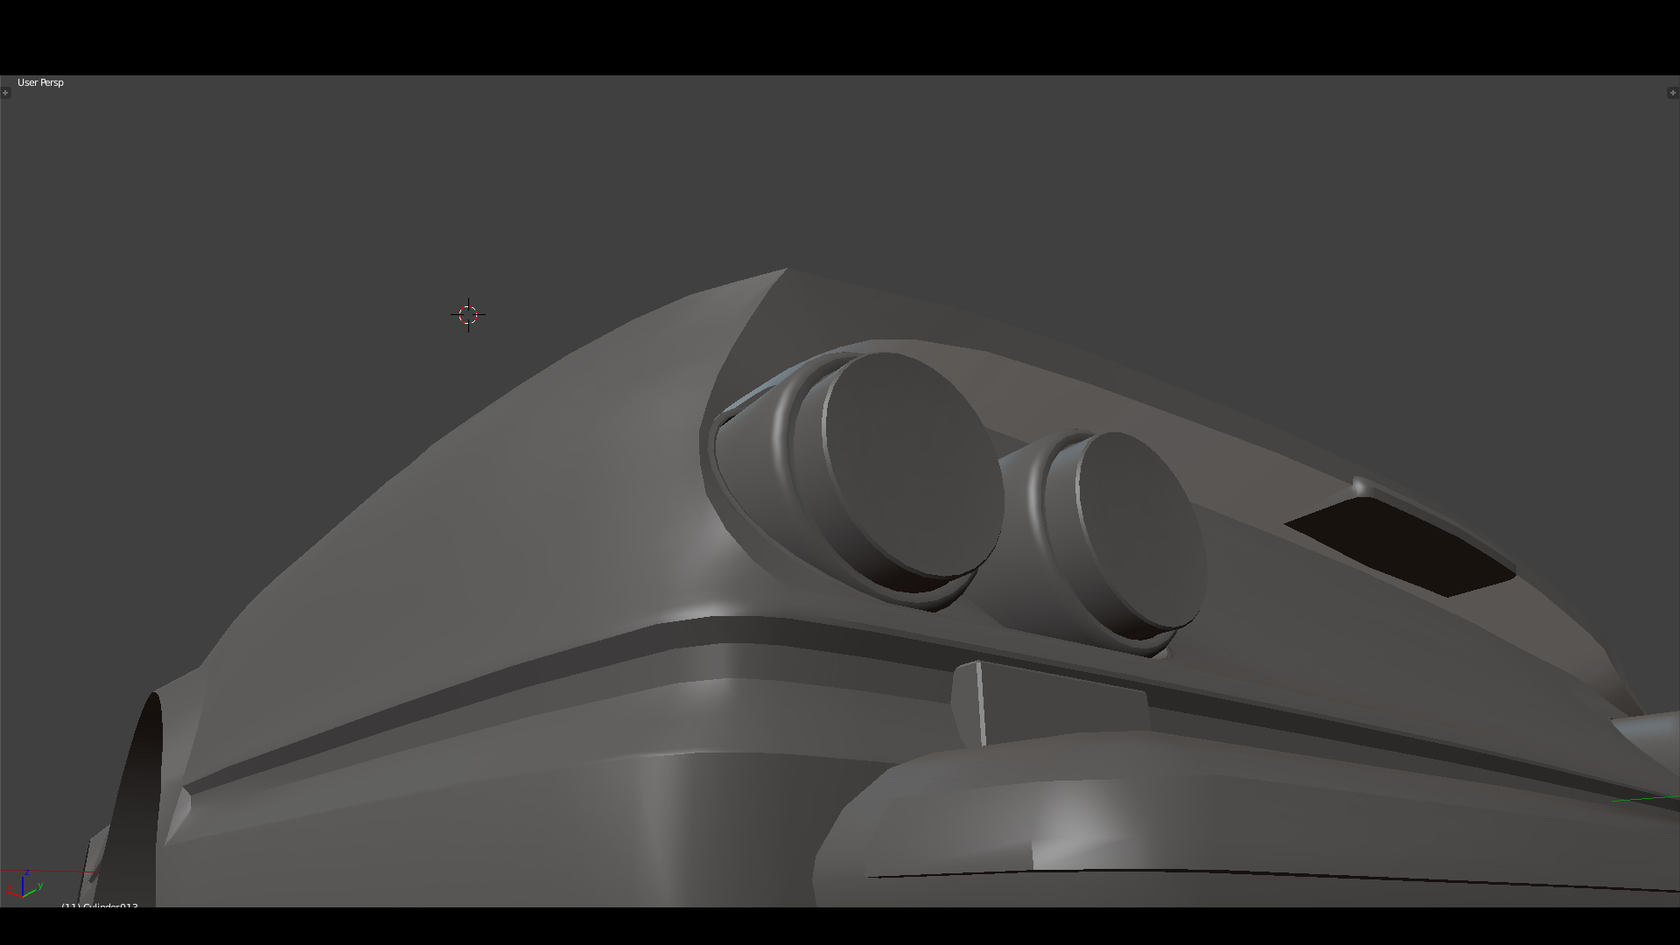
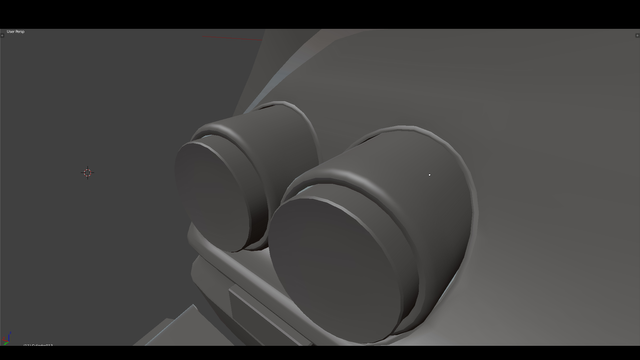
I started with this as a detailing exercise. Dual round rear lights and a very elegantly sloped trunklid.
This helped a lot so I fixed that part accordingly.
What a wicked design mind you this car was coach built and hand crafted into shape by hammer on sheet metal.
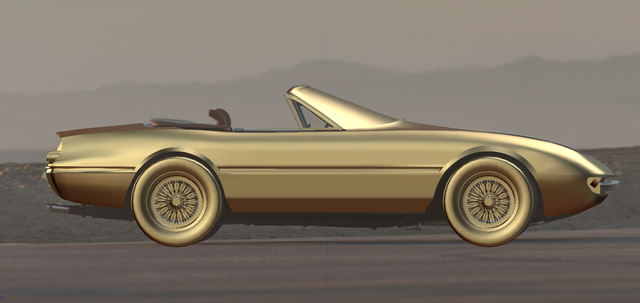
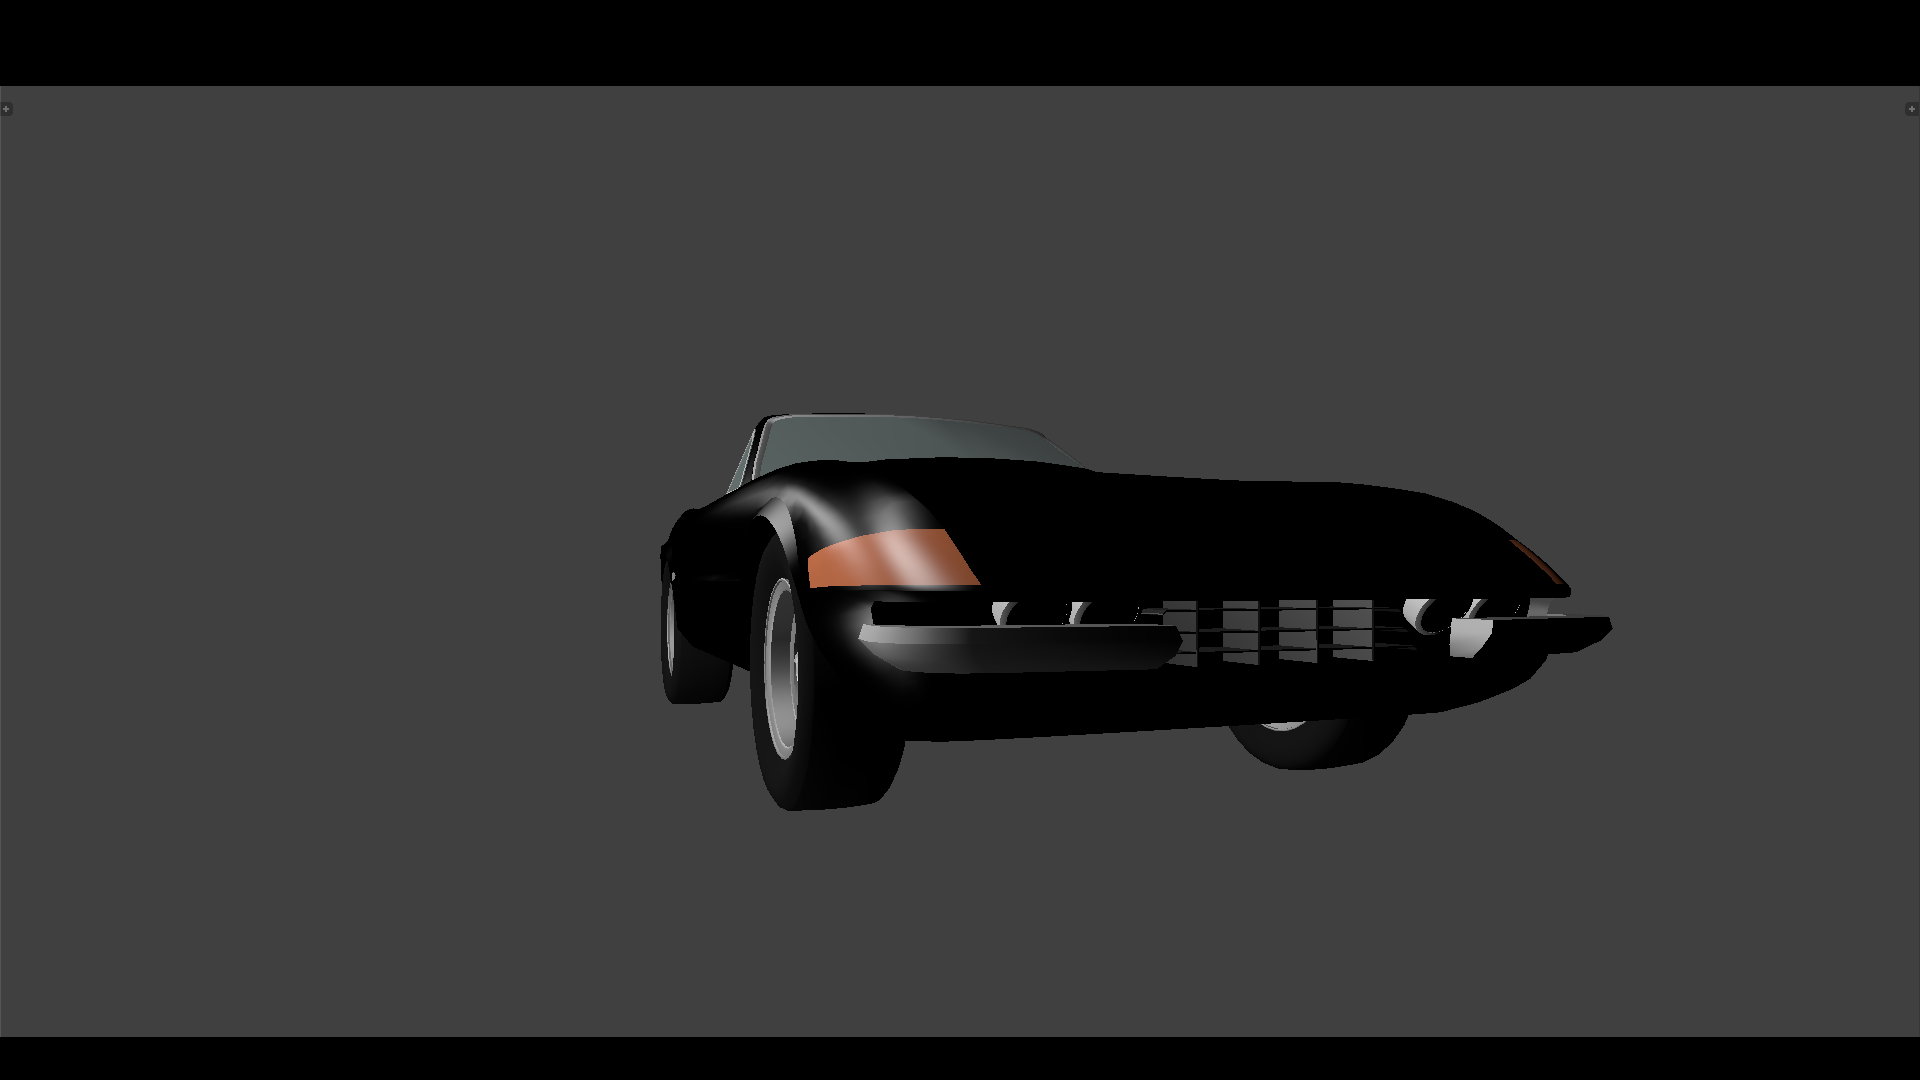
With added lights and corrected front and rear fenders and quarter panels one could begin to recognize the car.
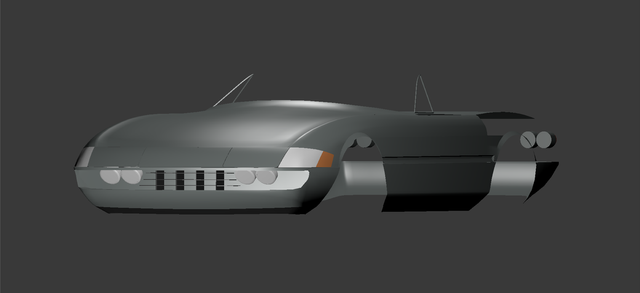
Step 4
I was struggling a lot with my wrong way of modeling it and had to make a choice either I throw it out and start over or I take it apart and finalize each component - I went with the latter.
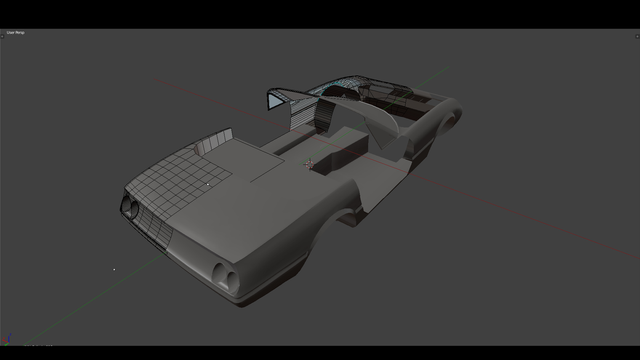
This then is the frame off so to speak body shell you would find on a real 365 Daytona Spider.
.png)
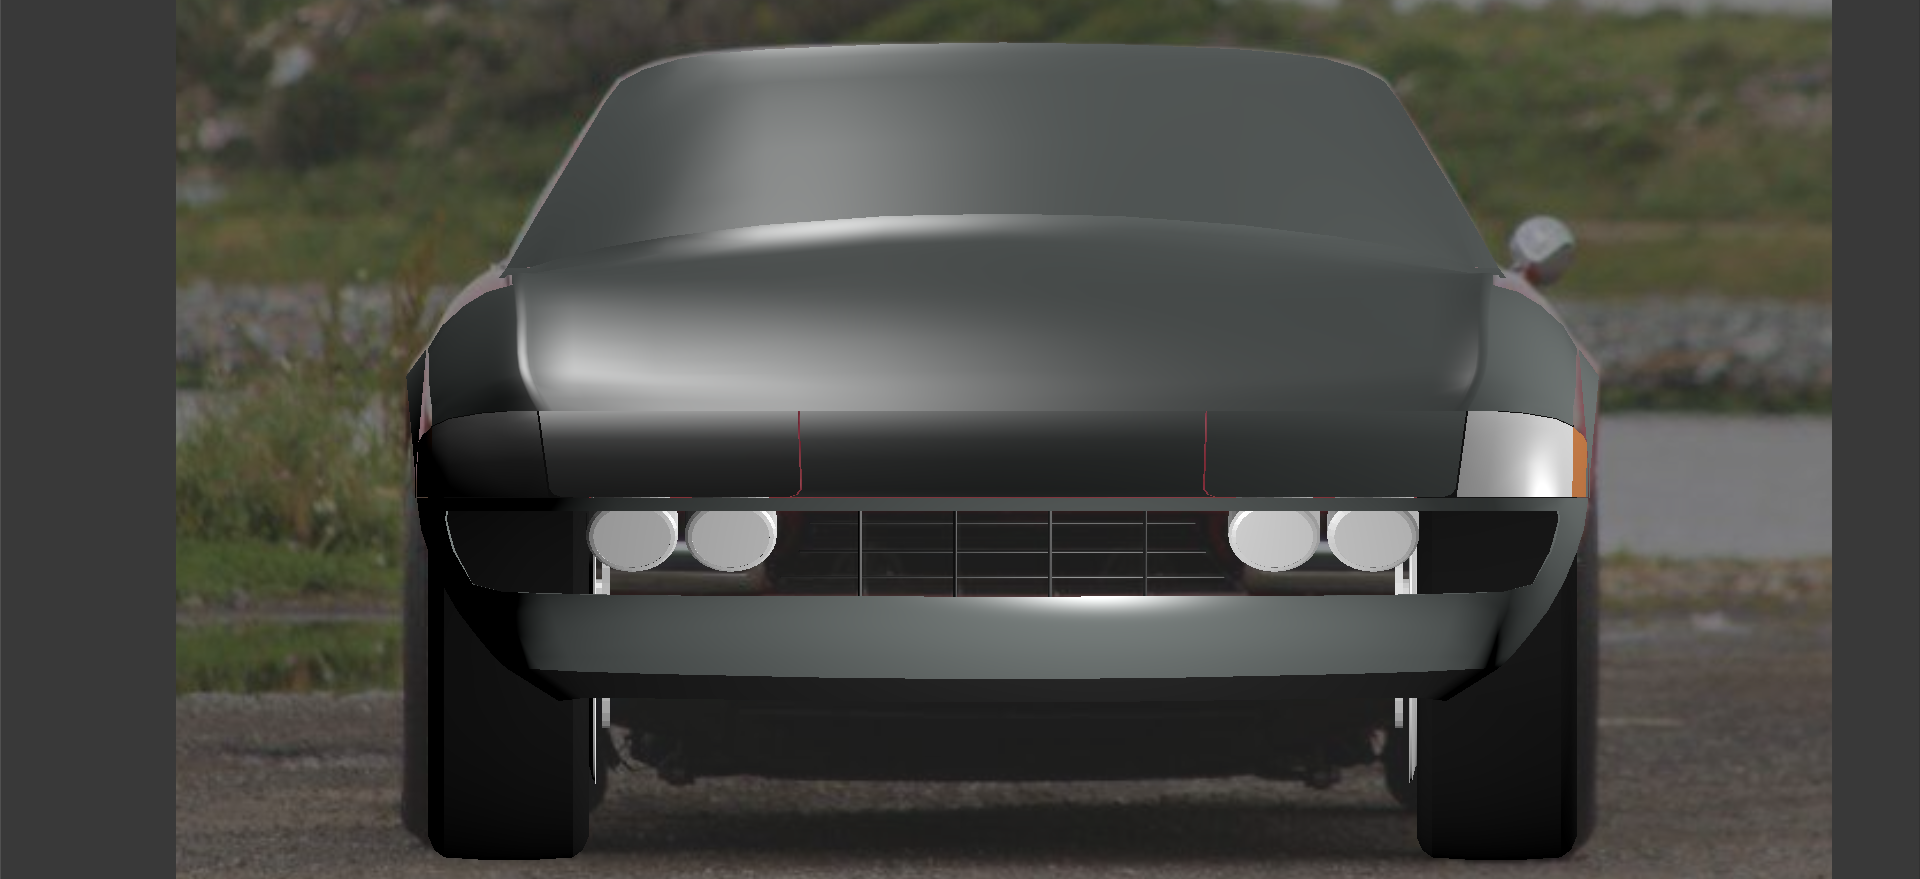
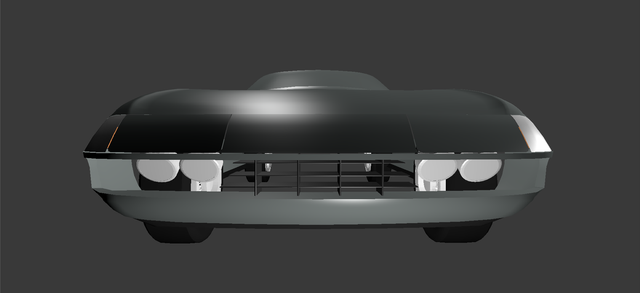
You can see I began adding the floor of the car and making the interior watertight.
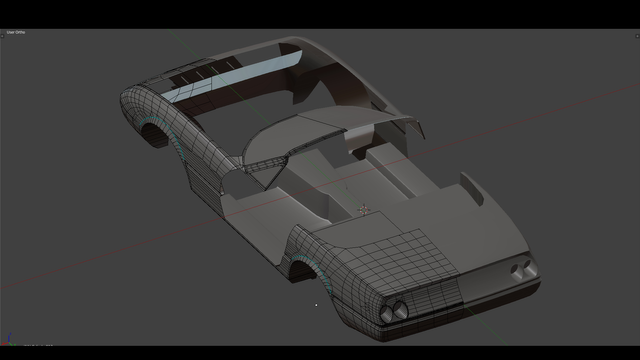
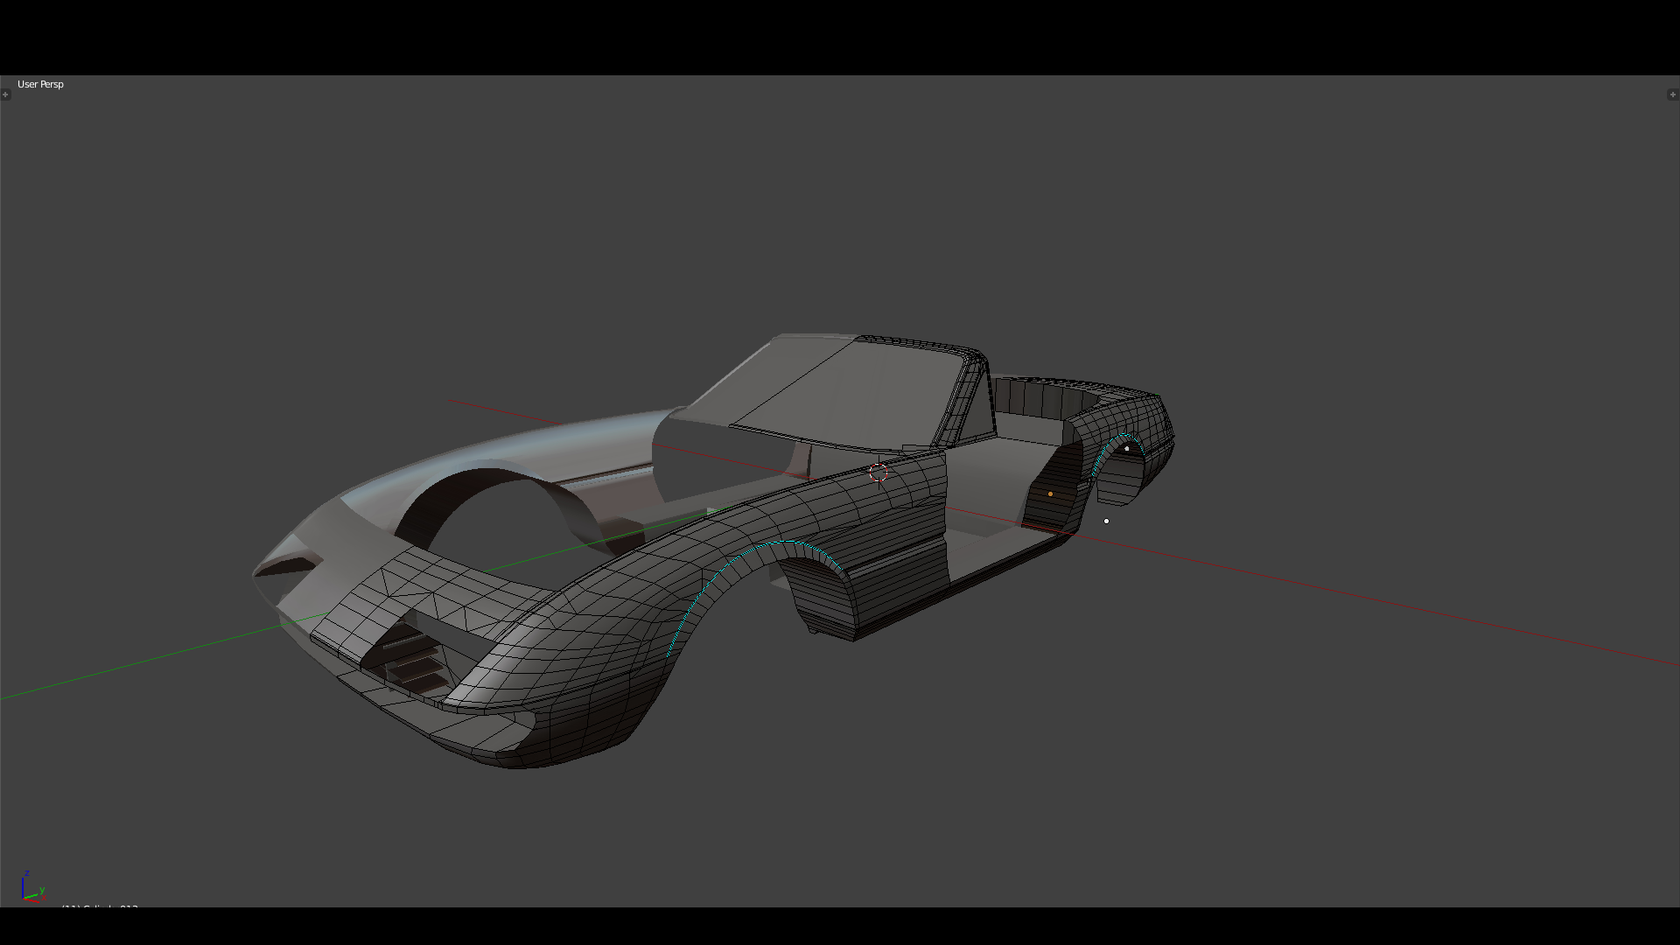
I then saw that my entire trunklid, rear panels were out of proportion and fixed them tediously always watching mesh integrity and nice squares :)
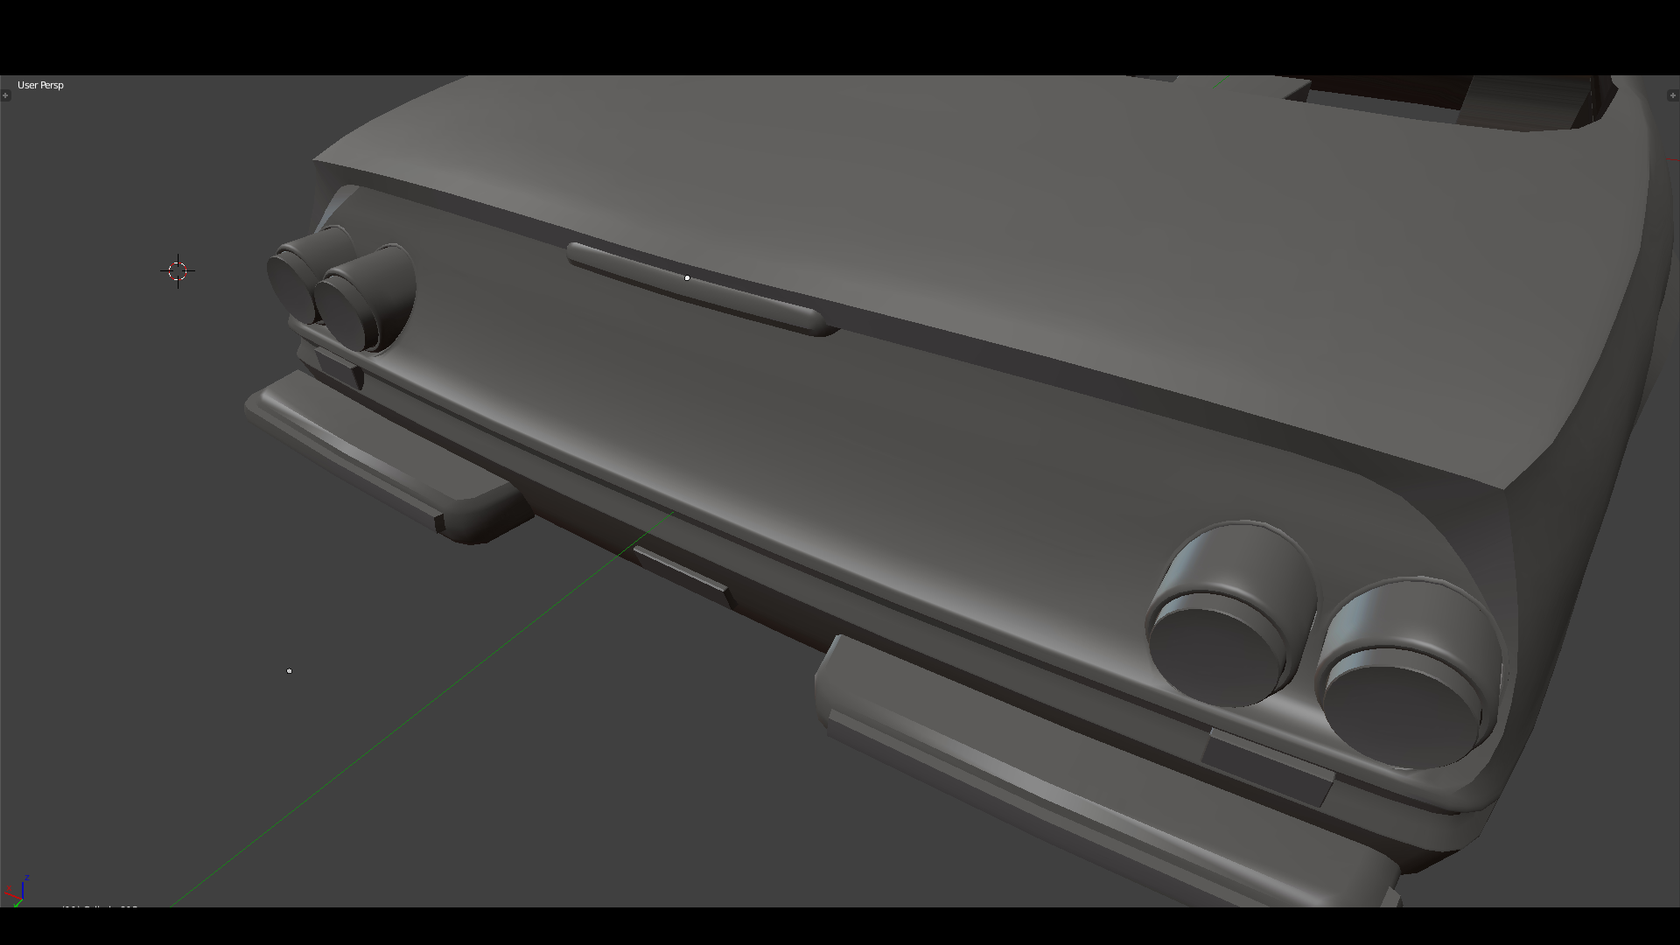
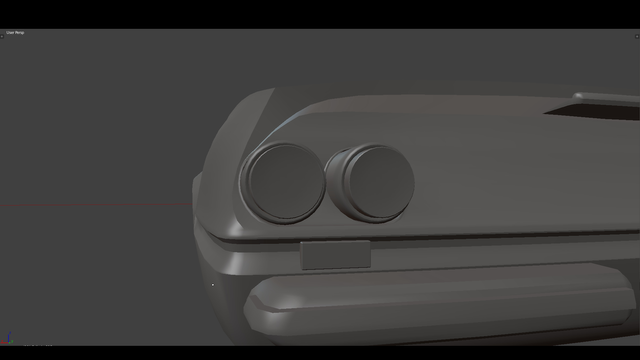
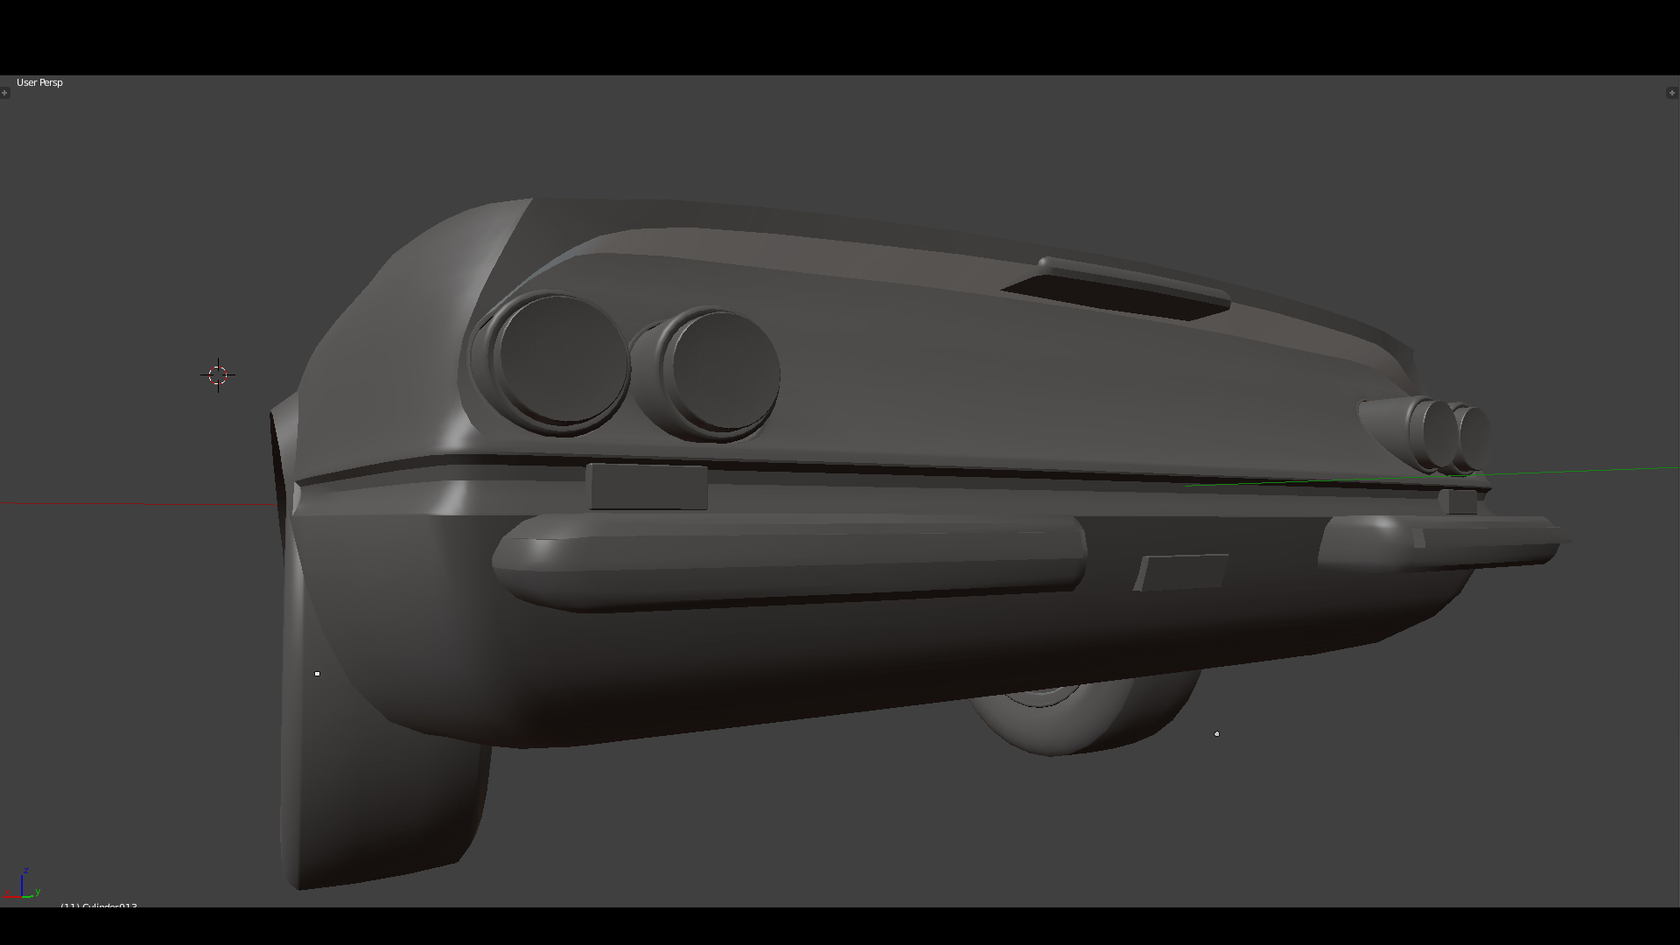
Full rear panel with rear lights, fog lights, trunklid and bumpers.
The End of The Beginning
I'm hoping to be able to finish this car this year. For me it's a hobby and I do it next to work and next to the F-14 project so I'm afraid it's going to suffer.
You can't imagine how great it felt when this render got finished...until I realized my reference image was from a Ferrari 365 GTC4 which had absolutely nothing to do with the 365 Daytona :).
Step 5
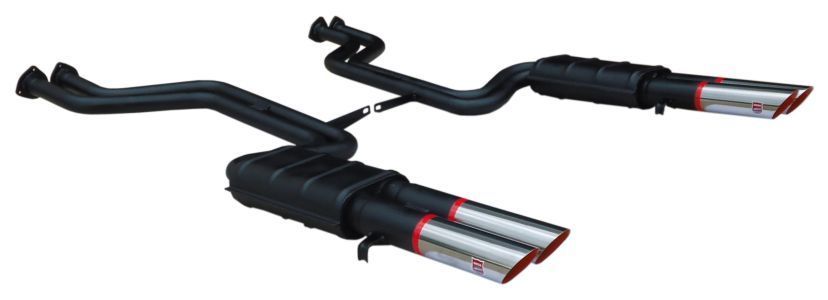
What's a classic Ferrari without an exhaust system? Right, not much.
So let's tackle these pipes...
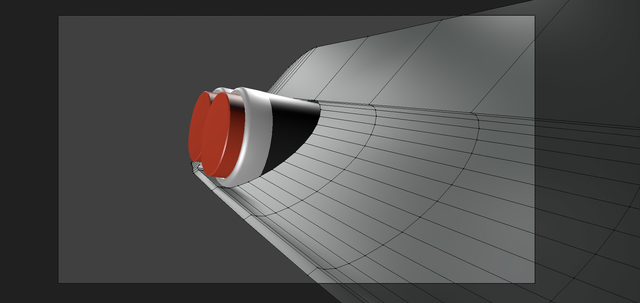
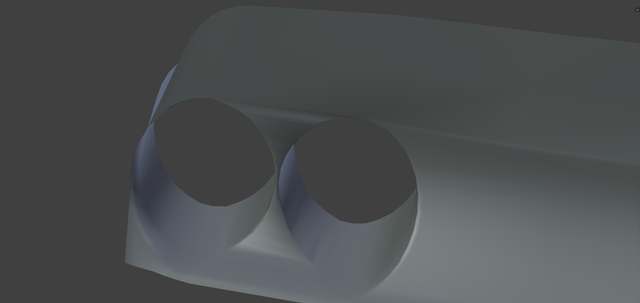
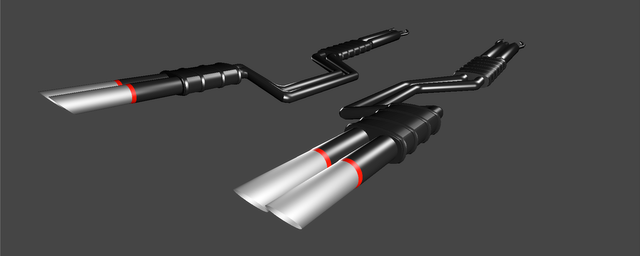
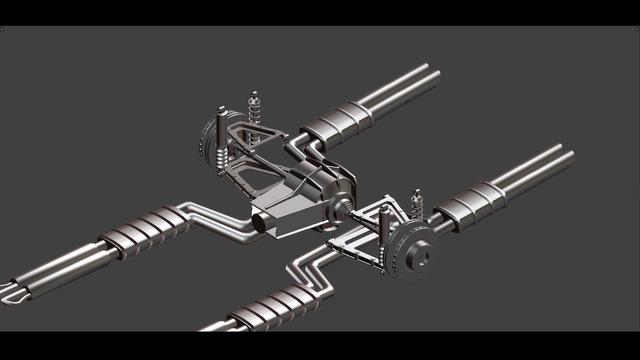
This is a quad flow exhaust with headers into straight pipes into absorbers. The system is actually a truly separated quad setup so it goes 3 to 1 twice from each cylinder bank.
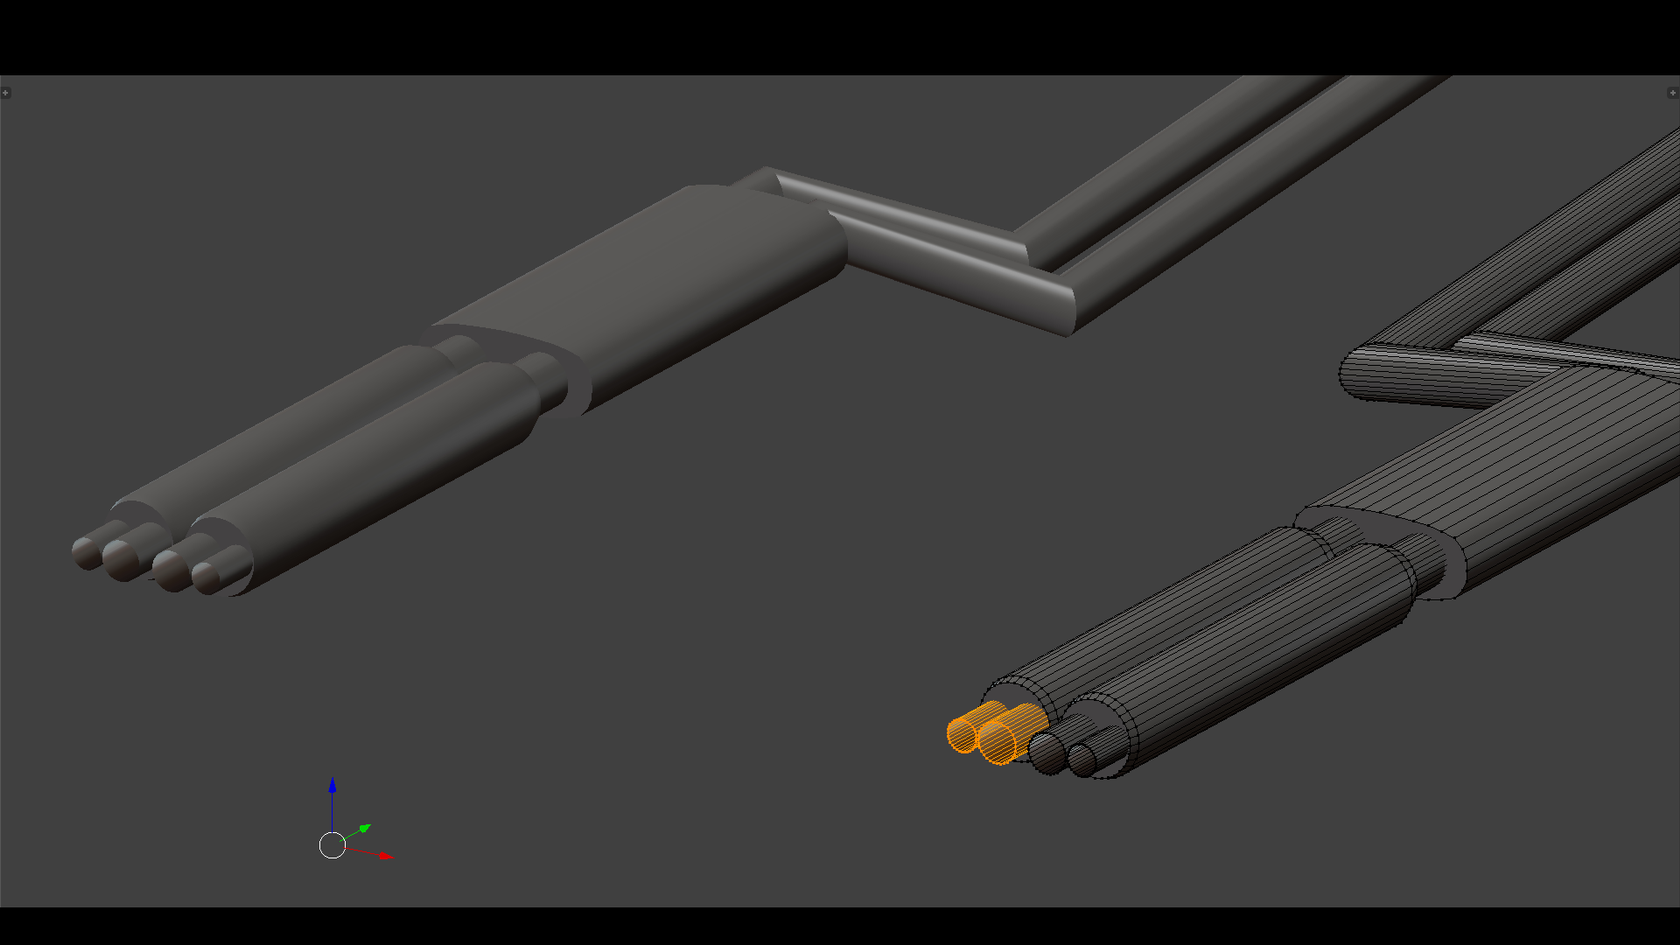
Here is my modeled exhaust in front ortho perspective. The pipe diameters are down to the milimeter accurate. This is the point where the headers attach.
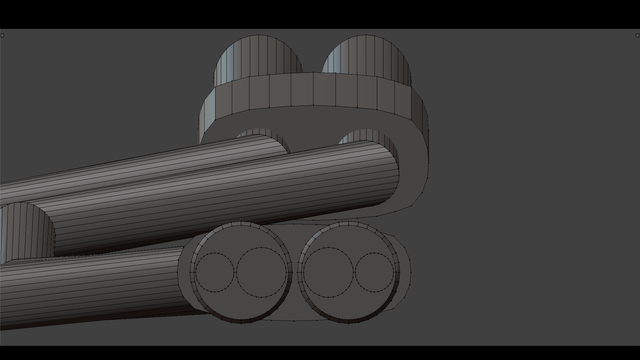
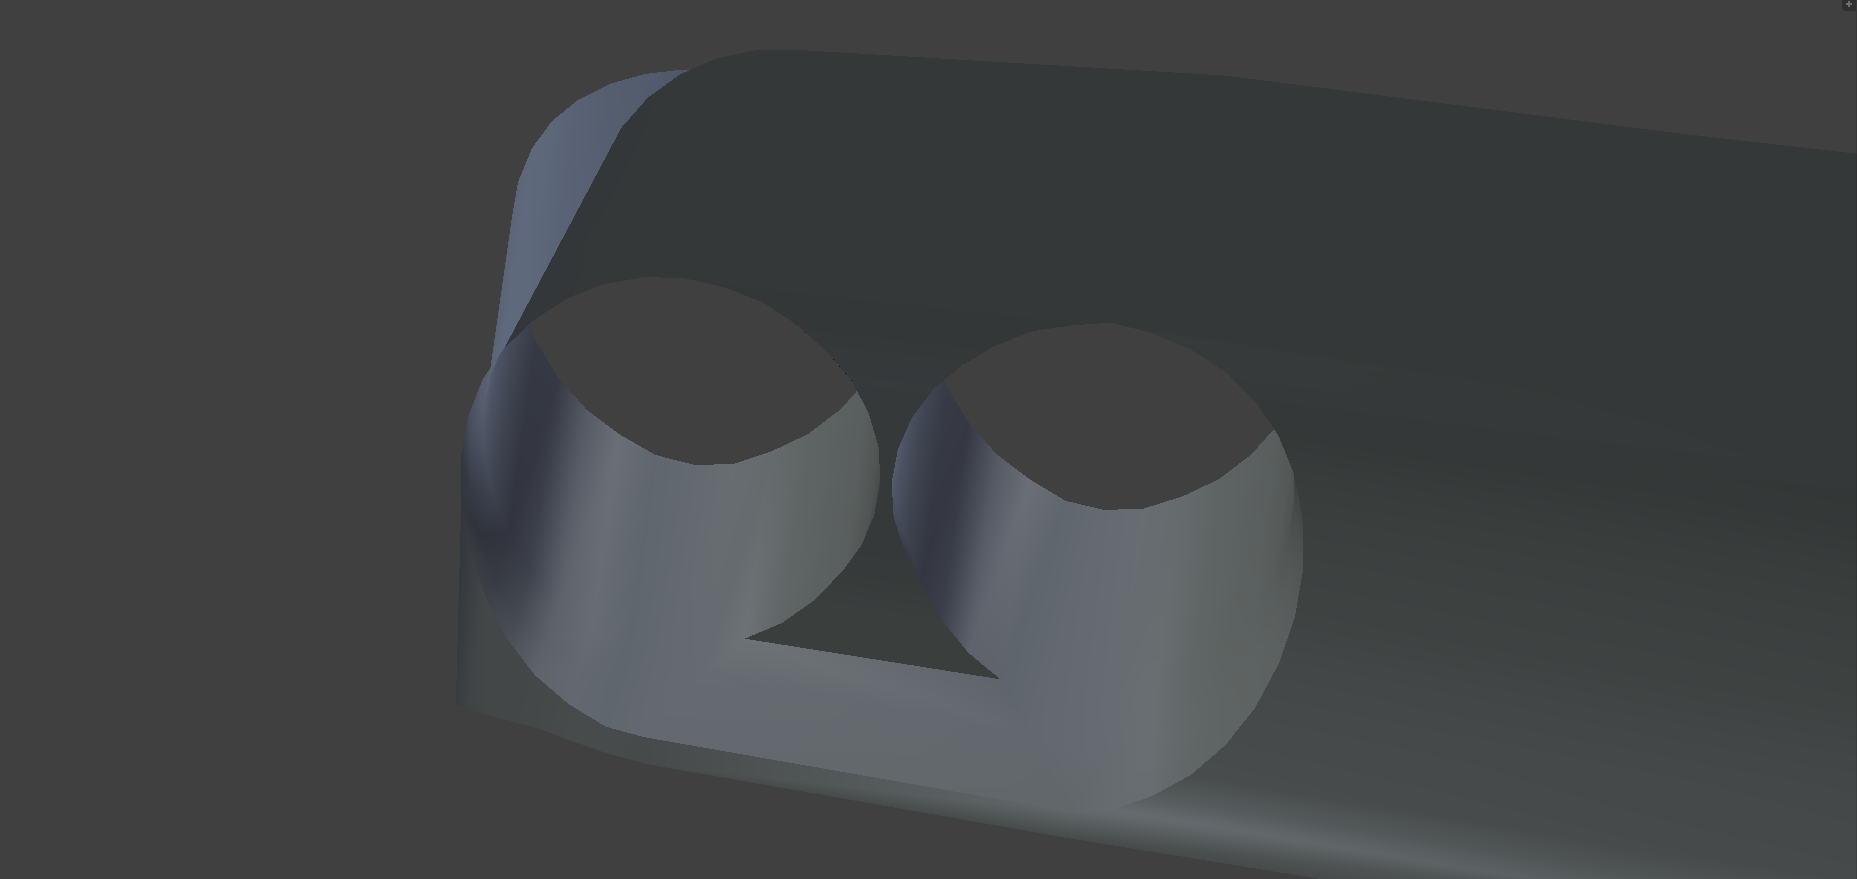
Because of space constraints in the engine bay Ferrari had to get creative to achieve equal pipe lengths which is crucial for efficiency of headers so they basically added an extra kink right before the system goes into the pipes:
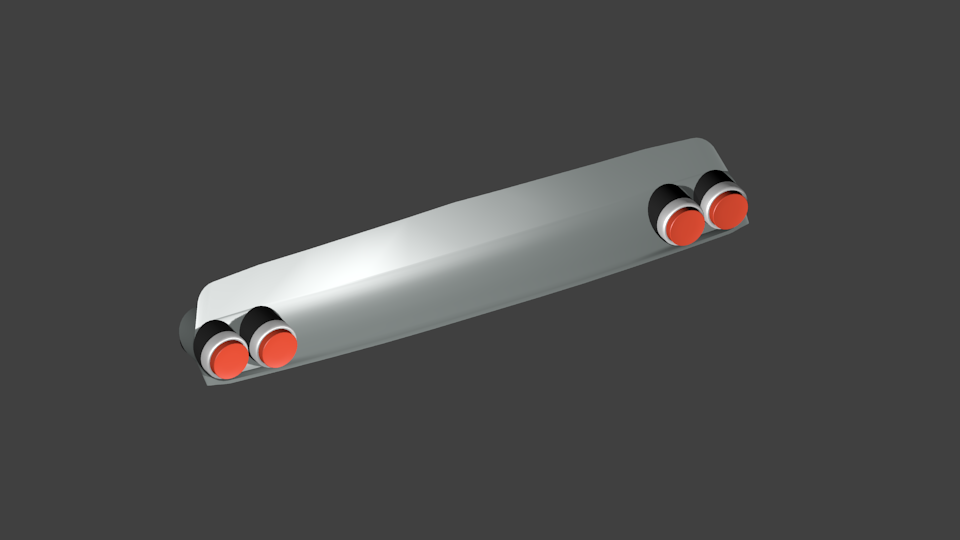
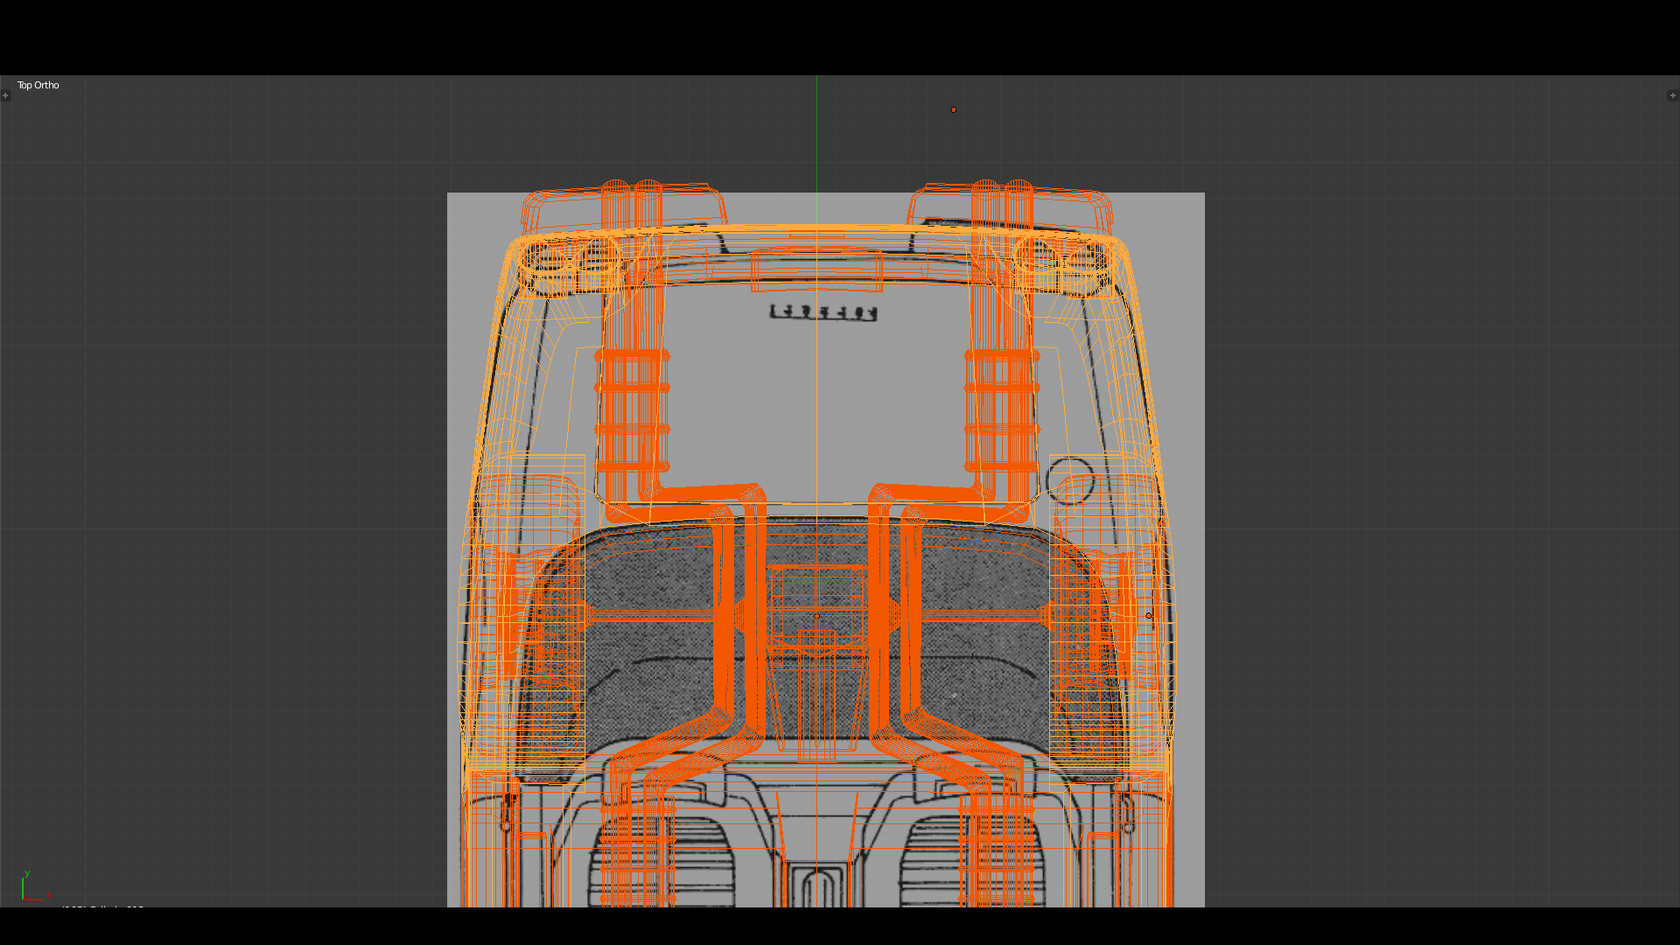
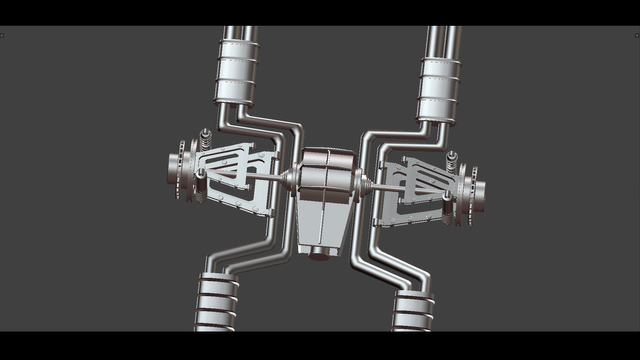
The rear center connection makes some crazy turns to avoid the drivetrain and is tilted slightly downward:
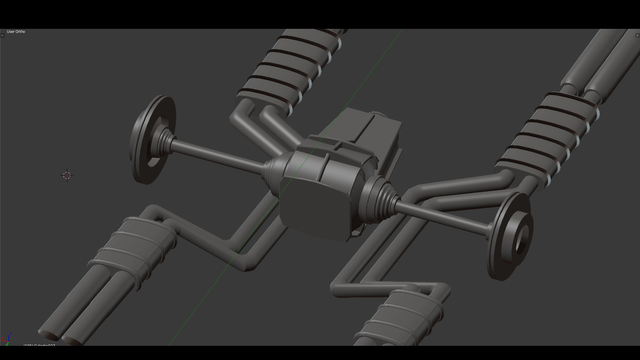
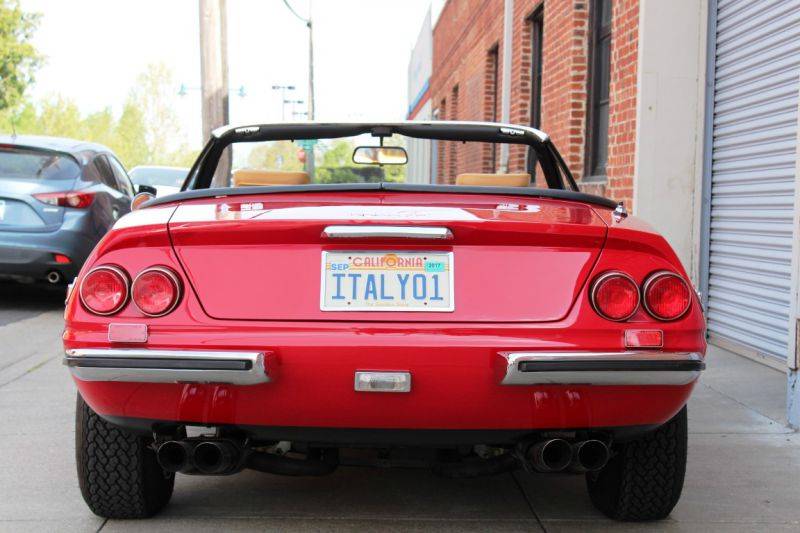
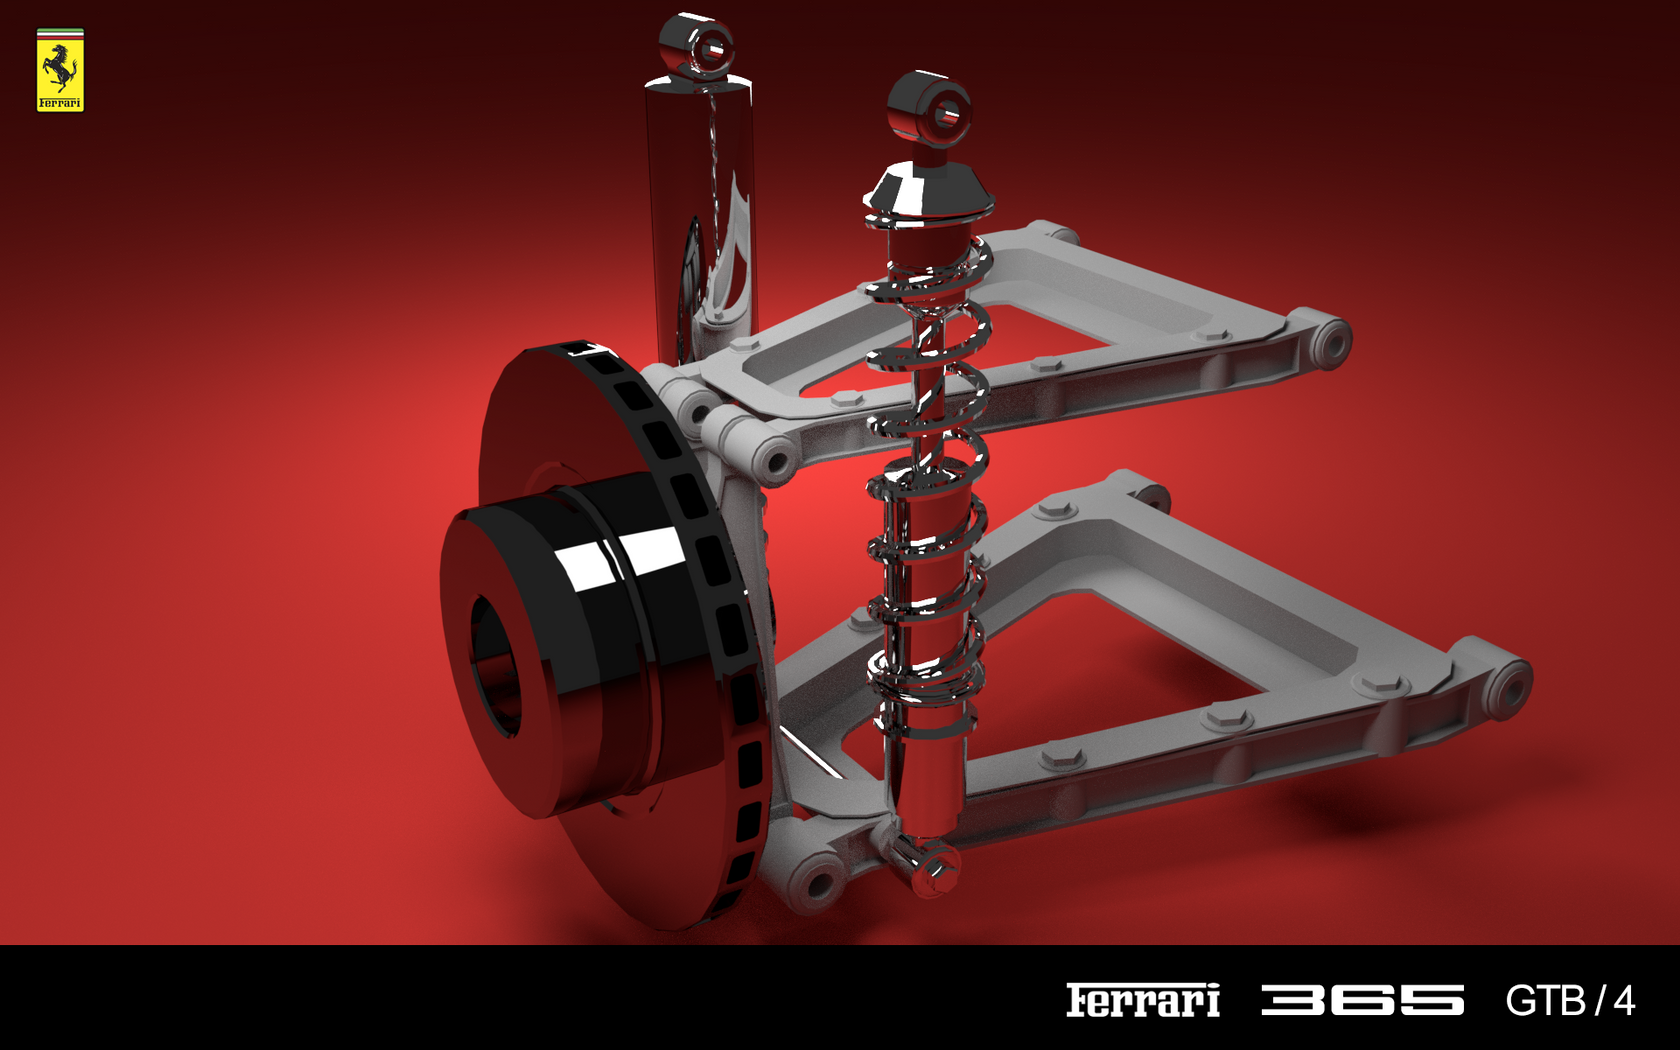
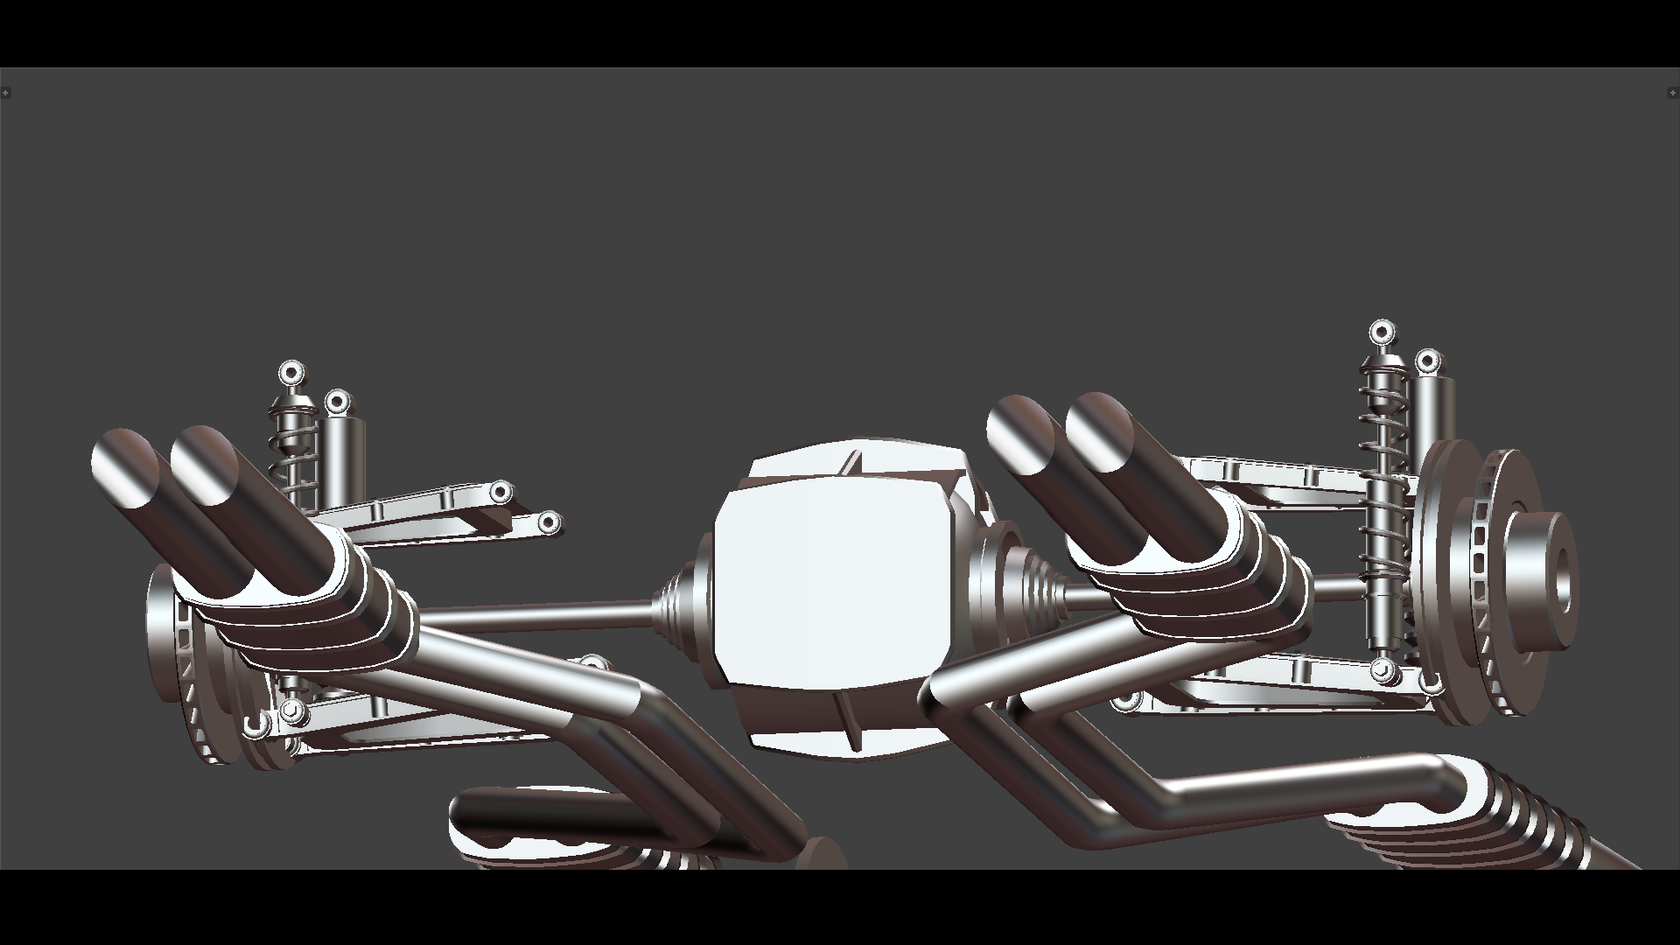
Also pictured here brake discs and driveshafts as well as rear differential.
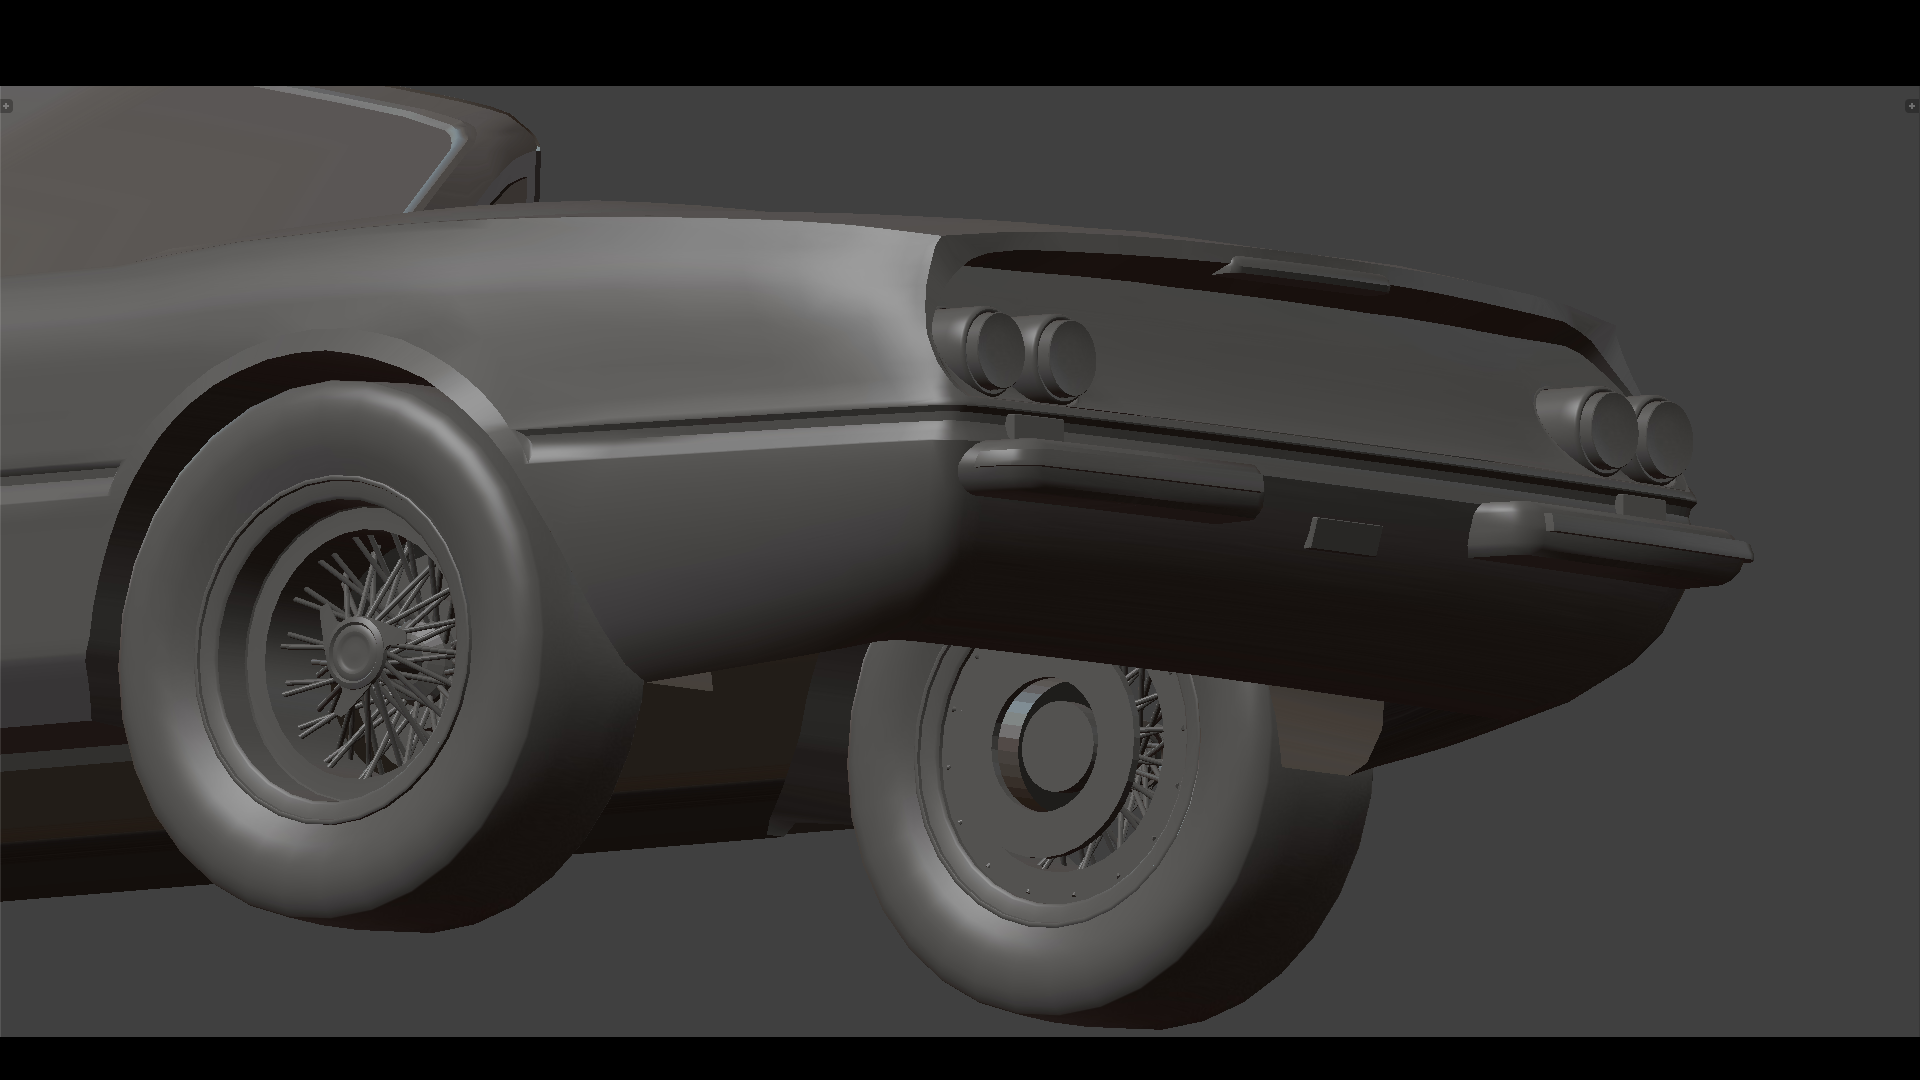
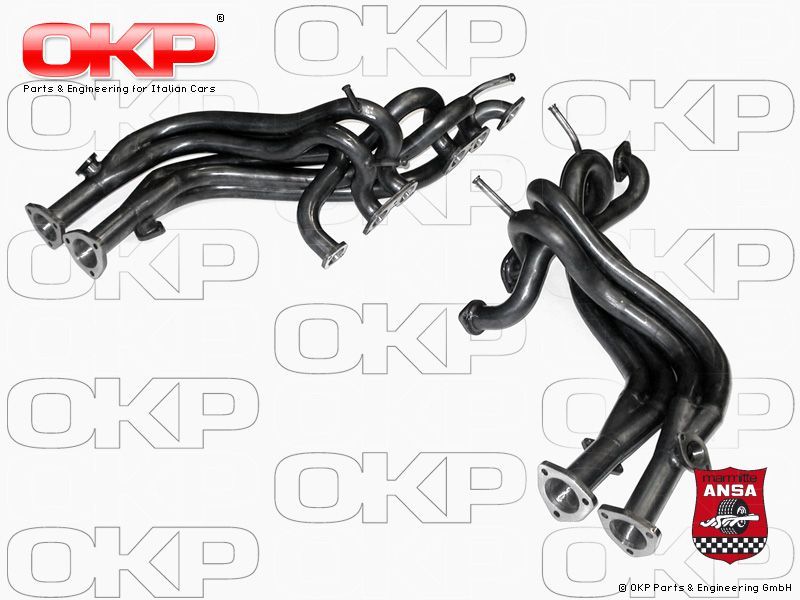
The rear end looks like this in RL:
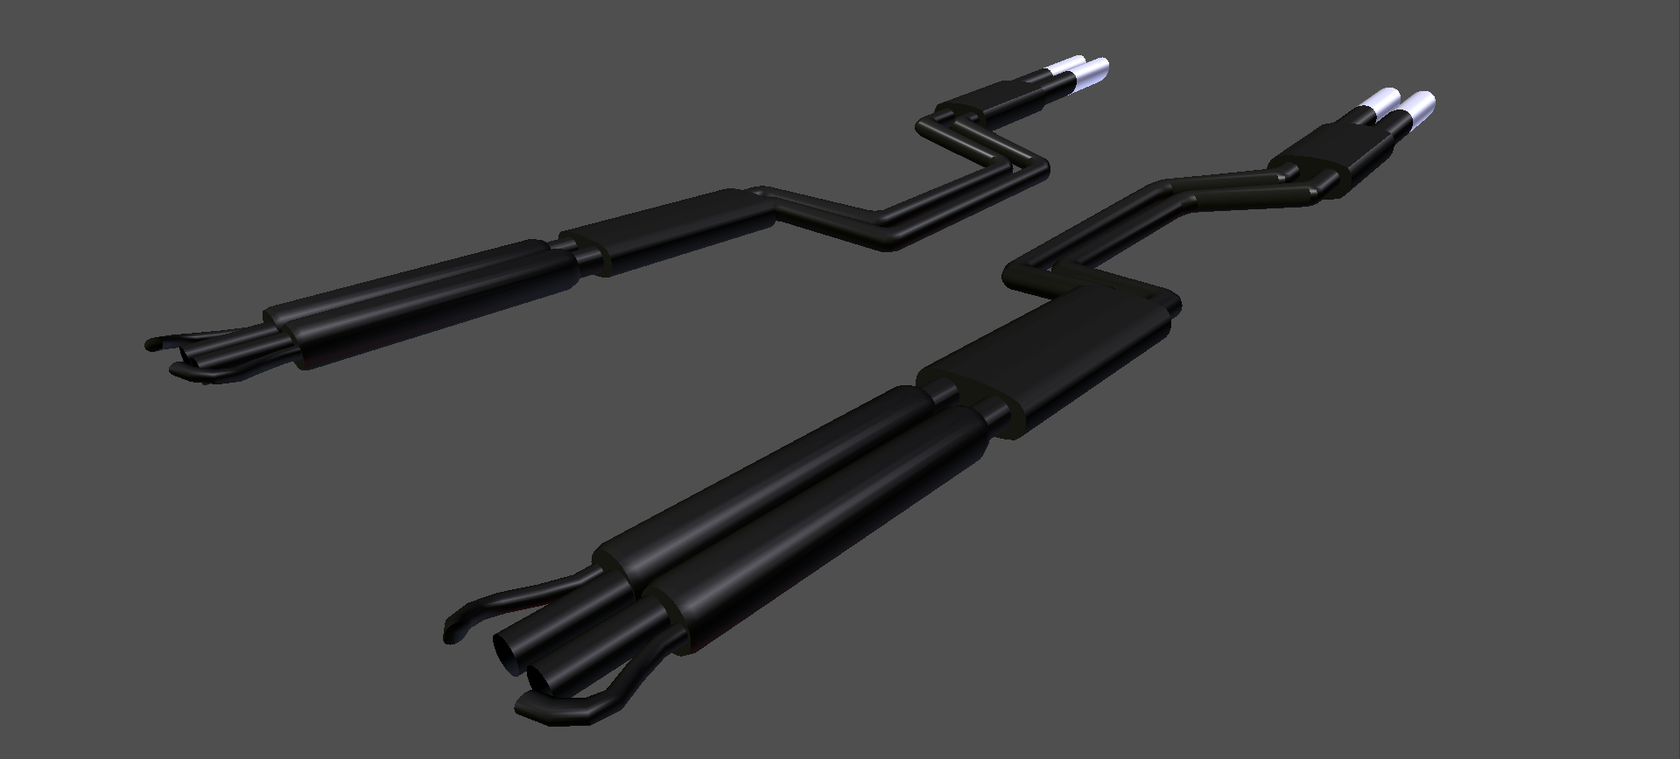
This is my version:
.png)
This is the final setup missing headers:
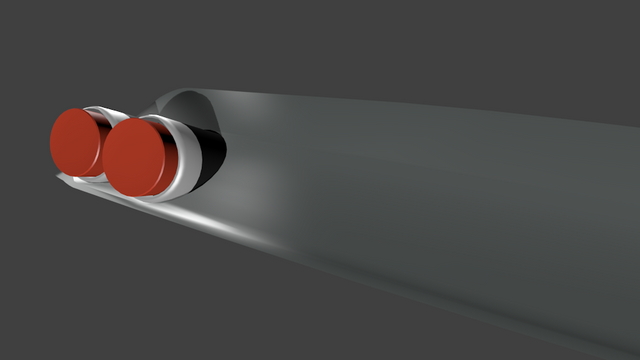
Some silver metallic matcap shots from the viewport:
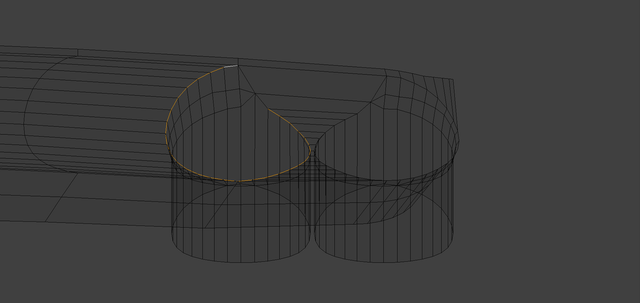
The pipes are actually modeled by laying out 2D planes and extruding them along the path of the exhaust. Next step is an extrusion to make it a box and finally subdividing the box to make it round. That said there are many ways to model pipes but this one is one of the fastest especially when it comes to more complex stuff like the upcoming headers:
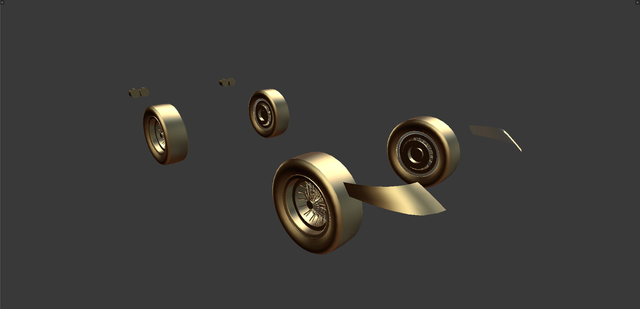
Step 6
Burani Wheels...what's not to love?
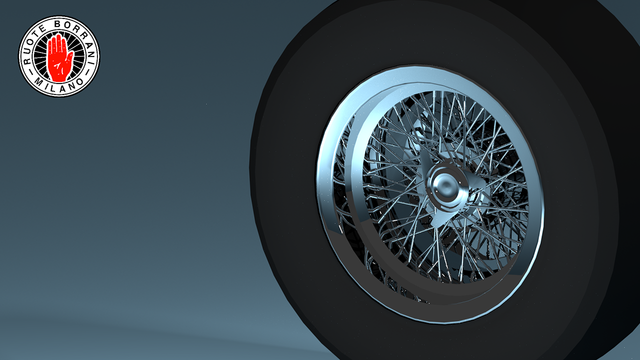
Will go into modeling these bad boys in a separate post.
So long, Steemians! Rock on!
Good effort! I'm a 3D Artist as well, you'd probably need a good V-ray scene to render it out nicely, but the model looks solid :)
@originalworks