Tips on buying a used car directly from the owner

Buying a car is always an exciting thing to do. You’re finally going to buy that piece of automobile you’ve dream of. But what if the car that you want is no longer on sale at the dealers? The only choice is to buy a used one. I’m sure you’ve had one of these before. Myself included.
In Malaysia at least, there are 2 main ways to go about that. First is to buy from a used car dealer. But I’m not going to talk about that because A, used car dealers are notorious for tampering with the odometres as well as providing misleading info and B, you don’t get to directly communicate with the previous owner, which I think is vital.
So we are moving on to the second way — buy directly from the owner.
At this point I should explain that getting a used car isn’t exactly the same experience as getting a brand new one. For the latter, you just walk up to the dealer and the rest will be done for you by the salesman. But in this case, there isn’t any salesman. Unless you’re rich to hire a runner to do it on your behalf, you’ll have to liaise with the owner and do everything on your own, and then some.
Without further ado, here’s a step-by-step guide on buying a used car directly from the owner in Malaysia:
- Loan, or cash?
Pretty much explains everything. If you’re opting for a cash purchase, you’re in for a massive shortcut in the entire process. But cash purchases aren’t feasible for everyone, so a loan has to be taken. Moving on...
- Meet up with the owner.
I mean, you have to view the car before putting down the money, yes? Arrange a meet up session with the owner, check the car thoroughly, get him/her to walk you through, and even test drive it if allowed.
- Making the decision.
The meet up session should be more than enough for you to fully decide if you’re down for it. If you’re not, you’ll have to start over with another car and owner. But if you decided to buy, do take note of the next step. It’s quite important.
- Setup a B&W agreement.
Either you or the owner will have to request to make a documented and signed agreement. The purpose of this agreement is to prevent disputes and to protect both you and the owner in case anyone of you do something funny to jeopardize the entire operation. As such, the details of the agreement has to be very precise and without any ambiguity. For example, in an agreement dated 1st December 2017, the buyer (you) has agreed to pay a deposit of RM500 to the seller (owner) as a booking fee for the purchase of <make and model>. Full purchase/settlement is to be expected on the 31st December 2017, or the deposit will be forfeited to the seller. Do include both IC numbers if needed, and have it signed from both parties before proceeding.
- Check if the owner still owes the bank for the car.
Get a simple yes or no from the owner. This is imperative as I will explain in the following step.
- Set out to apply a car loan from a bank.
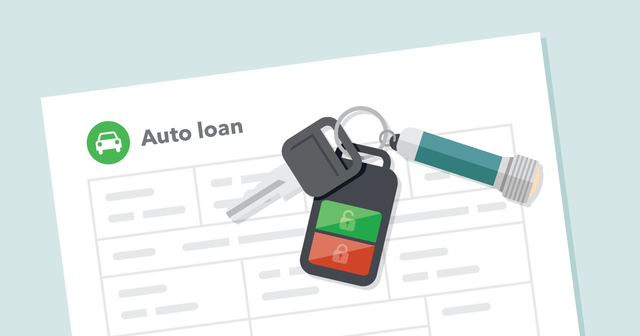
(Image source)
A very obvious step to take. Depending on your documents (and luck), getting a used car loan can be tricky. However in recent times, it has gotten even more trickier. For a used car loan, the bank will actually confirm with you first if the owner still owes the bank for the car. If the answer is yes, the bank will simply inform you to come back after the owner’s loan for the car is settled. This is because most banks today no longer conduct interbank settlements. Your best bet is to apply the loan from the EXACT SAME BANK from the EXACT SAME BRANCH. This could be a serious problem if your location is quite a distance from the owner’s. Oh by the way, skip this step if you are buying the car with cash.
- Check on the car's window tinting.
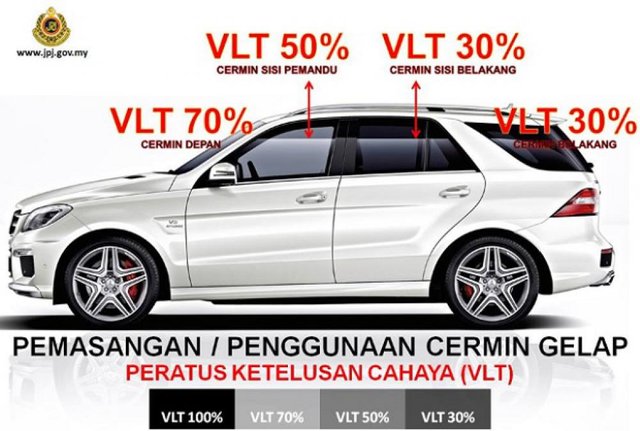
(Image source)
Get the owner to confirm if the window tints on the car are JPJ compliant. If they aren’t, or if the owner isn’t sure, please urge him/her to send the car to a tinting shop and have it professionally removed. It should cost RM150 - RM200 at most and it WILL save both of you a lot of trouble. If the tint fails during the Puspakom inspection, the outcome will either be failing the car entirely, or the Puspakom guys removing the tints with a knife, which will 100% end up creating a mess on the car. Skip this step if the car does not have aftermarket window tinting.
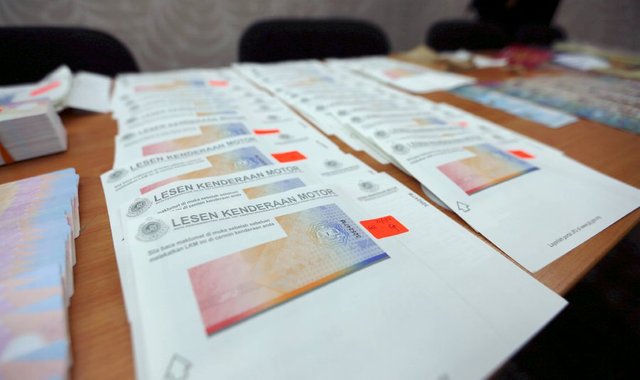
- Send the car to Puspakom for inspection.
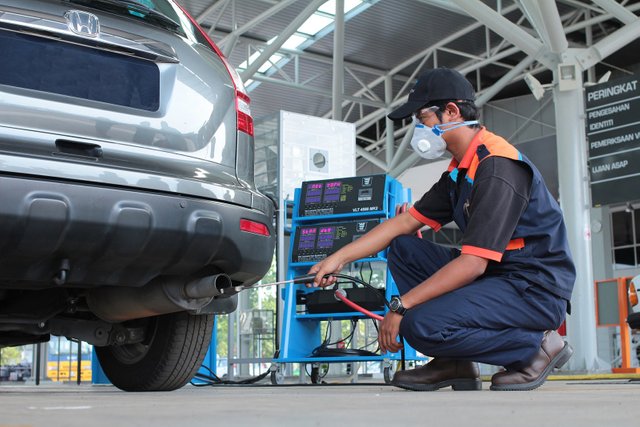
(Image source)
On paper, this should be the owner’s responsibility. Thus, the inspection charges should be borne by him/her. The inspection is absolutely necessary for 2 reasons: the JPJ will need the B5 inspection certificate for the name transfer, and the bank that approved your loan will need the B7 inspection certificate as part of the process. For cash purchases, the B5 would suffice. If the owner refuses to pay for the inspection, try to strike up a deal with him/her. The entire S&P will not proceed if this step isn’t completed.
- Sign your loan agreement with the bank.
Once you’ve gotten the necessary inspection certificates, head on down to the bank that you applied your loan from and sign the loan agreement. Double check with the banker on the documents needed for this process. Also, your bank might request for the owner to be present too, as he/she will sign some documents to allow the bank to perform the settlement and disbursing any balance amounts back to the owner.
- For cash purchases, settle the remaining balance.
And pray hard that the seller doesn’t scam you and run away with the money. Hence the importance of the aforementioned agreement.
- Provide thumbprints for the name transfer.
This could be of several ways. Your bank might request for them, from both you and the owner, to facilitate name transfer directly with JPJ once the cash is disbursed and the car is released by the owner’s bank. You could also have to do it the manual way, which is to arrange another meet up session with the owner at the nearest JPJ outlet, and provide the thumbprints over there. Depends on the situation.
- Play the waiting game.
Once you signed the loan agreement, you will wait for your bank to disburse the cash to the owner’s bank (if he/she still has a loan) or to the owner’s bank account (if he/she does not have a loan). Communicate with the owner on a constant basis to make sure the cash is fully disbursed. If your loan amount is higher than the outstanding amount on the owner’s loan, you might have to wait a bit longer to have the remaining balance to be disbursed to the owner’s personal bank account.
- Play the waiting game, round 2.
This only applies if the owner still owes the bank. Once your loan is successfully disbursed to the owner’s bank, you will wait for that bank to process the cash, and subsequently issue an “e-batal” notice to your bank before releasing the car.
- Conduct name transfer.
Once the car is confirmed to have been released, your bank will proceed with the name transfer with JPJ. As mentioned earlier, for cash purchases, you’ll have to do it manually with the owner at the nearest JPJ outlet for the name transfer. I would not recommend going with the help from a runner, as they charge an exorbitant amount for a simple process. But if the owner insists on a runner, strike up another deal with him/her. The name transfer process must be done really.
- Get a motor insurance policy.
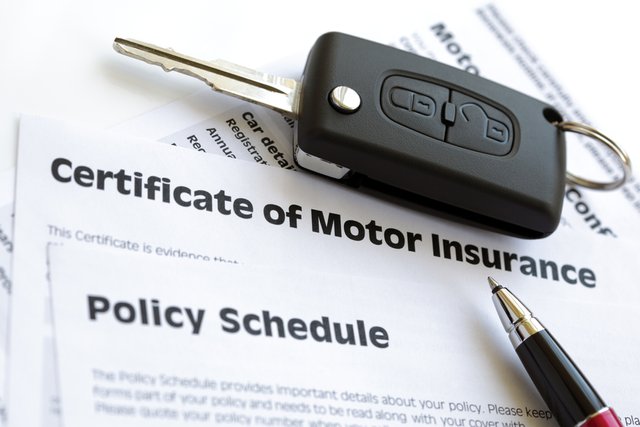
(Image source)
If you took a loan, your bank will very likely to engage you to apply the motor insurance from them. At this stage you’re advised to apply from them, because come on, they agreed to loan you for the car, I guess this is the only returning favor you could do for them. If you paid by cash, you’ll have to apply the insurance by yourself, from any provider of your choice.
- Obtain the road tax sticker.
(Image source)
Once you’ve bought the motor insurance, the provider should print out the road tax sticker and send it to you. Otherwise, head to any post offices or myEG outlets to print it out.
- Collect the car.
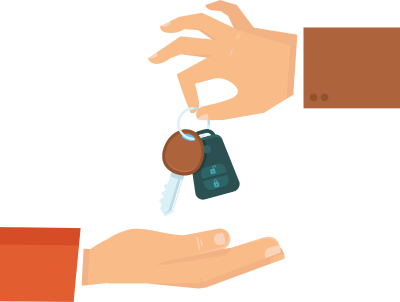
(Image source)
Perhaps the moment you have been waiting for. Meet up with the (now previous) owner for one last time, collect the keys and any other stuffs that originally came along with the car. Stick the road tax onto the windscreen and congratulations, the car is now yours. Obviously at this point you no longer deal with the previous owner, unless you become friends with him/her. That’s another story.
- Enjoy your new ride.
You're welcome.
So there you have it. A bit lengthy but very comprehensive. If you liked it or if it helped you a bunch, do upvote and resteem it! Thanks for reading!
@originalworks
The @OriginalWorks bot has determined this post by @jimbolicious to be original material and upvoted(1.5%) it!
To call @OriginalWorks, simply reply to any post with @originalworks or !originalworks in your message!
Well done buddy. Wall of text, haven't got a chance to finish the whole thing yet. Bookmarked to finish it later when going to jamban. Upboated and followed!
Congratulations @jimbolicious! You received a personal award!
Click here to view your Board of Honor
Do not miss the last post from @steemitboard: