DIY Automotive: 2010 Ford Focus Brake and Wheel Bearing Replacement

in #cars6 years ago (edited)

Do It Yourself To Get Back On The Road

Welcome to today's episode of DIY Automotive! I have stated before in earlier posts I like to take things apart and put them back together. I am in no way a certified mechanic and share this information as a guide and not definitive fact. Recently I have been experiencing some massive vibration while driving my newer model Ford Focus. Also a very loud sound almost like im driving on huge tires, would occur. So when an alignment shop quoted me $850 for the busted wheel bearing that was the issue I felt like I had came full circle in life. The very reason I got into automotive knowledge was due to a busted wheel bearing and overblown cost. It even seems that when I dropped a little automotive knowledge to figure out why it was so much the shop mechanic's quote was "this is new technology". I smelled a cows derriere so I decided to undertake the job myself. Turns out the part the shop would have put in was a "Problem Solver" and not a hard process at all.

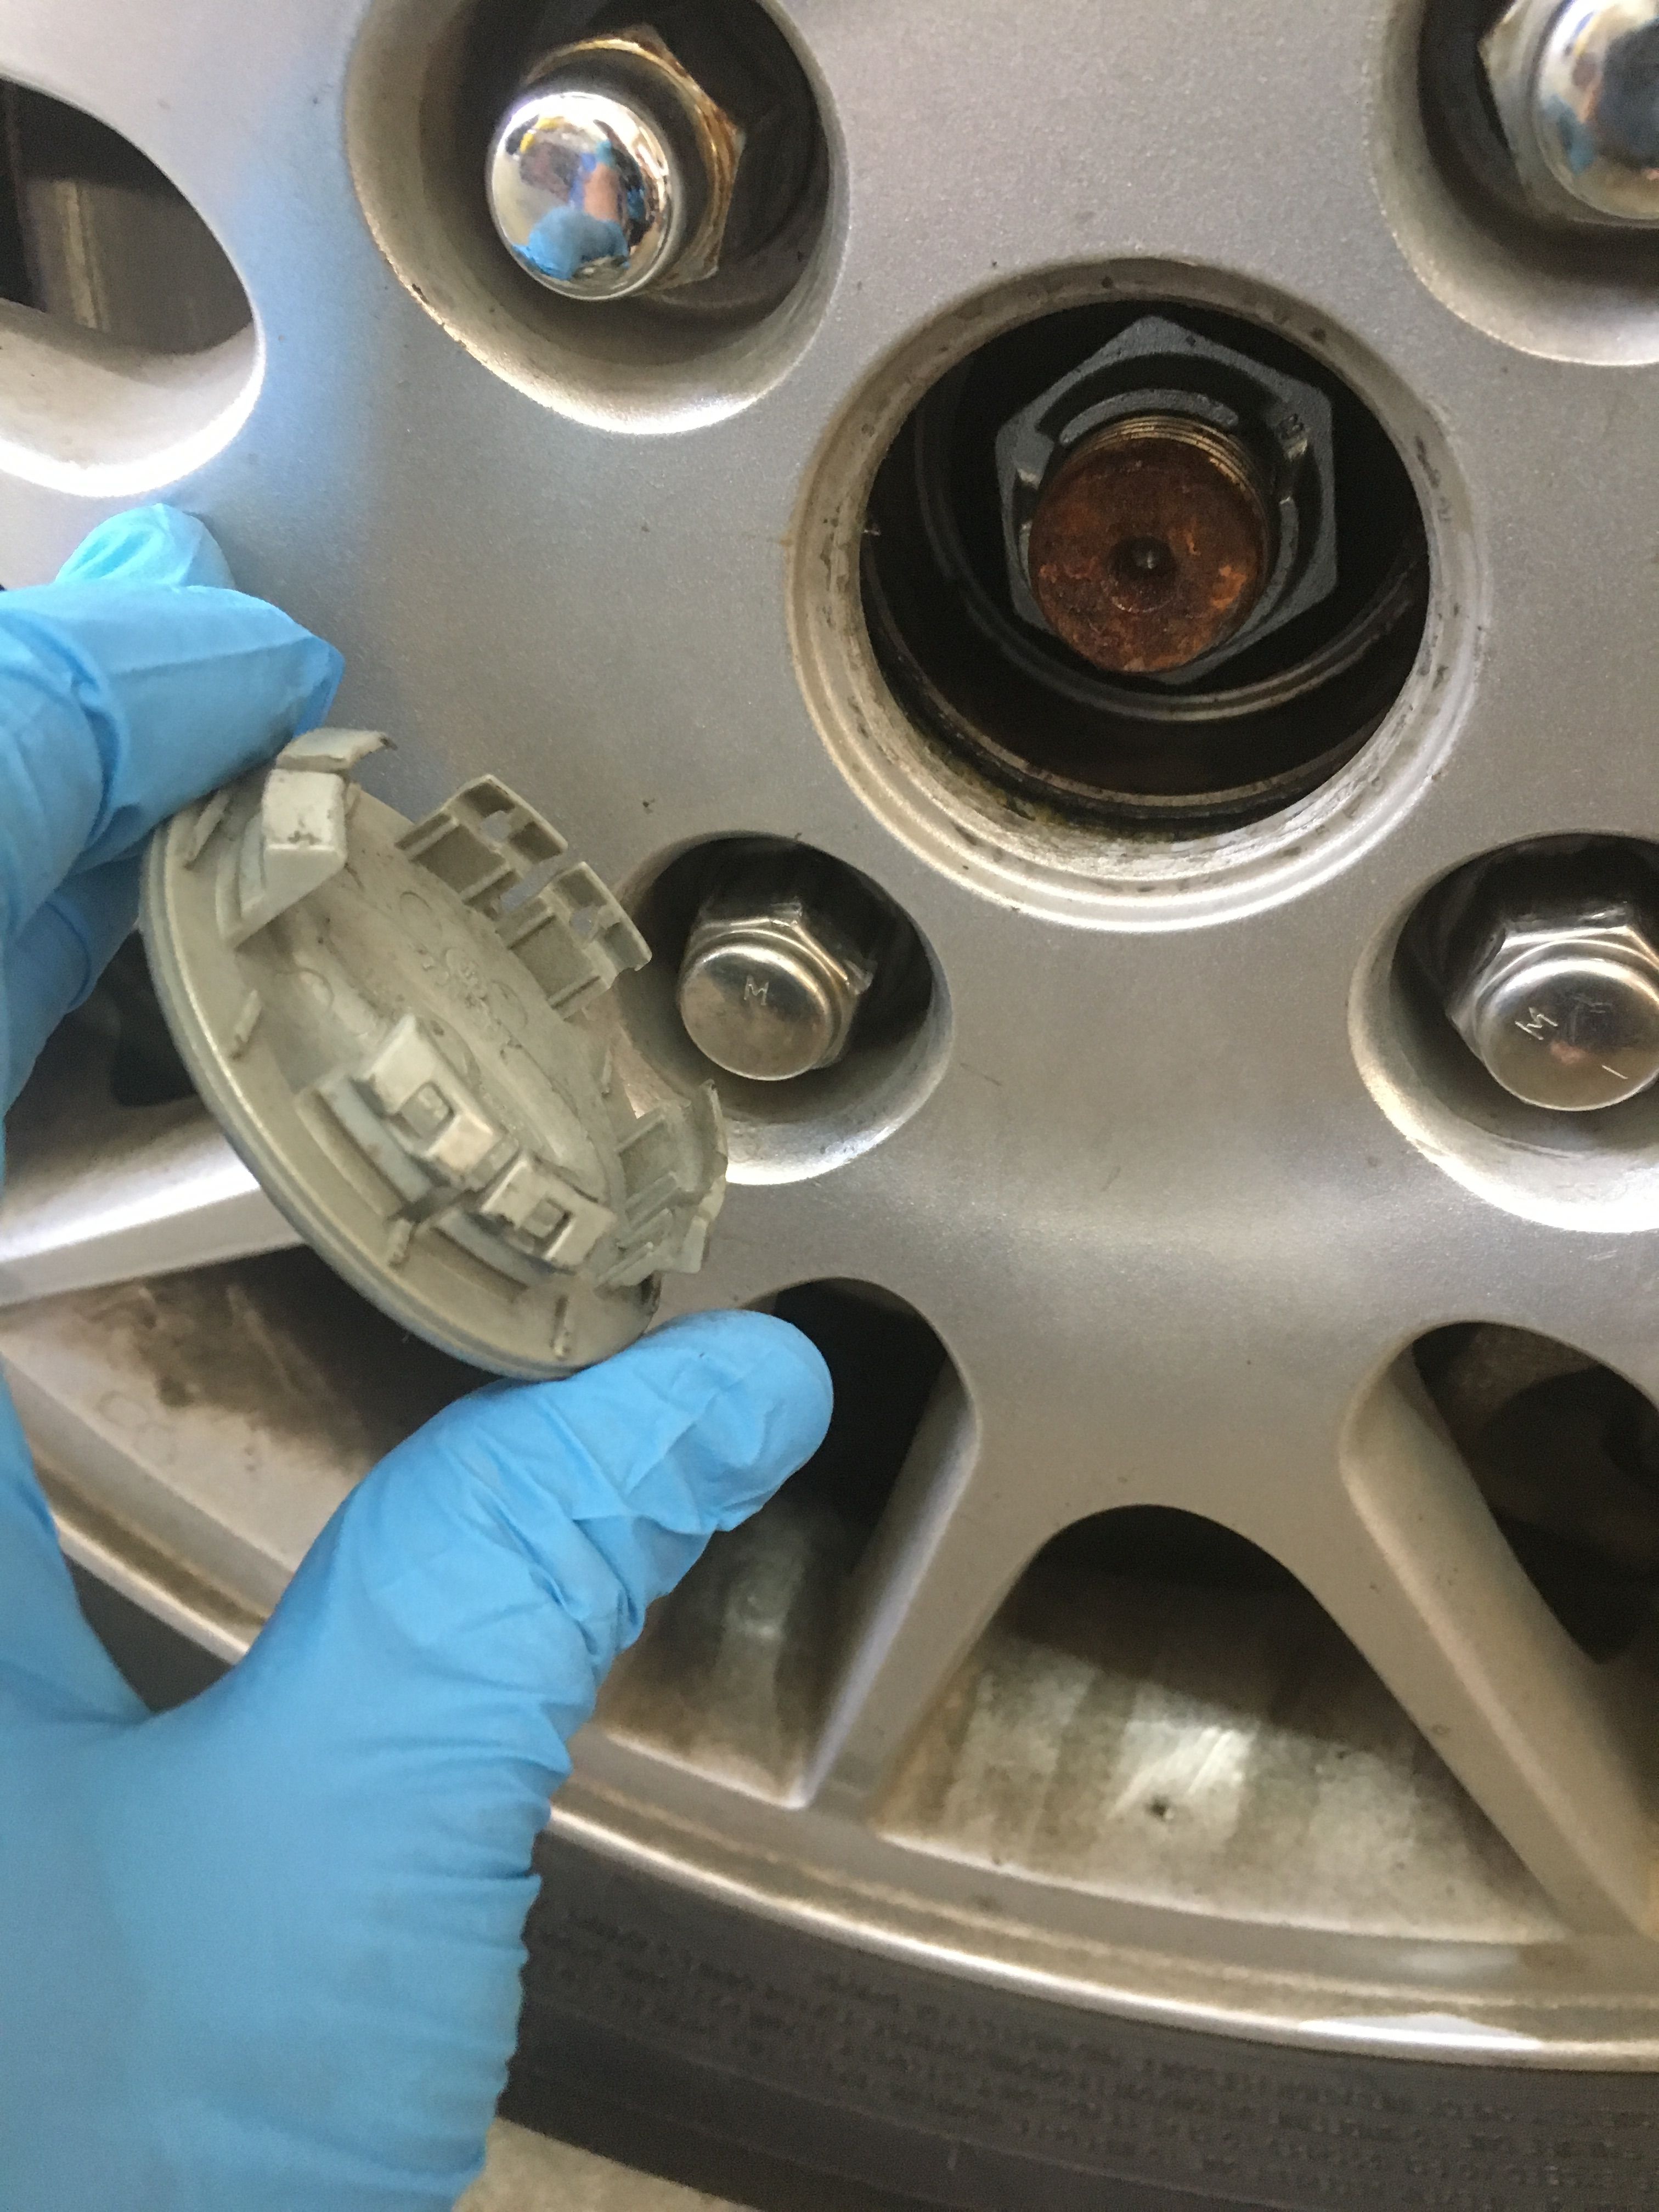
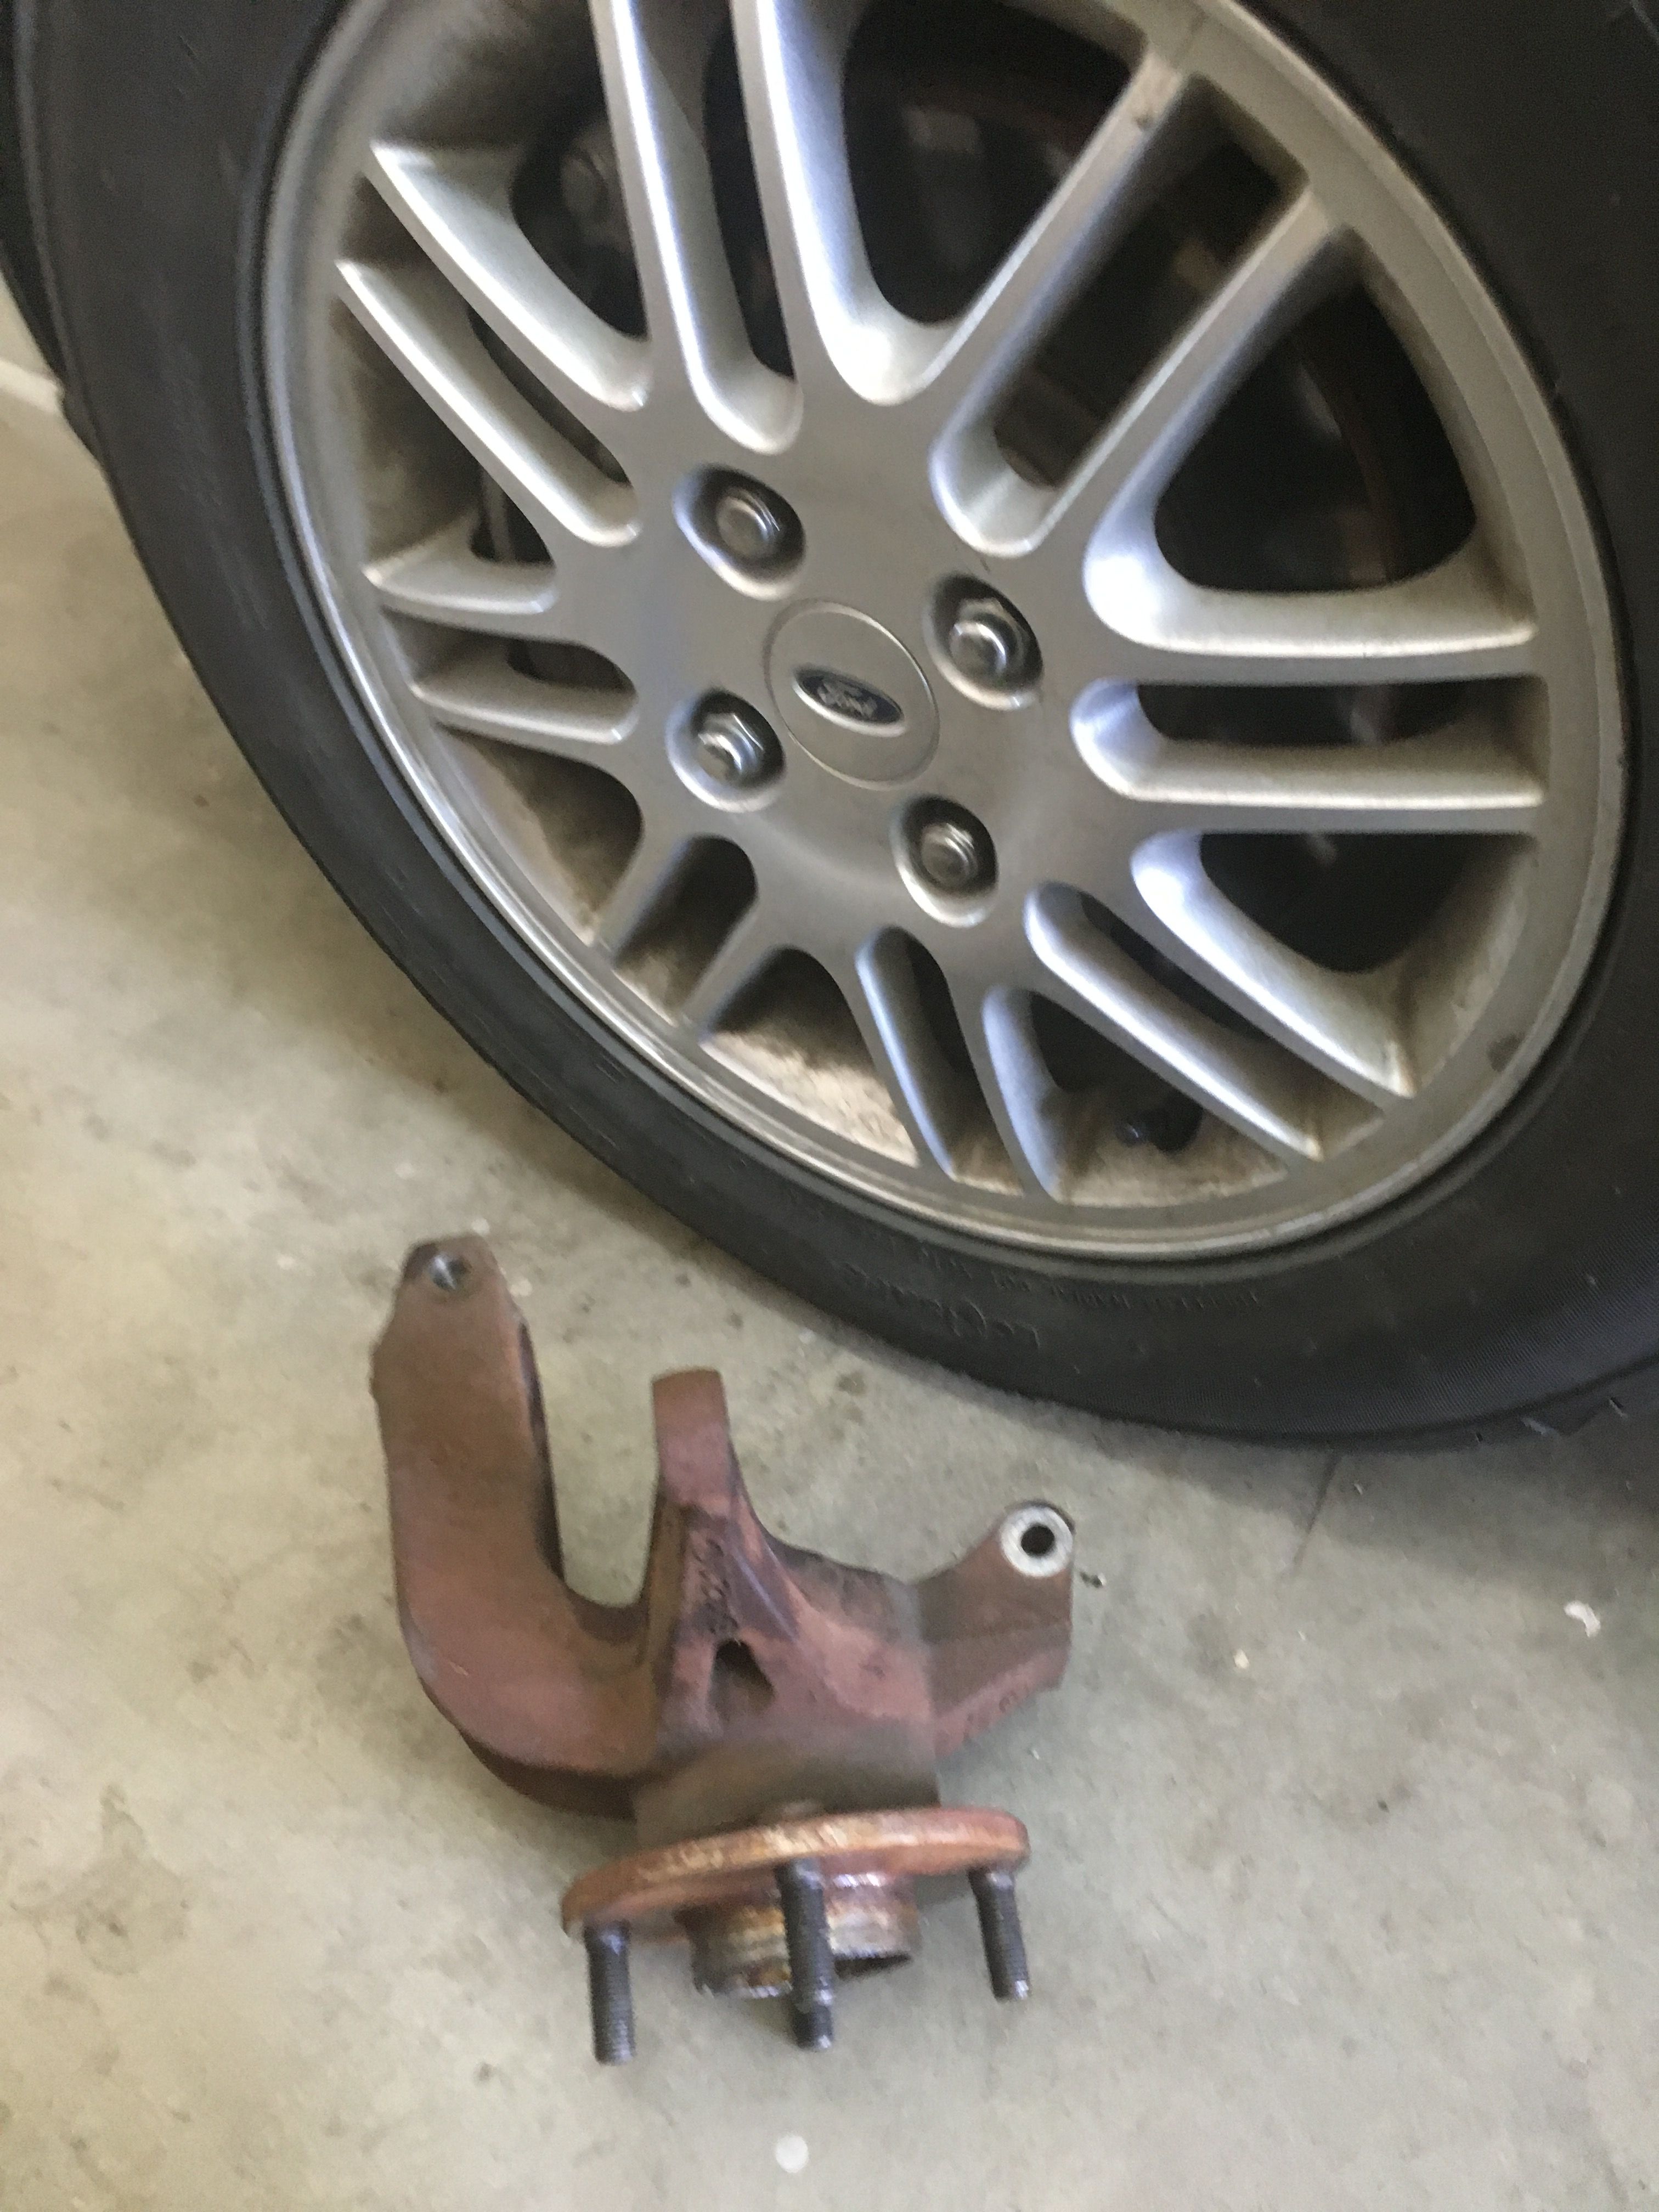
Parts Required For The job
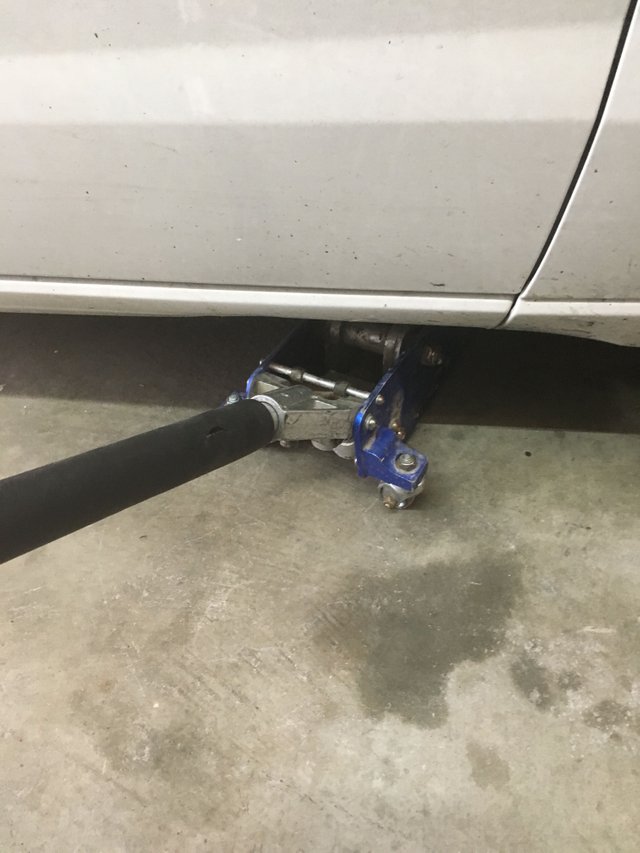
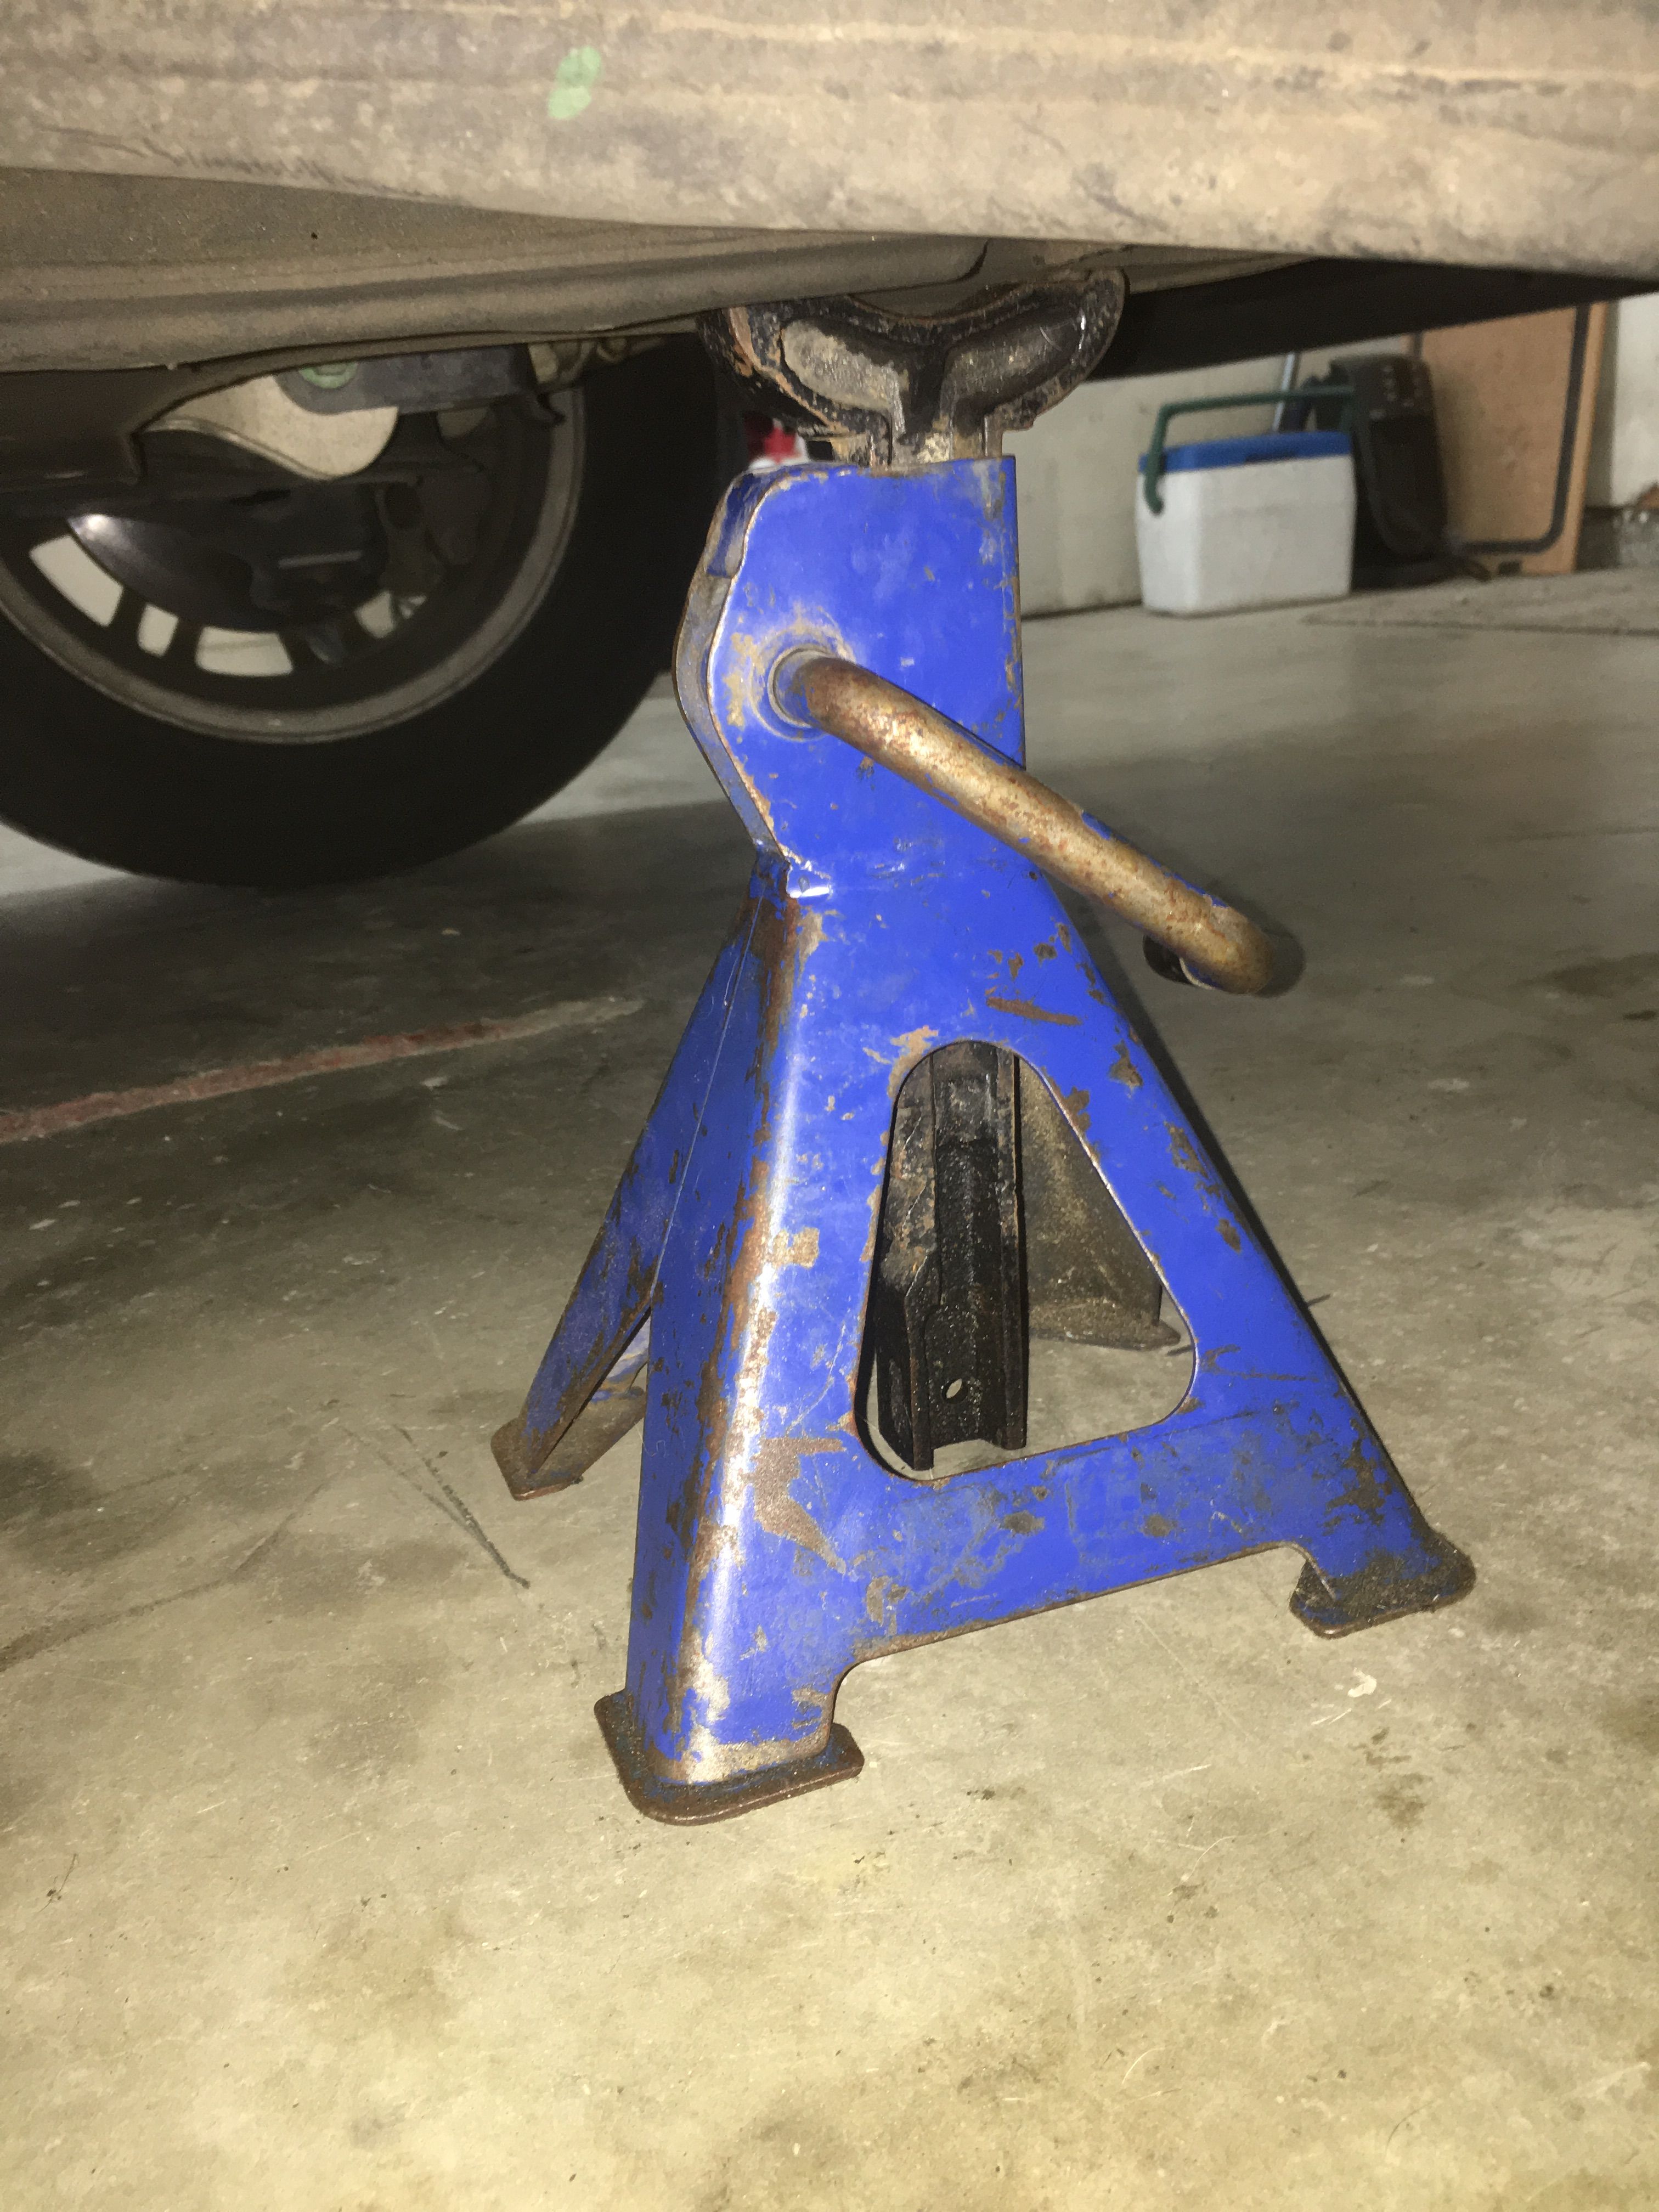
  • Jack and jackstands

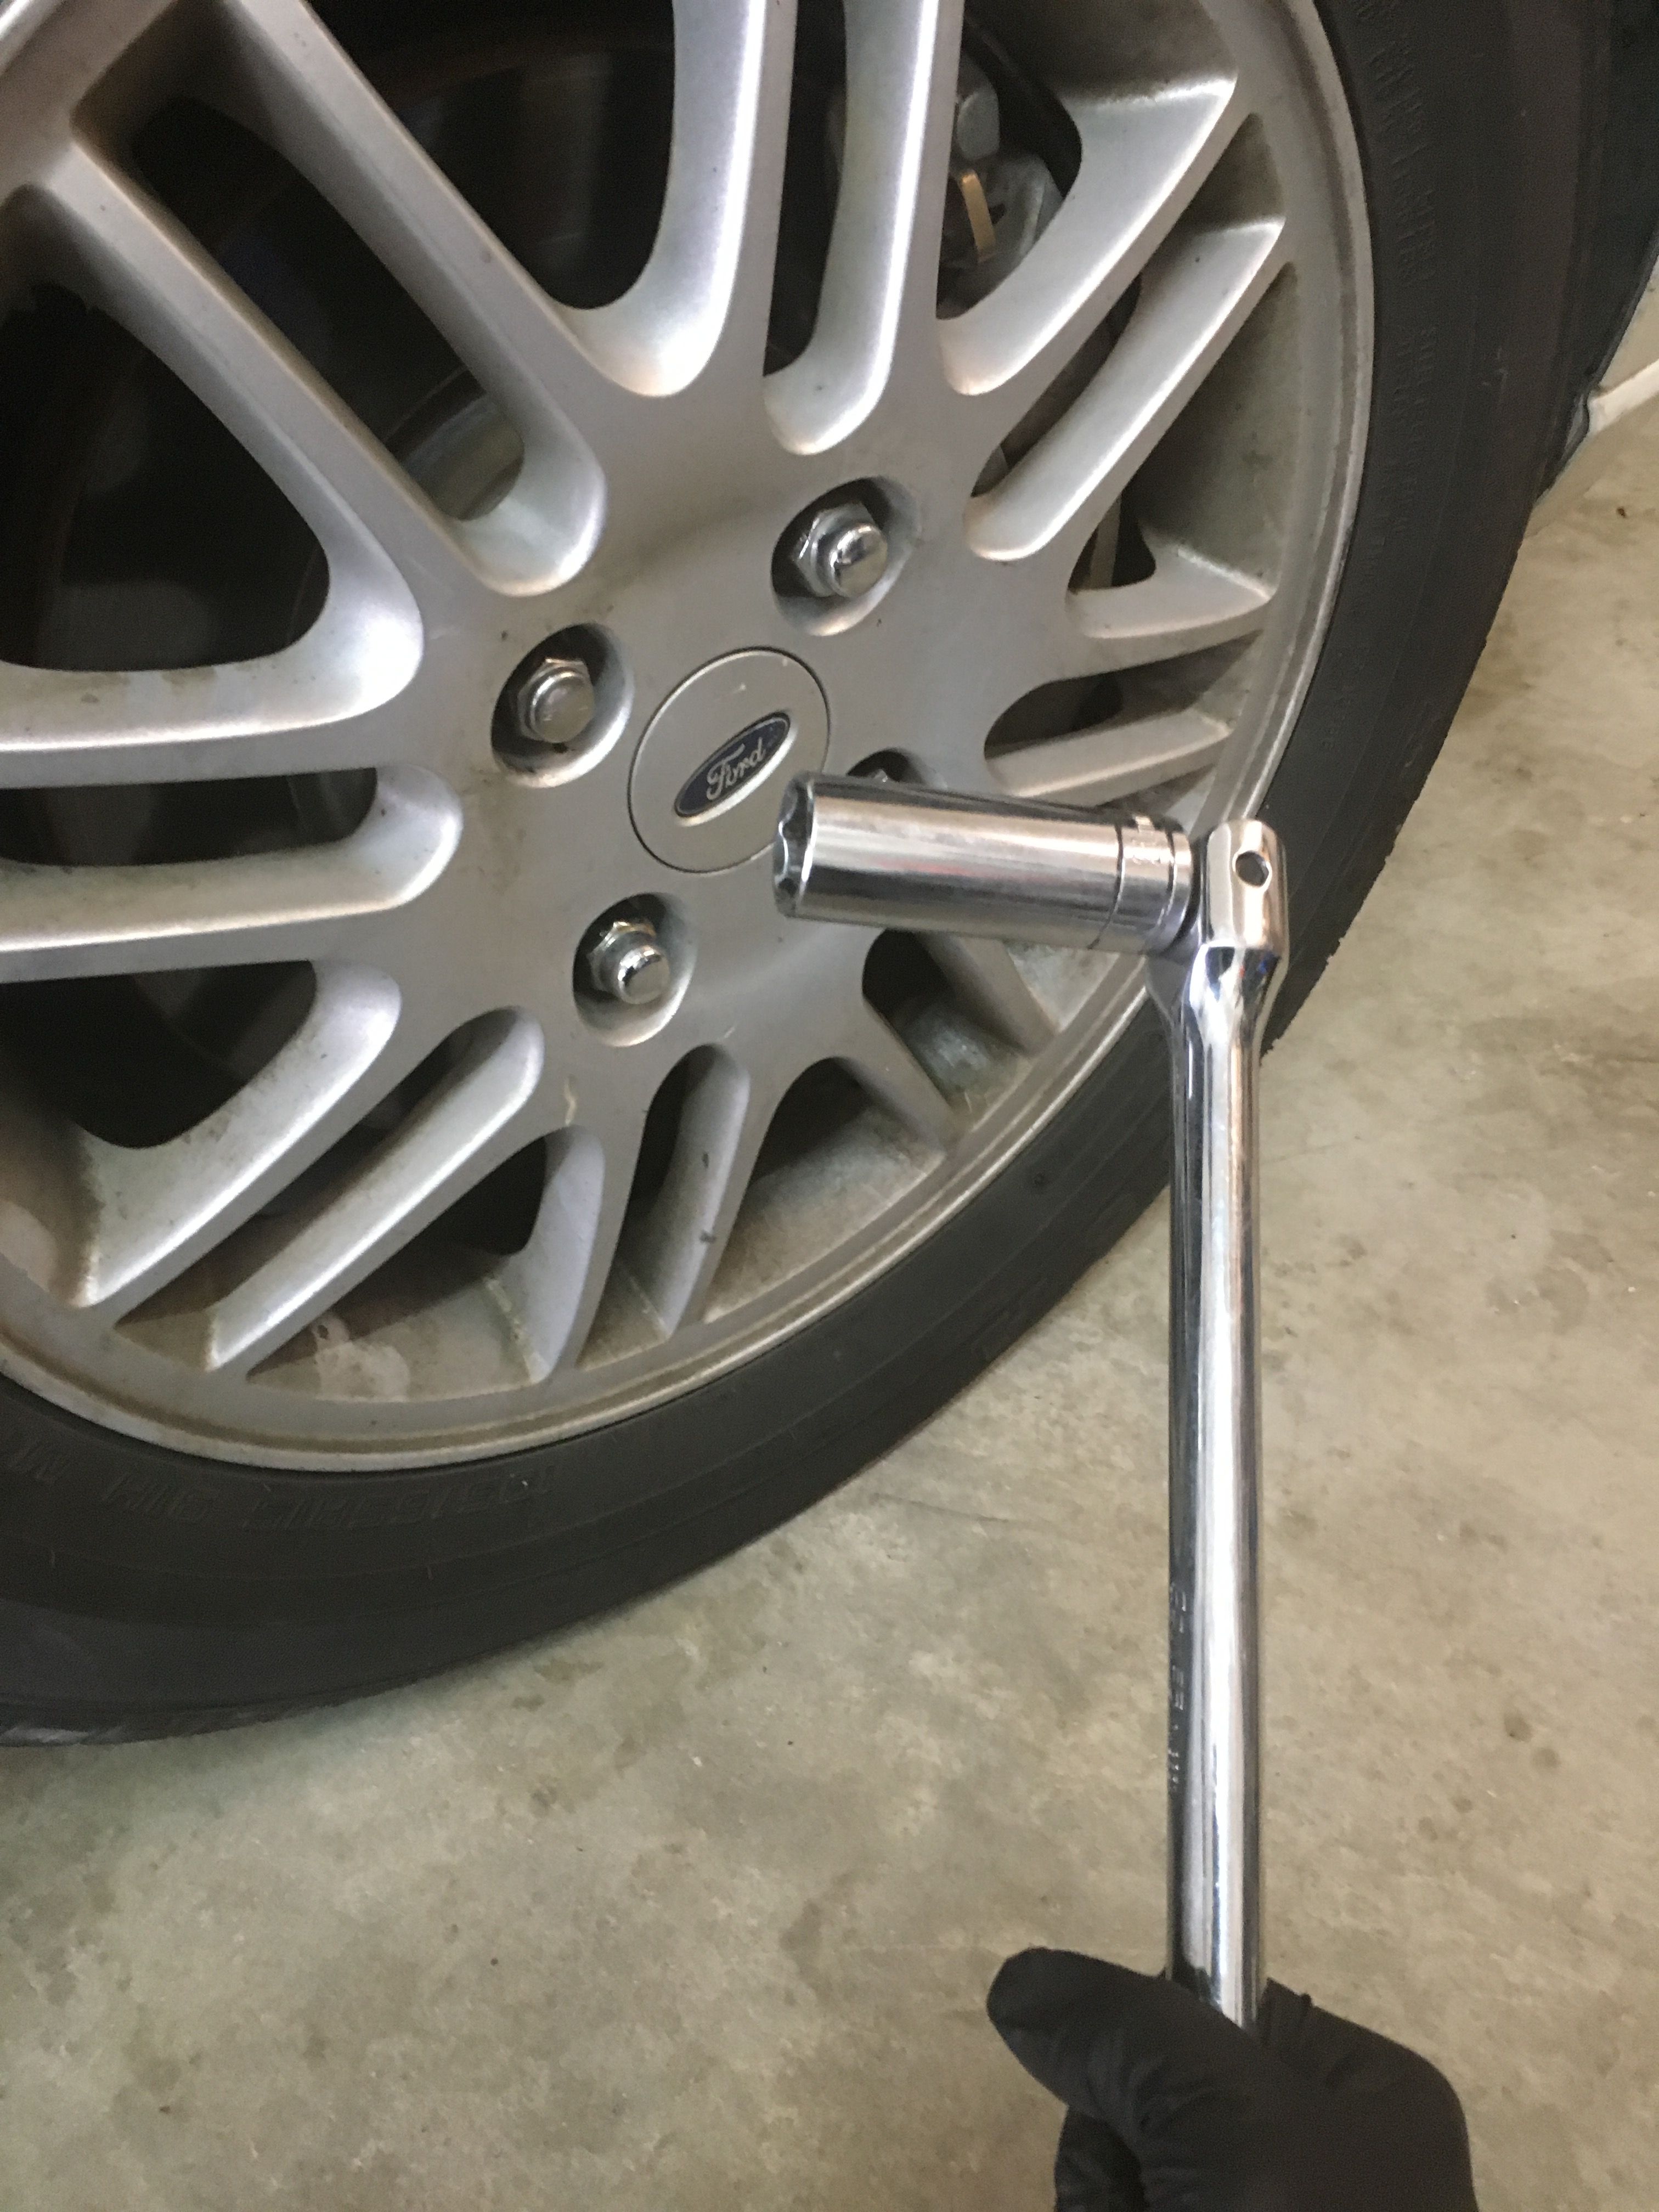
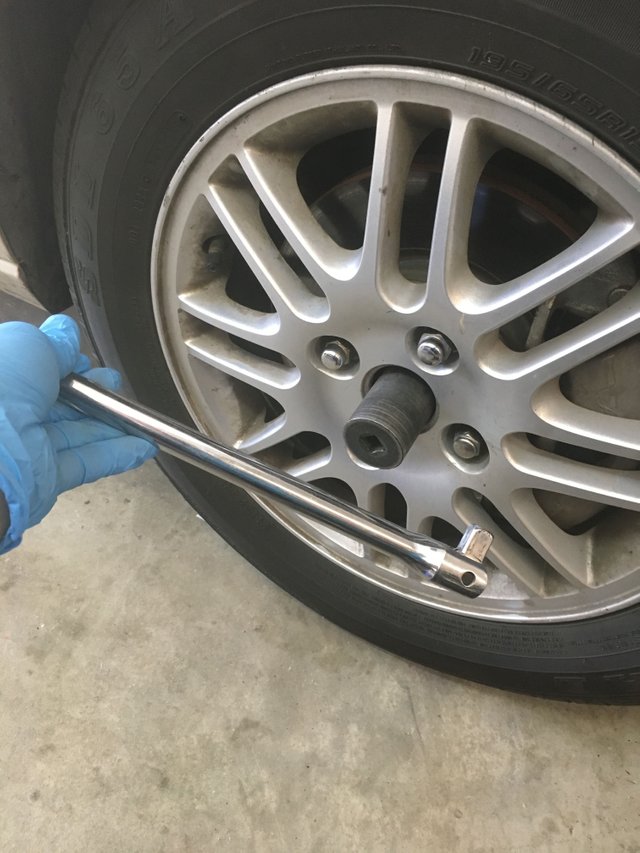
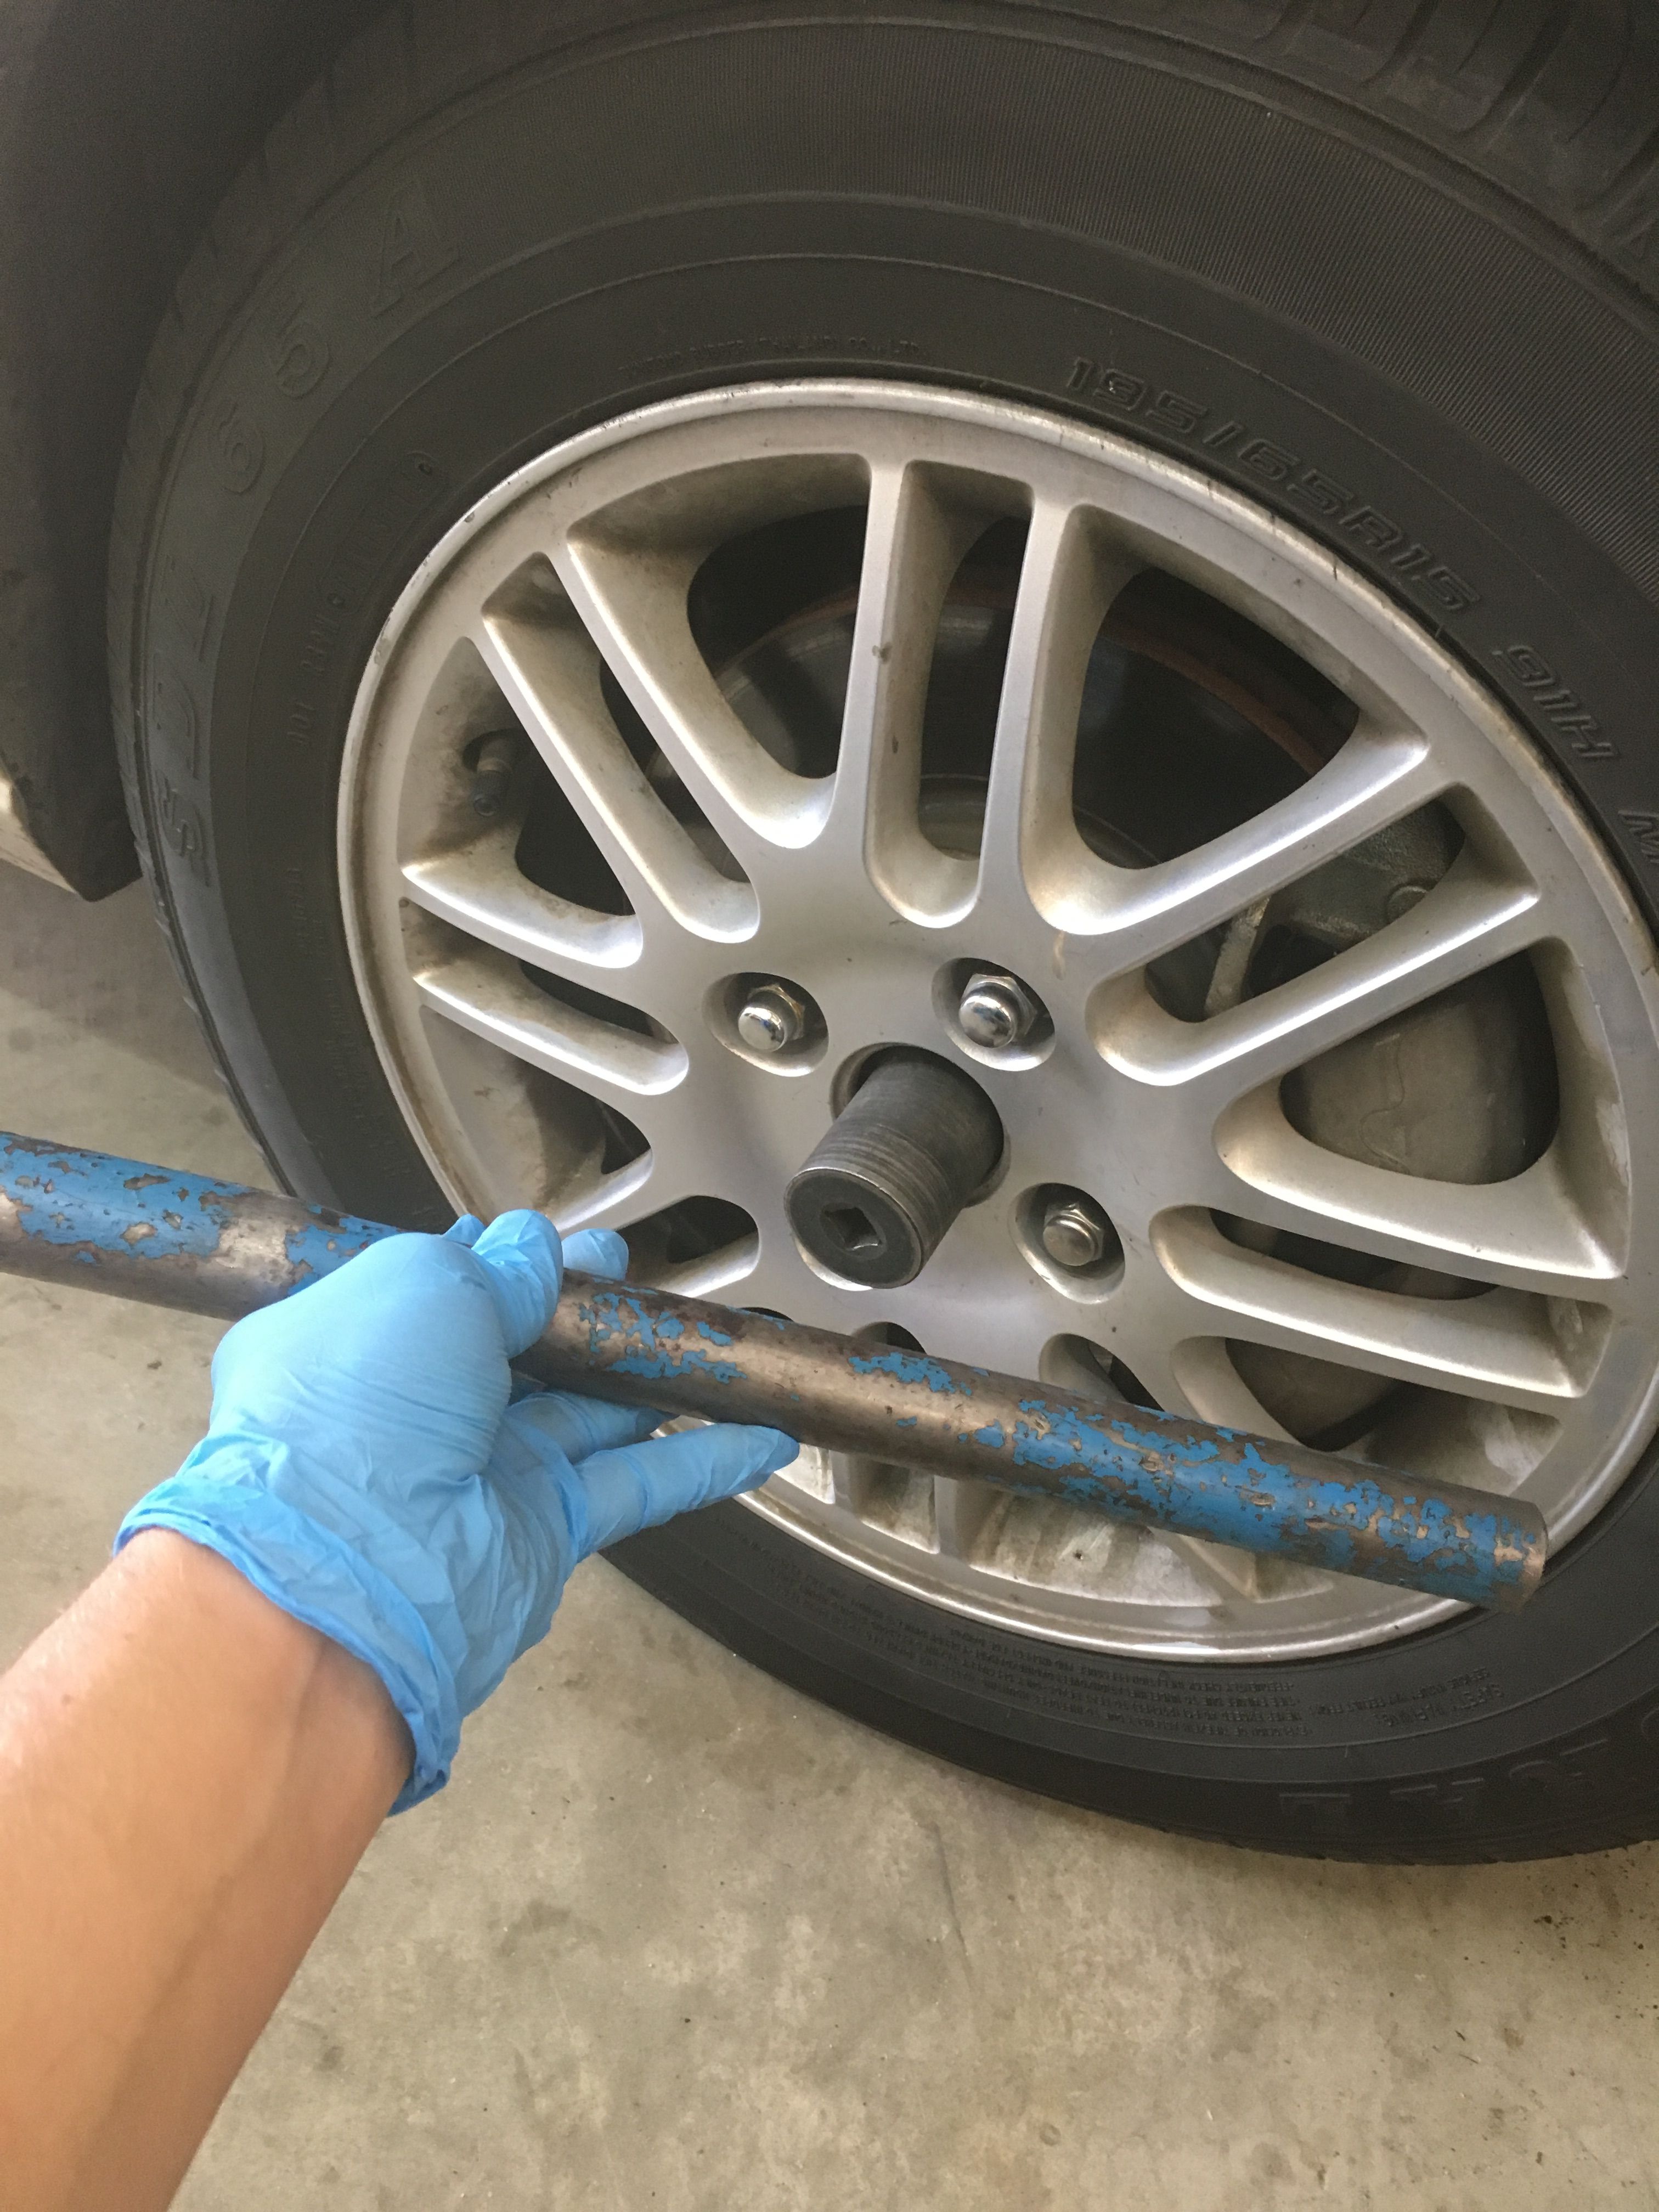
  • Breaker bar and extender pipe for maximum leverage

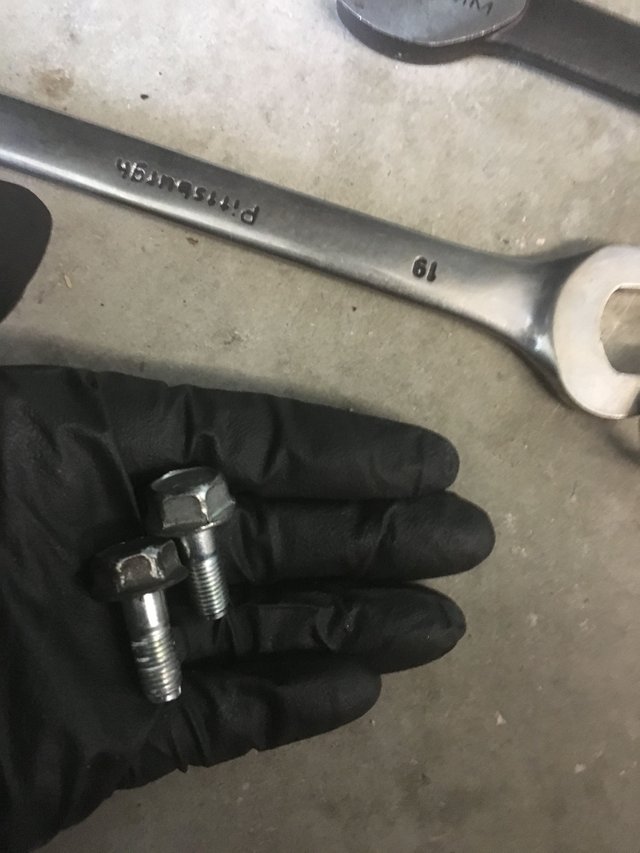
  • Appropriate size sockets for the job (this job required the use of 10mm 15mm, 17mm, 19mm, 20mm, 21mm
    and 32mm for center nut)

  • Socket Wrench

  • 17mm open end wrench

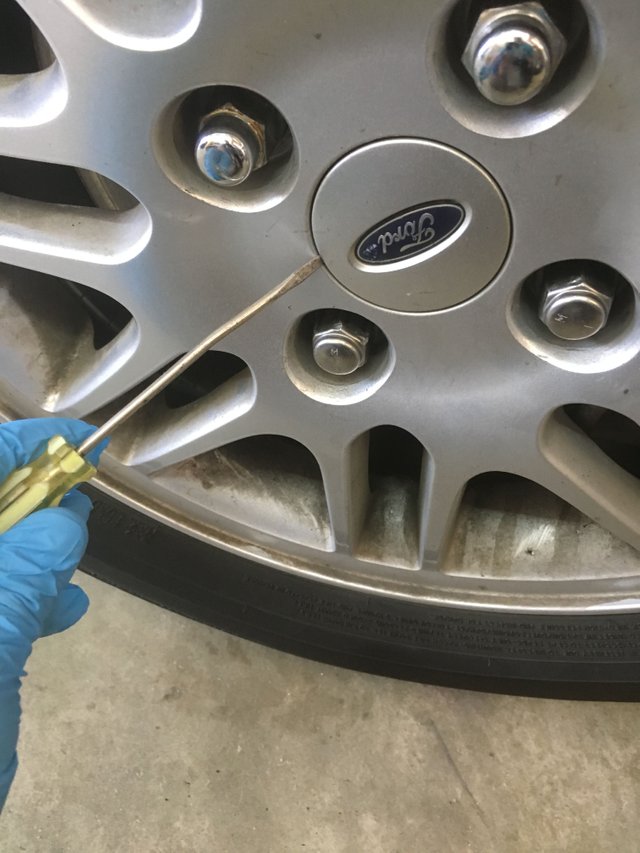
  • T-50 Torx Bit (I highly recommend a socketed bit and not a key bit like I had to use)

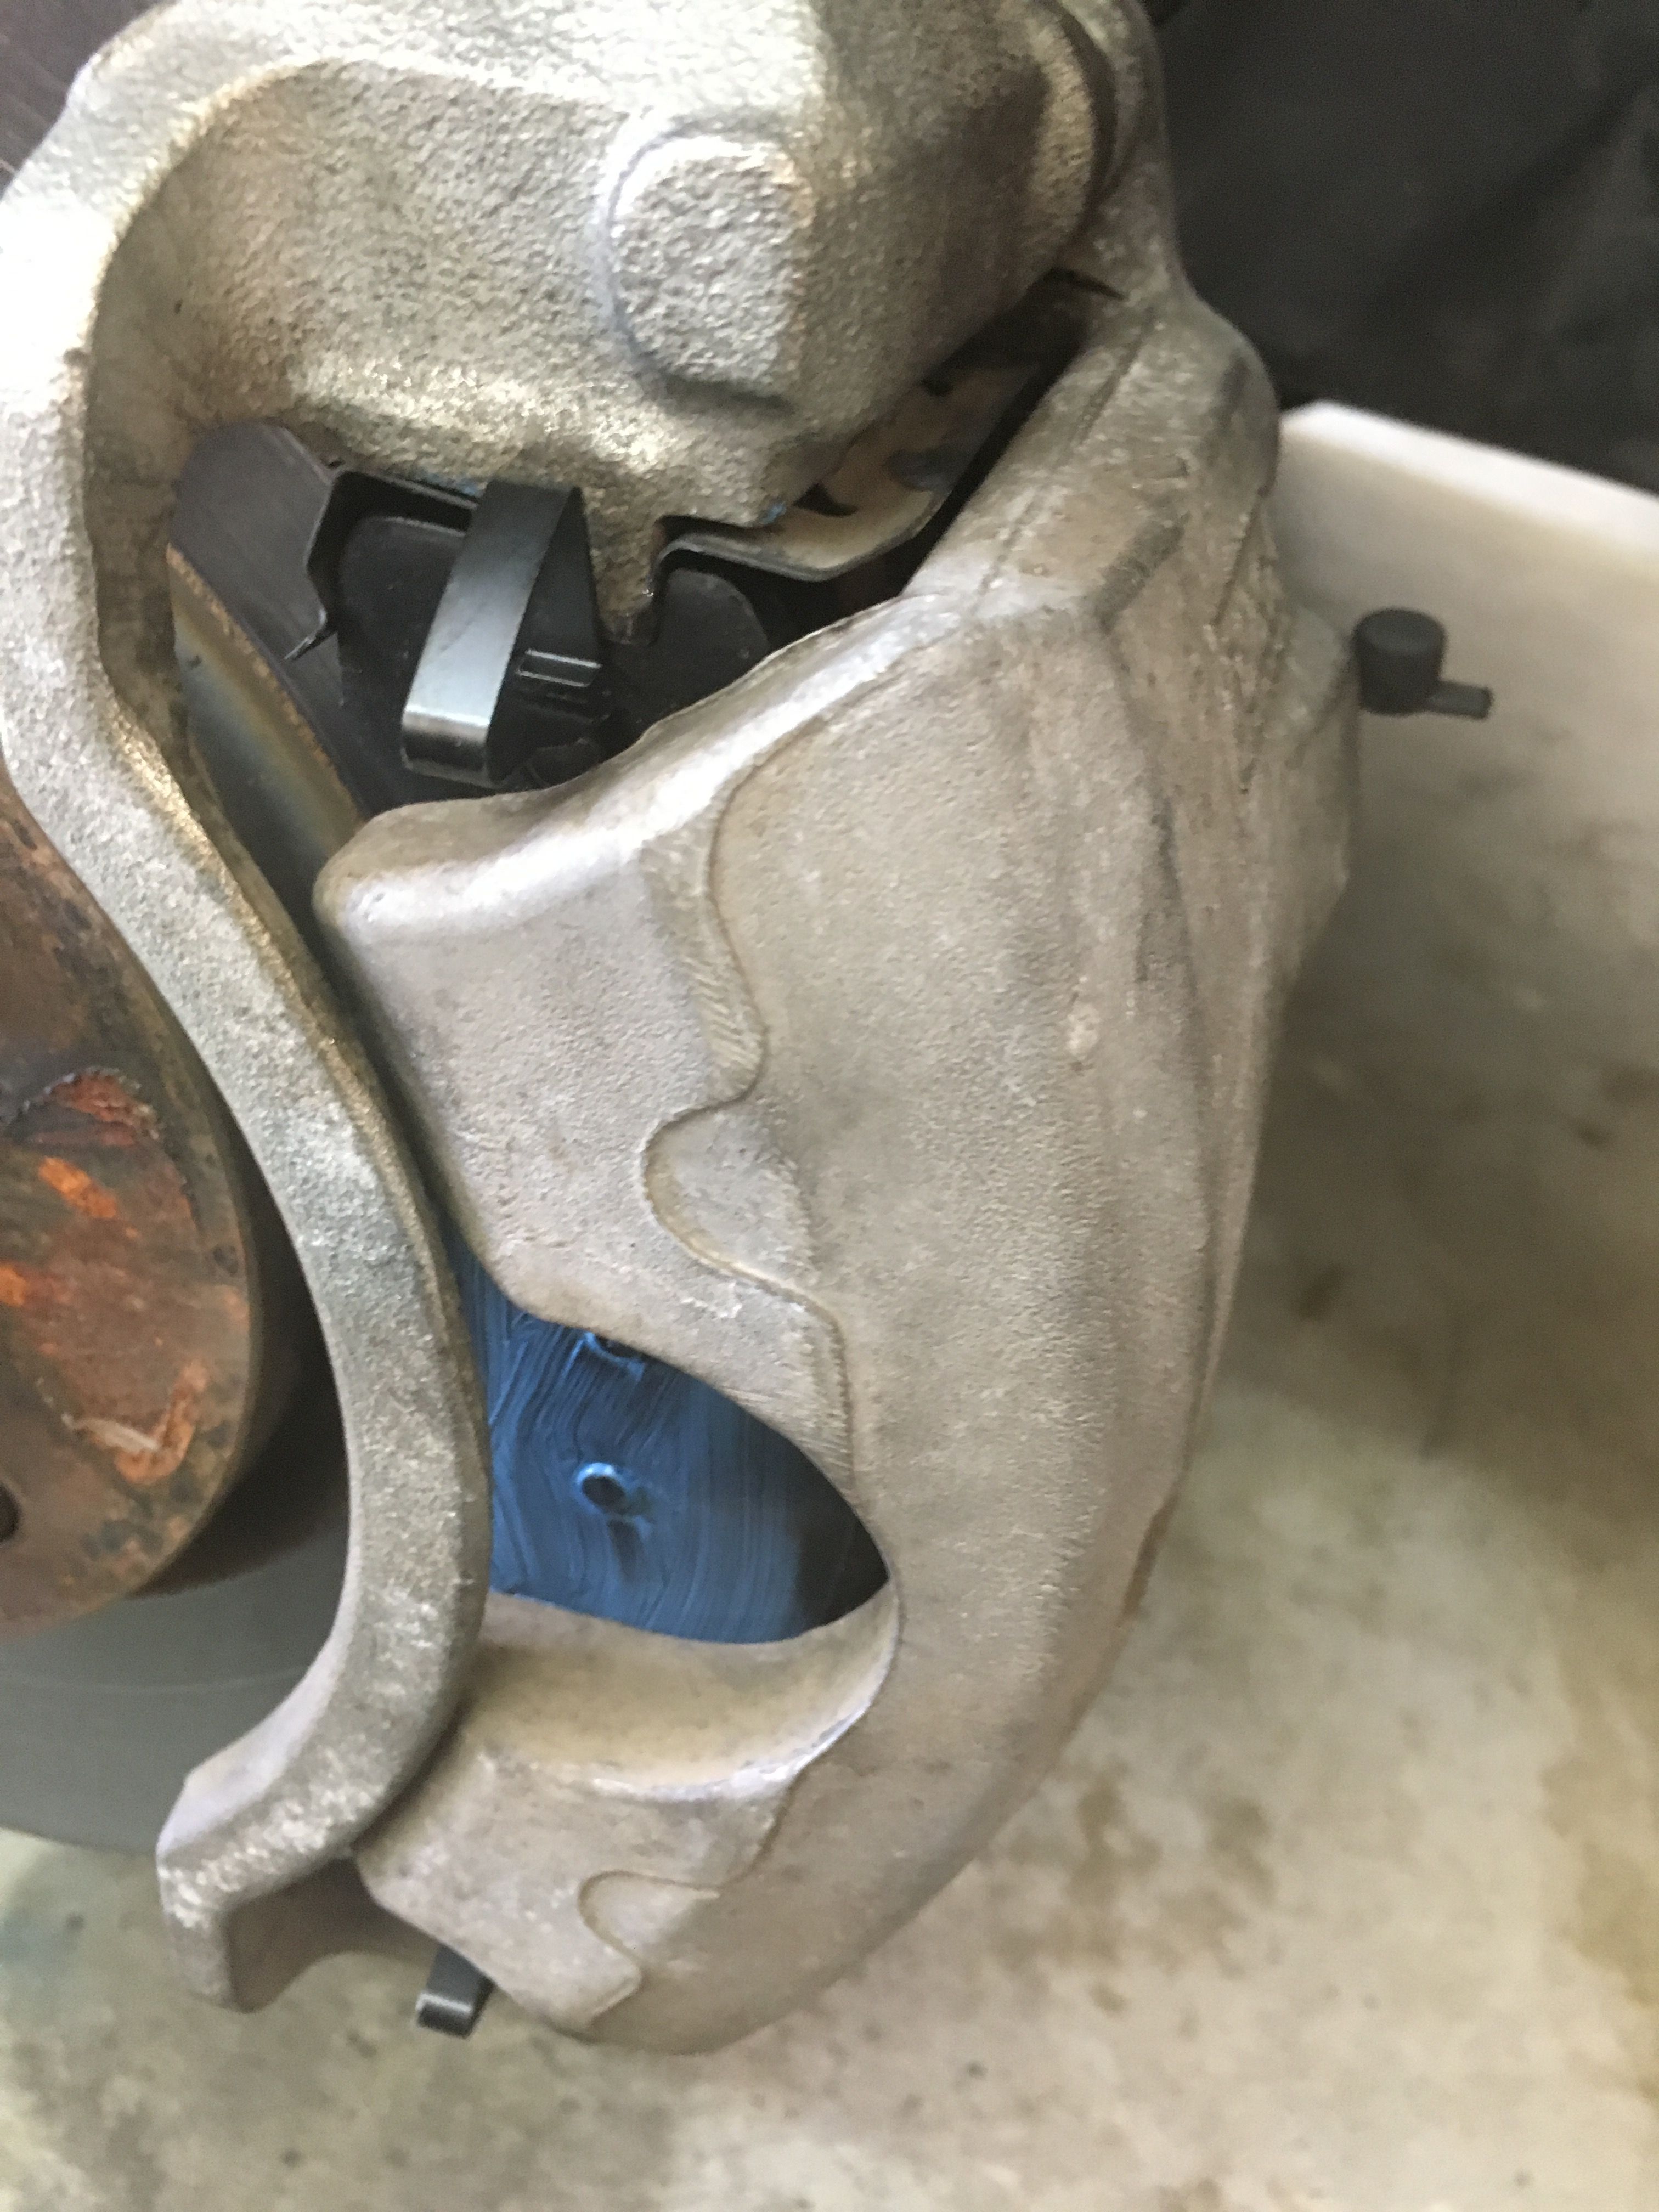
  • New brake pads for a 2010 Ford Focus SE
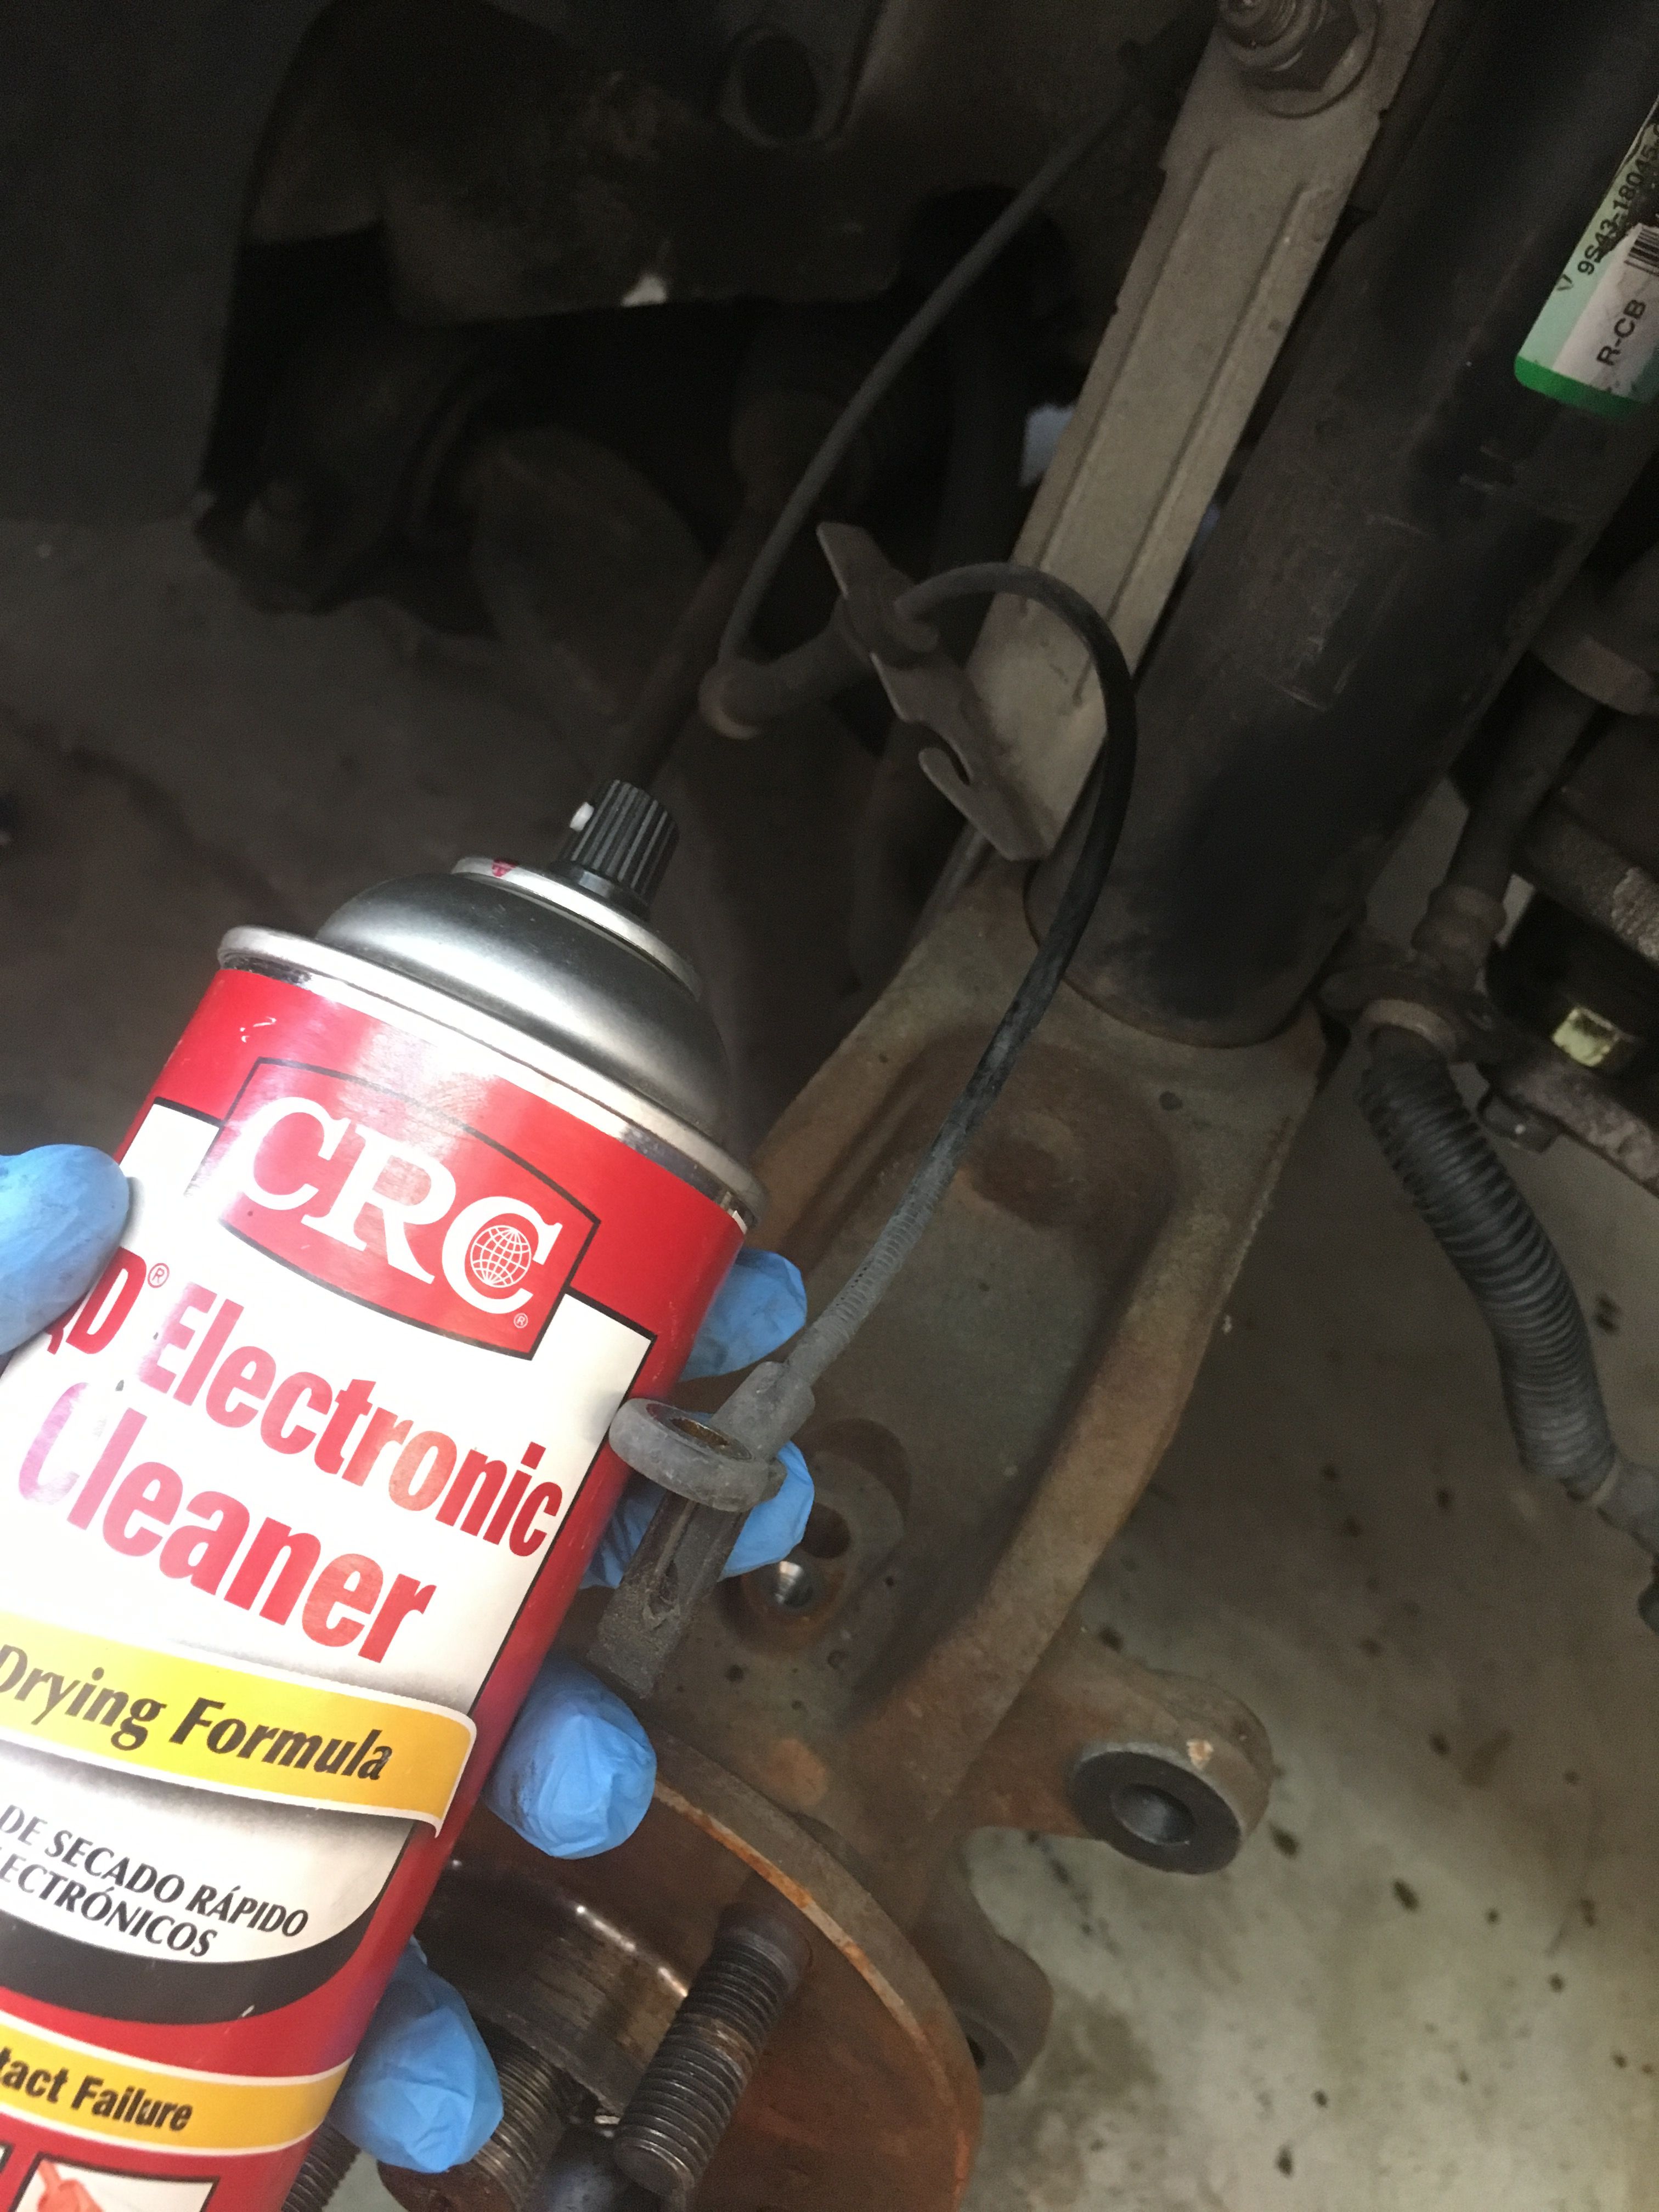
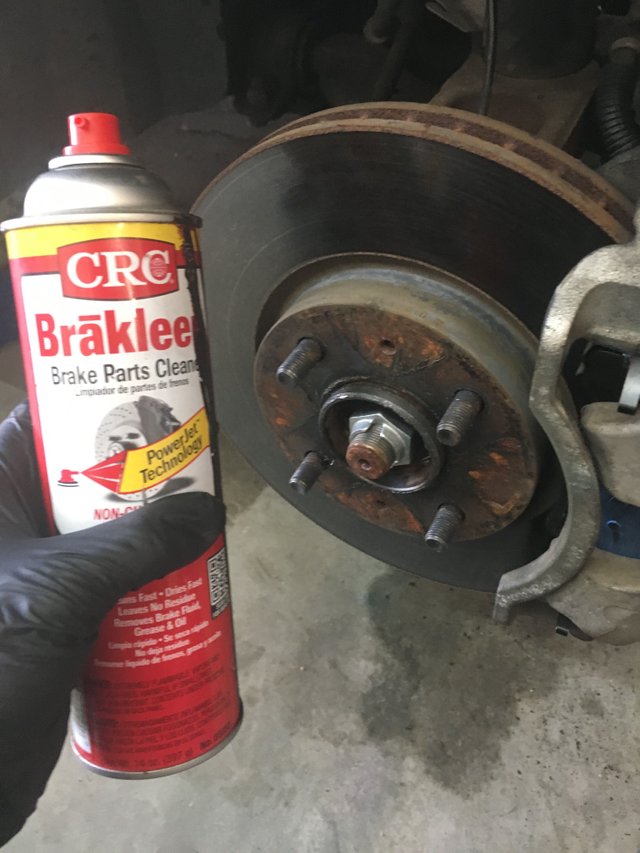
  • Brake Cleaner

  • Wheel Bearing Grease
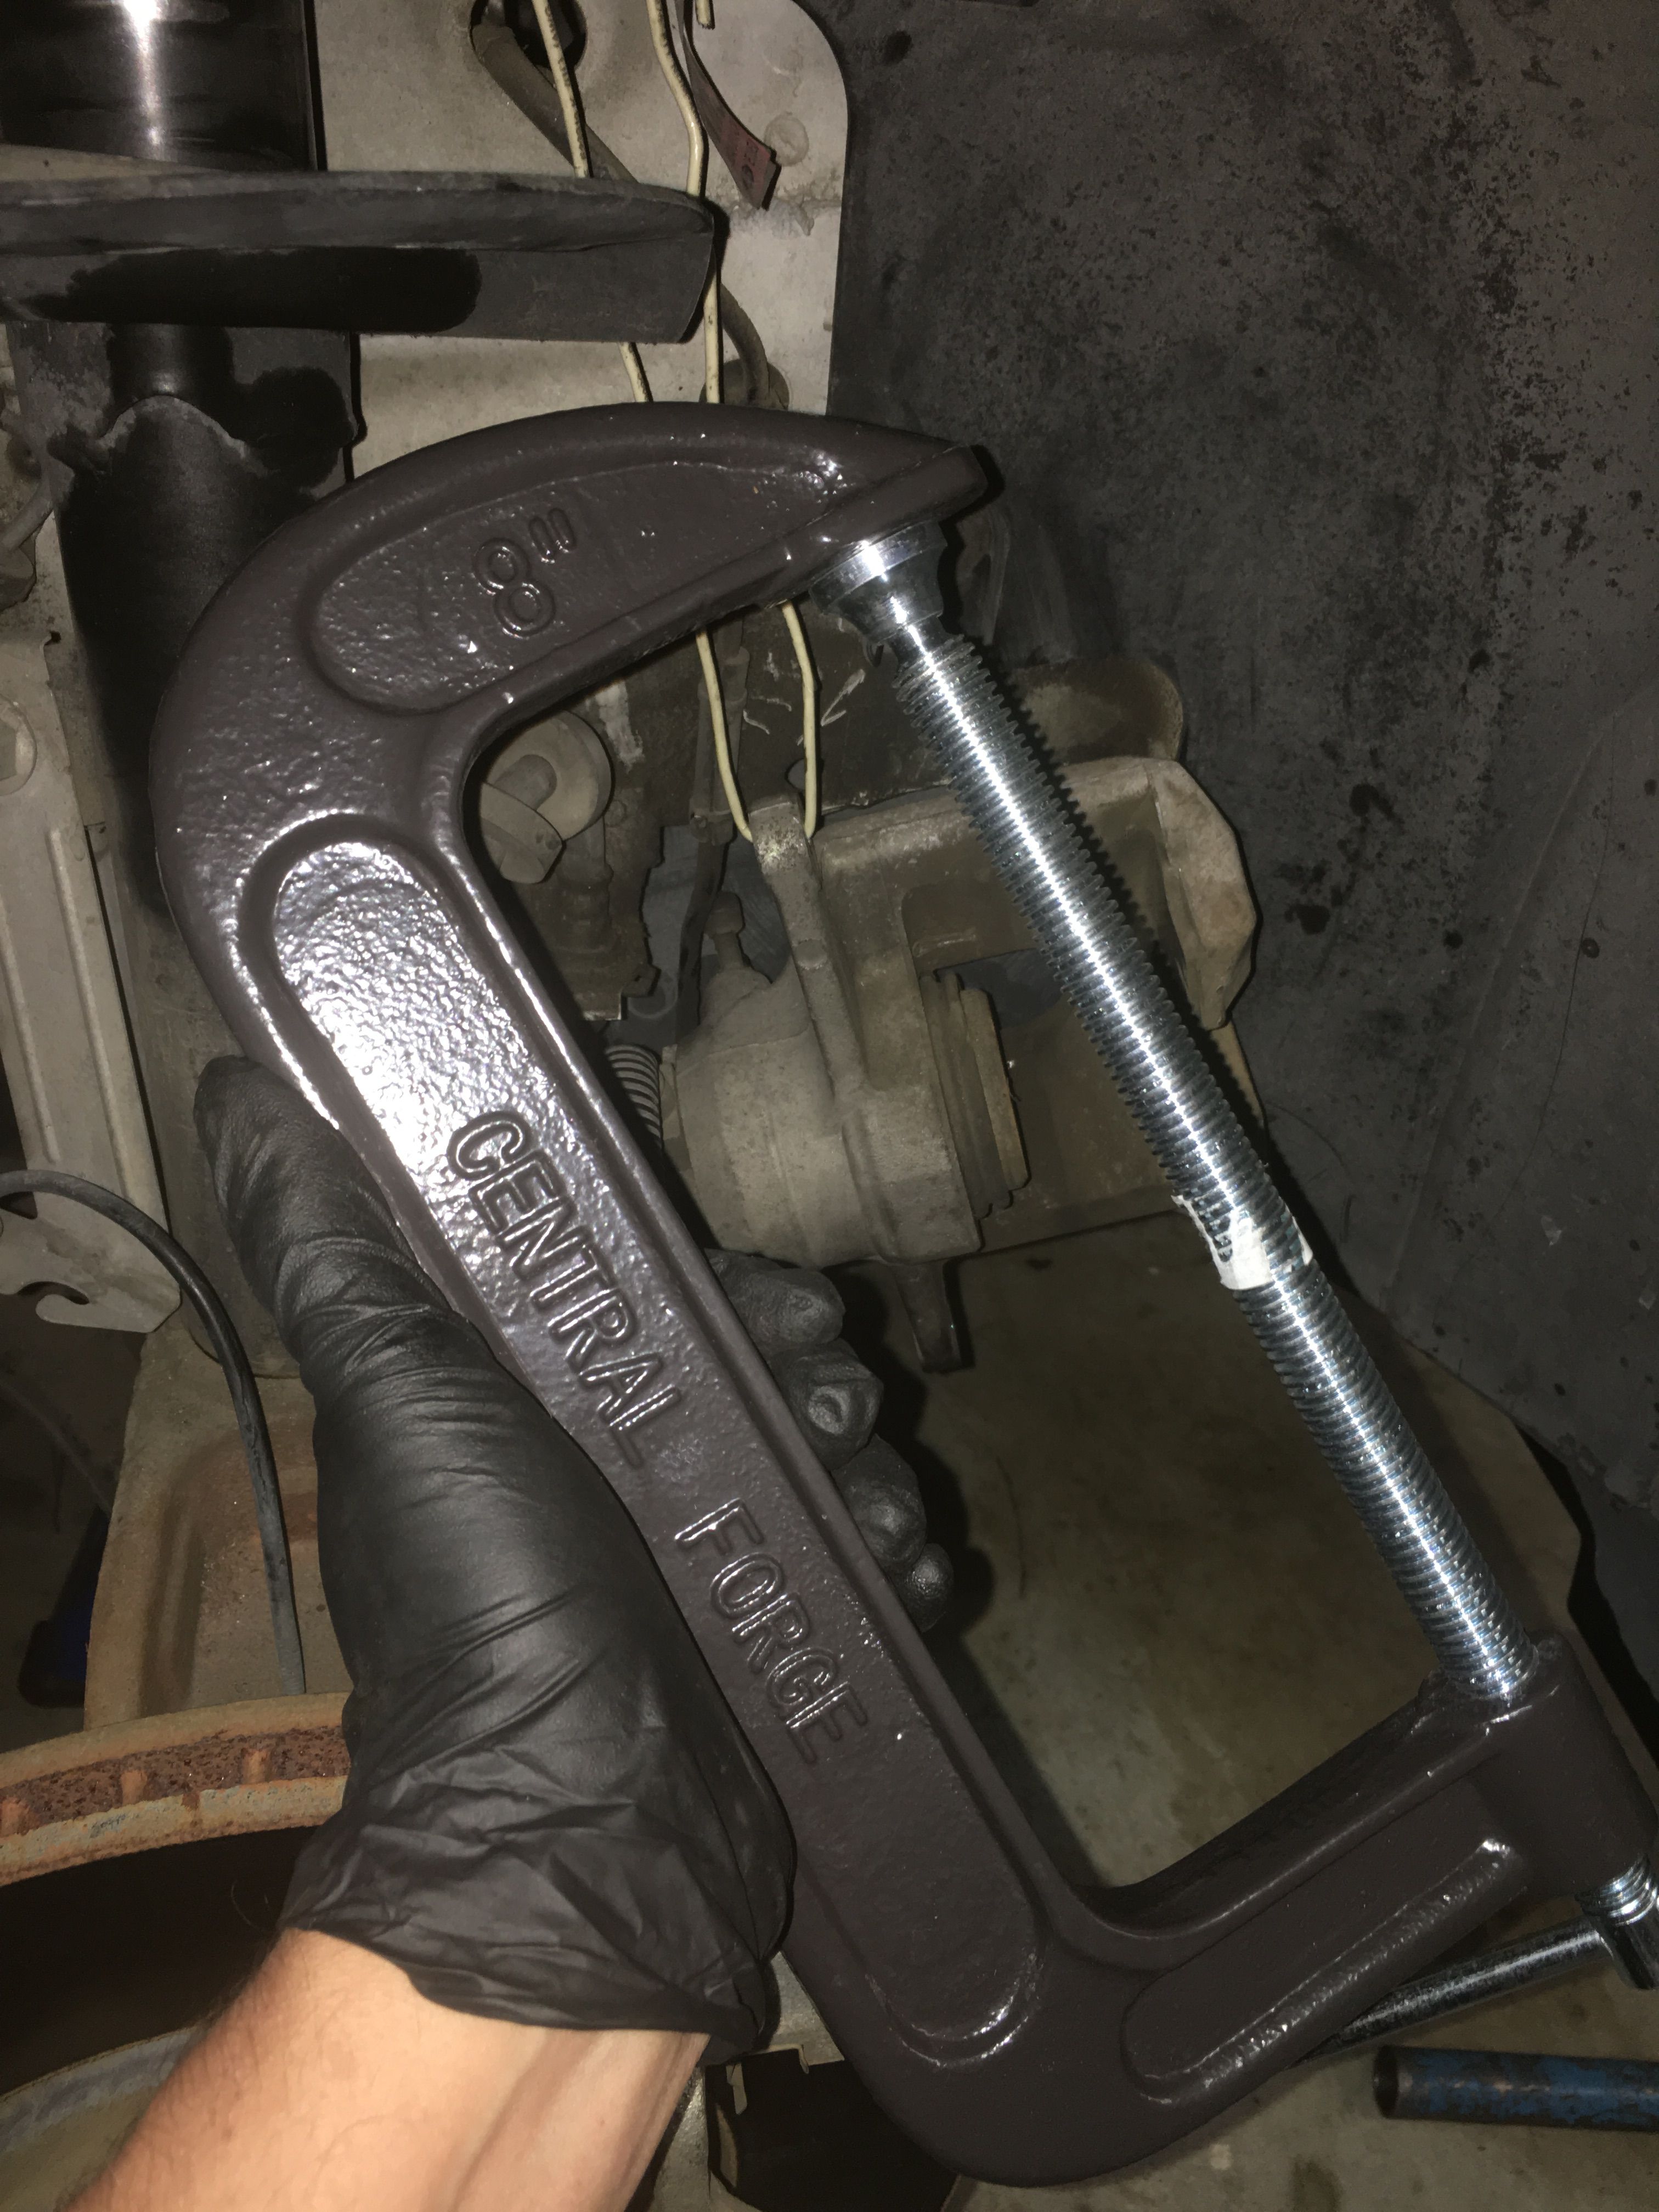
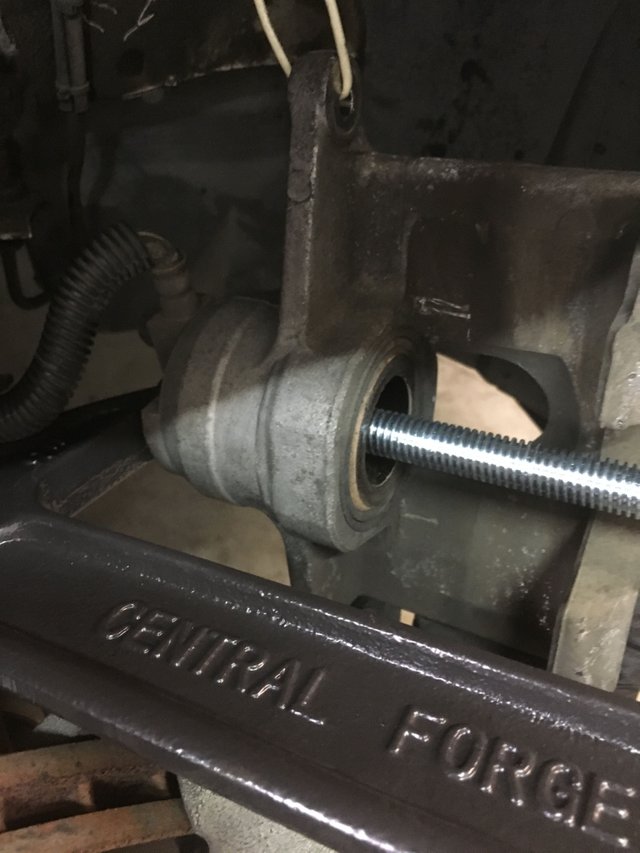
  • Giant C-clamp

  • Sledge hammer

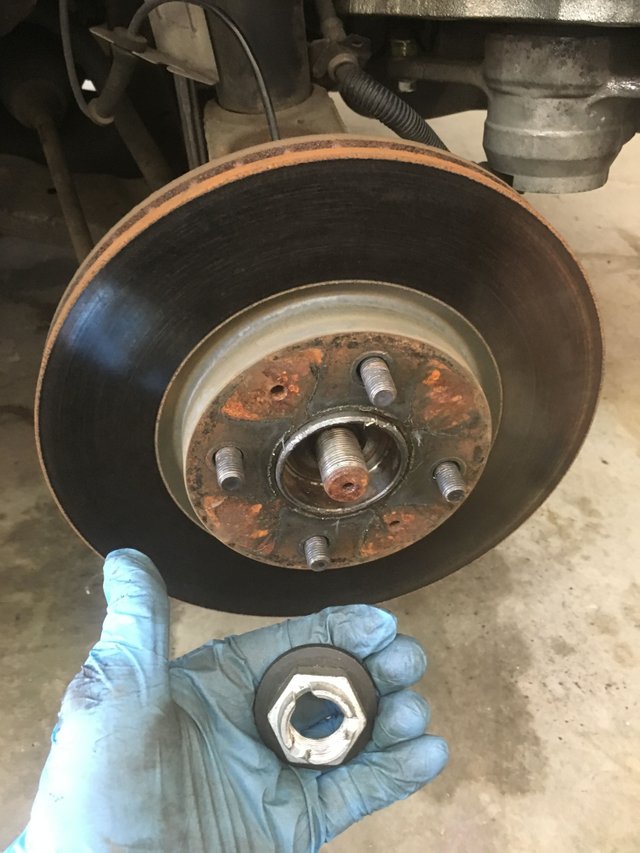
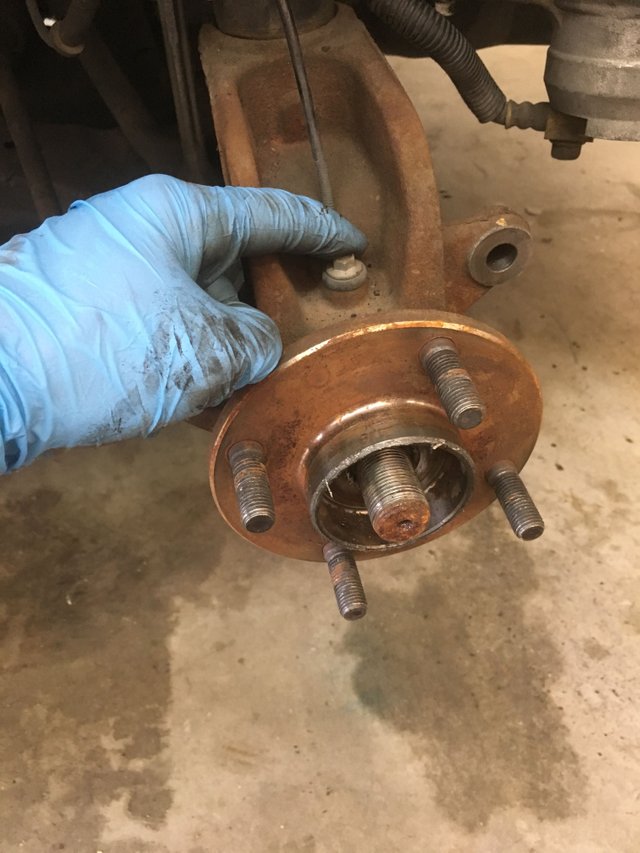
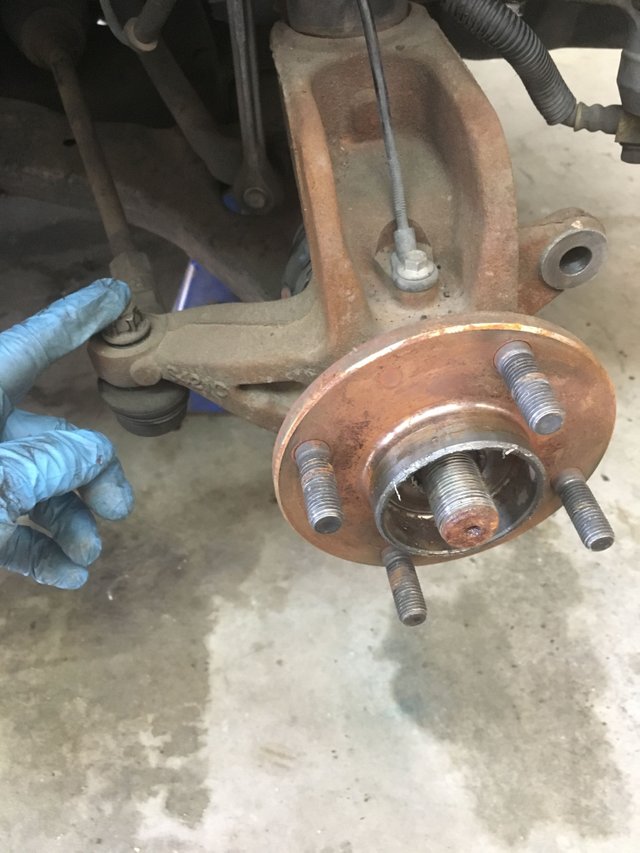
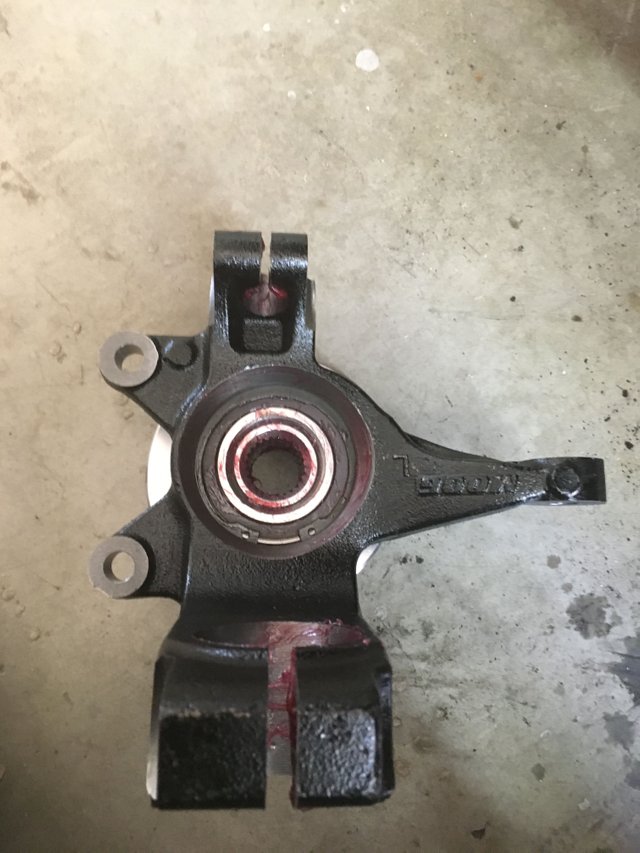
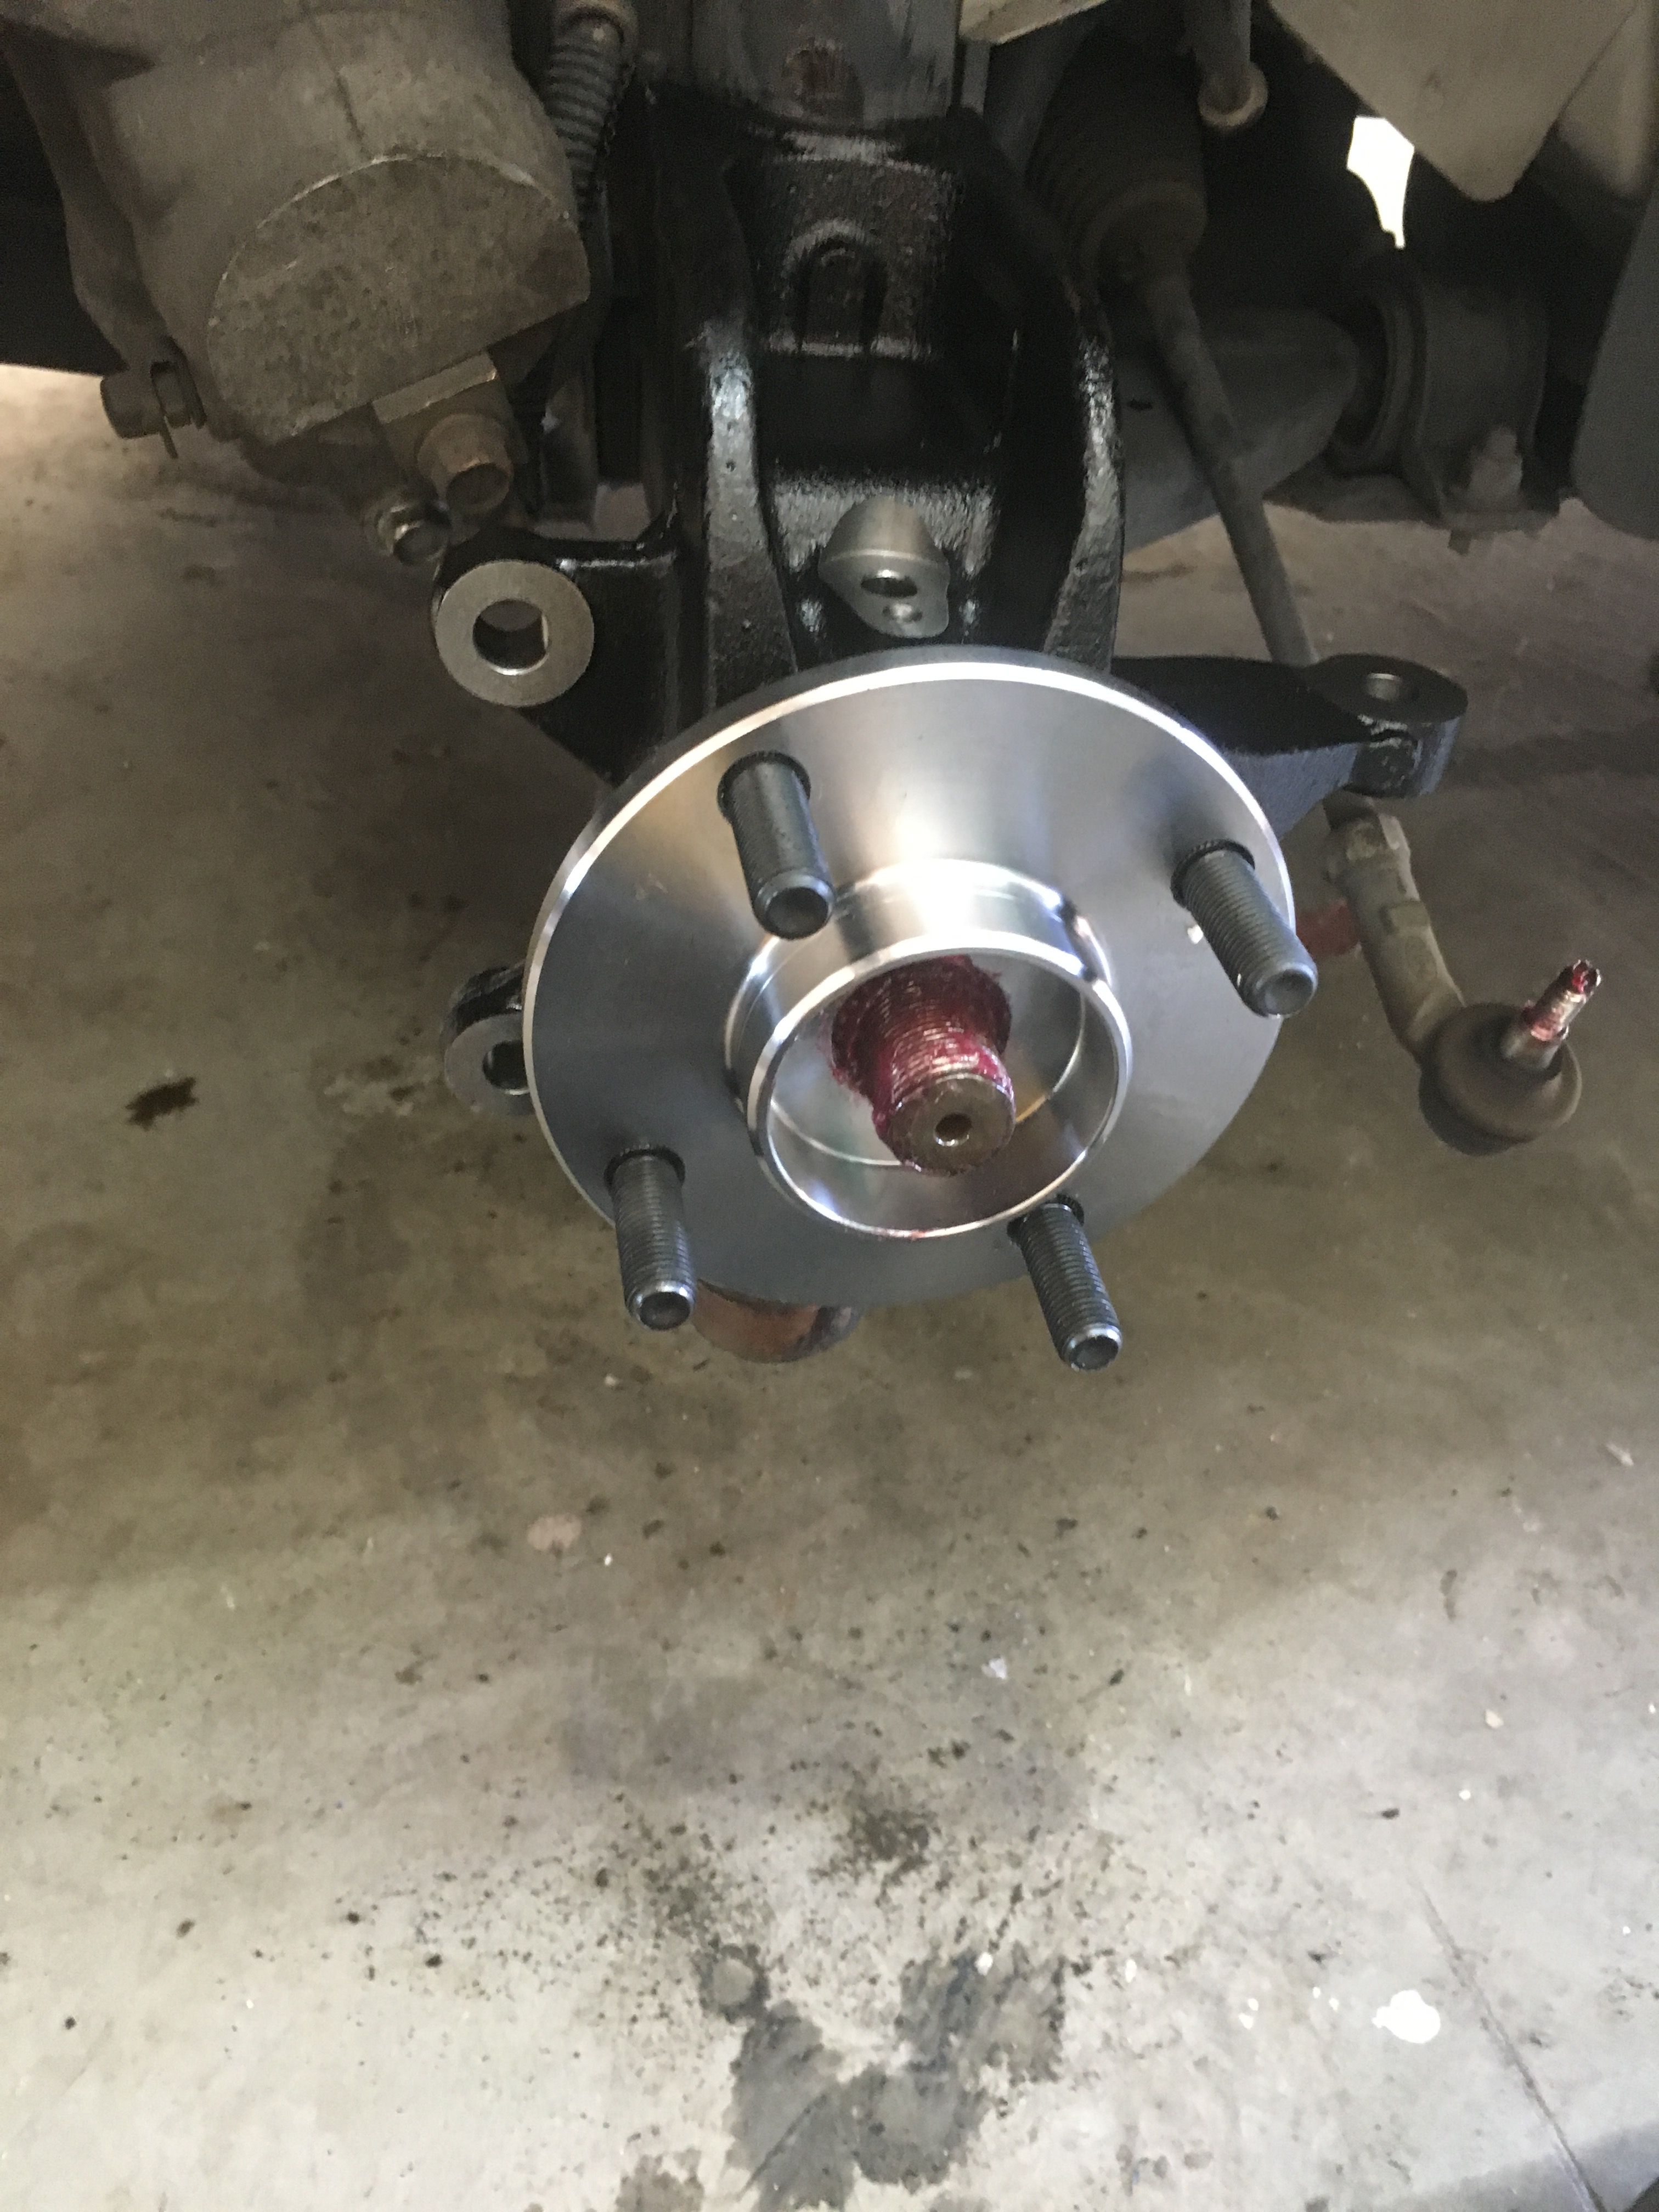
  • The "Problem Solver" complete Knuckle assembly for a 2010 Ford Focus SE

Procedure

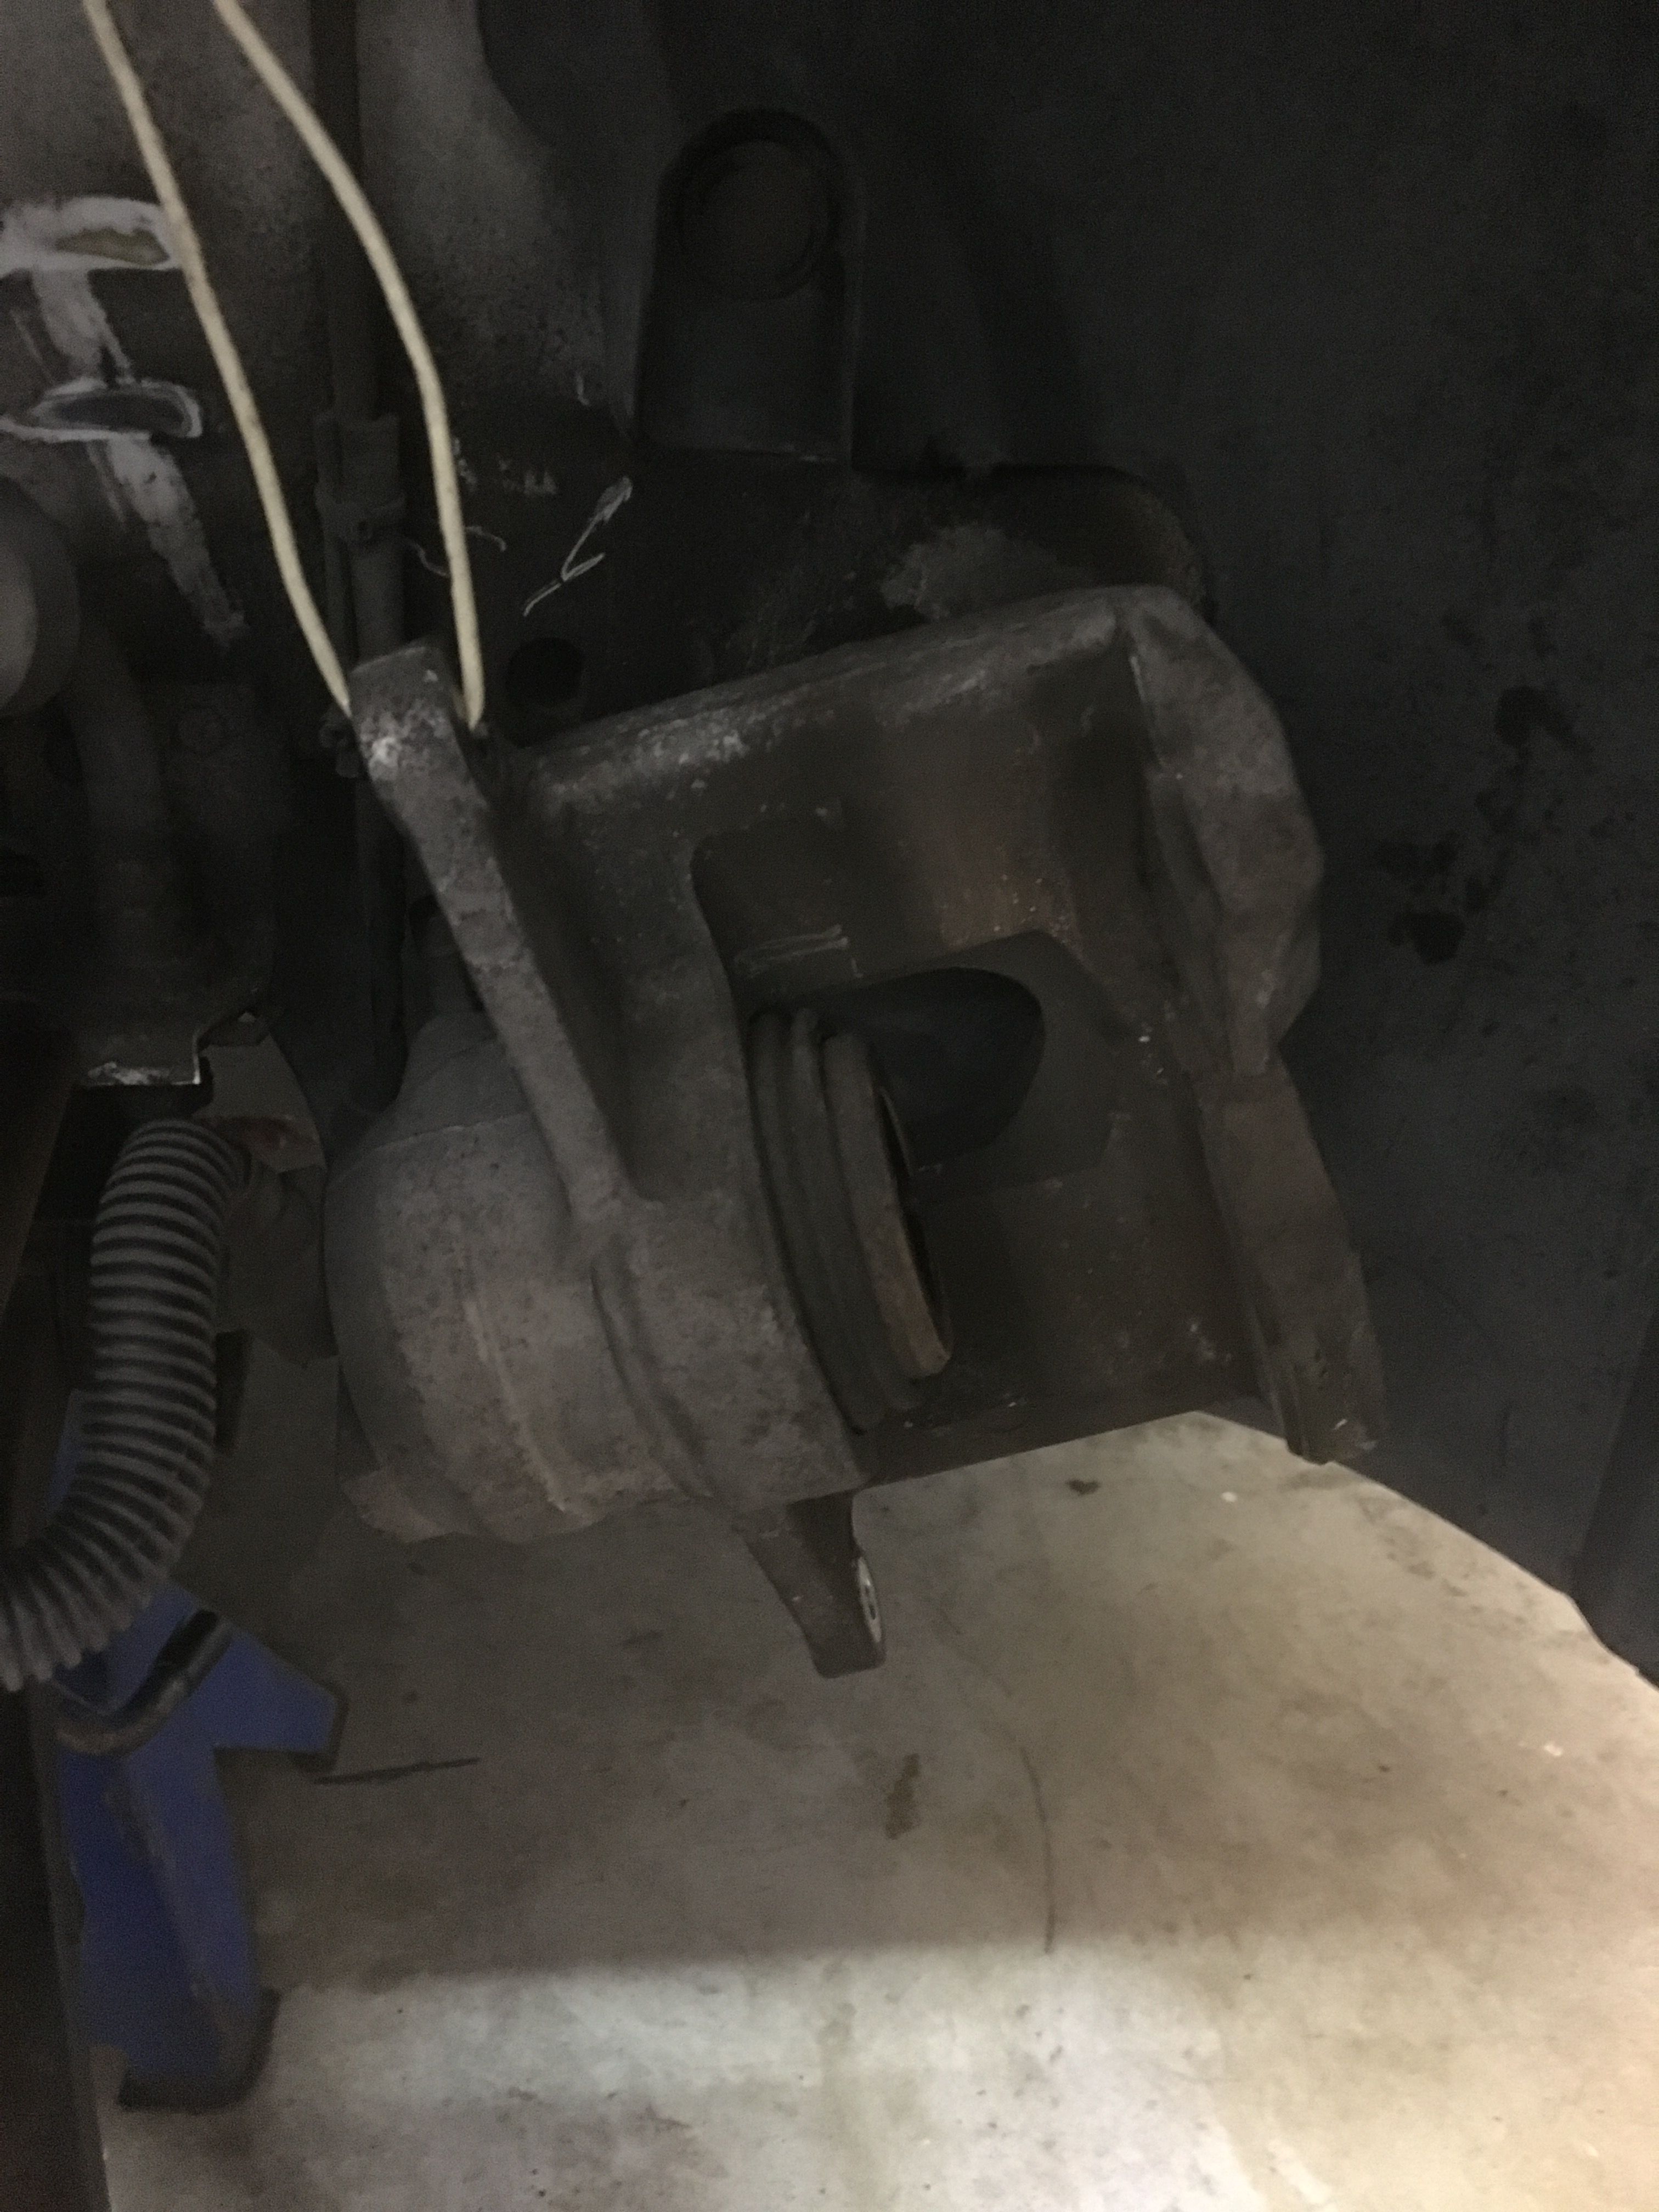
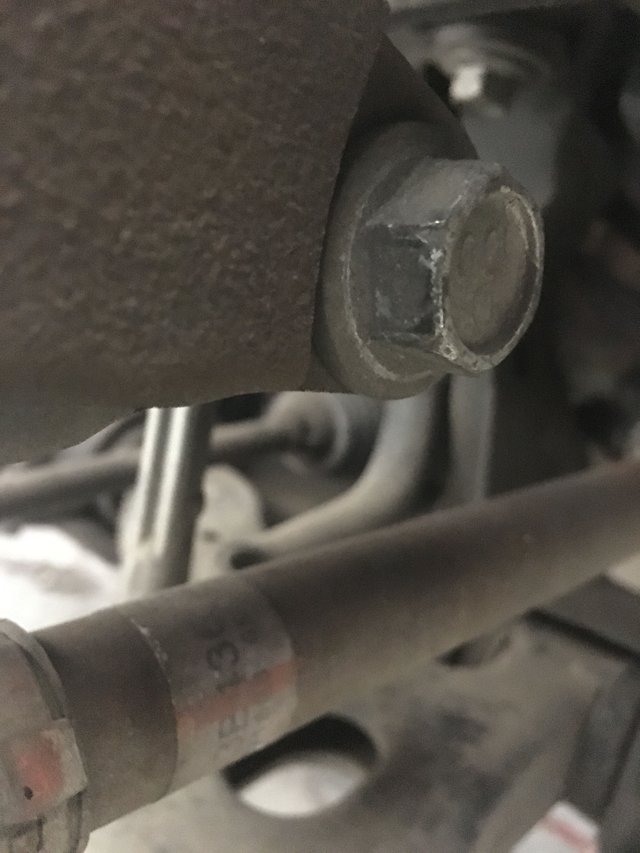
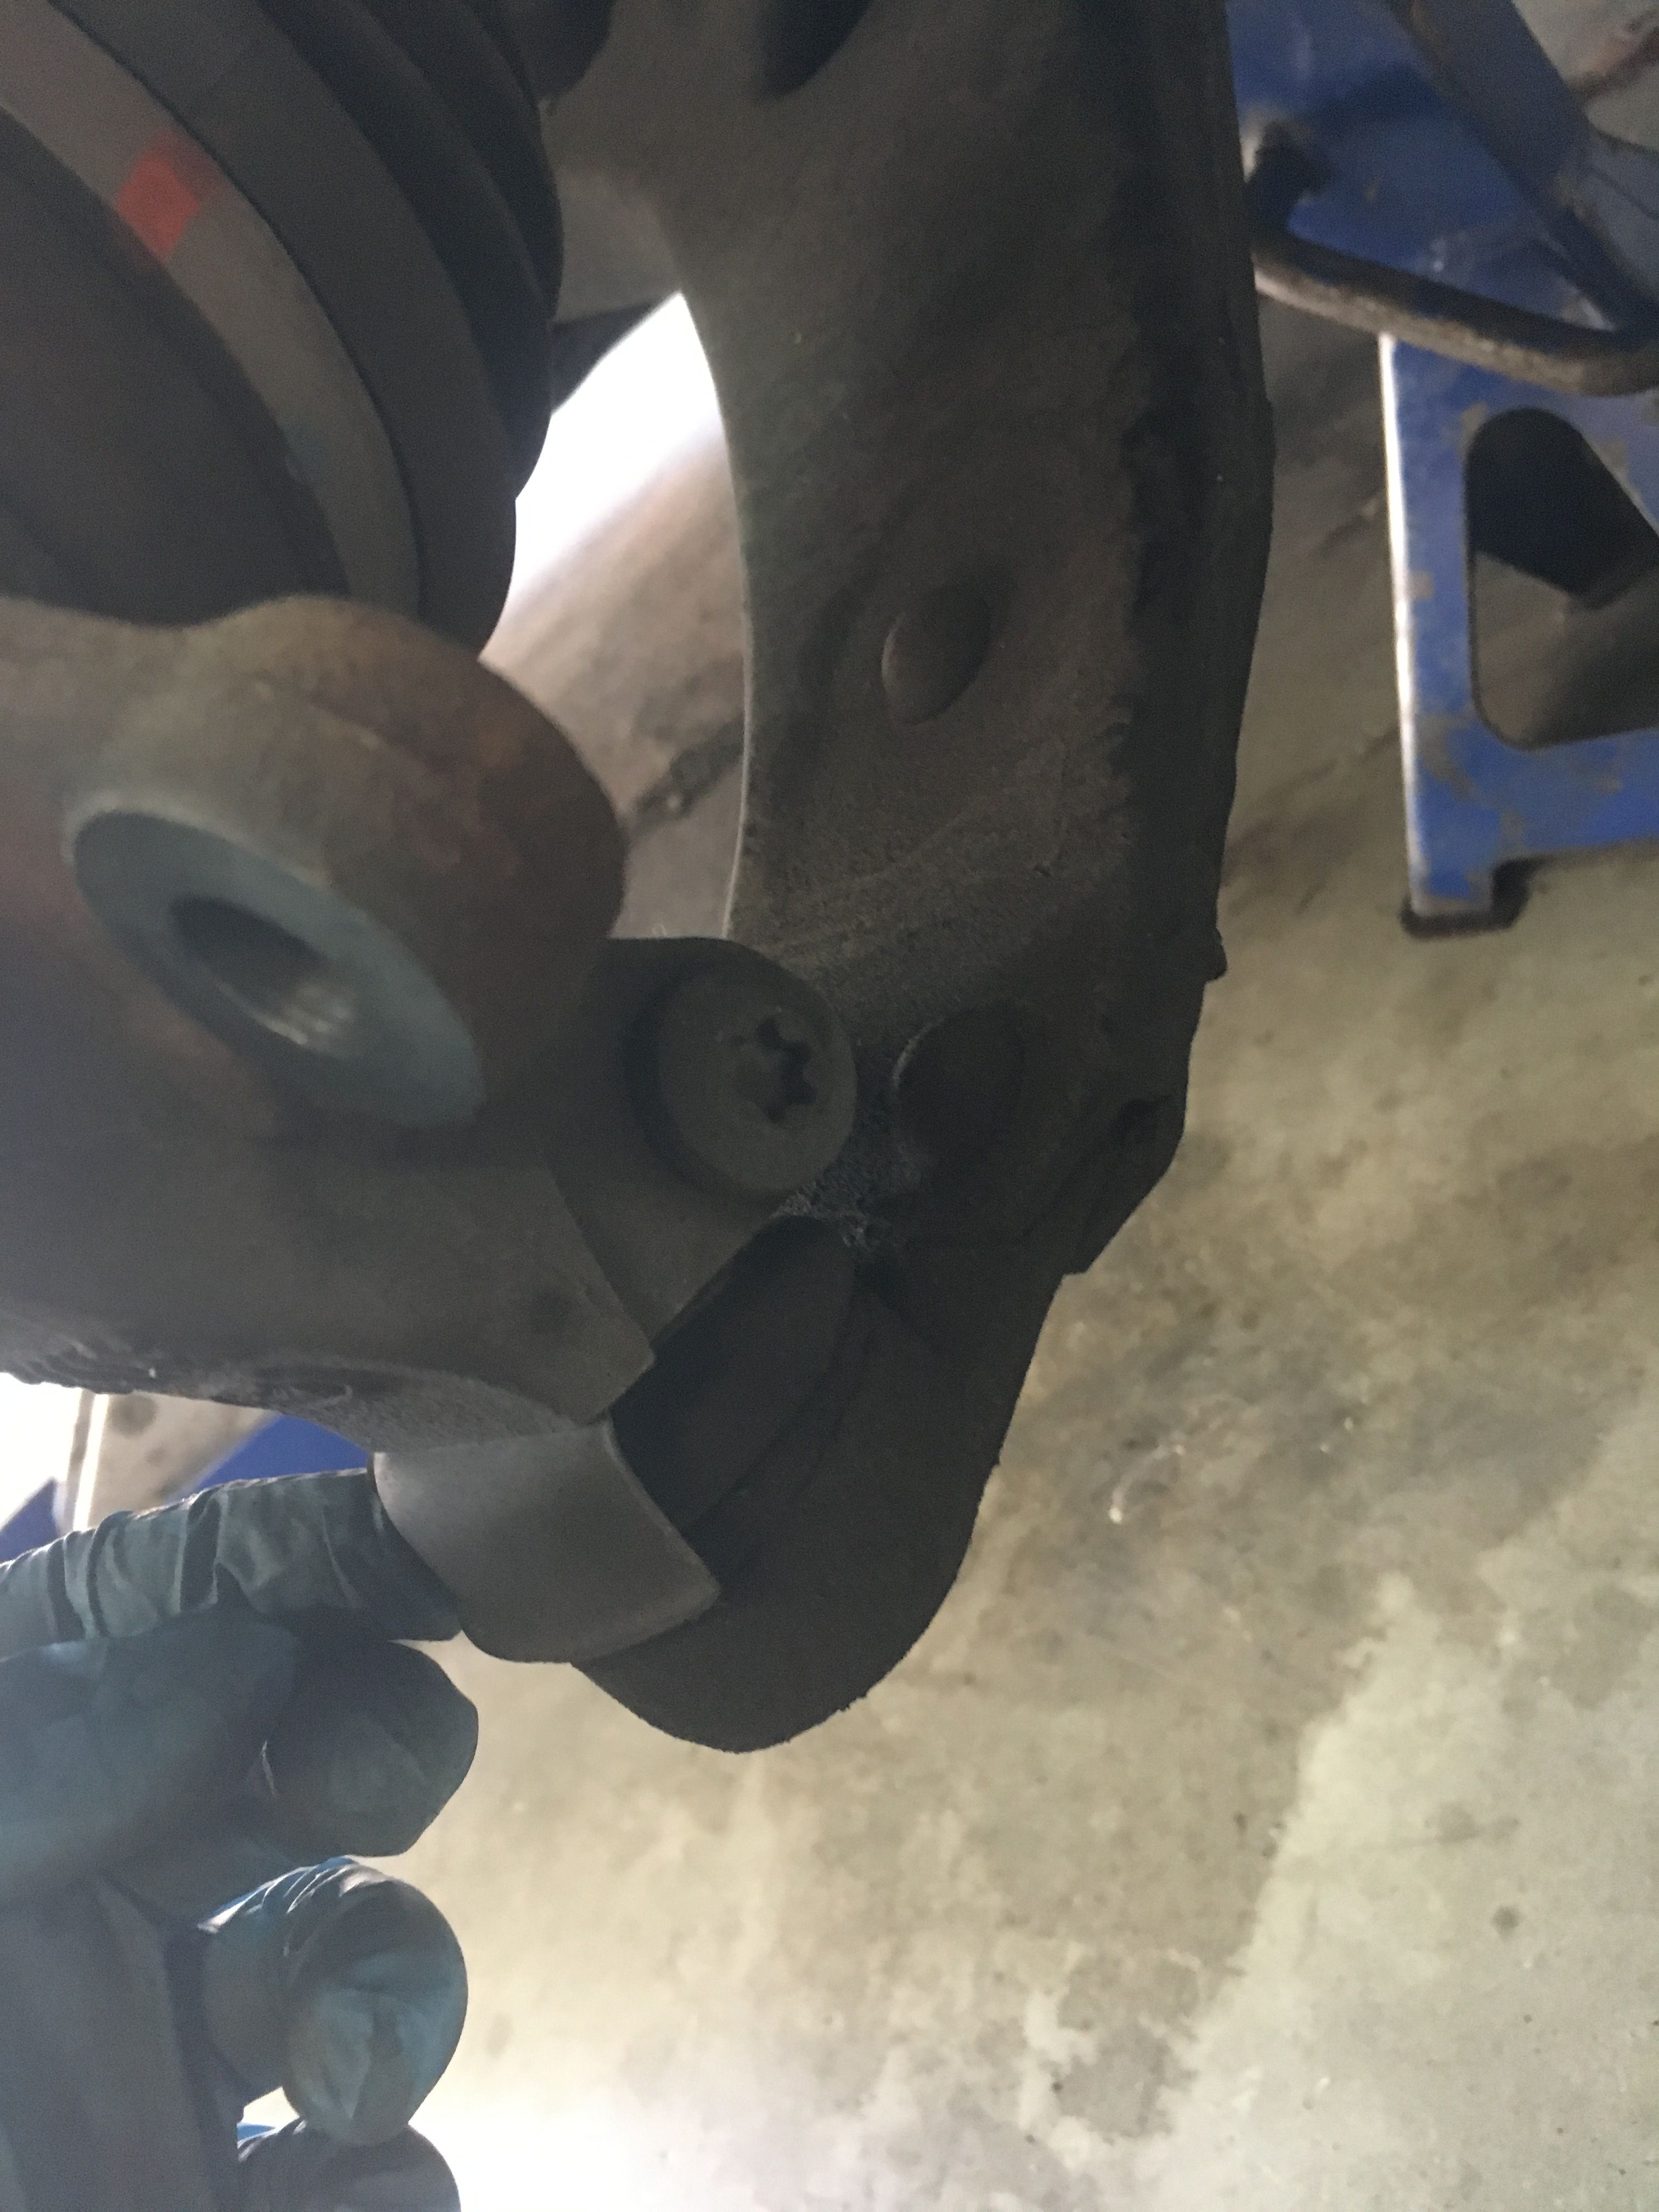
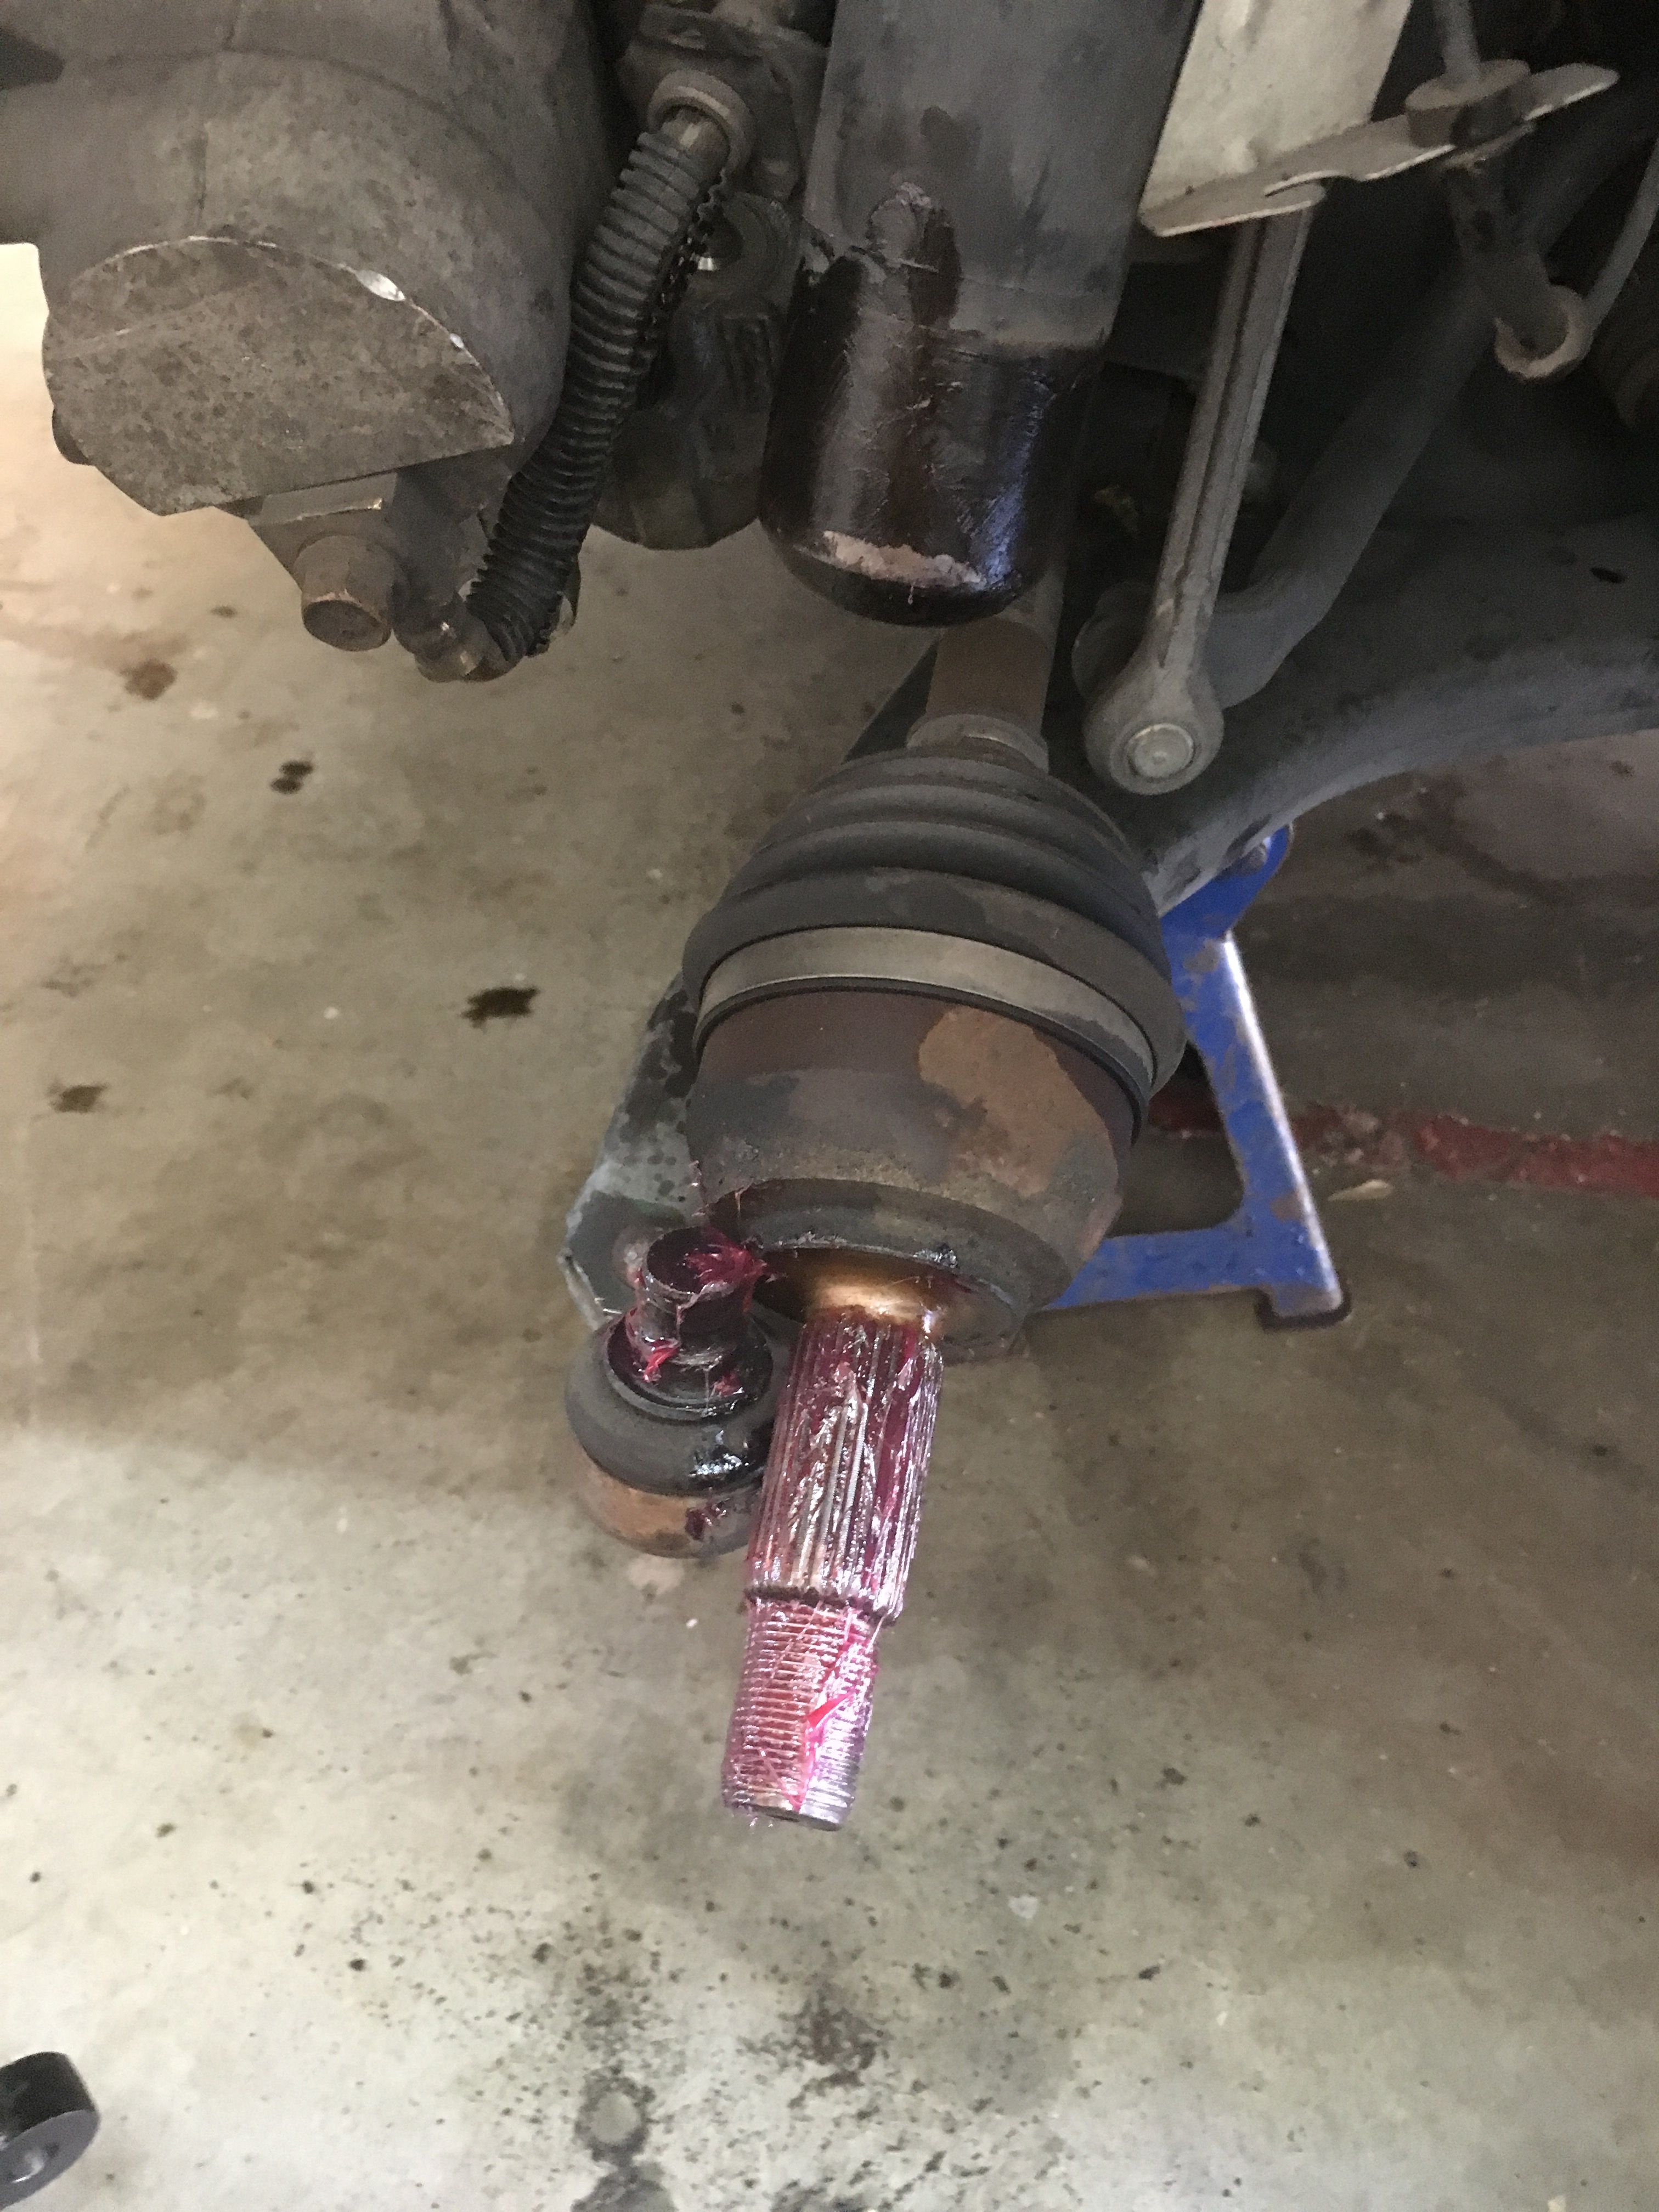
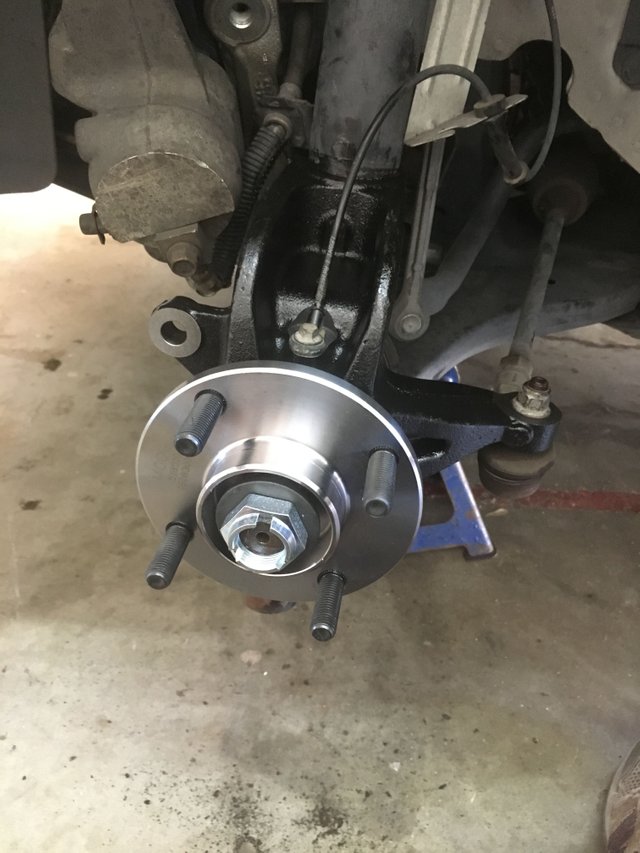
Knuckle Removal/Installation

Ok just for clarification the car I am working on is a 2010 Ford Focus SE and im sure that the knuckles used go back as far as 07 but dont quote me on that.

Grab a set of gloves if you have them. Tires tend to be filthy from the road and it helps keep your hands from turning black like asphalt.

First thing when working on the tires is that unless you have an impact gun and air compressor, the tire must be on the floor when breaking loose the lug nuts, otherwise the tire will spin. You just want to loosen them slightly, DO NOT REMOVE THEM. The lug nuts on this vehicle were were a mixture of 19mm and 21mm

Now is the time to also loosen the center axle nut. Find a very small flat head screw driver to pop off the Ford cap and expose the nut.


Grab the large 32mm socket, breaker bar and extender to break loose the axle nut. You just want to break it loose like the lug nuts. Do Not Remove!


Block both of the rear tires and pull the ebrake. You can now stick the jack under the vehicle and jack it up to a height were the tire is off the ground an inch or two. Make sure you jack from a proper jack point under the vehicle.

Also make sure you rest the car on a jack stand as a jack is not a proper load bearing support. Be very careful, a vehicle weighs tons. Also make sure the jack is in a proper location as well.

Once the car is jacked up and supported properly you can now remove the lug nuts from the tire and remove the tire.

The tire actually makes a useful seat when working on the brakes and knuckle.

Remove the two bolts that hold the caliper to the brake pad housing. These bolts were 15mm.

Separate the caliper from the brake pad housing and float it using a bungee cord or some wire. Try not to kink or damage the hydraulic line attached to the caliper. If the caliper seems stuck (like mine was) simply move on to the next step.

Remove the two bolts that hold the brake pad housing to the knuckle. Although a 19mm wrench is shown, these bolts were 17mm.


The rotor easily slides off, try not to dirty it up too much. The center axle bolt can now be removed exposing the axle shaft.

The Knuckle assembly contains the wheel bearing internally and can be dismantled to repair it. This is a cheaper option but requires the use of either a press or a machine shop. The more expensive but faster option is to buy the entire knuckle unit new and swap them out. This product is refered to as the "problem solver" by the company that produces them. I opted for the more expensive faster way, but by doing the work myself I was cutting the cost already.

The anti-lock brake sensor can be removed. Clean up the sensor with electrical cleaner (if you have it) and stow it away out of your working space like the caliper.


The knuckle can now be attacked from all sides. I like to remove the tie rod first. Remove the nut and pop it with a hammer to remove the rod. The nut was a 15mm.


Remove the 18mm upper bolt that clamps the knuckle to the shock absorber.

The lower bolt will require a 17mm open end wrench on one side and that T-50 Torx bit on the other.


The whole knuckle assembly can now be removed with some good ol elbow grease. At this point the sledge hammer is your best friend. The axle WILL be stuck in the knuckle so you will need to rotate the knuckle to one side and beat on the axle shaft until you see it backing out of the housing. DO NOT mess the threads up on the axle shaft, use any means necessary to take caution. Don't give up, this was the hardest step of the entire job. Once the axle is backed out a bit it means its free and the focus shifts to removing the knuckle from the shock absorber. Beat down on the top of the knuckle (you have a new knuckle don't worry about this one, just try not to damage the parts around it) near the shock absorber enough so that it will pop out and you can slide it away. You will see the knuckle moving down as you hit it. This should free the knuckle, as you should be able to pull the axle shaft from the rear and lift the knuckle off the lower ball joint.

Clean and grease the axle shaft and ball joint as well as the new knuckle where metal mates with metal. Don't be shy on grease in the knuckle splines.


Slide the new knuckle over the axle shaft and lower ball joint and force the A-arm down with your foot to get the shock absorber in place. If you grease the shock absorber slightly it will slide on easier.

Bolt the knuckle back up, starting with the upper and lower bolts and then on to the tie rod. Don't be shy on torque with the upper and lower bolts. The tie rod should be torqued pretty snug but not squashing the rubber boot. The ABS sensor should be tightened just snug. Tighten the axle nut until its somewhat tight, it will be completely torqued later.

Mount the brake rotor back on the knuckle and you can now move on to the brakes.

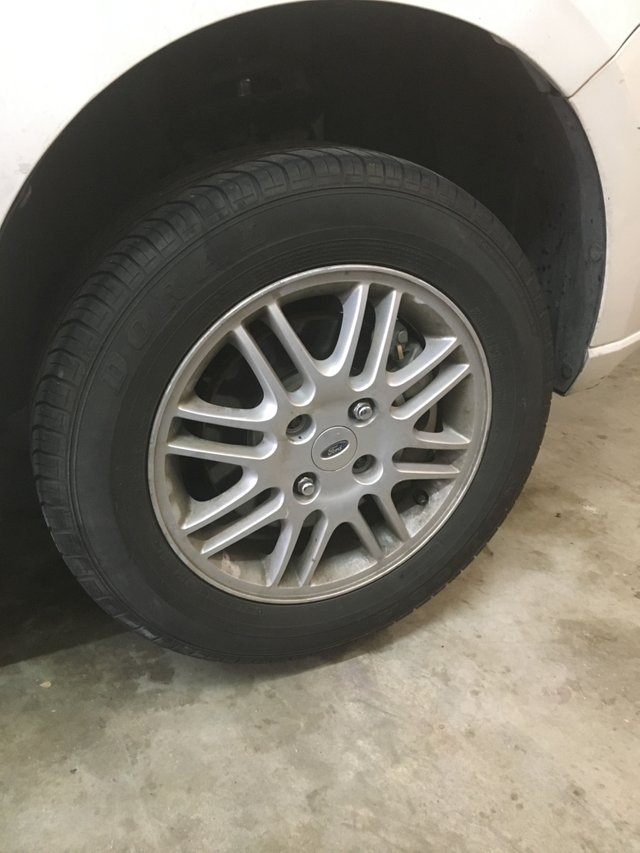
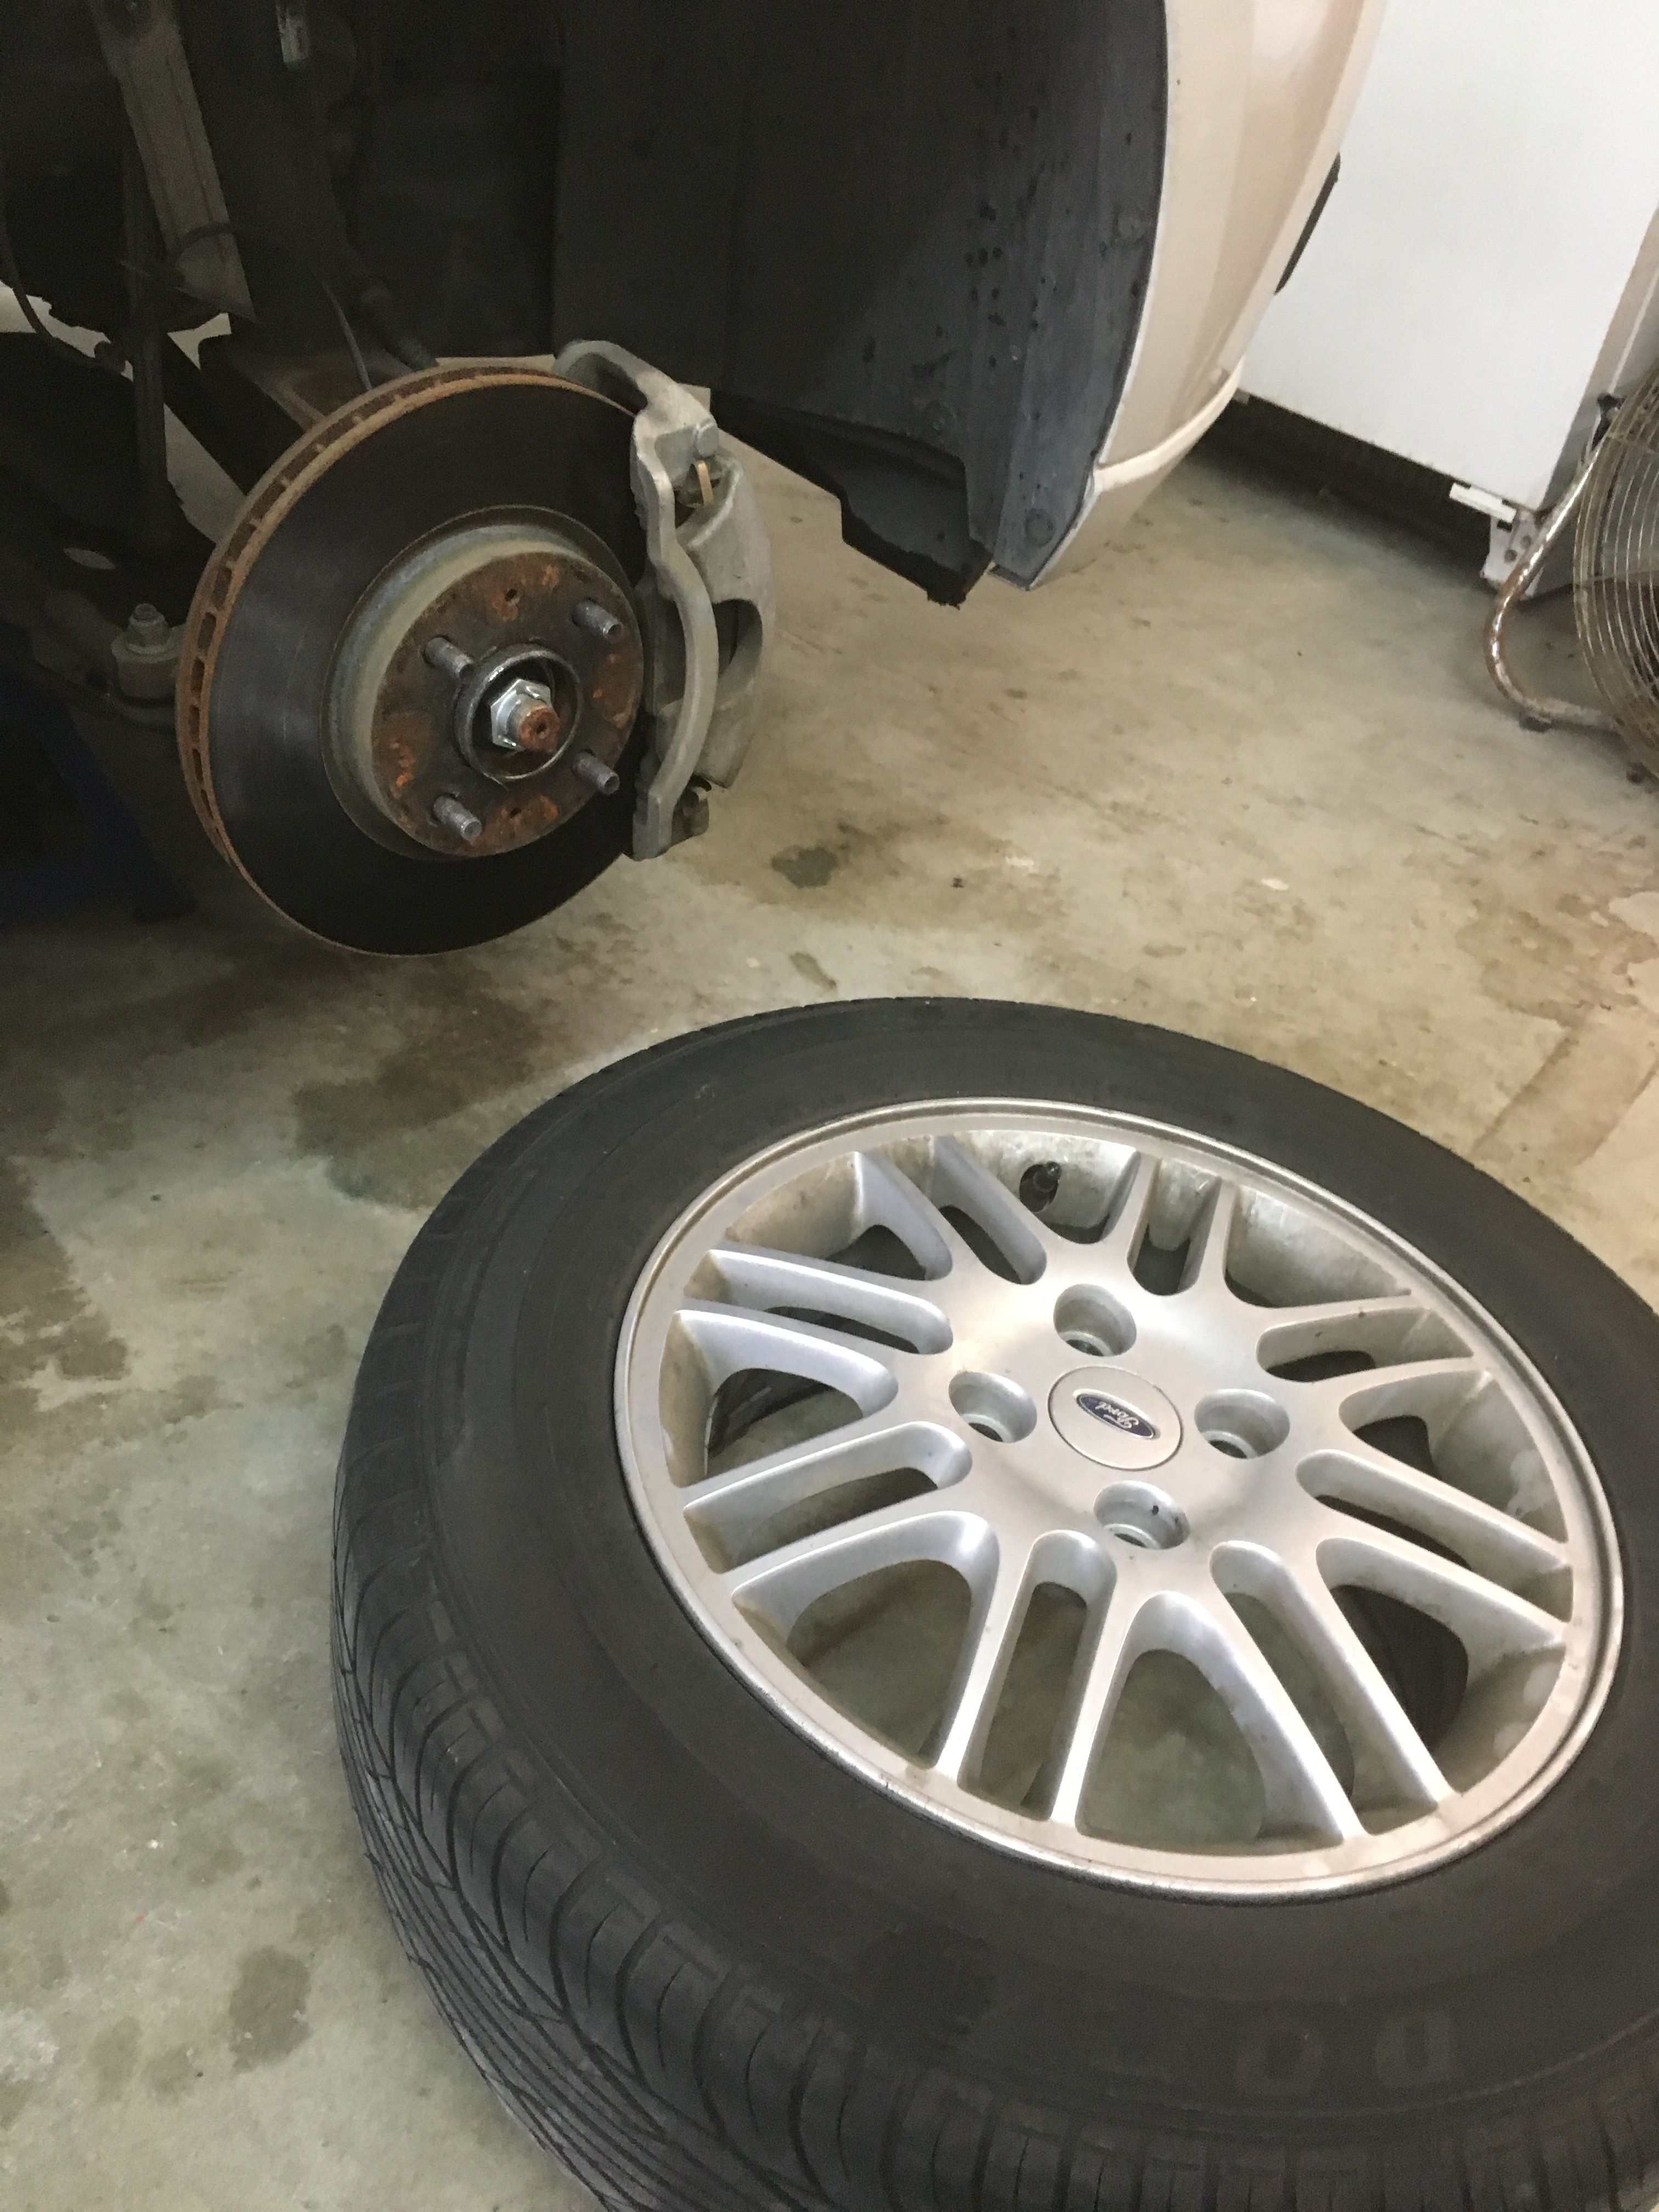
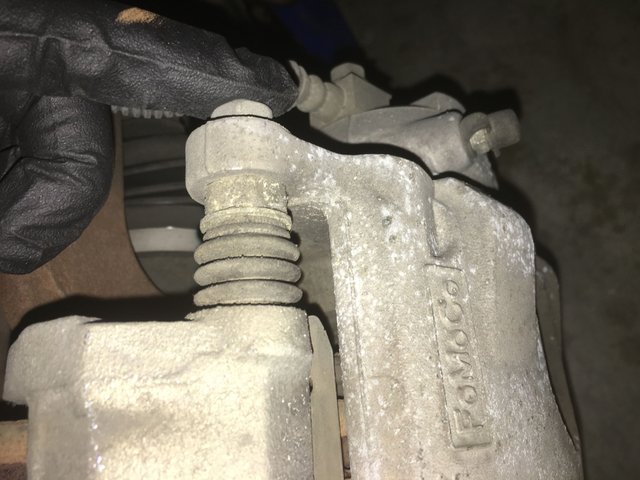
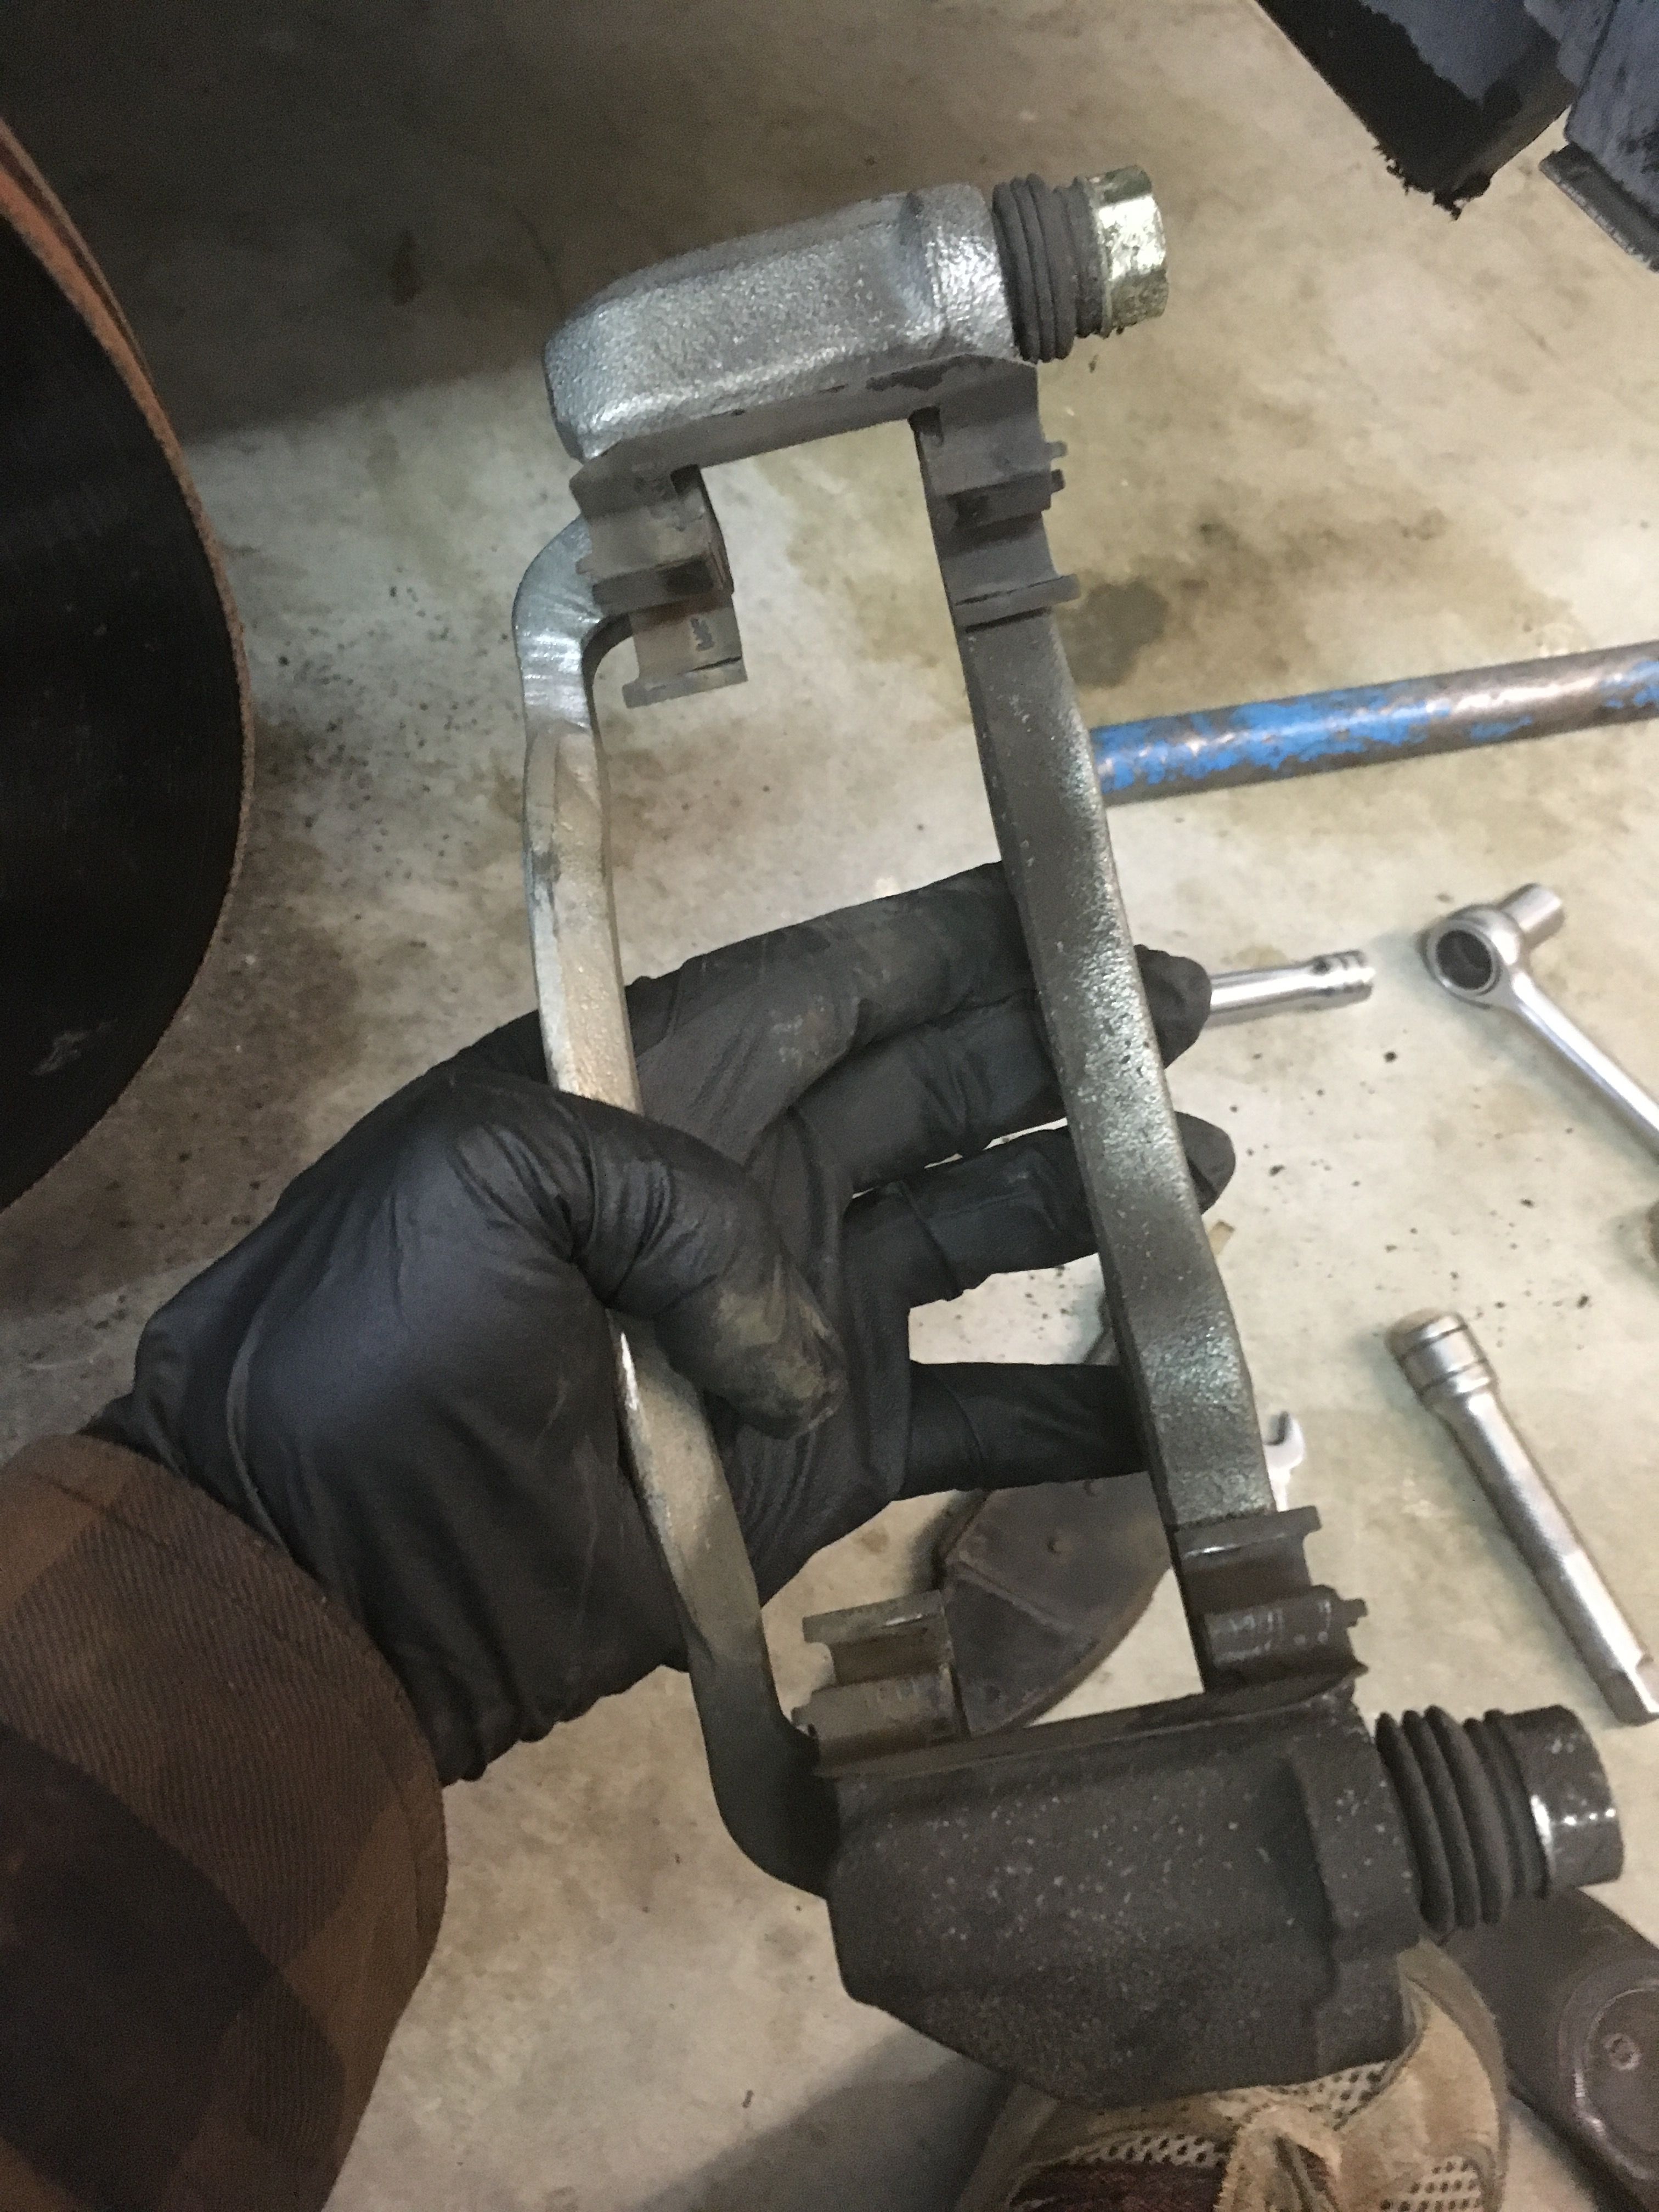
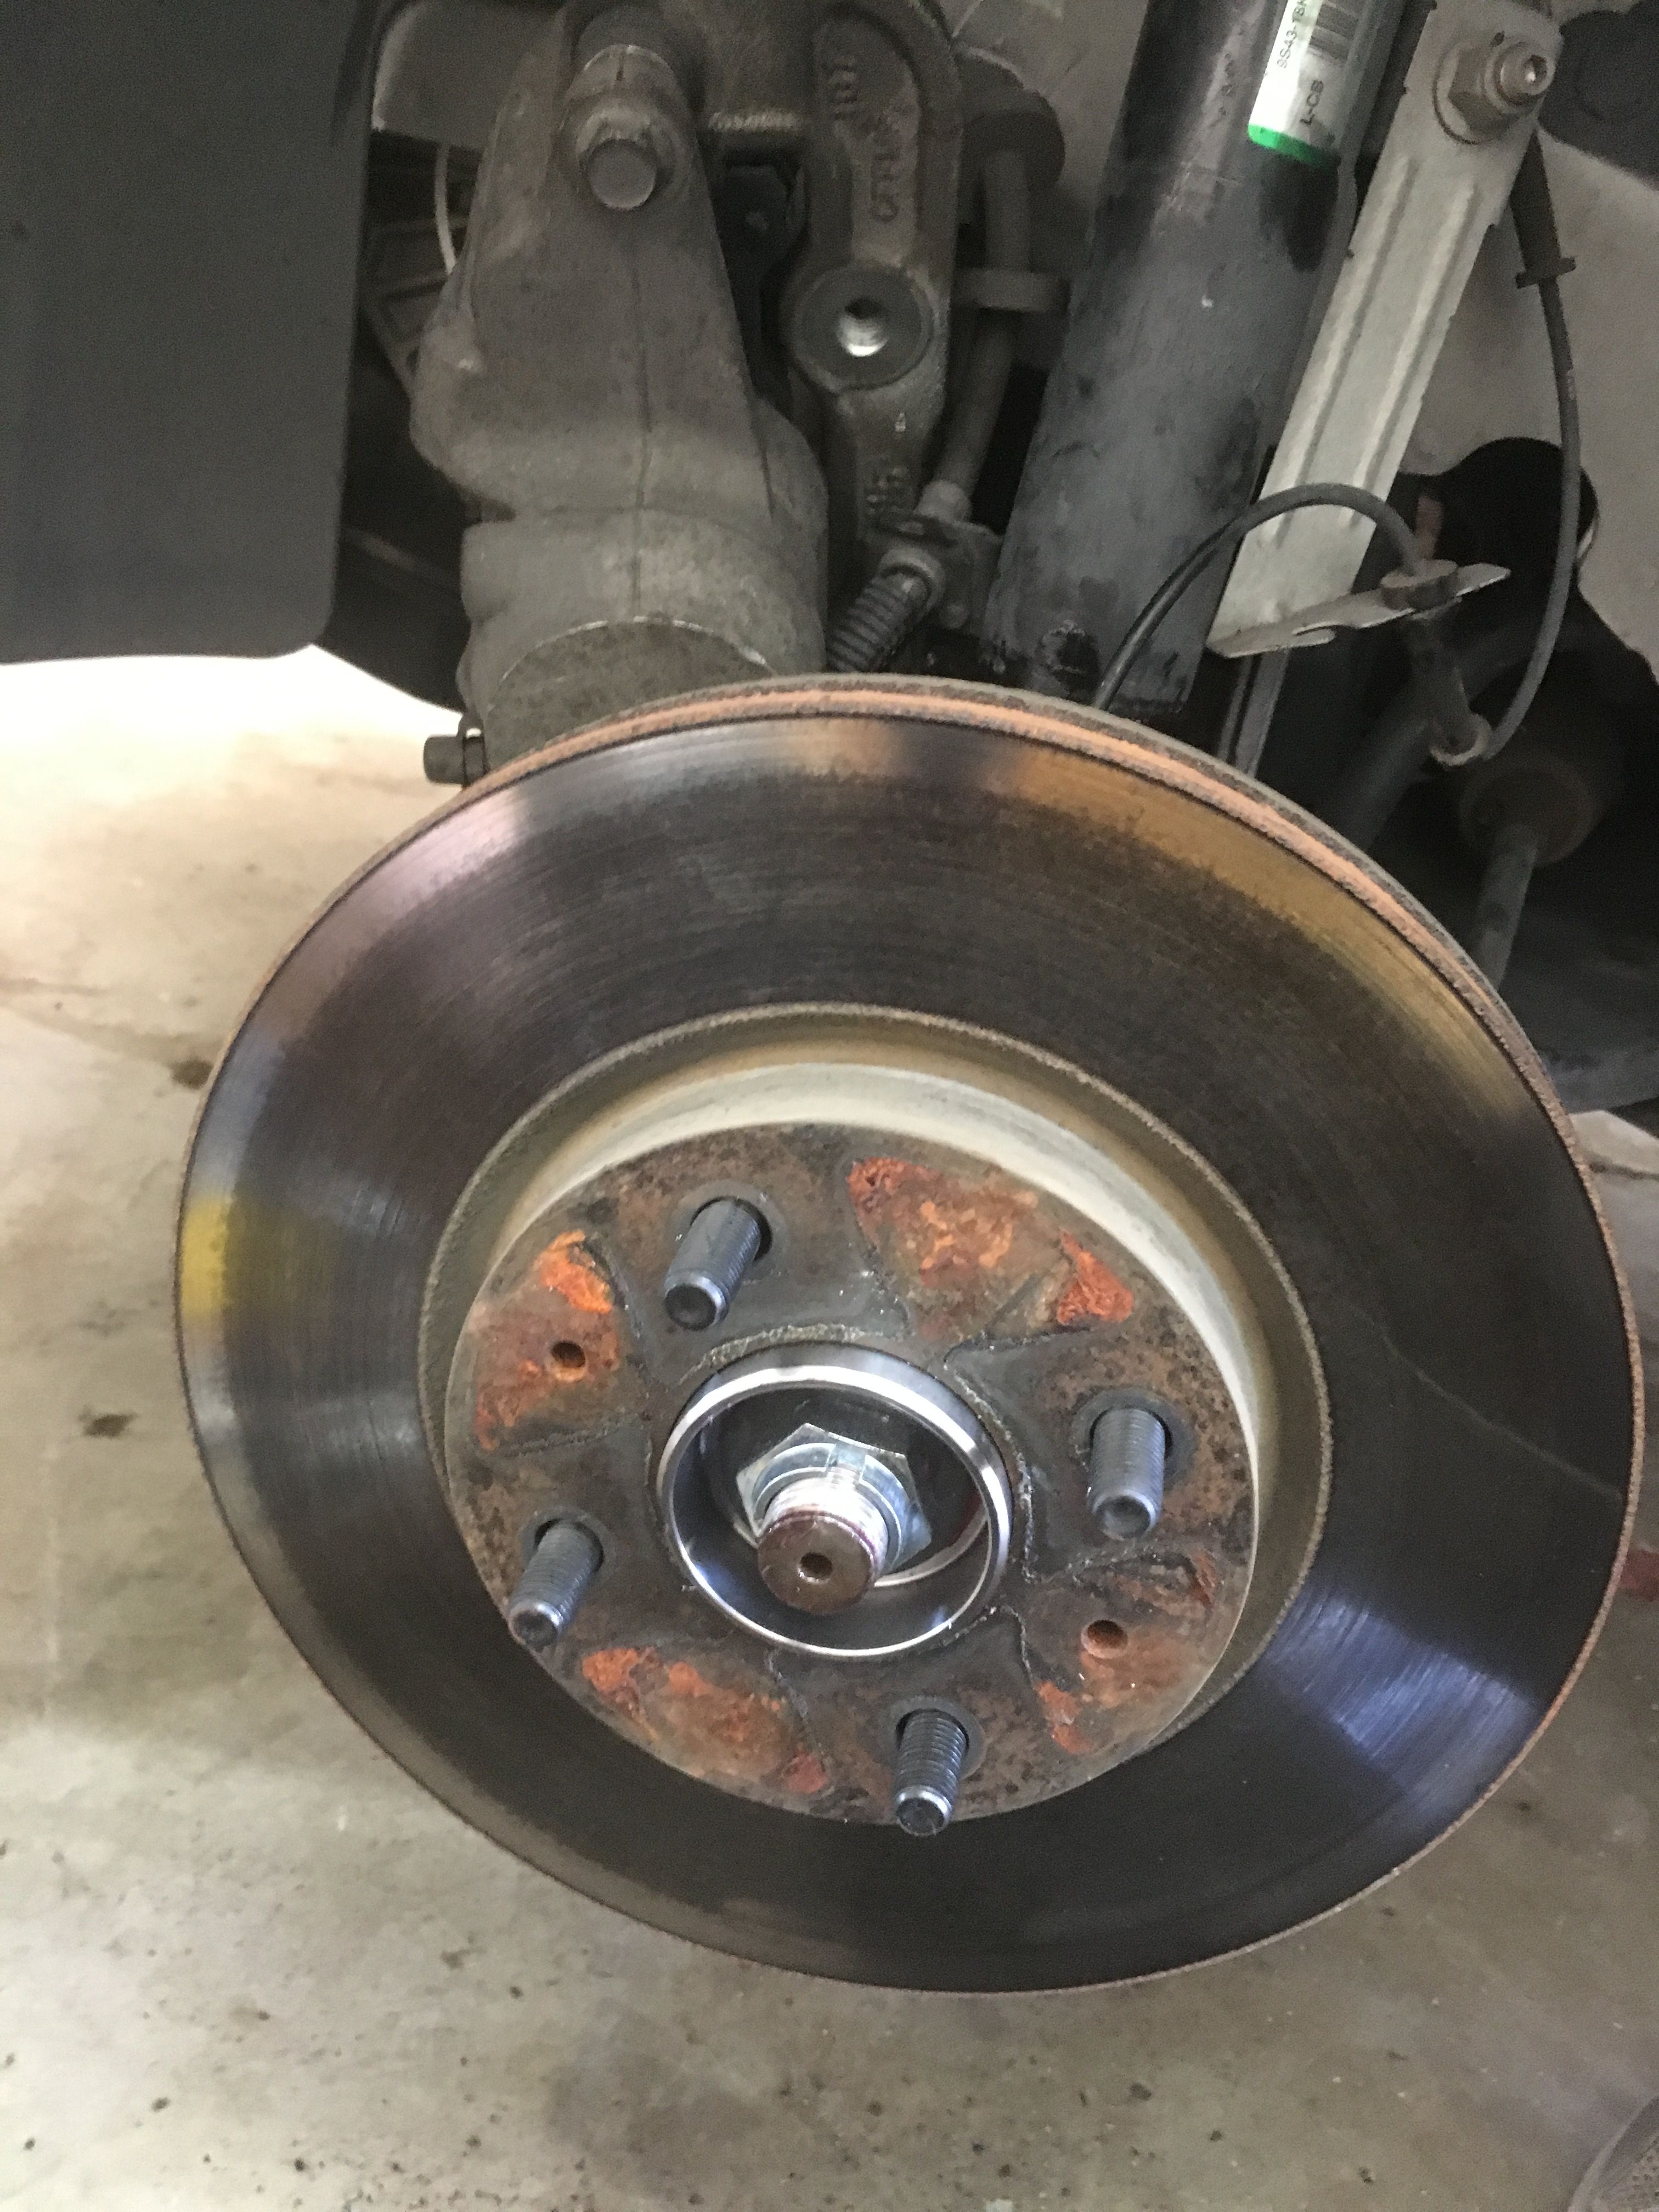
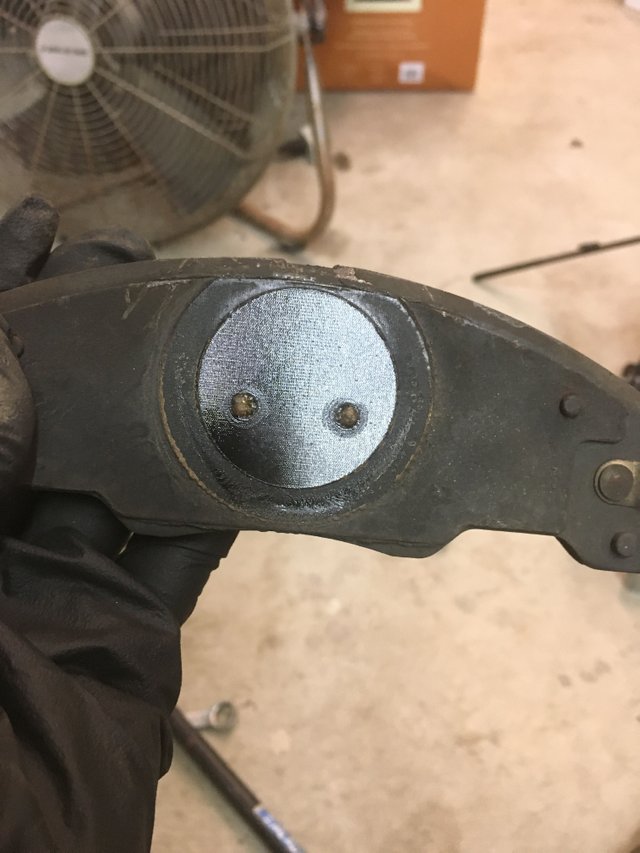
Brake Pad Replacement

Remove the old pads from the brake pad housing and replace them with new ones. Take caution on the orientation and shape of the pads as you replace them. One of my pads was stuck to the caliper piston. If yours is similar, do not damage the piston boot when separating. Apply a light coating of grease to the back of the pads and contact points before replacement. Be careful not to get grease on the braking side of the pad.

Using a large C-clamp, compress the center piston of the caliper until it bottoms out. Take caution not to score or damage the walls of the piston.


Slide the brake pad housing with the newly greased pads over the brake rotor and using those two 17mm bolts, reattach the housing to the knuckle. Dont be shy on torque here either. Carefully slide the compressed caliper over the brake pad housing and bolt that to the housing using the two 15mm bolts. Torque these two nice and tight but not overly tight (usually a 1/4 turn past tight).

Use brake cleaner on the remaining exposed portions of the rotor. Don't spray the caliper with the newly greased pads, just the rotor.

Mount the tire back on the knuckle and snug the lug nuts down to hand tight. Jack the car back up off the jack stand, CAREFULLY remove the jack stand and lower the car. You can now remove the jack completely and tighten the lug nuts down in a star pattern as tight as you can using the breaker bar. Tighten down the center axle nut as tight as you can the same way. Secure the Ford cap and congratulations, you have replaced your wheel bearing as well as brake pads!

Thank you for taking the time to read this very detailed post! I hope it gives you the confidence to undertake your own projects.

All photos, unless stated or sourced, belong to @csusbgeochem1 and require permission for redistribution. Animations and cover photo created by @csusbgeochem1 using GIMP.

If you found this story interesting you can find more like it by following @socalsteemit and help us expand the Steemit community together

Join the SoCal Steemit Discord group today and meet others around you

Sort:  

This post was chosen to be featured in this weeks SoCal Spotlight!! Thank you so much for being part of the #socalsteemit community.

socal nobear.jpg

I hate the way garages over charge for labor, and half the time they don't even fix it properly!
So thank you for the hours of hard work you have already spent fixing my Suzuki's.

I think I can fix mine myself with the help of this, thanks @csusbgeochem1

Good to know! Just make sure you take it slow and pay attention, as well as take lots of photos for reference. If you get down, call a friend. A simple beer and extra set of eyes to give you a reference point you didnt already have. Thats why i did my best with all the pictures.

Coin Marketplace

STEEM 0.17
TRX 0.12
JST 0.027
BTC 61861.45
ETH 2995.16
USDT 1.00
SBD 2.48