Candle Crafting...Processing with Soy
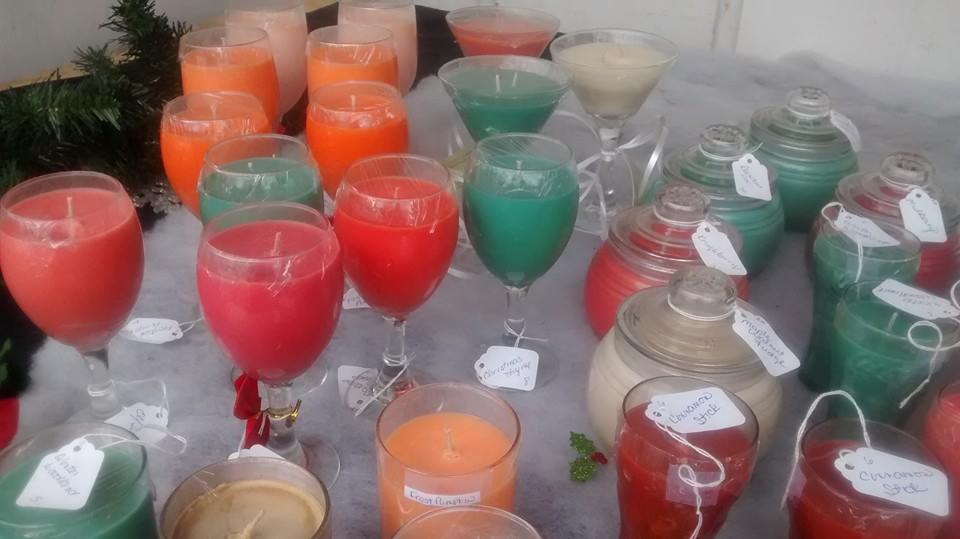
Soy Candles are touted as a natural approach to candle making, espoused by all who are against paraffin in all of its forms, whether its food grade, or not. And, to be fair, I did give it a good shot, using strictly soy for a year and a half, starting in October 2015. The candles pictured above are from December 2015. I switched to a soy-paraffin blend to escape the long wait periods between steps. While the soy cost less, dollar-wise; it was grossly more costly time-wise.
web image
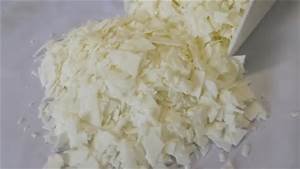
Soy wax comes in these cute little flakes, where other forms of wax come in slabs. It is easy to process, the main drawback is it's extreme temperature requirements...everything must be 'just so'. Like any process, there are things you can adapt to fit your preference, and there are things that cannot be messed with!
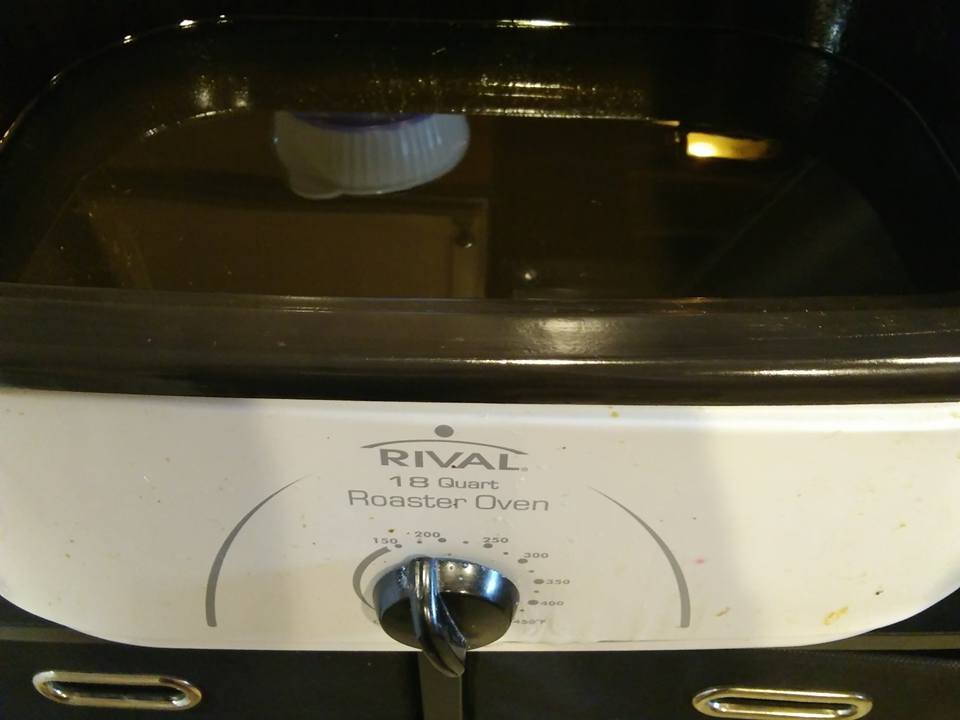
As I do large quantities of candles, I use a roaster for the melting process. Soy melts at 125F...however, it also burns and discolors at 200F. Well, one would think that this would make things easier...not so much. The problem lies in that for the fragrance oils to properly bind with the soy wax, it needs to be added at 185F. Not all fragrances can tolerate this, due to their flash point. There will be some fragrances that just don't pan out with soy.
Another problem that I found was that soy candles and Texas Summer are mortal enemies! Soy candles will melt if you leave them in your car! Yeah, your car smells awesome, but...anyway, moving along!
If you're using pour pots for your processing, melting with the double boiler system, you'll want to keep a close eye on your thermometer. Step by step later in the post. With a roaster, just set it and let it melt.
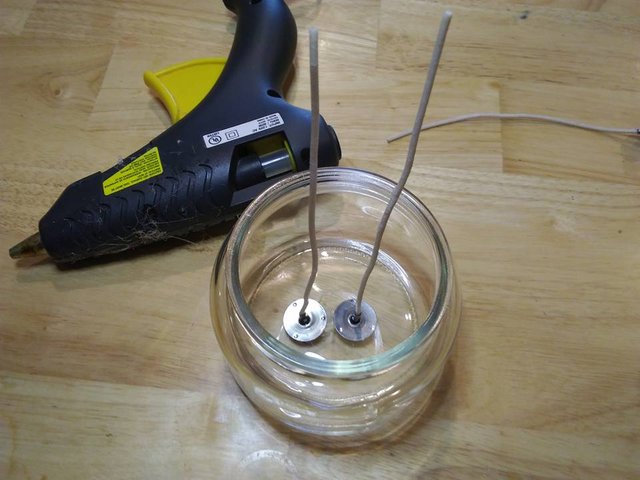
While the melting is going on, you can set up your candle glass with your wicks. This size apothecary glass uses two wicks, CD series. I prefer the double wick for a couple of reasons...I can use the smaller sized wick, like I use in my hexagon glass, so I'm not carrying two sizes of wicking in inventory. Second, it makes a full burn pool happen more easily! Use a hot glue gun to secure the wicking.
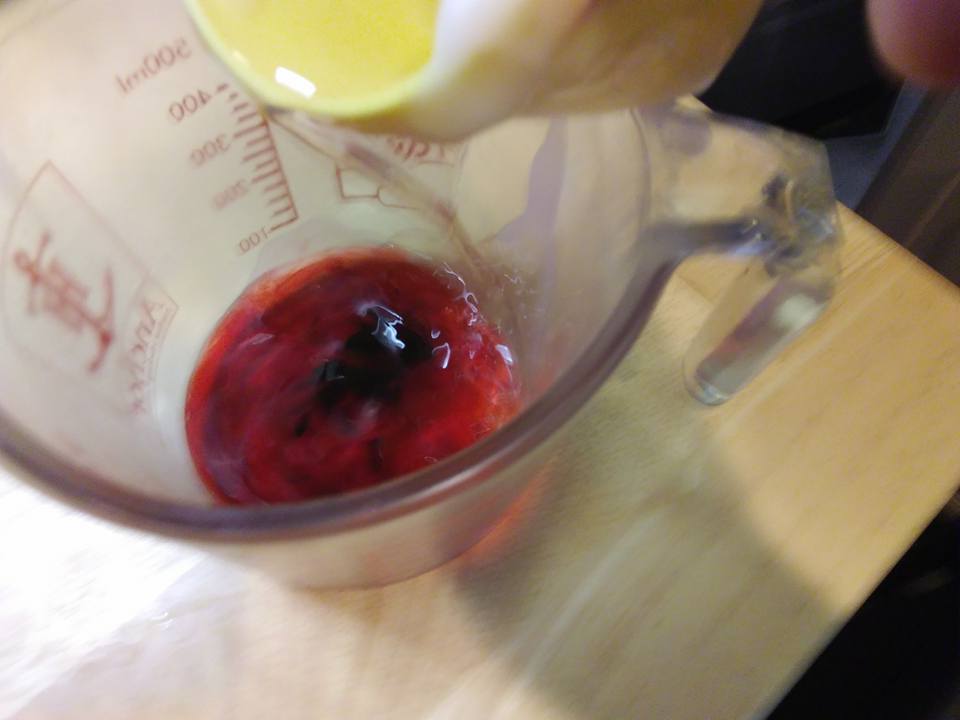
You can add you color at the 185 degrees, stir to melt. Soy will not hold the deeper hues that require more color block. It tends to clog the wick, and cause sooting...which is one of soy's bragging points, that it doesn't soot. Be content with beautiful hues of pastels. They used to believe you could not use the liquid dyes with soy; now it's been decided that you can, just go about it gradually, adding a drop at a time. I just actually prefer the block wax for practicality.
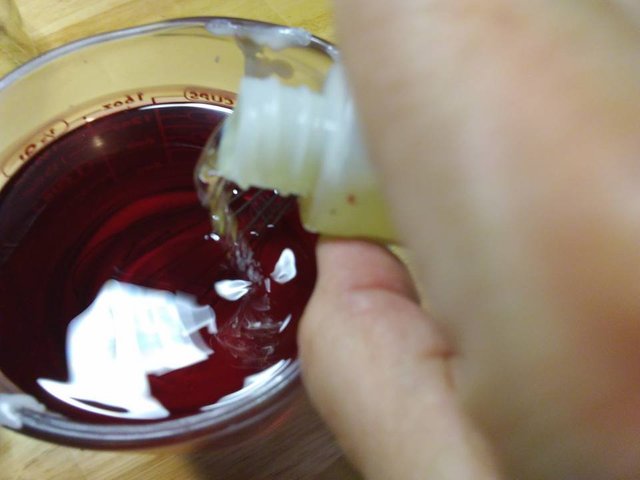
Adding the fragrance...This is where you have to pay strict attention. Each fragrance has its own flash point, that being the point where the fragrance begins to burn off. For instance, Love Spell has a flash point of over 200 degrees. Cranberry has a flash point of 162 degrees. Mulberry has a flash point of only 135! So, you need to watch your fragrance requirements. You can raise a fragrance's flash point by adding a higher flash point fragrance, say Vanilla...Vanilla Mulberry is really a nice fragrance!
If the flash point is over 185, you can add the fragrance immediately. Stir vigorously for 2 minutes to bind the fragrance to the wax. For fragrances with lower flash points, you need to let the wax cool down to that temperature point before adding the fragrance. Not we wait some more.
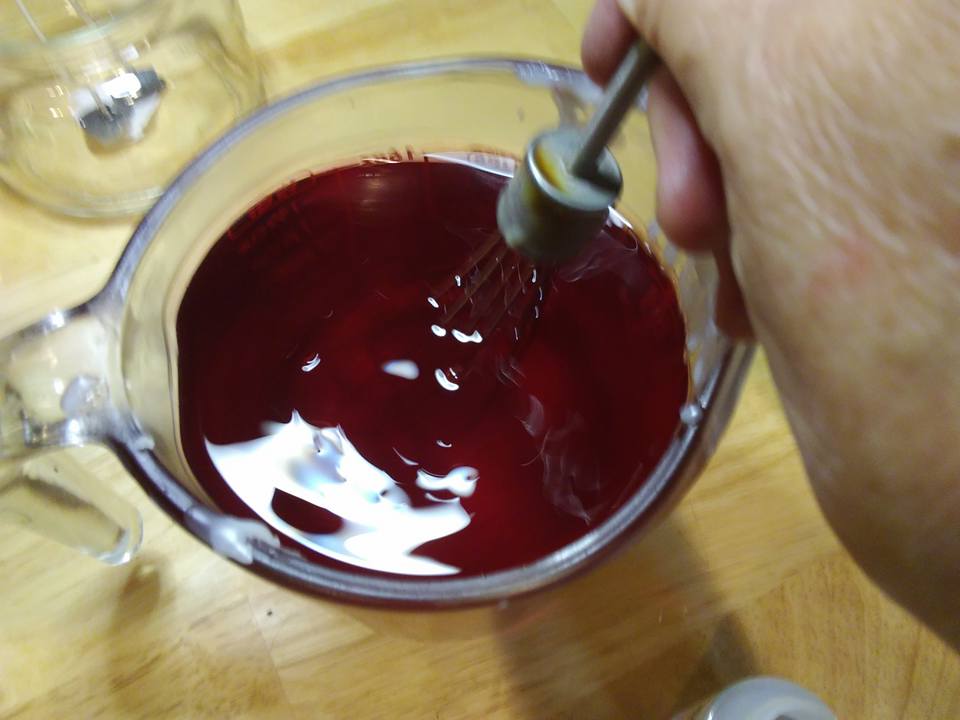
Stir occasionally to help the cooling process. You cannot rush this, as soy is organic, and will let you know it's displeased!
From Natures Garden:
"To break down fragrance addition to simpler terms:
IF a fragrance oil is 185 degrees or higher, add it to the soy wax at 185 degrees.
IF a fragrance oil is below 185 degrees, but is higher than 130 degrees, add it to the soy wax at its own flash point- with a full 2 minute stir.
IF the fragrance oil is below 130 degrees, add it to the soy wax at 130 degrees- with a full 2 minute stir."
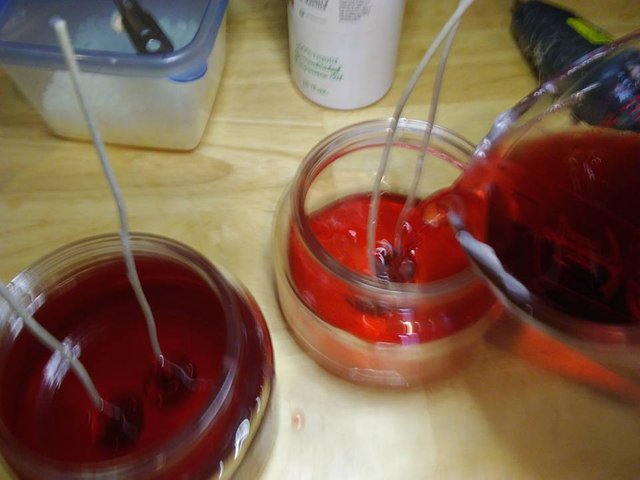
When your fragranced wax has reached 110F , it's time to pour. The wax will have a slushy sort of texture...it's what you want. Pouring at a higher temperature will cause flaws in the finished product.
For those of you doing small batch candles, using pour pots, I have these steps from Natures Garden:

Step 1 The first step when making a soy wax candle is to start melting your wax. When melting any wax type, the double boiler process is always recommended. This process will ensure that your wax melts properly at an even rate. This process also allows for a thermometer in order to best monitor your wax temperature. The double boiler process involves getting a pot (or roaster) and placing a few inches of water into it. Then, place your pot on the stove tops at a medium heat setting. If you are using a roaster, turn it on a medium heat setting.

Step 2 Now, while your water is heating, weigh out your soy wax. Once you have the amount you are looking for, place all of it into your pouring pot. Next, place your pouring pot into the pot (or roaster). As the water heats up, it will begin to transfer heat to your pouring pot, therefore melting the wax. This is the double boiler method.

Step 3 Once you notice that your wax is starting to melt, place your thermometer into the pouring pot. This is the best way to monitor your soy wax temperature. Do Not let the temperature go above 200 degrees Fahrenheit. Occasionally stir the wax as it melts.

Step 4: While you are waiting for your wax to completely melt, set your oven to 170 degrees Fahrenheit. Now, while the oven is warming, place your glass candle jars onto a cookie sheet. When your oven is ready, carefully place the cookie sheet in. Allow your jars to warm at this temperature for 10-15 minutes. Once that time has elapsed, remove the cookie sheet from the oven. You will also want to plug in your hot glue gun now (if you are using glue dots, you do not need a glue gun).

Step 5: Check the temperature of the wax. Once it hits 185 degrees Fahrenheit, remove the pouring pot from the heat source. Now, add your candle colorant and stir well.
If your fragrance oil flash point is above 185 degrees Fahrenheit: add your fragrance oil to the melted wax (after the color) at 185 degrees Fahrenheit. Stir well for at least 2 minutes. This intensive stirring will help the fragrance oil and color bind with the wax. Place your thermometer back into the wax.
If your fragrance oil flash point is below 185 degrees but above 130 degrees Fahrenheit: add your fragrance oil to the melted wax at its flash point. Stir well for at least 2 minutes. This intensive stirring will help the fragrance oil and color bind with the wax. Place your thermometer back into the wax. If your fragrance oil flash point is below 130 degrees Fahrenheit: add your fragrance to the melted wax at 130 degrees. This will not completely prevent scent burn off. Remember, with lower flash point fragrances, you may want to anchor the scent by blending in another higher flash point scent. Stir well for at least 2 minutes. This intensive stirring will help the fragrance oil and color bind with the wax. Place your thermometer back into the wax.

Step 6: Next, using your hot glue gun (or glue dots), secure and center your wicks to the bottom of your candle container.

Step 7: Place your warning label on the bottom of your jar.

Step 8: Check the temperature of the wax. When the temperature reaches 110 degrees Fahrenheit, it will be safe to pour. Give your wax one final stir before pouring. Through our testing, we have found that pouring at this temperature will allow your soy candles the best chance to have a smoother finished surface.

Step 9: Now, slowly pour the wax into your candle jar. You will want to stop the pour where the candle jar changes shape.

Step 10: Now, straighten your wicks.

Step 11: Once your candles have been poured, allow them to fully set up undisturbed. When the candles have fully hardened, lid your jar.

Step 12: Allow your candle to cure for 24-48 hours.
Step 13: When your candle has cured; trim your wick. Your Soy Wax Candle is now finished and ready to burn. Enjoy!
It is important to know, as well as stress to the people that are purchasing or burning your candles; a memory burn should always be the first burn your candles should experience. A memory burn is essentially a complete wet pool of melted wax. This wet pool will encompass the entire top portion of your candle (and be approximately ½ inch in depth). What the memory burn establishes is a guarantee that every time the candle is lit, it will retain the memory of a full melt pool. This will reduce tunneling and the excess of unmelted wax along the sides of the jar, leaving them clean. Another advantage to a memory burn is the hot scent throw. Ensuring a memory burn in your candles will allow every gram of scented wax to be used. ~~ Nature's Garden
I learned something new today with the memory burn! Thank you! I very much enjoyed reading how you make candles, and all I can say after seeing the whole process—WOW! I need one of those wine glass candle for my sister in law :)
Thanks! I'm glad you are enjoying the journey! :)
I love that you used champagne or wine glasses! That is so neat!
I have been getting ready to buy some candlemaking supplies but where is the cheapest place to buy the wicks? I saw it at a local craft store and was quite pricey.
I use Natures Garden for the largest majority of my supplies. They're very educationally minded, as far as giving you the info you need to succeed and providing decent priced trial kits in a variety of products...they have complete soy candle kits, and blend wax kits, so you can make an informed choice without a huge investment. I've found their pricing to be very competitive, and they offer discounted shipping! They've got the full array of wicking, with info on proper sizing and wax requirements. http://www.naturesgarden.com
Amazing process. Really cool to see how it all comes together. I am sure they smell fantastic at the end as well!
Thank you for the well crafted explanation!
Thanks! They do make for an exceptional smelling home!
That looks pretty technical, but the end product is beautiful. We haven't done too much candle making, just some beeswax candles. Not too fancy haha 🙃
Someday, I'd like to try the old fashioned beeswax dipped candle...just for kicks! Beeswax is pretty high dollar, though!
Love these candles! You make the process look so easy, and then you see the break down and wow!