So you think you can graft an apple tree? [Gardening]
Winter has finally ended, and that means the #sap is starting to flow, and #fruit #trees are ready to be grafted.
In this post I'll be sharing the process I followed to #graft this tree.
Here are the main headlines in this post you can jump ahead to:
- When to Graft
- Choosing a Branch
- A Look at the Knife
- Grafting the Scion
- Sealing the Graft
Also I have a quick update on my #bonsai landscape project at the bottom of this post.
If you want help getting started, check out my post So you think you can grow an apple tree? It gives an overview of my experience with some of the many questions and concerns you might want to consider prior to attempting to graft and grow an apple tree.
Let's begin...
When to Graft
In my region, grafting on Apple trees is done about a week prior to the first day of Spring.
The sap in the trees will be starting to flow. There isn't much danger of snow and ice, but there are still some frosty mornings each week. The first week prior to when the growth hormones begin to cause the buds of the tree to swell, this is the best time to graft a tree.
Choosing a Branch
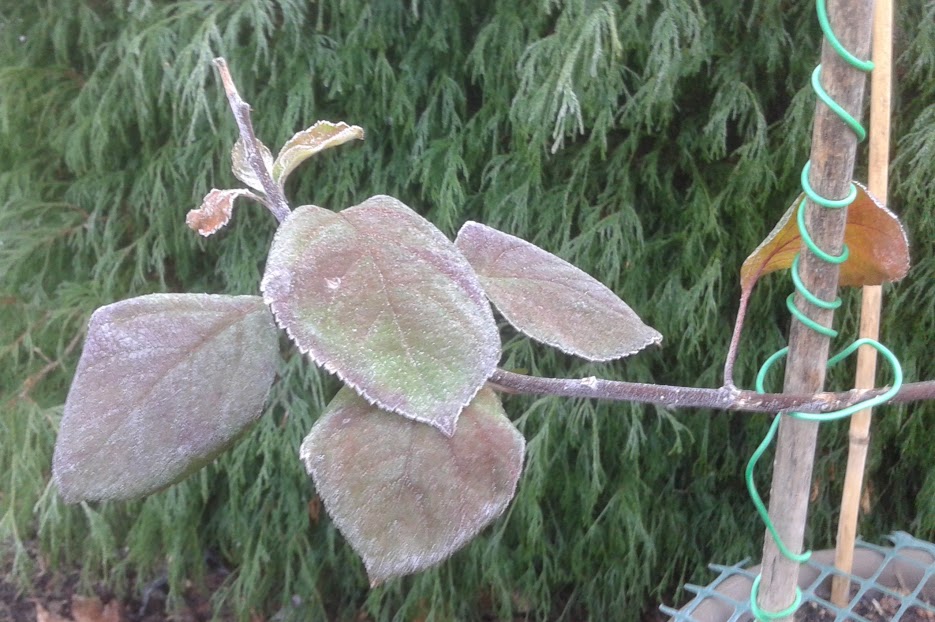
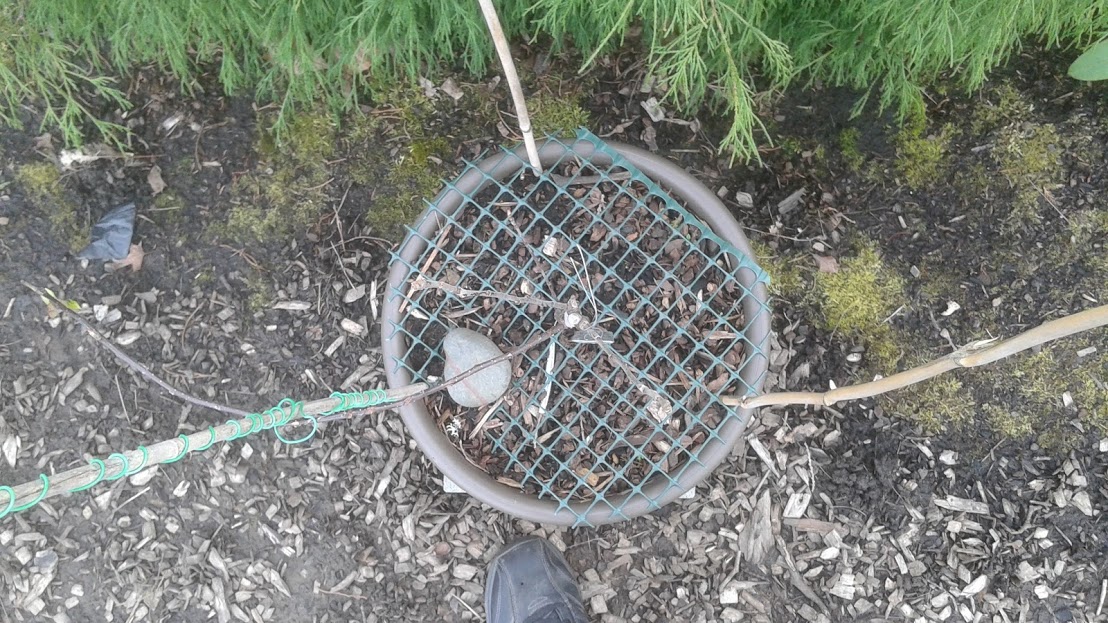
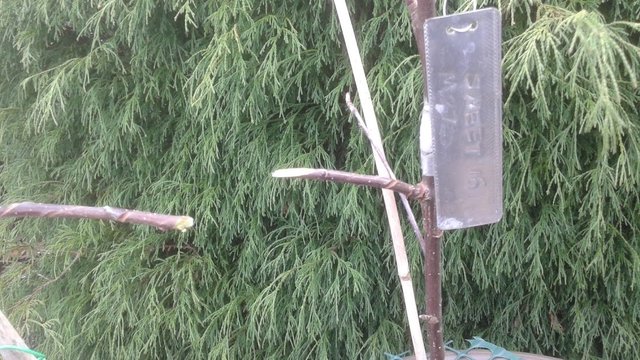
Earlier in the Winter I took these photos of my Apple tree to show what it looked like. I wanted to make sure its #branches were still healthy to take a graft in the Spring.
The long #branch on the left is part of the #rootstock that I trained to grow. It is strong and flexible.
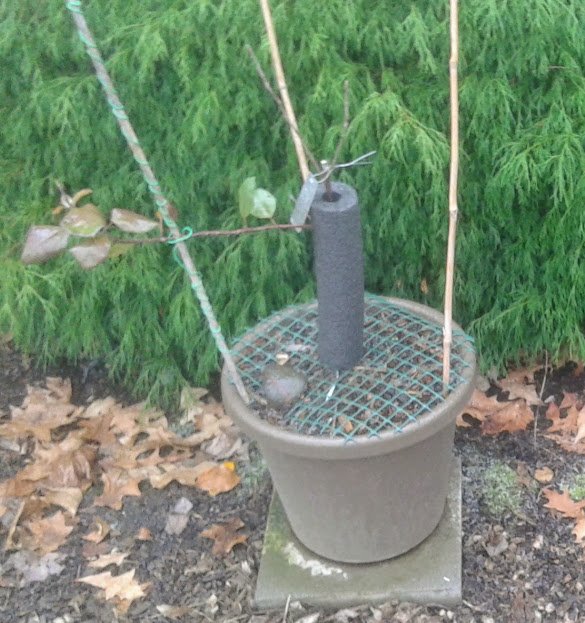
The foam tubing protects the tender bark of my tree from rabbits and deer. Apple wood is sweet and juicy. The plastic screen protects the roots from being dug up by squirrels.
The two top branches are part of my graft from last year. They are too short, thin, and weak to graft to at this point, and I want all of those buds to be focused on growing more branches for fruit. I do not expect to get any apples in this second year. Those branches can be grafted to in future years when they get stronger branch divisions.
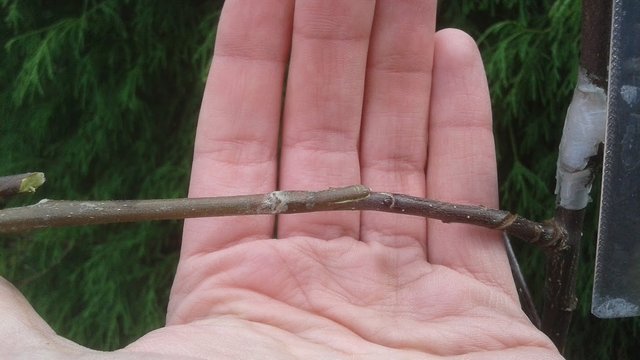
This year I only have the one side branch that can be grafted.
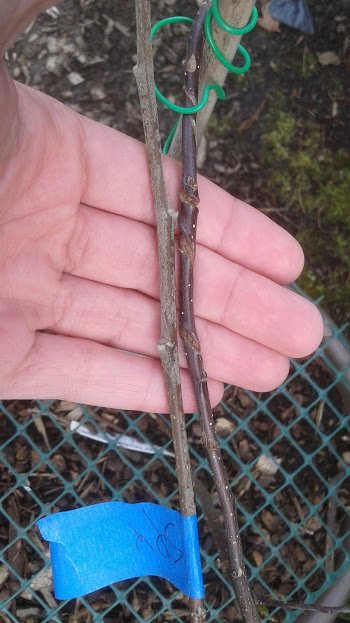
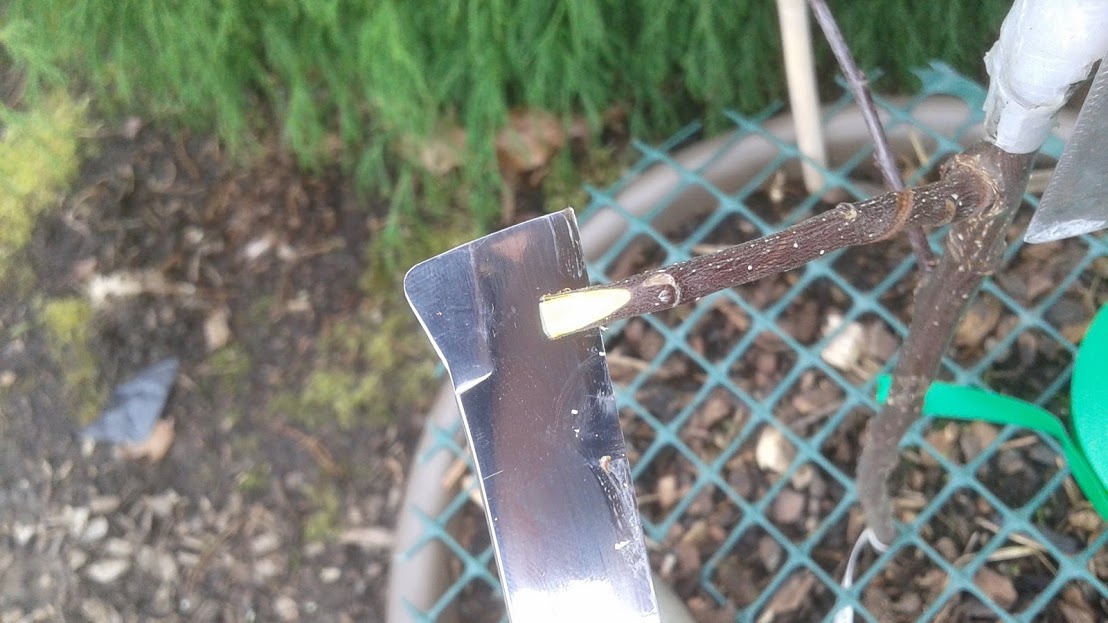
The #scion I will be grafting is from an apple variety called Northern Spy. It is a perfect size match, as I compare it to the branch.
There are some twisting grooves around the branch in the bark. Next year I'll have to be more careful with the training wire. The wood swelled up around the wire in only a couple months. Most of the branch with the worst marks will be removed today, and replaced with this fresh scion.
A Look at the Knife
If you read my last post, then you can see the vendor booth at the fair I went to. They had five or six different styles of grafting #knives for sale, and different brands.
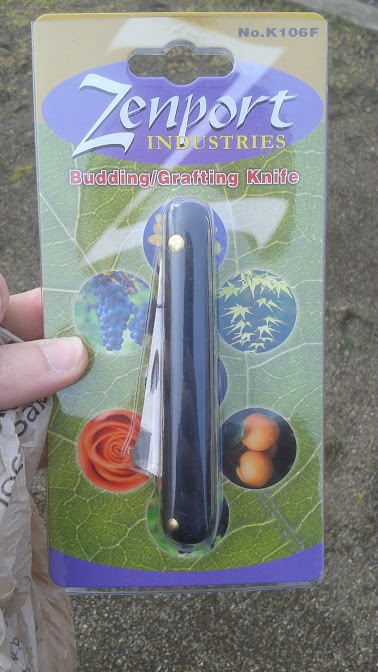
I chose this brand because I can fold it up to keep the #blade safely stored. It also has a tapered end on the top of the #knife, which makes it a multi-purpose bud-grafting knife. The top edge is not sharp. It is just meant for sliding smoothly under the #bark layer.
None of the garden centers I have visited sold grafting knives like this one. To find a quality blade designed specifically for grafting, you'll probably have to search online for a retailer, or attend a #Propagation Fair where there are vendors.

Consult an expert to learn how to use this knife properly.
Do not attempt to use a common kitchen knife or utility blade. A grafting knife is #razor sharp. It is not used for chopping, cutting, sawing, or whittling. It is meant to be handled for making thin slice cuts away from the body, and short low pressure cuts towards the body using a low-pressure rocking motion. These blades are dangerous, and should be handled with care. When I was taught how to use the knife, a cardboard guard was placed around the scion over my fist to protect my hand from being chopped into (if I pushed too hard and quickly).
Children are commonly attracted to sharp metal objects that can be used as toy weapons. I have to be very careful to keep this safely hidden from sight, and make sure kids are not in harms way or distracting me while using it.
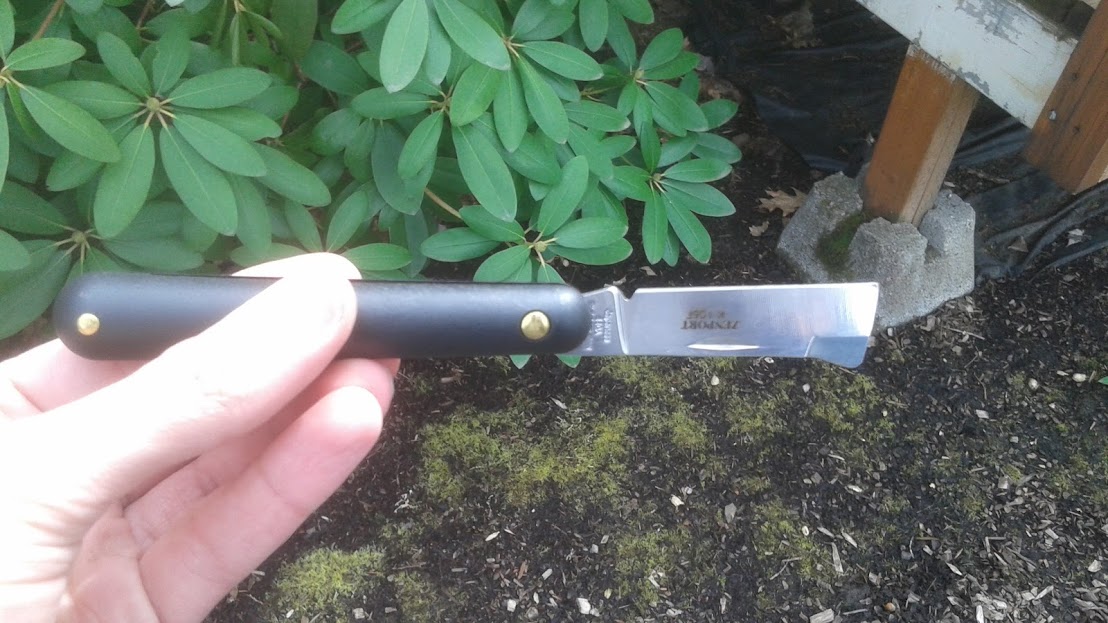
In this photo I am holding the blade upside down, just for the purpose of showing it in the best light angle possible. The sharpened side is up.
The security spring action on this blade felt very strong. The groove/fuller along the dull side is not ideal for the fingernail to pull the blade open, and will not provide leverage against the spring. I had to solidly grip closer to the end to use enough leverage force to open and close the blade.
Grafting the Scion
The first thing I did was cut off the end of the branch that will not be used. I could have used pruners to do this, and that would have been much easier.
The grafting knife was used to make an angled cross-section slice. I held the blade angled away from my body, standing behind the trunk of the tree. In five or six strokes of the blade, I was able to make the long angled edge on the branch I wanted.
Keep the branch end clean, and don't contaminate it with the fingers. It could cause the branch to become infected.
See how juicy the wood is? Make sure you clean and sterilize the blade after using it.
A shallow cut is made near the end, to divide the angle end slightly. I used a very gentle rocking motion to slowly slide the blade along the same direction as the outside angled cut.
The same cuts were made on the scion I collected. They are supposed to fit together like puzzle pieces.
Line up the two pieces of wood so the cambium layer on both pieces are touching. It must be the green wood under the bark that lines up, and it has to be as flat and tight as possible.
Between my two middle fingers, I am showing how the scion fit into the branch. This style of graft cut and union is called Whip and Tongue. The diagonal angled cut is the Whip, because it makes a very long slender tip. The inside cut forms the tongue, which runs along the whip.
I guess you could say the matching pieces of wood are kissing when they join together.

Ideally this type of graft is made using a branch and a scion that are the same diameter thickness.
Sealing the Graft
There are many methods people choose for sealing a graft. People use liquid grafting wax, wax tape, grafting tape, plastic wrap, electric tape, duct tape, honey. As long as it is flexible, removable in a few months, and capable of protecting the wood so it is air tight.

Here I used a green stretchy plastic material. It is not sticky, so I had to really pull hard around the wood to get it hold tight. It wasn't very easy to handle. Next time I might try using wax tape or electrical tape.
.jpg)
Looking at the finished seal, I wish I had cut the scion shorter! I did go back and cut the scion down afterwards, leaving about three buds on it.
This wasn't the best graft in the world, but it was my first try and I am proud for making the effort on my own. Performing this graft gave me some much needed experience. I learned some lessons, and now I have a feel for how to do it better for next year.
Quick Update:
I wanted to briefly show what is going on with my Rock Landscape project.
The mud dam and flagstone has been sitting on my deck, to let the clay cure/dry. It has been raining a ton this week, so I haven't been able to spend any time improving the design.
When I was opening my plastic tool bin, I accidentally splashed some water from the lid onto it. Right away, I noticed I had a drainage problem. The upper left area seems to hold water against the vertical rock slap. As a remedy, I used a chopstick and punched a hole through the side of the mud dam. Fortunately, it drained immediately.
Starting to have doubts about the materials used to make this landscape. Will it be able to handle the heavy rains we get? Will it become a mud mess once a squirrel decides to claw through it? I'll have to learn from nature if this design is going to last or not.

#teambonsai is a great way to find fellow bonsai enthusiasts.
Growing bonsai trees takes many years of patience and experience. We want more users to enjoy the good fortune that comes with growing these artistic trees. Support our community.
Conclusion:
Hope you enjoyed this post. Was it informative and helpful to anyone? Does it make you want to try doing this at home?
There are a few more informative photos I wanted to share about growing apples trees regarding growing in a container pot. The type of soil to be used is very important to consider, so I'll be sharing that in a future post.
This series on growing apples trees has been quite fun for me to share, so stay tuned for more.
Have a wonderful week!

this is good work, may you always succeed here.
this is also a science for me and for all who read this post.
Some would say a science and an art to perform a perfect graft.
yes, i will also learn a lot from you, because this is very useful for me.
Very nice 🌲 tree
What is this Please read the whole post first because its not easy to create a post very easily and when you read it you will learn from it
Nice tree nice post what the fuck is ???
first read and then drop a comment
Thanks @travellingwomen. I get a thrill when women stick up for me. :)
Really I don't mind if someone leaves an innocent comment. Feed the little birds.
I know you did not mind but with out reading a post dropinga comment is not good and i dislike this
I also know it is a great community and every one is caring and loving but with all these we also think about the work of others how they did and how much it is difficult
Very great post @creativetruth (>‿◠)✌
What the fuck? you know how muh difficult to creat a post and esspeaclly post of creativtruth Just appereciate him not with a a word great post
Thank you @luckyyou for checking out my post.
what plants are friends, it seems like, I've seen it
This entire post is about Apple Trees. I grow it very small inside a container.
grow so perfect friend, extraordinary
One more thing I read is that for grafting select disease free branch with two to five buds on that branch so let me now i am right ??? or i read it wrong @creativetruth
Q#2 Why we make a slide cut for grafting on scion can w make a straight cut also??
Knife you are using is so nice and beautiful we have knife but not like these they are in other form
Yes, picking a disease free branch is a given.
The reason they do not join two flat ends together is because the wood has to be held tightly together, or else it will not bond together as it grows. If even the smallest air gap gets between the bond, the graft will fail.
You can research grafts, and find out which style of graft cuts there are, and which ones have the highest success rate.
Thats great Because I saw alot of field with slide cuts So i want to know why we made this thanks for explaining
God bless you
Congratulations! Your post has been selected as a daily Steemit truffle! It is listed on rank 23 of all contributions awarded today. You can find the TOP DAILY TRUFFLE PICKS HERE.
I upvoted your contribution because to my mind your post is at least 11 SBD worth and should receive 67 votes. It's now up to the lovely Steemit community to make this come true.
I am
TrufflePig, an Artificial Intelligence Bot that helps minnows and content curators using Machine Learning. If you are curious how I select content, you can find an explanation here!Have a nice day and sincerely yours,

TrufflePigI have a question for you but it is offtopic, would that be ok to ask on this post?
Sure, is it something you would rather ask privately? Anyone is welcome to visit my discord channel. https://discord.gg/c5gB7P3
If it is something you think can benefit everyone, feel free to post anything you like in the comments here, related or not.