Assembling and Installing Our New Mantus Anchor
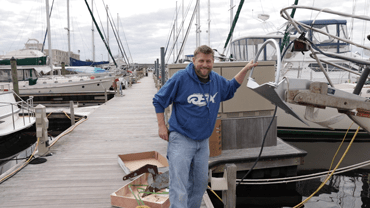
A week ago, Shannon and I upgraded our anchor chain from 5/16″ G-43 High-Test to 3/8″ G-43 High-Test. We also upgraded our windlass gypsy to the correct size for the new chain. The only thing left was the anchor, and our ground tackle would be in great shape. It is finally the weekend and we have been eager all week to get our new Mantus Anchor, created and produced by Mantus Marine, assembled and installed aboard Banjo.
We opted to purchase the heavier anchor because Banjo displaces near 19-tons. According to the anchor sizing chart on the Mantus Marine Website, the 85-lb weight would be appropriate for Banjo in heavier winds. Since we are looking to sail in areas where there could be robust winds, we decided on this size. When it comes to safety, we subscribe to the philosophy that it is better to have it and not need it, than need it and not have it.
Unboxing
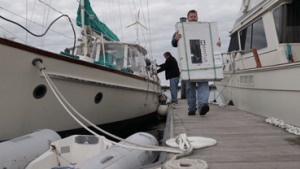
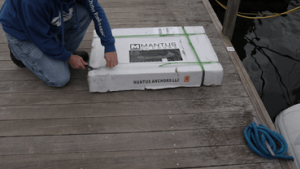
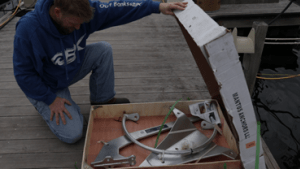
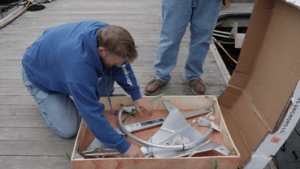
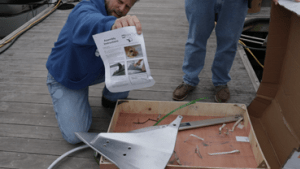
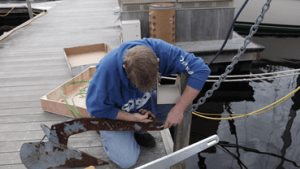
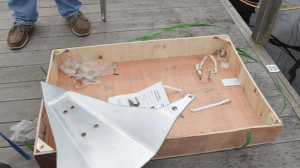
The 85-lb Mantus Anchor arrived in a wooden-bottomed box with all of the pieces tied down with cloth strapping. We opened the box revealing 6 heavy-duty bolts, lock-washers, and nuts. Also inside, and filling the box, were three disassembled pieces: the fluke, the roll bar, and the shank. The anchor also included 4-5 packets of heavy-duty lubricant, and a set of instructions. We could see immediately that the quality of the anchor was outstanding and this thing is a beast y’all! It glistened in the early-morning sun, and we were excited to get it installed.
We cut the tie-down strapping and laid the bolts out by size. There were four longer bolts and 2 shorter ones. Four holes for the shank, and two holes for the roll-bar made for a quick determination which went where.
Assembly
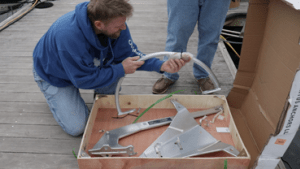
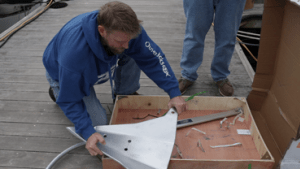
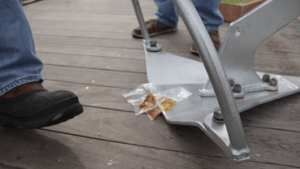
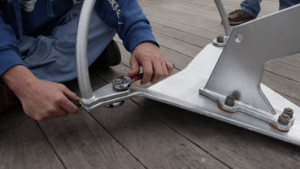
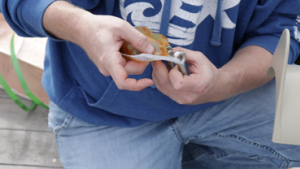
As instructed, we applied the lubricant liberally to the bolts and slid them through the fluke and shank. Next, we slid on the lock-washers and then the nuts. Using two large adjustable wrenches we tightened the bolts to compress the lock washers. That was almost two easy. I tightened the bolts as tight as I could and then had our good friend, Cole from SV Hooligan, give them a quick torque. He pointed out, it was important to turn the bolts, not the nuts, to avoid scratching the galvanized coating with the lock washers. The shank and fluke were aligned for a perfect fit.
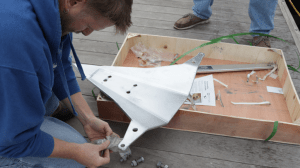
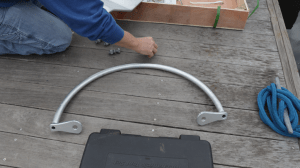

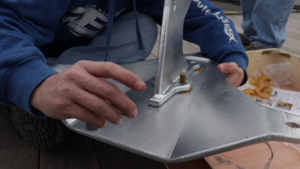
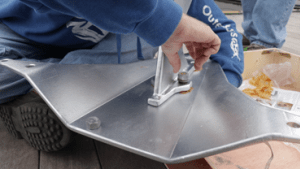
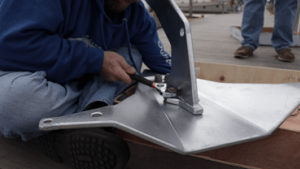
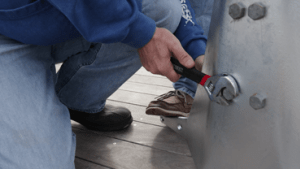
Next came the roll-bar. Following the instructions, we angled the roll-bar towards the back of the anchor fluke. We applied more lubricant to the bolt threads and slid the bolts through the holes into position. Again, we turned the bolts into the nuts to prevent damaging the galvanized coating.
Installation
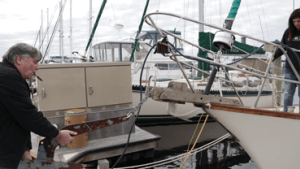
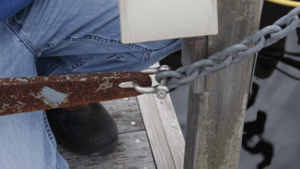
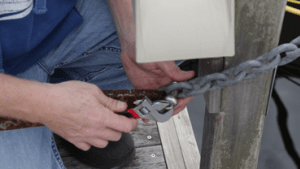
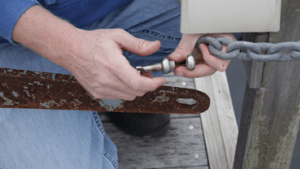
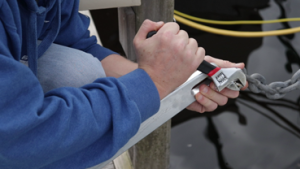
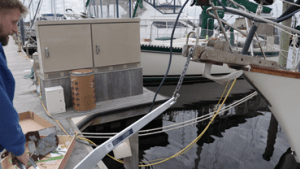
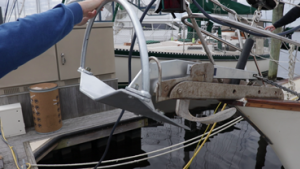
Cole took hold of our existing Delta Anchor and, with Shannon releasing the windlass, pulled it onto the dock. I got out a pair of needle-nose pliers and removed the safety, seizing wire on the anchor shackle. With a couple turns of the adjustable wrench, the shackle bolt came free and we released it from the shackle. Cole moved the Delta out of the way and we worked together to move our new Mantus Anchor in line with the bow.
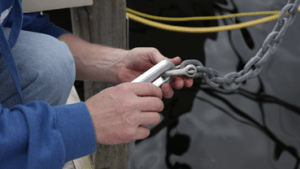
I slid the shackle through the shank and applied some lubricant before setting the shackle pin through the anchor chain. We realized we did not have any extra seizing wire aboard and Cole recommended ordering a new spool rather than reusing old wire. New safety, seizing wire is now on our to-do list and will be ordered this week. Once received, we will wrap and re-bind the safety wire to ensure the shackle does not loosen.
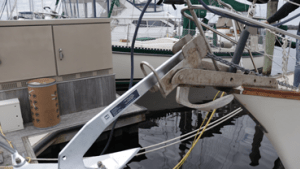
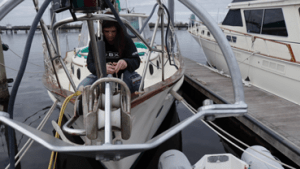
Shannon did a few quick touches on the windlass foot-switch, and the anchor slid right up and onto the bow roller. She secured the anchor chain with some line and relieved some of the tension on the windlass. The anchor is a perfect fit for Banjo! And it looks awesome! Some may think that it is oversized for normal cruising needs, but as stated in the beginning of this post, it is better to have it and not need it, than need it and not have it.
Done and Done
Start to finish, the assembly and installation of our new Mantus Anchor took about 20 minutes. We will be putting a video of the process up on YouTube as soon as we can. It helps to see just how easy it was to assemble and get onto Banjo. Looking on the Mantus Marine Website, we have already found several other products we think will be useful on Banjo. From what we can tell, they really put extra thought and care into the design and manufacture of their products. In the upcoming months, we are looking forward to sharing our experiences with you using our new Mantus Anchor. Look for them in future posts.
We can’t wait to take Banjo out and put our new Mantus Anchor into use. Shannon and I are thrilled at the prospect of sleeping on the hook for the first time, and for many times afterwards. We know that our existing Delta Plow would have done a great job at anchor, as it has for years with the previous owners. It is our hope that this upgrade will allow us even more peace of mind and security, even in rougher waters.
More to Come
For more boat upgrade tips and How-To help, have a look at our other Maintenance and Projects Post Pages at https://sailingbanjo.com/category/products/. Also, connect with us on Facebook, or subscribe on YouTube. As always, we love to create and share with you. If you like what we are doing, consider becoming a patron on Patreon for even more content and adventures.
