MIT FabAcademy Week3 Assignment - Computer-Controlled Cutting
This week's assignment:
Design, make, and document a parametric press-fit construction kit.
Press-fit means reversable joints (like lego). The goal of the kit is to make something that more than one thing.
I try to design the parametric pattern by using Antimony.
Practise with Antimony
Antimony is a powerful "node-based" parametric CAD tool. If you have tried Quartz composer or Origami, you'll get use to antimony in just a few minutes.
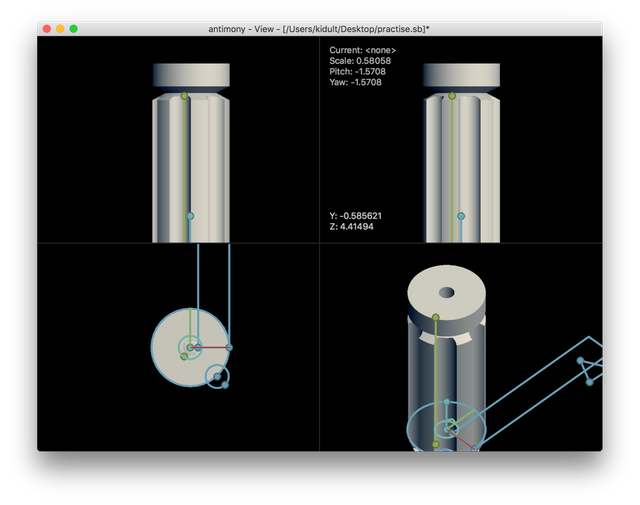
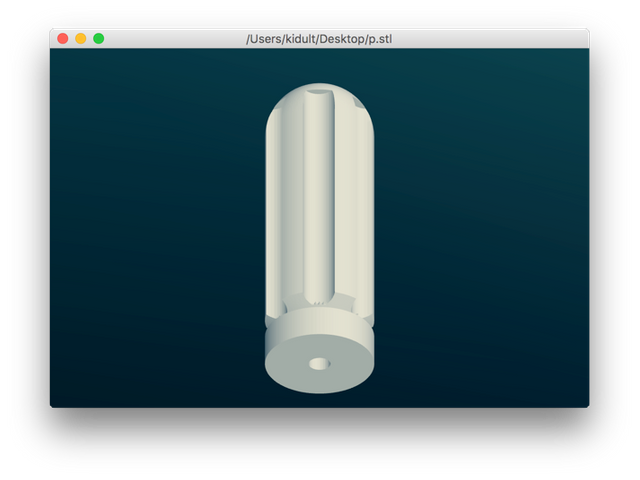
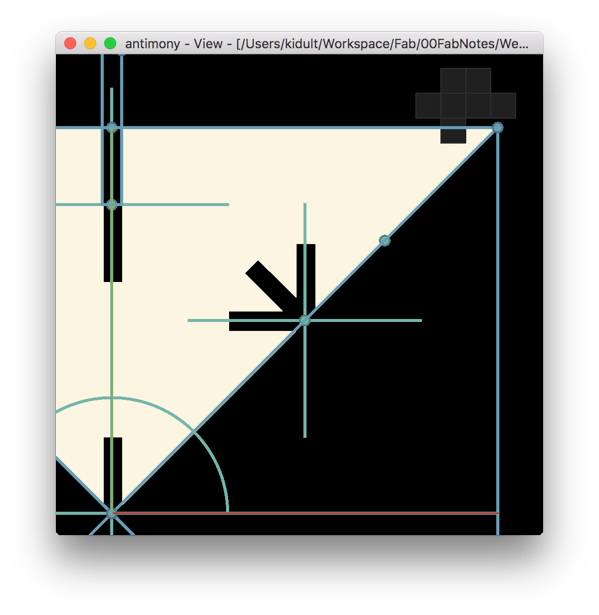
After installing, I checkout this video tutorial by Matt Keeter and made my first piece:
(By the way, fstl is a really great viewer for .stl files. )
Little tips:
You should use a mouse(by holding the right button) to orbit the view, which means the trackpad on a macbook is not enough.
Design
Tangram is an interesting puzzle game, like the Chinese version "lego". I played it in my childhood. So I'd like to make a tangram set with antimony and lasser cutter.
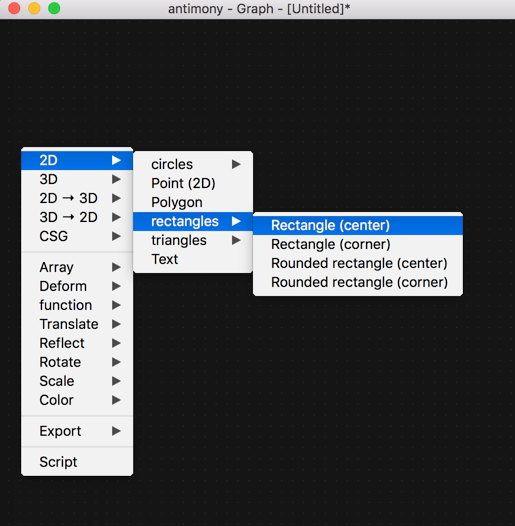
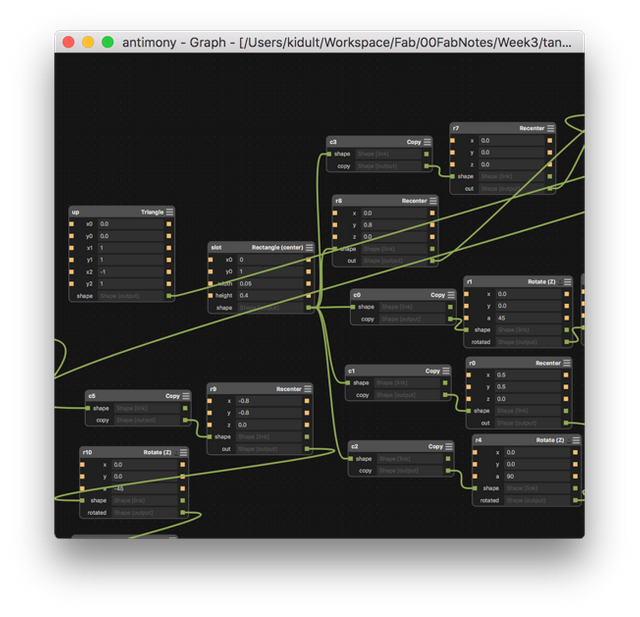
Creat a new file in antimony. By adding "2D" shape, we can creat all the shape we need in a tangram.
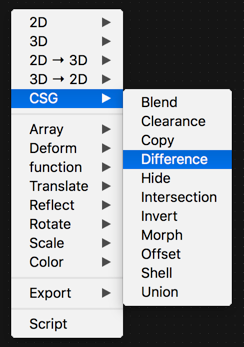
“Difference” command helps to creat cardboard slot by subtracting a shape in another.
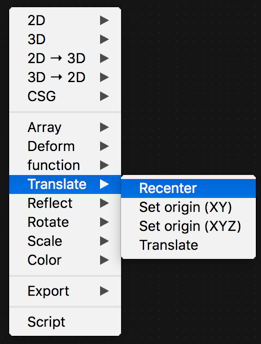
And "Translate" and "Rotate" modifies shapes' position.
The reason of using antimony in this lesson, is to control small "units" in a parametric way.
You can download my antimony file here , and the tangram pdf for cutting.
Make
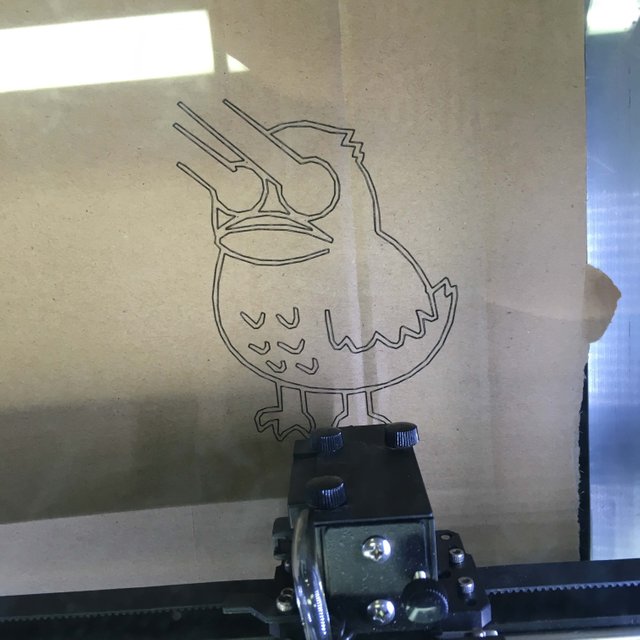
First I tried using laser cutter to draw "群主雕":
Fabmodules is quite handy. Just select input format and the machine type, then select output material. Several parameters should be tested before hand.
When cutting thick and hard materials, power should be around 100% and speed 2%.
I tried speed 4% and power 90%, but still failed to cut though cardboards we use in the lab.
In addition, the x,y positions are tricky, cos it is related to the dpi (if file format is png). Always do some tests before cutting.
Here's my tangram cardboard after cutting.
Tangram press-fit kit
Then I tried using acrylic to make a "3d minion".
upload svg file to fabmodules
choose "cut acrylic", set units/in 50 ,power 90, speed 0.8, then do the position test
calculate cutting path
put acrylic board in the right place, the send path to the machine
press start button on the machine
Done after 18 mins!
Problem: machine can't cutting through some small parts, and some thin edges are burned out...
Now we got all parts for minion:
The last step is to glue all parts into a multi-layer minion:

Vinyl cut
I also try vinyl cut with GCC RXII60.
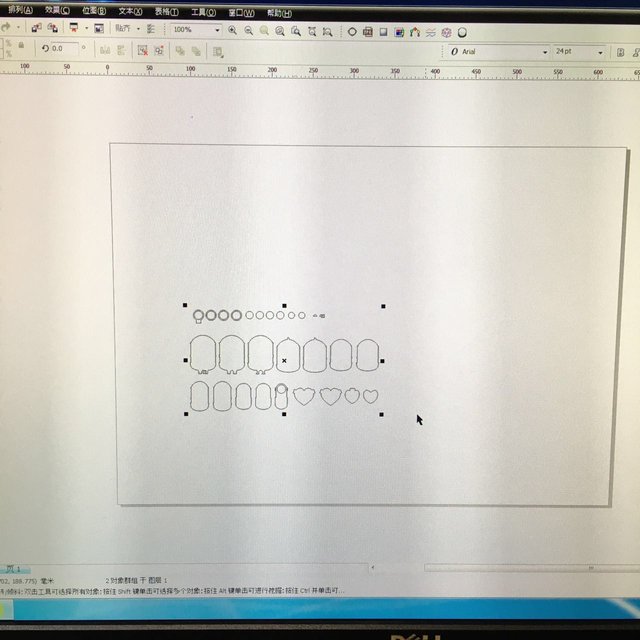
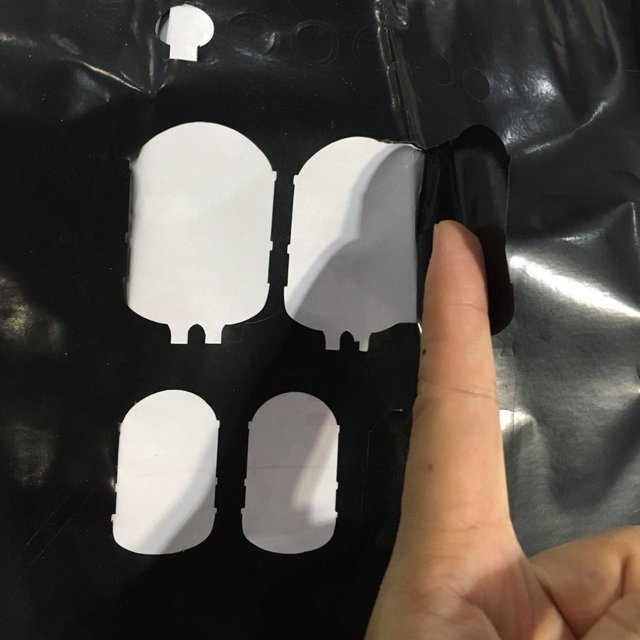
Import .svg into coraldraw and sent to the vinyl cutter. Set the print lind width to "hair".
All FabAcademy Notes (to be continue):
- FabAcademy Week1 Note - Introduction
- FabAcademy Week1 Assignment - Build a website and use Git
- FabAcademy Week2 Note - CAD
- FabAcademy Week2 Assignment - 3D Modeling
- FabAcademy Week3 Note - Computer-Controlled Cutting
- FabAcademy Week4 Note - Electronics Production
- FabAcademy Week4 Assignment - Electronics Production
- FabAcademy Week5 Note - 3D Scanning and Printing — Steemit
Art x Code . Thanks for Upvote!

