NEM 101 - Beginners Quick Guide For NEM's Blockchain
Introduction
NEM is a blockchain platform that uses Smart Asset System to provide enterprise solutions - meaning that anyone can digitize assets and make them available to the public. Developers looking to build apps in the NEM blockchain don’t need to run any special software because all functionalities are available via APIs (can be used for desktop, web, and mobile apps). Finally, its important to point out that XEM is the cryptocurrency used to reward NEM miners/supporters.
NEM Structure
Addresses and Mosaics
Addresses in NEM can be used as a digitization of any object- they can represent commodities, real estate, or even documents.
Mosaics can be seen as a token in any other common blockchain (like Ethereum). They represent identical assets such as votes, reward points, or currencies - When you create your own mosaic you may define some of its properties such as name, description, quantity, divisibility, and their method of transference.
Namespaces
- Namespaces are unique locations of particular assets on the blockchain - think of this as a domain name.
- Namespace owners need to pay 100 XEM to reserve this space on the blockchain, 10 Xem to create sub-accounts, and 10 XEM to create a new digital asset (or mosaic).
Transactions
- They represent configurations of multi-signature rules, the way mosaics are transferred between accounts, and how messages are sent in the NEM blockchain.
Examples
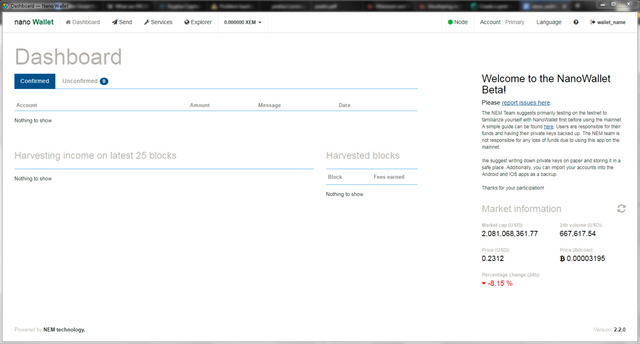
Creating a NANO Wallet
1 - Download Link: https://nem.io/downloads/
3 - Select "Mainnet" if you you will use this wallet to store actual XEM, or "Testnet" if you are a developer looking to build apps on NEM.
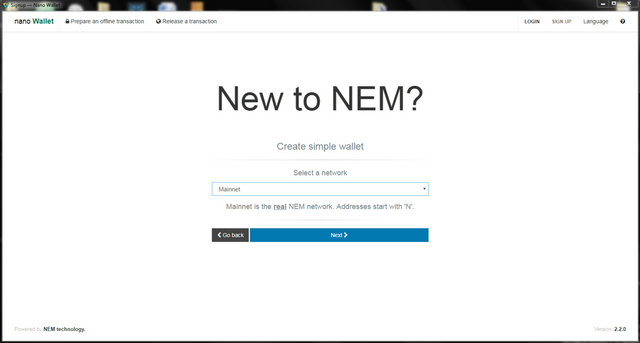
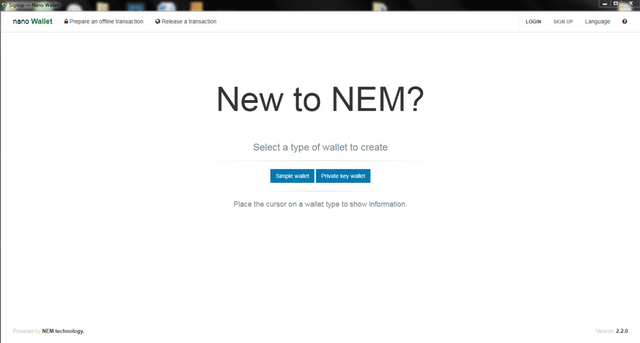
4 - Add any wallet name you like (try to pick a descriptive name), password, and generate your private key by moving your mouse around the screen.
5 - Finally, download the .wlt file and click "I have my wallet file."
Creating a Multi-Signature Wallet
1 - Create a Simple Wallet following the steps above, click "Services" on the navigation bar, and "convert an account to multisig."
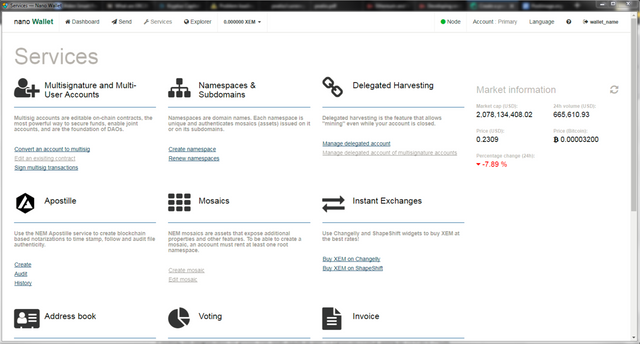
2 - Add your private key (the one you saved from Simple Wallet - or you can get it by clicking "Account" on the navbar), and add the other co-signers on the cosignatory input.
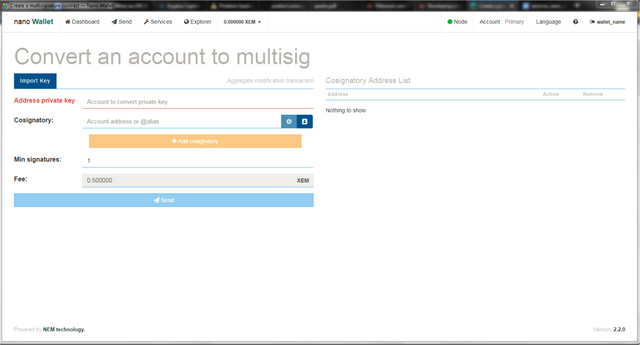
3 - After you choose the minimum number of signatures and click "Send." Now you will have to sign transactions from the accounts you selected in order to transfer XEM or mosaics from you NANO Wallet.
Note
Thank you for reading! Remember that every investment involves risk, and you should conduct your own research before making a decision. This post is for educational purposes only.


Congratulations @calovera! You have received a personal award!
Click on the badge to view your Board of Honor.
Congratulations @calovera! You received a personal award!
You can view your badges on your Steem Board and compare to others on the Steem Ranking
Vote for @Steemitboard as a witness to get one more award and increased upvotes!