Sculpting In Blender With Dyntopo – My First Decent Model
This is one of my models that I created in the past just for the sake of practicing. I started learning sculpting in Blender and was especially interested in sculpting with dynamic topology. This is a sculpting process that can be heavy on the computer, and it should be handle with care.
Sculpting with dynamic topology means that a new geometry is created with every single stroke of the sculpt brush. This give the user a lot freedom in creating different shapes. Basically, you can create whatever you want. There is a couple of options for this as well, like sculpting with constant details or with relative details. I find it easier for now to sculpt with constant details.
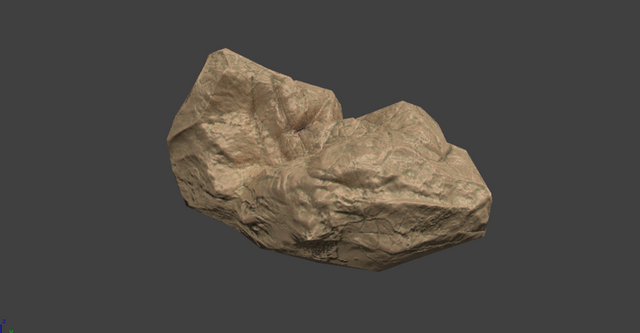
This the final look of the model that I created for the practice session.
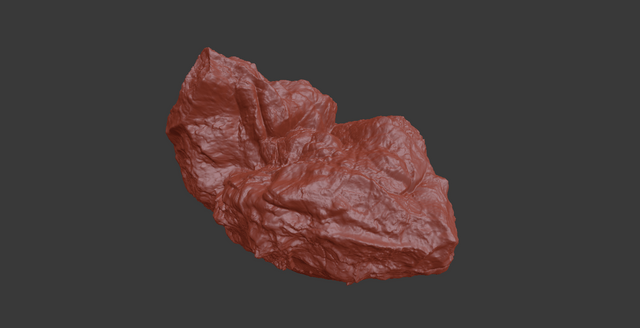
As mentioned the model is sculpted with dyntopo. I first start with a cube and subdivide it couple of times to create some geometry. Than I apply the modifier and start sculpting. First, I try to get the basic shape using the blender sculpting brushes.
One of the most used brushes is the Clay Strip brush and the Crease brush. Also, the Grab brush and the Snake hook brush are used for creating the general shape. I wanted this model to have irregular shape, for the sake of practising, so I created a lot of bumps and lows.
One of the cons of sculpting with dyntopo is adding details. Adding details, especially with textures doesn’t work well in dyntopo. I find out this the hard way. But for these sculpt I was testing what are the limits for adding details with textures in dyntopo. I liked the workflow with dyntopo, and I was trying to make a complete detail model with it. So here I went all the way and test it to the limit. I took quite of time, since my computer is not that powerful and was lagging all the time. Adding just one stroke with textures always resulted in some waiting time.
The model has more than a million faces. So, it is quite a detailed and complex model.
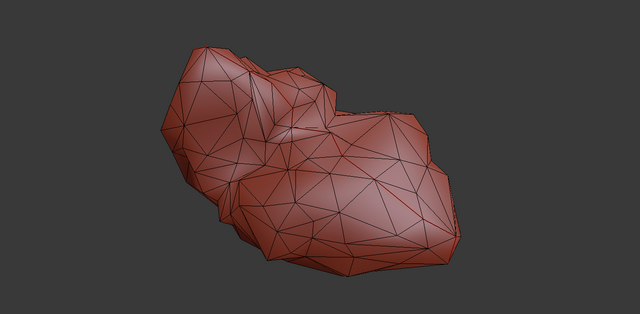
Next a retopology was needed, to be able to bake maps and transfer the model in game engine.
I used the instant meshes tool and lower the number of polies a lot.
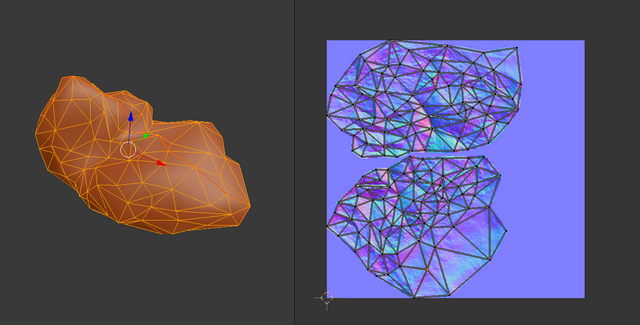
From over a million to a 280 faces. But remarkably the normal map did it job, and all the details were baked from the high poly to the low poly model. I baked the normal map, baking for a high poly model to a low poly model. Marking seems and UV unwrapping was also a part of the process.
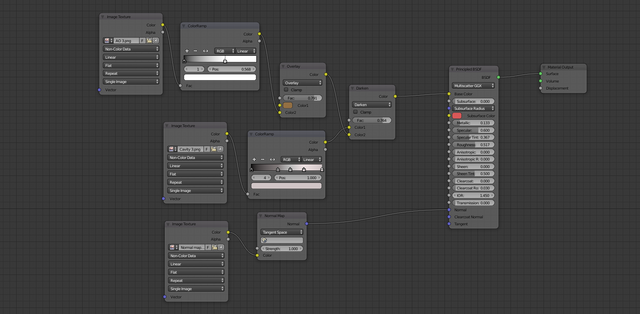
At this point I started to get familiar with Blender Nodes in Cycle. It was the beginning of learning a whole new topic. At first, I avoided it. It looked complicated and not necessary. Later it will become my favourite 😊. For this model I made a AO map, Cavity map, setup a ColorRamp and mixed some colors and node in the node editor.
Looking back at this model, I think this was my first decent model in Blender. It has almost all. Sculpting, retopo, baking, and then texturing with the node editor. The detail part was still an issue, and for these I would need to learn a whole new workflow.
All the best
@dalz
