A Model Created In Blender, Using Detail Sculpting With Dyntopo
This is one more of the models created in Blender with detail sculpting using the dynamic topology technique. I have made this one some time ago as a part of my learning and practising process.
The dynamic topology technique can be heavy on the computer, and it should be handled with care. A new geometry is created with every single stroke of the sculpt brush. This give the user a lot freedom in creating different shapes, but it means that it can cause lagging on the computer as well.

Here I start with a cube and subdivide it a couple of times, usually 4, to create some geometry. The I go in sculpting mode, choose dynamic topology, constant detail.
First, I try to get the basic shape using the blender sculpting brushes. The grab brush usually comes first to give the very basic shape of the model. Puling the different edges of the model and make it looks as I want. Then I work with the crease brush and the clay strips brush to achieve the second level od details. In the end a texture brushes are used to add the very fine detail.
Here, I have maxed out what can be done using the dynamic topology on, and texture brushes. This combination usually doesn’t work well in blender. Since it creates new topology with textures.
This is very slow process. I have previously used this technique, and here decided to go to the max. And this is it. It can’t add any more detail than this. I don’t recommend using this technique to anyone. Adding details with textures should be done using the multiresolution modifier. I was just testing here.
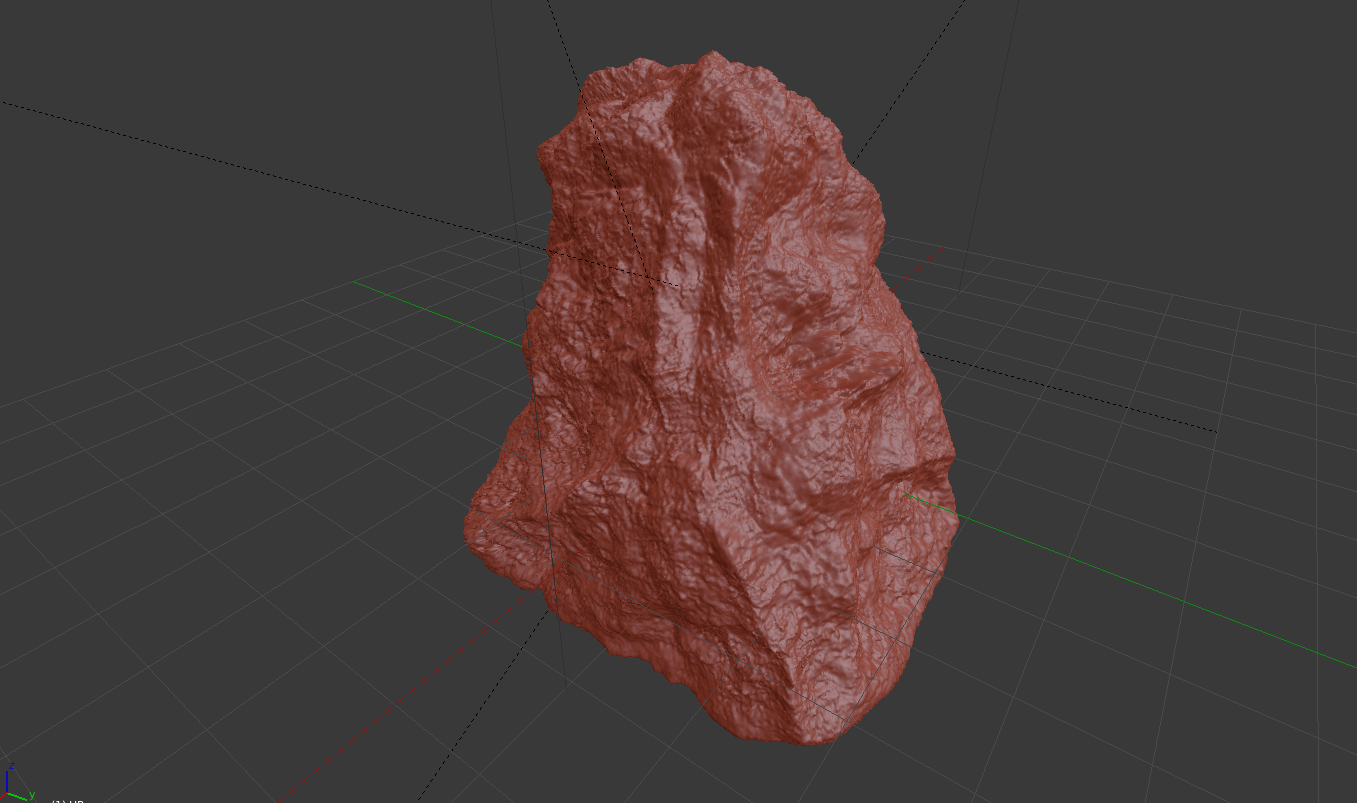
This is how the models looks in sculpting mode. All of the surface is irregular and have some detail on it. I wanted to add as much of details possible. The model has more than a million faces. To be able to transfer it to a game engine or just used it in a more complex scene a retopology is needed.
I used the Instant Meshes software for this and lowered the number of faces to 2466. I could go lower but was afraid that some details will be lost, and 2500 faces is not that much.

Next, was UW unwrapping and baking the normal map from the high poly to the low poly model. I also did a marking of the seems. I put the seem on the bottom edge and on one side of the model. On the photo bellow the red lines represents the seems. On the left side is the normal map with dimension of 2048.

Then I did some texturing of the model using the Blender Nodes in Cycle. For this model I was testing the pointiness future, so I first baked the pointiness texture from the high poly to the low poly. Then I add an rock texture and mixed them together. Next, I add one more mixing node and mixed a color in. The normal map image is going in to normal slot of the shader trough a normal map node.

This was another good practise model, in order to develop some Blender skills. Overall the model is not bad and looking back at it I’m happy about it. Of course, now I would use different technique to create it then at that time.
All the best
@dalz